


-
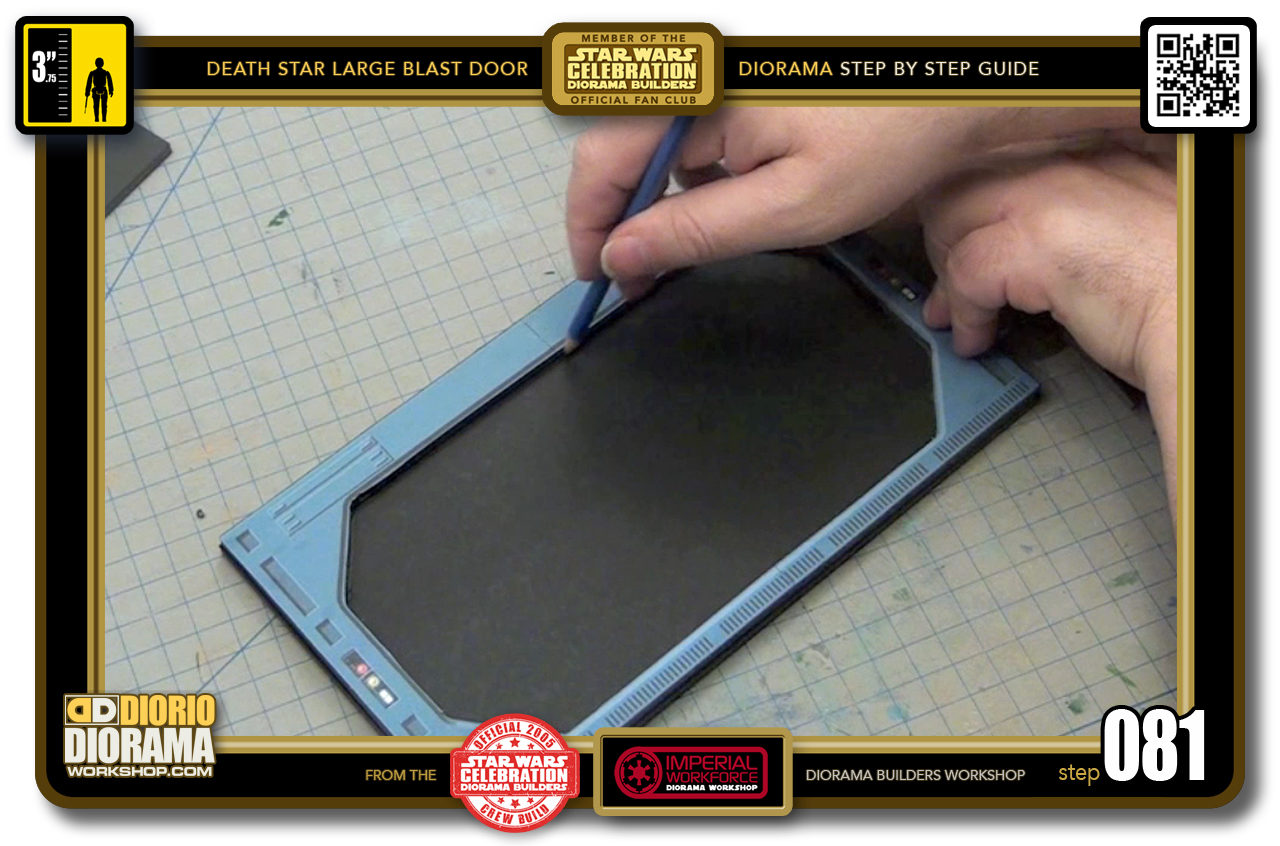
- STEP 081 > You want to take your pencil and trace all along the inside edges.
-
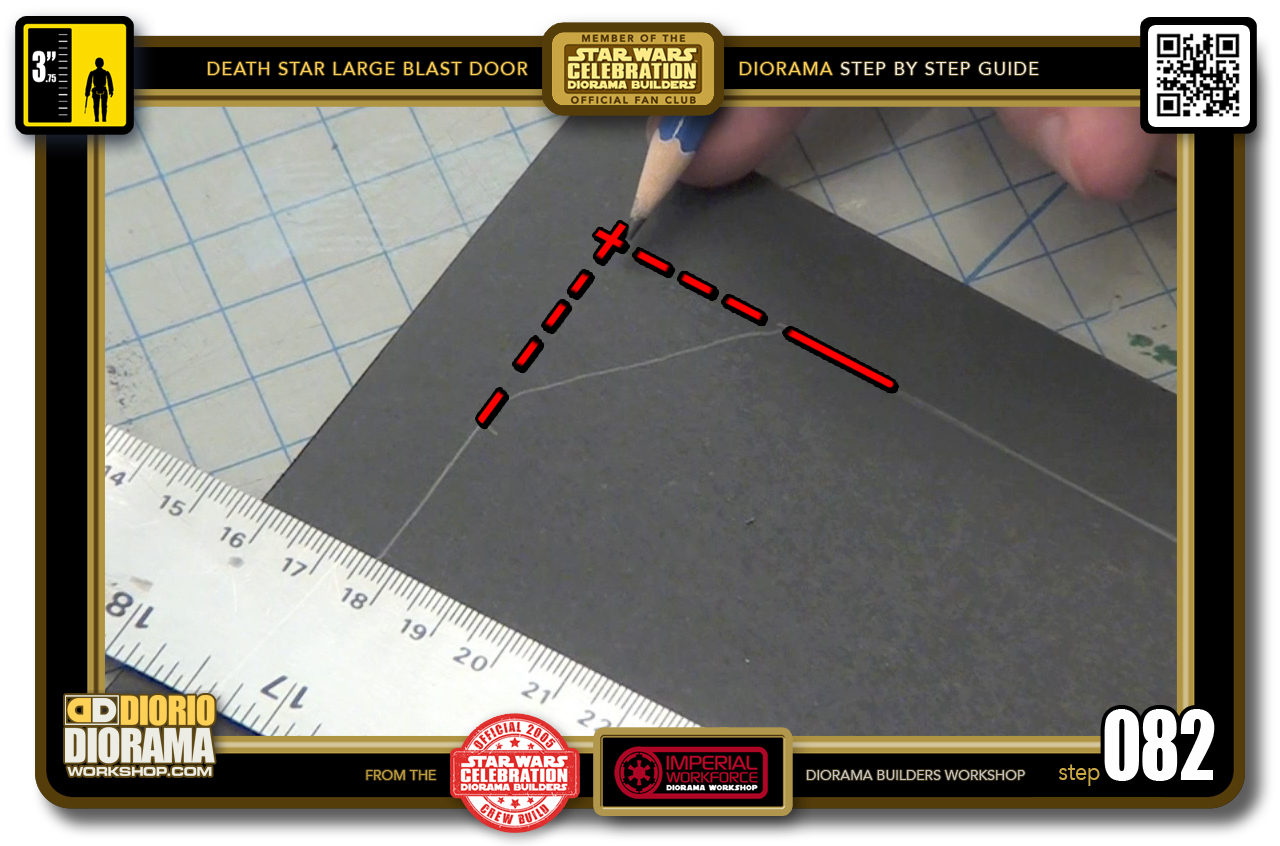
- STEP 082 > What we want to do now is create 90 degree angled corners - red dotted lines.
-
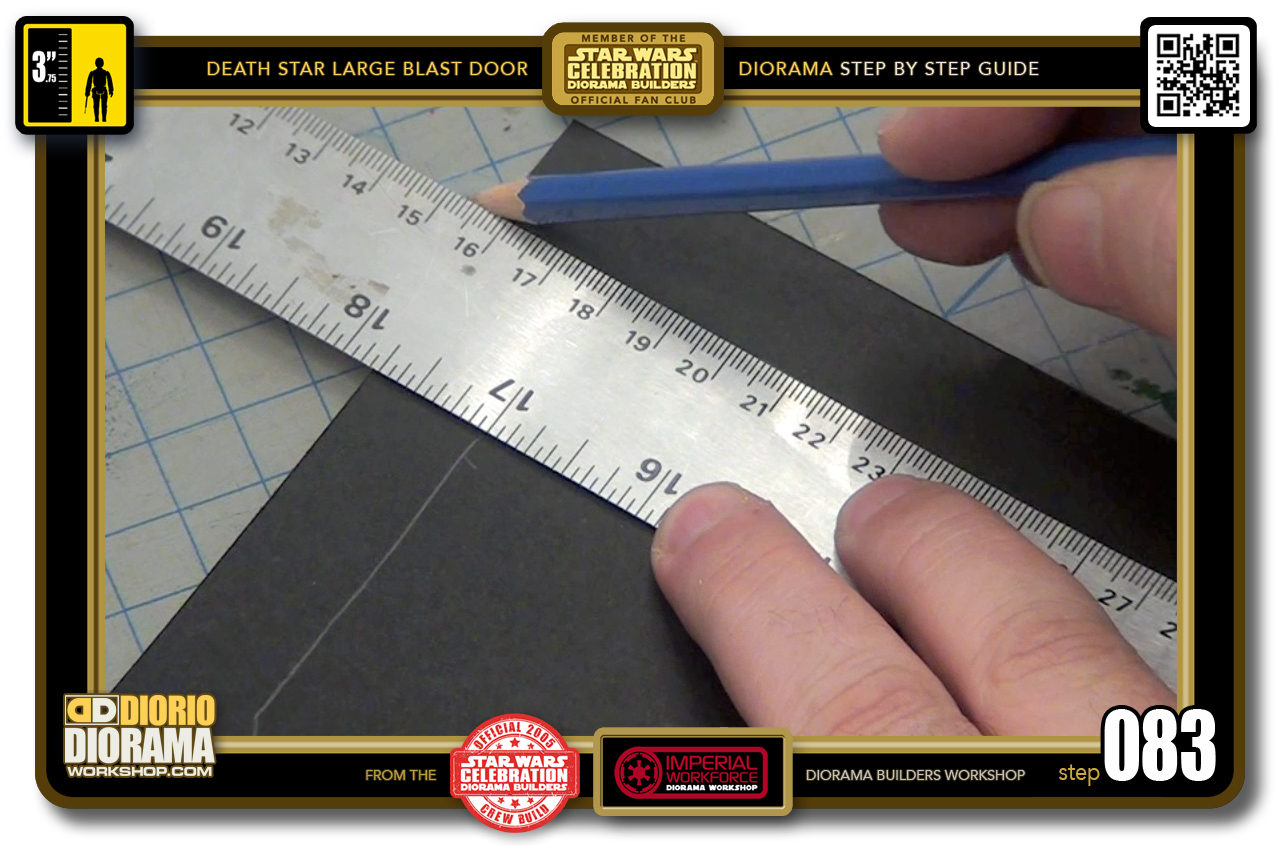
- STEP 083 > Take your ruler and align it with the top, bottom and side lines and then take your pencil to continue the line till you reach the end of the rectangle.
-
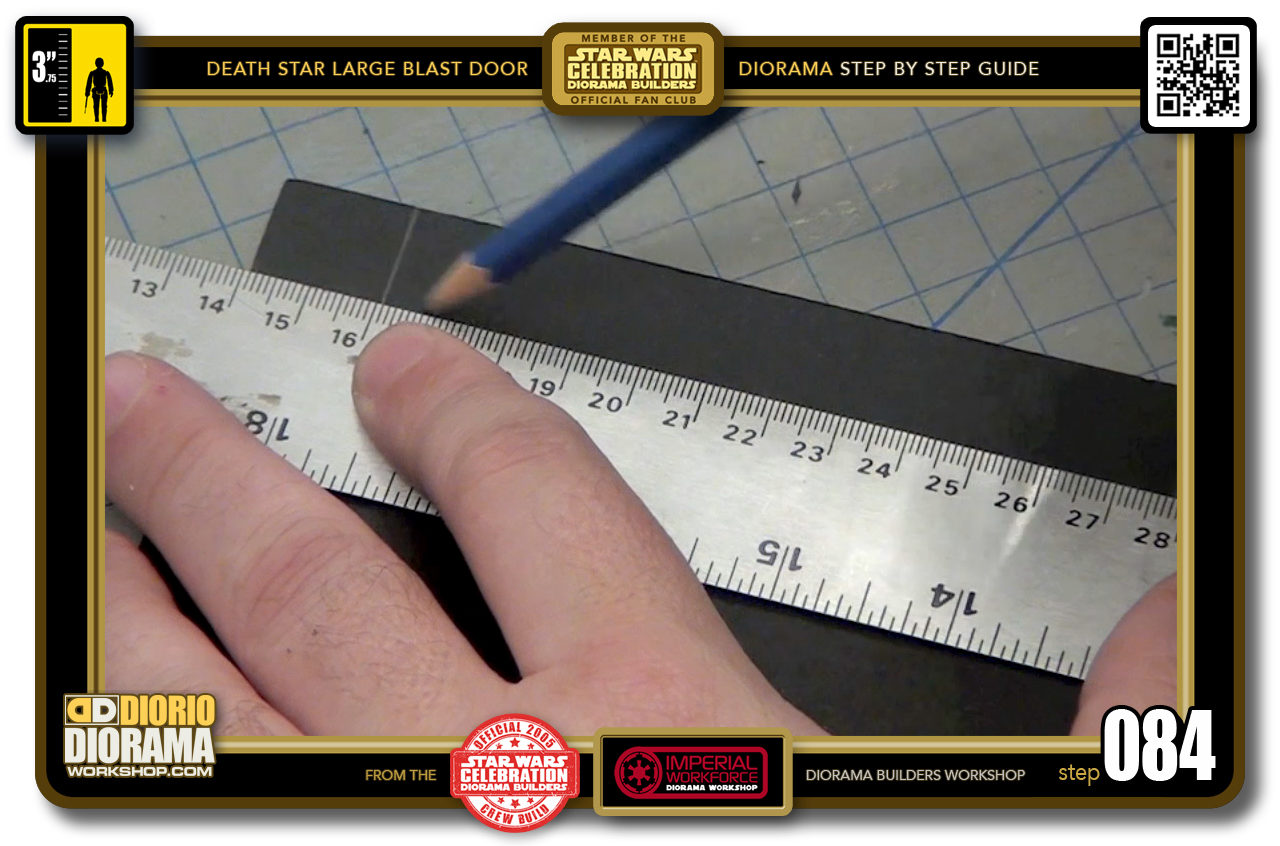
- STEP 084 > Do the same thing for every side of the traced frame.
-
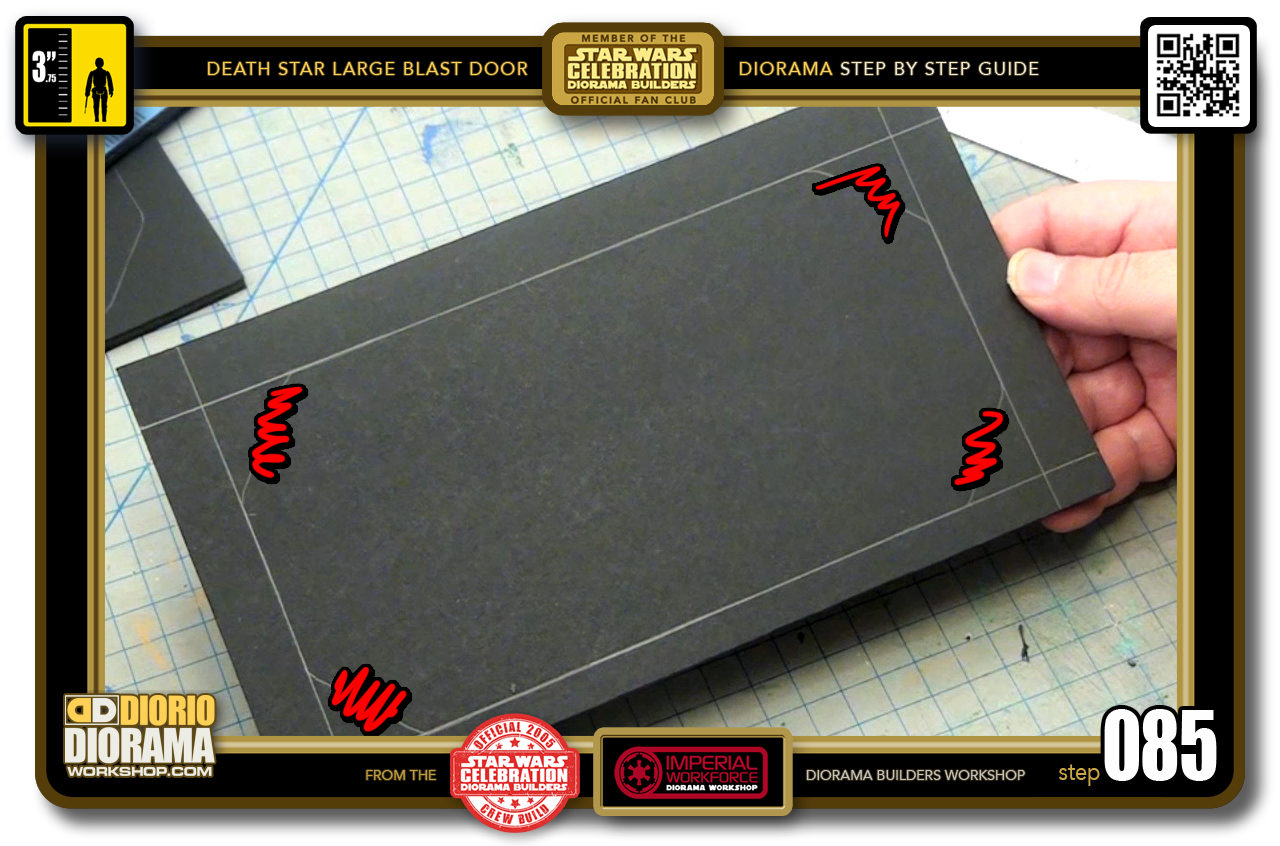
- STEP 085 > You will now have a rectangle inside a rectangle. this is where you will want to cut out your shape now. You want to ignore the corner angles from the Layer 1 and 4 frames. You will be ignoring the previous lines hidden by the squiggly red lines.
-
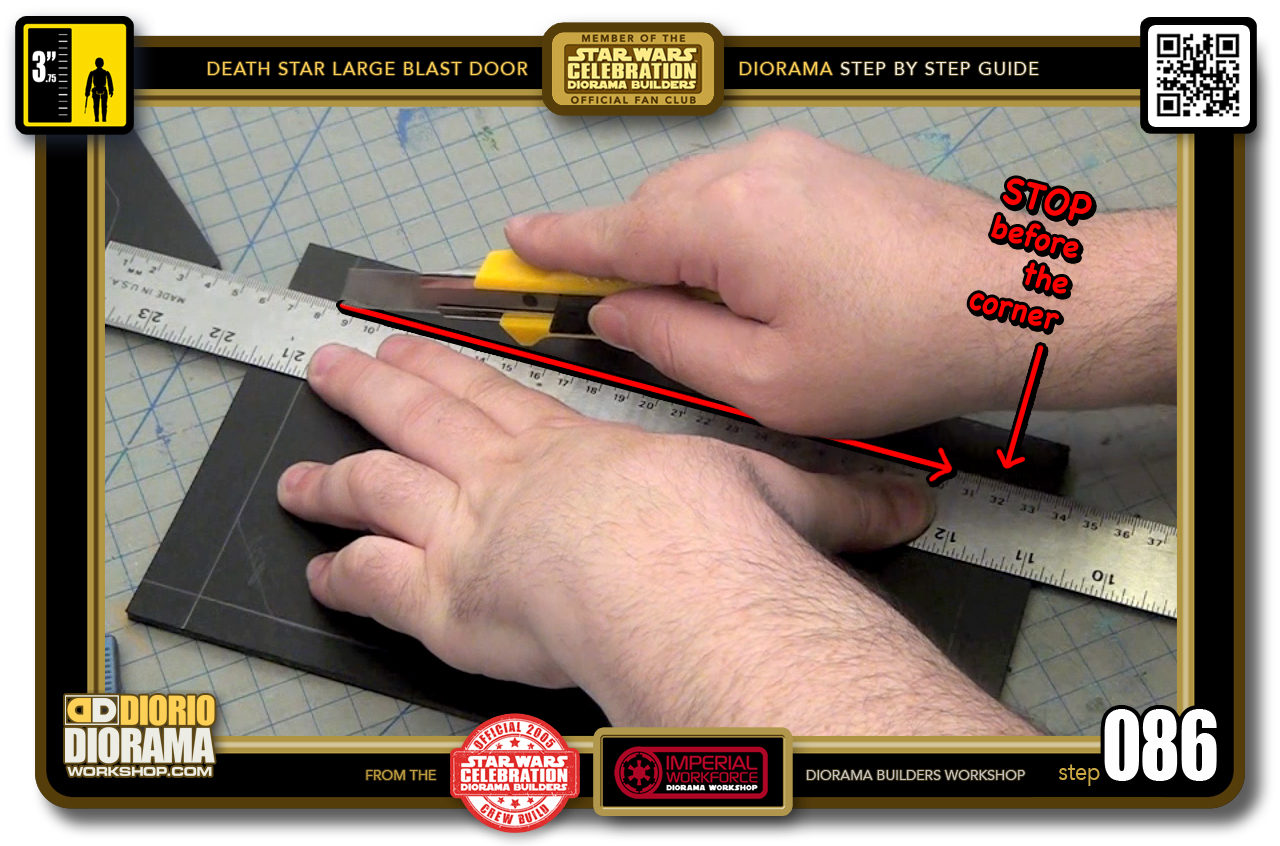
- STEP 086 > You want to start at one of the corners and slice down but stop just before you reach the other end. This is to prevent you from having your slice go beyond the corner line and destroying your layer 2 and 3 frames.
-
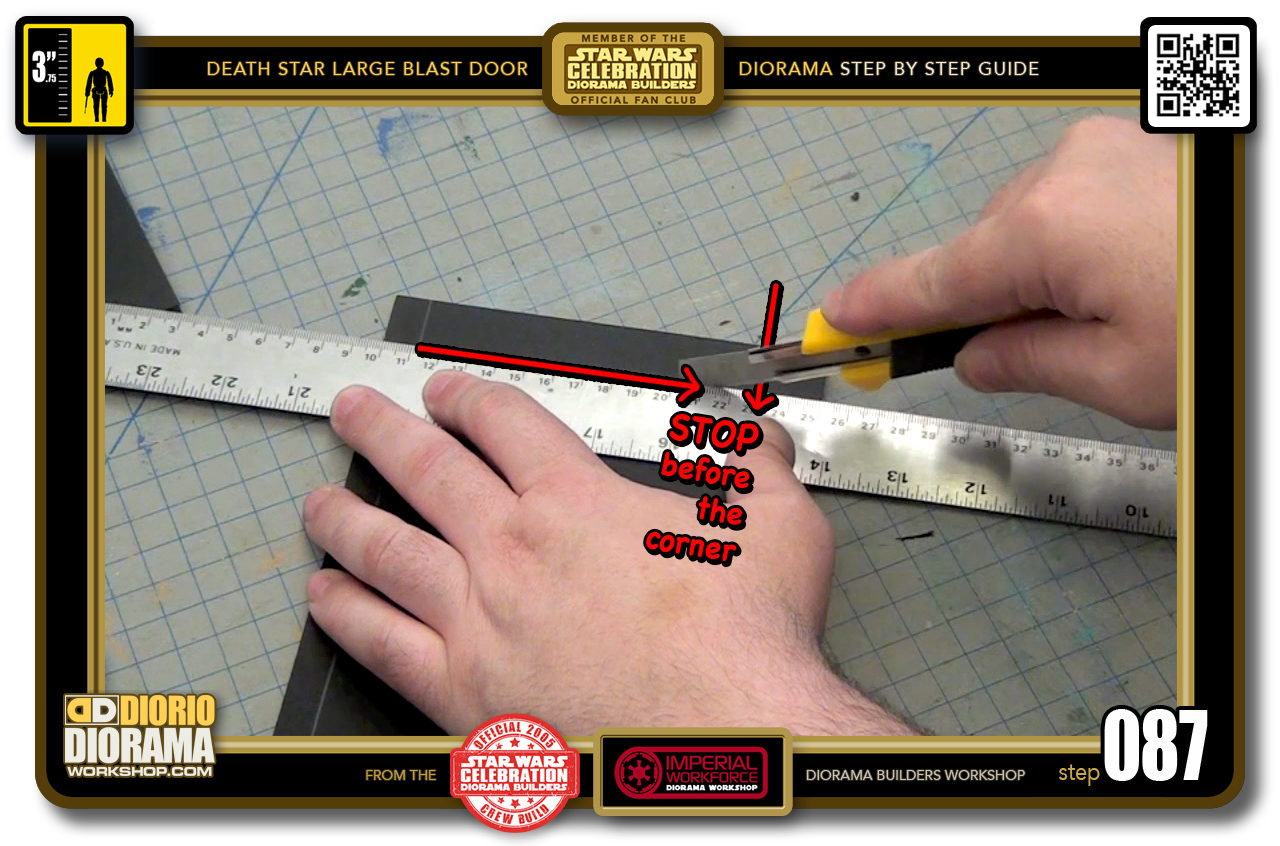
- STEP 087 > Repeat the same method for each side. Start in one corner and stop before you reach the end. Keep that blade straight ! don't angle your wrist when slicing.
-
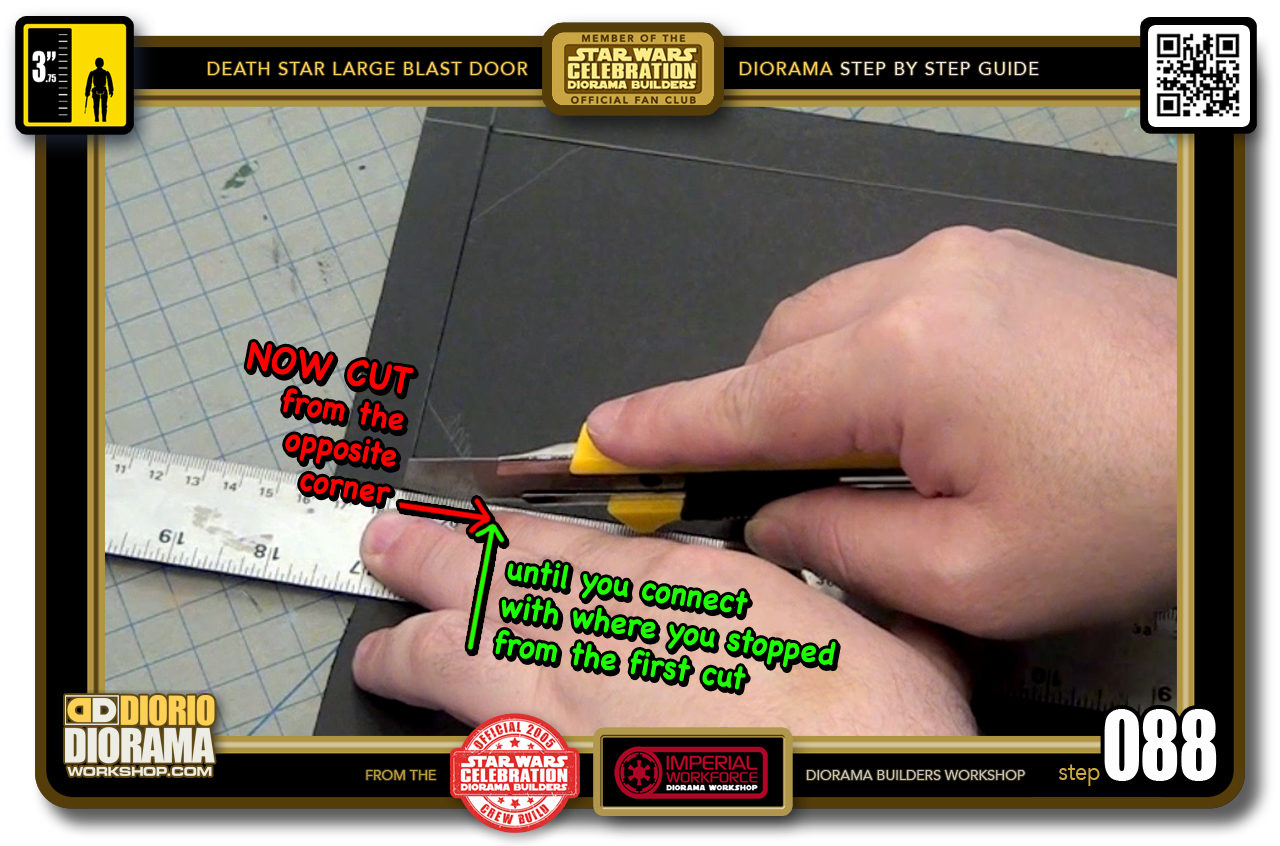
- STEP 088 > Now reverse direction start on opposite corners, push the blade down, then slide till you connect with where you stopped in your first cuts.
-
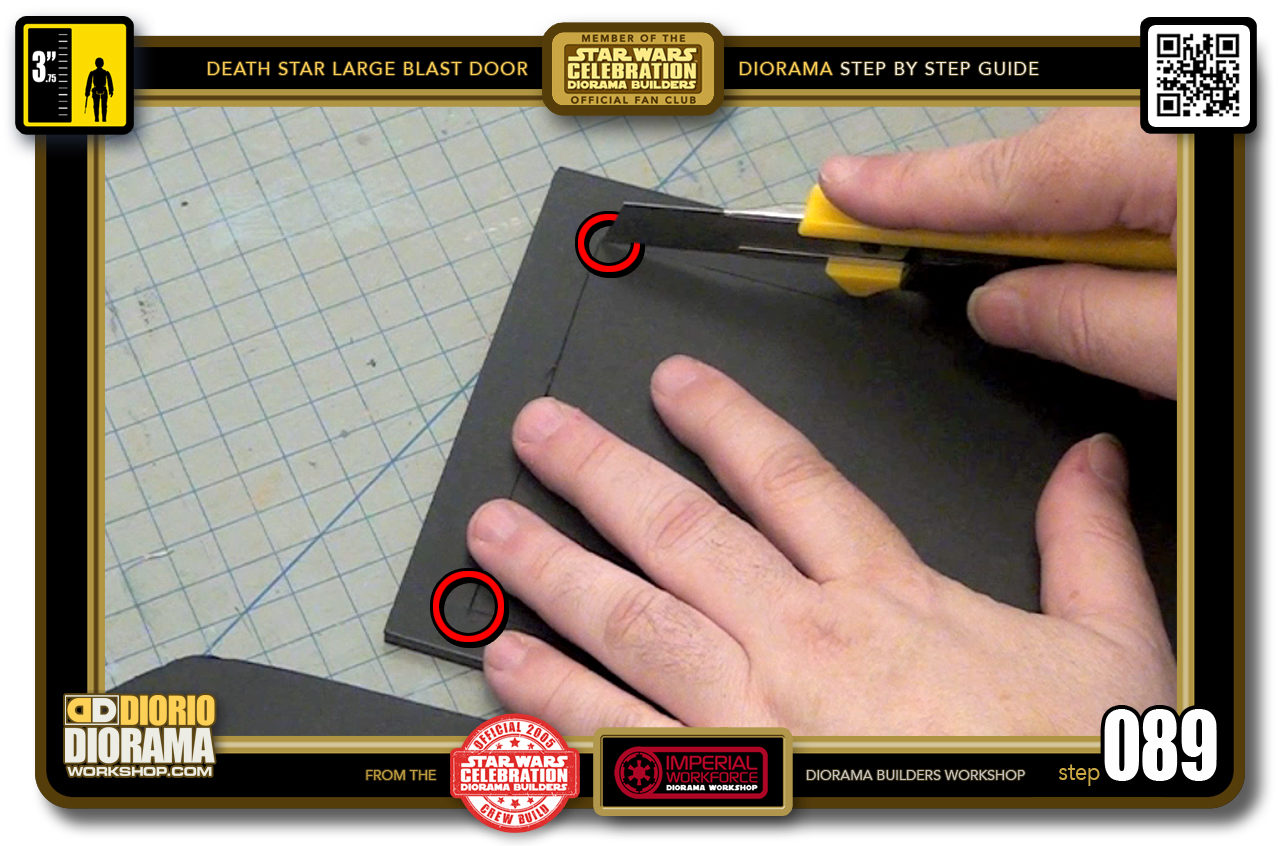
- STEP 089 > Flip the rectangle over to the other side and examine the corners (red circles) to see if there are any cuts that don't connect. If so, simply use your blade to complete the connection of your cuts.
-
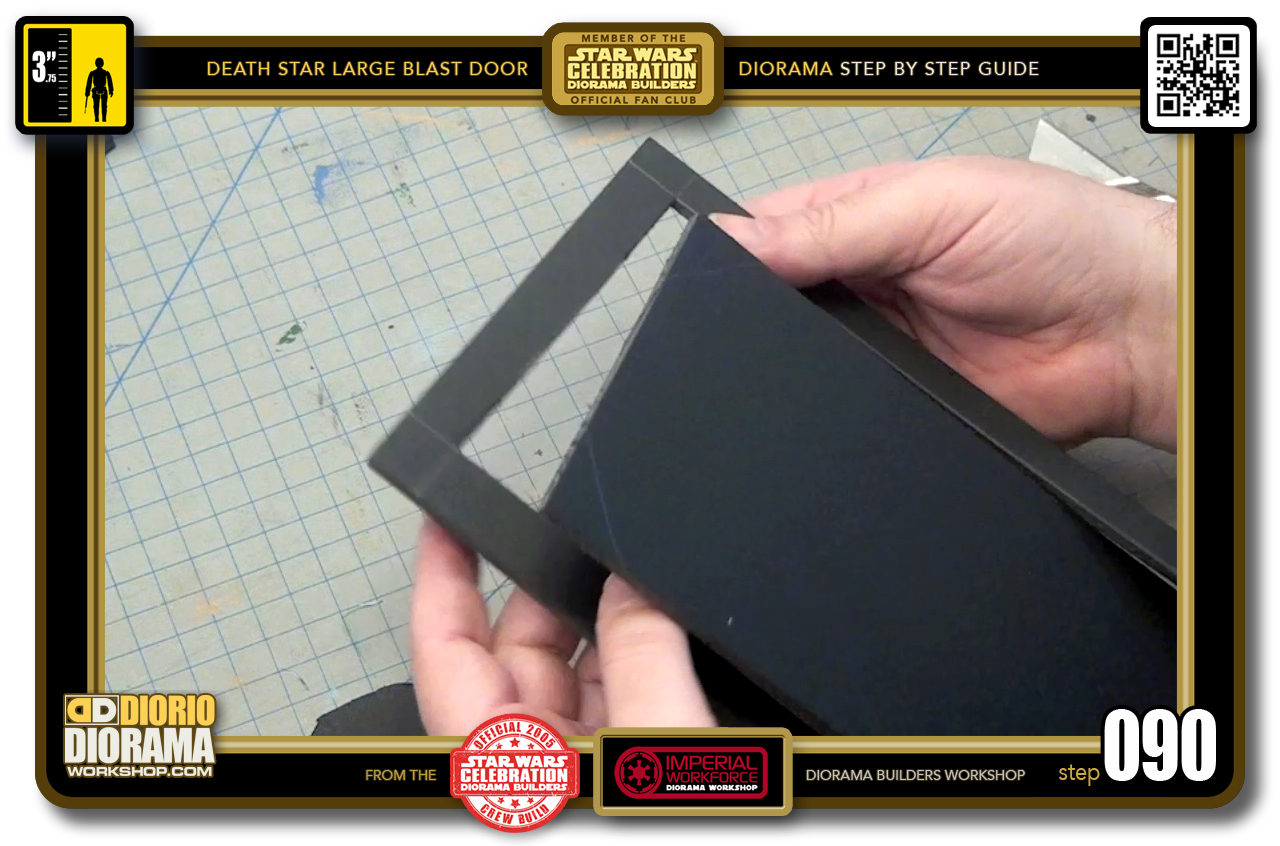
- STEP 090 > Just like that, your center rectangle should now pop out really easily.
-
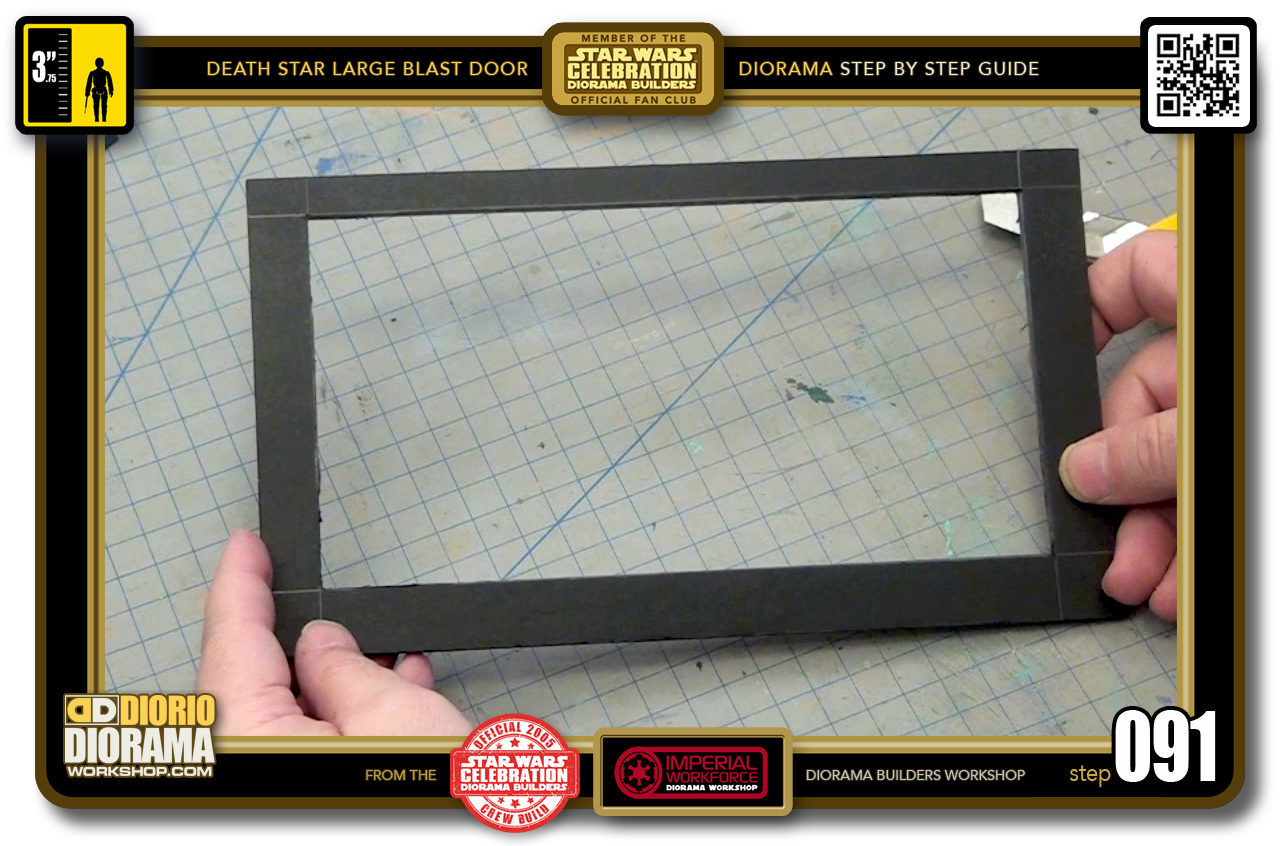
- STEP 091 > This is the shape that will be used for your layer 2 and 3 door pieces.
-
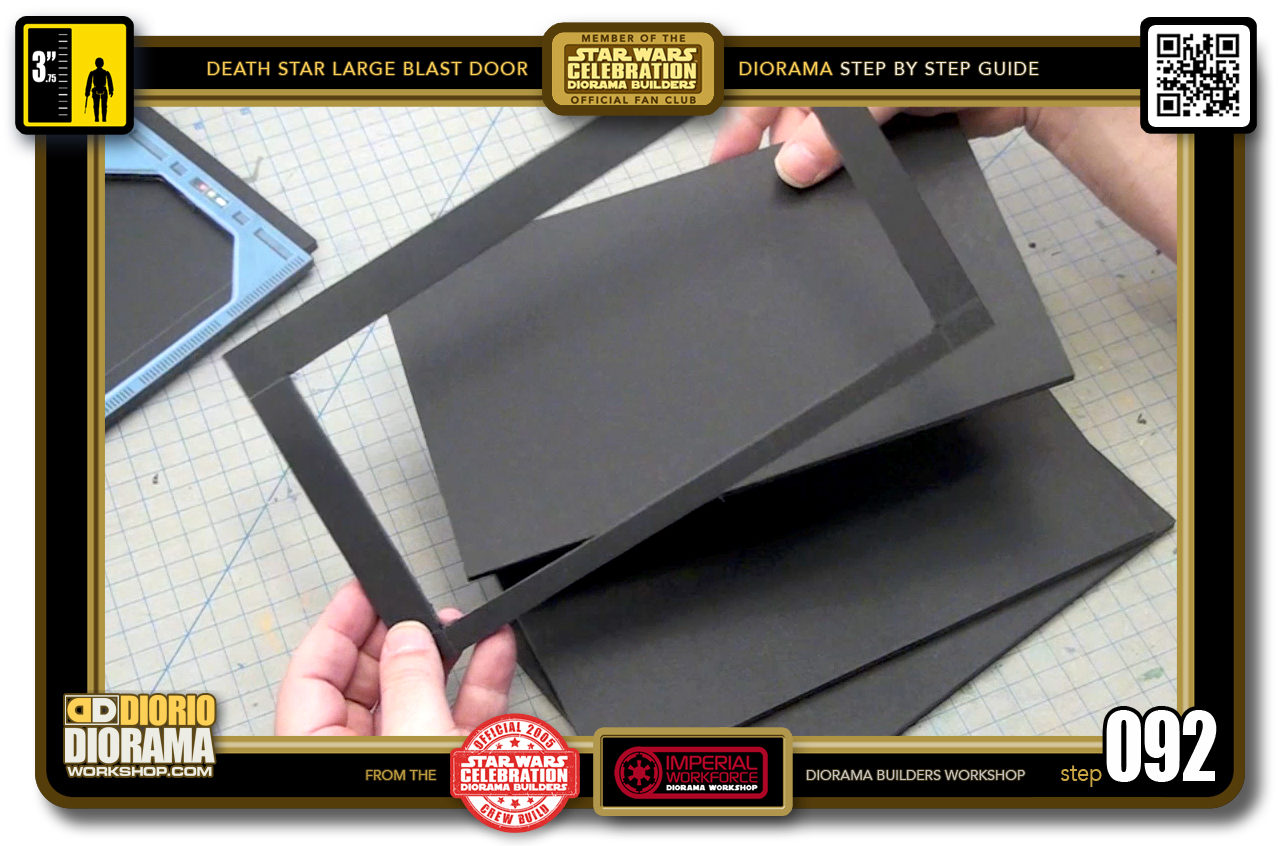
- STEP 092 > Now grab another rectangle base and the frame you just cut out.
-
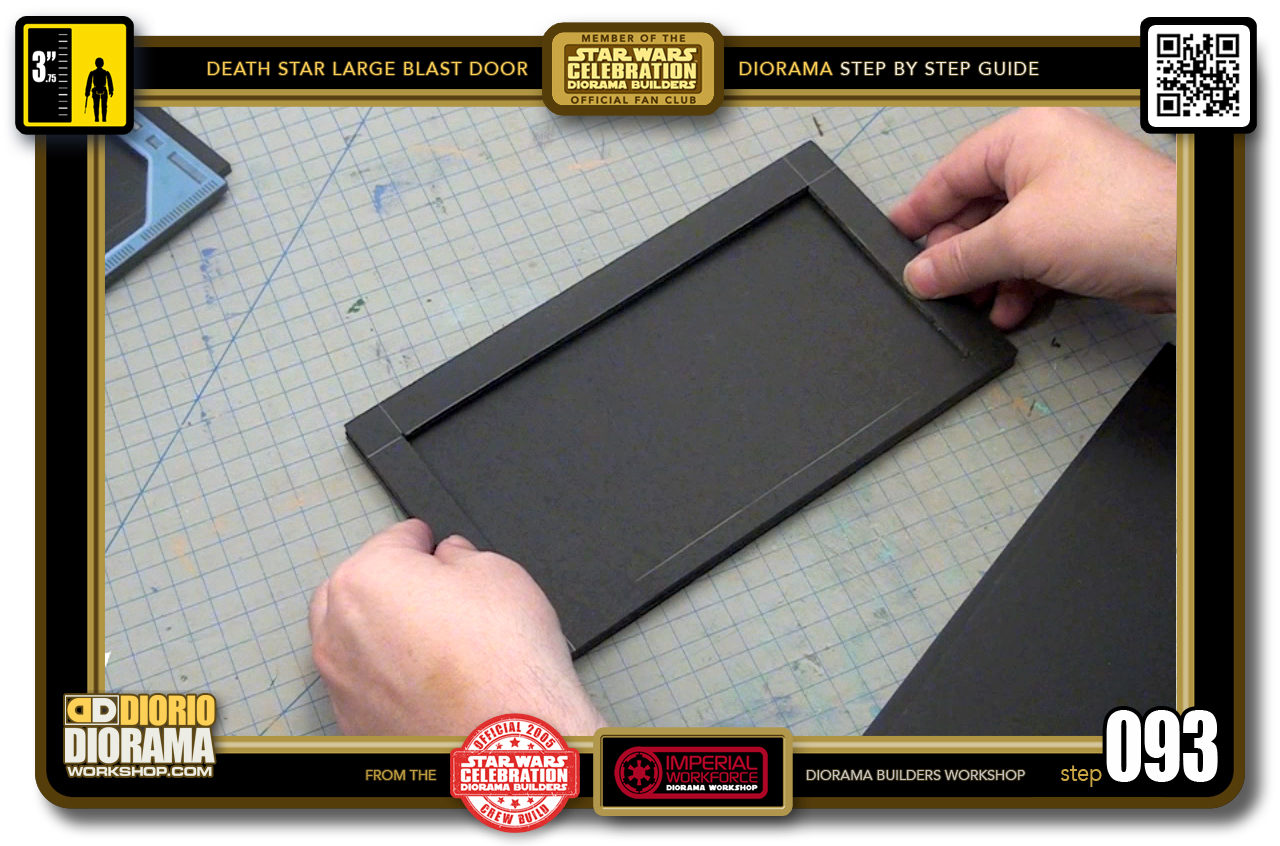
- STEP 093 > Place the cut out frame on top and align it with each side of the bottom foamcore.
-
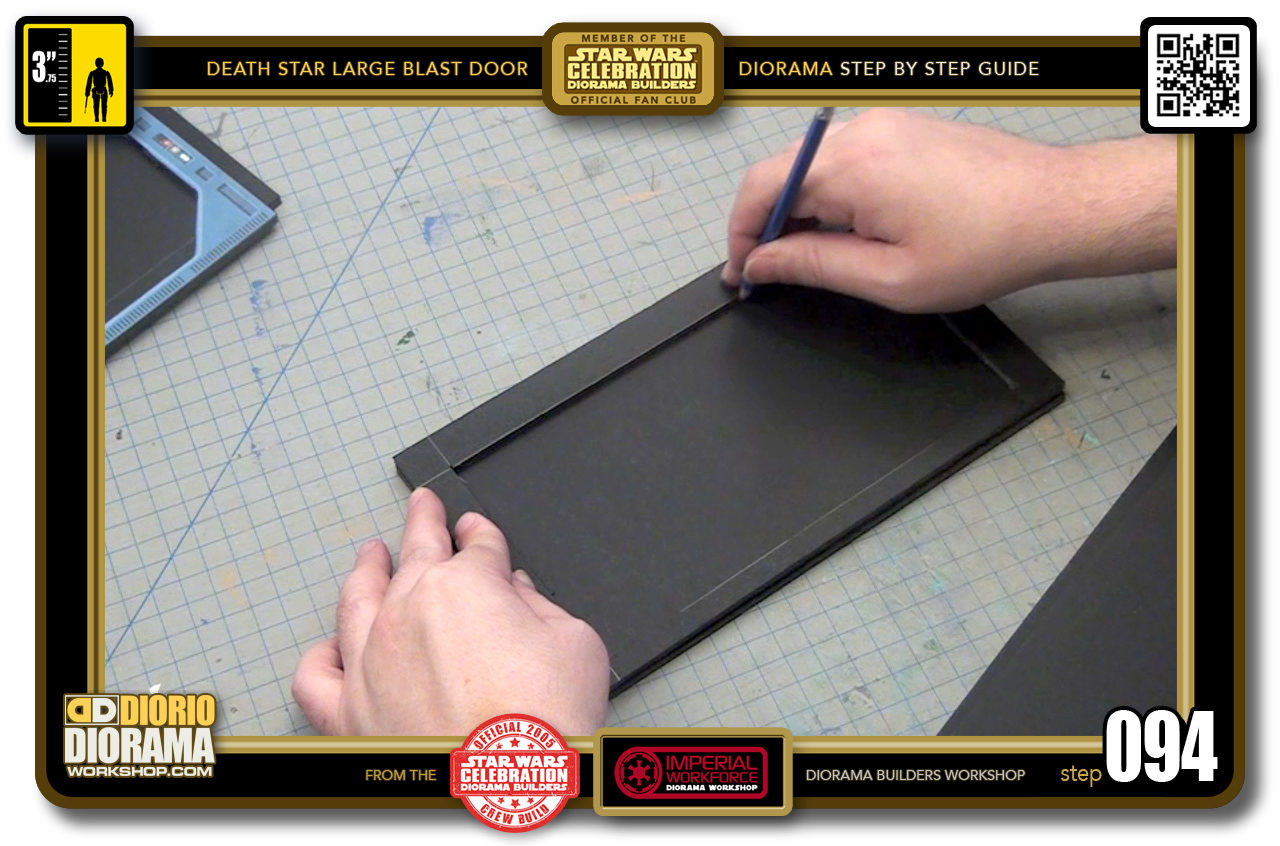
- STEP 094 > Take your pencil and just as you did before, trace along the outline of the inner shape. Make sure to hold, put enough pressure on the top frame so it doesn't wiggle around as you trace and give you a false shape that doesn't match the top frame's shape when cut.
-
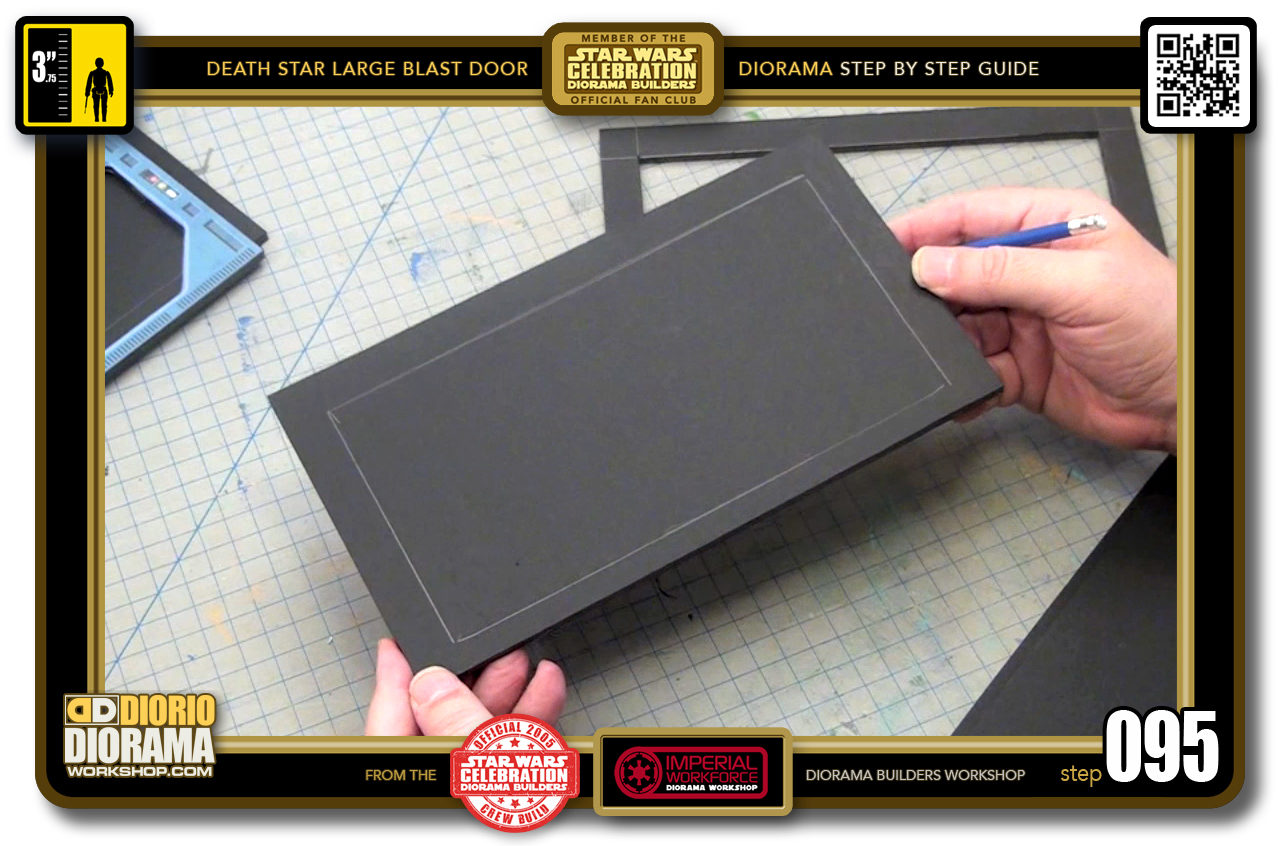
- STEP 095 > You now have your layer 3 rectangle ready for slicing.
-
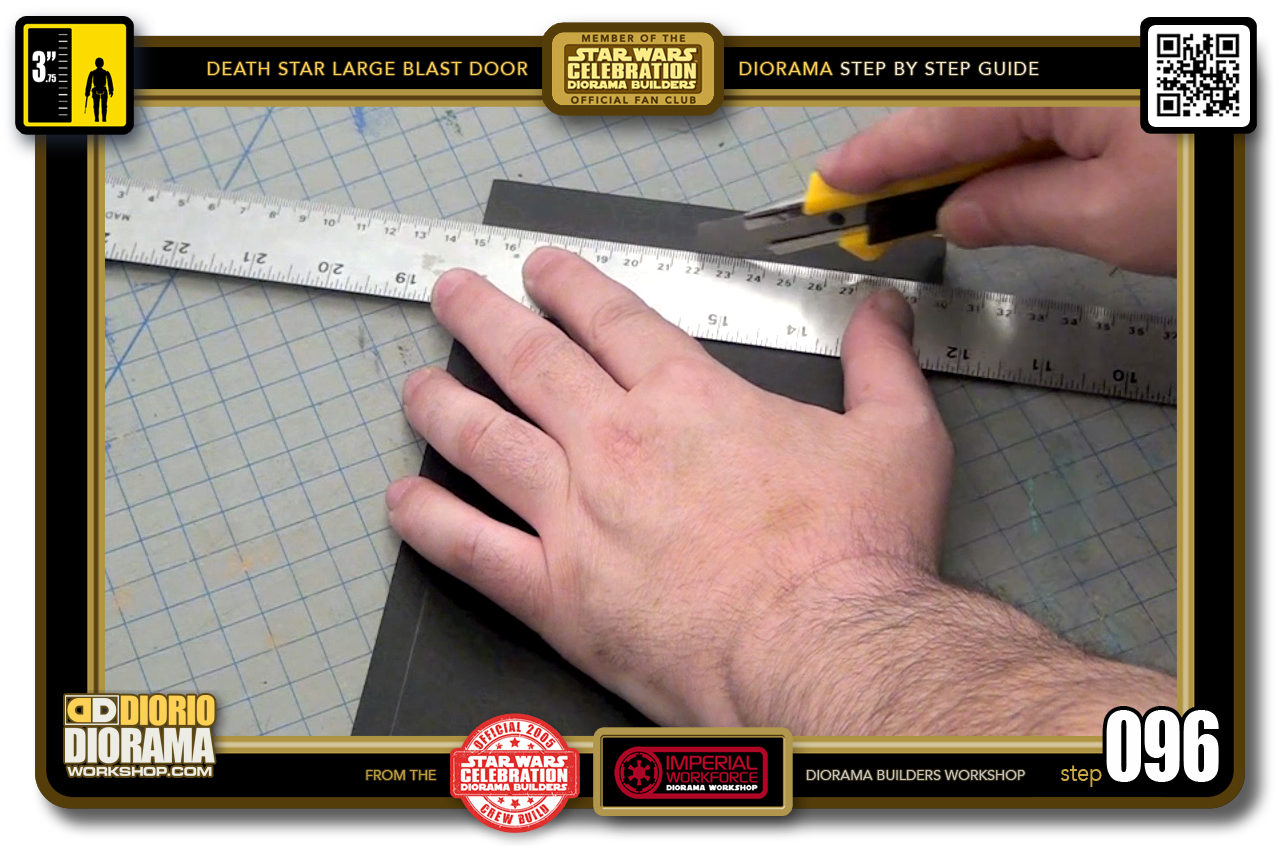
- STEP 096 > Cut along the lines just as you did in steps 086 to 088.
-
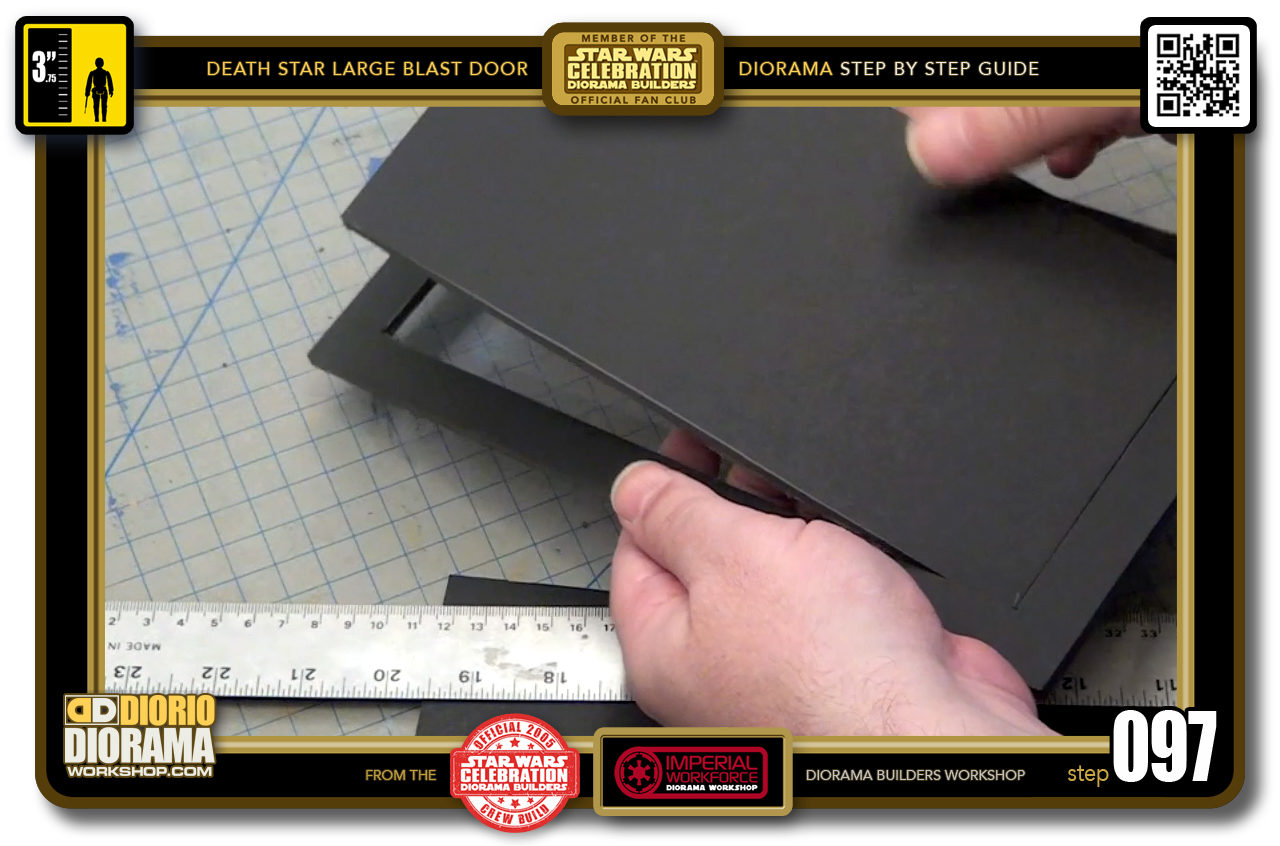
- STEP 097 > And just like that, pop out this center piece and put it aside for later use.
-
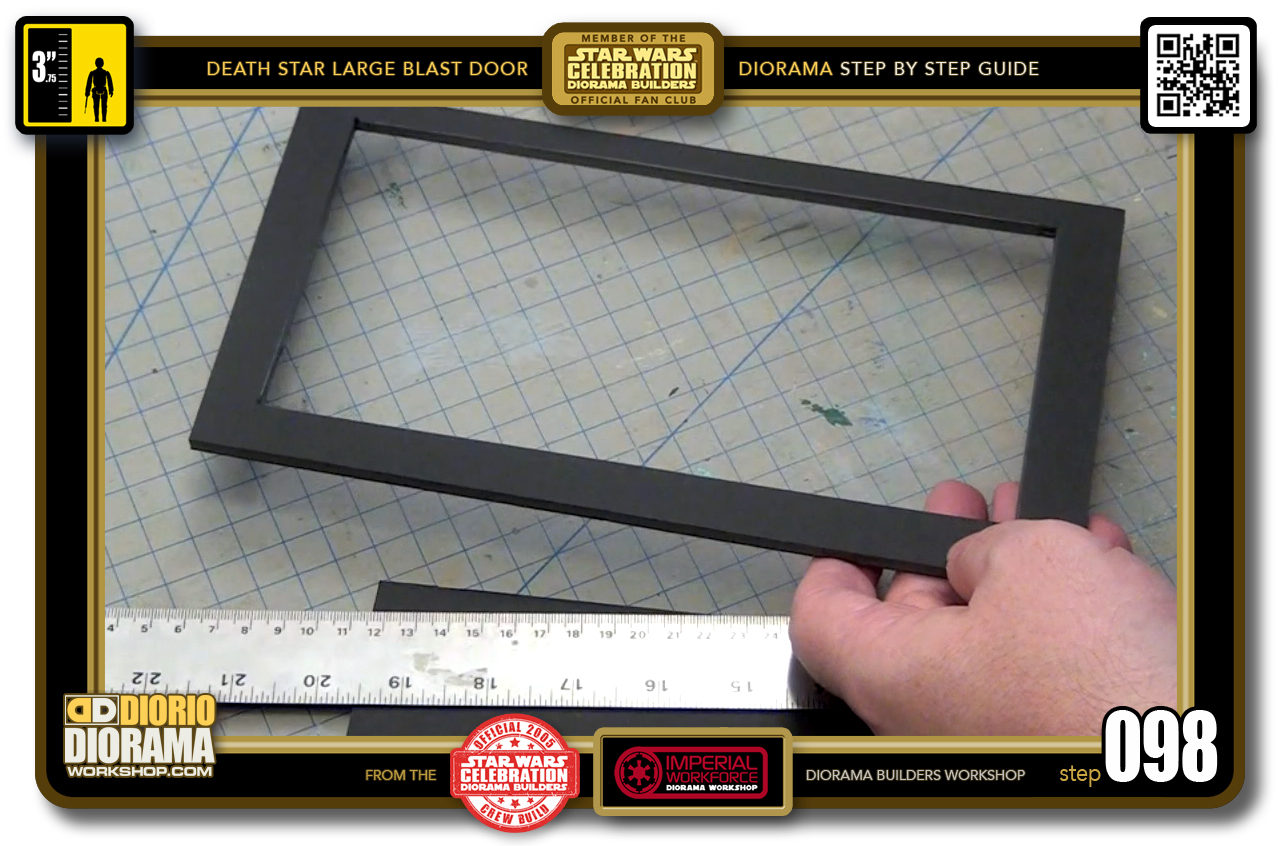
- STEP 098 > Your top frame for layer 3 is complete.
-
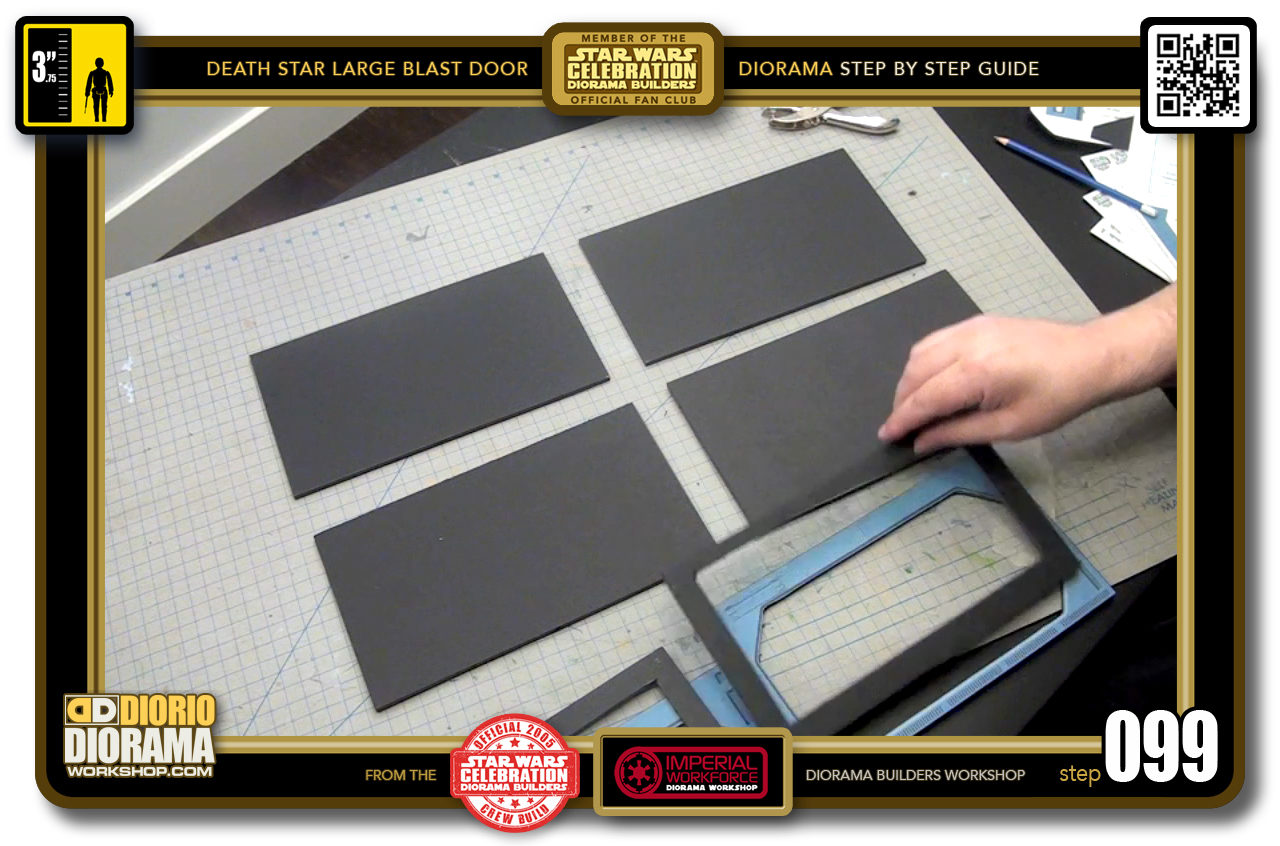
- STEP 099 > To make the Large Blast Door, you need 4 double thick frames. We already did the top layers for all 4 frames now we have to create the double layer effect. Simply grab your 4 remaining identical rectangles...
-
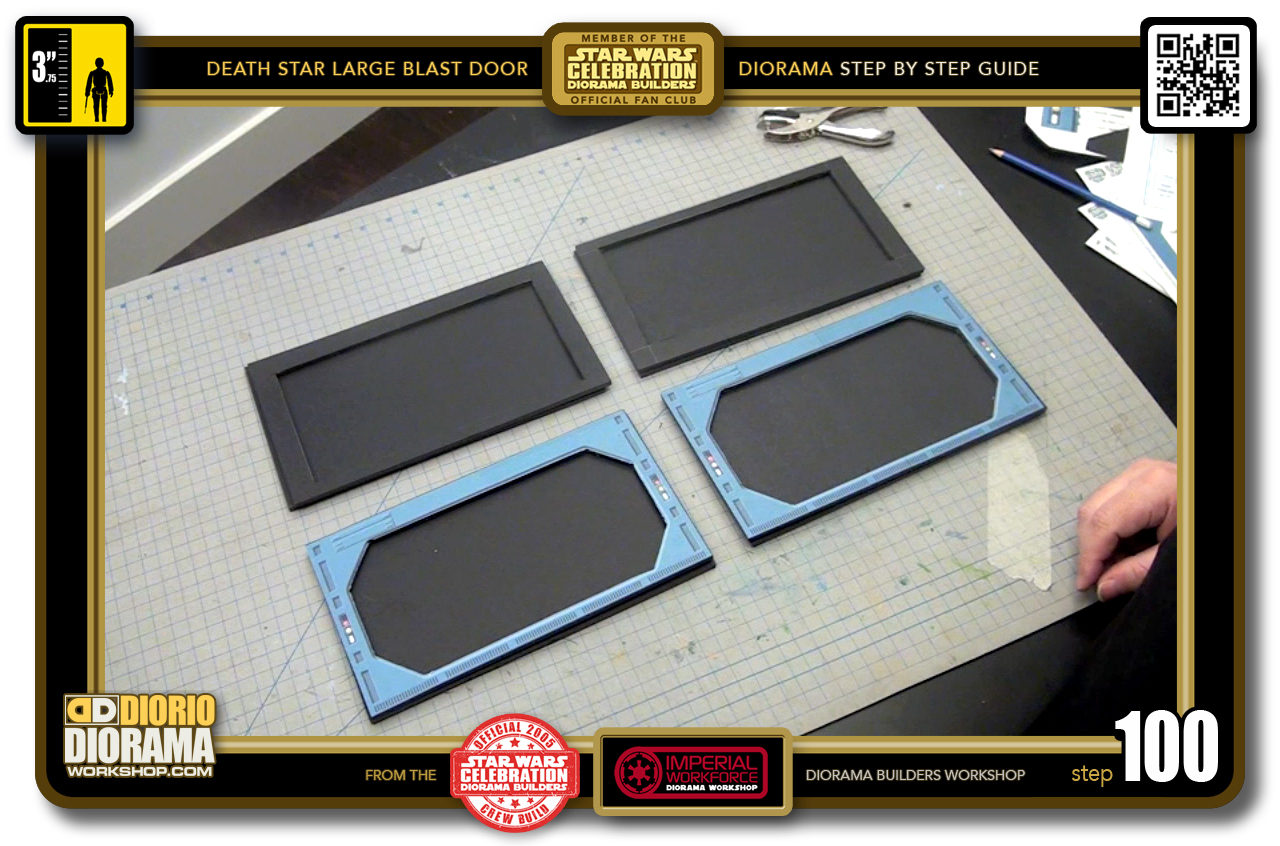
- STEP 100 > And place each of the 4 cut top layers over the basic rectangles.

.
Did you already build this Diorama ? At home or at our Star Wars Celebration Diorama Builders workshop ? Would you like to show it in the site’s GALLERY VISITORS DIORAMAS section, YES ? That is Awesome !!! You can find out all the details on how to email me your photos on the VISITORS SUBMISSIONS INFO page … When I get your photos, I will create your very own page just like this one. You may not realize it but work does inspire others to join in the fun of making Action Figure Dioramas.
.
NOT FOR RESALE ALL Decals, tutorials and artwork are ©FrankDiorio (dioramaworkshop.com) and offered FOR FREE to the fans – that would be you ? so you can build and display my diorama designs in your very own home. I realize I cannot control what one does with my graphics once I place them on the web, I can only ask you as one fan to another, please respect the artist and do not be that jerk who uses my designs and tutorials to build a copy of my work only to sell it on EBAY or trade/sale groups and forums. Thank You. Frank.
.
.
If you have a facebook account, why not join the Official Diorama Builders Fan Club today, simply click the logo link below.
 .
.
Catch up with fellow visitors and exchange stories, read cool interviews with the crew, exchange photos, fun surprises and grab some FAN ONLY merchandise next year at actual future conventions ?
.
©2018 Frank Diorio DioramaWorkshop.Com
.
IF YOU LIKE WHAT YOU SEE, PLEASE SHARE WITH YOUR FRIENDS
USING THE SOCIAL MEDIA BUTTONS BELOW