


-
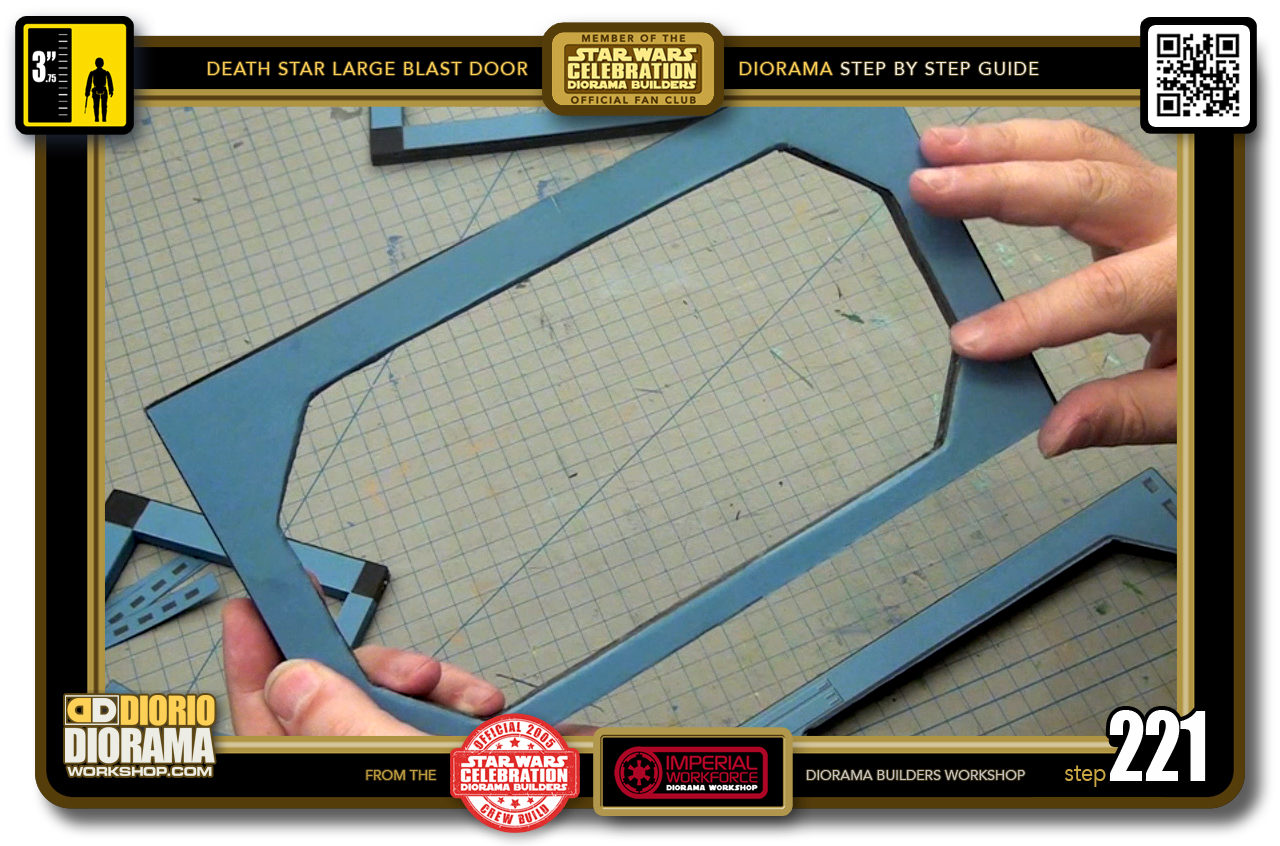
- STEP 221 > This is what the back of your frame looks like when you are done. Now repeat the same steps on your layer 4 frame.
-
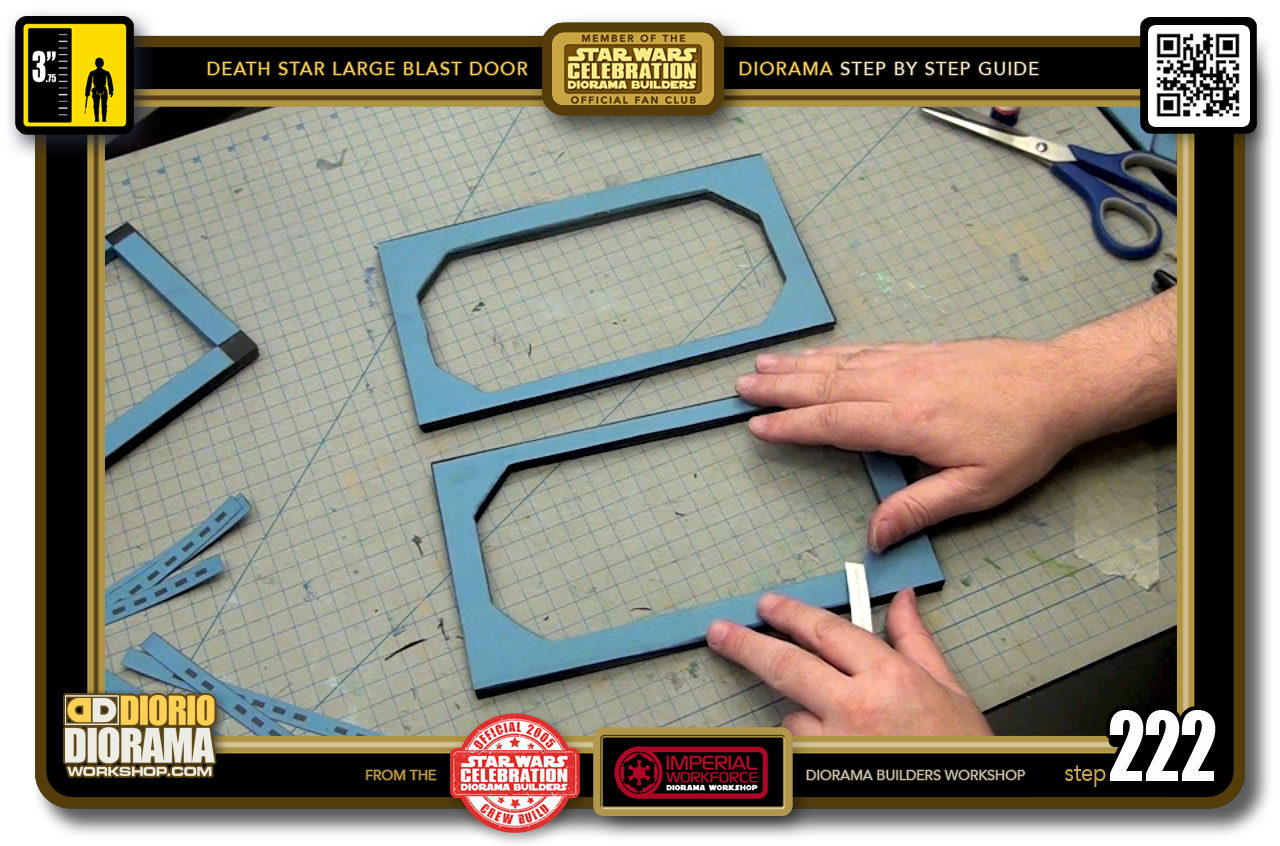
- STEP 222 > You should now have the decal skins applied to the backs of your layer 1 and layer 4 frames. Time to add the inner thickness skins.
-
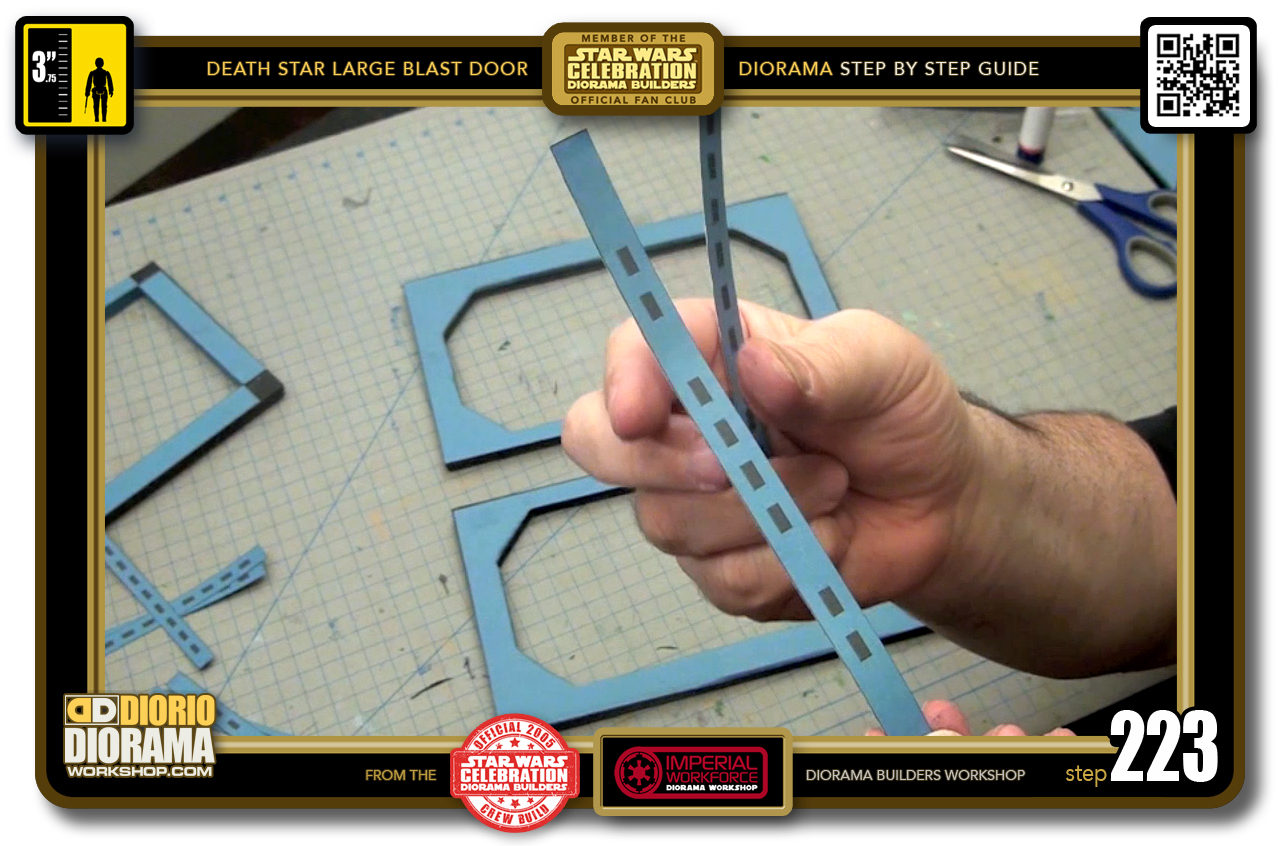
- STEP 223 > You want to start with a side decal, grab the shorter strip that has 2 small black rectangles on each ends and 4 black rectangles in the centre.
-
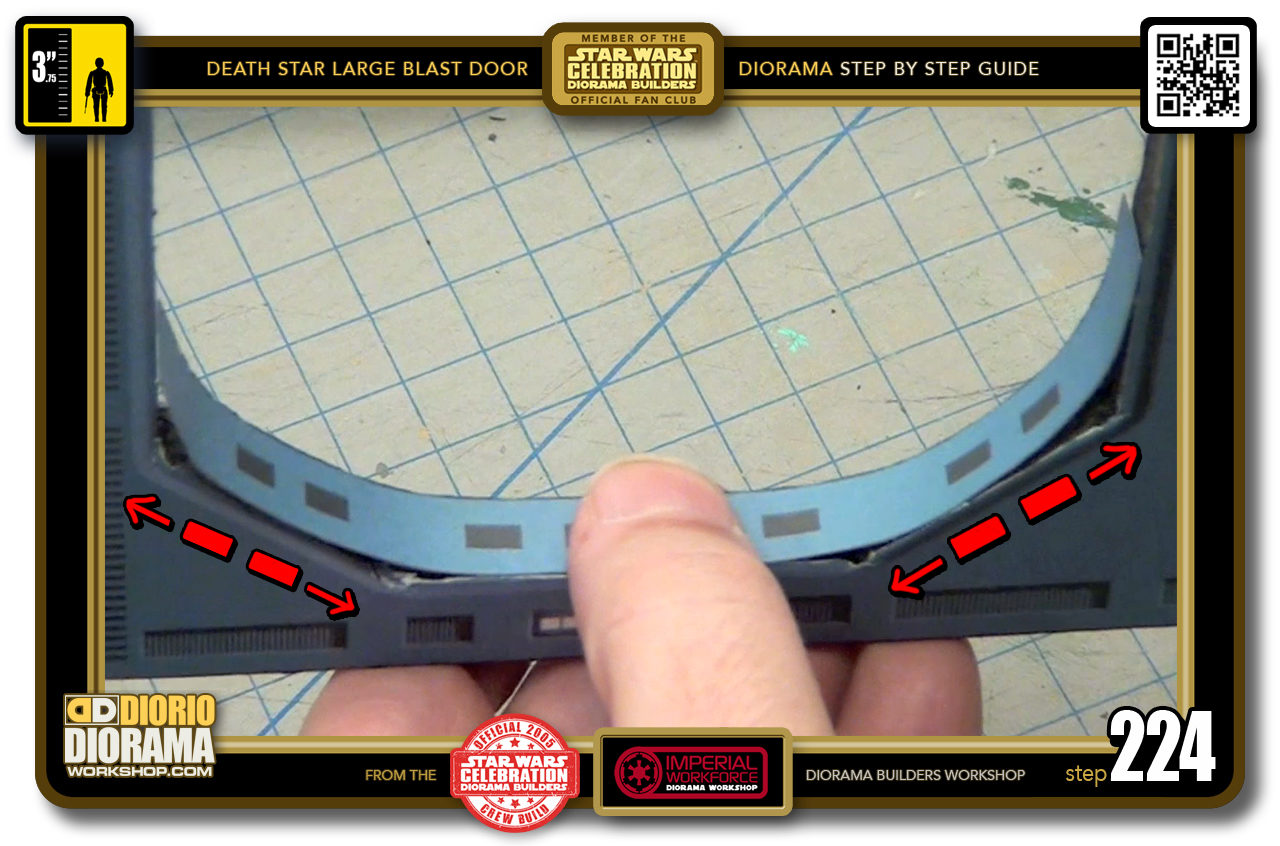
- STEP 224 > What we want to do is centre the decal and align it with the corners. What you want is the 2 black rectangles on each end should be of equal distance to each corner or your octagon corners which would cause the 4 black rectangles to be placed centre of the side of the frame where my thumb is.
-
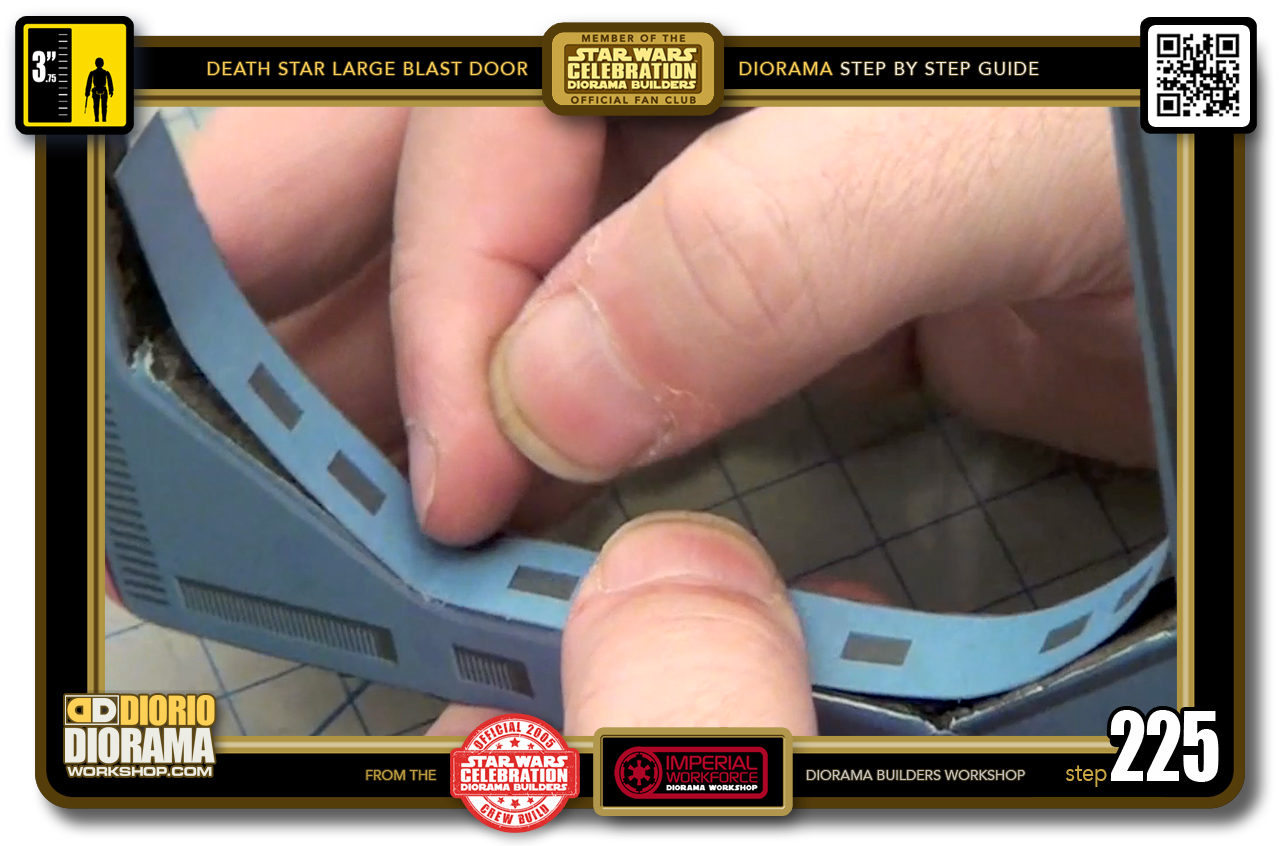
- STEP 225 > Once you have found the proper position for your decal, slowly use your nail to create a dented mark in the corners. Start with the one closest to your thumb. When you do this step, you don't want any of the decals lifting during marking.
-
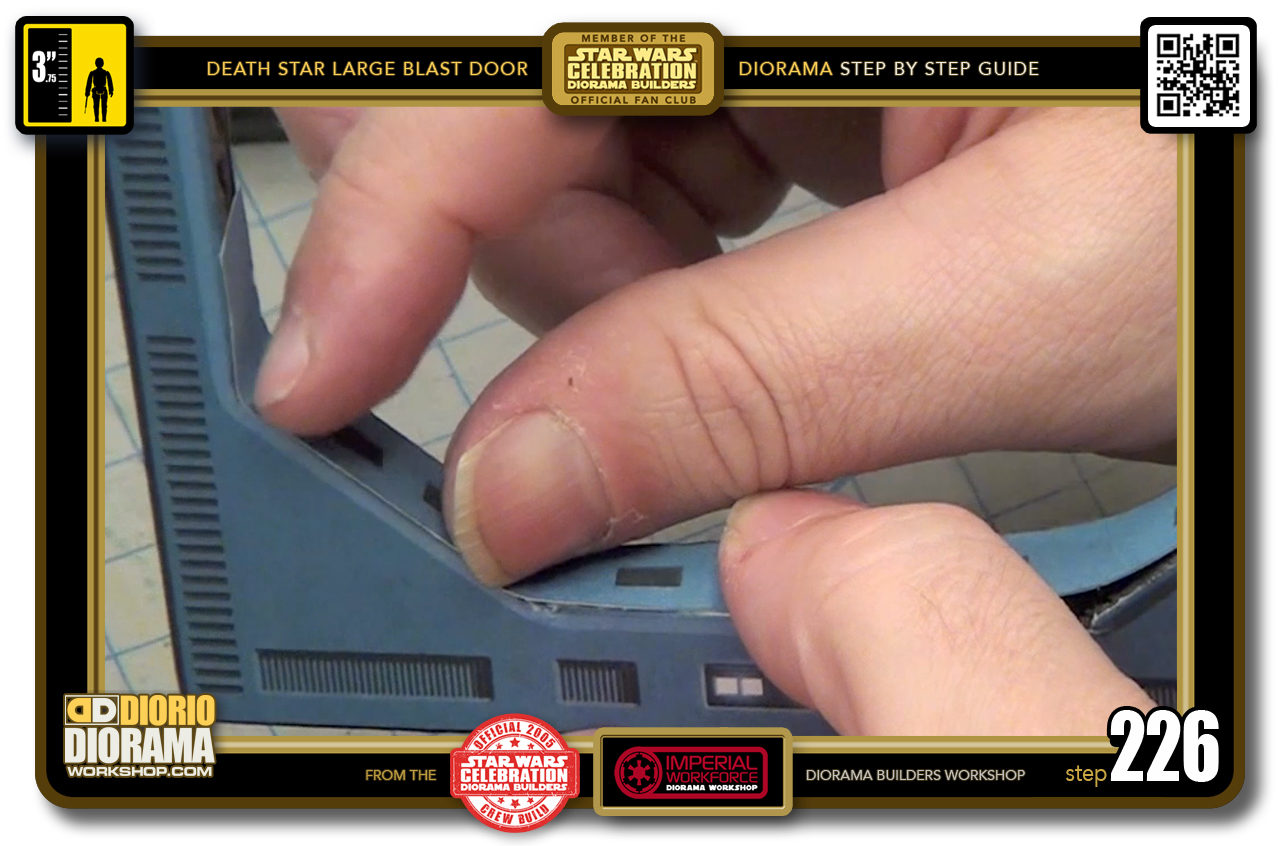
- STEP 226 > When you have the first fold mark, move your thumb over it and keeping the decal FLAT against the thickness, use your fingernail to mark and slightly bend, fold the other corner. Now repeat on the other side.
-
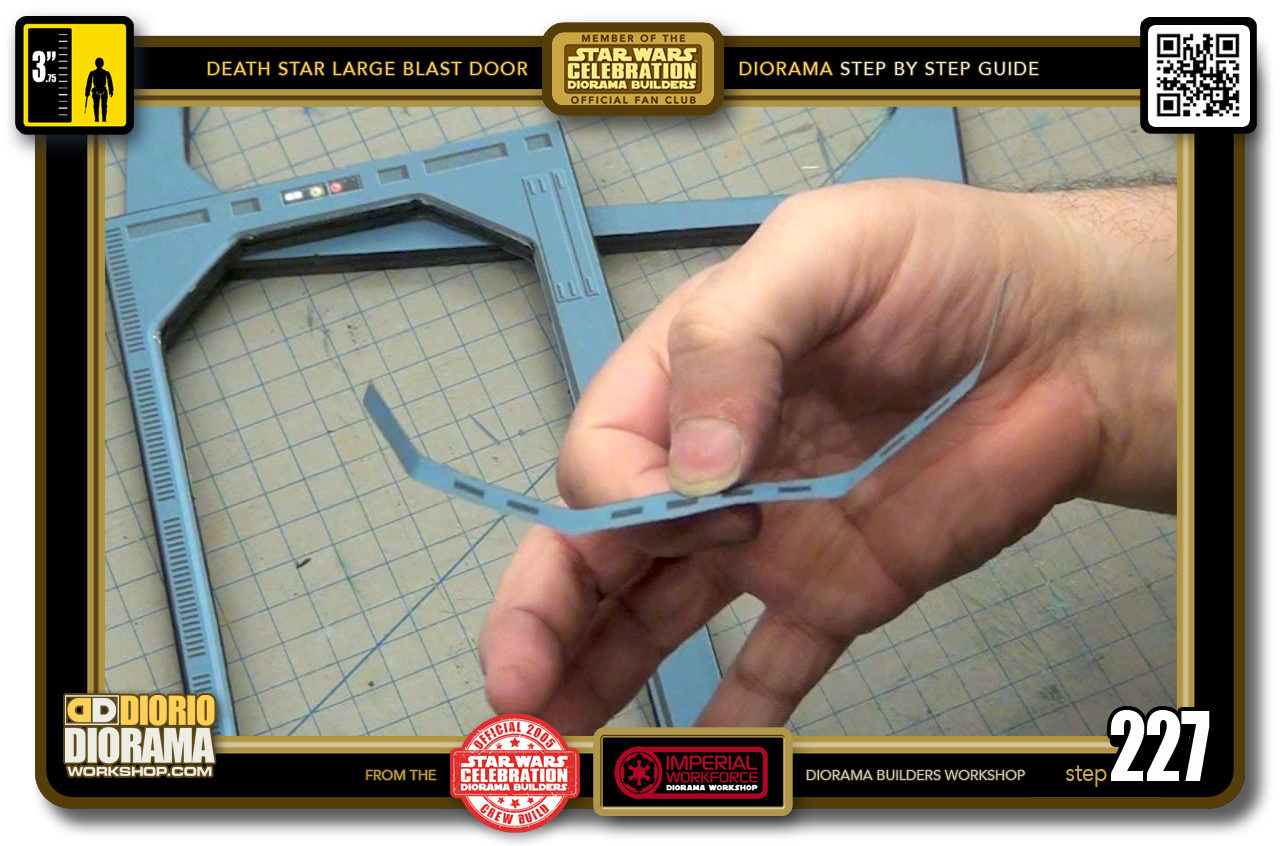
- STEP 227 > Your decal should now have a soft memory, meaning you can see the folds but if you keep playing with the decal, it would become straight again. You want to increase the memory.
-
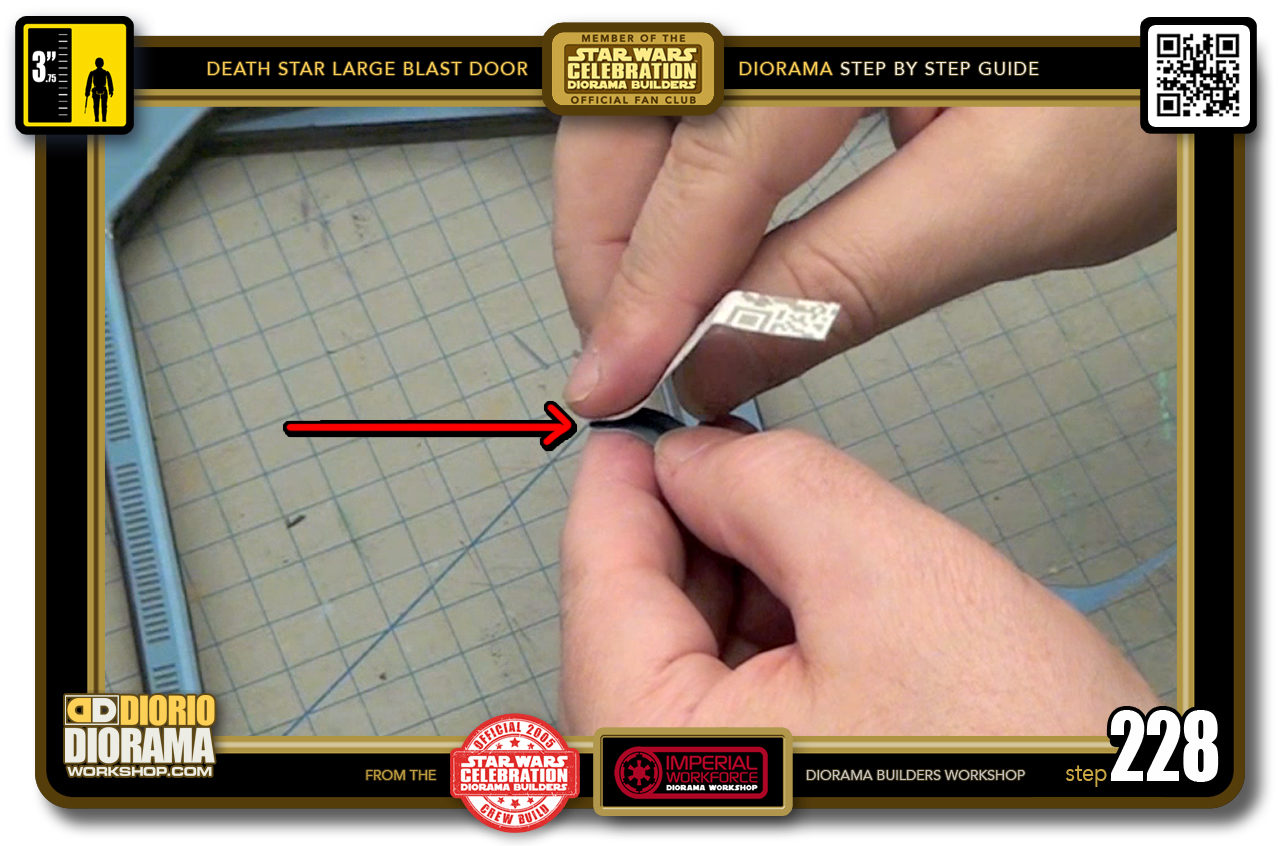
- STEP 228 > To do this just bend the decal on the fold you created with your nail, and then squish as hard as you can the 2 pieces flat together. You want each sides of the fold to touch each other as you see with the red arrow. Do this on each of the 4 folds.
-
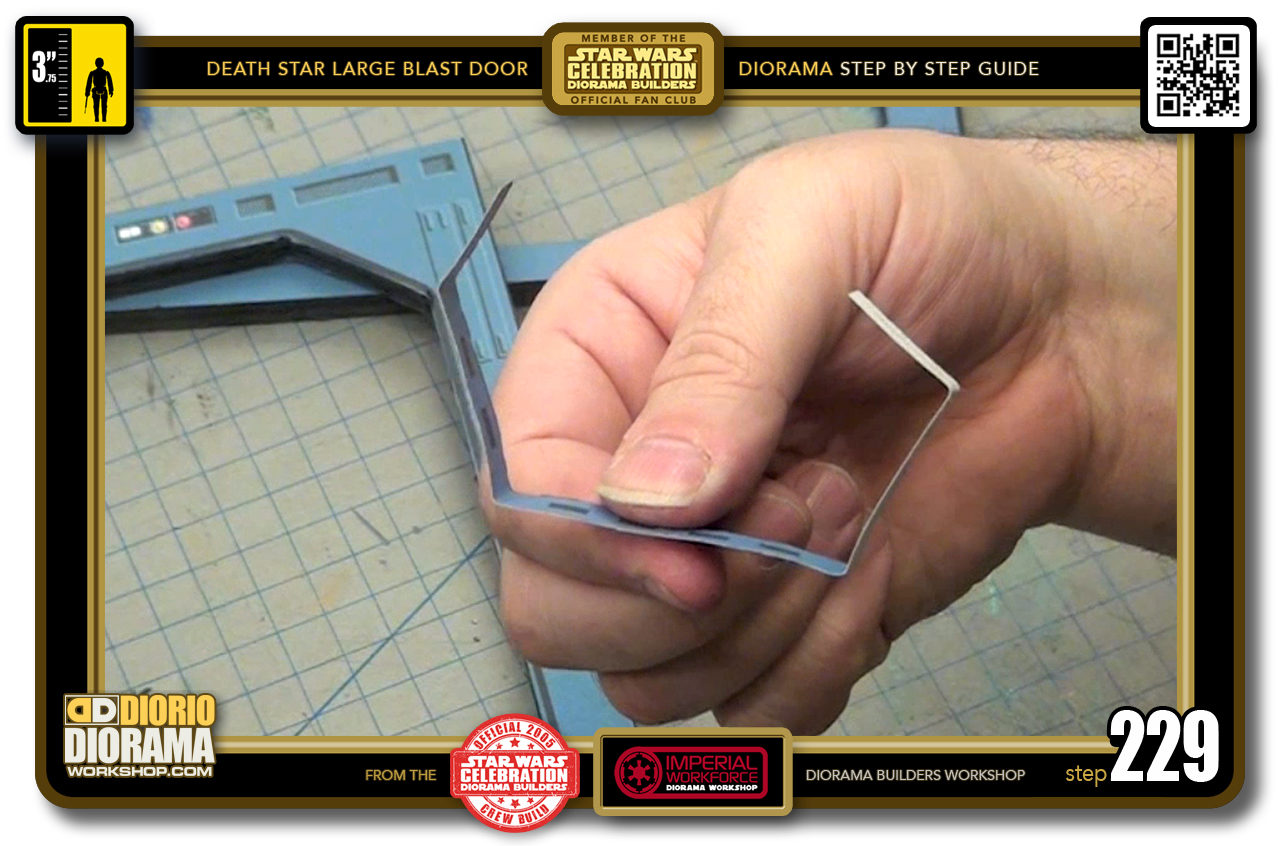
- STEP 229 > When you are done folding, you will see the memory is more locked in and you can clearly see where the corners need to fit inside your frame.
-
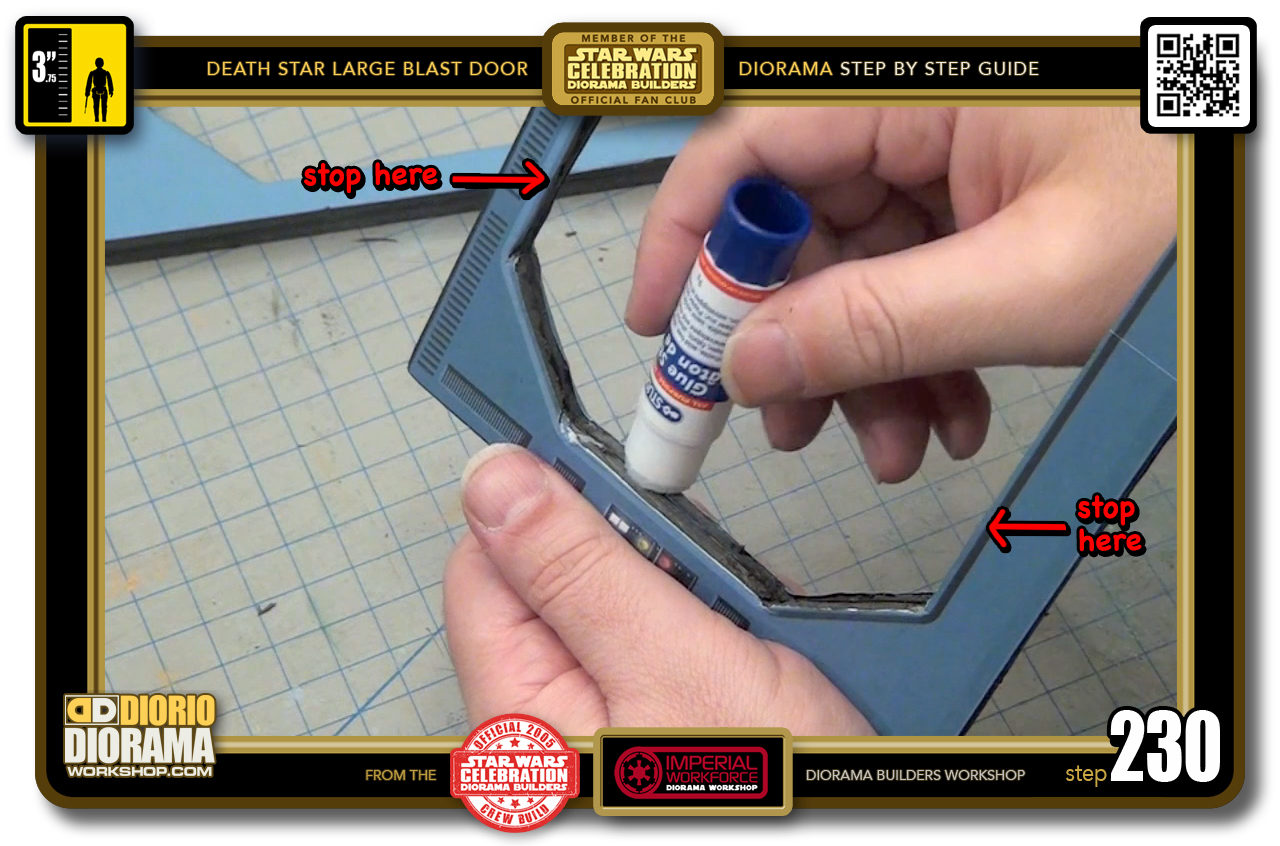
- STEP 230 > Take your gluestick and apply it ONLY on the TOP of your thickness. DO NOT PUT GLUE ON THE SIDES like you did for your layer 2 and 3 frames.
-
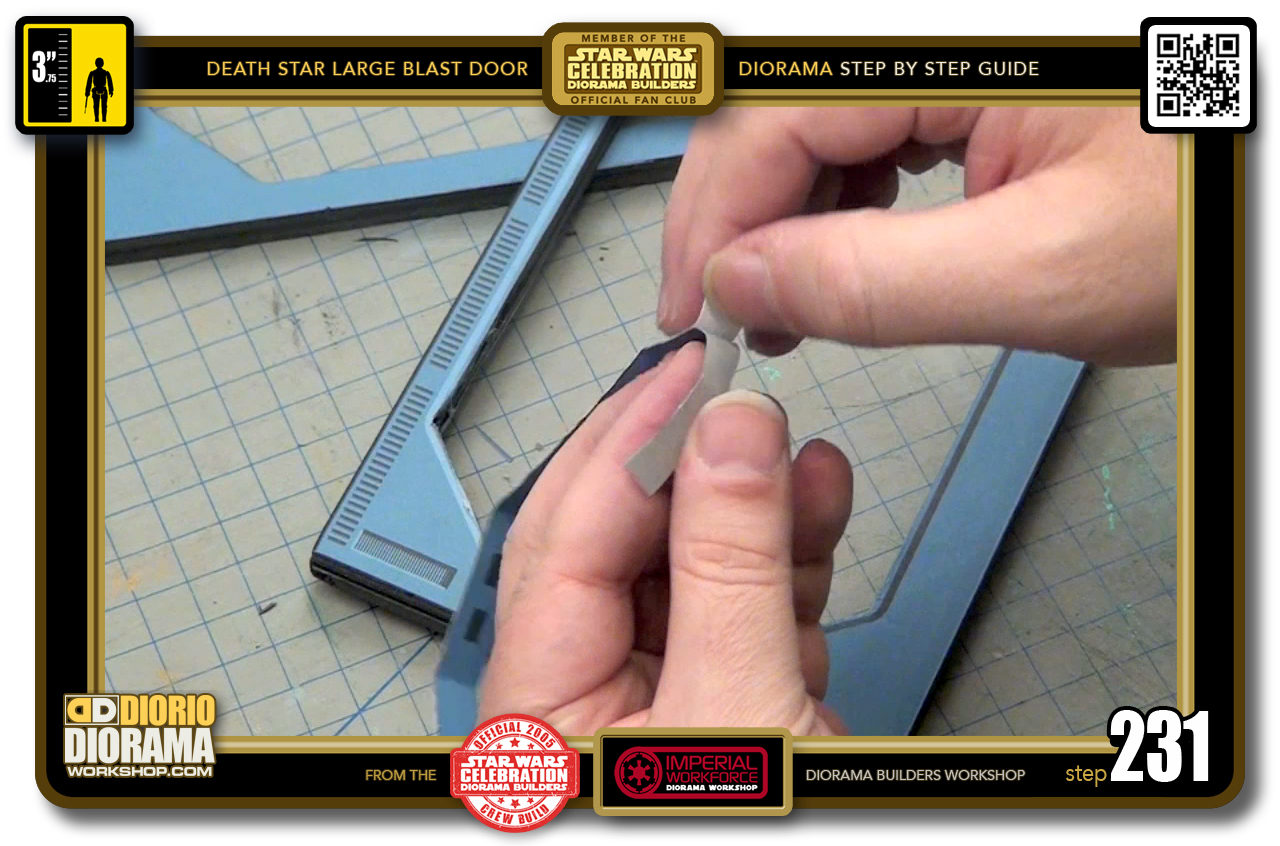
- STEP 231 > Peel your decal.
-
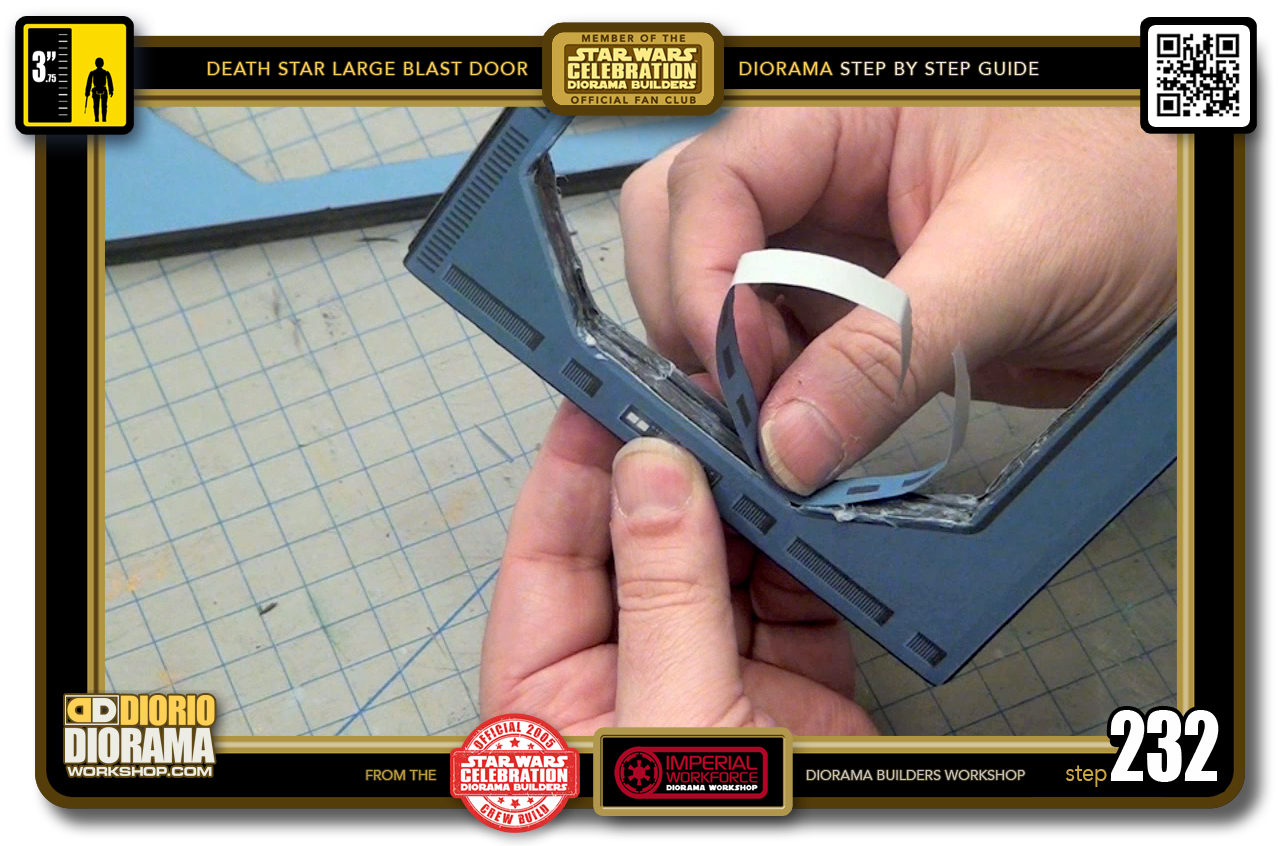
- STEP 232 > Align and place it in one of your side corners first.
-
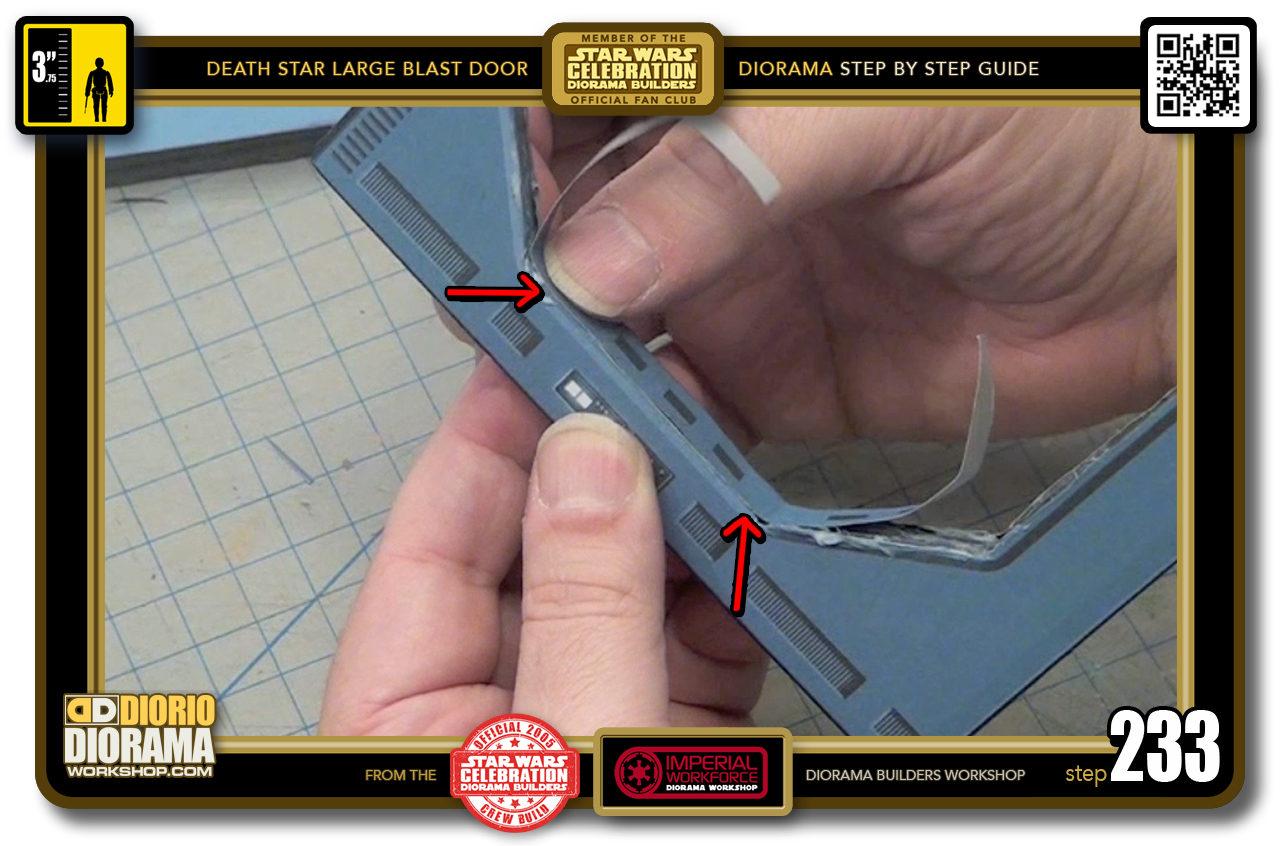
- STEP 233 > Then slowly unfold it and align it with the other corner. Make sure the decal is as close and flush to the edge of the frame's front edge as possible.
-
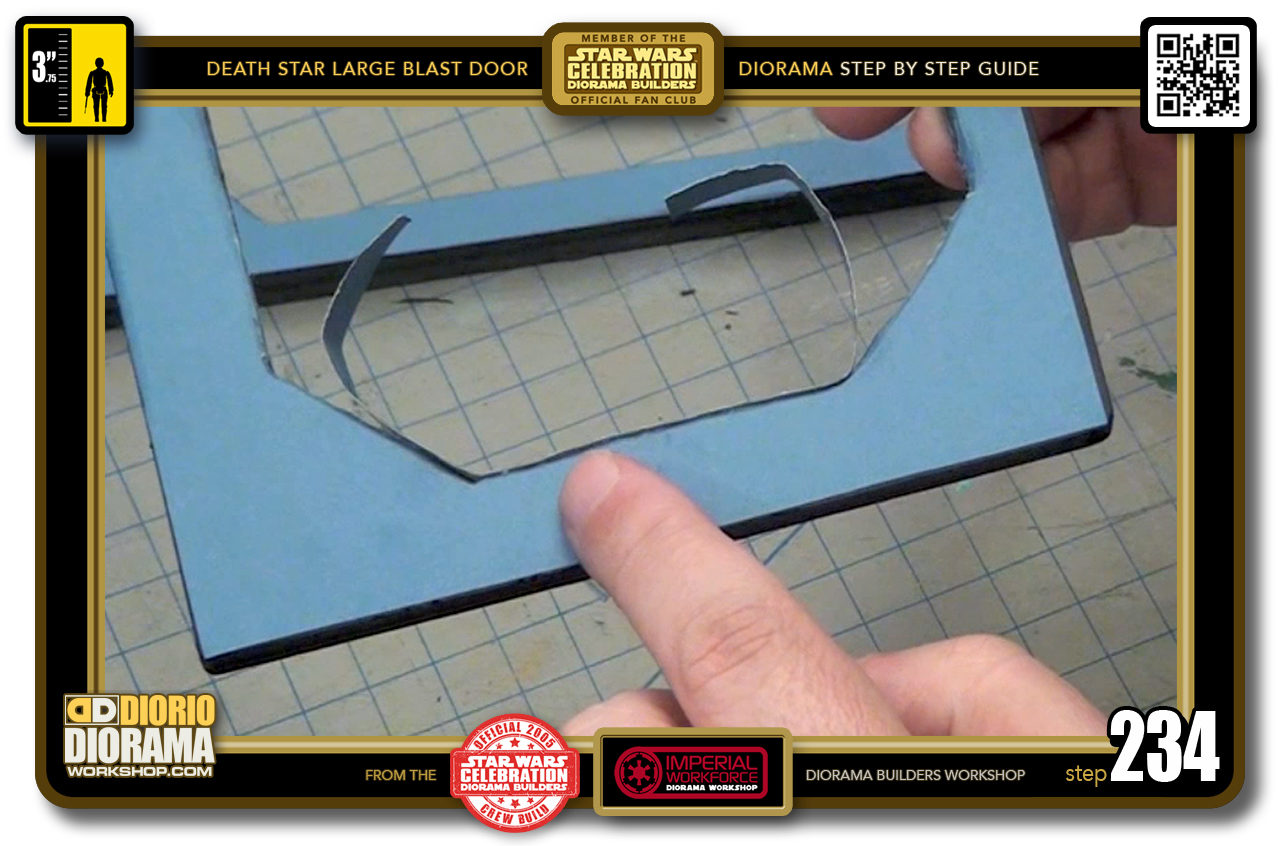
- STEP 234 > If your decal sticks out in the back because of this, that is ok, we will deal with it later and you won't see this side anyways.
-
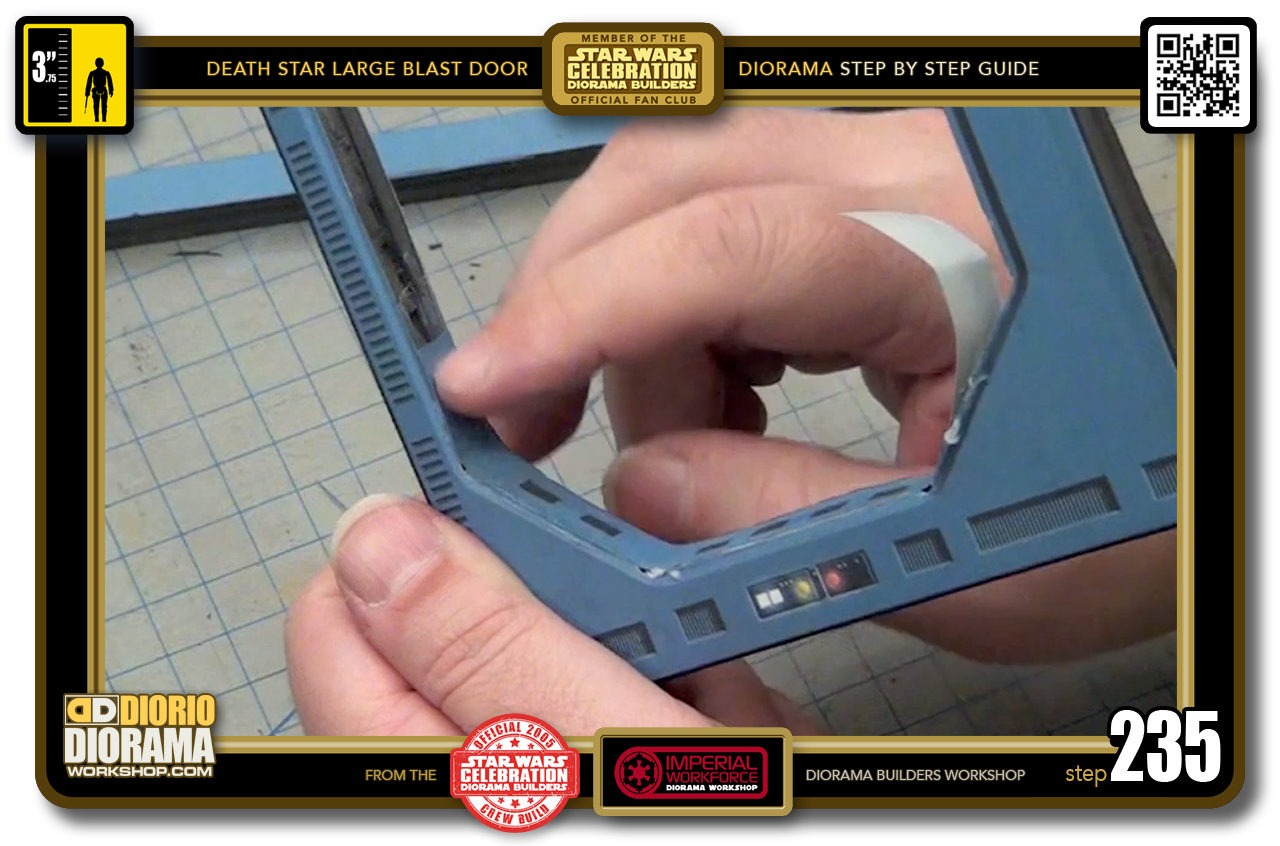
- STEP 235 > Now slowly and gently move towards the ends of your decals.
-

- STEP 236 > Once the entire decal is in place, then go over each corner, pressing into them to make sure the decal is completely flat and pressed against the thickness between the curves. Because you used gluestick, it will be a little slippery for a minute or two which allows you to wiggle and reposition the decal just perfectly.
-
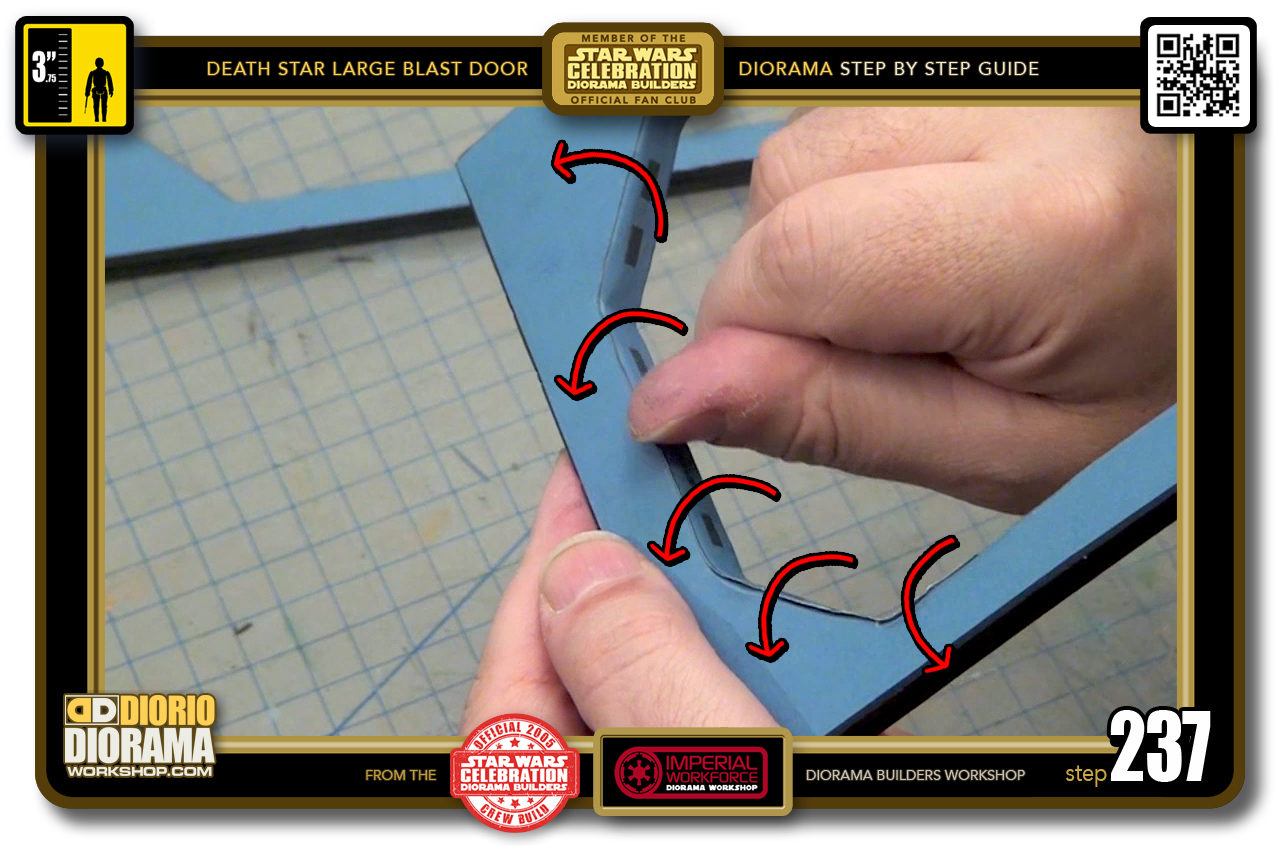
- STEP 237 > Time for the nail technique on the back of the frame. Start at the centre and move your way towards the ends.
-
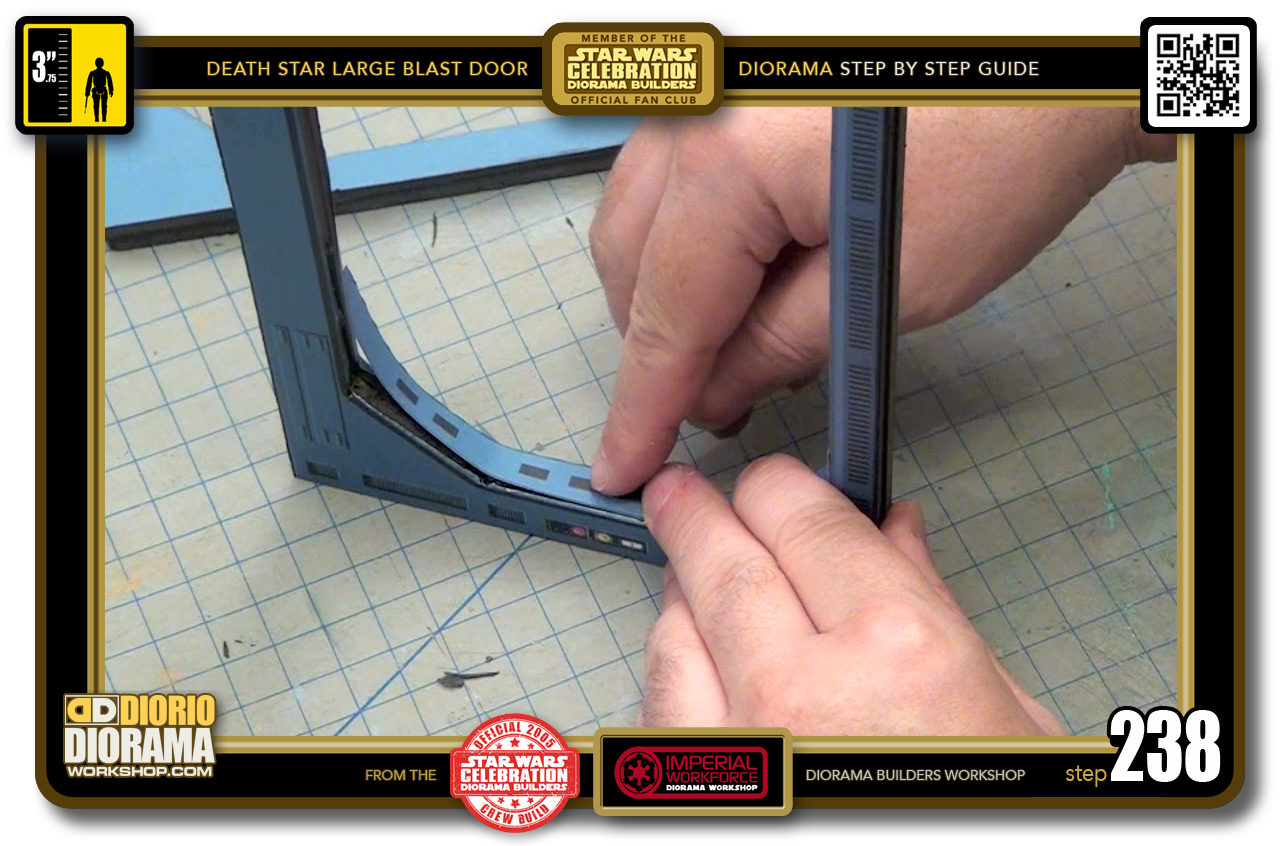
- STEP 238 > Repeat the same thing for the other side.
-
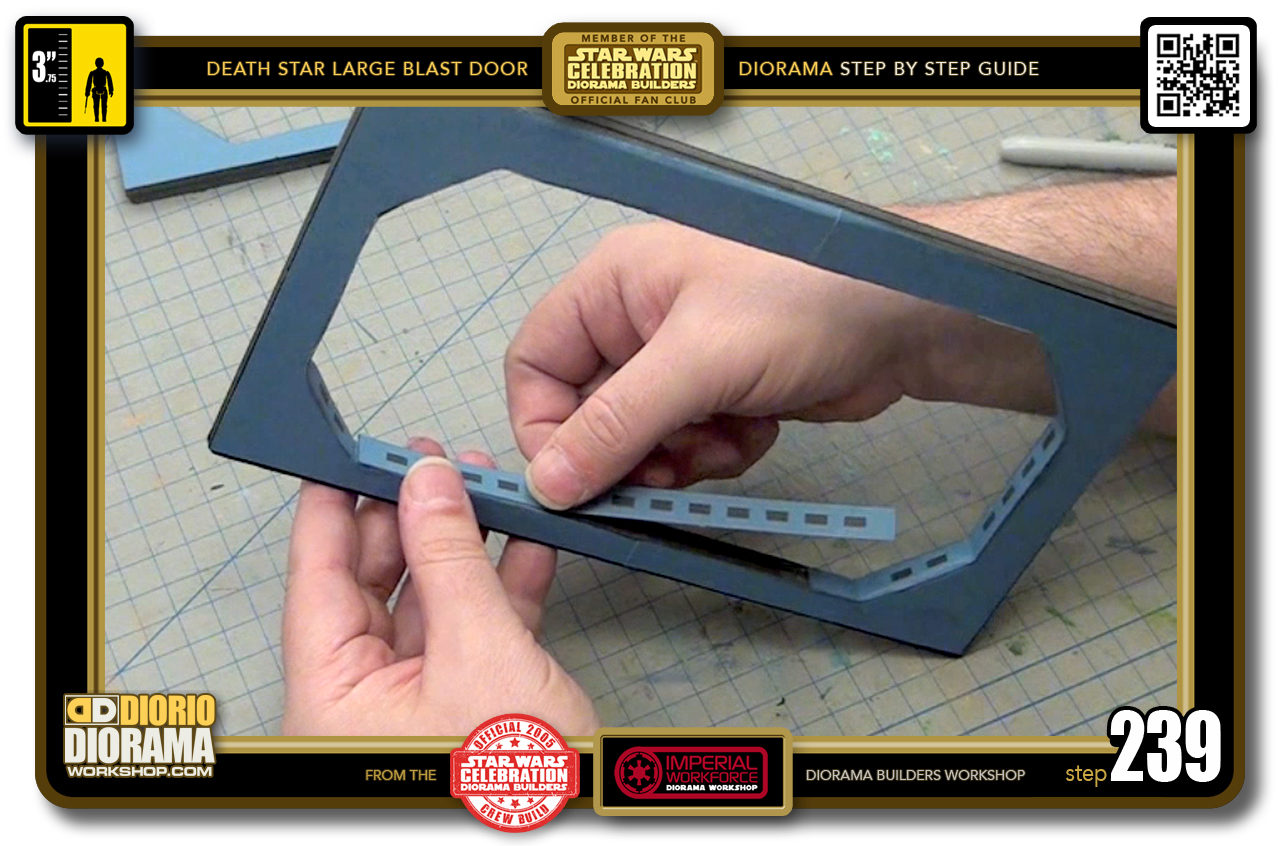
- STEP 239 > Time for the top or bottom decal, doesn't really make a difference which you put first. Do a DRY RUN to make sure it fits properly, you should see a slight overlap on both ends.
-

- STEP 240 > When ready, apply your gluestick on the thickness edge.

.
Did you already build this Diorama ? At home or at our Star Wars Celebration Diorama Builders workshop ? Would you like to show it in the site’s GALLERY VISITORS DIORAMAS section, YES ? That is Awesome !!! You can find out all the details on how to email me your photos on the VISITORS SUBMISSIONS INFO page … When I get your photos, I will create your very own page just like this one. You may not realize it but work does inspire others to join in the fun of making Action Figure Dioramas.
.
NOT FOR RESALE ALL Decals, tutorials and artwork are ©FrankDiorio (dioramaworkshop.com) and offered FOR FREE to the fans – that would be you ? so you can build and display my diorama designs in your very own home. I realize I cannot control what one does with my graphics once I place them on the web, I can only ask you as one fan to another, please respect the artist and do not be that jerk who uses my designs and tutorials to build a copy of my work only to sell it on EBAY or trade/sale groups and forums. Thank You. Frank.
.
.
If you have a facebook account, why not join the Official Diorama Builders Fan Club today, simply click the logo link below.
 .
.
Catch up with fellow visitors and exchange stories, read cool interviews with the crew, exchange photos, fun surprises and grab some FAN ONLY merchandise next year at actual future conventions ?
.
©2018 Frank Diorio DioramaWorkshop.Com
.
IF YOU LIKE WHAT YOU SEE, PLEASE SHARE WITH YOUR FRIENDS
USING THE SOCIAL MEDIA BUTTONS BELOW