


-

- STEP 181 > Start by placing your decal as close to the corner as possible and of course with the folds aligned with the thickness of the foamcore.
-
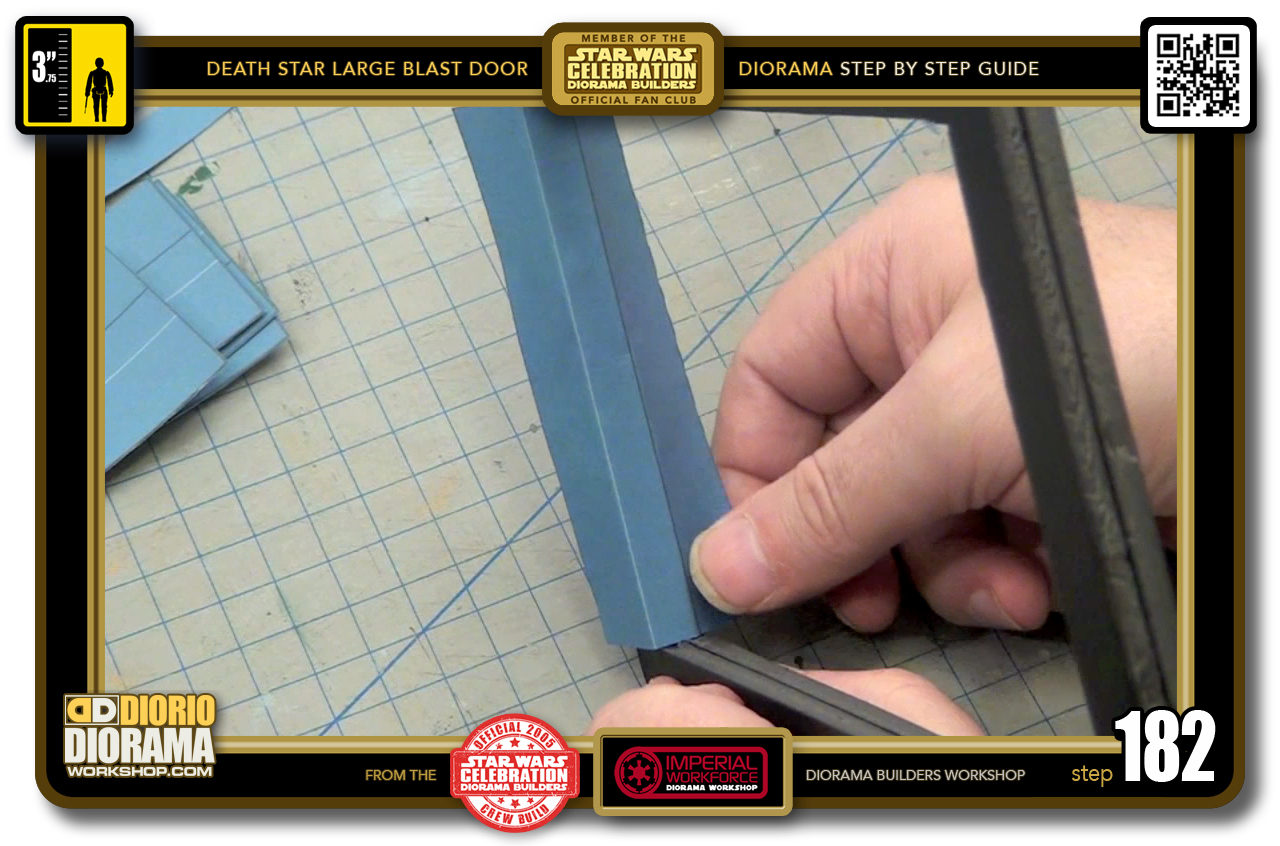
- STEP 182 > Now tug at the other end of the decal until it aligns perfectly with the spine. Here is where the usefulness of putting gluestick to the foamcore comes in, it allows the decal to be a little slippery and moveable to get the positioning just perfect. Without the gluestick, the label sheet glue would stick to it instantly and possibly cause tearing if you tried peeling it off to reposition.
-
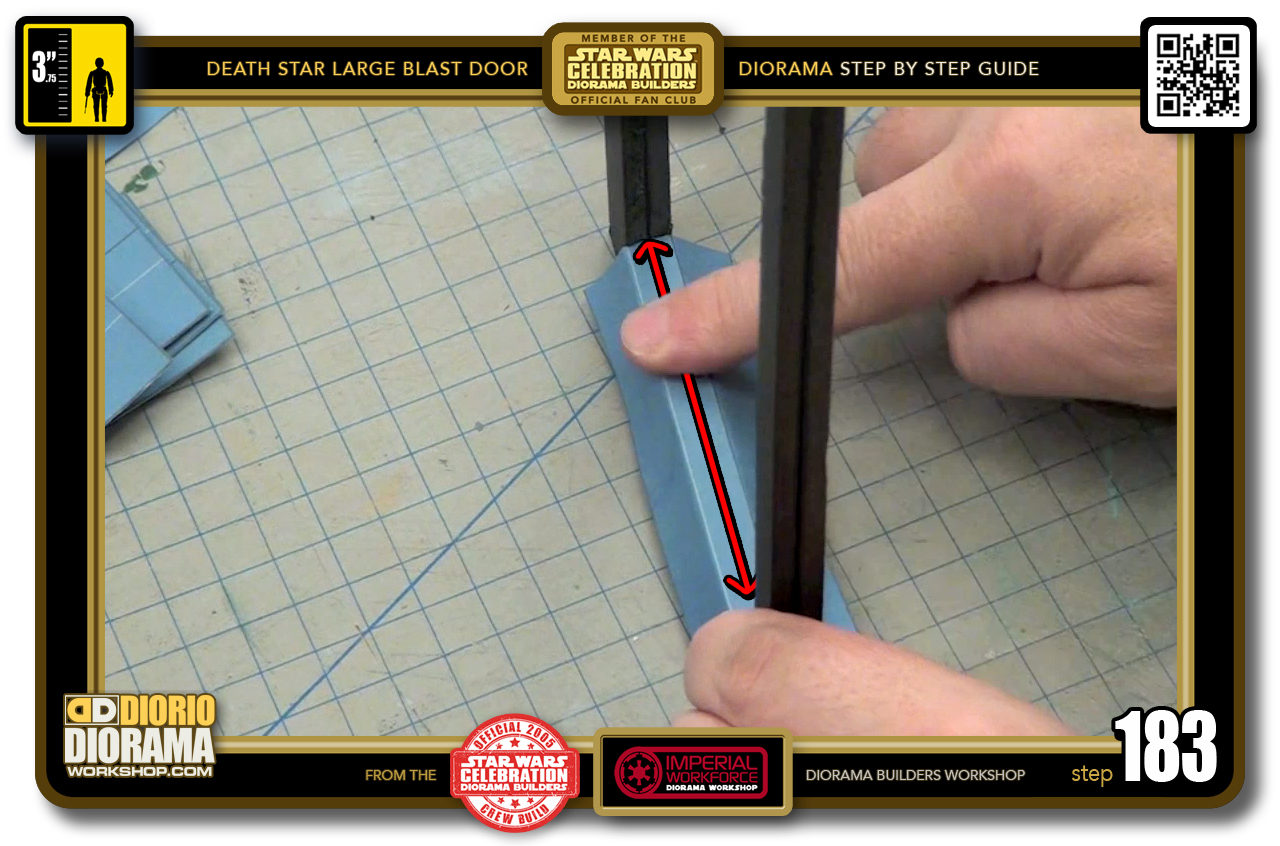
- STEP 183 > When the spine is aligned properly move your finger from the centre to the ends pressing down more and more firmly with each pass.
-
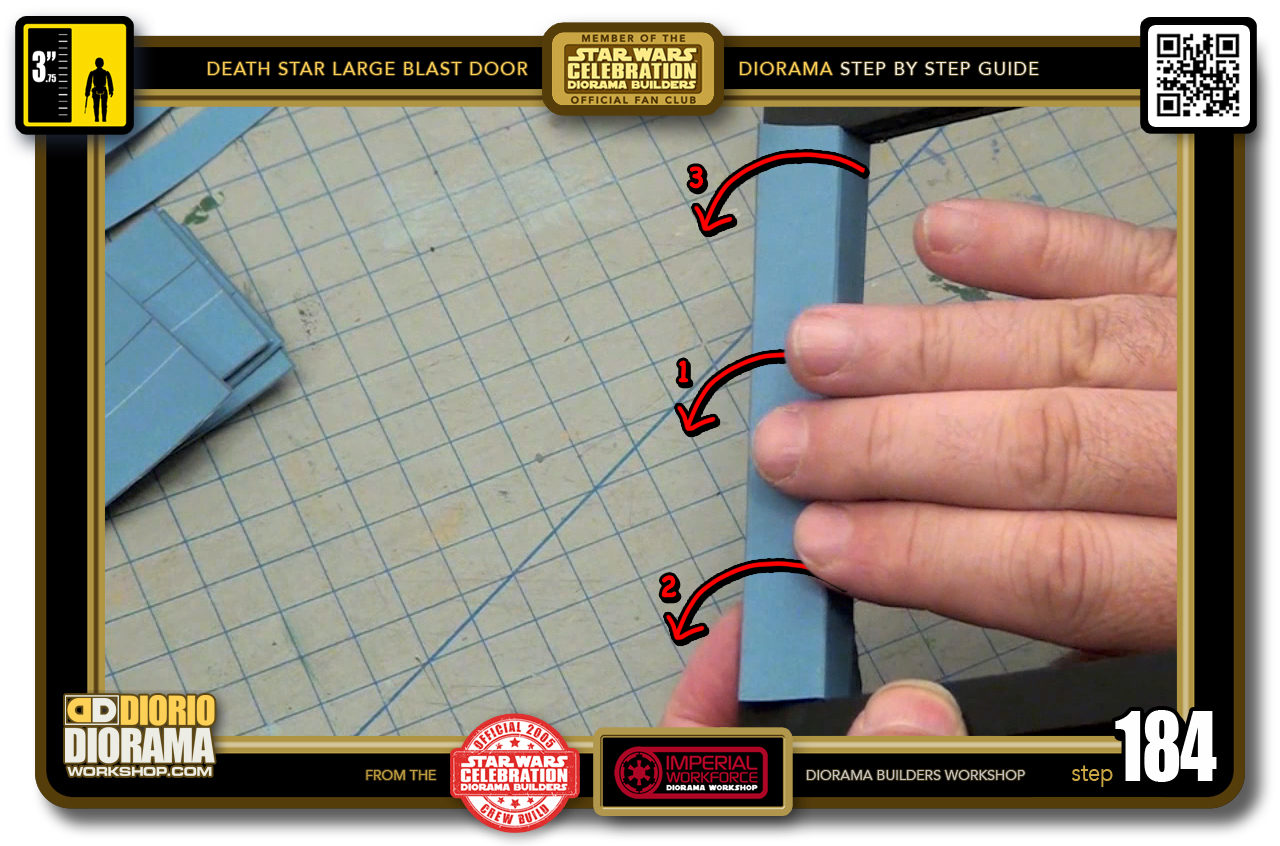
- STEP 184 > For the sides you want to bend the decal over the spine edge onto the sides of the frame's surface. ALWAYS START at the centre and press over and around, then move towards the left and do the same and the to the right and repeat.
-
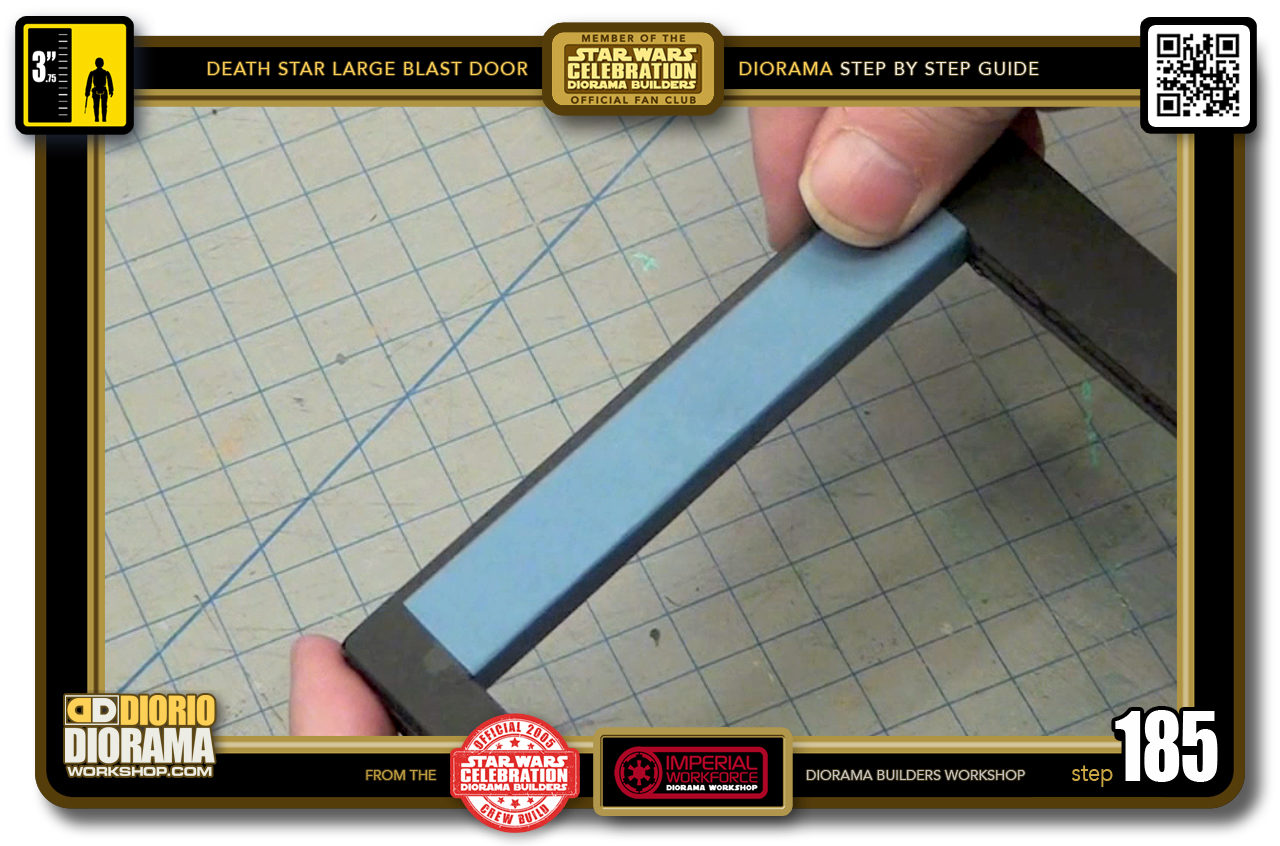
- STEP 185 > When the skin is flat against the foamcore, use your thumb to press hard and make sure the contact is strong and remove any air bubbles or folds if you see any.
-

- STEP 186 > Here I did it on purpose to cut the skin a little short to show you how to fix this if it happens to you. What you DON'T WANT is a piece of black foamcore exposed in the corner.
-
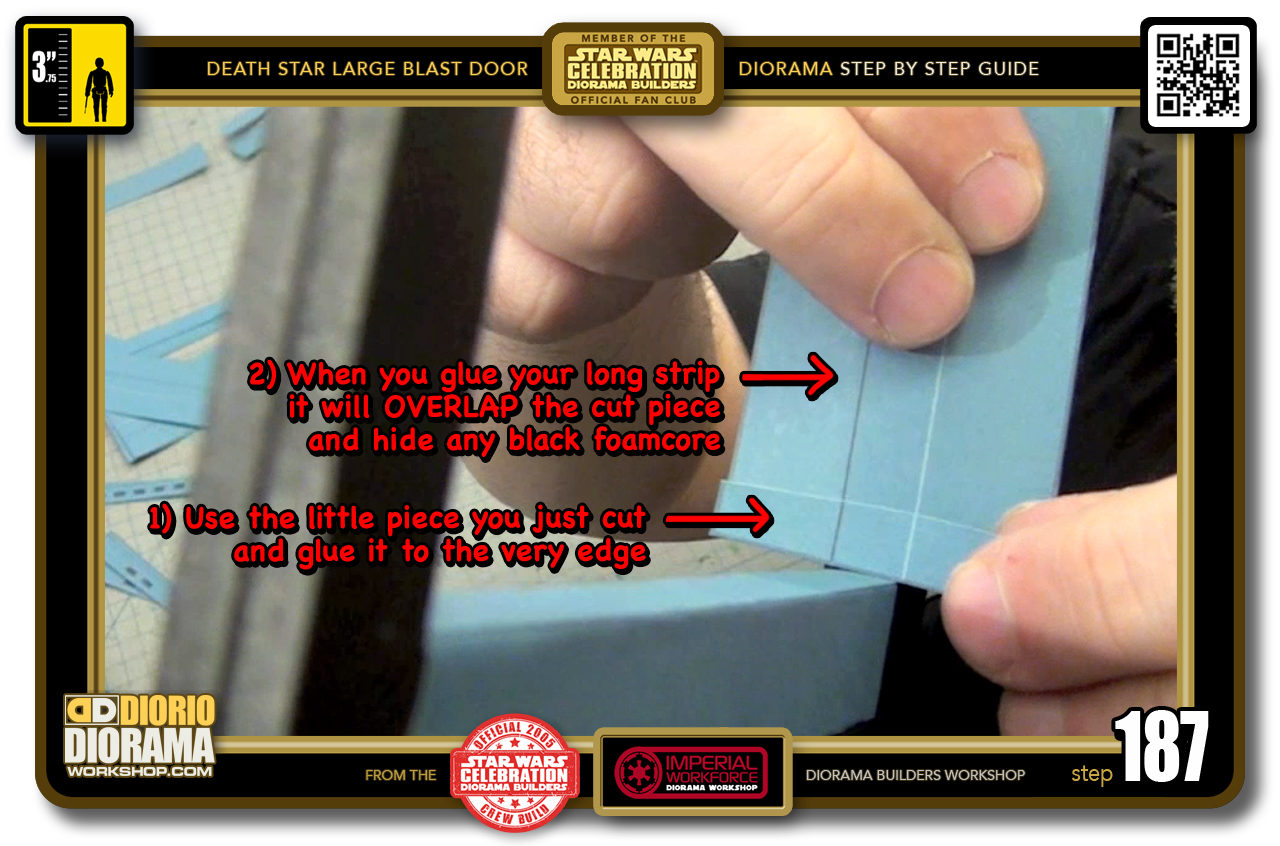
- STEP 187 > To fix this, all you need to do is grab the little piece you trimmed off and glue it as close to the corner edge as possible. Make sure that the folding guideline's colours match. Black line with black line. Then when you apply the long skin, it will overlap the small trimming and hide the black imperfection 🙂
-
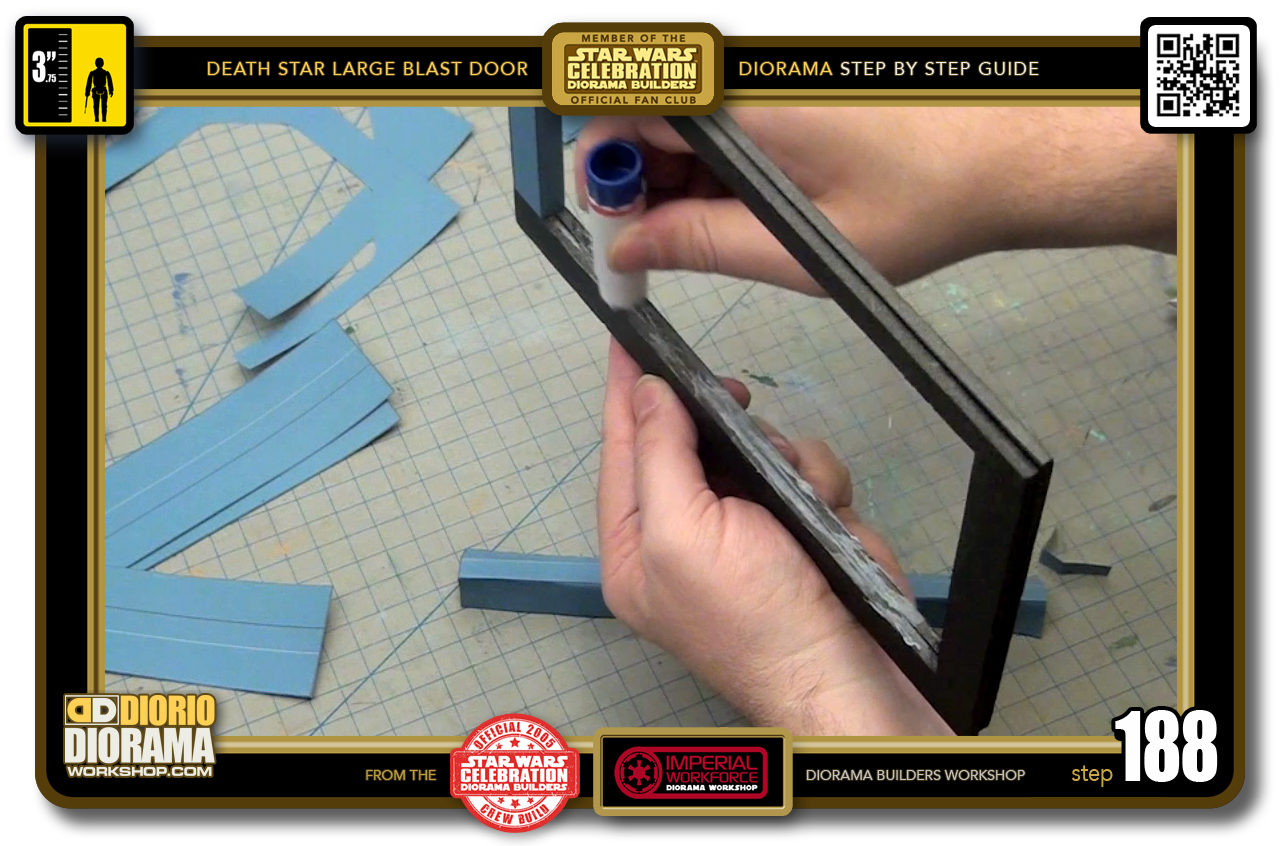
- STEP 188 > After your DRY RUN, start with some gluestick all over the top seam . As before, do this even if you printed on label sheets.
-
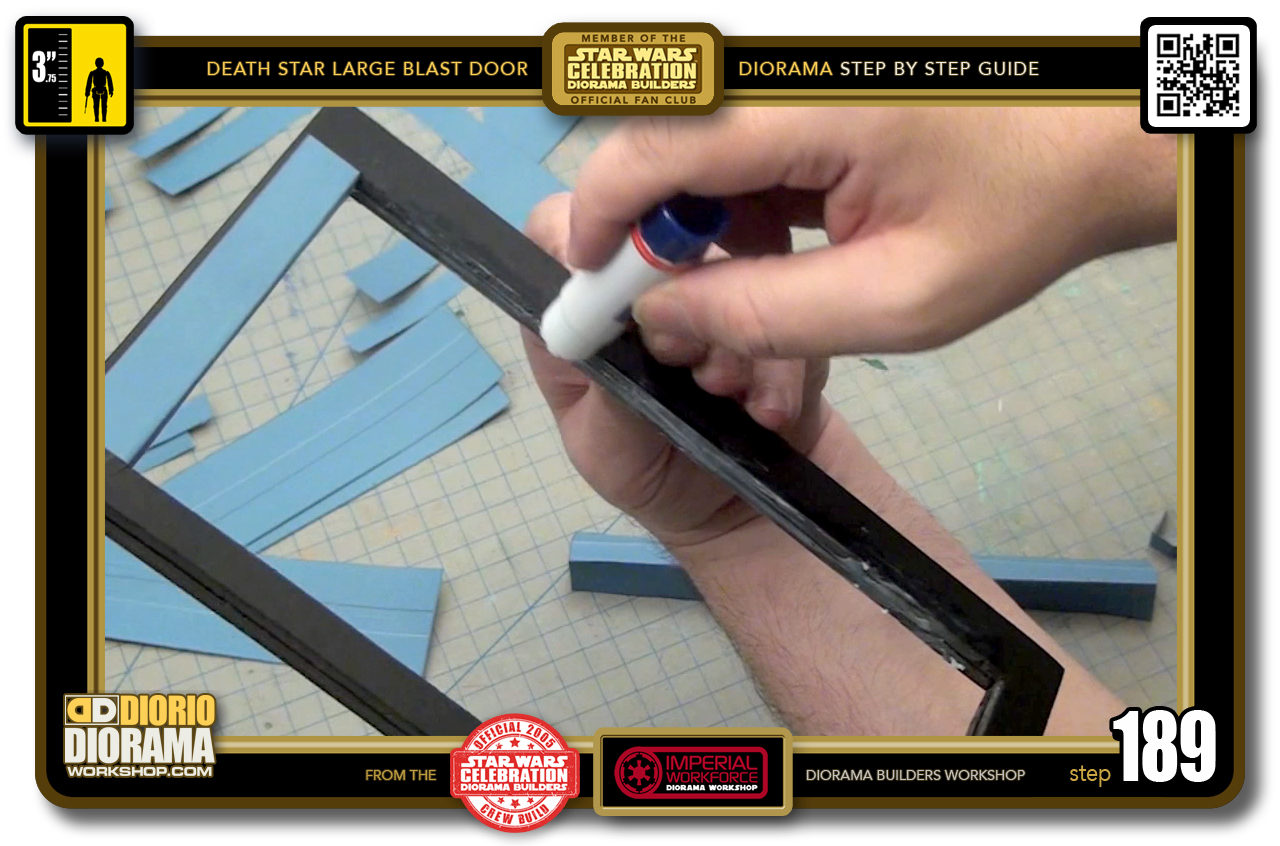
- STEP 189 > Don't forget to also glue the sides.
-
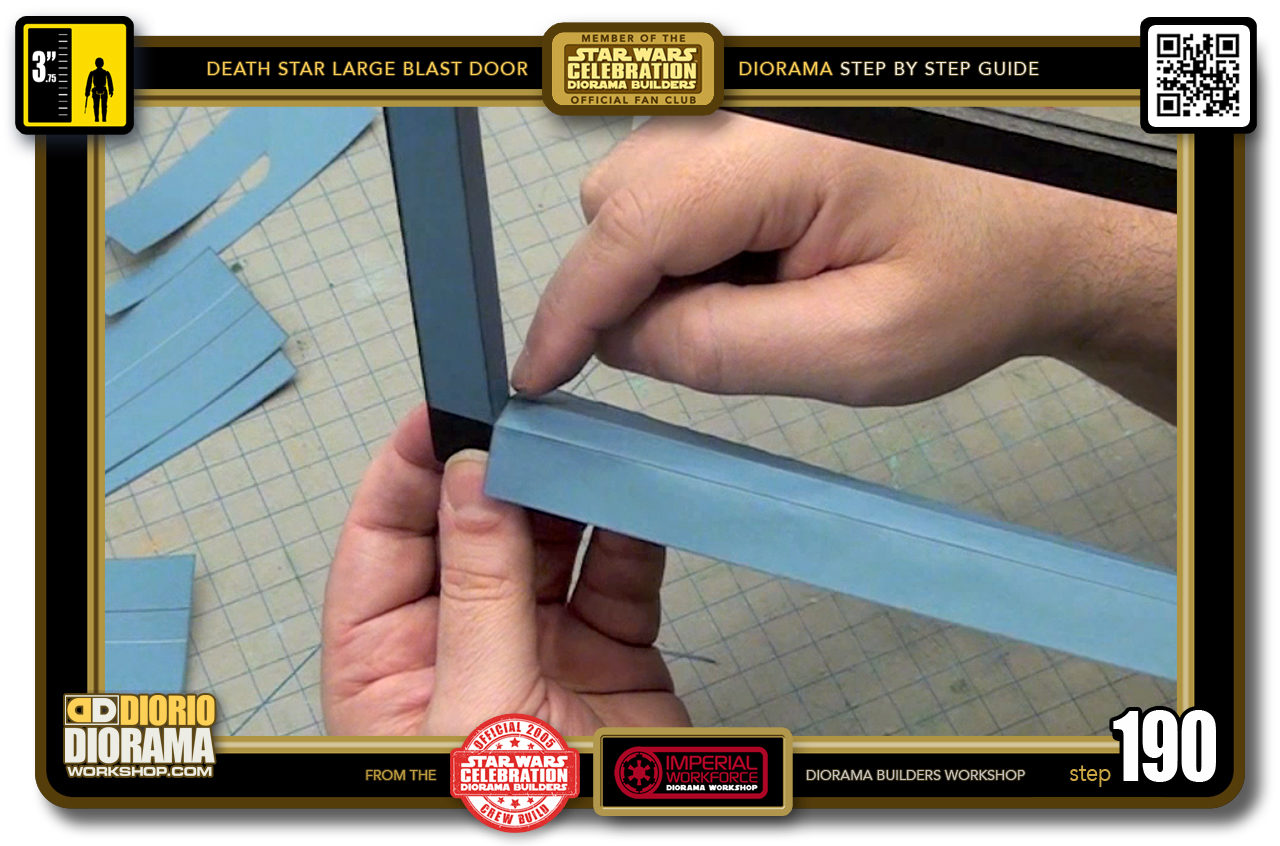
- STEP 190 > Place the decal as close to the one corner. MAKE SURE TO MATCH THE FOLD LINE GUIDE COLOURS.
-
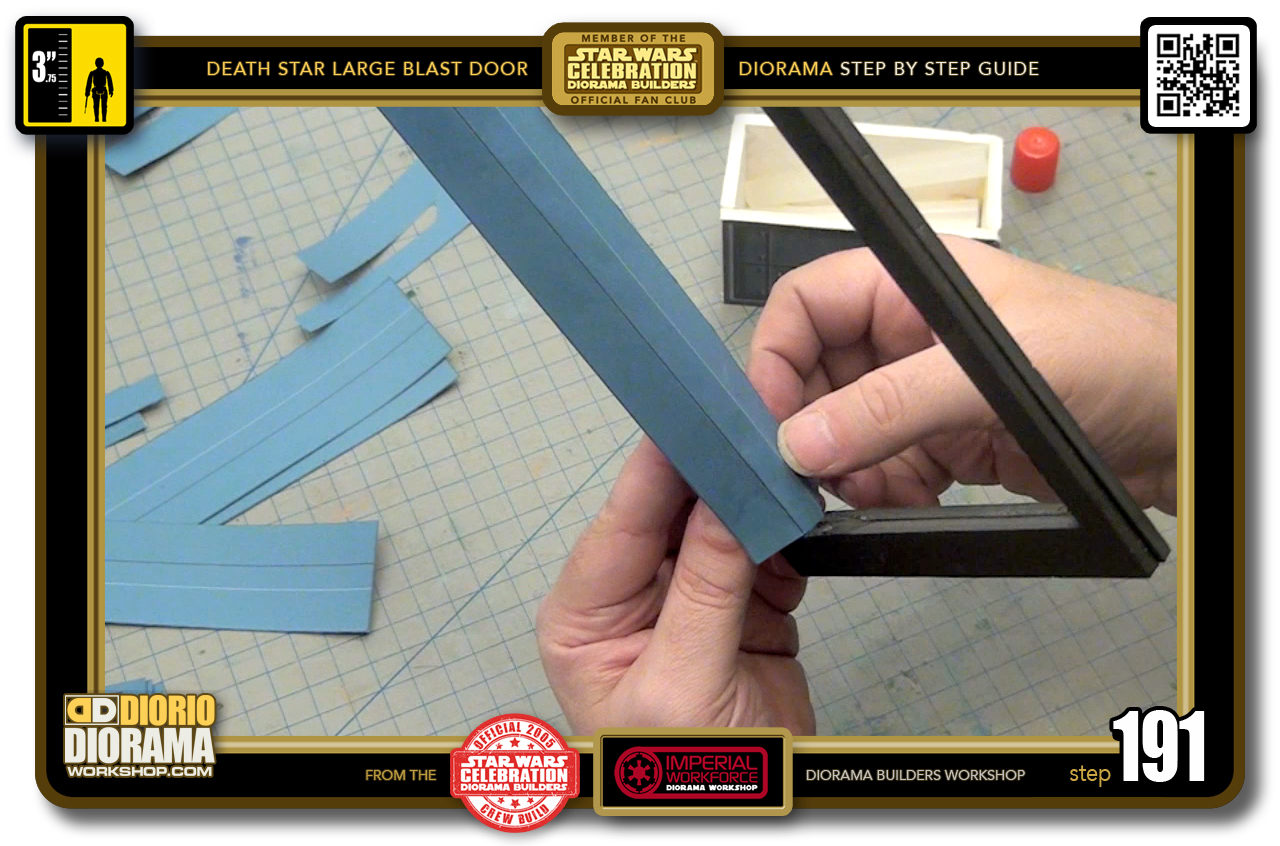
- STEP 191 > Move to the opposite side and make sure to align the decal fold with the frame's spine.
-
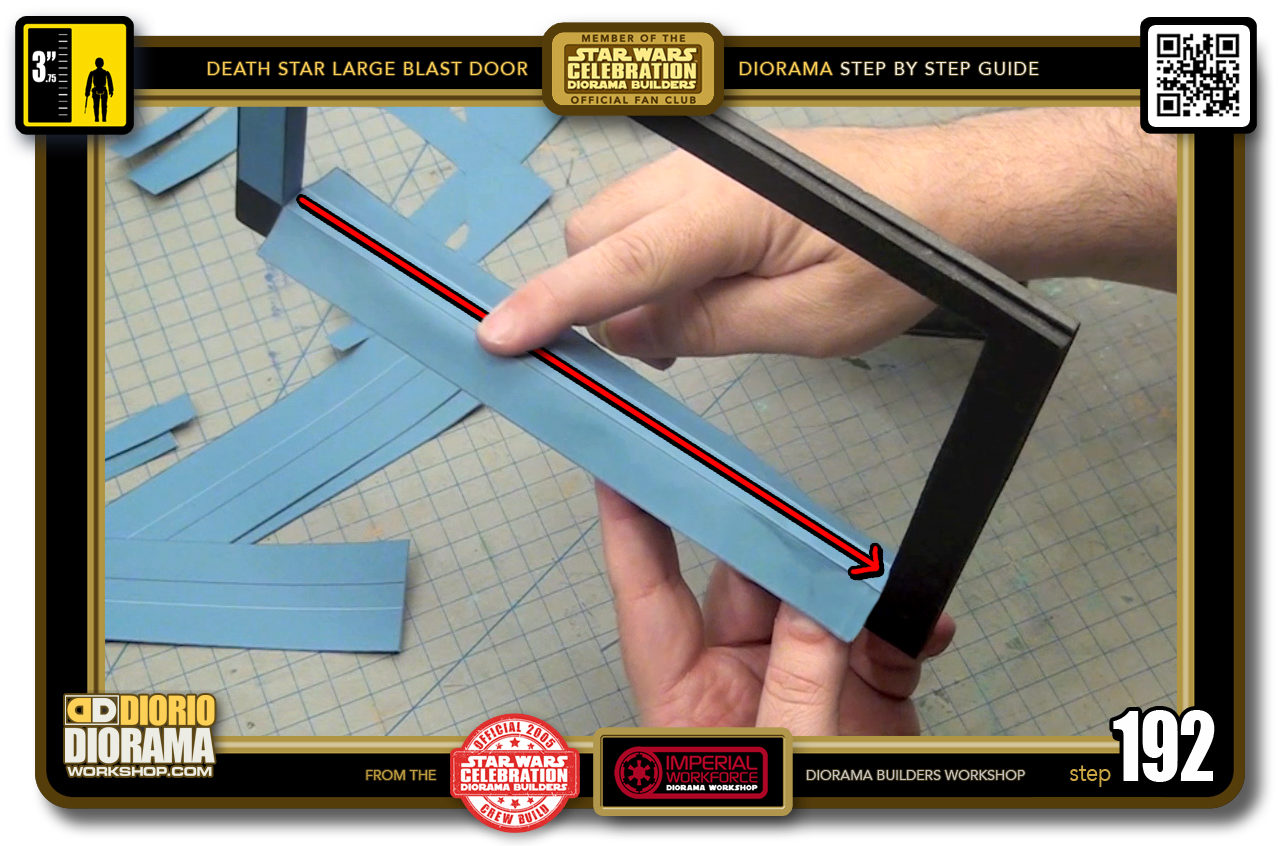
- STEP 192 > Just like you did on the side, move your finger starting in the centre making your way to the ends. each time you do this press a little more to make sure it is well applied.
-
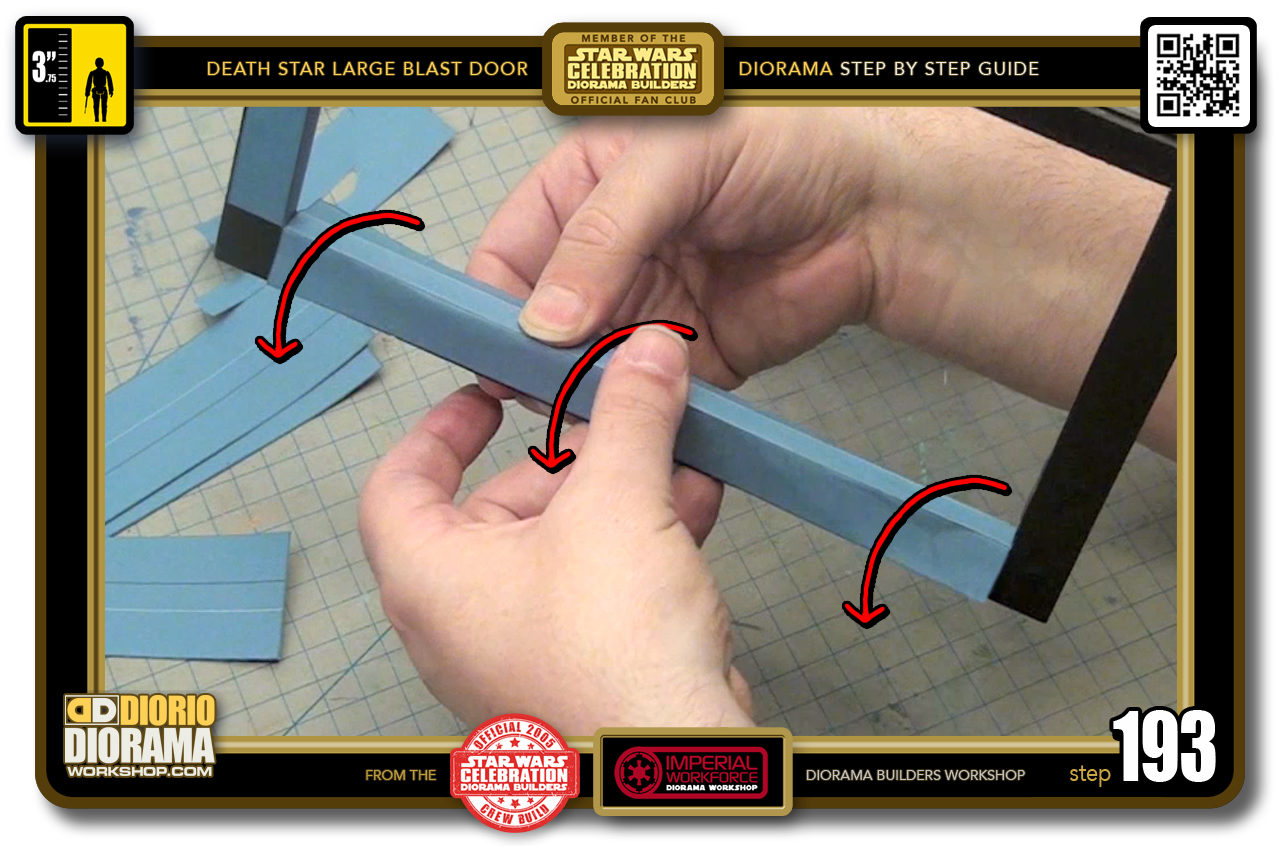
- STEP 193 > Fold over time. Starting at the centre makes it less chances that you get air pocket bubbles under your skin decal. If you started at the ends you could create a pocket and then a creased bubble line. Not good. Centre wrap around, then left wrap around and right wrap around. Always centre towards the outer edges.
-
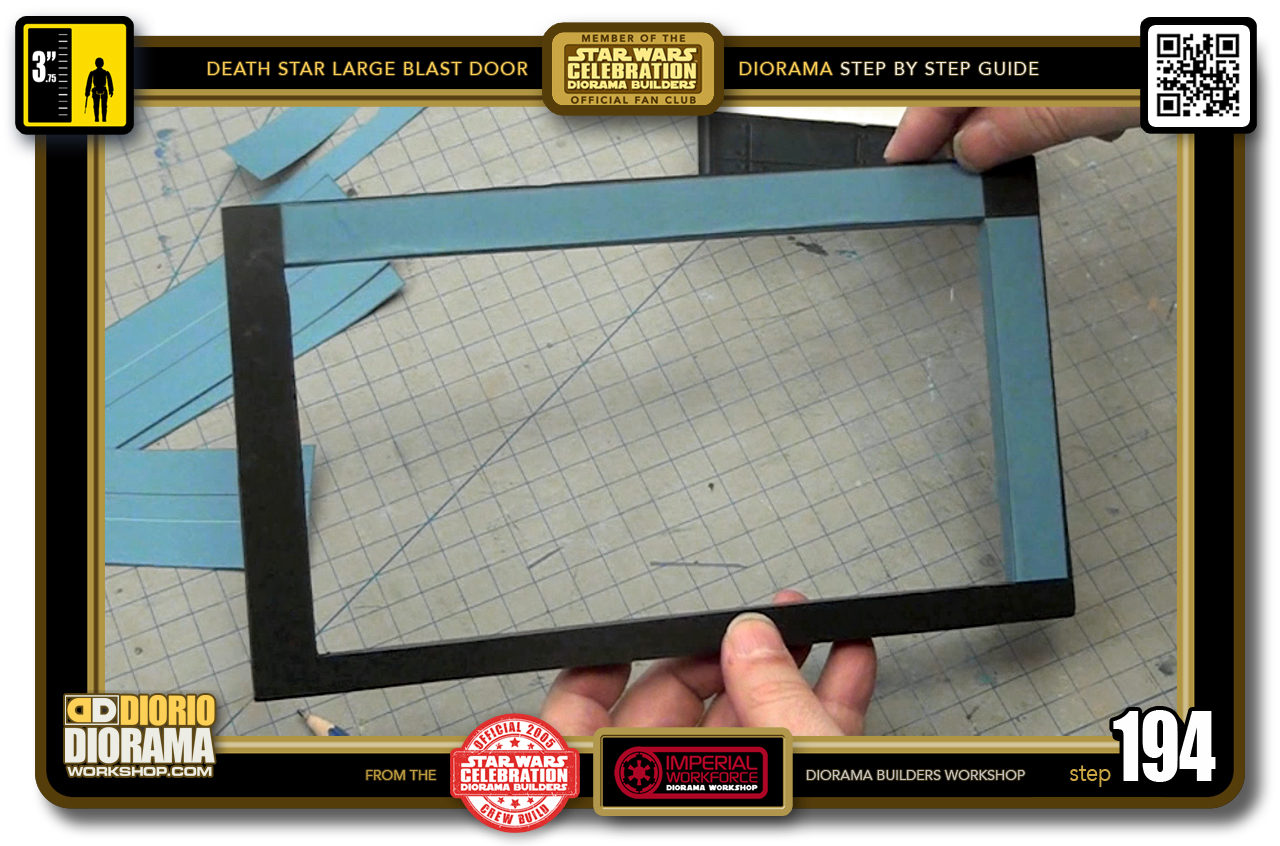
- STEP 194 > After you pressed it all in place your top skin is done.
-
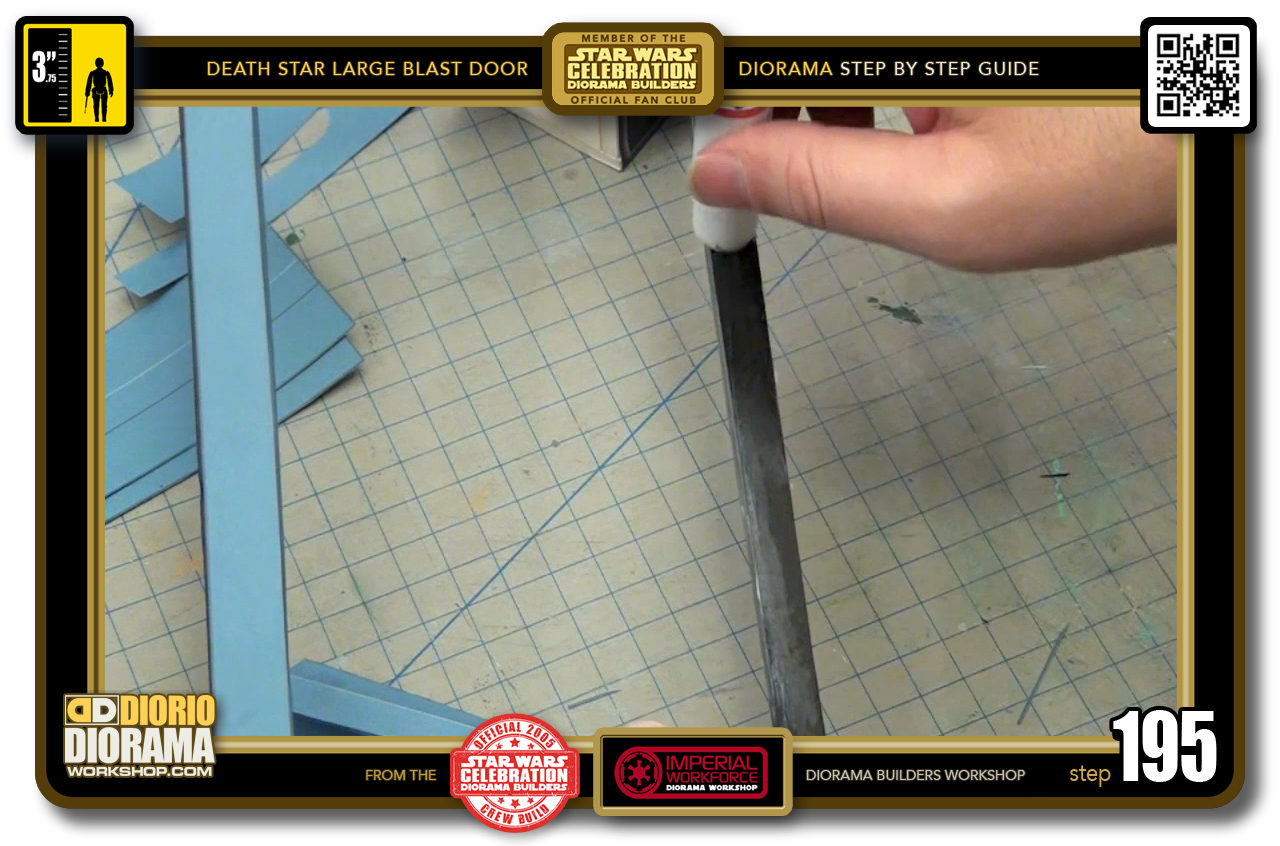
- STEP 195 > Time for the bottom of the frame. You know the drill by now, gluestick first. NEVER EVER USE HOT GLUE !!!
-

- STEP 196 > Peel your decal. I assume you already measure to fit and trim if needed and did your DRY RUN to make sure it fit perfectly.
-
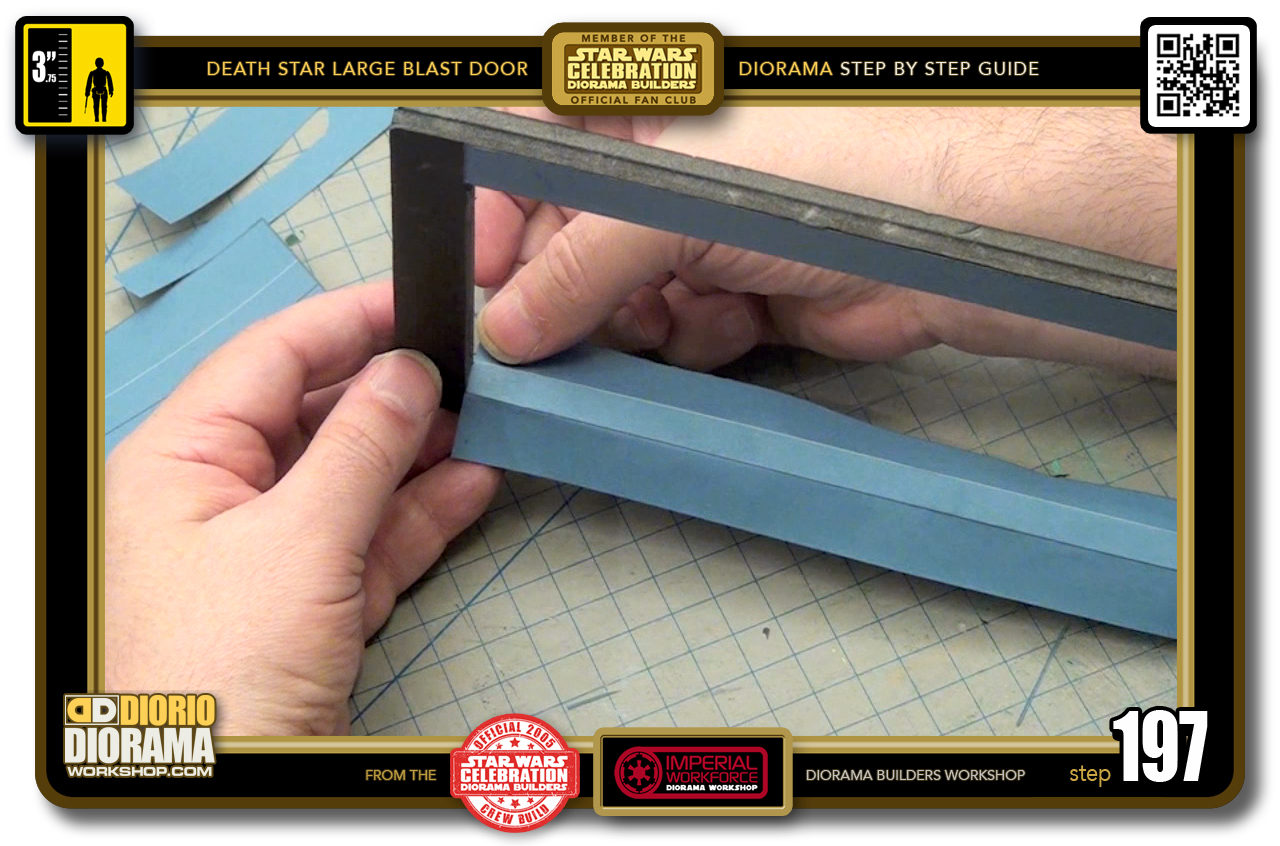
- STEP 197 > Like before press against one of the corner edges. MAKE SURE TO LOOK AT YOUR FOLDING GUIDE LINE COLOURS !!!
-
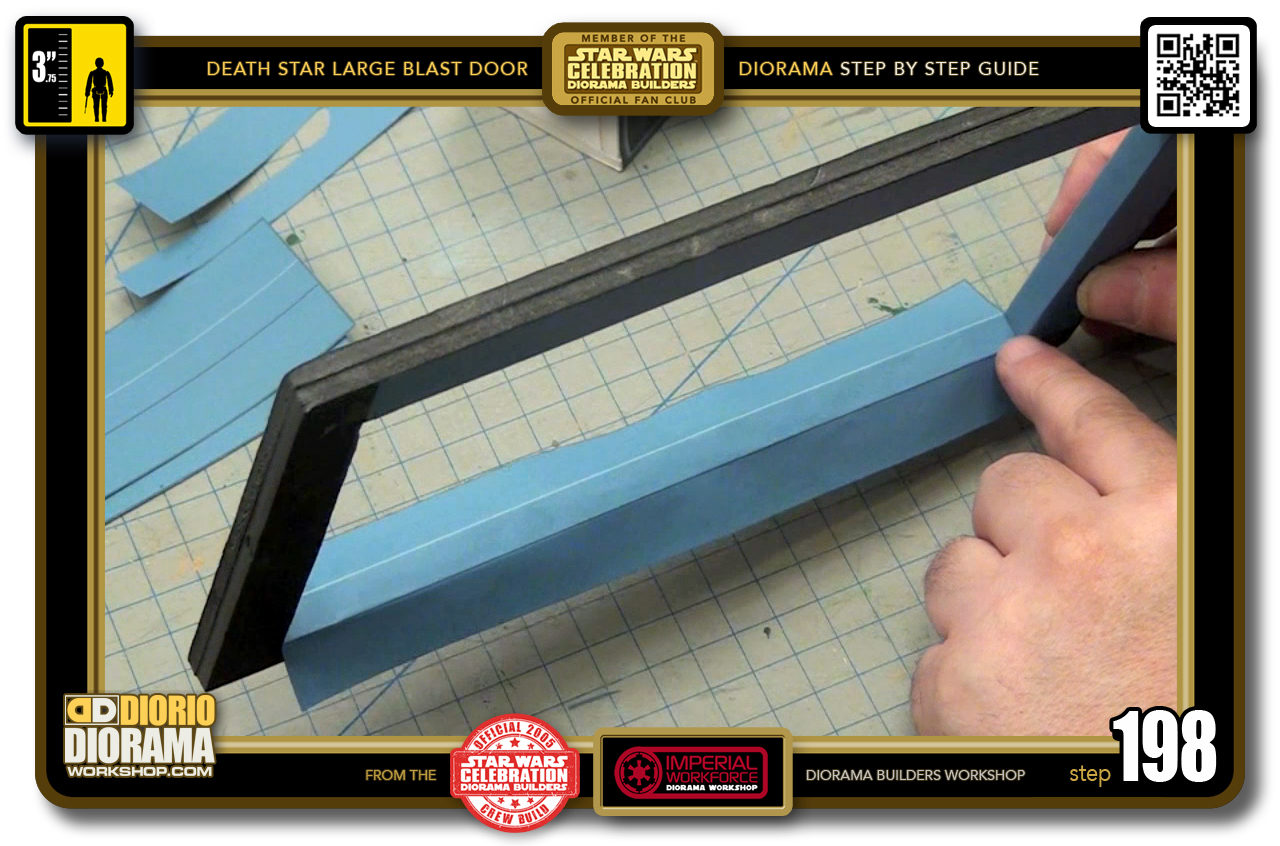
- STEP 198 > Place in position the opposite side of the decal fold onto the rectangle frame's spine.
-
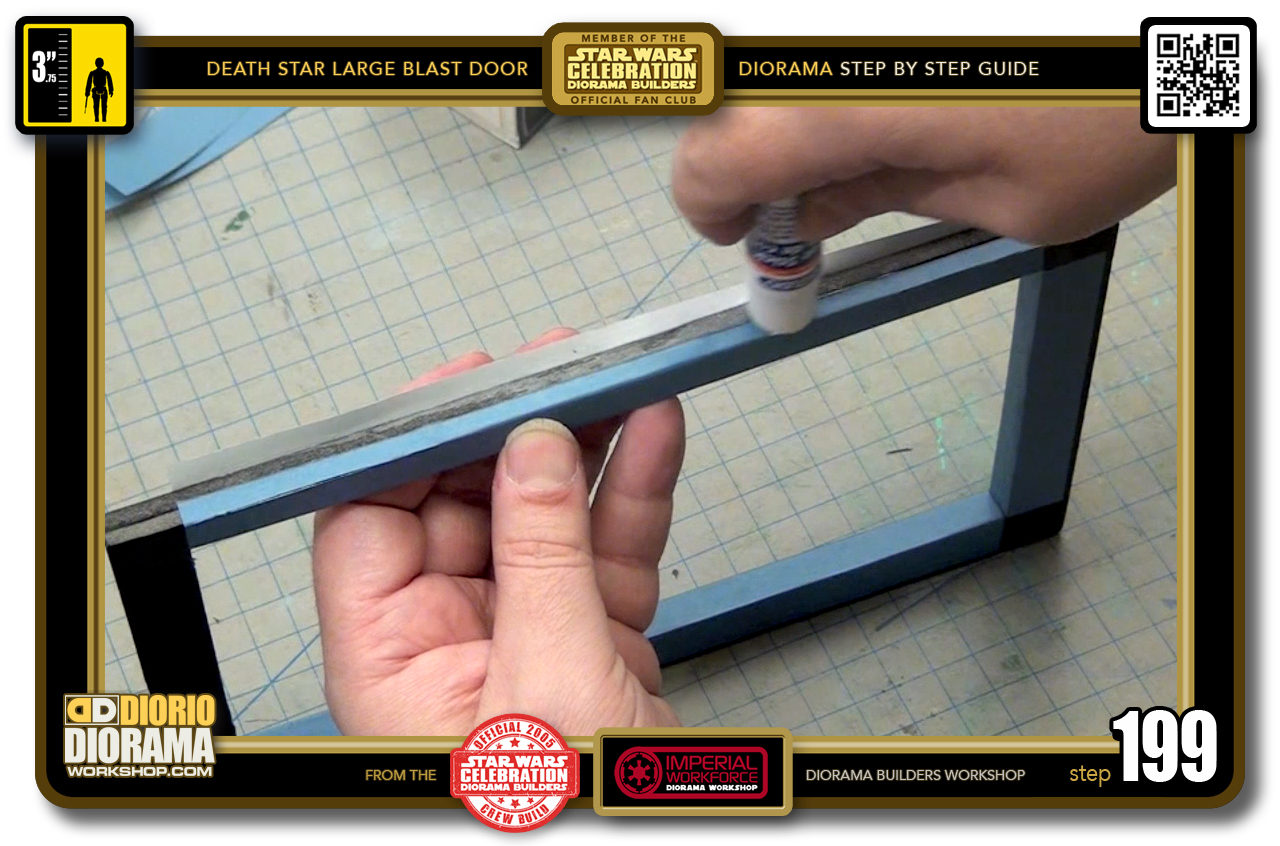
- STEP 199 > Since the bottom of the frame is only 1cm wide as opposed to the top 2cm, the decal sticks out a lot, enough so that you can fold it over and glue it in place. I forgot to take a photo of putting gluestick on the frame before folding the first side. That is why you see me putting gluestick on top of the folded decal here.
-
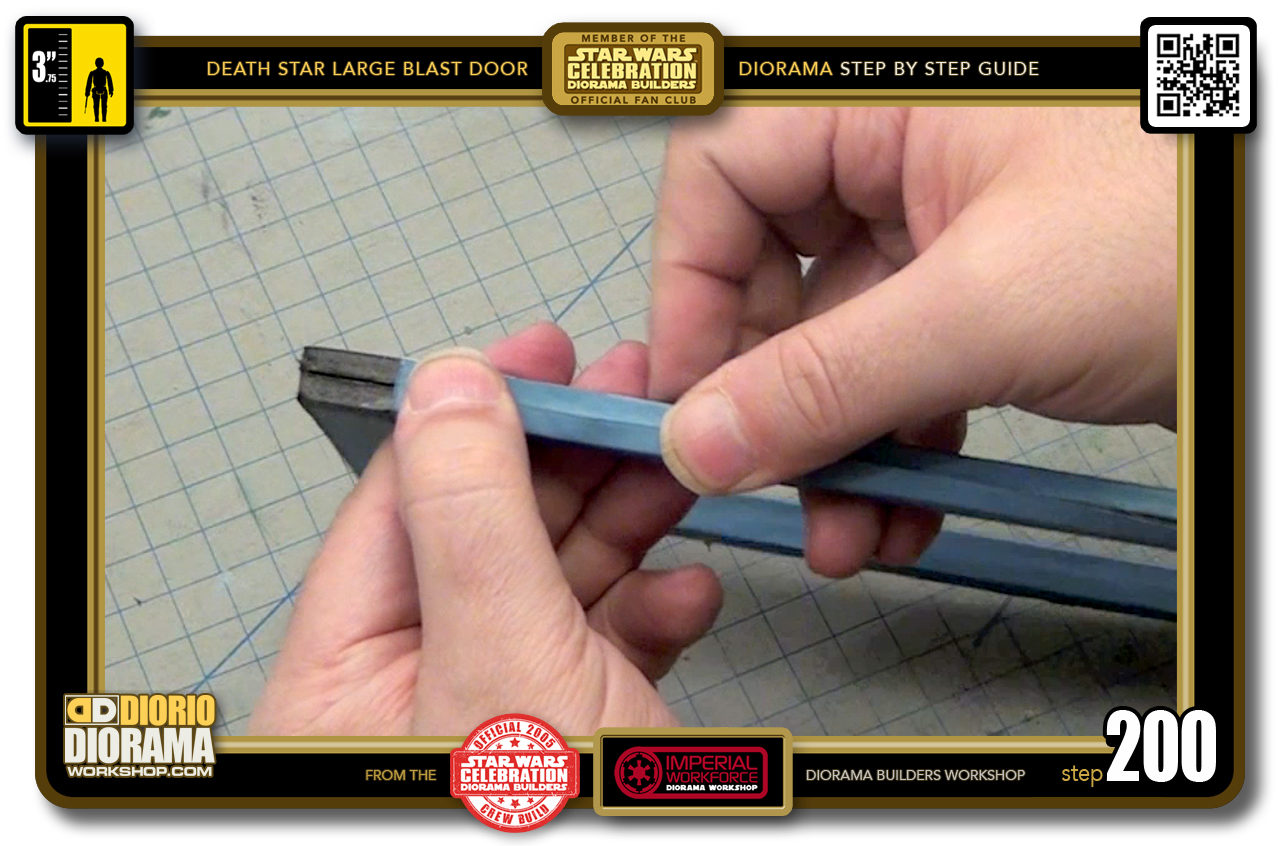
- STEP 200 > Fold over the other side and you will see it should line up, connect a little with the other fold. Don't worry if this is not perfect as it is the bottom of the Large Blast Door and you will never see it.

.
Did you already build this Diorama ? At home or at our Star Wars Celebration Diorama Builders workshop ? Would you like to show it in the site’s GALLERY VISITORS DIORAMAS section, YES ? That is Awesome !!! You can find out all the details on how to email me your photos on the VISITORS SUBMISSIONS INFO page … When I get your photos, I will create your very own page just like this one. You may not realize it but work does inspire others to join in the fun of making Action Figure Dioramas.
.
NOT FOR RESALE ALL Decals, tutorials and artwork are ©FrankDiorio (dioramaworkshop.com) and offered FOR FREE to the fans – that would be you ? so you can build and display my diorama designs in your very own home. I realize I cannot control what one does with my graphics once I place them on the web, I can only ask you as one fan to another, please respect the artist and do not be that jerk who uses my designs and tutorials to build a copy of my work only to sell it on EBAY or trade/sale groups and forums. Thank You. Frank.
.
.
If you have a facebook account, why not join the Official Diorama Builders Fan Club today, simply click the logo link below.
 .
.
Catch up with fellow visitors and exchange stories, read cool interviews with the crew, exchange photos, fun surprises and grab some FAN ONLY merchandise next year at actual future conventions ?
.
©2018 Frank Diorio DioramaWorkshop.Com
.
IF YOU LIKE WHAT YOU SEE, PLEASE SHARE WITH YOUR FRIENDS
USING THE SOCIAL MEDIA BUTTONS BELOW