


-
-
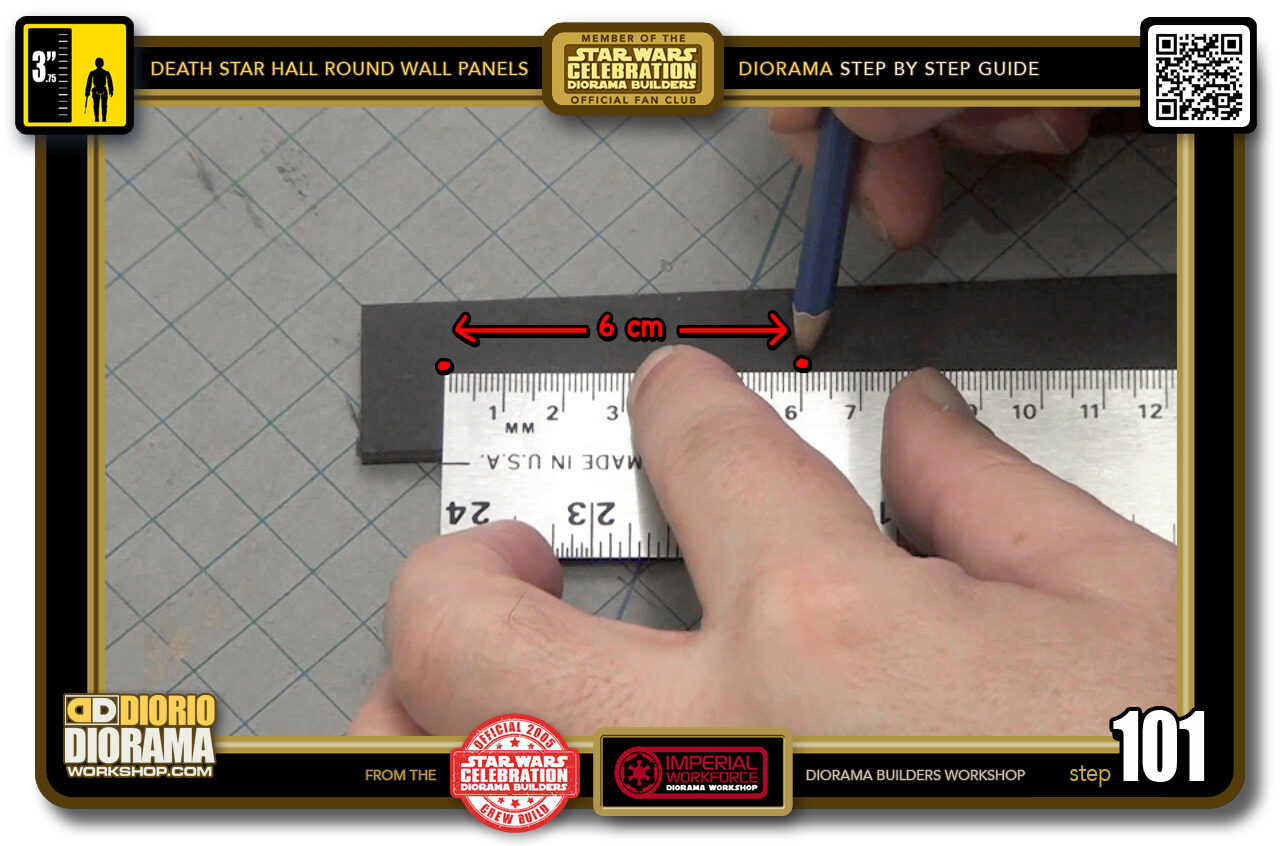
STEP 101 > Now if you already made the Small Round Wall Panel - this will be super easy to follow. It is the exact same steps but using larger half circles and base panel.
So we start again with your circle template maker, grab a scrap piece of foamcore and place 2 dots 6 cm apart.
-

- STEP 102 > Start poking through your 2nd hole with your pencil until the tip can be seen on the other side.
-

- STEP 103 > Now grab a piece of foamcore that is at minimum 14 cm square ( you want to make sure that where you place your thumbtack (as close to the centre as possible ) the pencil hole remains INSIDE the REZ SQUARE no matter where you spin the strip.
-
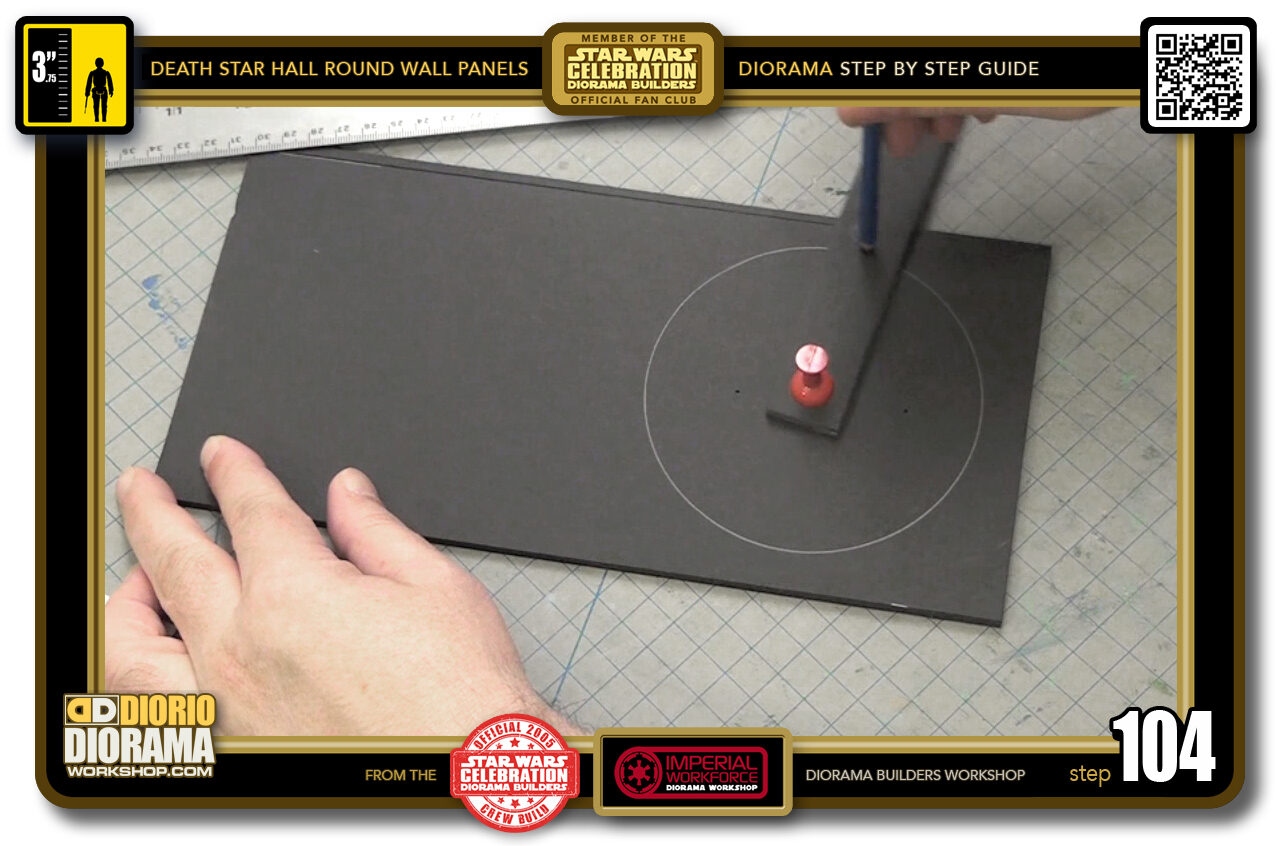
- STEP 104 > With the thumb tack in the first hole and pressed into the centre of your foamcore piece, place the pencil in the second hole and spin it all the way around until your circle is drawn.
-
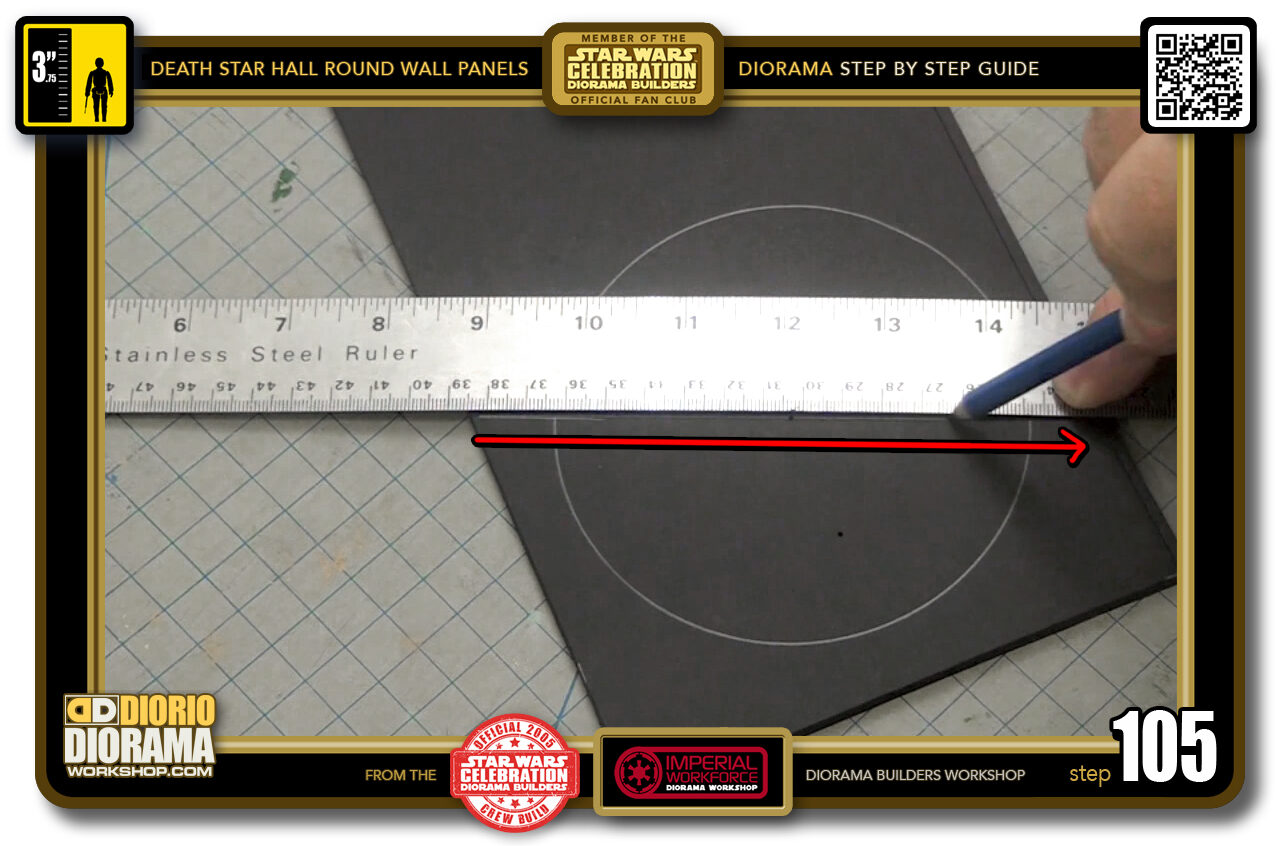
- STEP 105 > Take your ruler and align it so it touches the thumb tack hole and draw a line all the way across with your pencil.
-
-
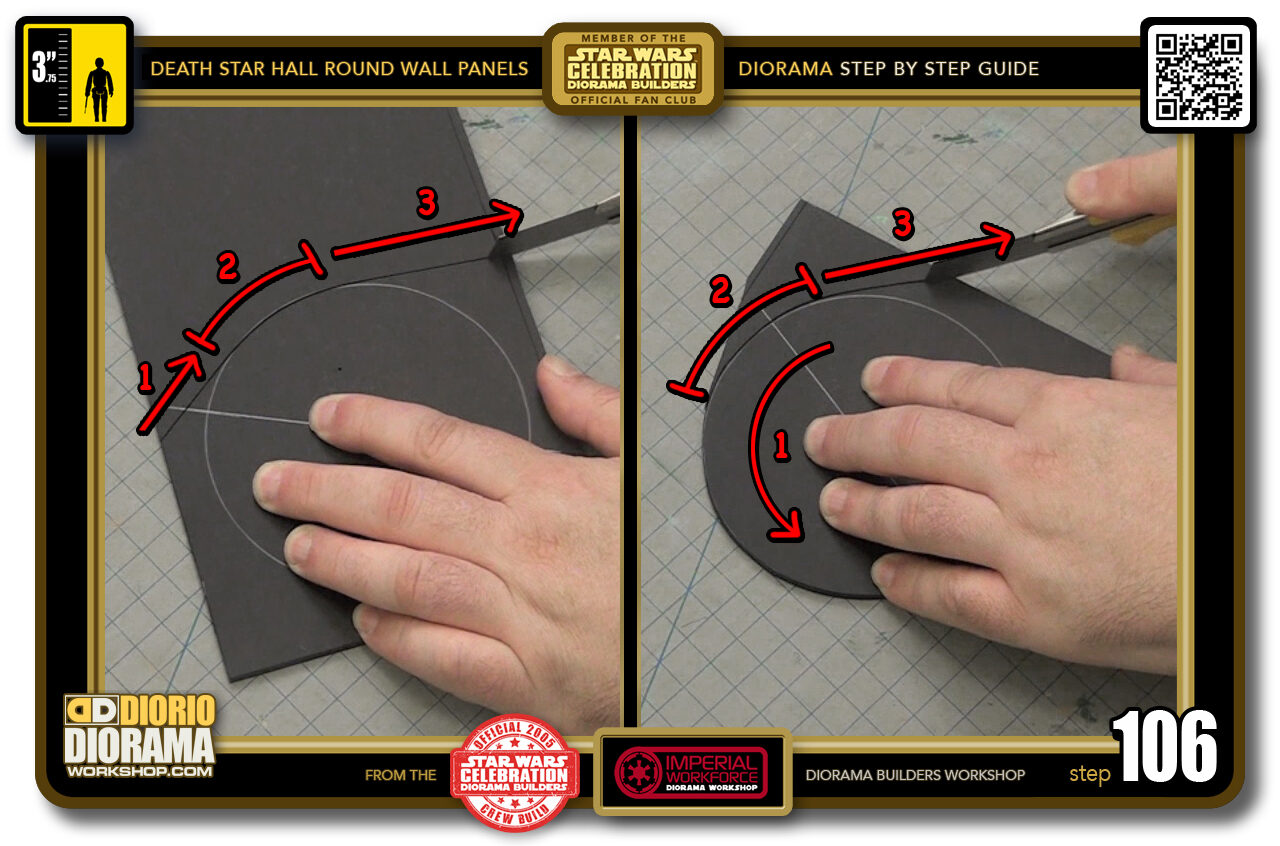
STEP 106 > For cutting you use the same technique as for the Small Round Wall Panel except it will seem a little easier because your circle is larger this time.
For the first cut, enter in a straight line until you reach the circle then follow a small area until your wrist starts feeling awkward, then leave the circle guide and continue in a straight line till you exit your foamcore. Now SPIN your foamcore piece and repeat. Cut along small area and go straight. Continue this until you have cut all the way around.
-
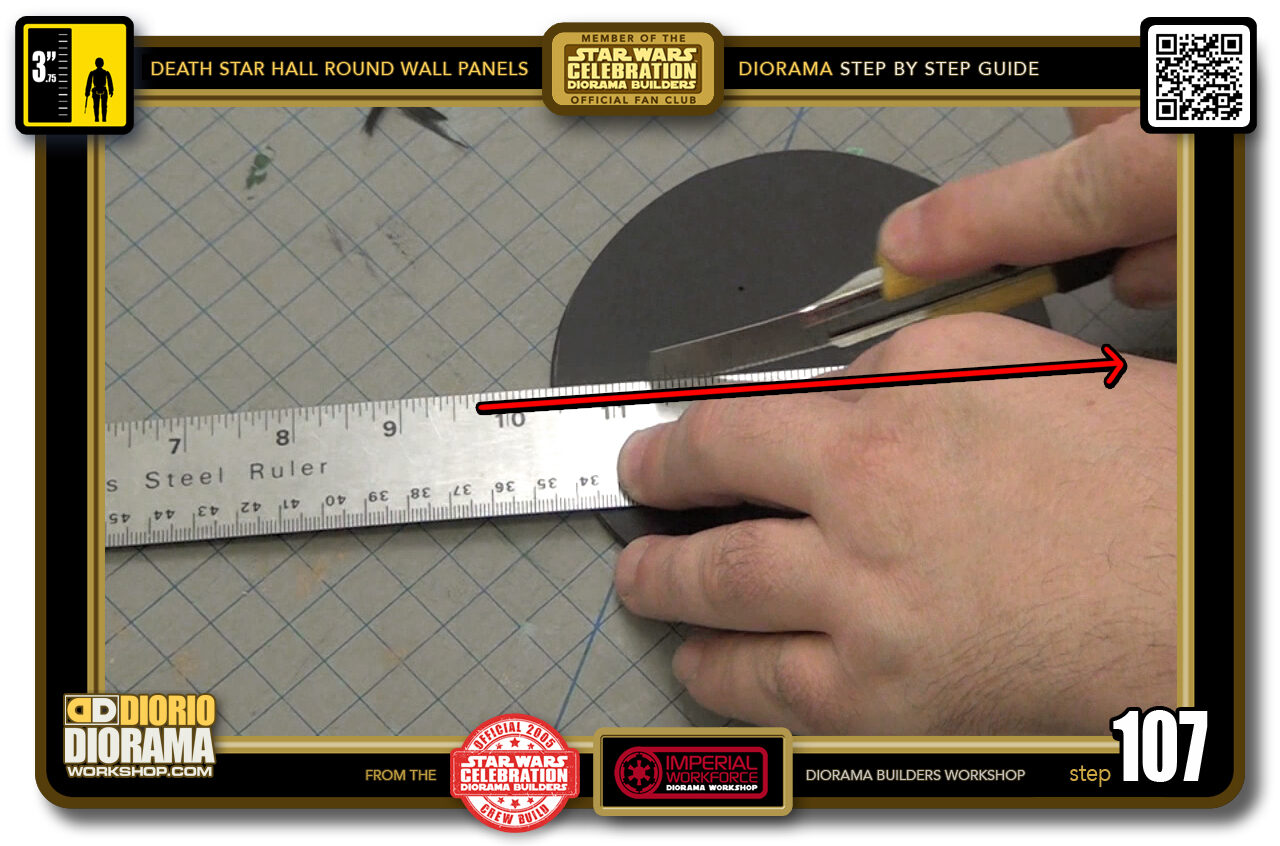
- STEP 107 > Once you have your circle you can align your ruler with the centre guide line you drew in step 101 and cut your circle in half with your Xacto knife.
-
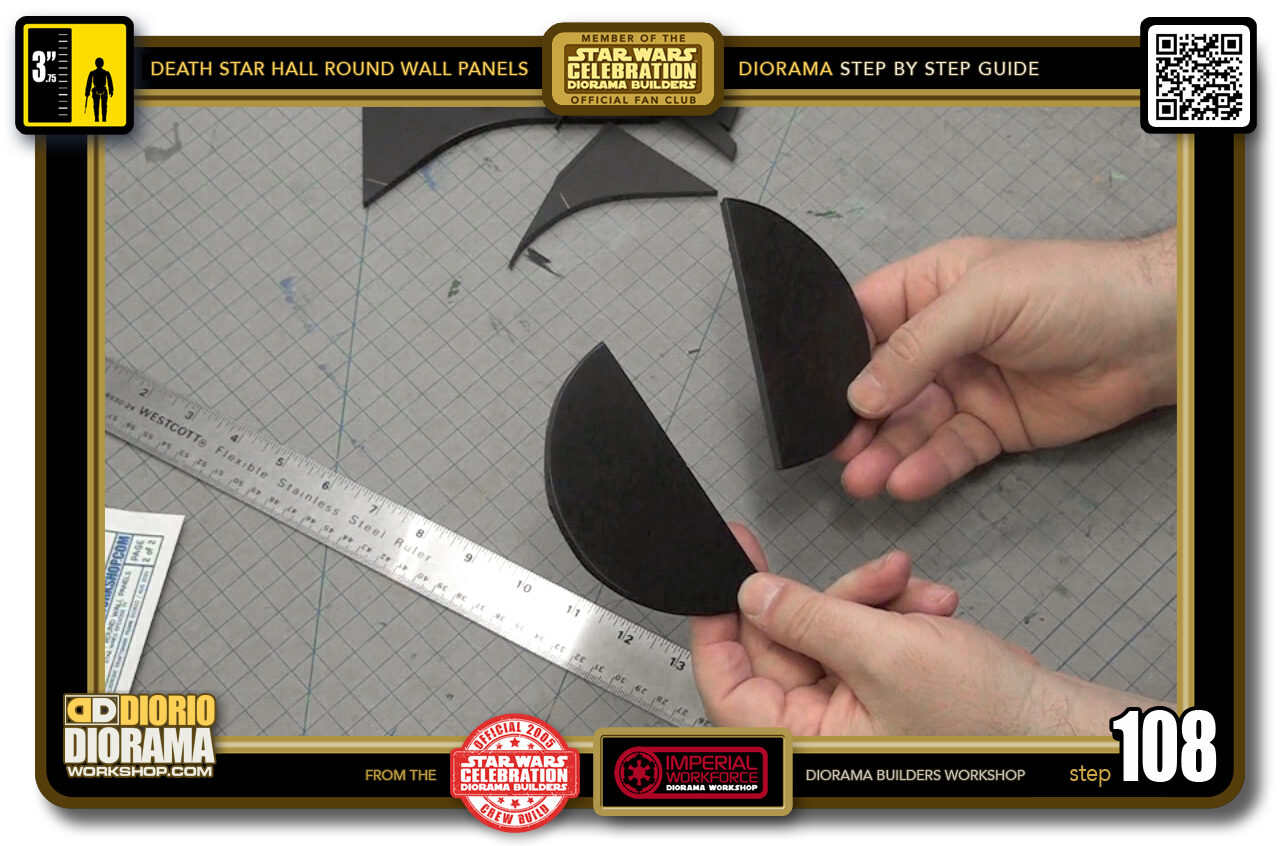
- STEP 108 > Your top and bottom half circles are complete.
-
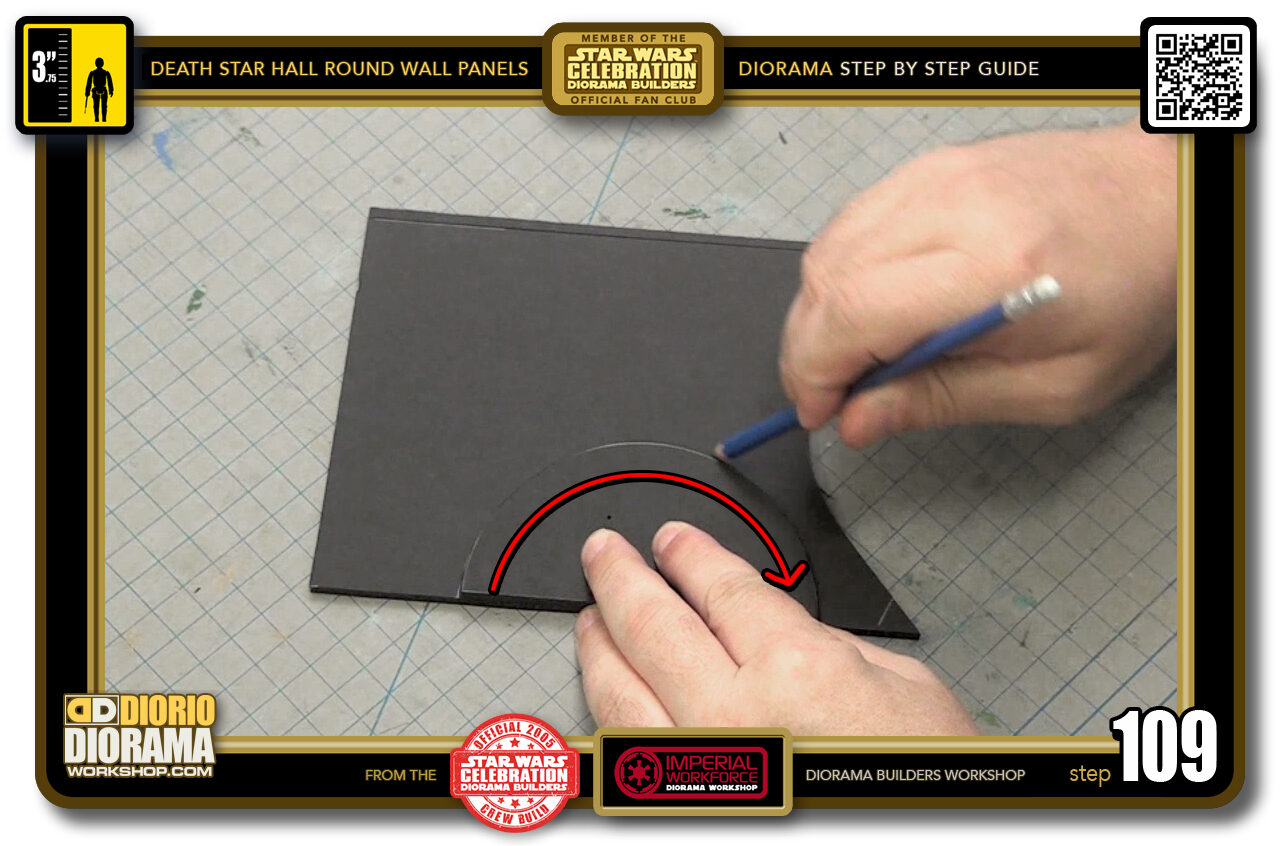
- STEP 109 > If you chose to make more than 1, you can place one of your half circles on a piece of foamcore and just trace it instead of going all the way to the start and use your circle guide.
-
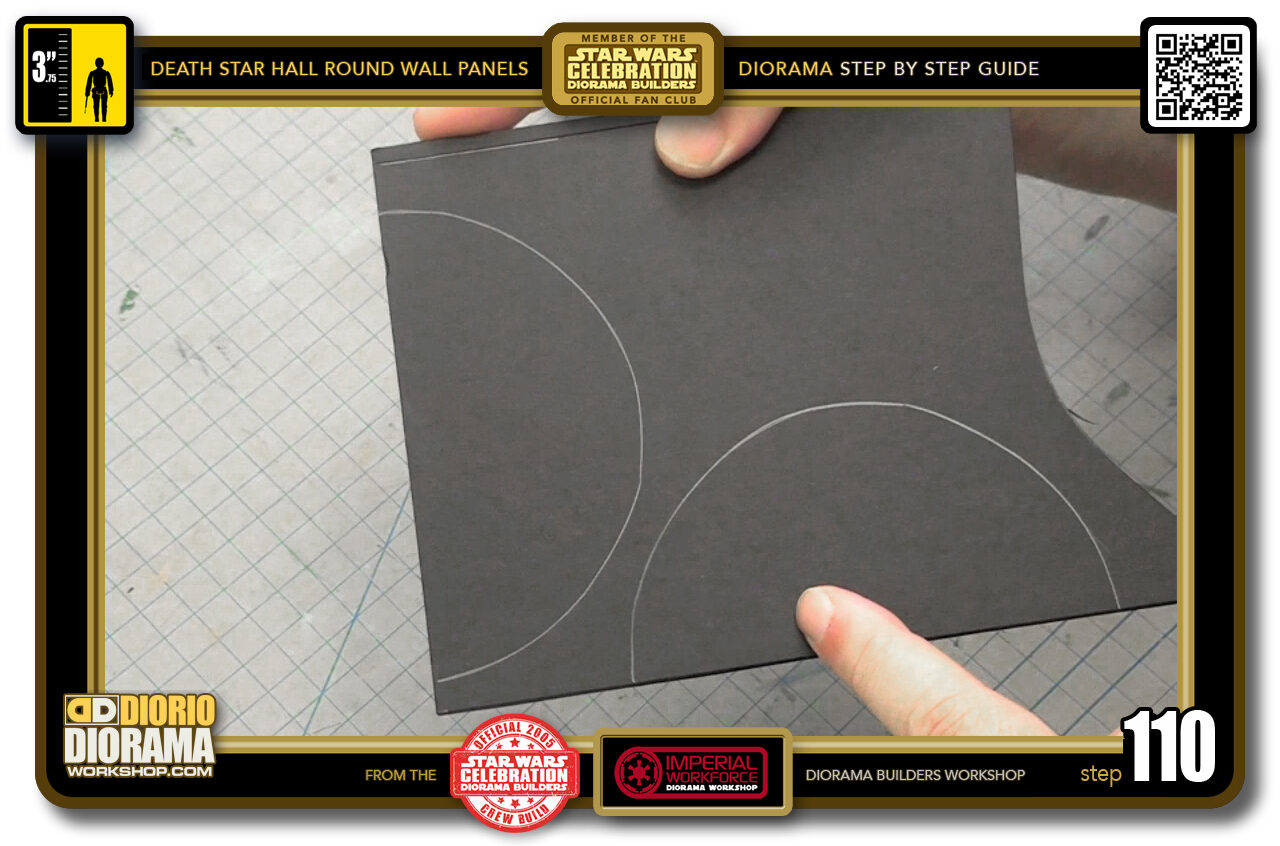
- STEP 110 > Remember you need TWO half circles to make ONE Large Wall Panel.
-
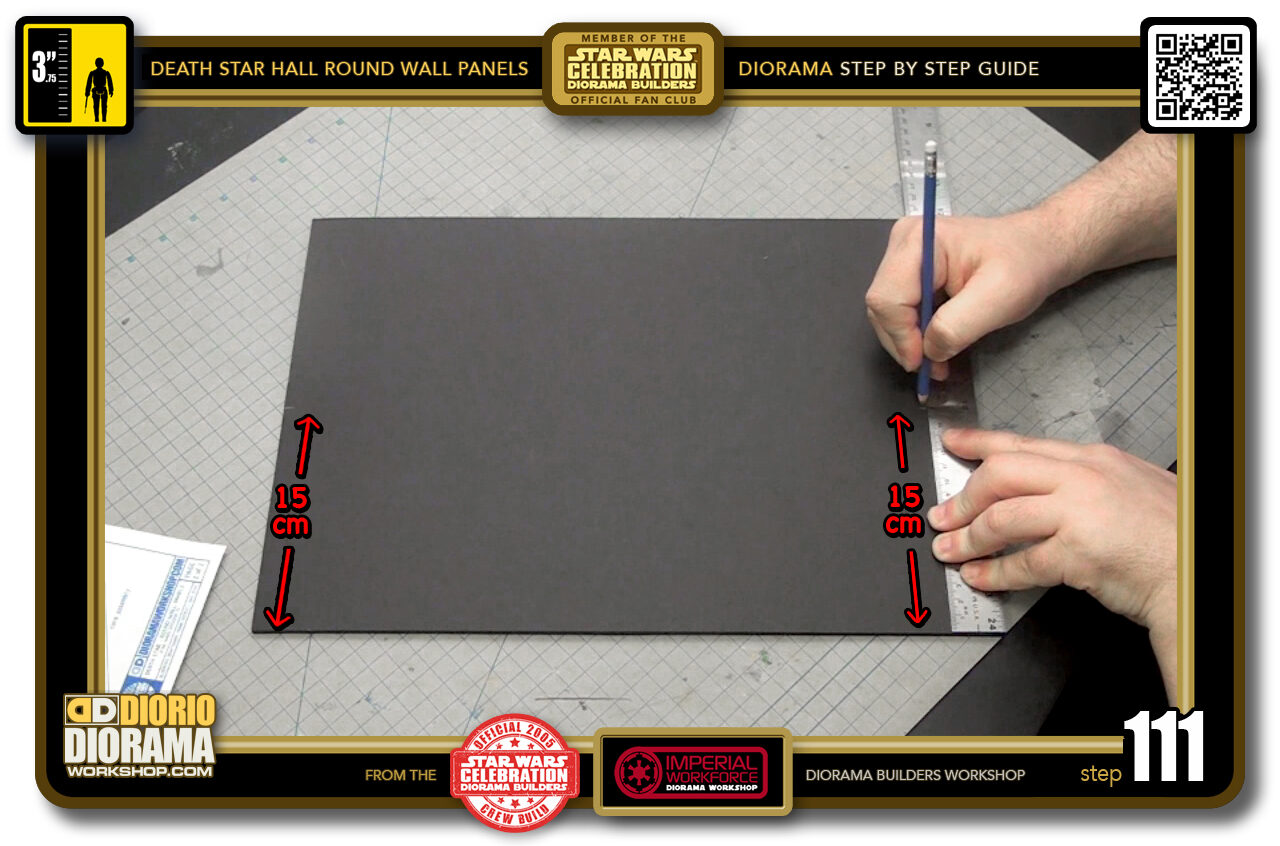
- STEP 111 > On a piece of foamcore measure 15 cm on both ends.
-
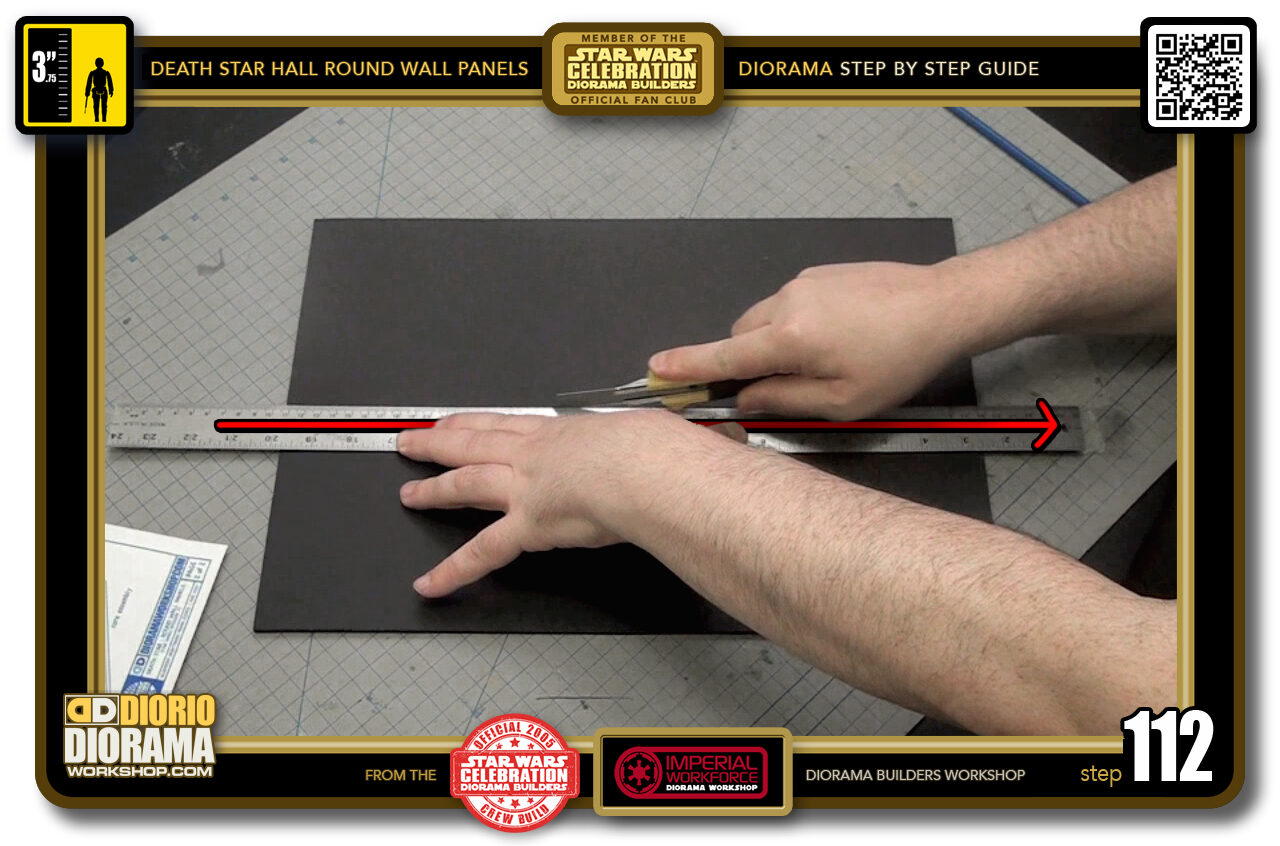
- STEP 112 > Now align your ruler to these 2 guide marks and draw a line all the way across with your pencil.
-

- STEP 113 > Now we want to measure 12 cm at the top and bottom of our 15 cm foamcore strip.
-
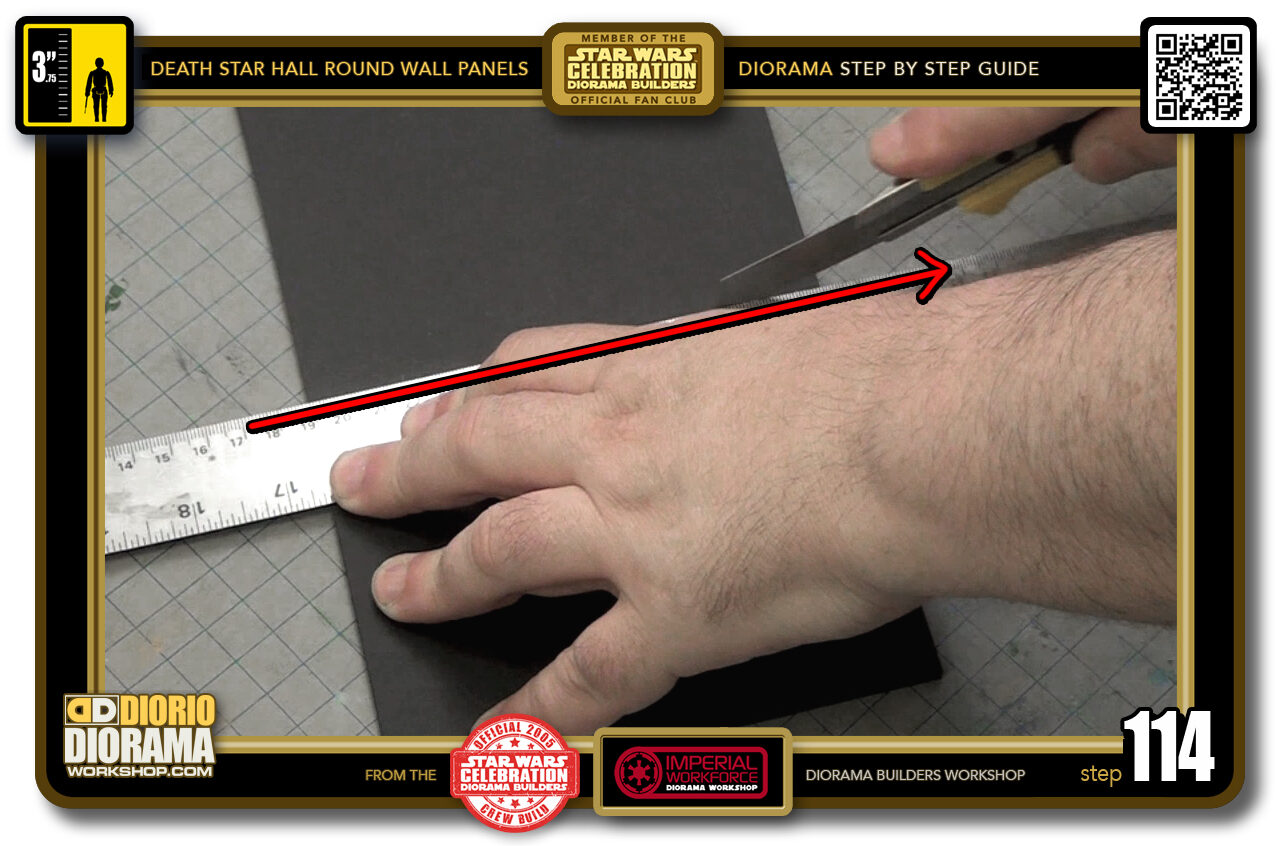
- STEP 114 > Align your ruler against the 2 marks and cut all the way across with your Xacto knife.
-
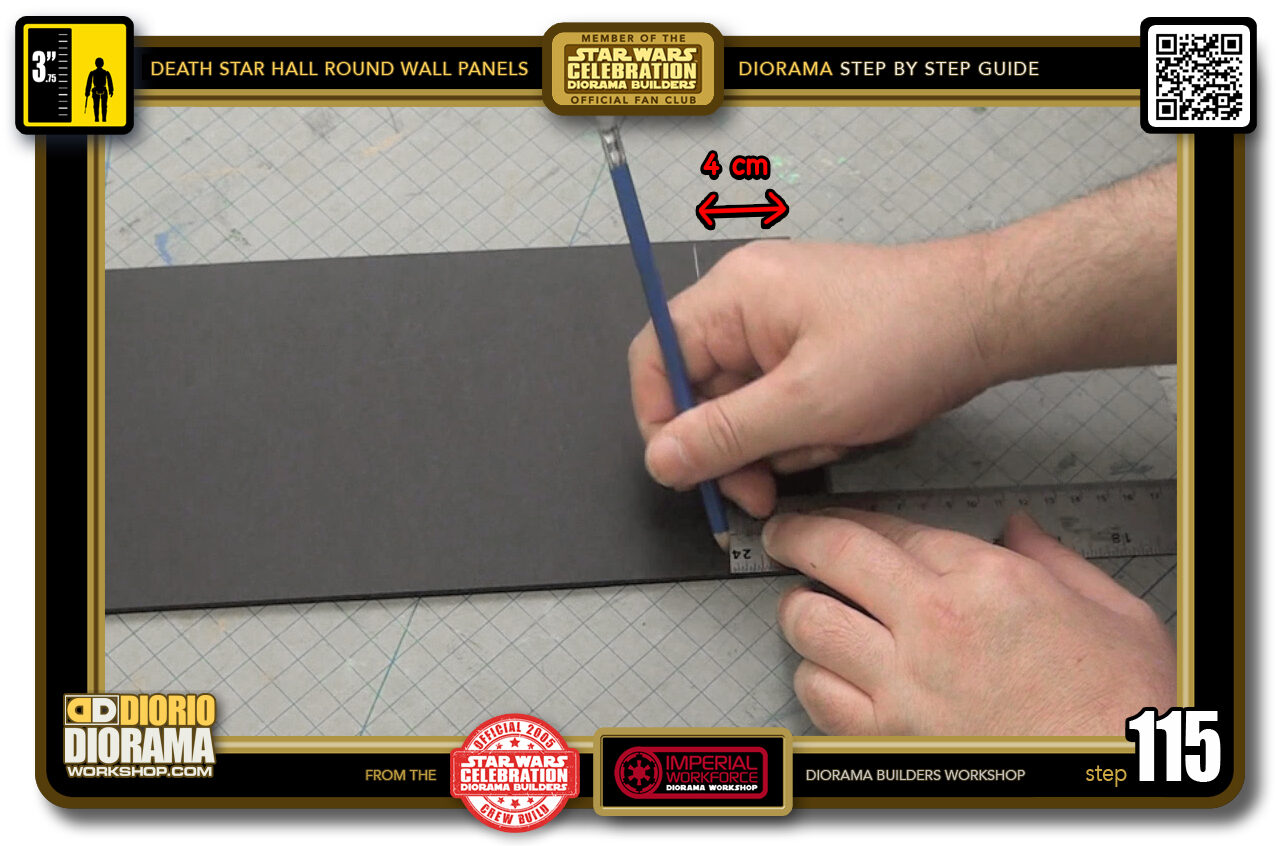
- STEP 115 > For the centre beam support measure 4 cm at the top and bottom of your 15 cm foamcore strip.
-
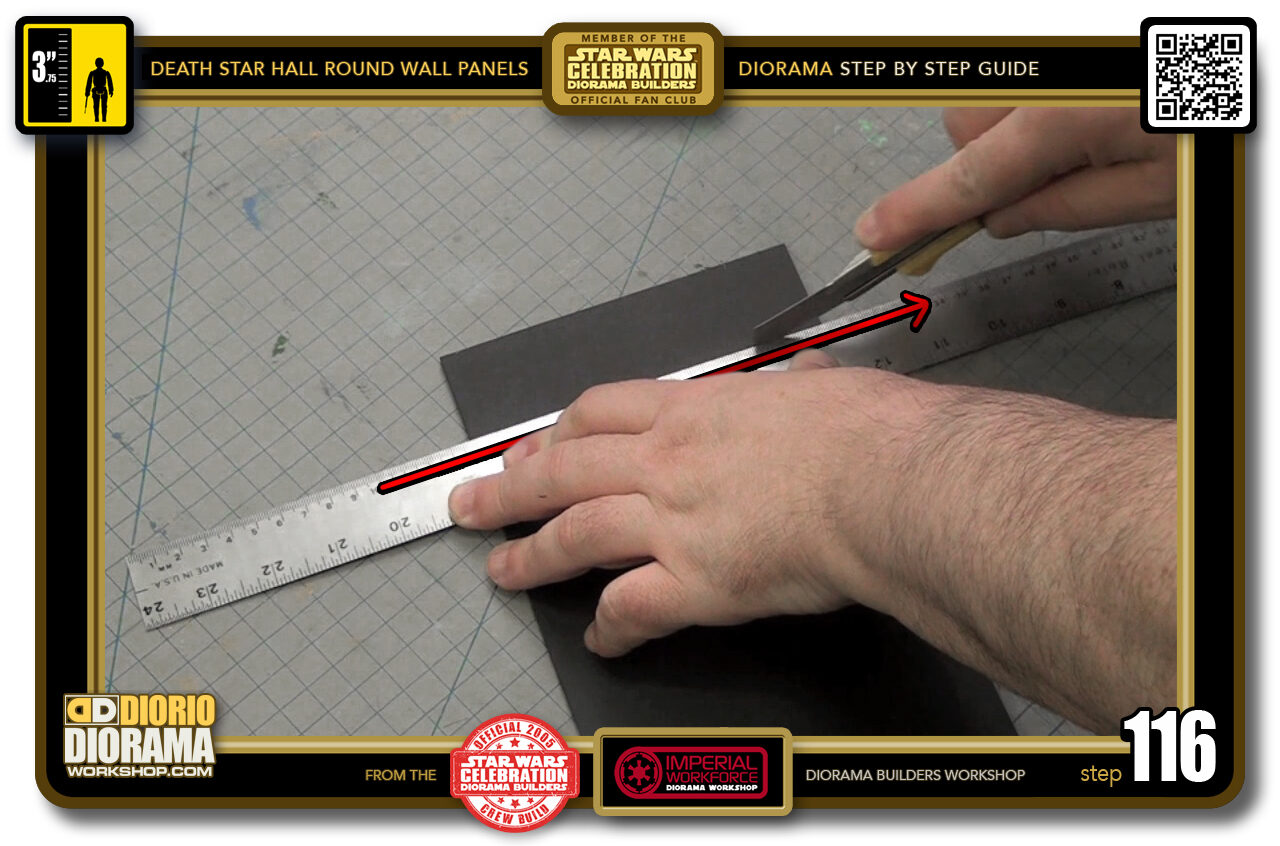
- STEP 116 > Align your ruler with your marks and cut away all the way through.
-
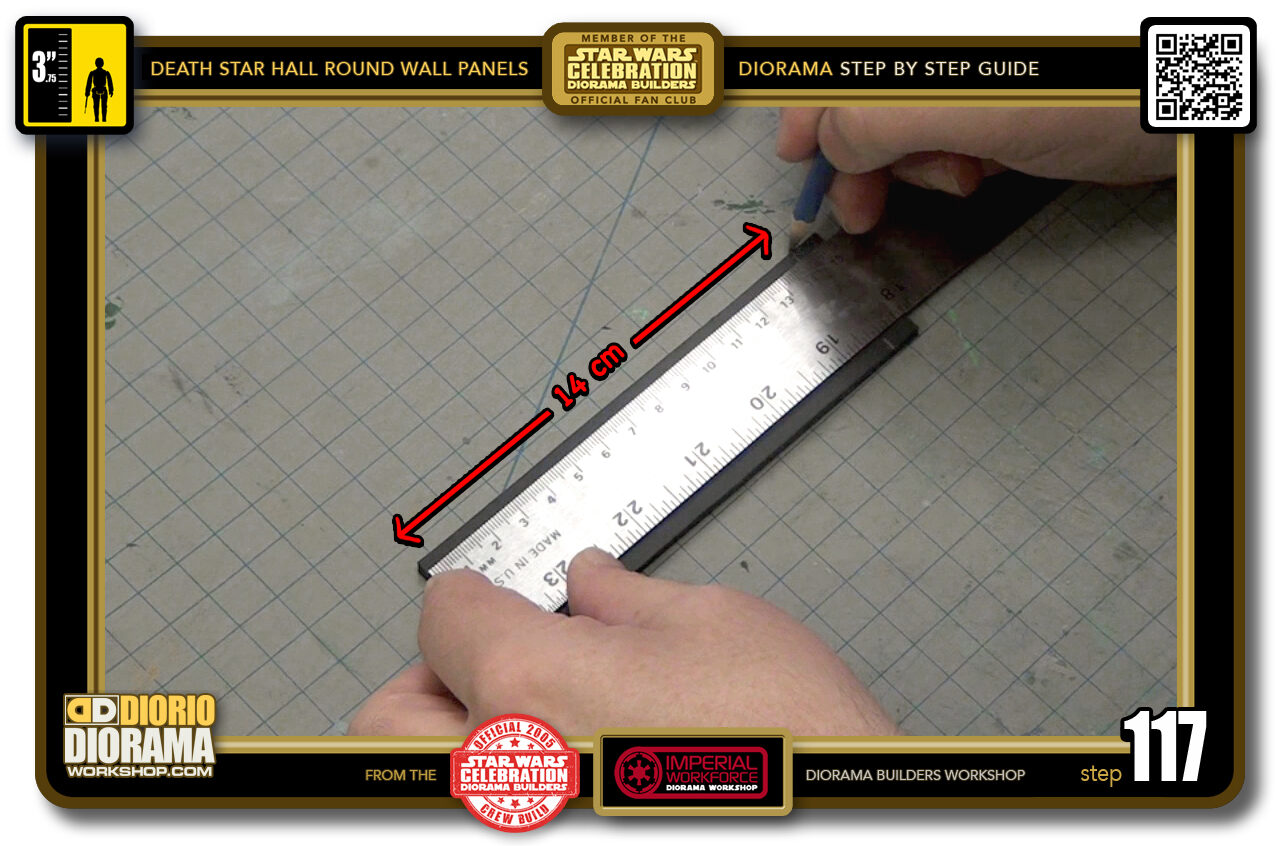
- STEP 117 > Now the centre beam is 1 cm shorter than the 15 cm strip so you need to measure 14 cm on both sides.
-
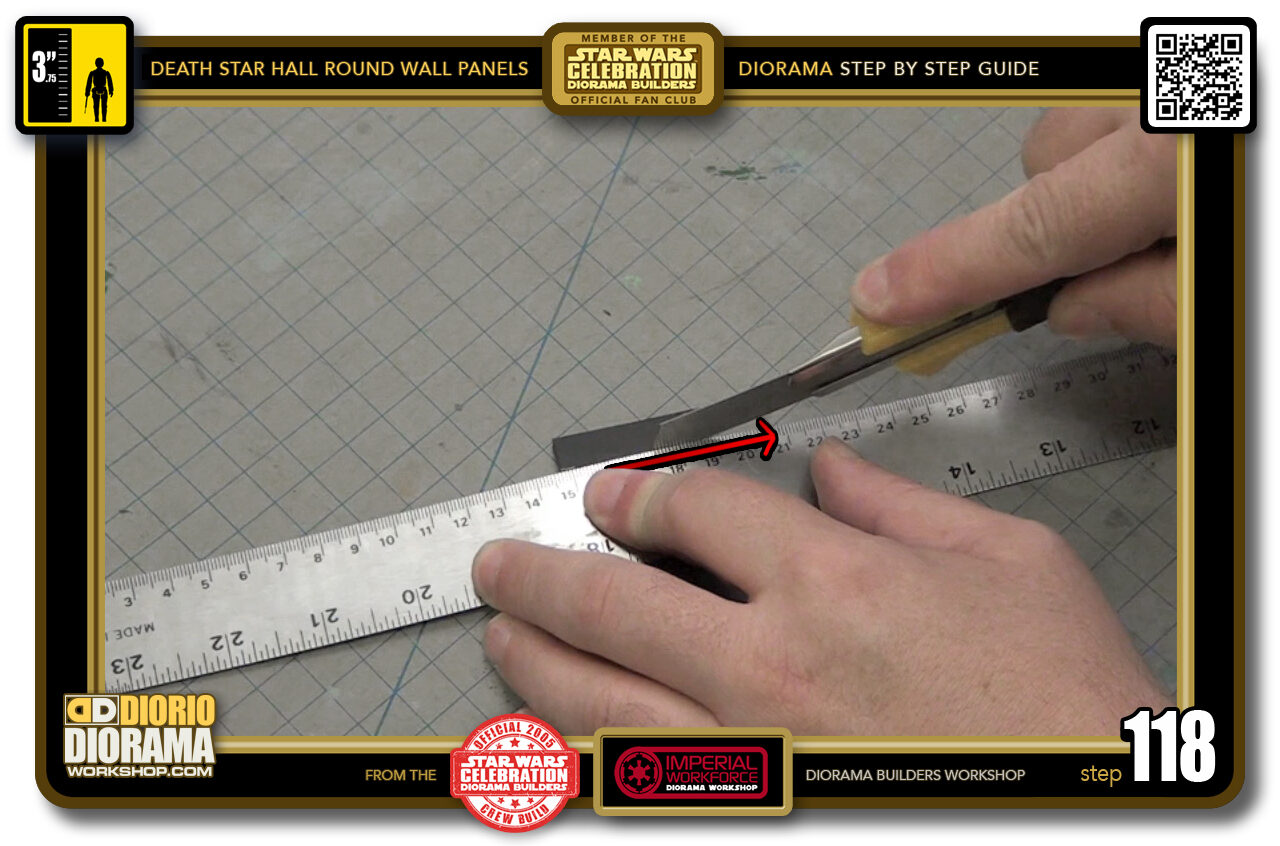
- STEP 118 > And cut that little excess 1 cm off.
-
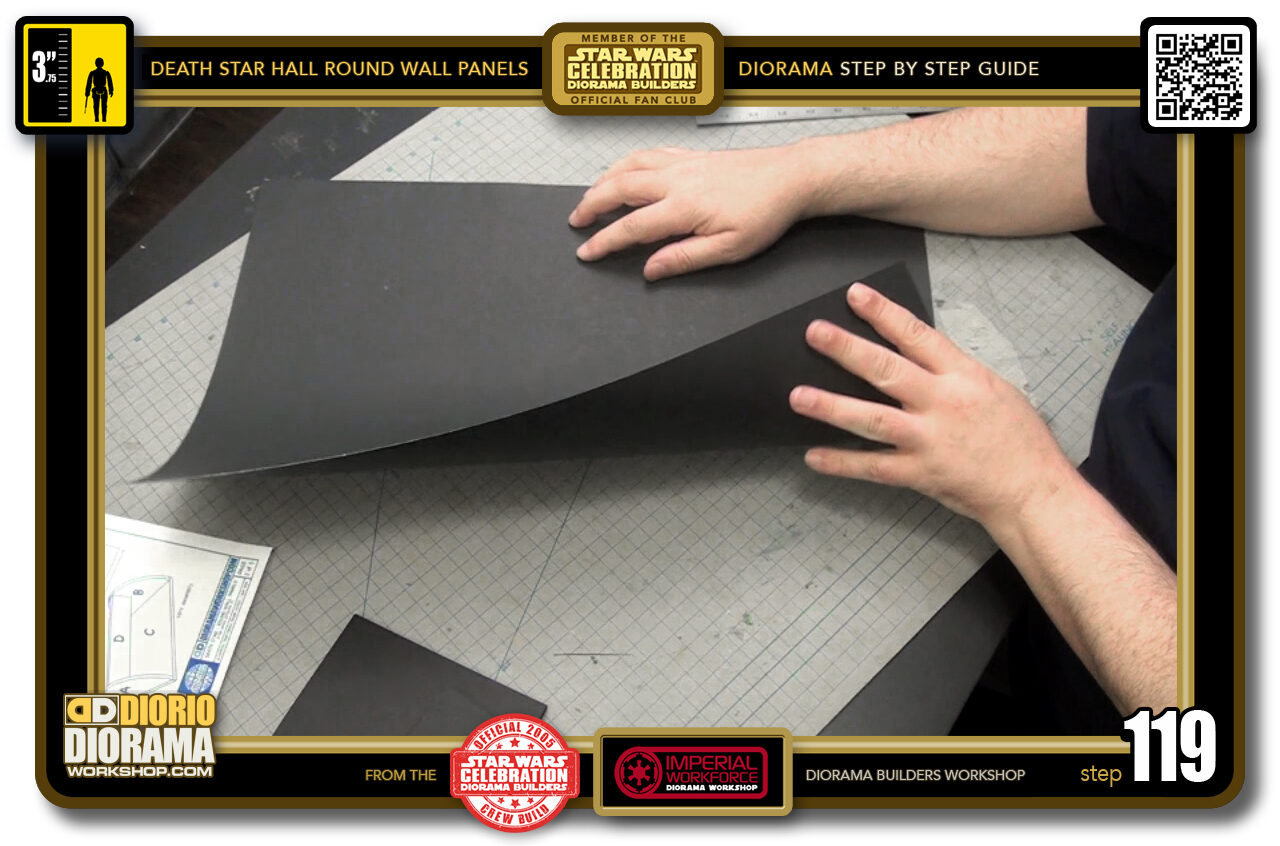
- STEP 119 > Move on to your poster board. See how it bends just like paper but is just a little thicker, adding extra support to your decals skin so it doesn't tear or have air pocket bumps later on.
-
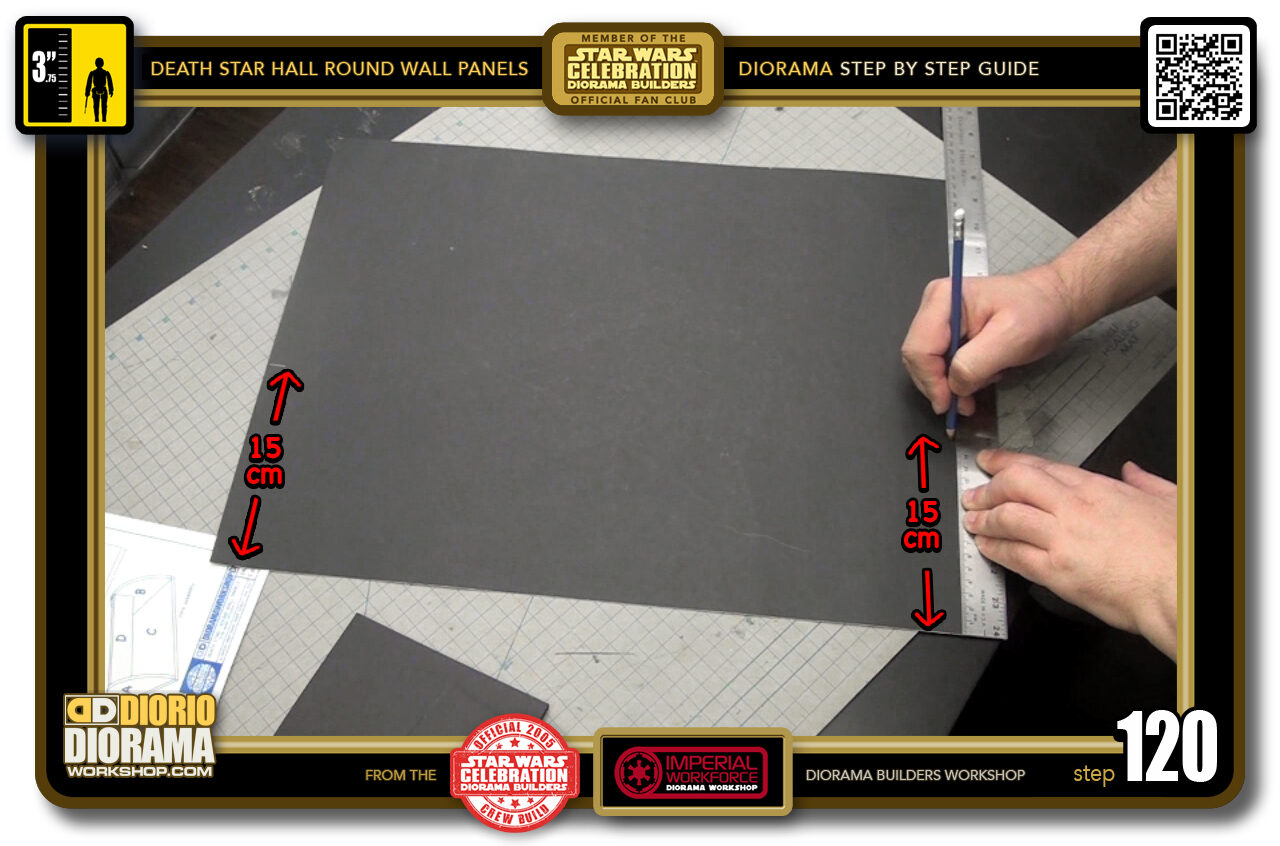
- STEP 120 > Start by measuring the height of our Panels which is 15 cm on both ends.

.
Did you already build this Diorama ? At home or at our Star Wars Celebration Diorama Builders workshop ? Would you like to show it in the site’s GALLERY VISITORS DIORAMAS section, YES ? That is Awesome !!! You can find out all the details on how to email me your photos on the VISITORS SUBMISSIONS INFO page … When I get your photos, I will create your very own page just like this one. You may not realize it but work does inspire others to join in the fun of making Action Figure Dioramas.
.
NOT FOR RESALE ALL Decals, tutorials and artwork are ©FrankDiorio (dioramaworkshop.com) and offered FOR FREE to the fans – that would be you ? so you can build and display my diorama designs in your very own home. I realize I cannot control what one does with my graphics once I place them on the web, I can only ask you as one fan to another, please respect the artist and do not be that jerk who uses my designs and tutorials to build a copy of my work only to sell it on EBAY or trade/sale groups and forums. Thank You. Frank.
.
.
If you have a facebook account, why not join the Official Diorama Builders Fan Club today, simply click the logo link below.
 .
.
Catch up with fellow visitors and exchange stories, read cool interviews with the crew, exchange photos, fun surprises and grab some FAN ONLY merchandise next year at actual future conventions ?
.
©2018 Frank Diorio DioramaWorkshop.Com
.
IF YOU LIKE WHAT YOU SEE, PLEASE SHARE WITH YOUR FRIENDS
USING THE SOCIAL MEDIA BUTTONS BELOW