


-
-
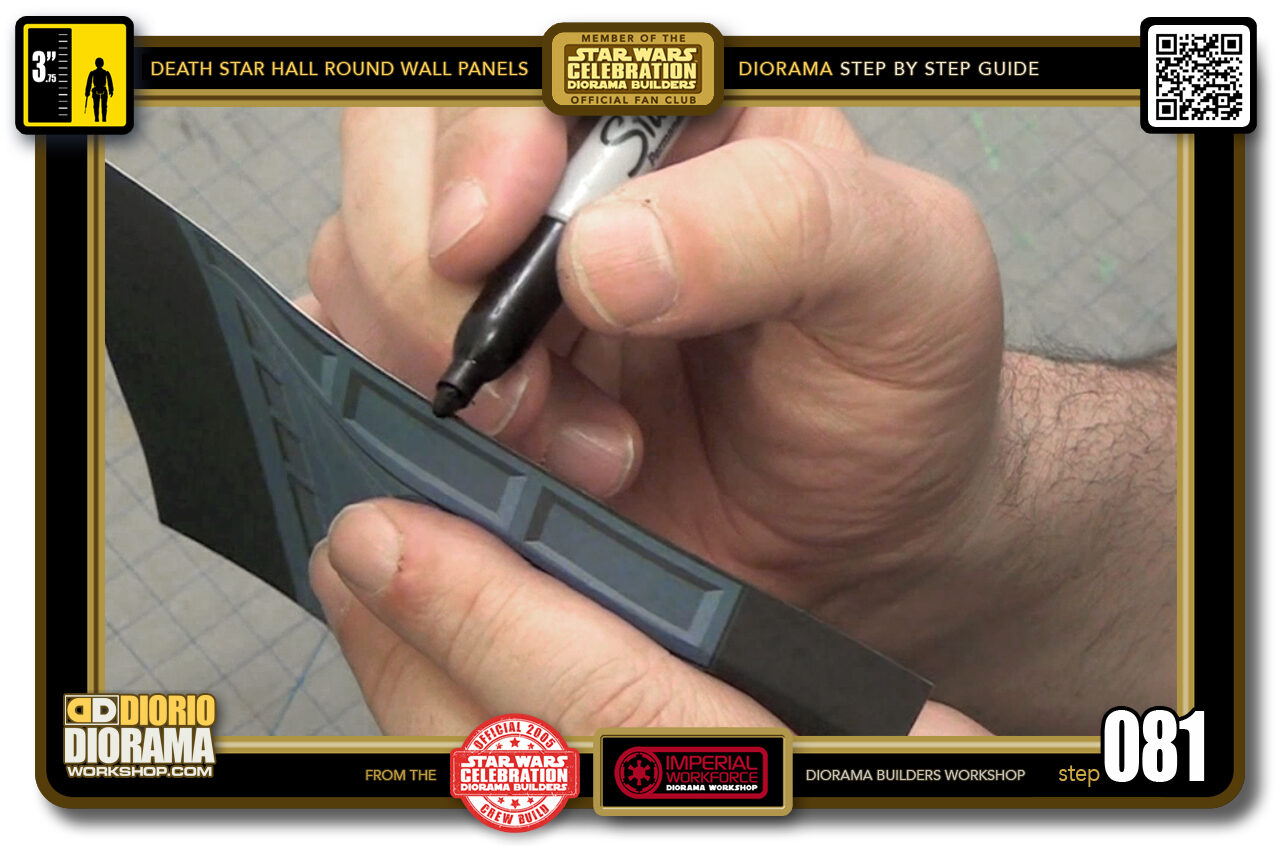
STEP 081 > Now if you have been doing other builds for the Death Star using my Decals you know of this step by now. It sems dumb but it makes a huge difference in the end when your decal is applied to the black foamcore. It really blends the 2 together.
So what you want to do is use the SIDE of your THICK BLACK SHARPIE - NOT THE TIP - and move it along the edge thickness of your decal. ALWAYS place the decal side against your holding hand fingers, that way, if your pen slips and makes a line smudge, it will do so on the rear of the decal.
-
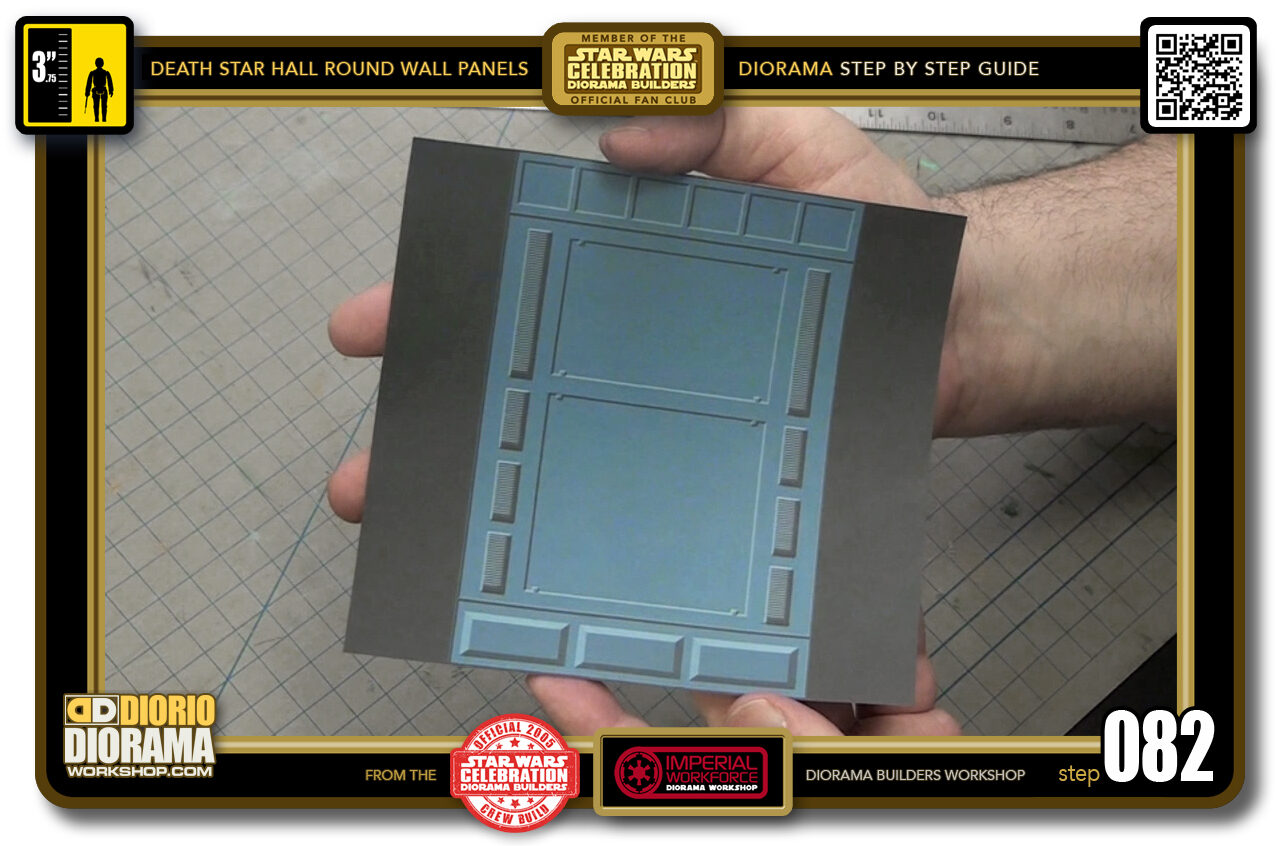
- STEP 082 > Once you drew your black sharpie line all the way around the 4 sides your decal is ready to fold.
-
-
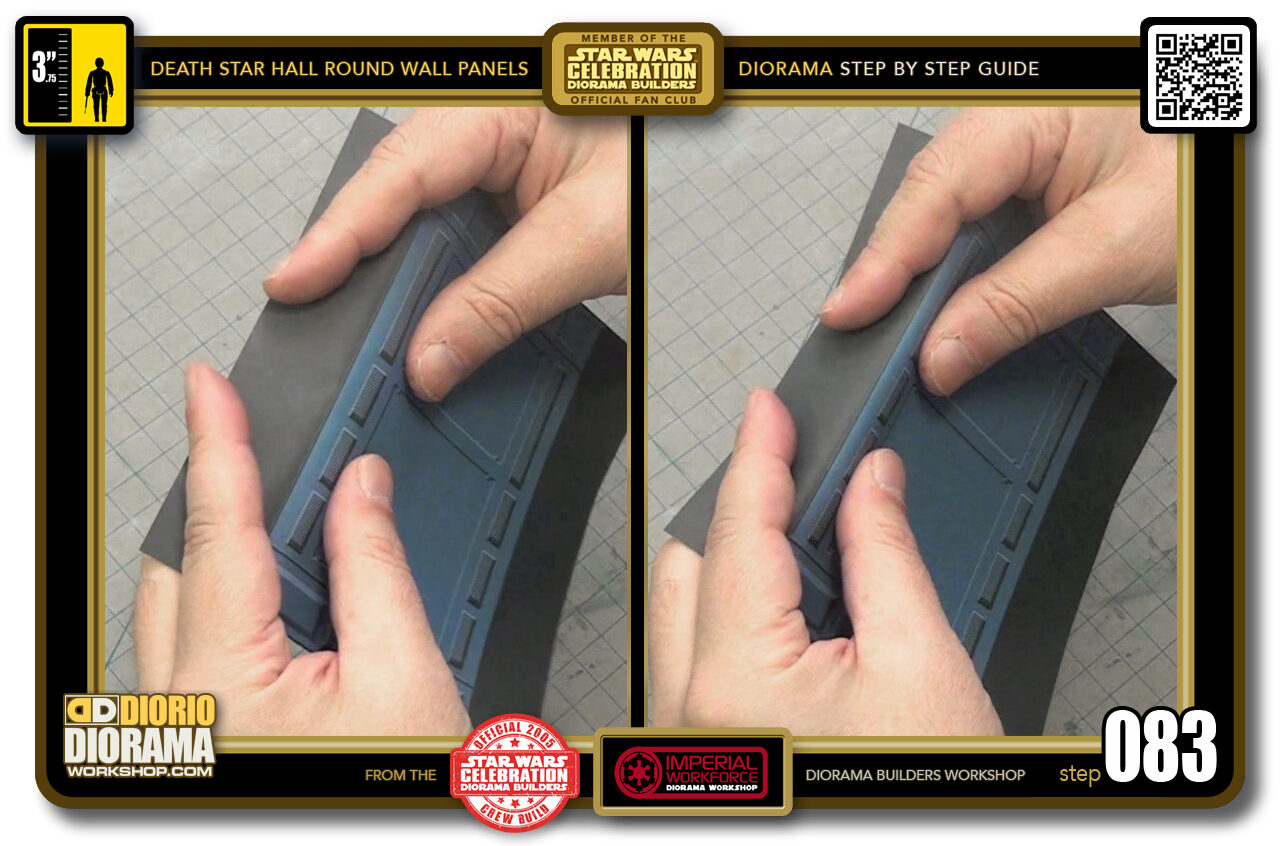
STEP 083 > If you use regular paper to print your decals these folds will be a lot easier and faster. When you use FULL LABEL SHEETS like I do that have a peel off wax paper on the back, it makes the decal thicker which means you just have to fold using some extra steps.
Start by placing both index fingers behind and use your thumbs to start the rolling, curving motion. We are not going for the preciseness of the exact folding line yet. After you fold all the way across, go back and now put a little more pressure this time removing your index fingers and press all the way across.
-
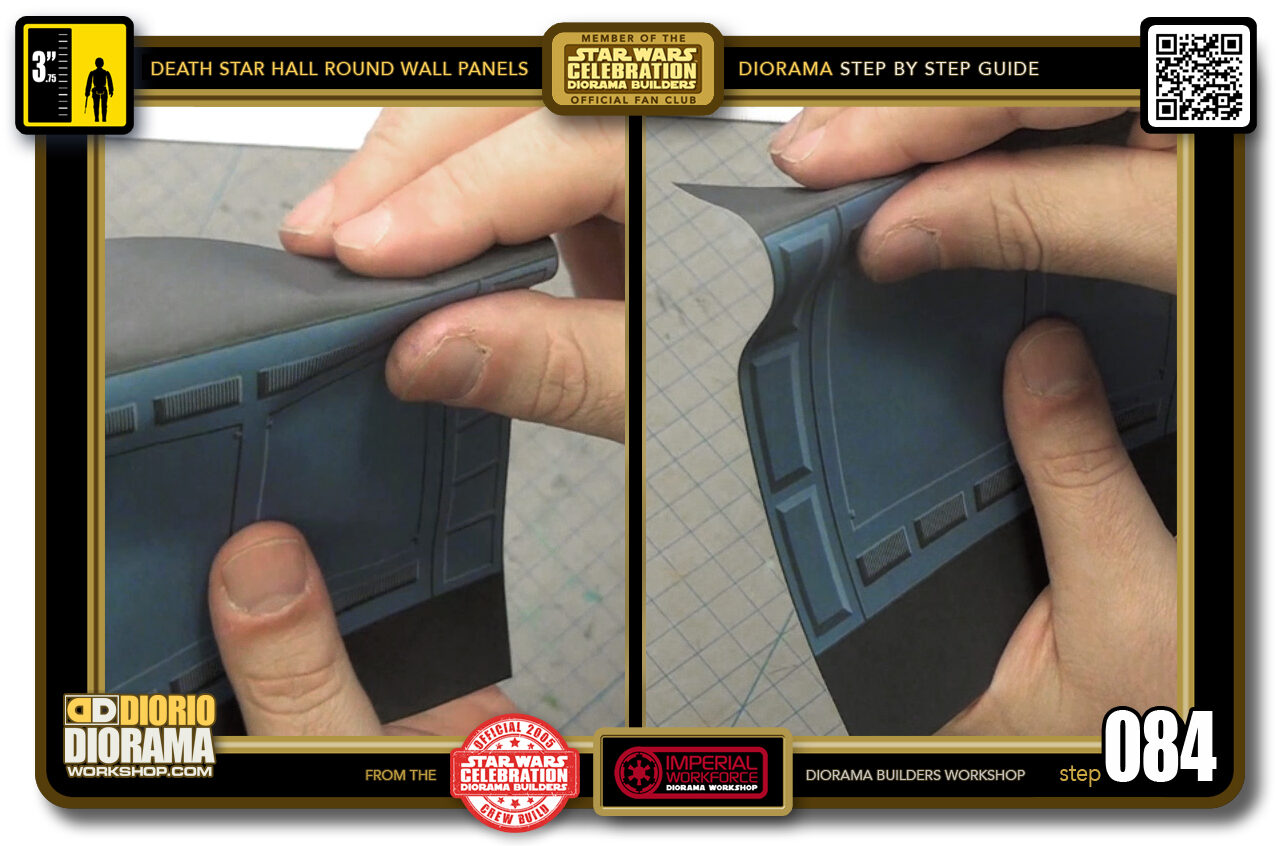
- STEP 084 > As you keep pinching tighter and tighter you will see your fold starting to take shape. At this point you can start pinching with light pressure as you see on the left, after you go all the way across, then start again pinching a little harder and you will see that the fold is appearing where the line is as seen in the right photo.
-
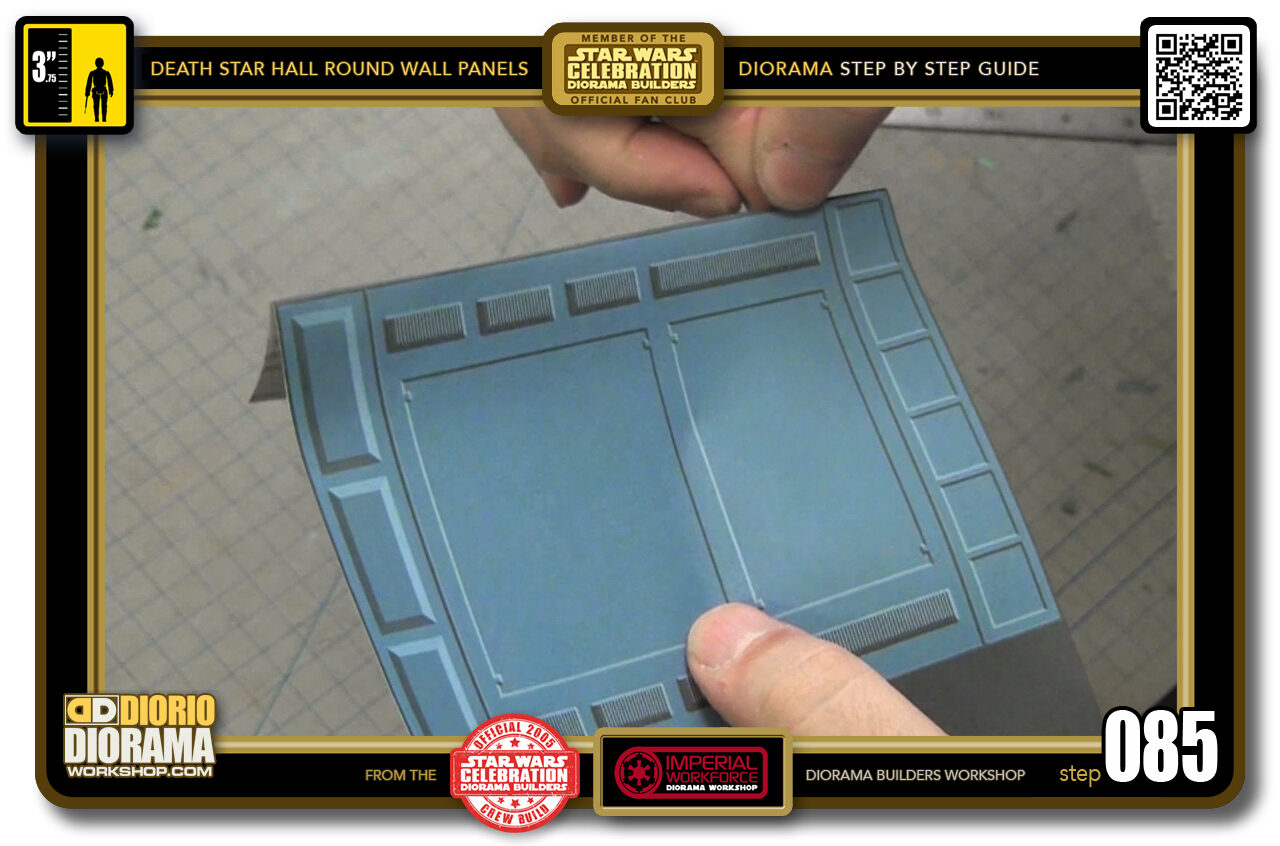
- STEP 085 > After 4-5 passes your fold will be evident enough in the papers memory that you can pinch super tight as you move your fingers from one side to the other. Your fold is in pretty good shape now.
-
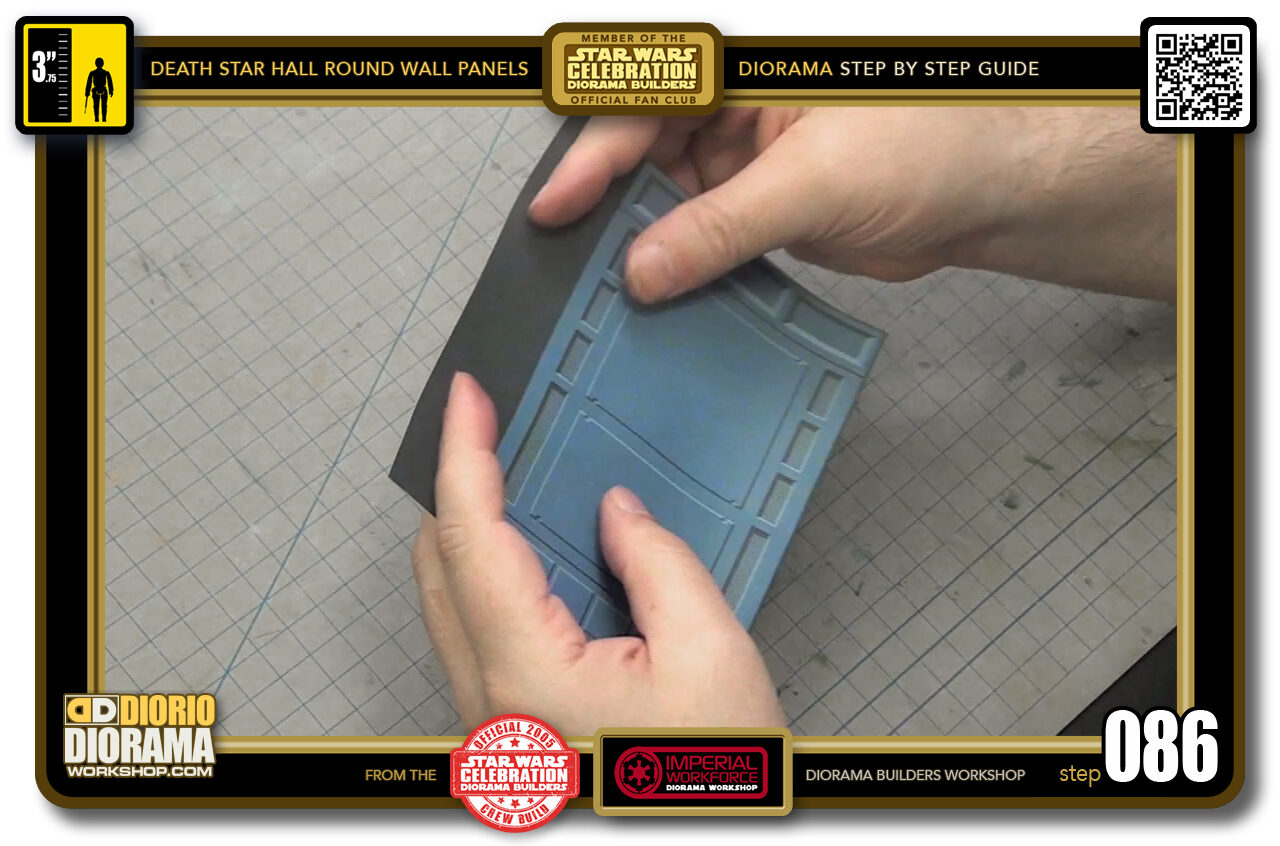
- STEP 086 > Flip your decal to the other side and repeat the steps to get your tight fold on this end now.
-
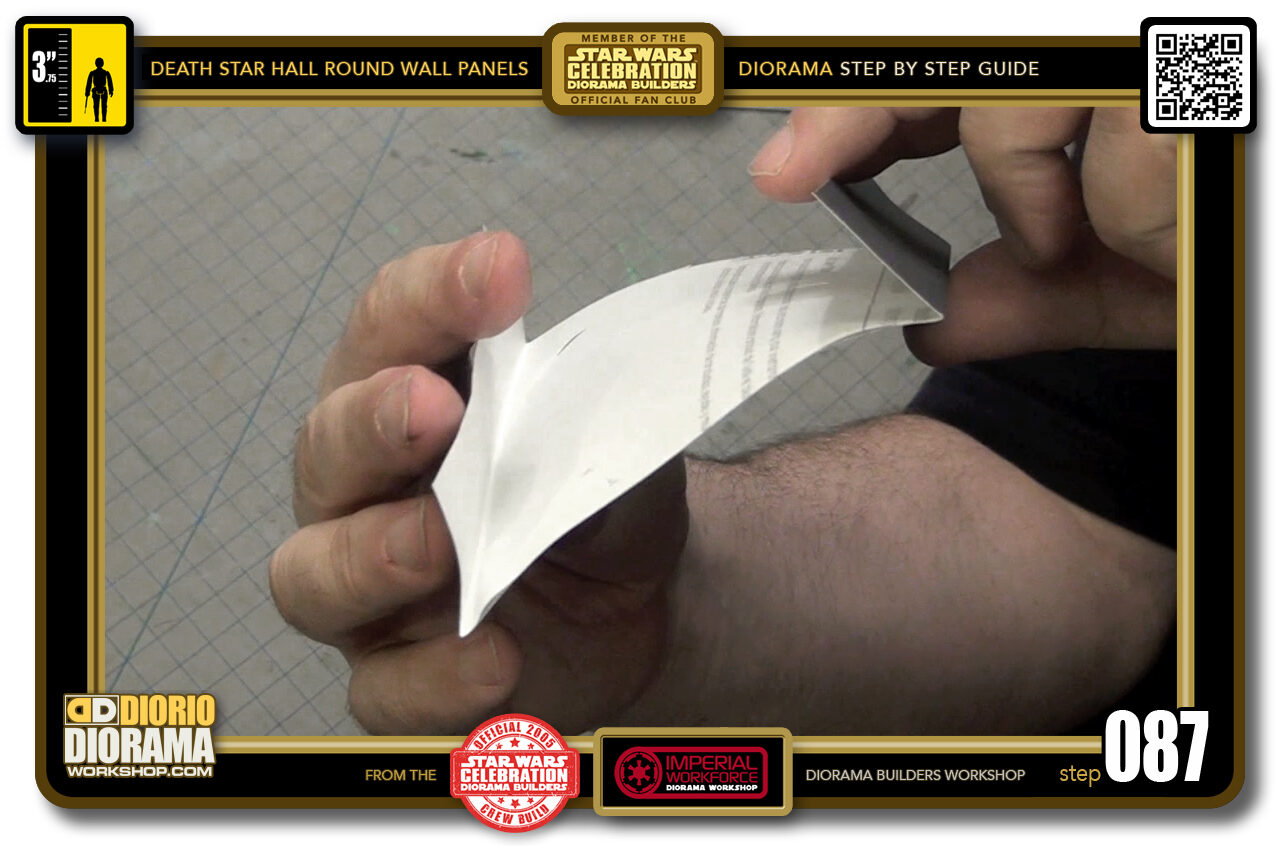
- STEP 087 > See how your folds are now in the memory of your decal. This will help you know where to align them perfectly when you apply them later.
-
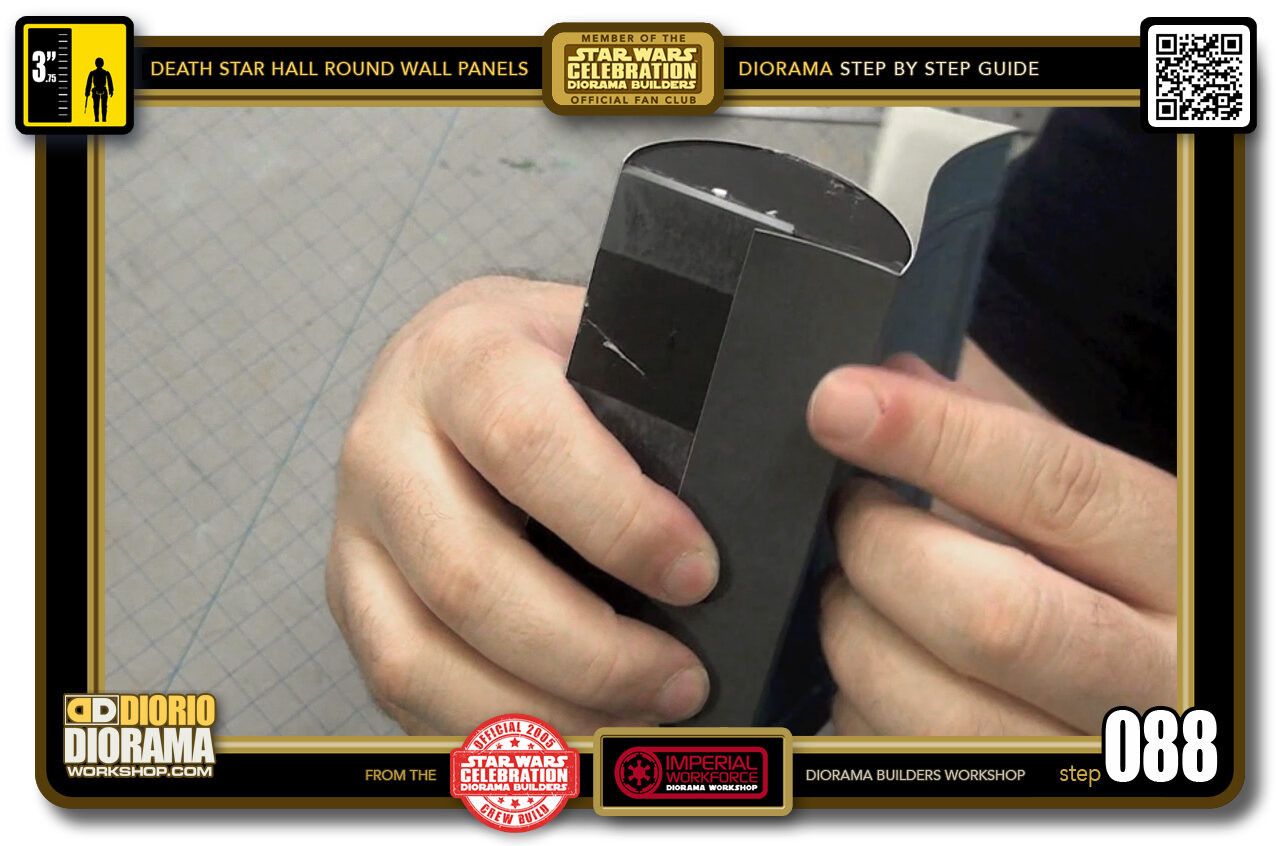
- STEP 088 > Here you can see where the dark end will attach to the Round Wall Panel. Right behind the base rear side. Then the actual decal pattern wraps around the tube.
-
-
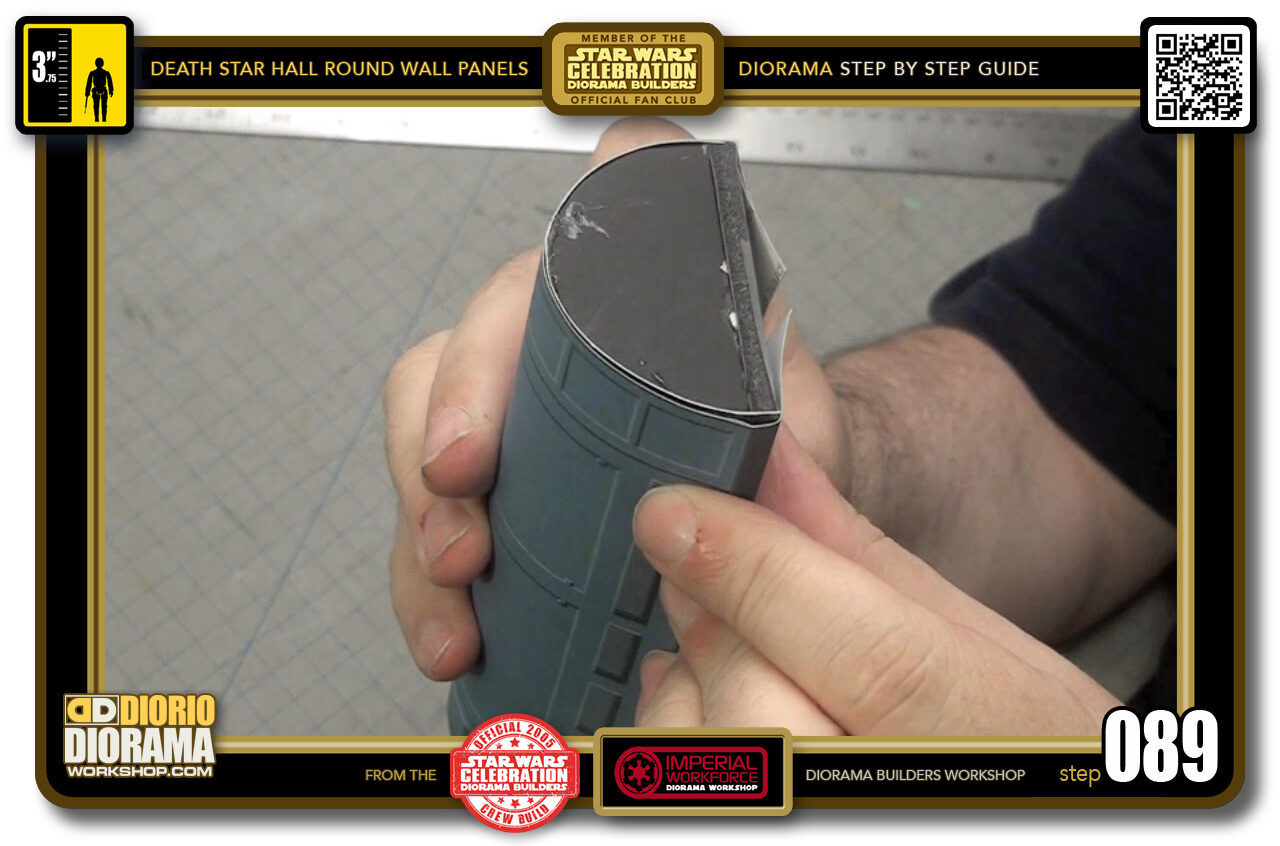
STEP 089 > The remaining part of your decal, the other side dark strip will then fold around the opposite rear wall corner and secure the entire decal in place but more important, hide the glue seams of your foamcore thicknesses.
Even if you used Full Size label sheets and will peel the back away, I find it very helpfull to use gluestick as well as it makes the surface slippery and allows you wiggle the decal into the perfect position more easily.
NEVER EVER USE HOT GLUE TO APPLY DECALS !!!! you will create bubbles and warping and it will be a hot mess. ALWAYS USE GLUE STICK !!!
-

- STEP 090 > If you used plain paper you need for sure to place glue stick all over your first half of your poster board tube.
-
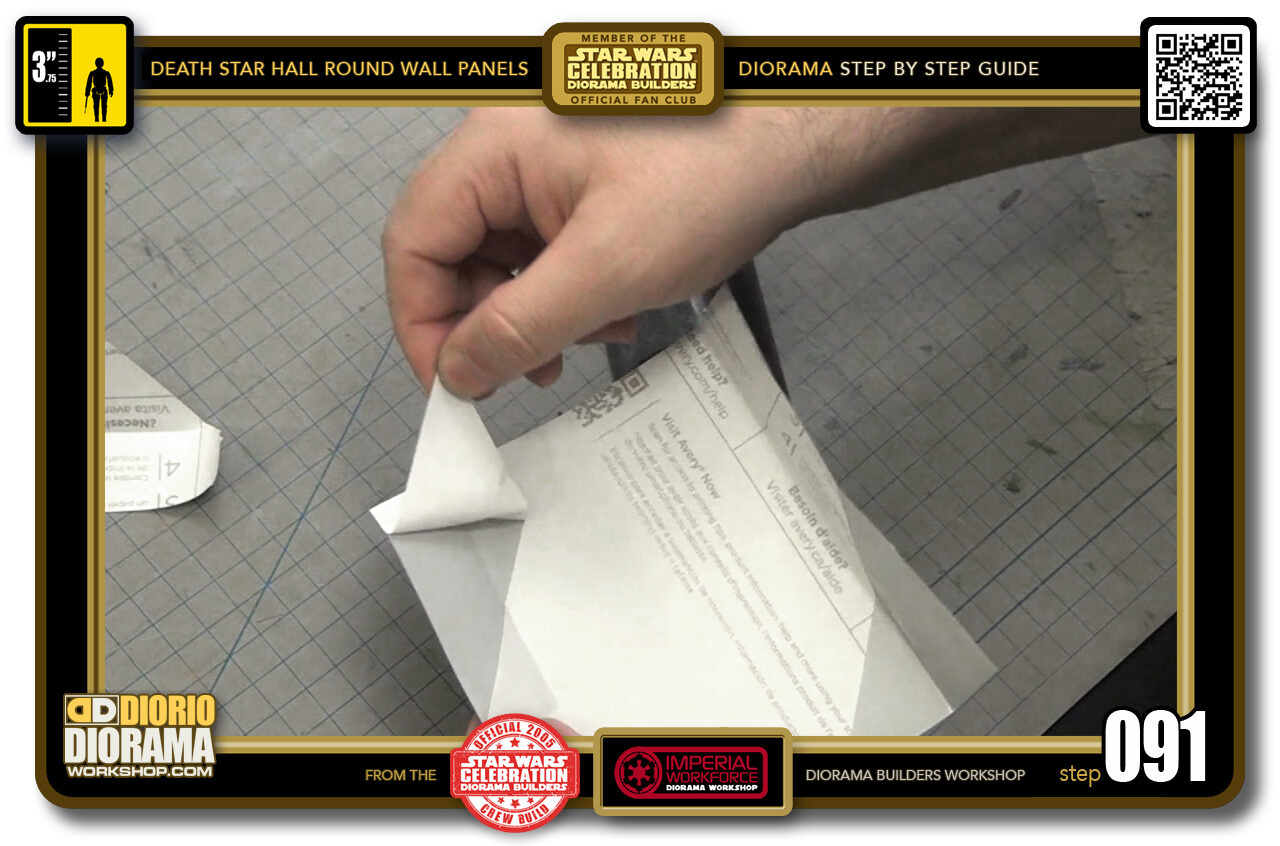
- STEP 091 > Time to peel your decals.
-
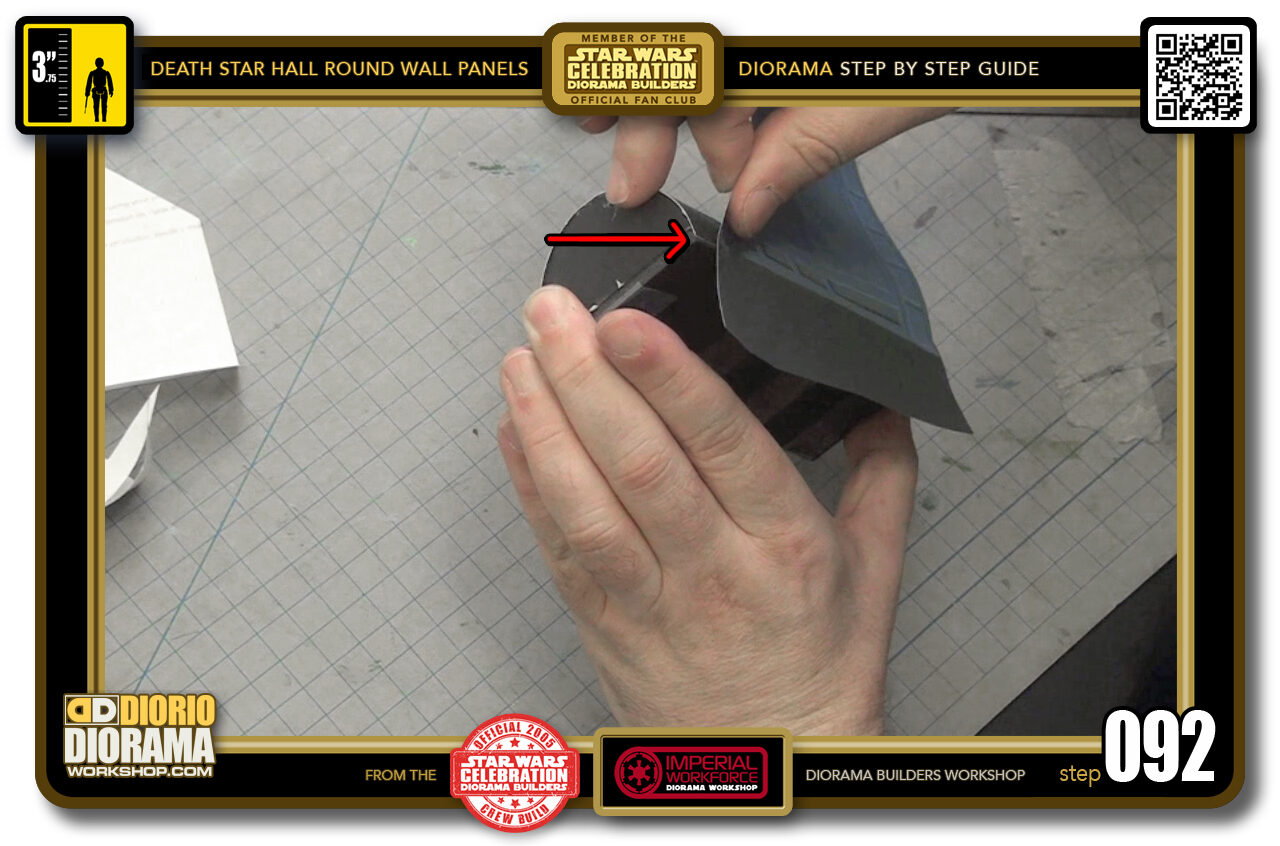
- STEP 092 > Now take your decal and align the folding line with the corner edge of your Round Wall tube.
-
-
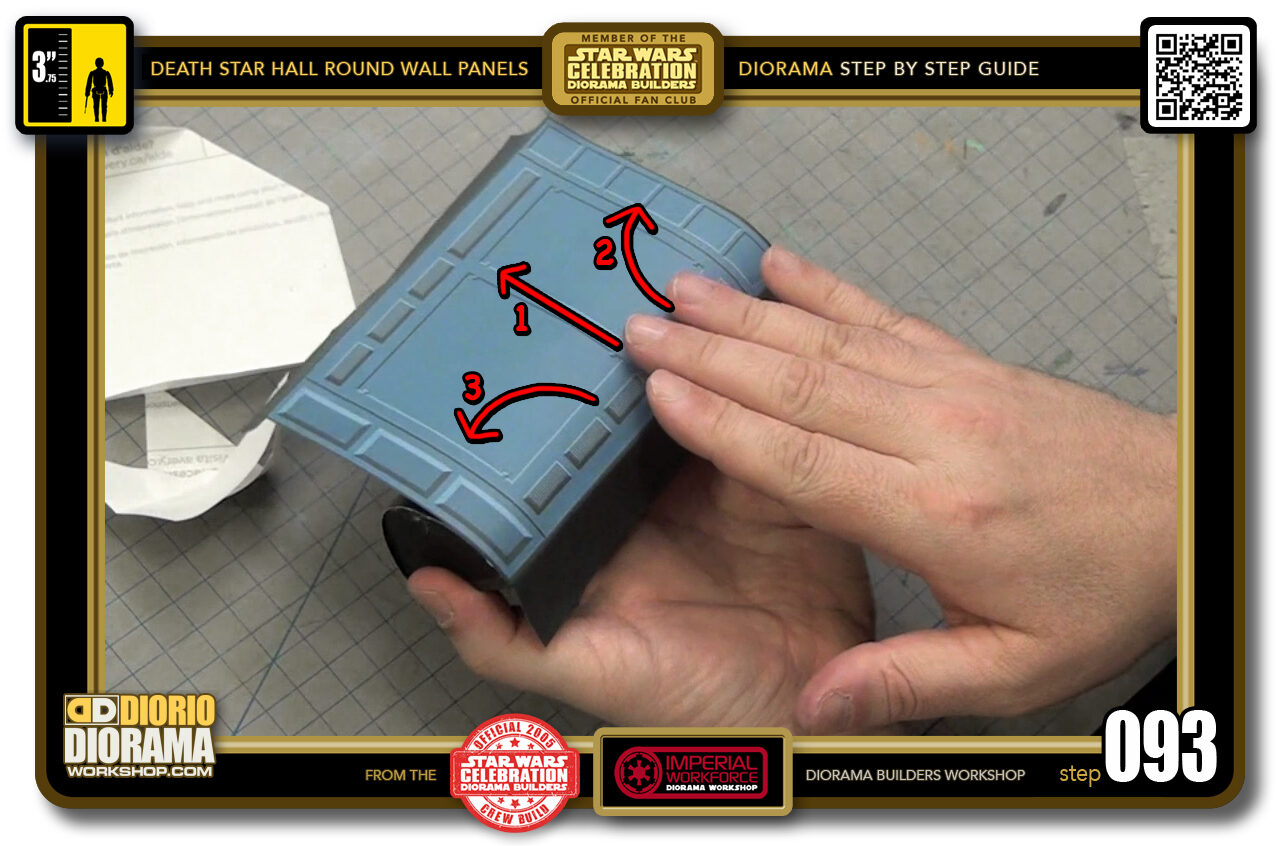
STEP 093 > When the line follows the edge perfectly, then apply some pressure along the bottom all the way across then start with the centre 1) move your hand up to the middle front of your curve, go back to the edge, then 2) move your hand up and towards the right. Last 3) back to the start and move your hand up towards the left. This will prevent any air pockets to form and create bubbles or folds in your decal skin.
Now apply Glue Stick to the remaining other half of your poster board surface so that you can finish the decal application.
-
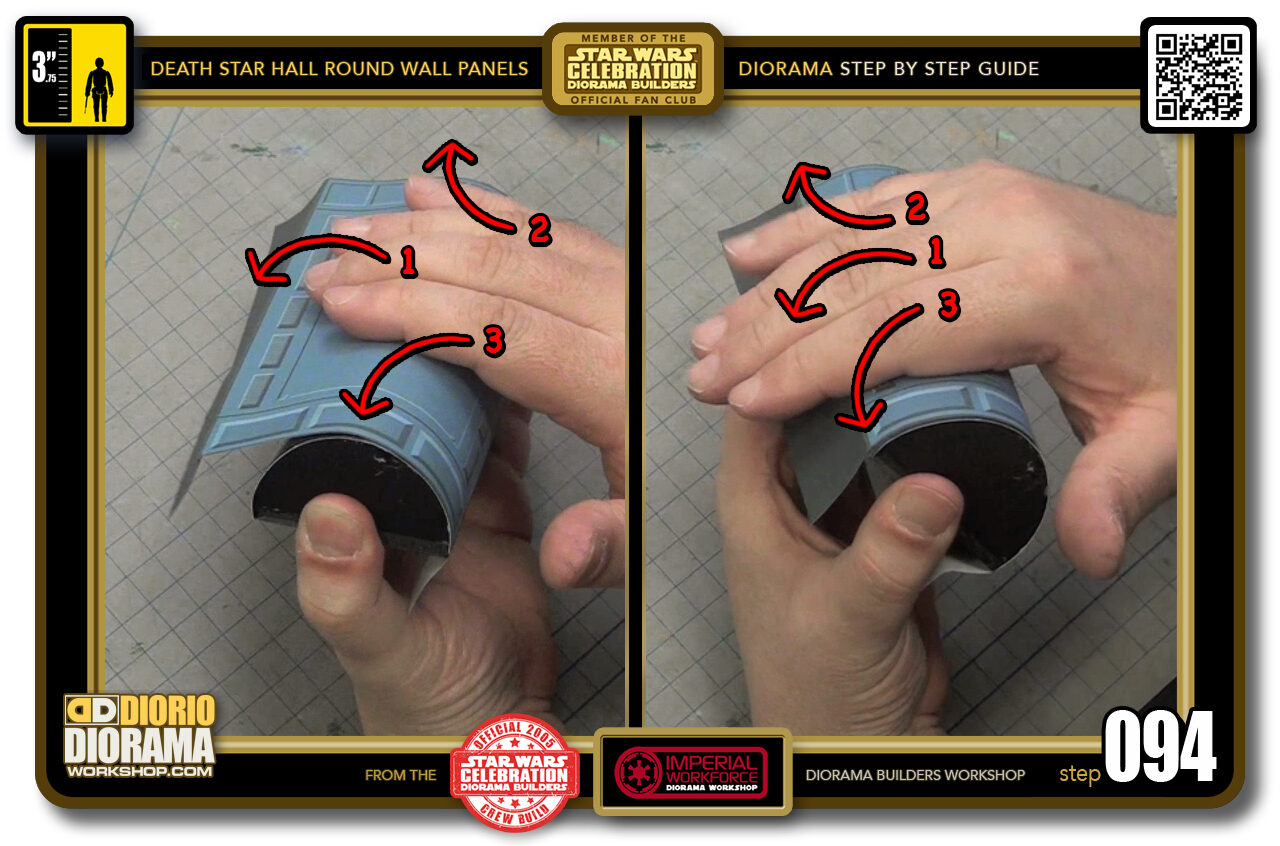
- STEP 094 > Just as before you can move your hand across the decal surface slowly allowing it to make contact with your poster board surface. Move a little forwards, back to start forward right, back to start, forward left. Then back to where you last put pressure and start from the centre and move all the way to the end of the tube now. Then same for right and left.
-
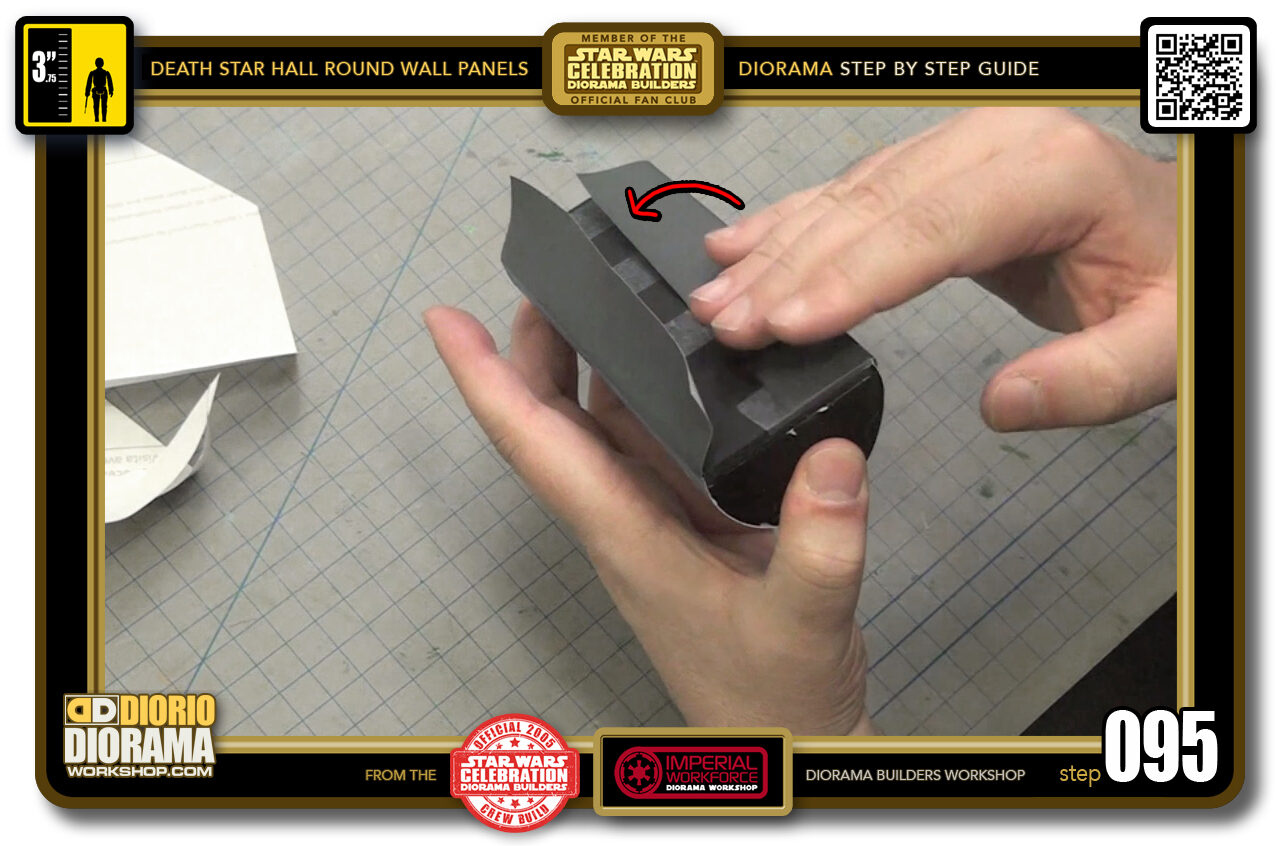
- STEP 095 > You can now fold over the dark sides onto the rear of the base panel. If you used regular paper, you will need to apply glue stick first before folding.
-
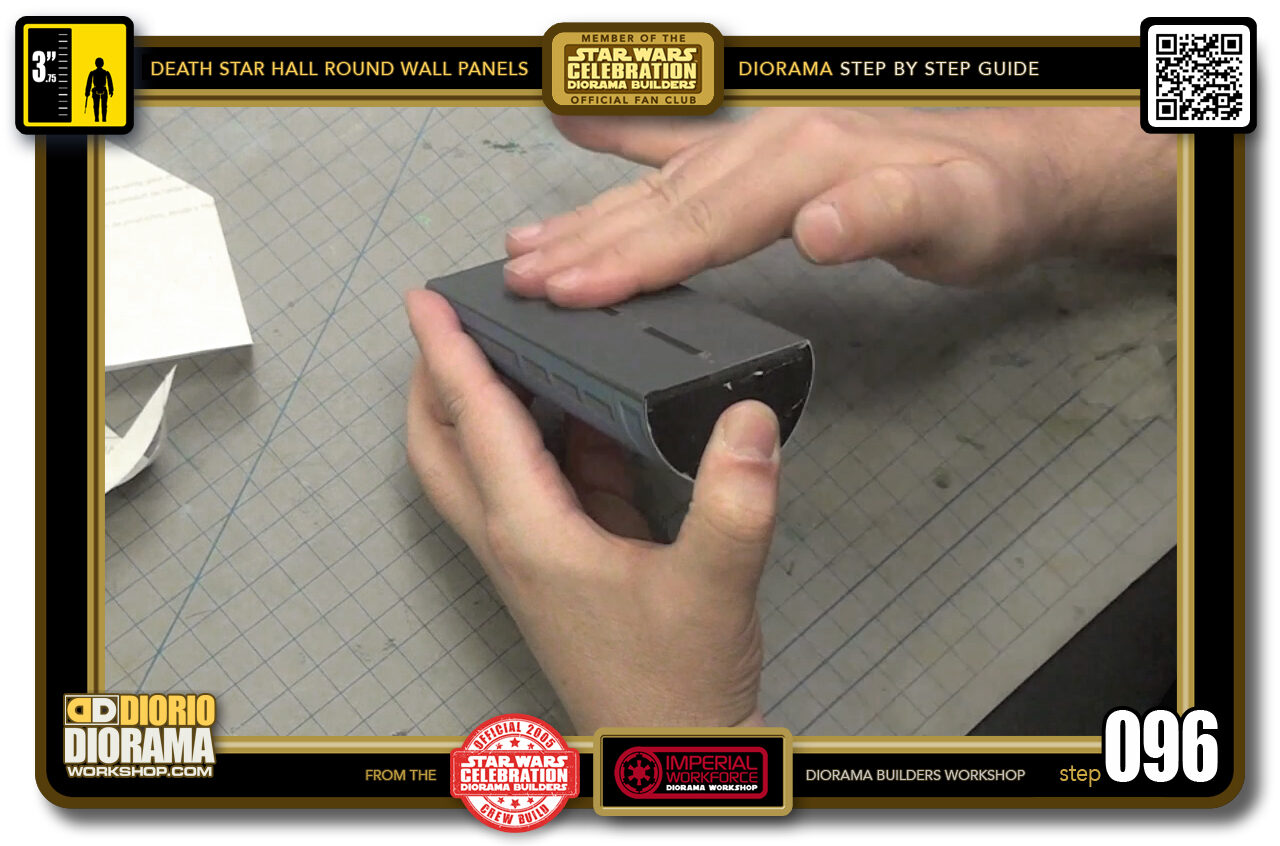
- STEP 096 > Press and rub with your fingers making sure the decals have no bubbles.
-
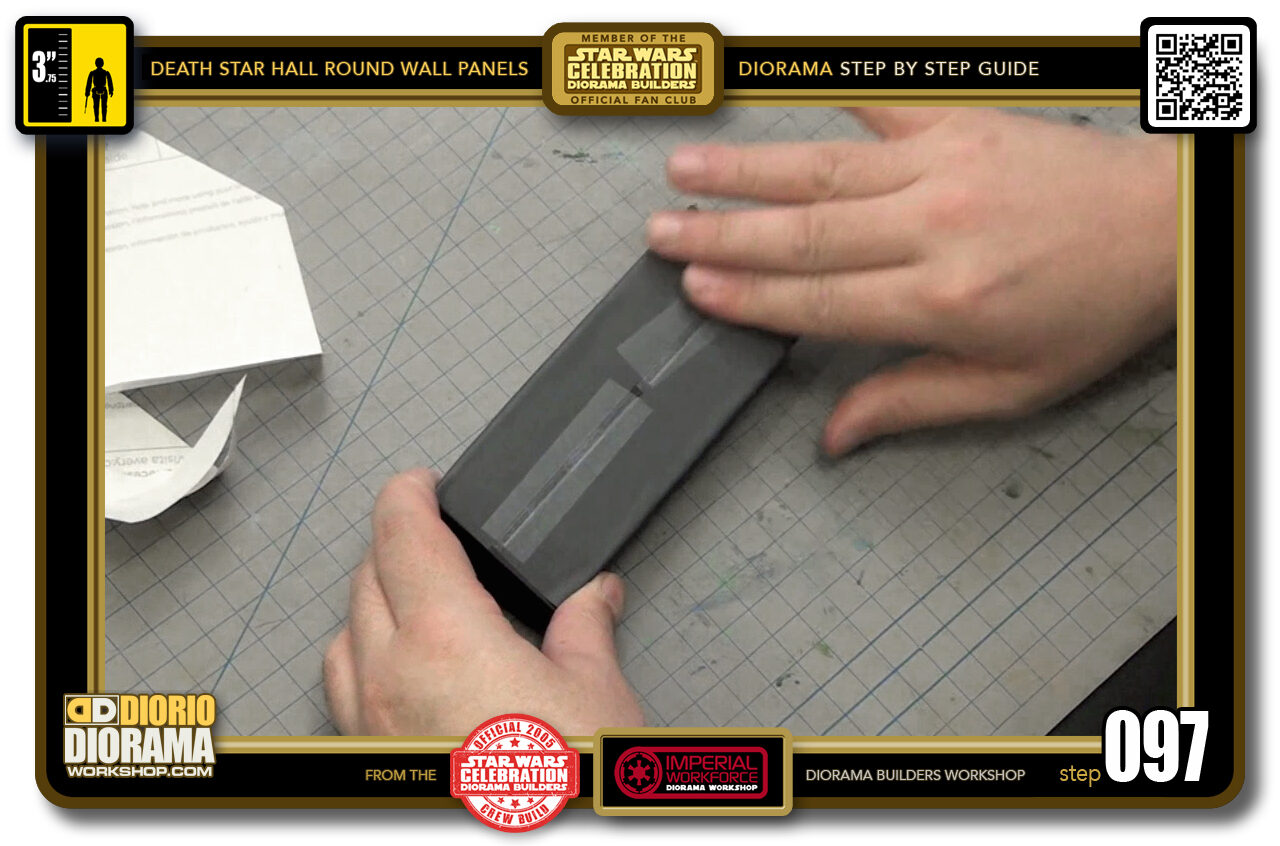
- STEP 097 > If you want the decal to be extra secure in place you can put some pieces of scotch tape in the centre to make sure they will never pop off.
-
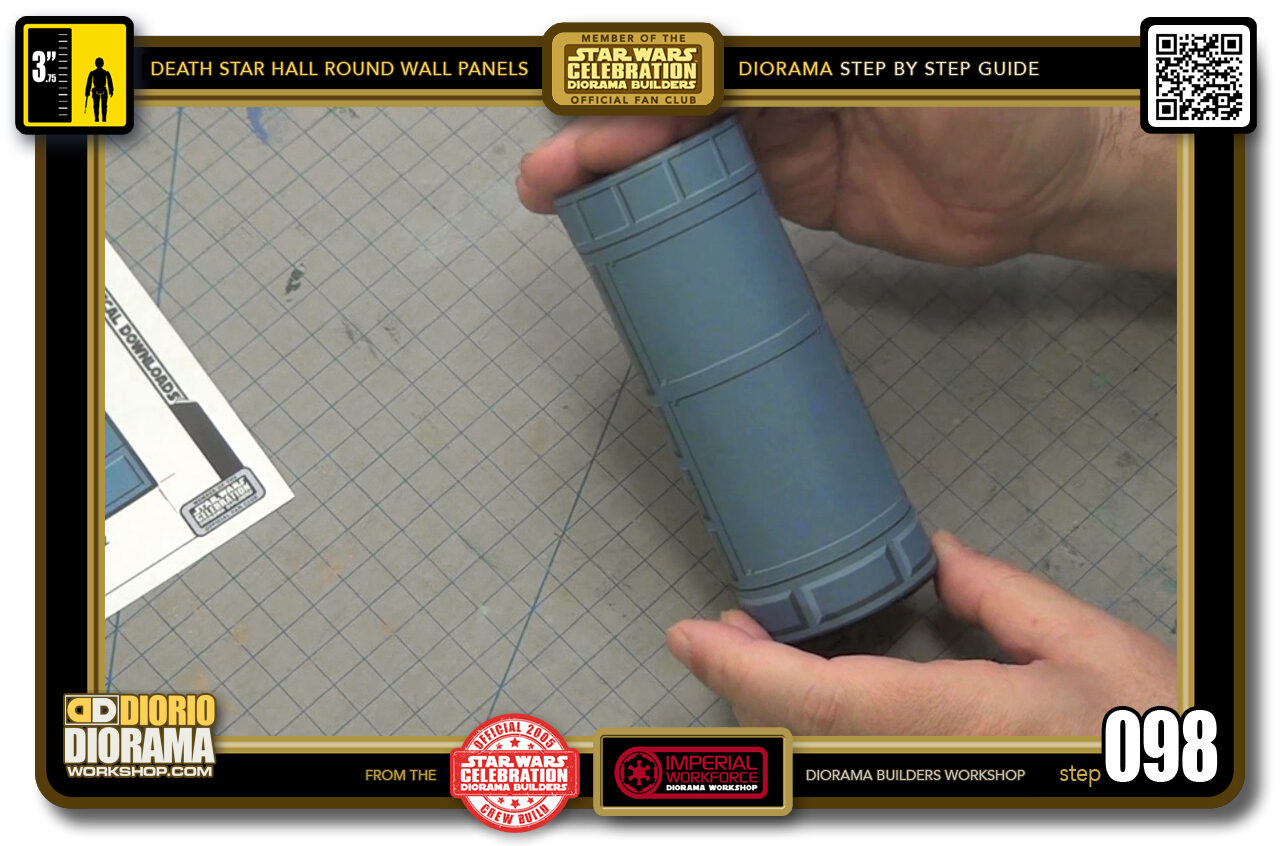
- STEP 098 > If you are attaching your Round Wall Panel to a hallway wall, Congratulations, you are now complete. 🙂
-
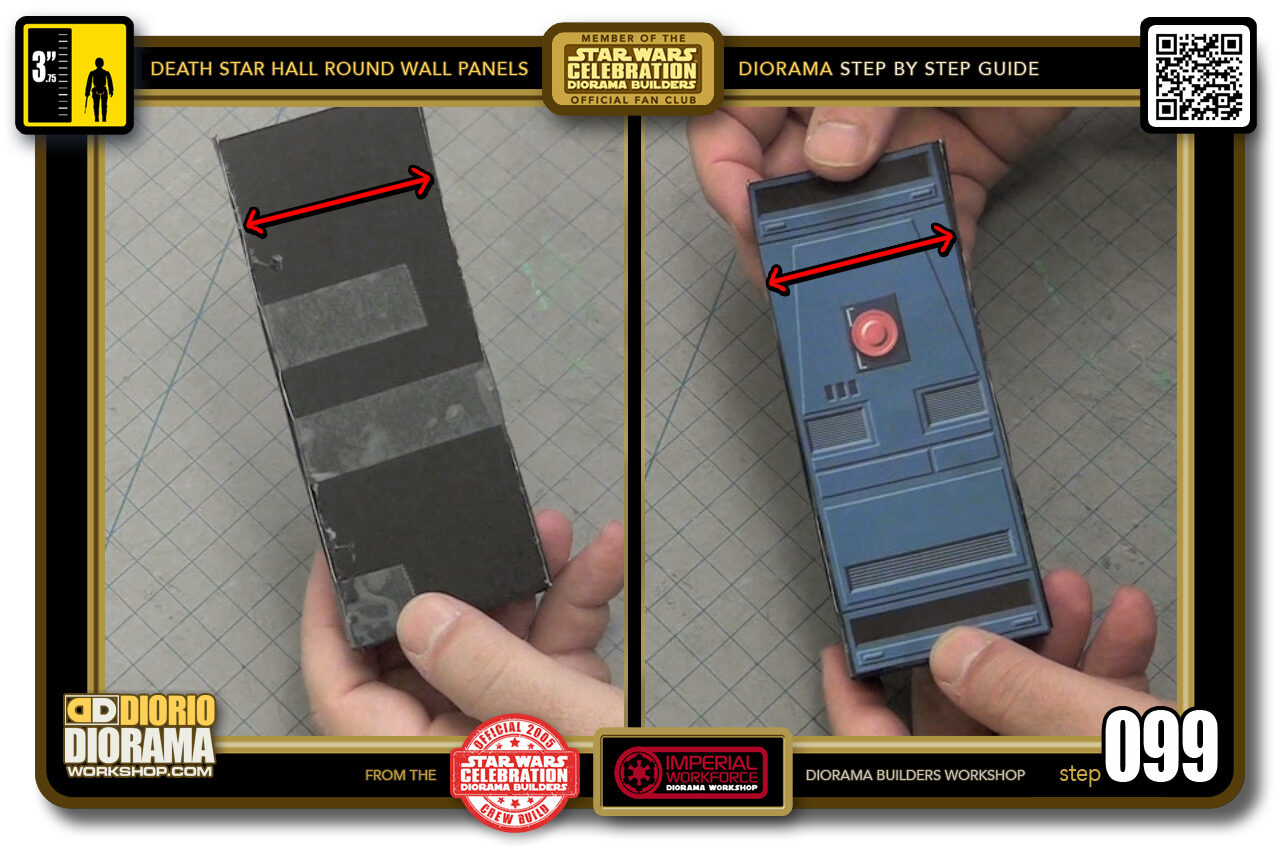
- STEP 099 > However if you are using it as a support for ectra hallway levels that you will be stacking on top of each other to create you multi level Death Star diorama, then you can grab ANY of the BASIC WALL DECALS - they ALL measure the SAME 6 cm width as the Round Wall Panel rear, and can be placed on the back to create a cool look instead of black taped up mess 🙂
-
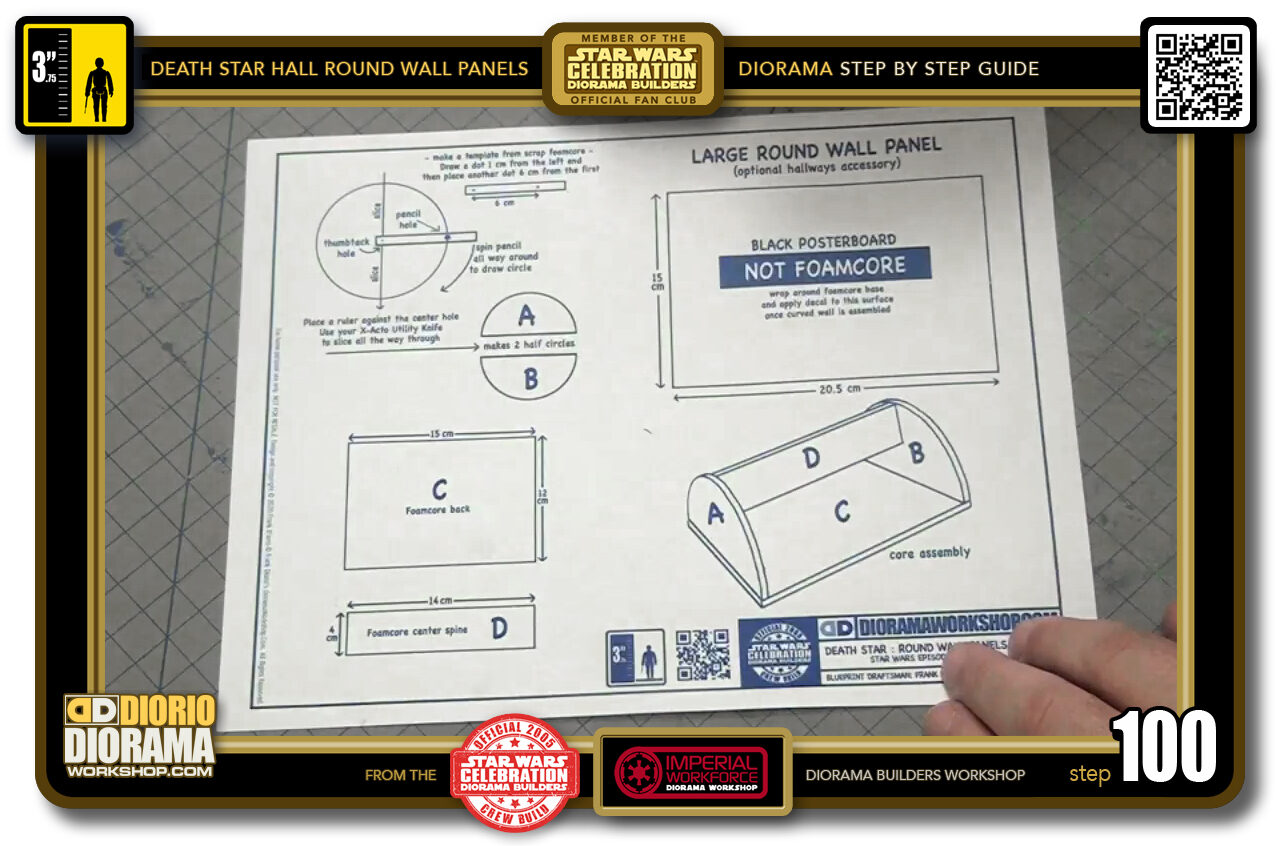
- STEP 100 > Time to move on to the Large Round Panel.

.
Did you already build this Diorama ? At home or at our Star Wars Celebration Diorama Builders workshop ? Would you like to show it in the site’s GALLERY VISITORS DIORAMAS section, YES ? That is Awesome !!! You can find out all the details on how to email me your photos on the VISITORS SUBMISSIONS INFO page … When I get your photos, I will create your very own page just like this one. You may not realize it but work does inspire others to join in the fun of making Action Figure Dioramas.
.
NOT FOR RESALE ALL Decals, tutorials and artwork are ©FrankDiorio (dioramaworkshop.com) and offered FOR FREE to the fans – that would be you ? so you can build and display my diorama designs in your very own home. I realize I cannot control what one does with my graphics once I place them on the web, I can only ask you as one fan to another, please respect the artist and do not be that jerk who uses my designs and tutorials to build a copy of my work only to sell it on EBAY or trade/sale groups and forums. Thank You. Frank.
.
.
If you have a facebook account, why not join the Official Diorama Builders Fan Club today, simply click the logo link below.
 .
.
Catch up with fellow visitors and exchange stories, read cool interviews with the crew, exchange photos, fun surprises and grab some FAN ONLY merchandise next year at actual future conventions ?
.
©2018 Frank Diorio DioramaWorkshop.Com
.
IF YOU LIKE WHAT YOU SEE, PLEASE SHARE WITH YOUR FRIENDS
USING THE SOCIAL MEDIA BUTTONS BELOW