


-
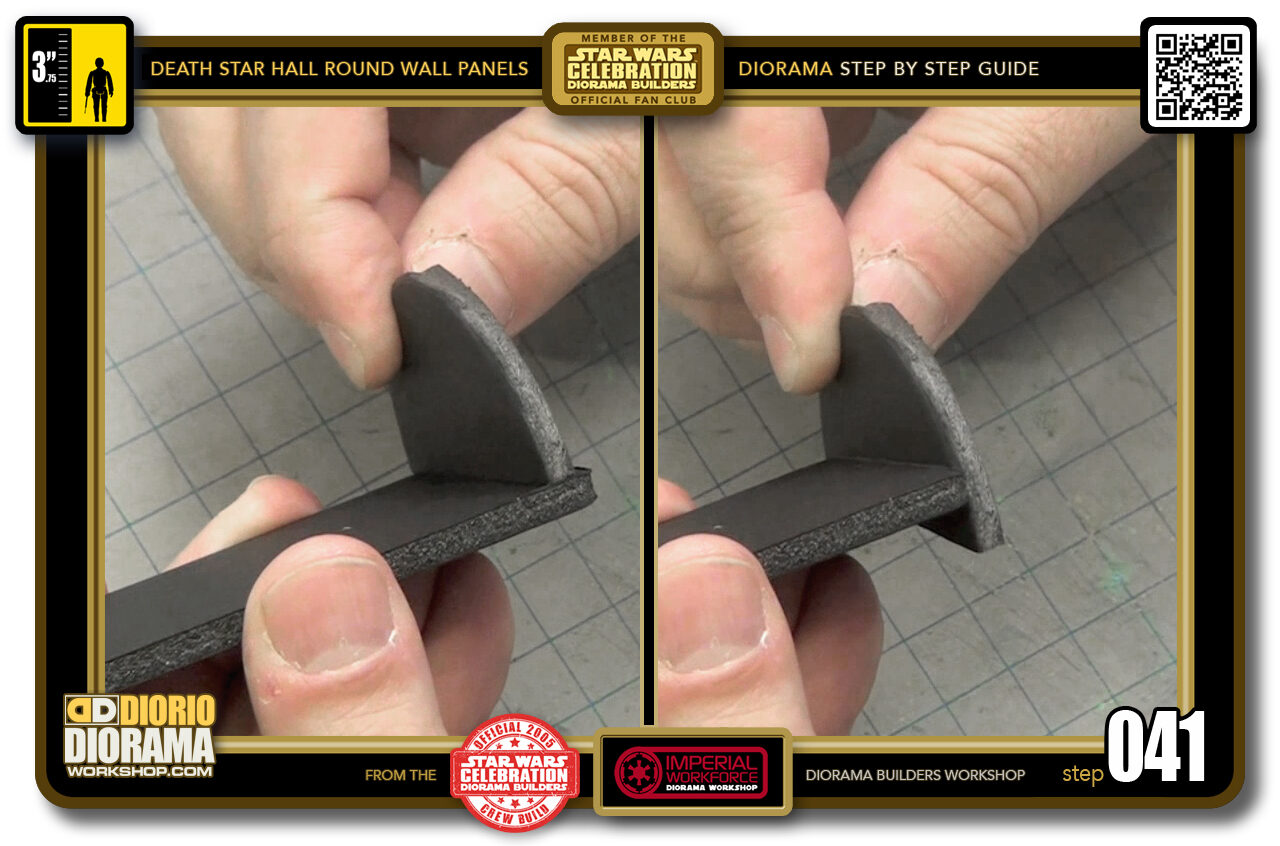
- STEP 041 > First piece to attach is one of your half circles. Now you want to place it on TOP of your base panel as close to the edge as possible like on the left side. You DON'T want to glue it on the SIDE like you see on the right side of the photo.
-
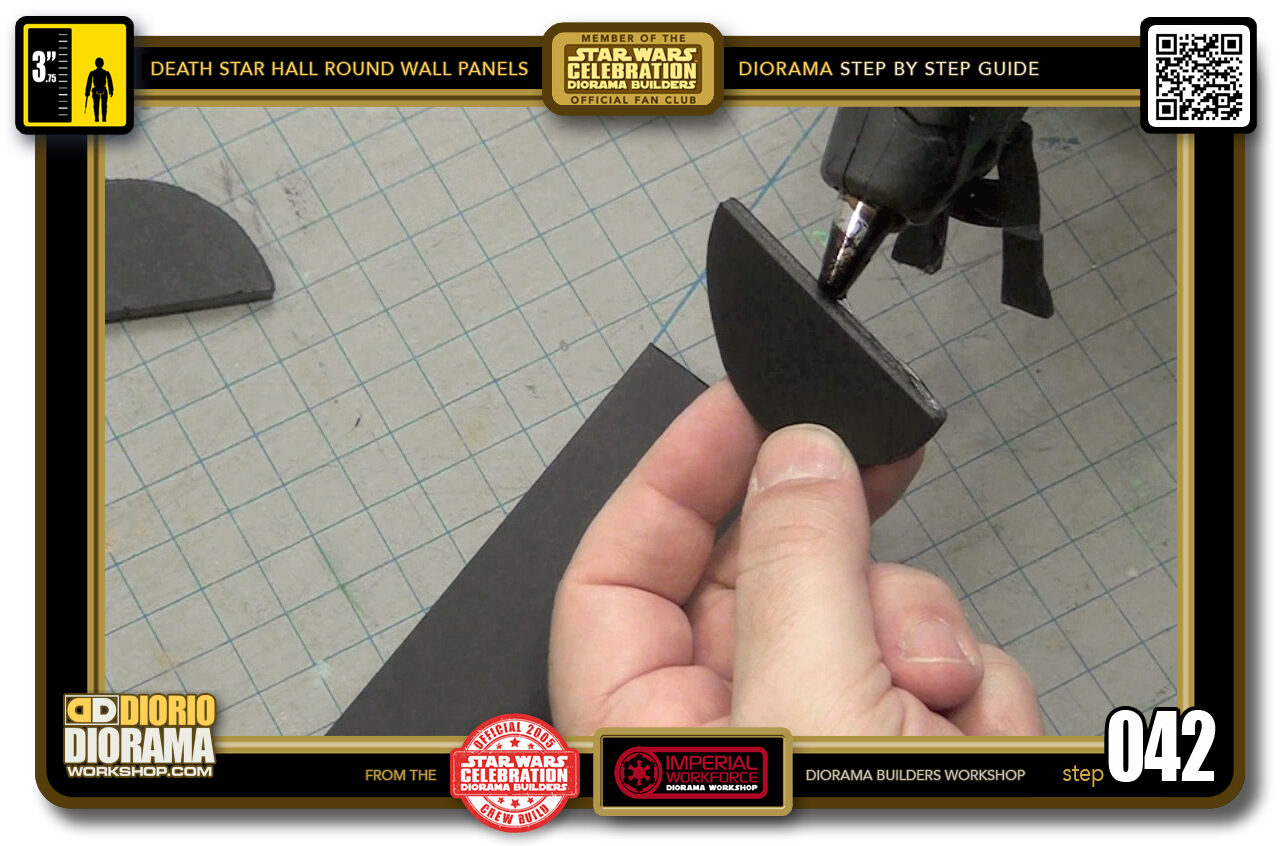
- STEP 042 > Grab your hot glue gun and sqeeze a line of hot glue along the straight edge of your half circle piece.
-
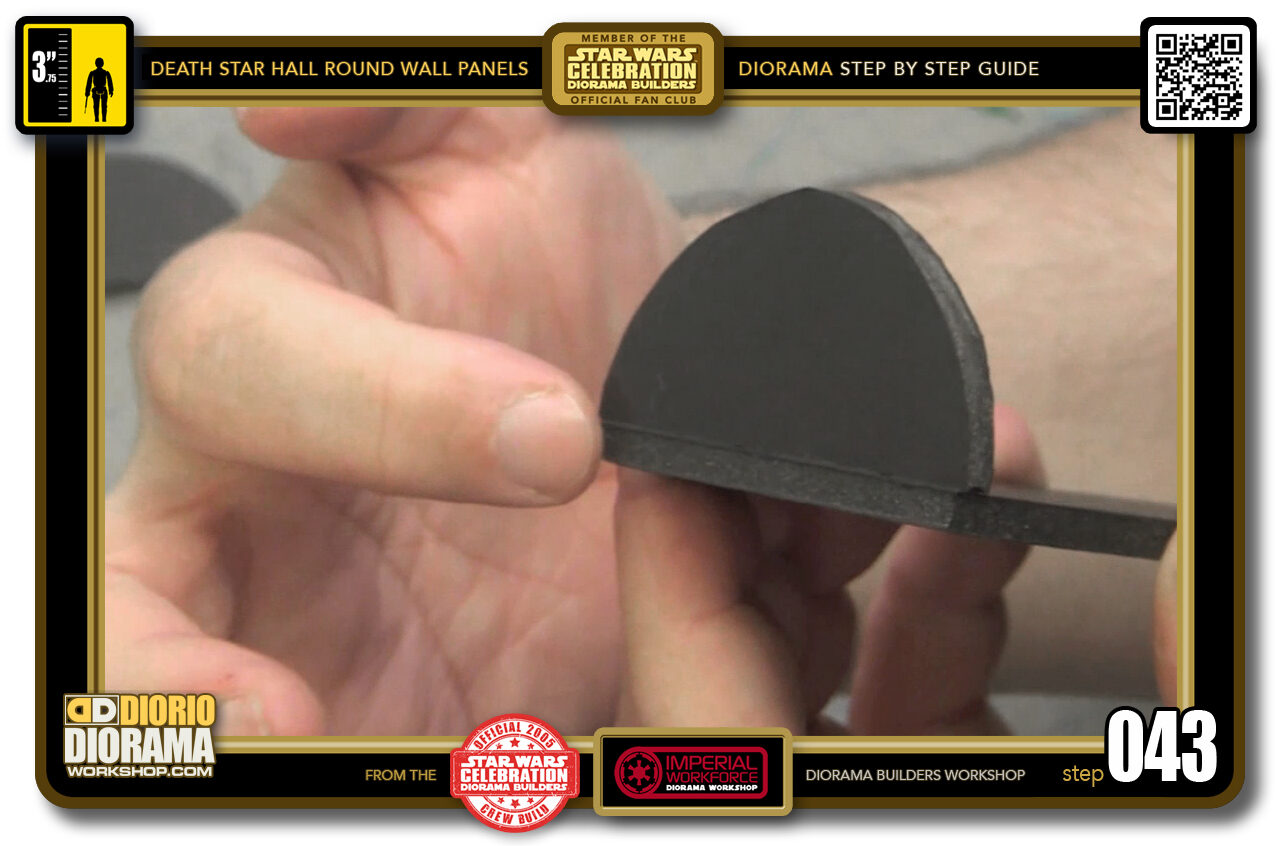
- STEP 043 > Carefully place it on the Base Panel making sire you are as flush as you can to the base's thickness, meaning if you pass your finger from top to bottom, it would feel smooth, you would not feel a bump effect
-
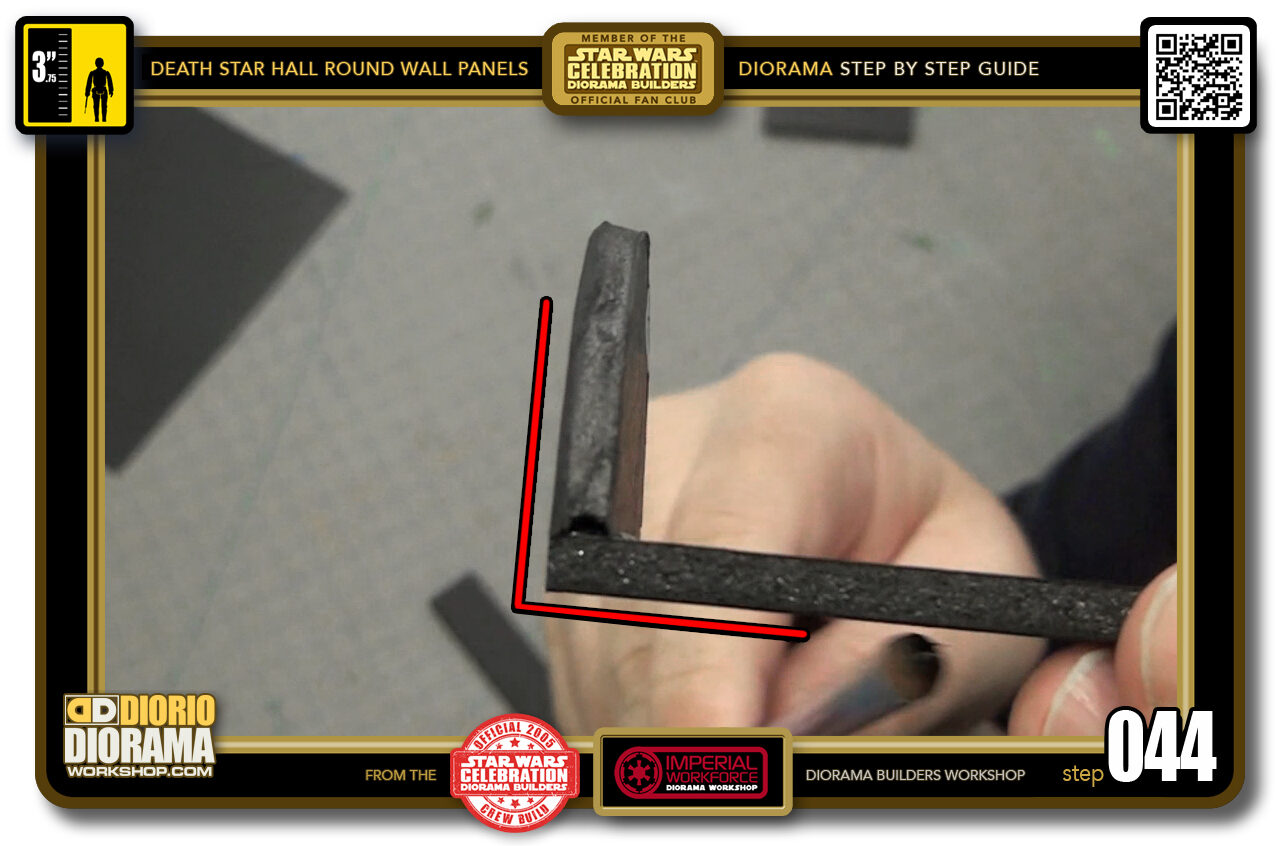
- STEP 044 > Also make sure you are as close as you can to a perfect 90 degree angle as you see in the red lines.
-

- STEP 045 > After your first piece cools down, about 30 seconds, squeese another line of hot glue along the straight edge of your 2nd half circle piece.
-
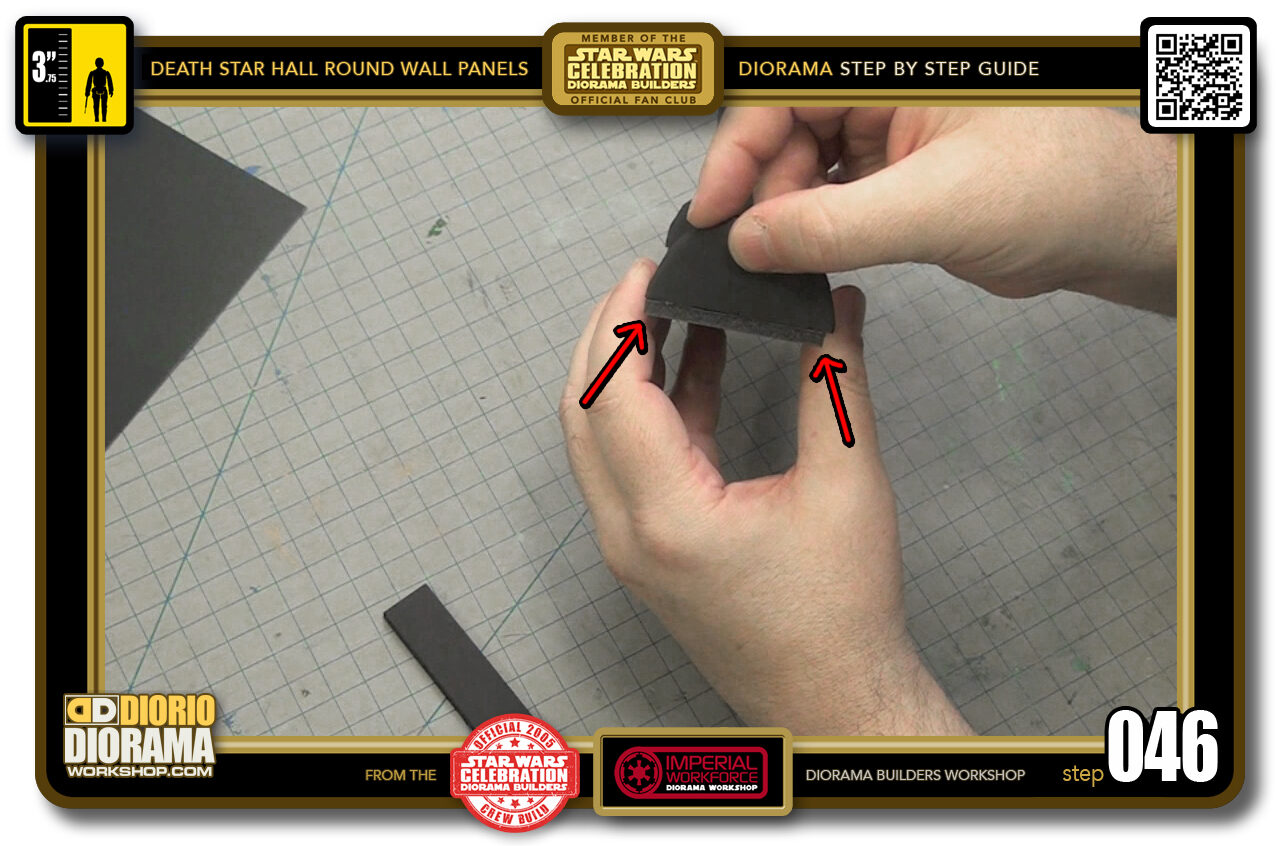
- STEP 046 > Just like before, carefully place it on the opposite side of your base panel. Make sure to centre it with the base's width (red arrows).
-
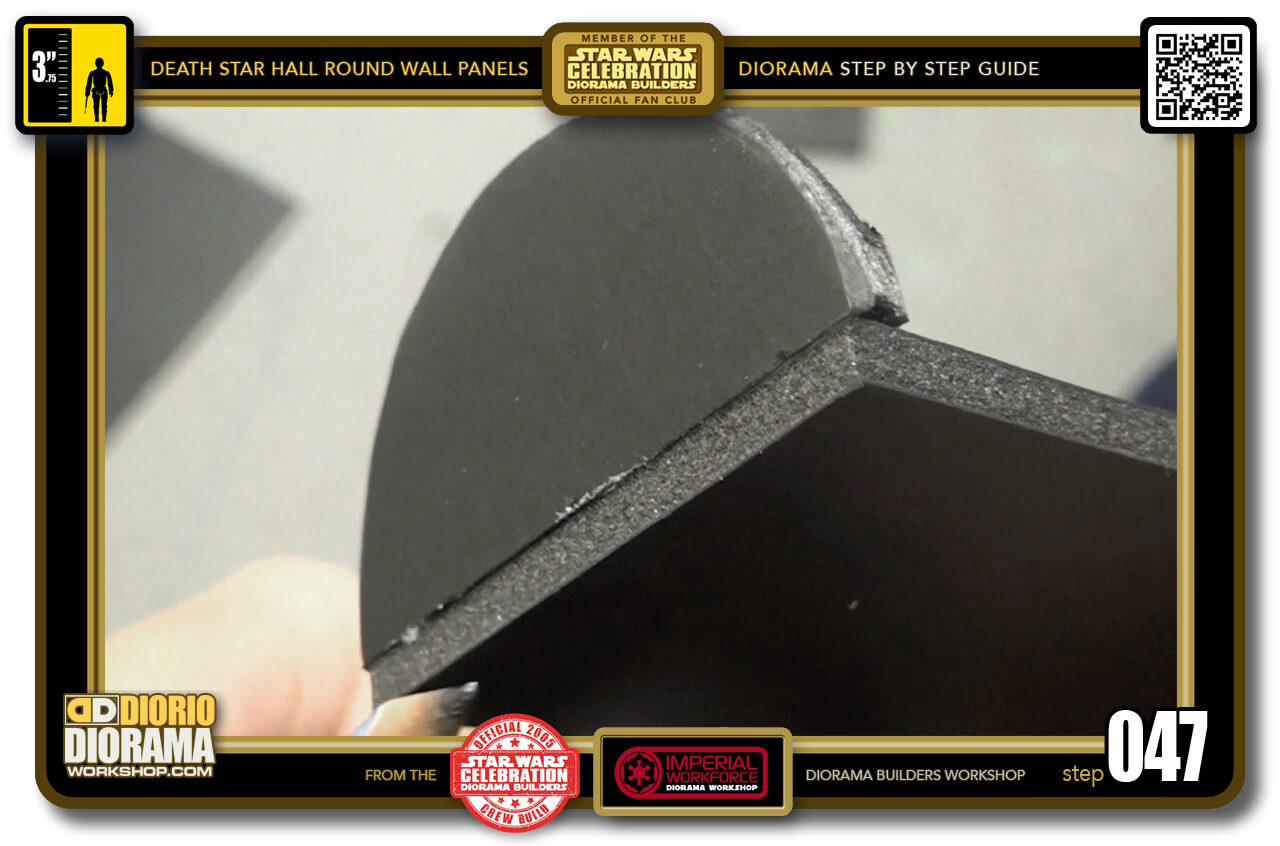
- STEP 047 > Check to have it as flush as possible.
-
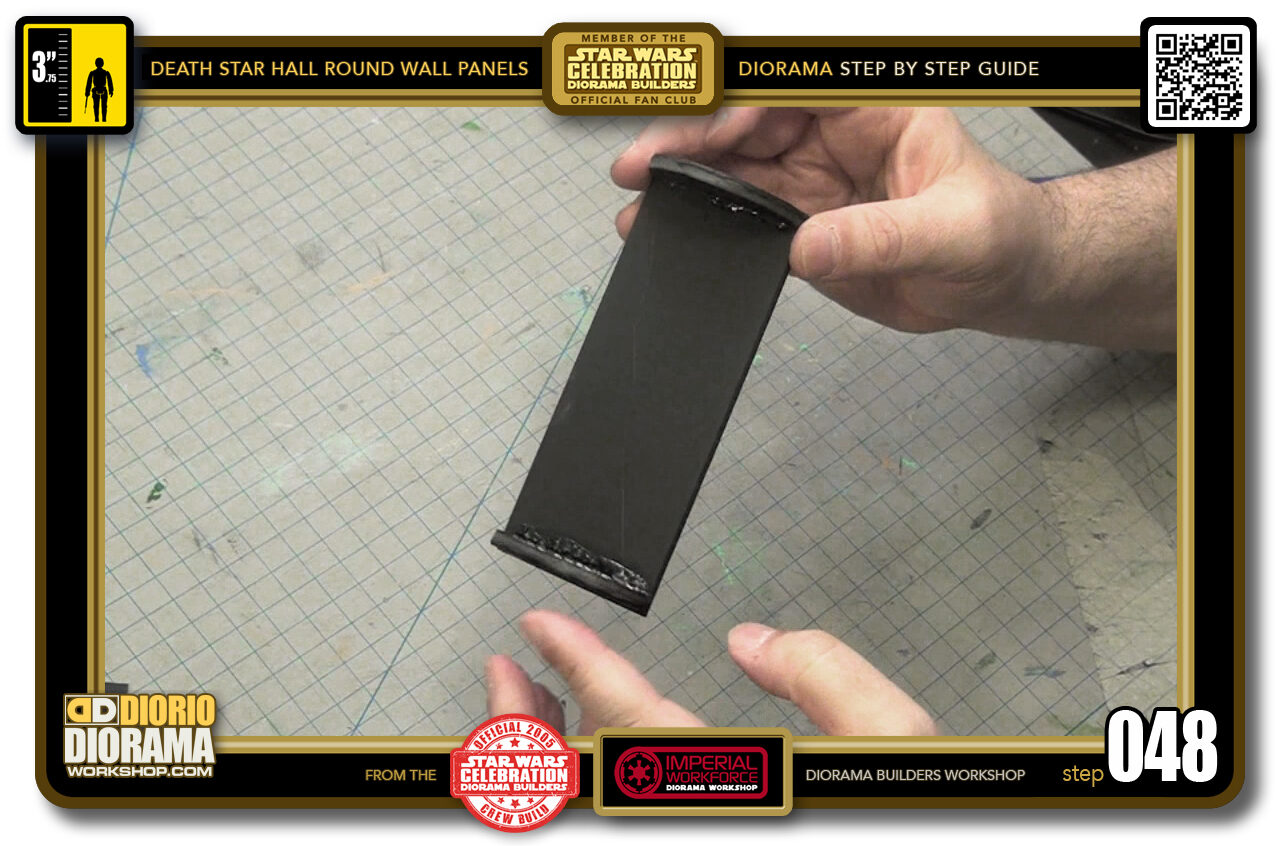
- STEP 048 > And 90 degree. This is what your structure looks like so far.
-
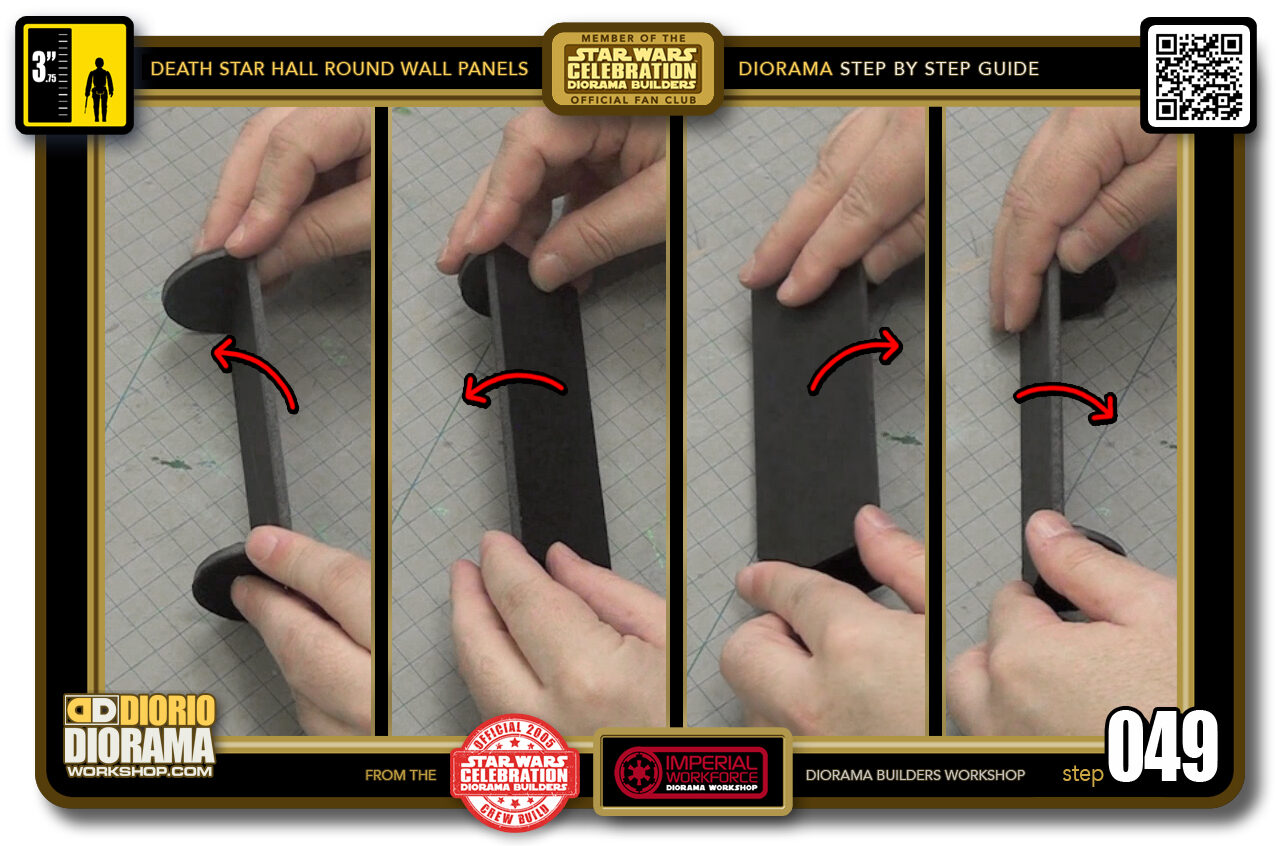
- STEP 049 > If you want a good tip to make your half circle cuts be ass smooth as possible, you can now place your shape upside down and rock it back and forth like a rocking chair. Just don't press too hard, you don't want to crush your construction.
-
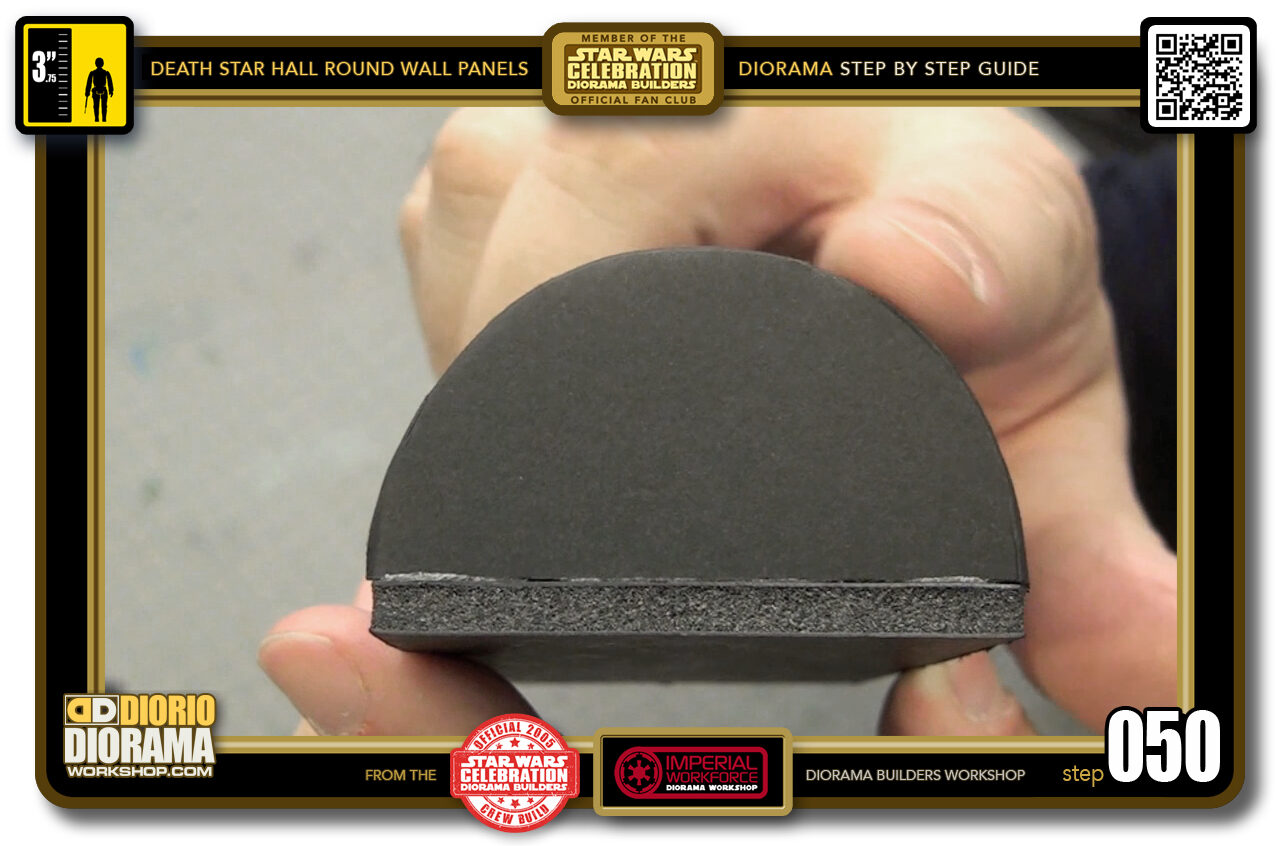
- STEP 050 > See how your cut is now a lot smoother ?
-
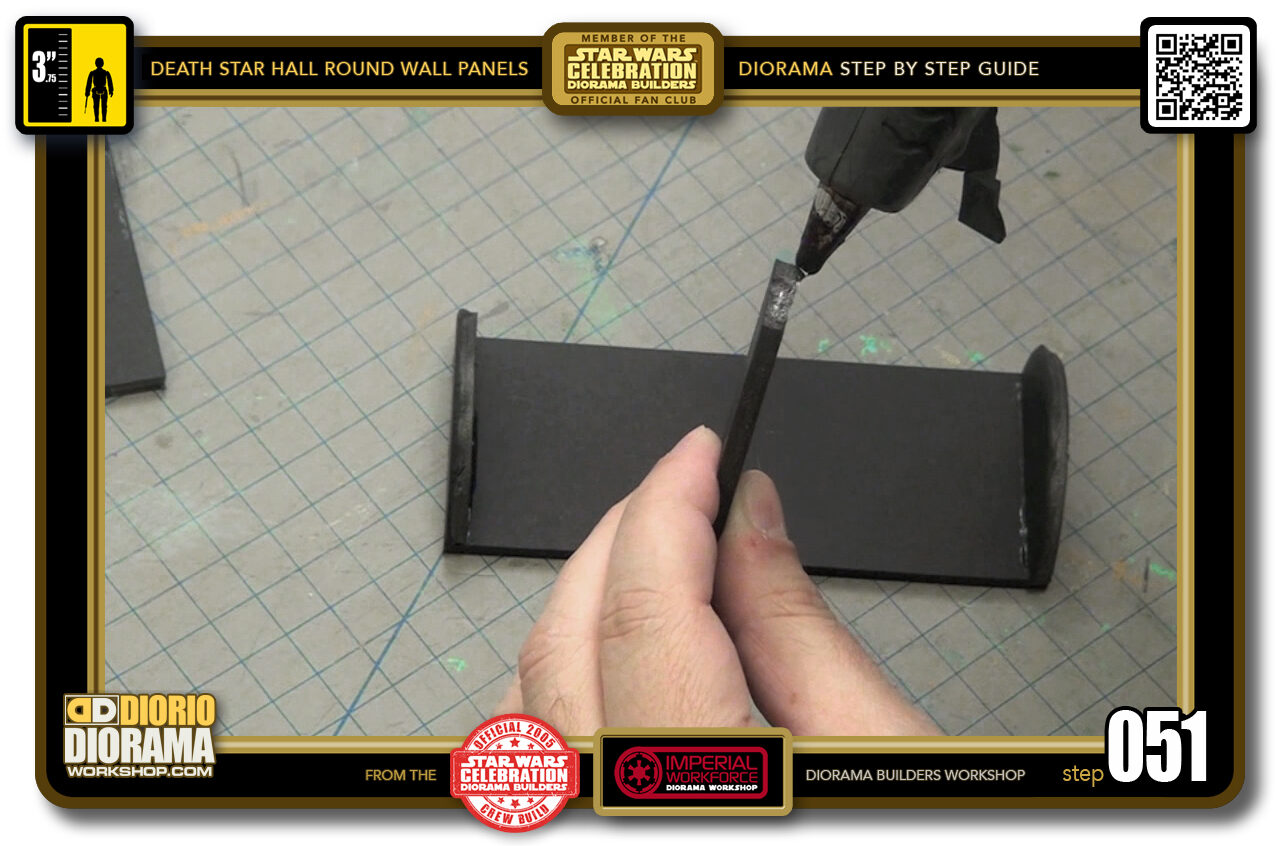
- STEP 051 > Now it's time to add the centre spine support. Squeeze some hot glue on both short ends of your rectangle piece.
-
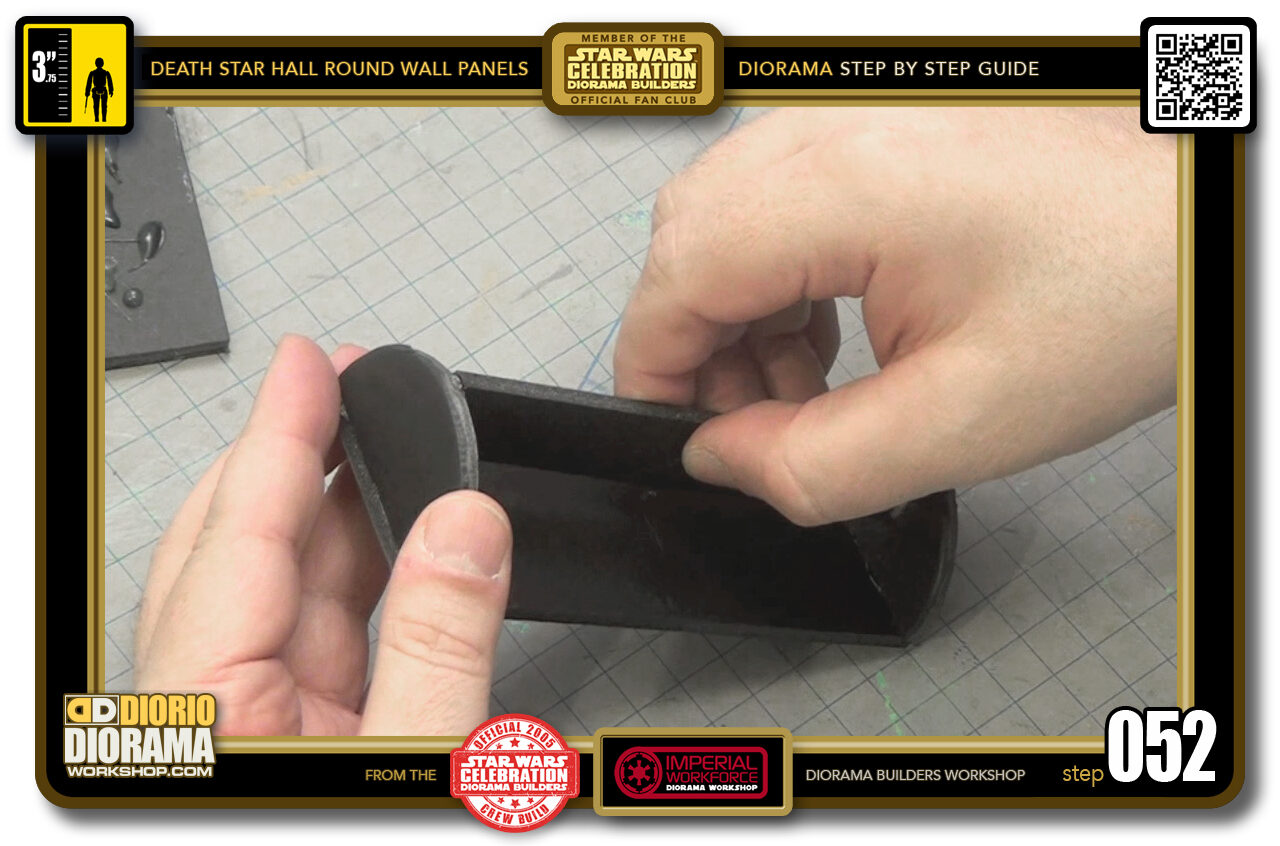
- STEP 052 > Gently slide it in between the 2 half circles. You can angle it sideways slightly to make it fit and then turn it like a door key until is placed just right.
-
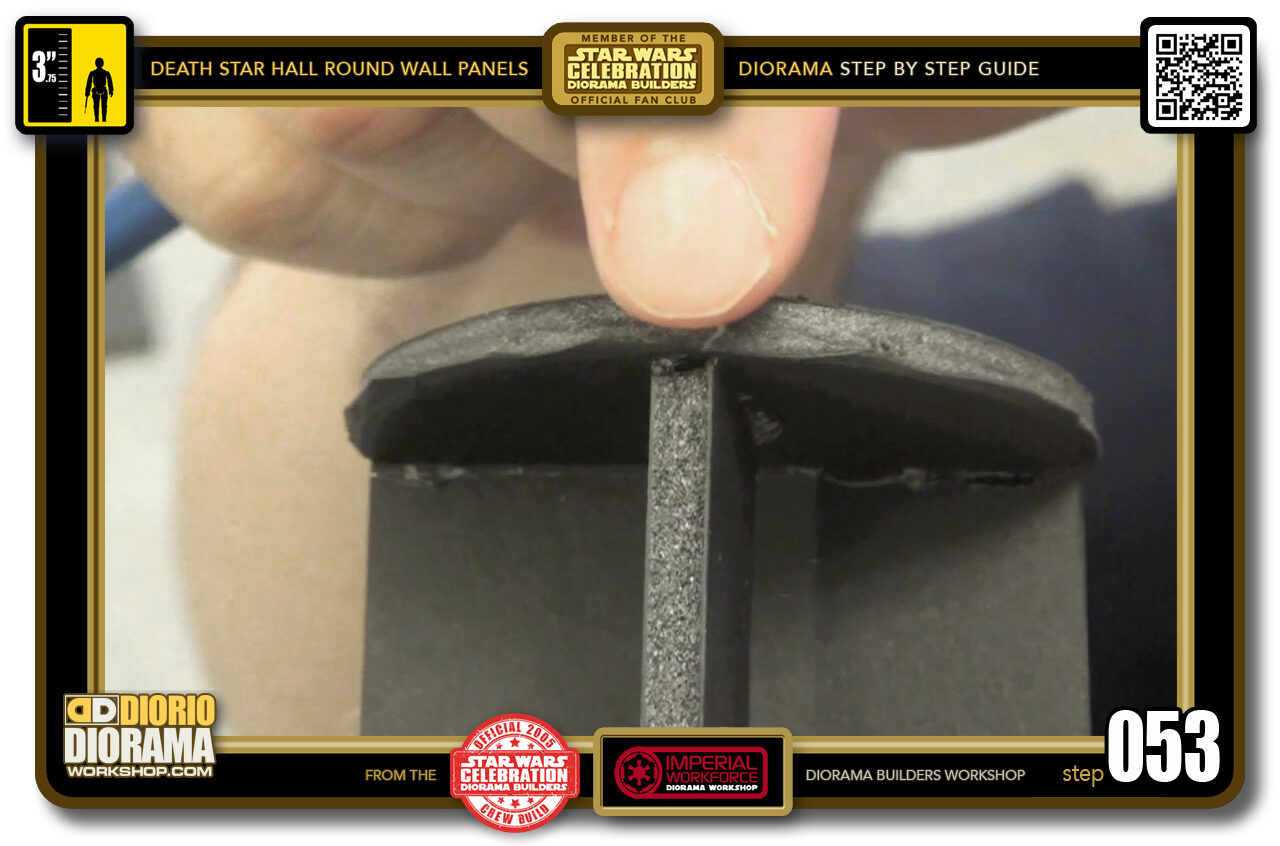
- STEP 053 > You want to make sure you get a nice 90 degree angle on both sides of the beam with the half circle.
-
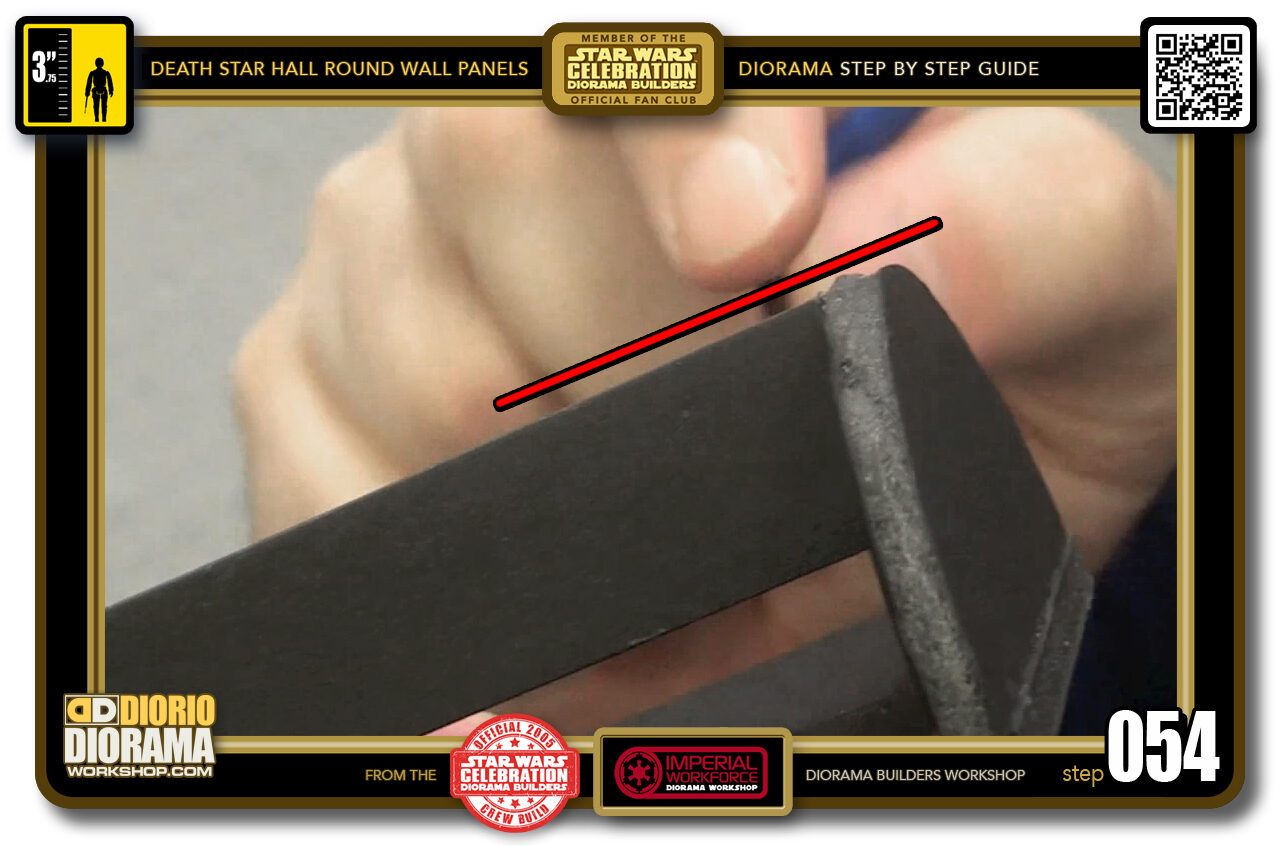
- STEP 054 > And a nice flush level from the top when you pass your finger accross one side to the other.
-
-
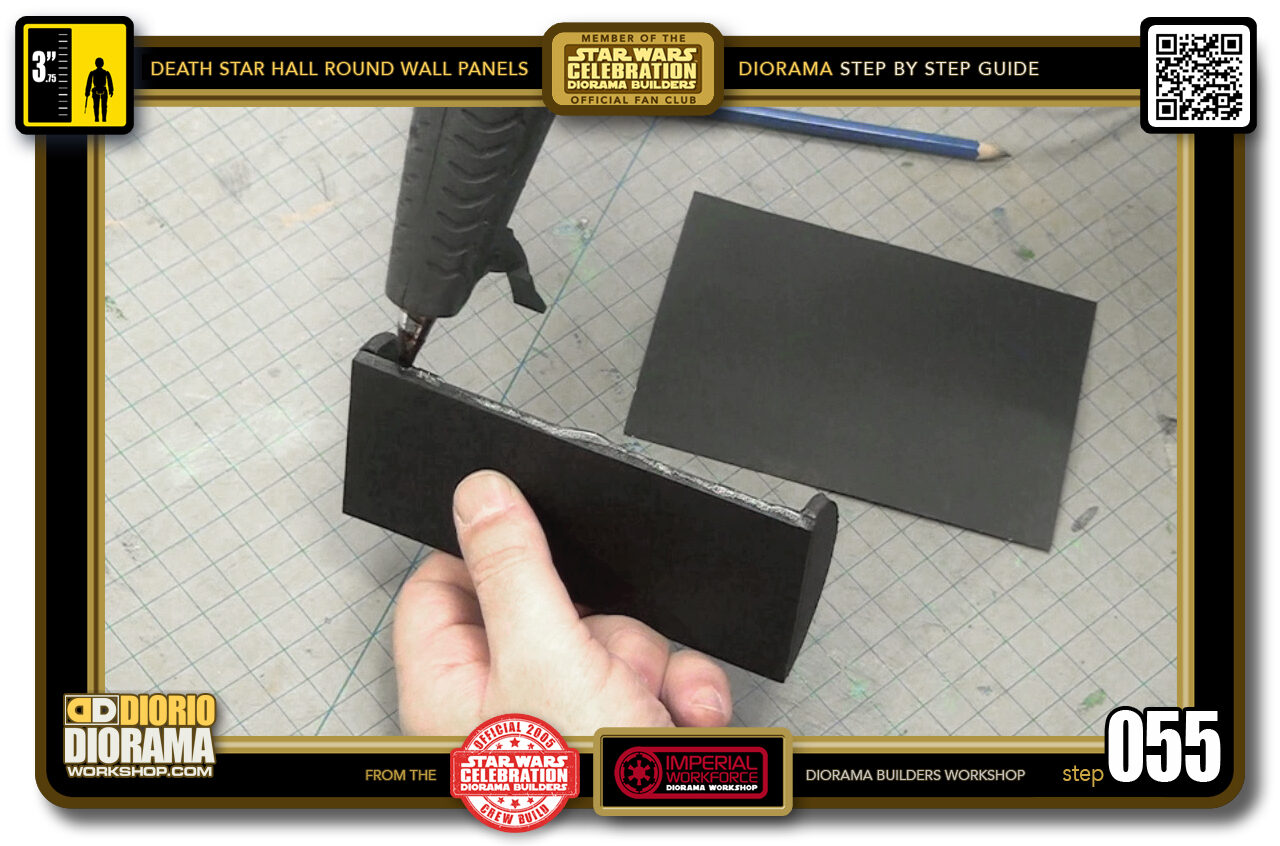
STEP 055 > Since the decal paper is too thin and fragile to curve around on its own, this is why we first apply a poster board skin to wrap around and create a strong tube for the decal application later on.
Squeeze a nice line of hot glue along ONLY ONE SIDE EDGE of your assembly.
-
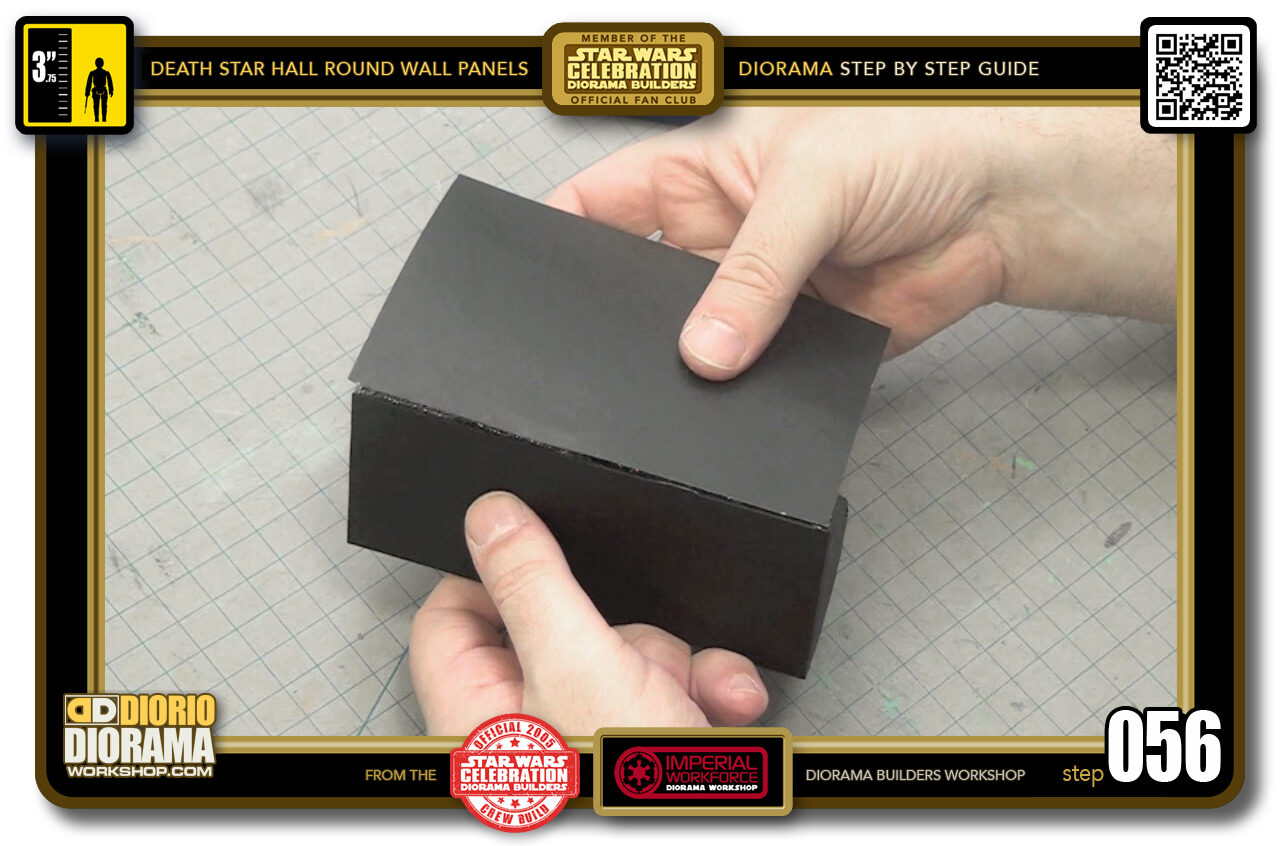
- STEP 056 > gently align and place your poster board shape along the edge of your Base Panel side edge.
-
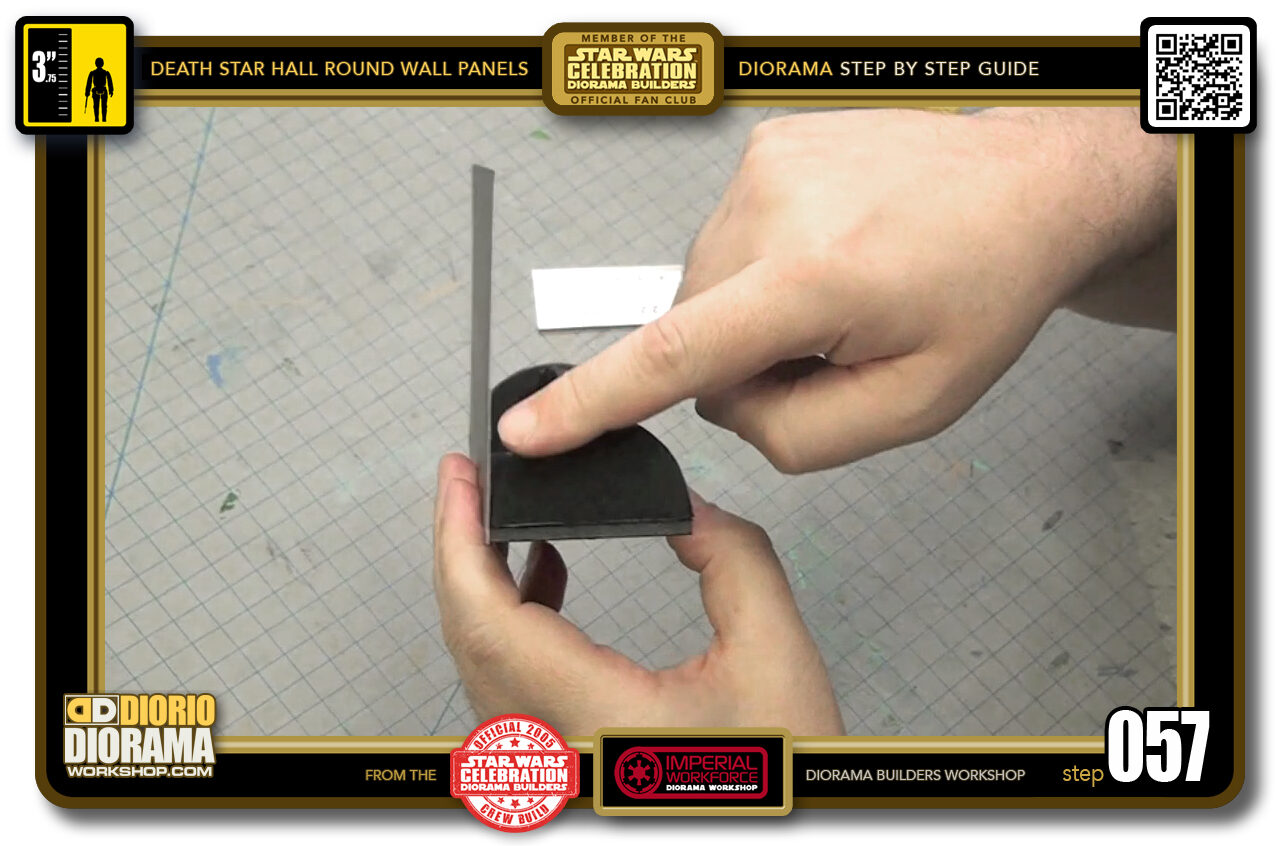
- STEP 057 > When dry, you will notice that the poster board points straight up flat. There is no curve memory yet to allow it to bend around and remain in place as you glue it to the half tube.
-
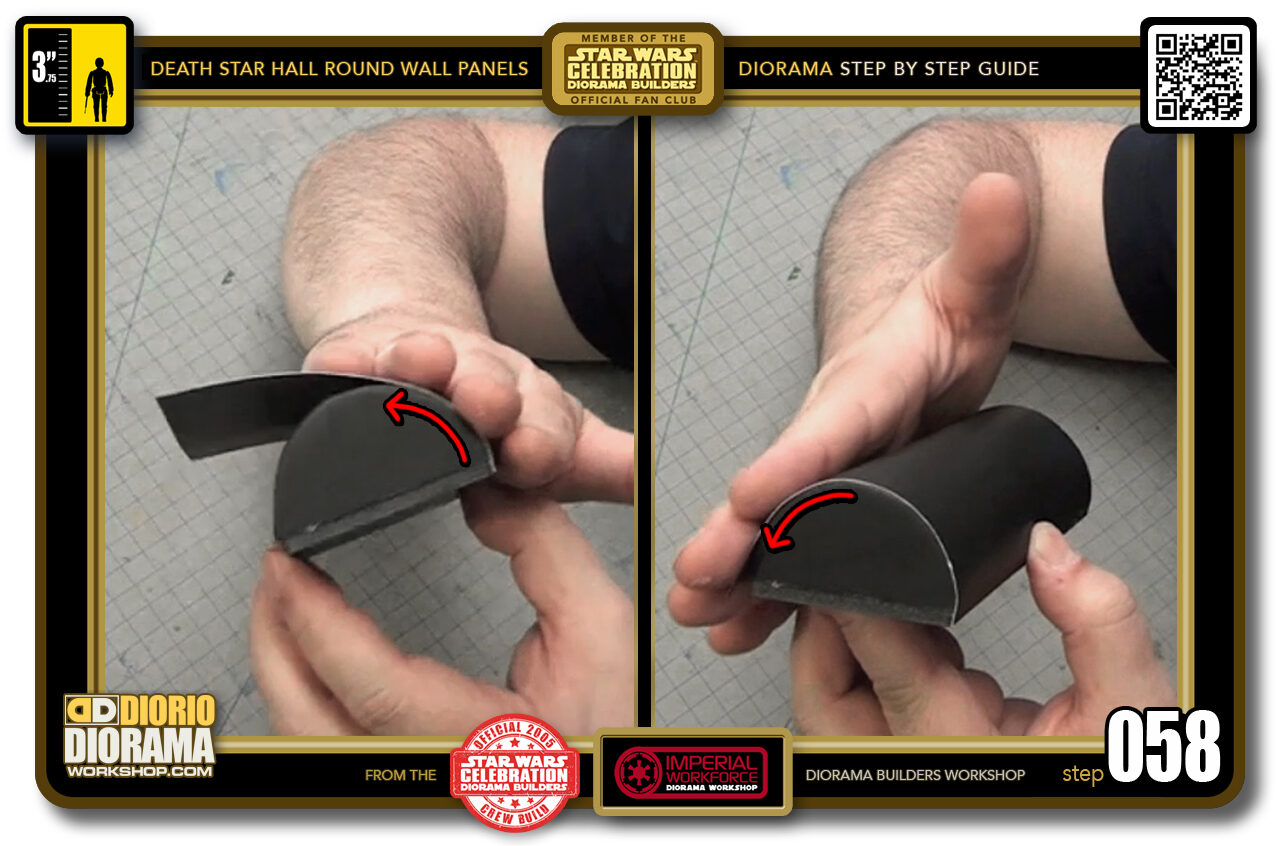
- STEP 058 > To get the memory inserted into your poster board, gently pass your hand around the curve like if you were petting your cat 🙂 Repeat this 10-15 times and the poster board will start keep it's curved shape.
-
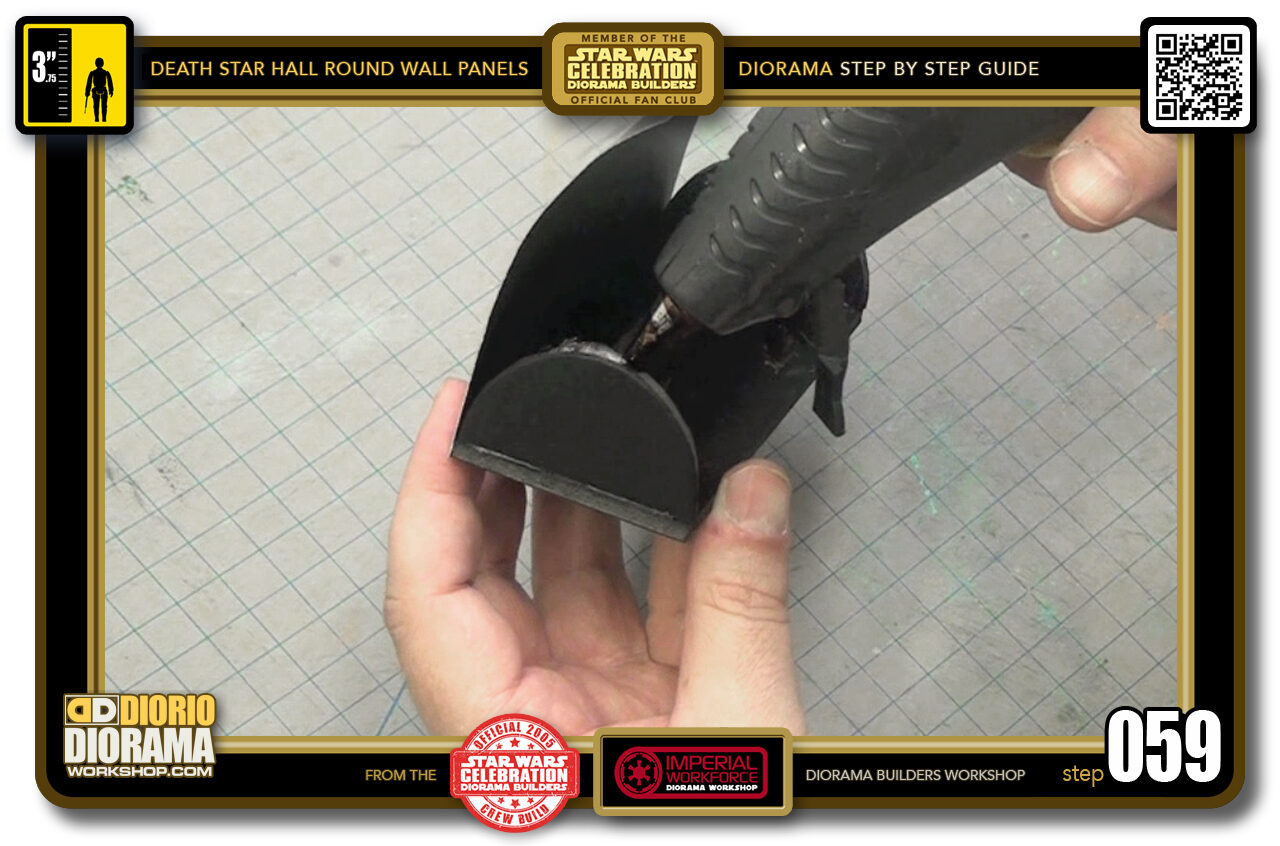
- STEP 059 > Now apply some hot glue to the TOPS ONLY on BOTH SIDES. DO NOT go all the way to the ends of your half circles.
-
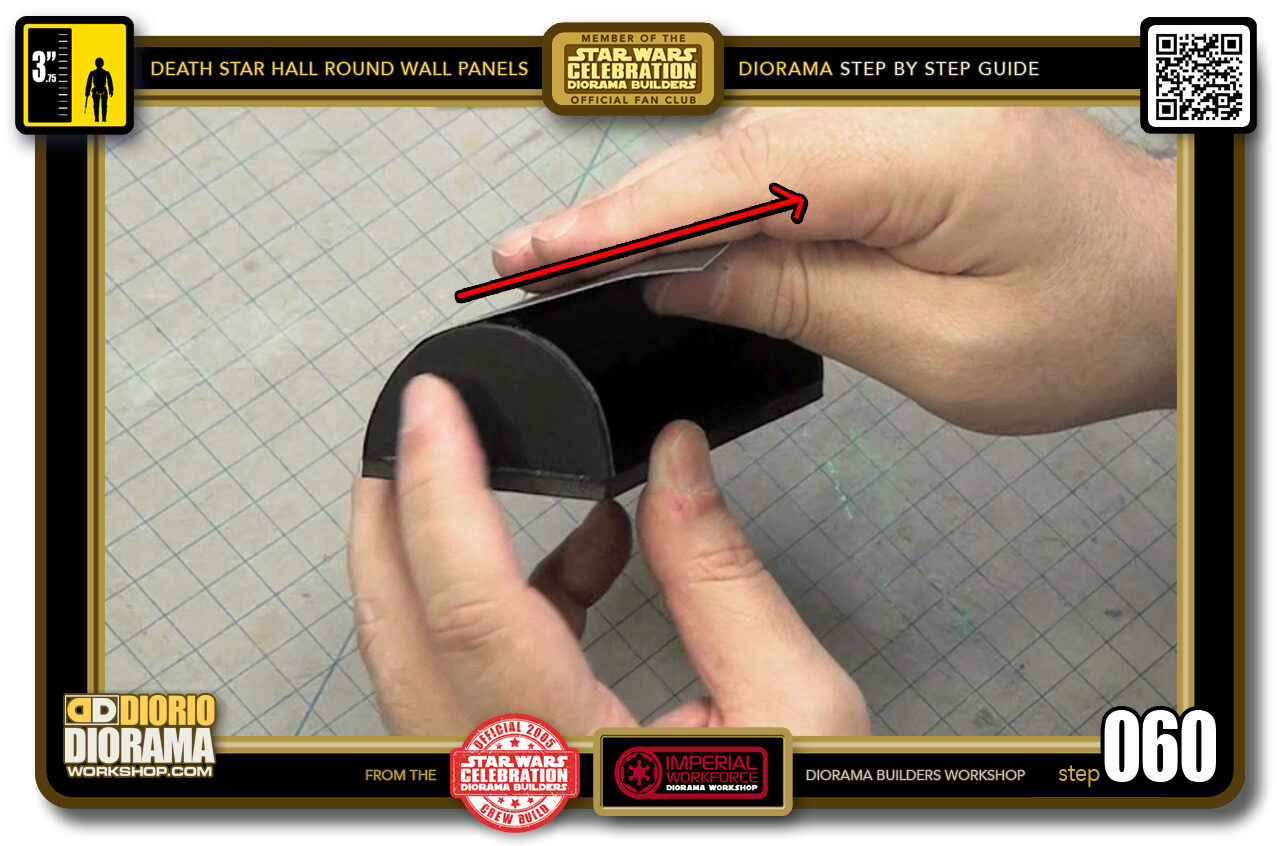
- STEP 060 > Now grab your poster board and first PULL in the direction of the arrow, you want to create a tightness as you lower it onto the glue in the next step.

.
Did you already build this Diorama ? At home or at our Star Wars Celebration Diorama Builders workshop ? Would you like to show it in the site’s GALLERY VISITORS DIORAMAS section, YES ? That is Awesome !!! You can find out all the details on how to email me your photos on the VISITORS SUBMISSIONS INFO page … When I get your photos, I will create your very own page just like this one. You may not realize it but work does inspire others to join in the fun of making Action Figure Dioramas.
.
NOT FOR RESALE ALL Decals, tutorials and artwork are ©FrankDiorio (dioramaworkshop.com) and offered FOR FREE to the fans – that would be you ? so you can build and display my diorama designs in your very own home. I realize I cannot control what one does with my graphics once I place them on the web, I can only ask you as one fan to another, please respect the artist and do not be that jerk who uses my designs and tutorials to build a copy of my work only to sell it on EBAY or trade/sale groups and forums. Thank You. Frank.
.
.
If you have a facebook account, why not join the Official Diorama Builders Fan Club today, simply click the logo link below.
 .
.
Catch up with fellow visitors and exchange stories, read cool interviews with the crew, exchange photos, fun surprises and grab some FAN ONLY merchandise next year at actual future conventions ?
.
©2018 Frank Diorio DioramaWorkshop.Com
.
IF YOU LIKE WHAT YOU SEE, PLEASE SHARE WITH YOUR FRIENDS
USING THE SOCIAL MEDIA BUTTONS BELOW