


-
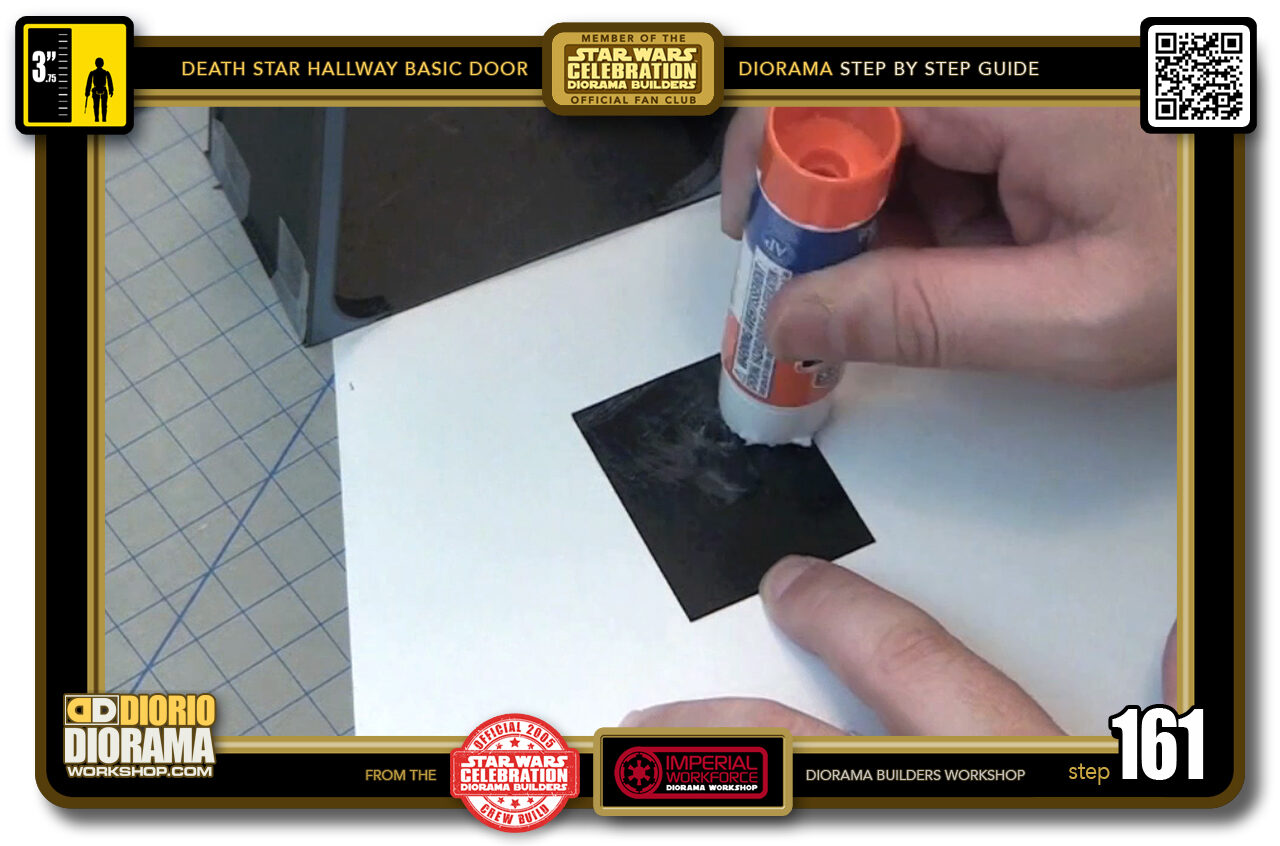
- STEP 161 > Grab your first posterboard corner and apply a good amount of gluestick.
-
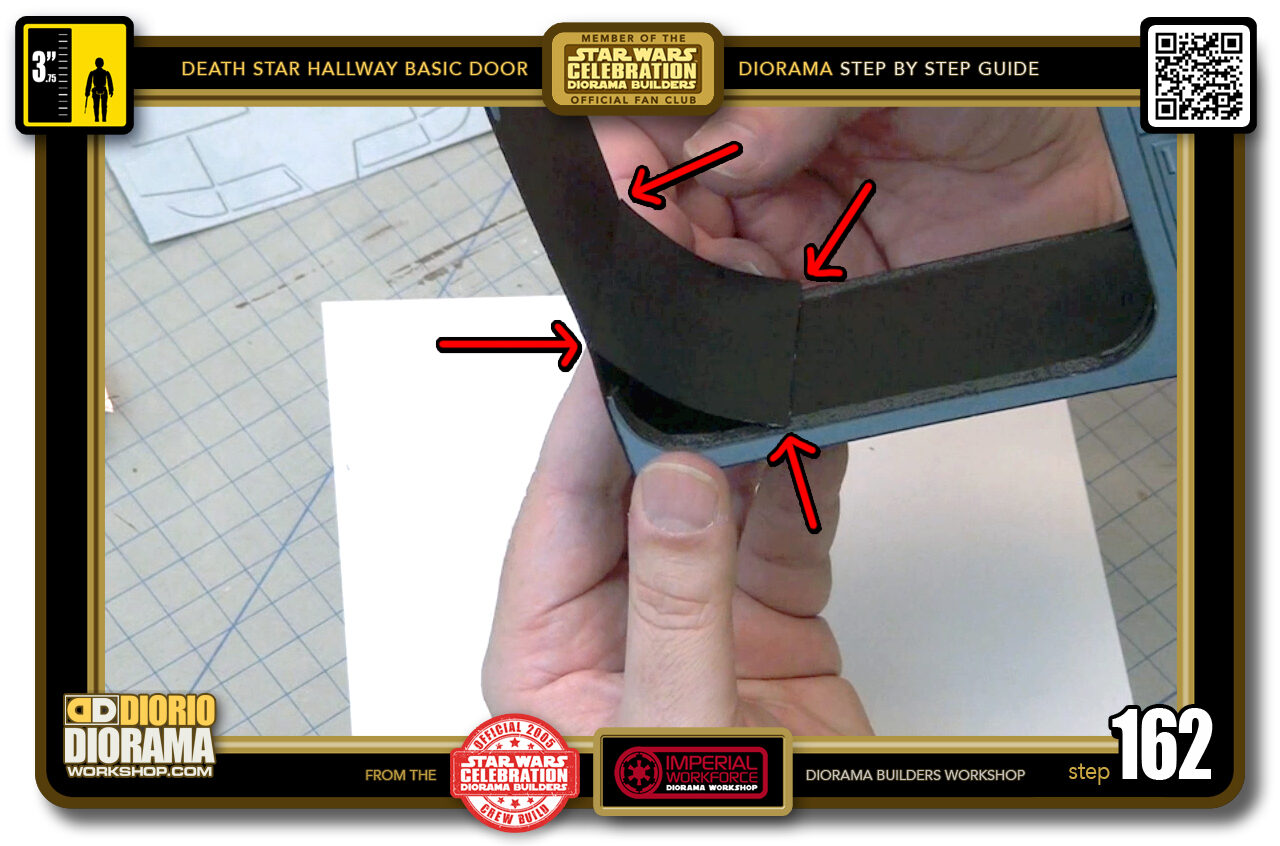
- STEP 162 > Now to create a full length corner angle, you will place your corner rectangle, make sure the 6 cm wide is sideways and all corners touch the edges on both sides of the frames (red arrows)
-
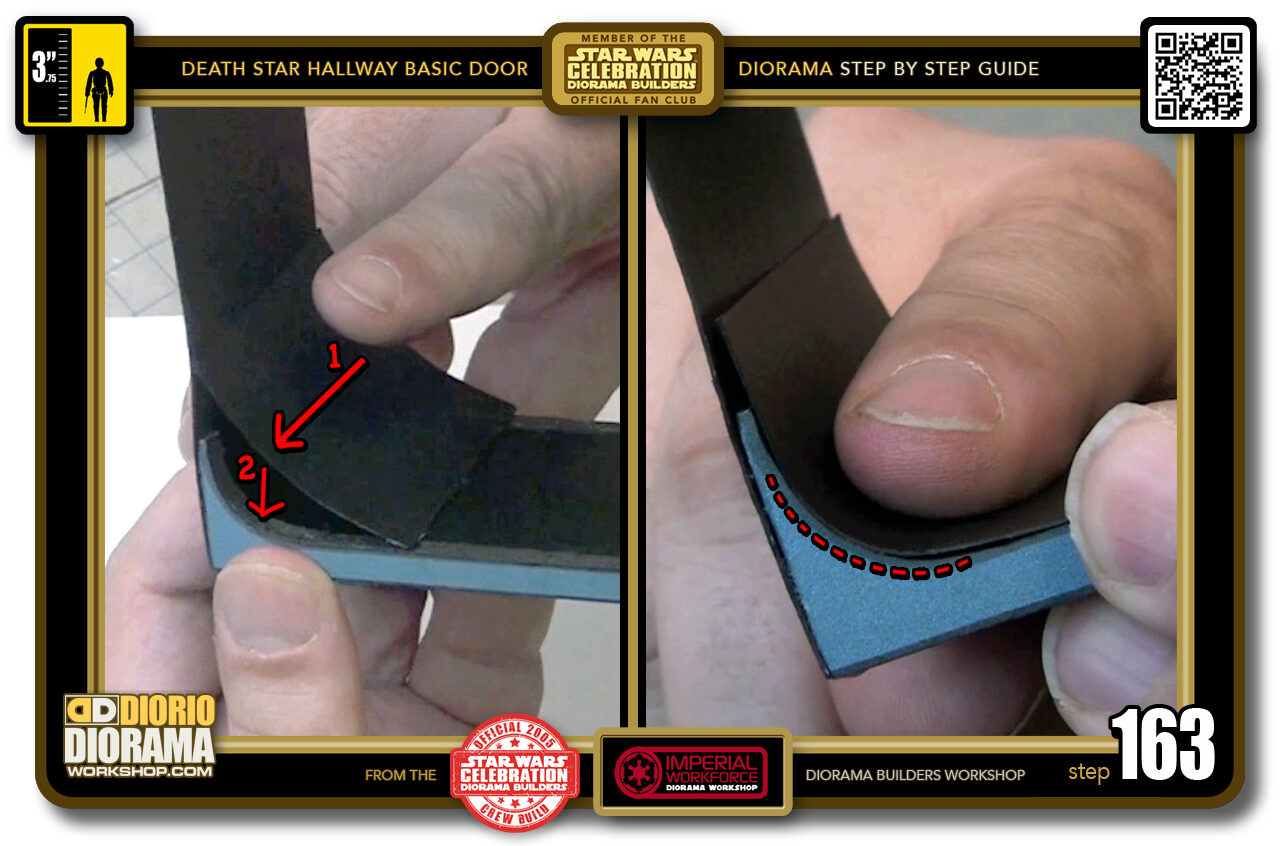
- STEP 163 > You will insert your index finger over the rectangle like you see on the left of the photo, then you will lower it, crushing the posterboard against the frame's curved feet.
-
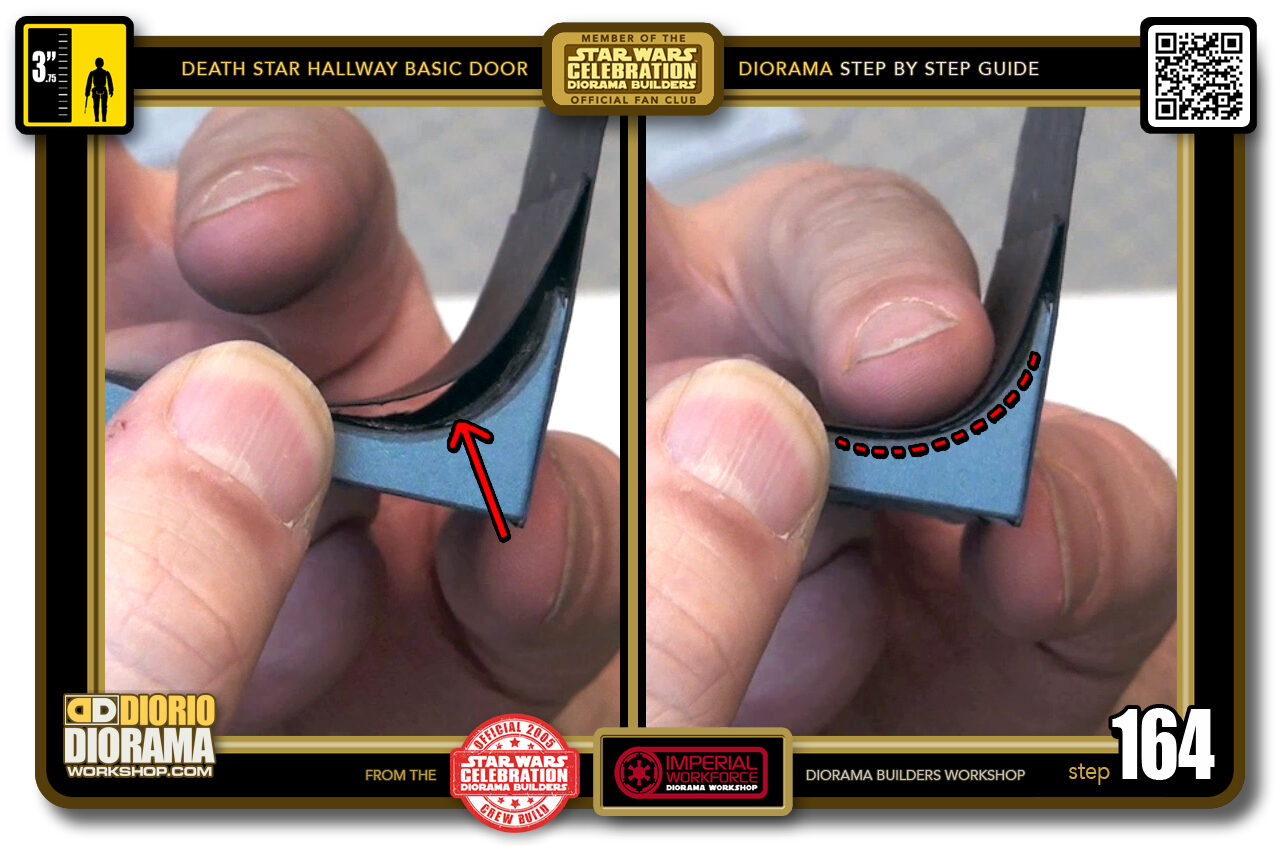
- STEP 164 > You want to make sure that the posterboard touches the curves on both sides of your door frames. The gluestick doesn't harden as fast as hot glue so if the posterboard comes off a little, just press it back into place until it stays there.
-
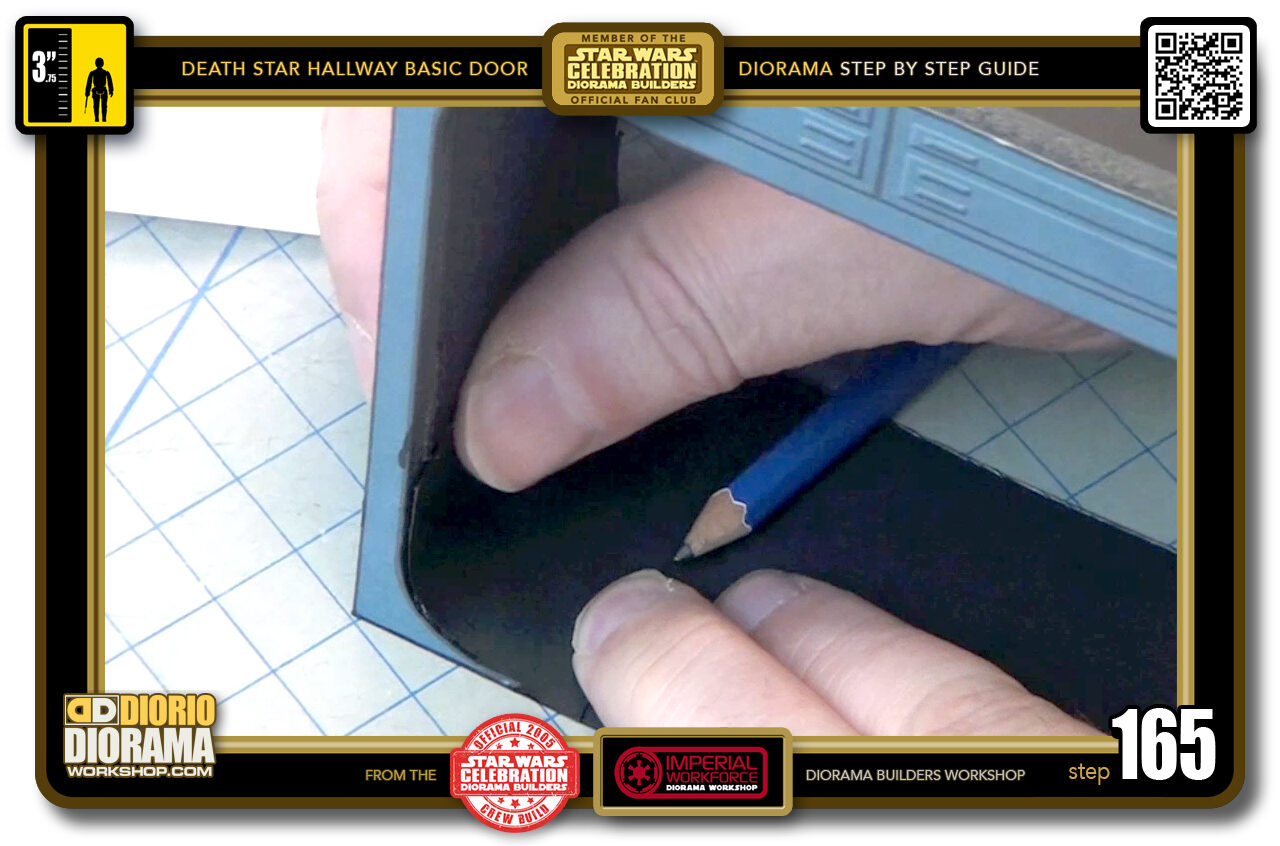
- STEP 165 > As you play with your curves, you also want to make sure your ends are FLAT against the foamcore wall as well.
-
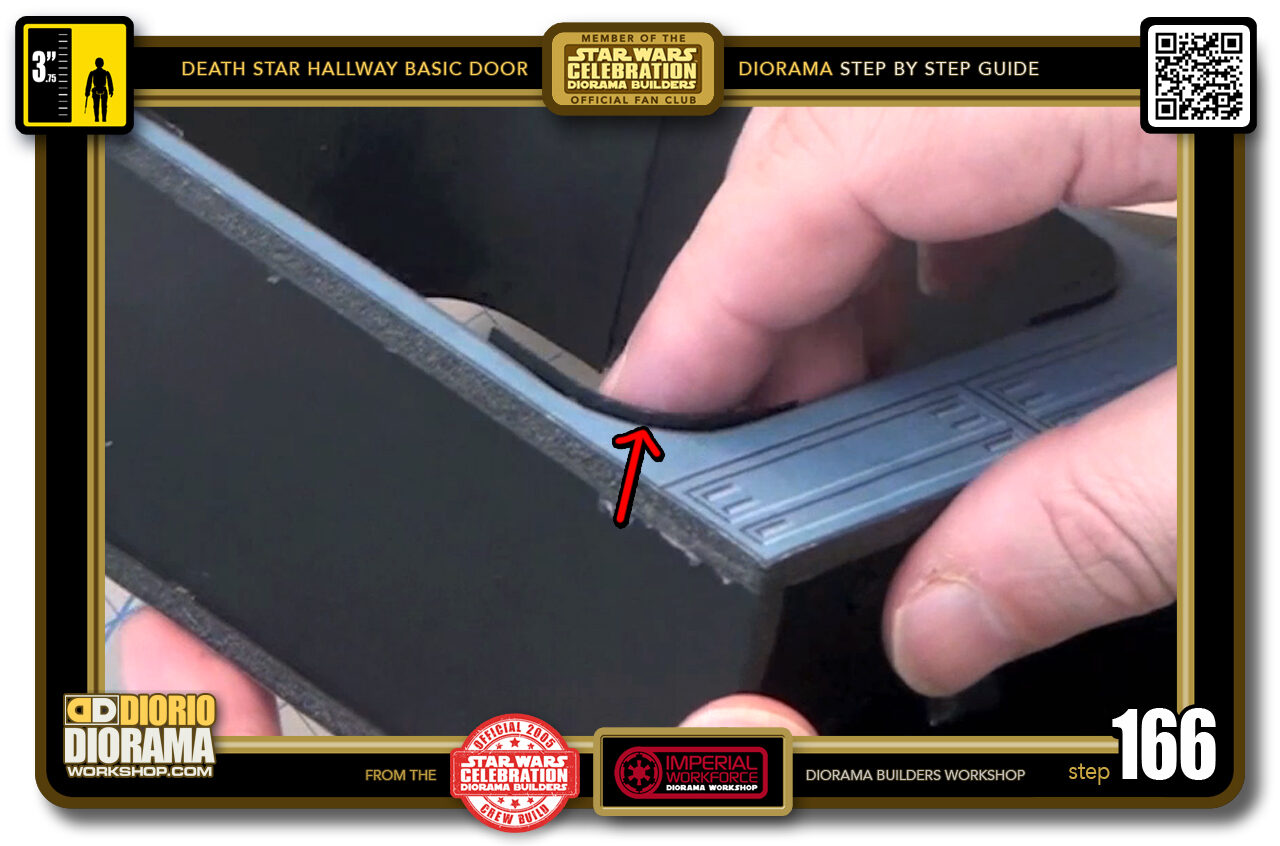
- STEP 166 > There can be some posterboard poking out the side in the end once dry, that is fine we can deal with it later.
-
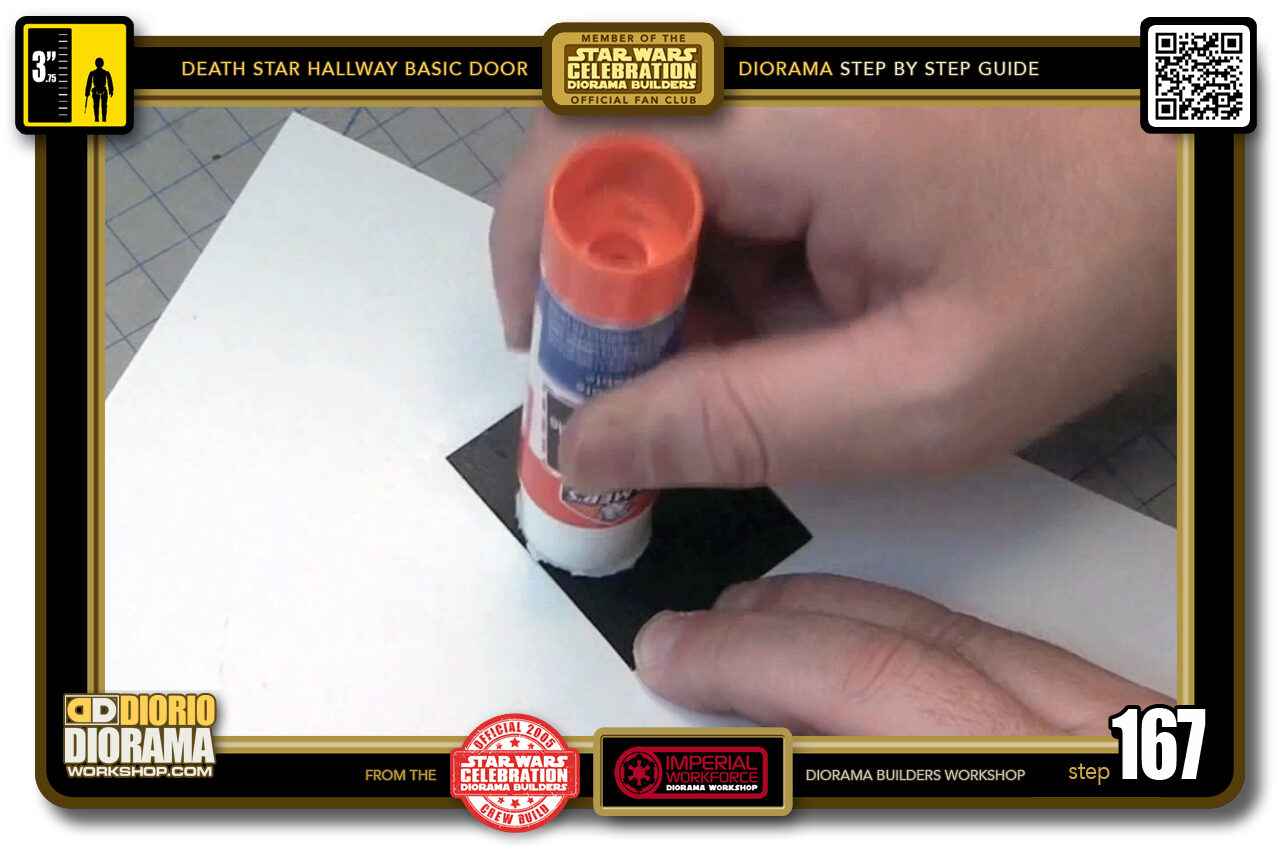
- STEP 167 > Grab posterboard rectangle #2 and apply gluestick just like before.
-
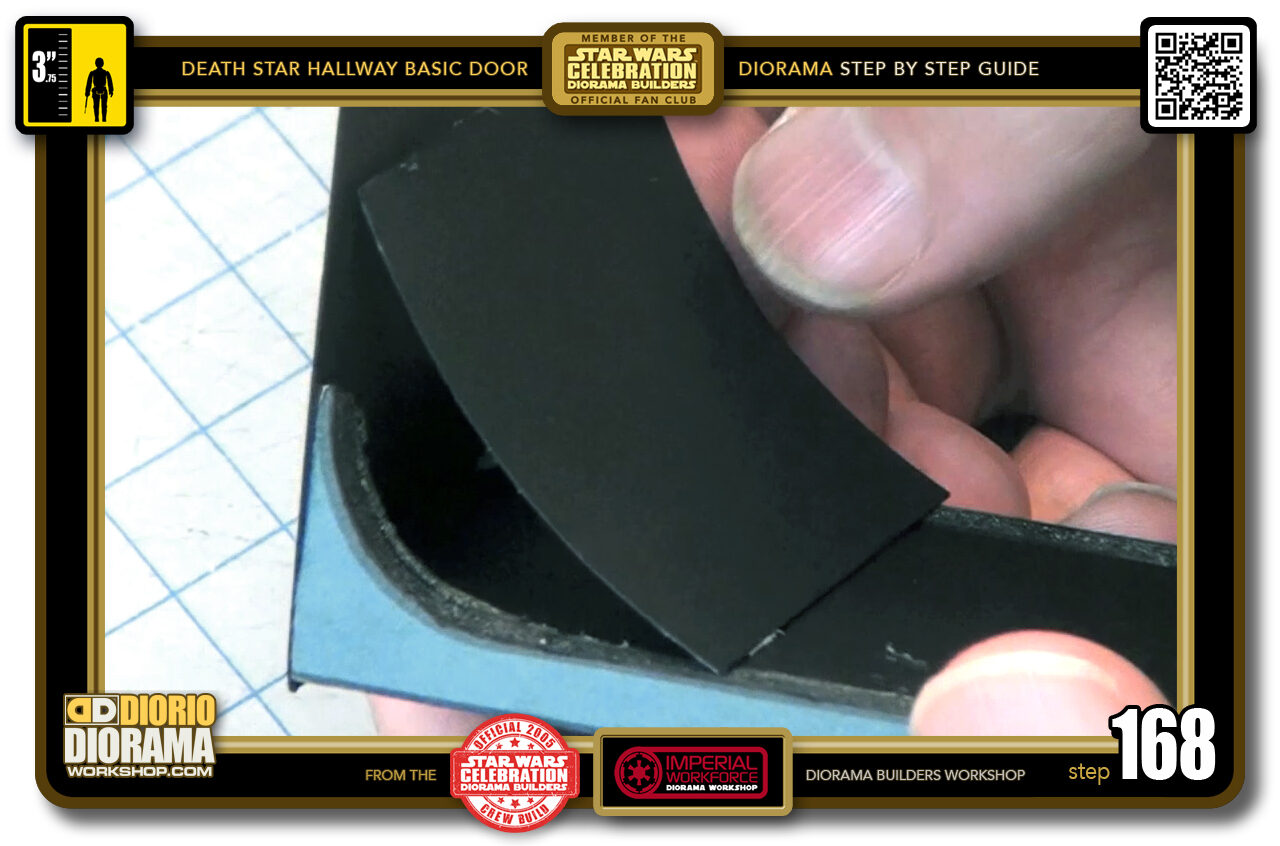
- STEP 168 > Centre it at an angle.
-
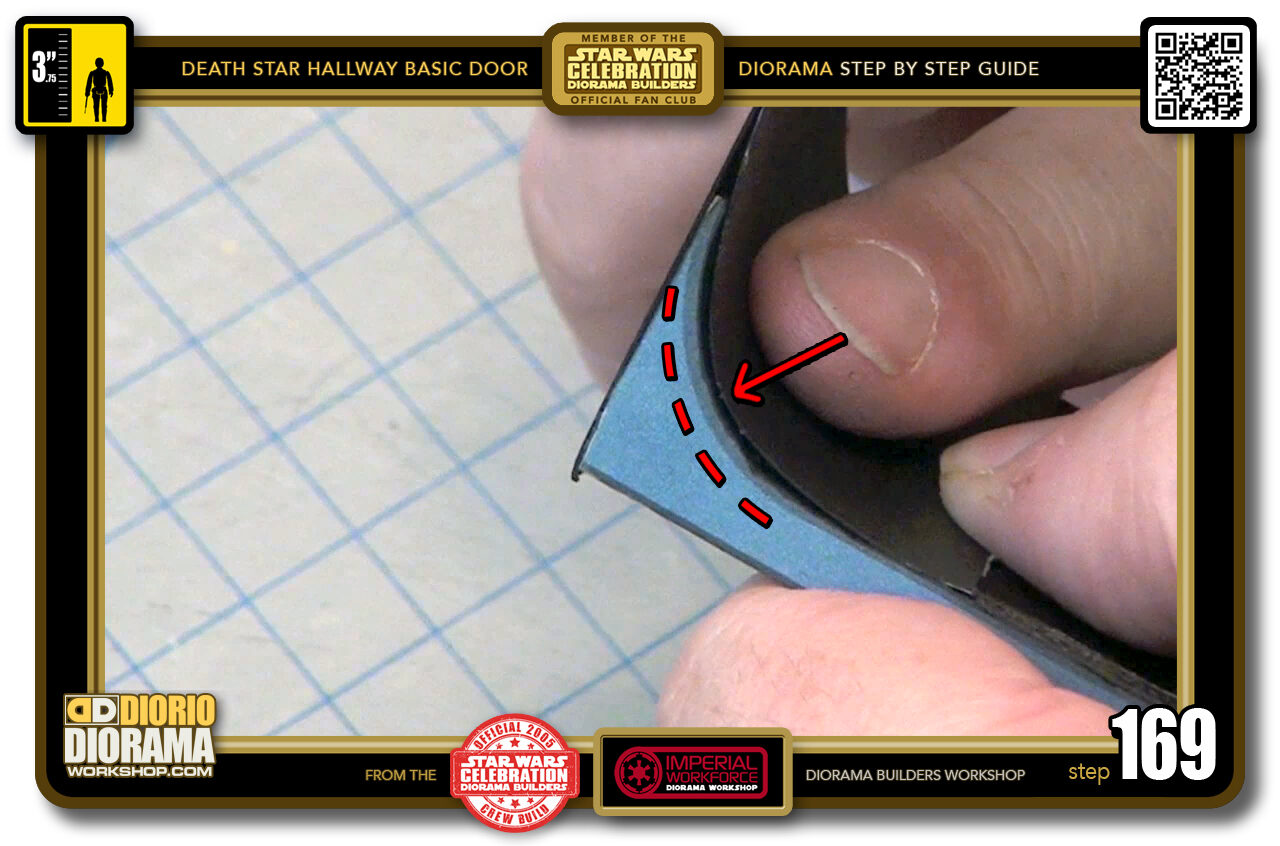
- STEP 169 > Press down squishing it against the curve.
-
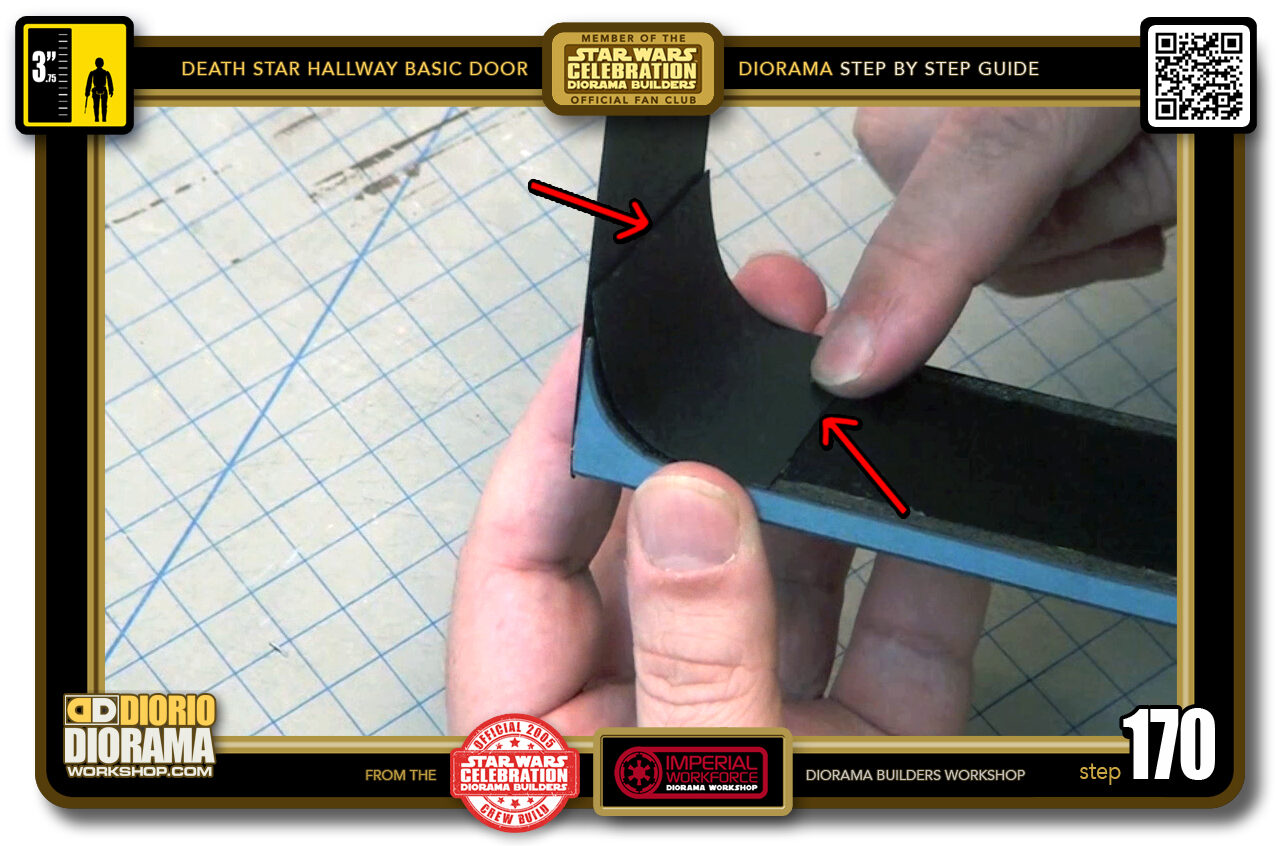
- STEP 170 > Make sure the ends are flat against their surfaces too.
-
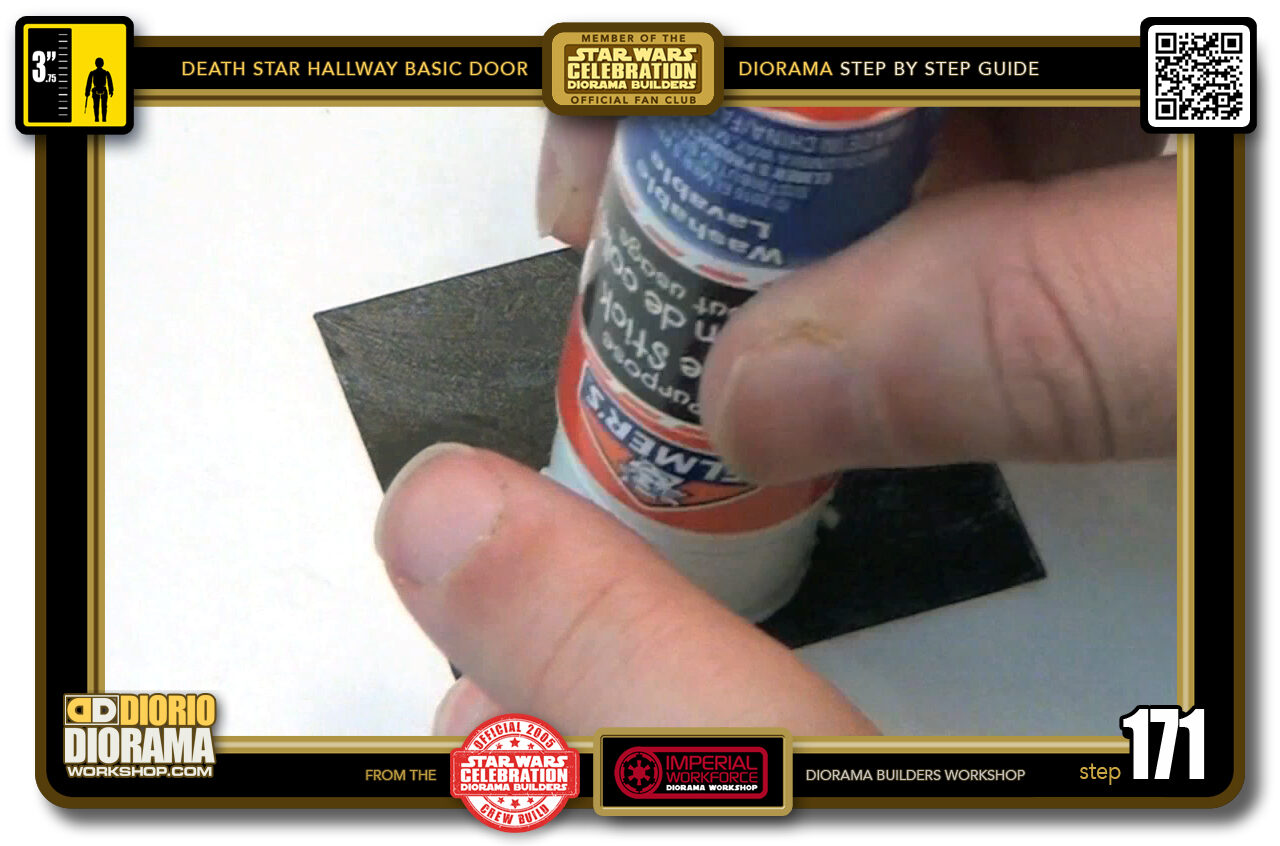
- STEP 171 > Time for the top of the door frame. Posterboard #3 - gluestick application.
-
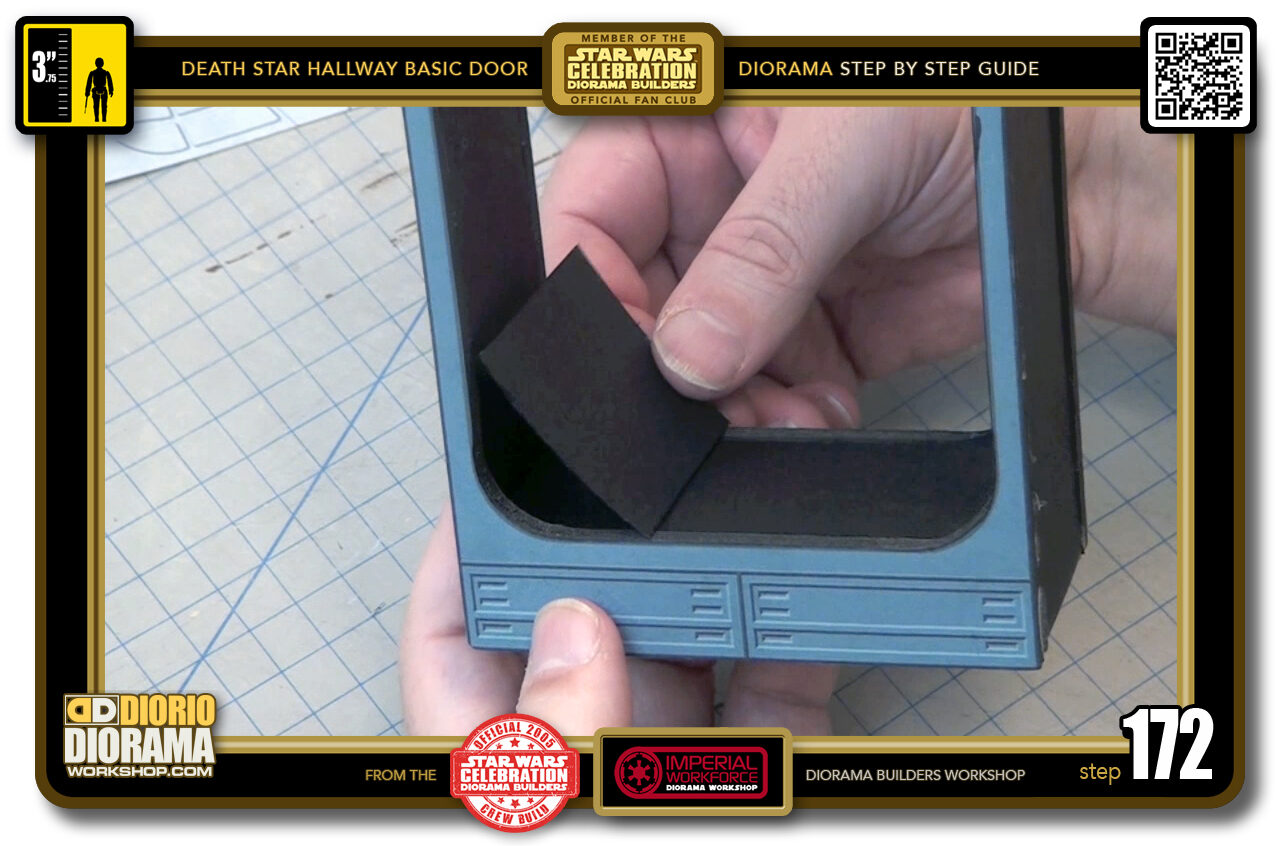
- STEP 172 > Align centre corner, front and back touching edges.
-
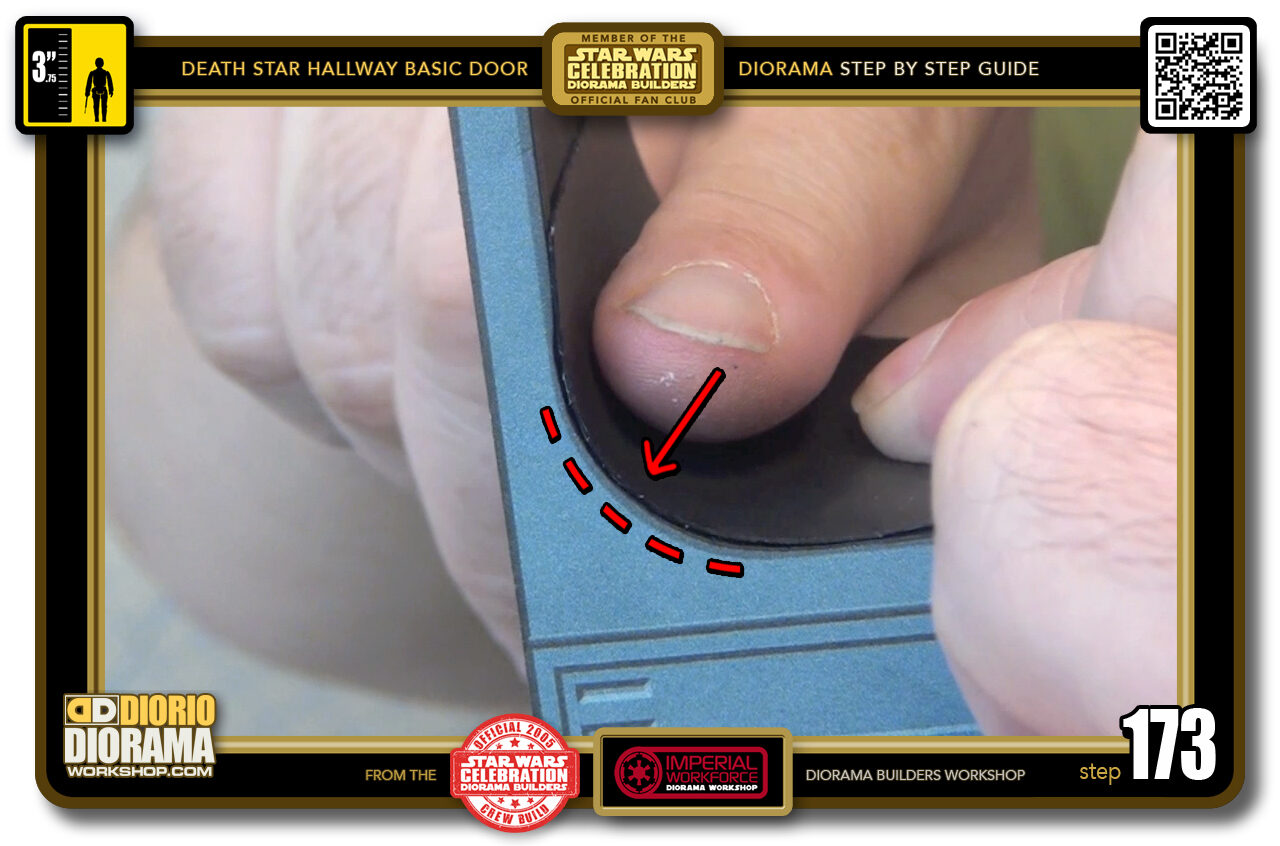
- STEP 173 > Press down against the curve.
-
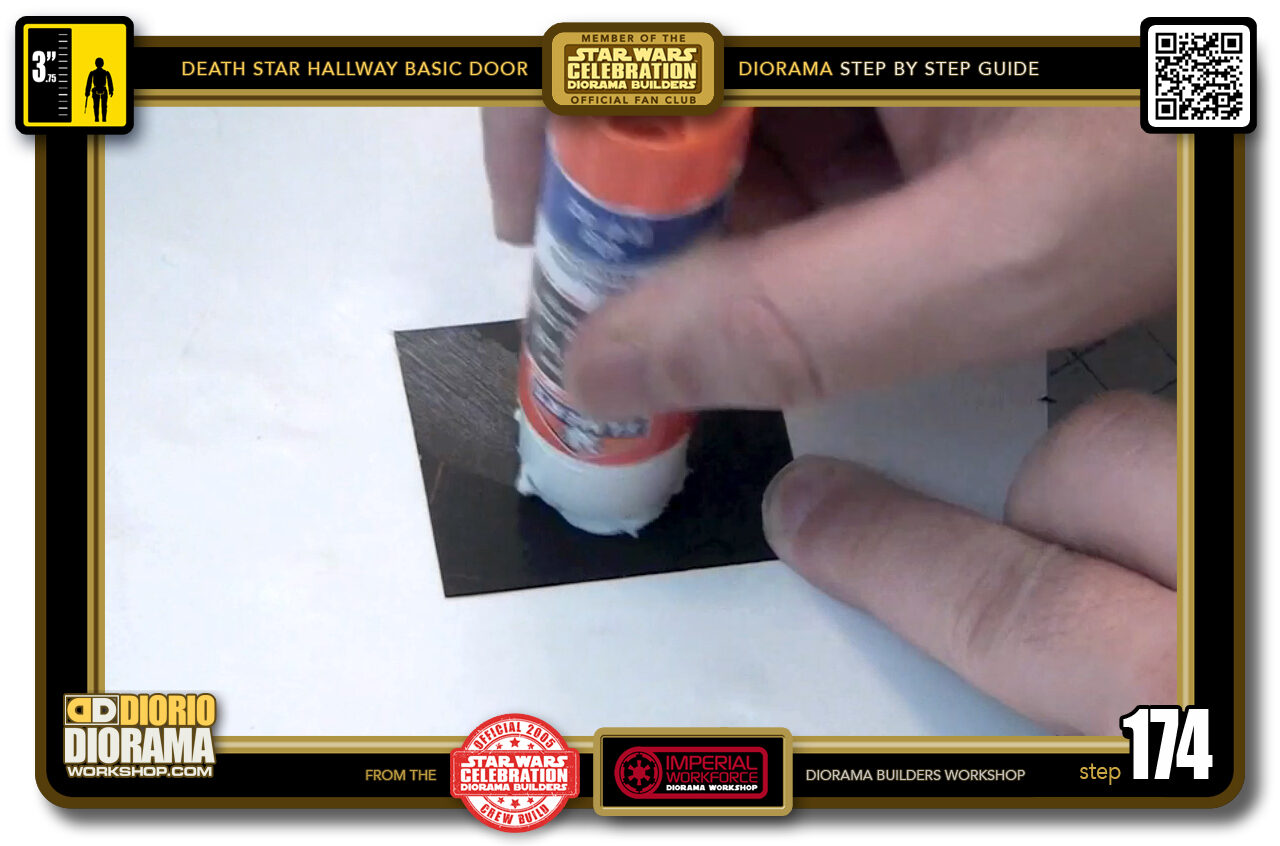
- STEP 174 > last piece more gluestick
-
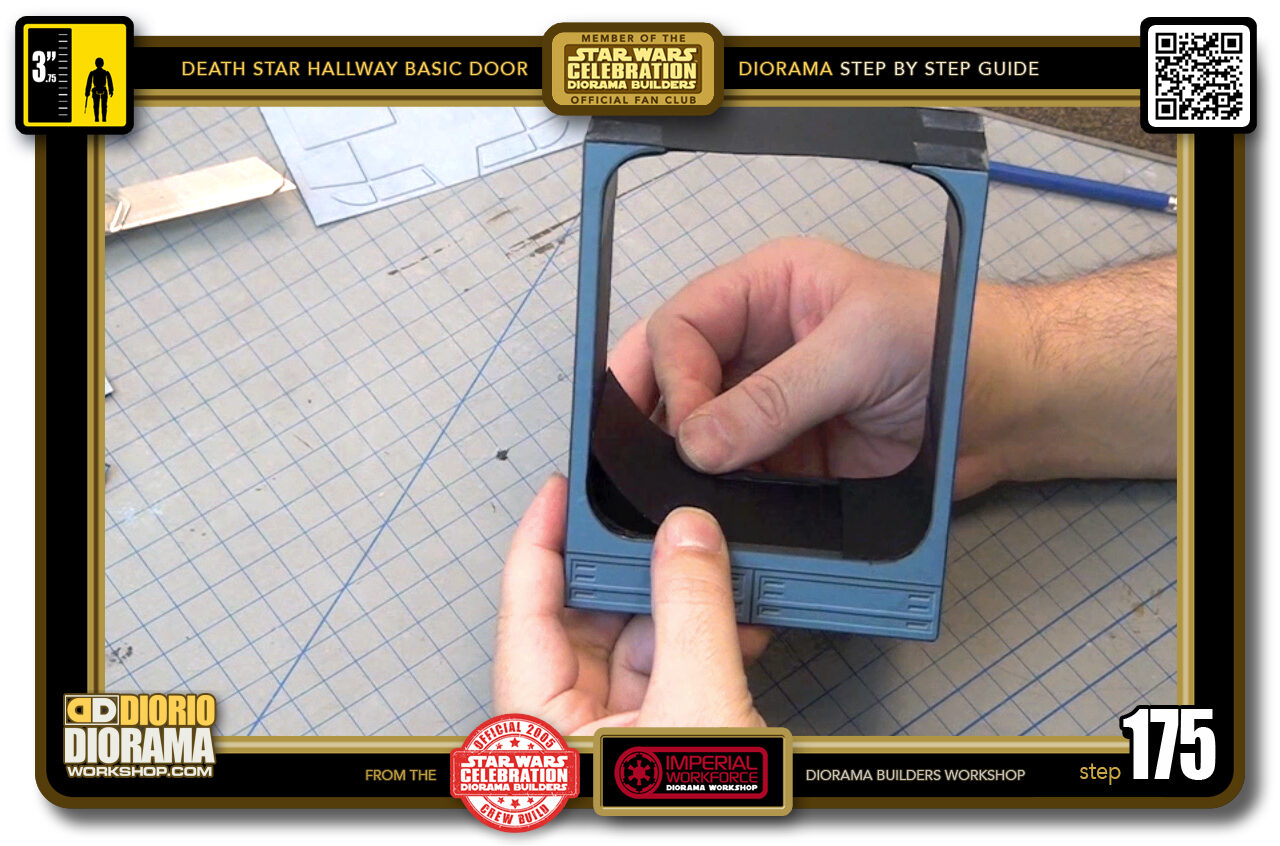
- STEP 175 > Align corner...
-
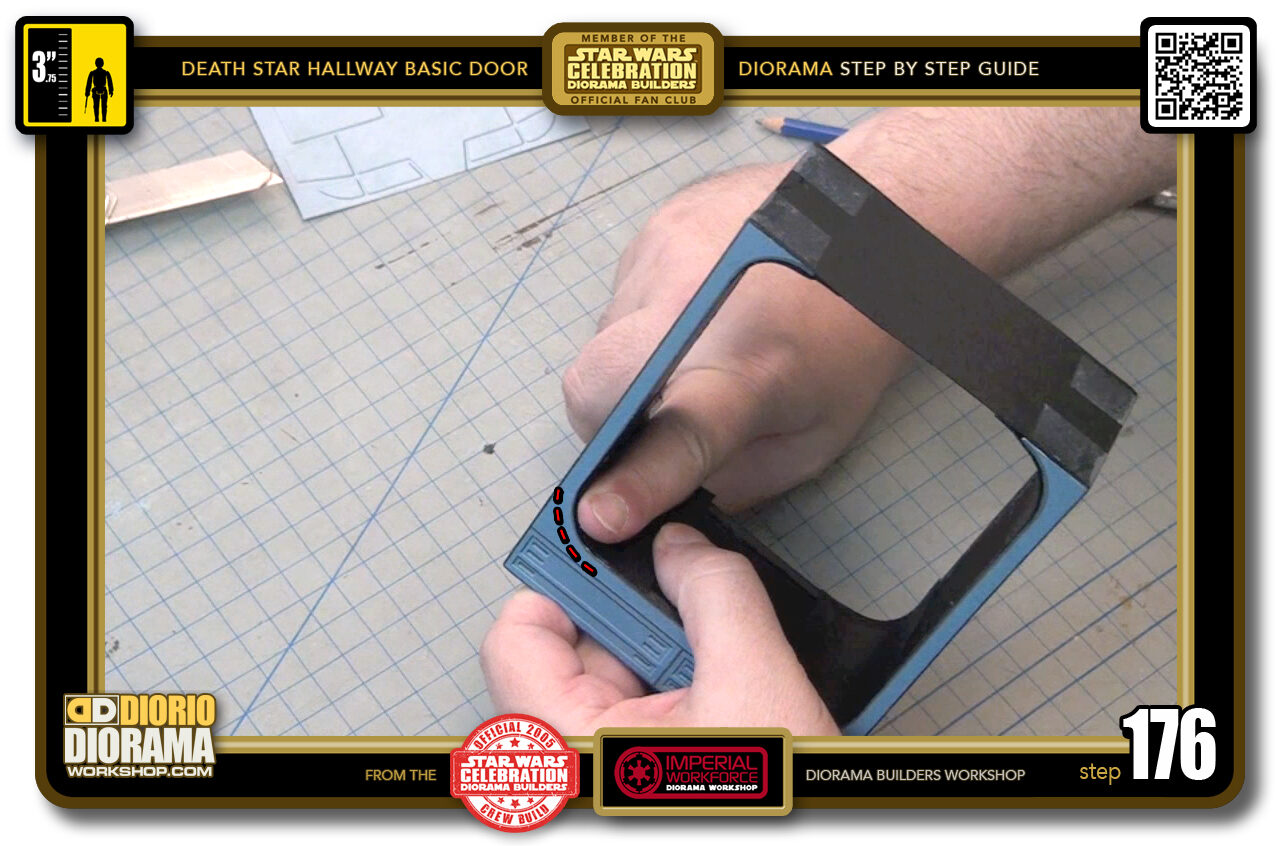
- STEP 176 > Press down onto curve.
-
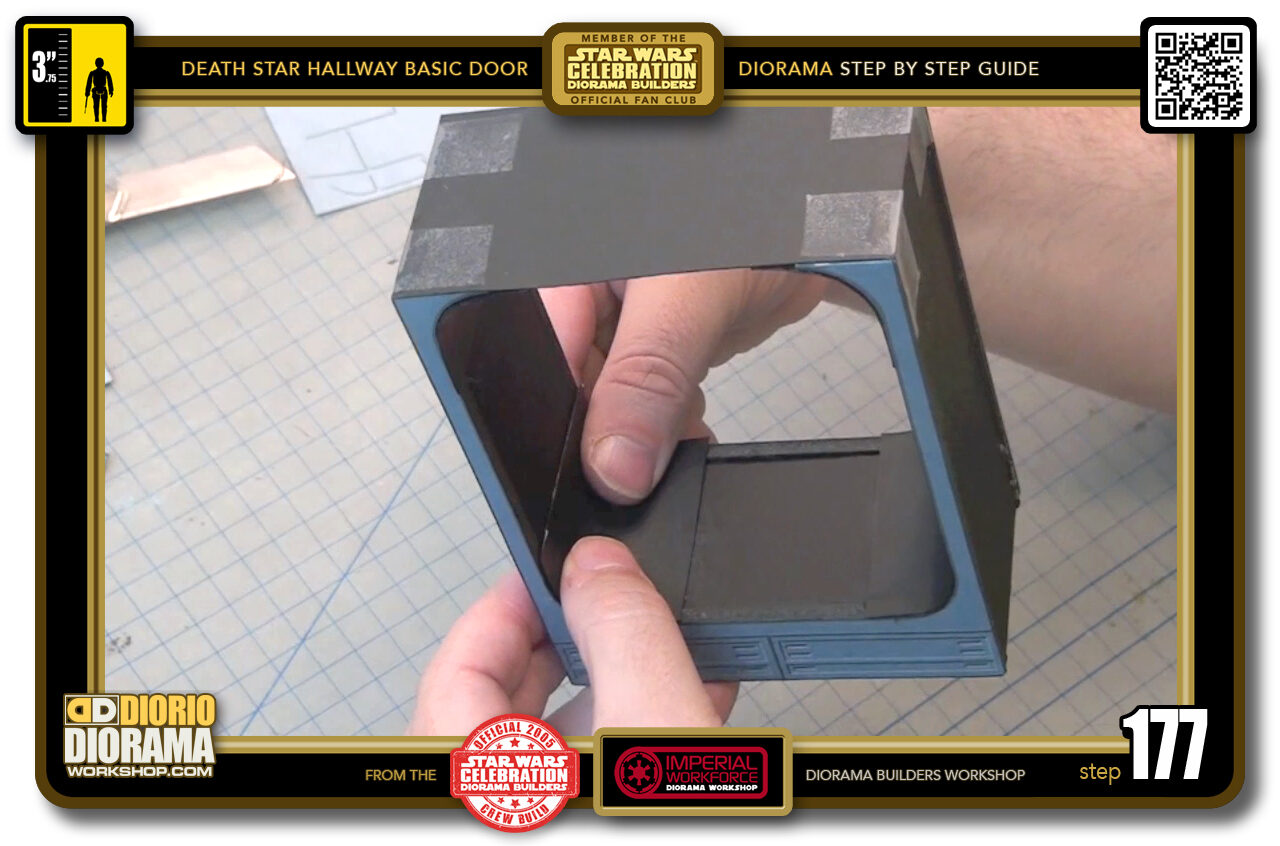
- STEP 177 > Press ends against foamfore, keep finger pressure until it stays in place when fingers are removed.
-

- STEP 178 > Your inner corners are ALMOST complete 🙂
-
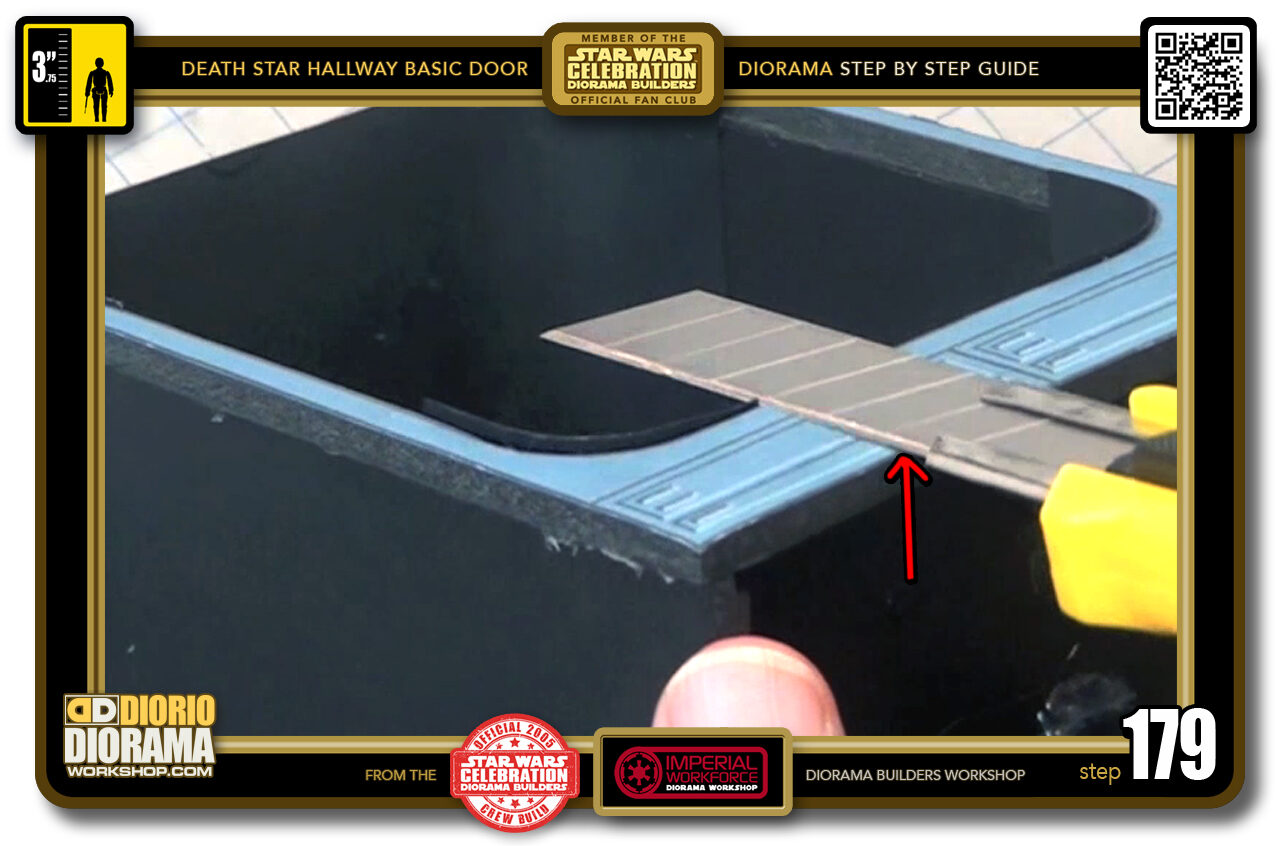
- STEP 179 > Let the corners dry a good 10 minutes before doing this. Remember those possible peek a boo edges ? well if it is eveident they are not flush like this one, you need to trim it. Start by extending your blade as much as you can and lay it FLAT against the frame itself. NOW is a GOOD TIME to CHANGE a NEW BLADE.
-
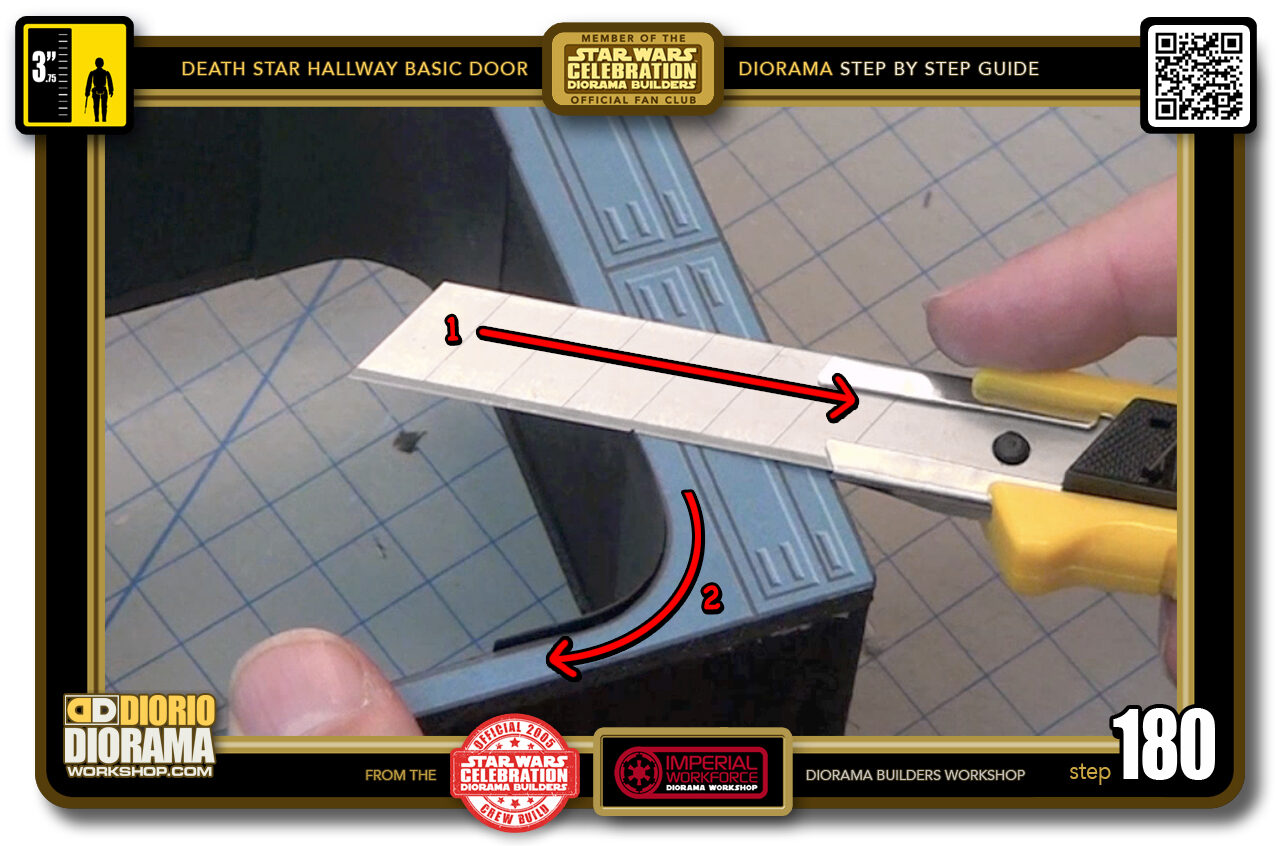
- STEP 180 > You are going to want to PULL BACK towards you (red arrow #1) as you move down the peek a boo strip (red arrow #2)

.
Did you already build this Diorama ? At home or at our Star Wars Celebration Diorama Builders workshop ? Would you like to show it in the site’s GALLERY VISITORS DIORAMAS section, YES ? That is Awesome !!! You can find out all the details on how to email me your photos on the VISITORS SUBMISSIONS INFO page … When I get your photos, I will create your very own page just like this one. You may not realize it but work does inspire others to join in the fun of making Action Figure Dioramas.
.
NOT FOR RESALE ALL Decals, tutorials and artwork are ©FrankDiorio (dioramaworkshop.com) and offered FOR FREE to the fans – that would be you ? so you can build and display my diorama designs in your very own home. I realize I cannot control what one does with my graphics once I place them on the web, I can only ask you as one fan to another, please respect the artist and do not be that jerk who uses my designs and tutorials to build a copy of my work only to sell it on EBAY or trade/sale groups and forums. Thank You. Frank.
.
.
If you have a facebook account, why not join the Official Diorama Builders Fan Club today, simply click the logo link below.
 .
.
Catch up with fellow visitors and exchange stories, read cool interviews with the crew, exchange photos, fun surprises and grab some FAN ONLY merchandise next year at actual future conventions ?
.
©2018 Frank Diorio DioramaWorkshop.Com
.
IF YOU LIKE WHAT YOU SEE, PLEASE SHARE WITH YOUR FRIENDS
USING THE SOCIAL MEDIA BUTTONS BELOW