


-
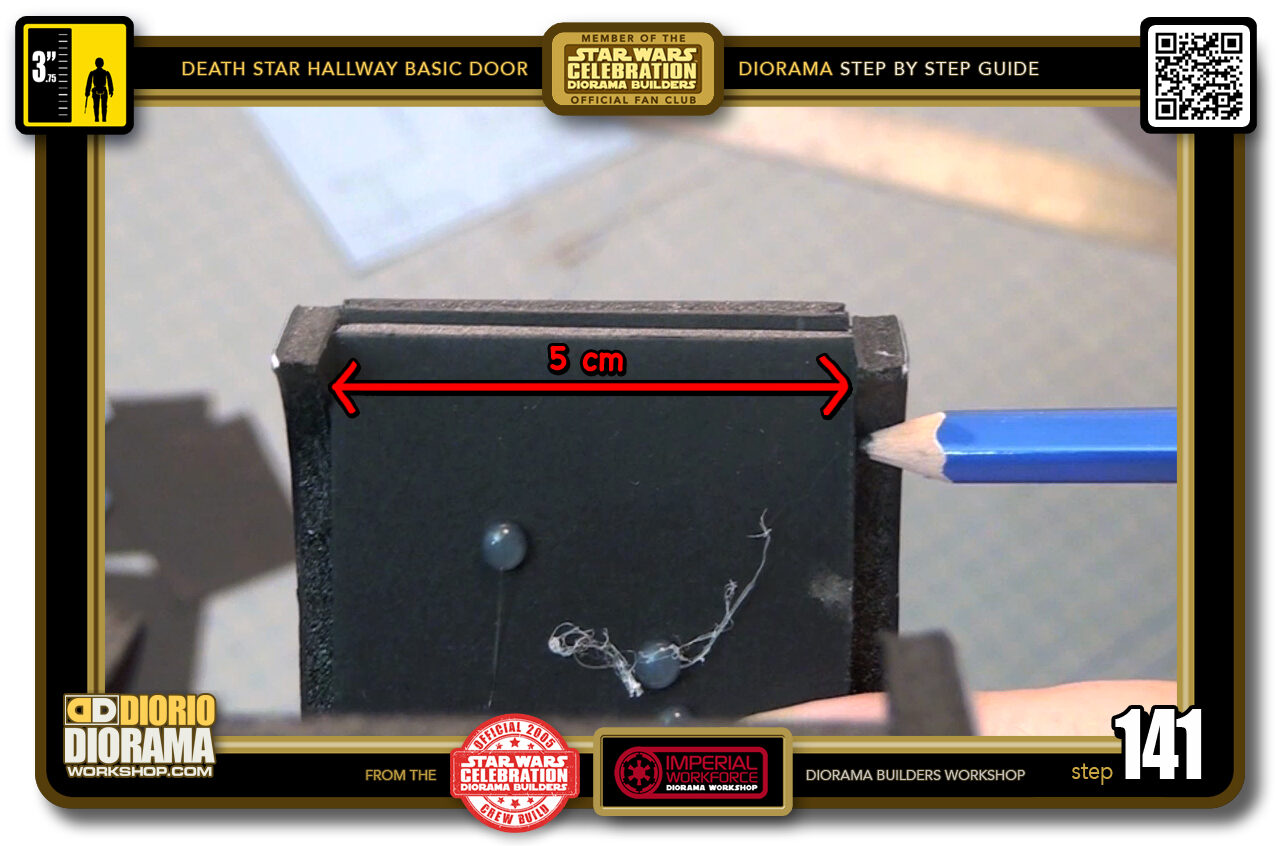
- STEP 141 > Simply place this 5 cm wide foamcore in between the 2 inner frame walls. It should fit snugly. Now slide it up and down until it arrives FLUSH with both sides of the frames feet bottoms (where the assembly touches the Death Star floor)
-
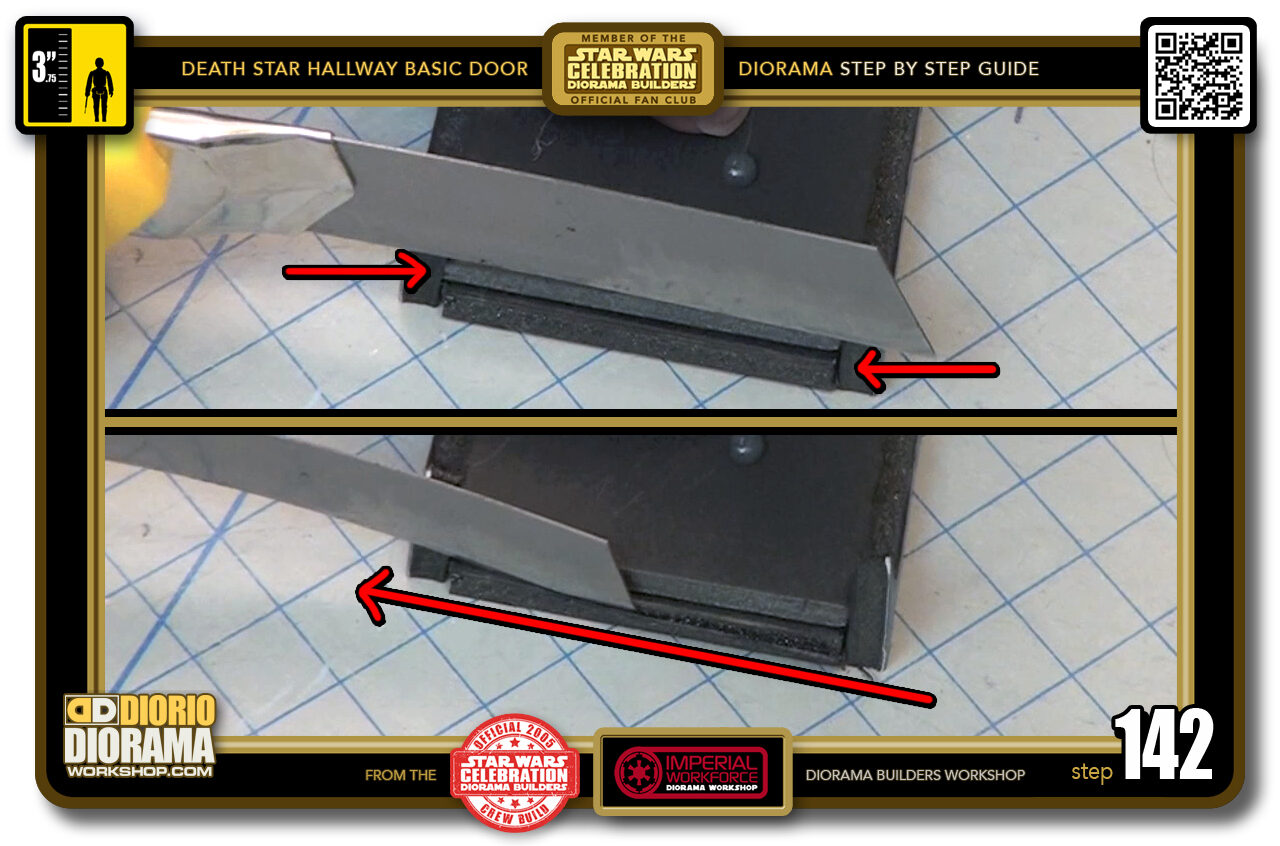
- STEP 142 > Extend your X-Acto knife's blade as far as you can, lean it agaist the frame feet's sides and carefully pull back as you press down to slice off just the excess piece.
-
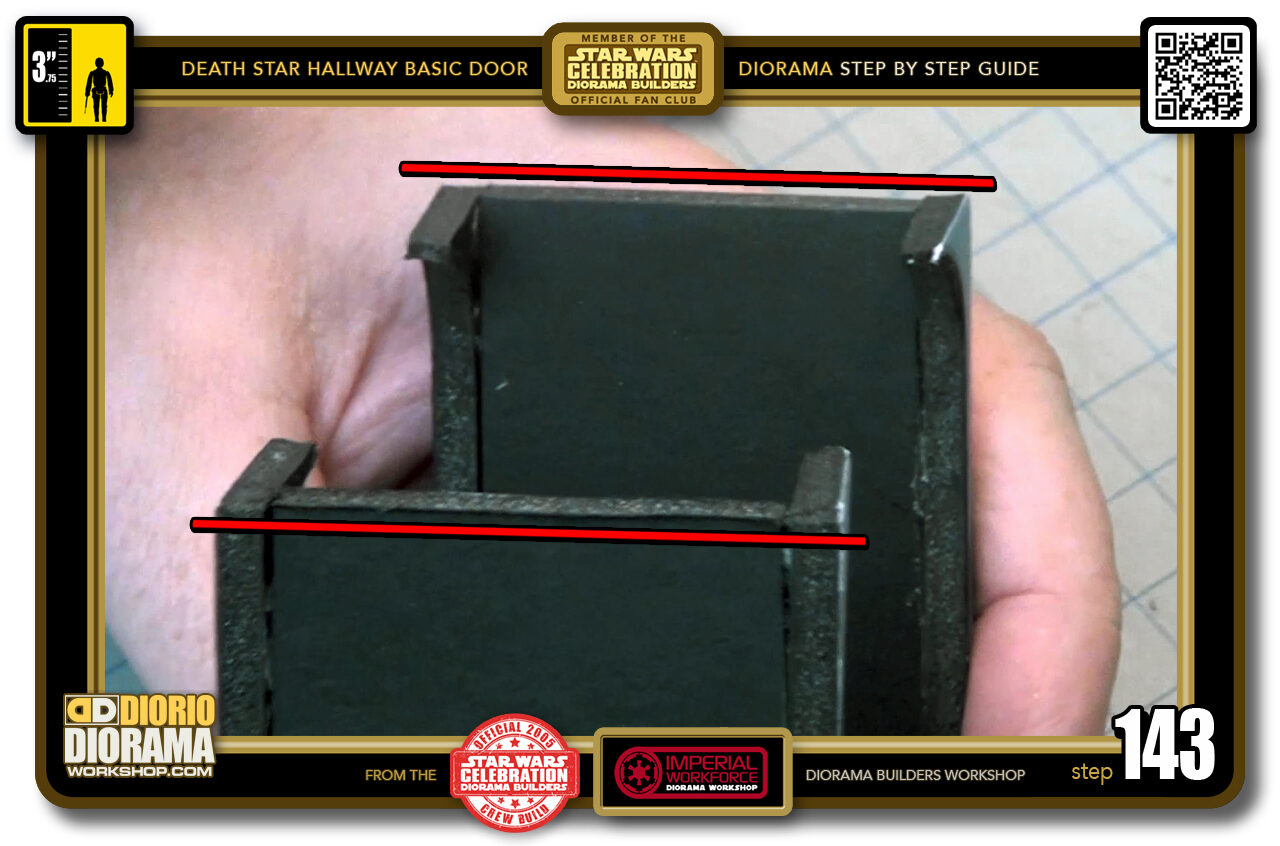
- STEP 143 > The other side didn't need trimming, so after this first trim, my two bottoms of the frame feet - man that's a confusing tongue twister lol - are all FLUSH 🙂 I can attach the base posterboard.
-
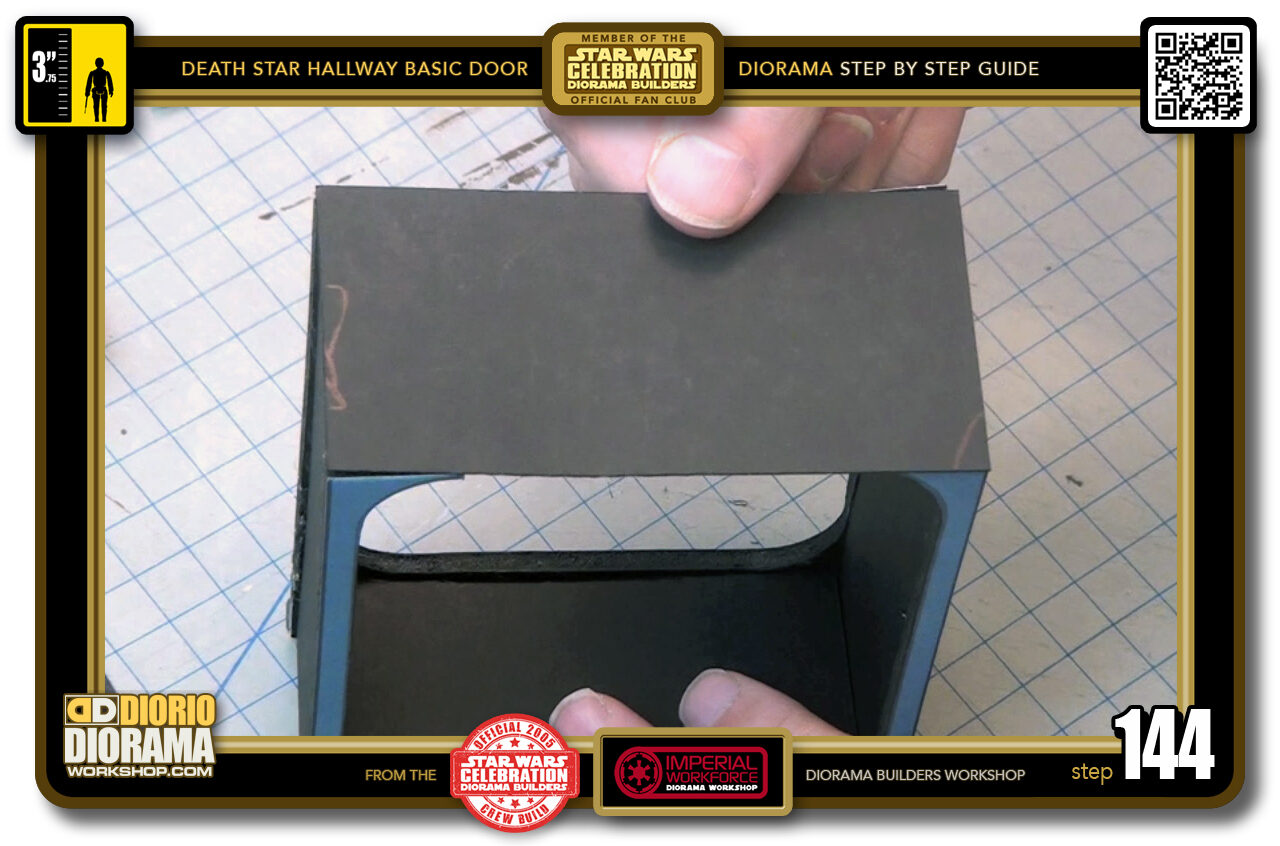
- STEP 144 > Do a first DRY RUN. You want to make sure it's all cut properly.
-
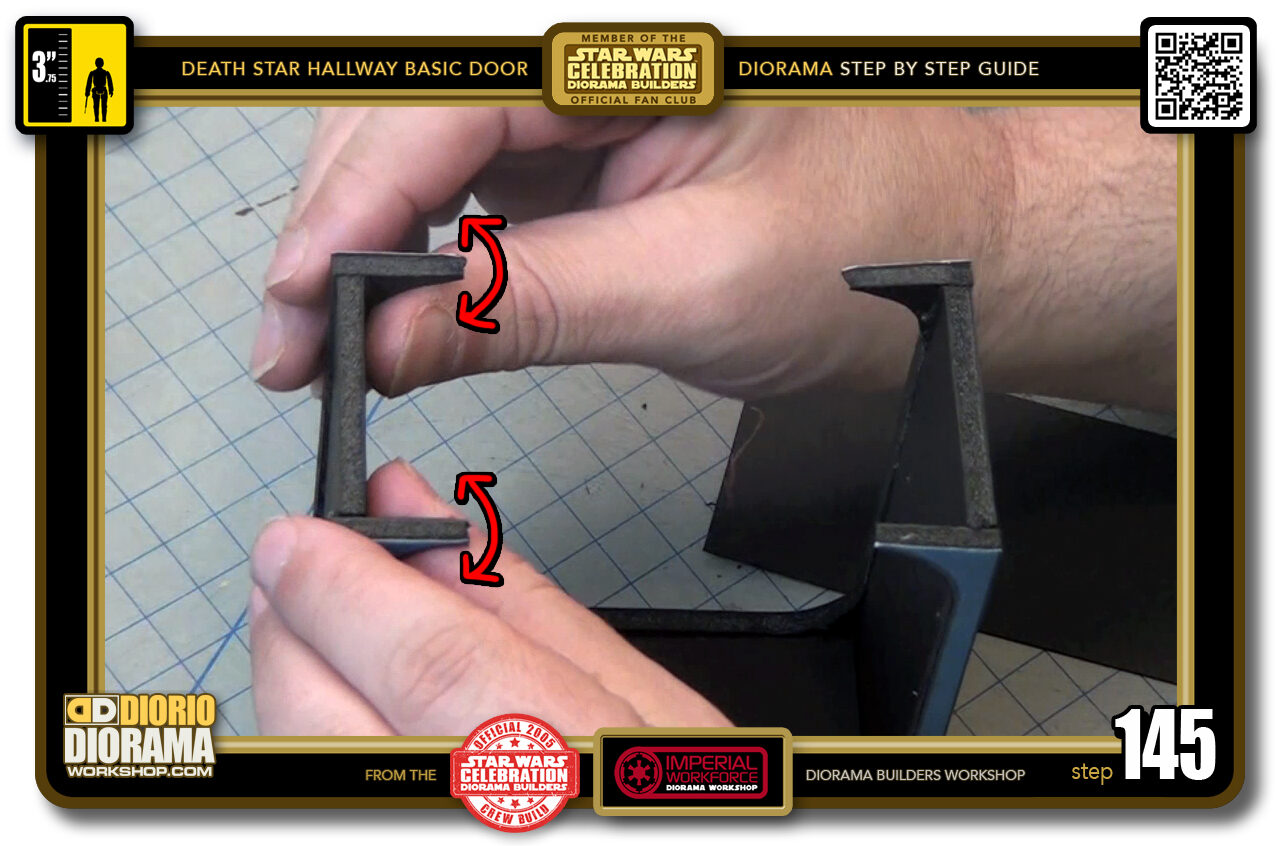
- STEP 145 > The most important point of this part is to make sure the bottom curves are aligned just right. You can wiggle them sideways until when you let go they are 90 degrees from the walls.
-
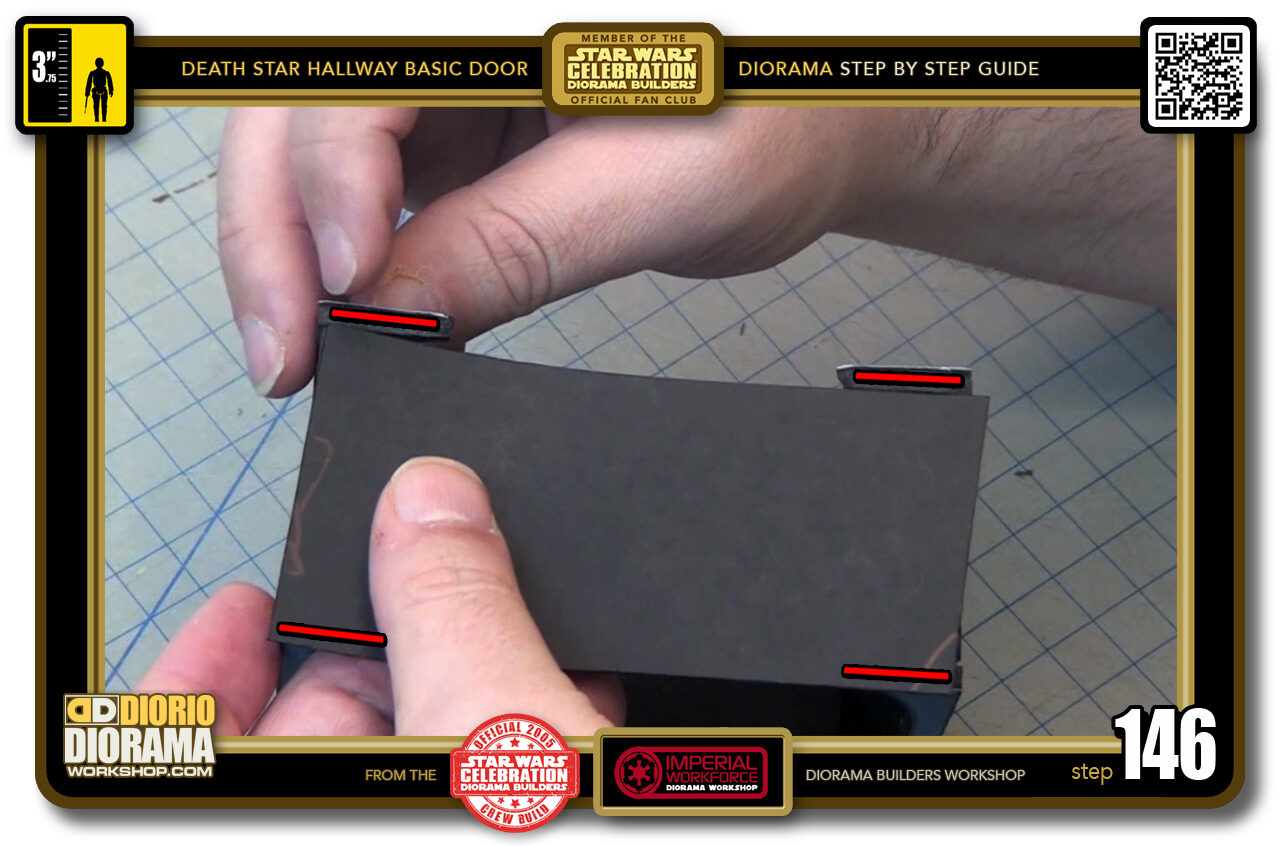
- STEP 146 > Giving you perfect alignment with the posterboard sides.
-
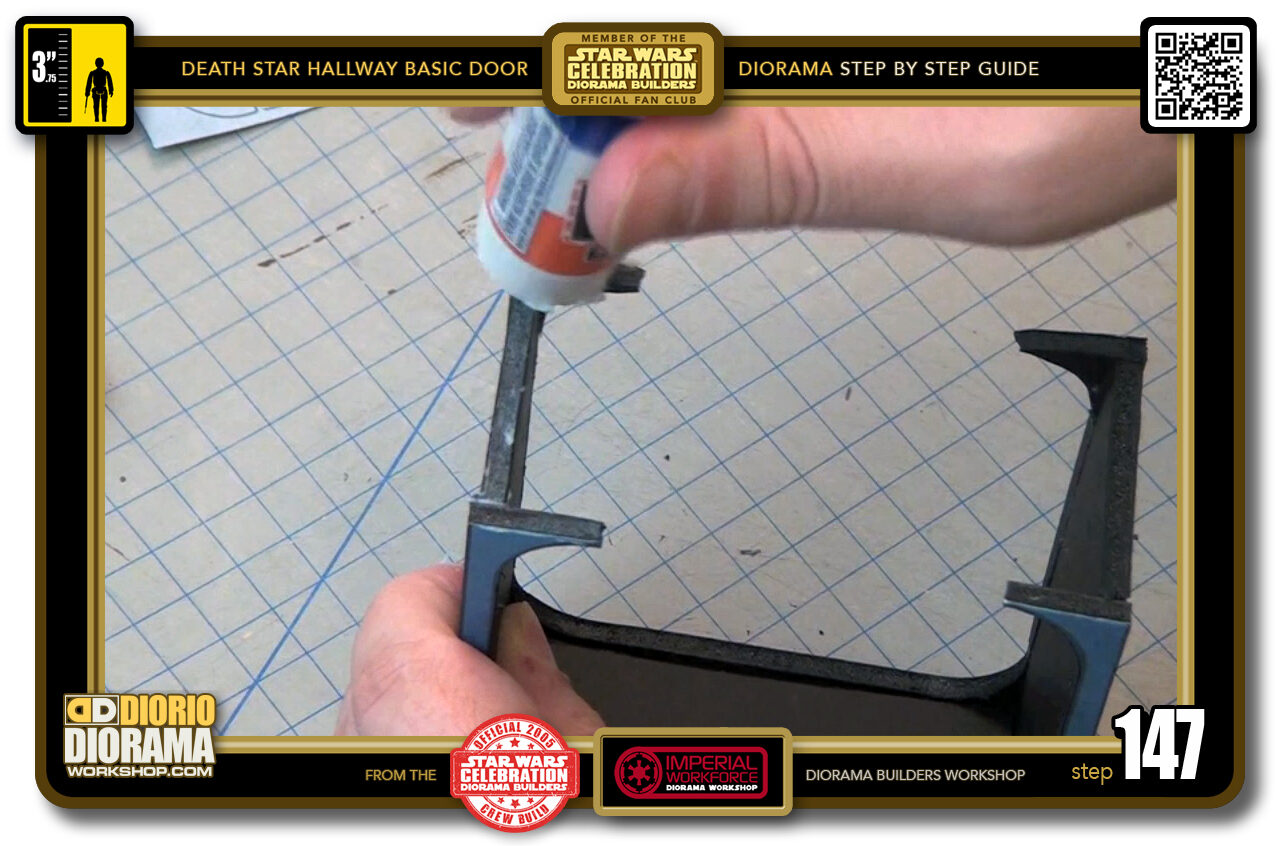
- STEP 147 > NO HOT GLUE for the next steps... use GLUE STICK ONLY. Apply a good amount under the feet of ONE SIDE ONLY.
-
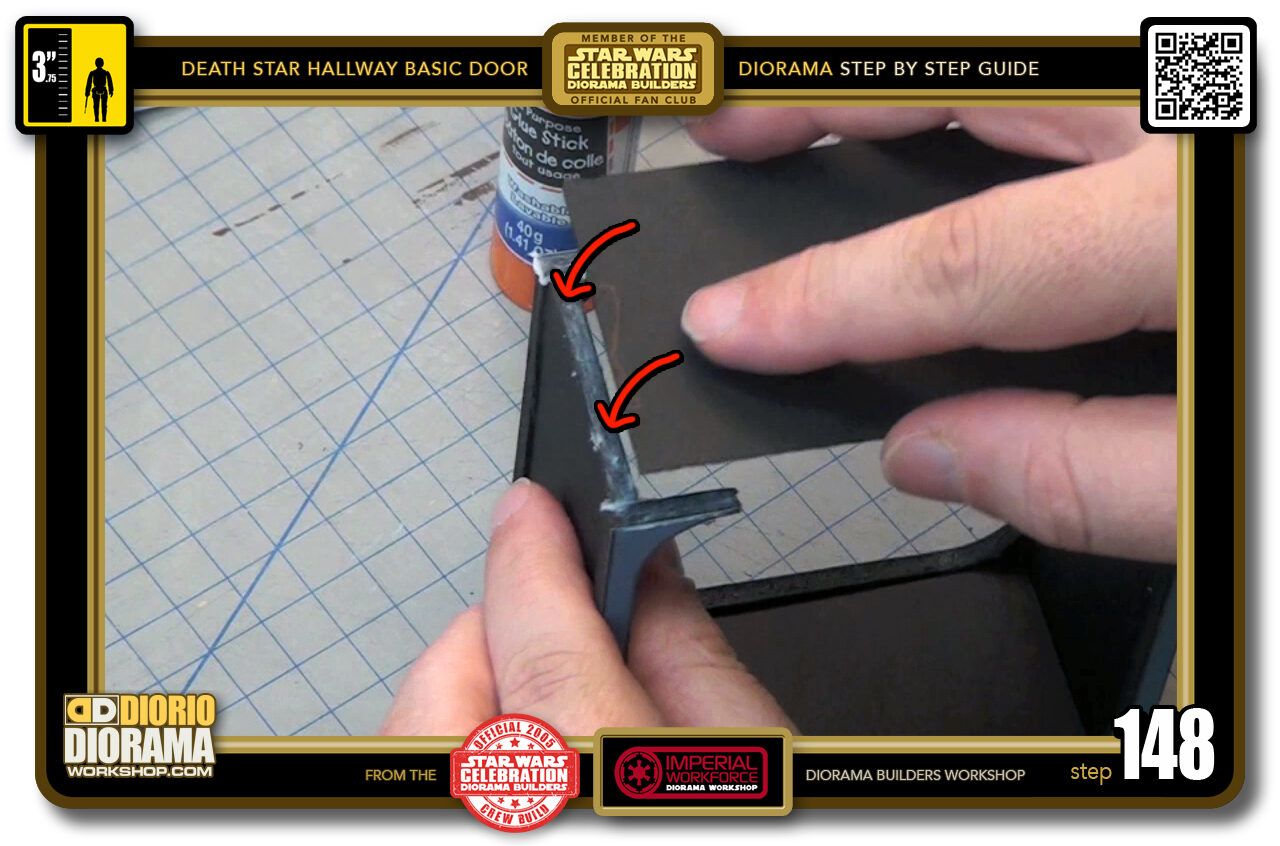
- STEP 148 > Carefully align again the posterboard with the edges making sure they are FLUSH with the outer side.
-
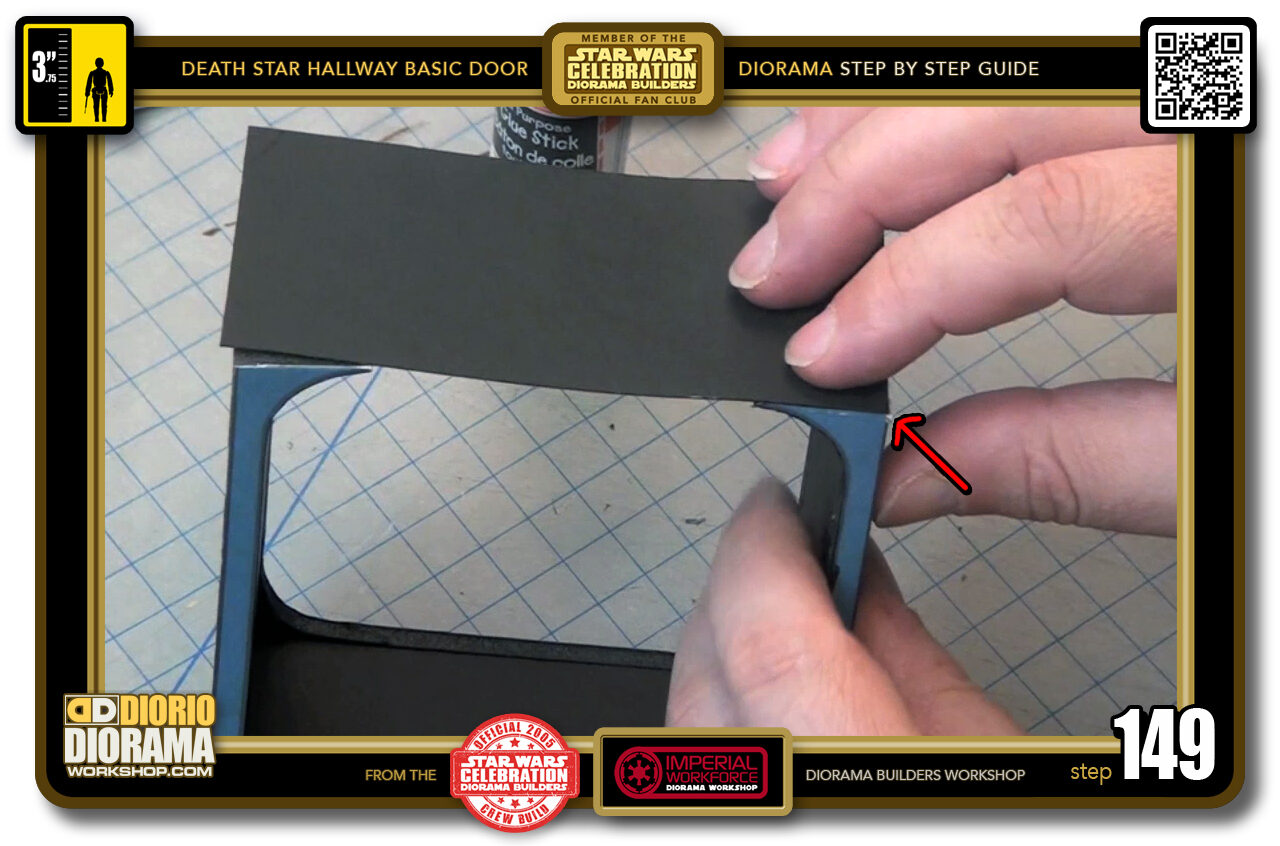
- STEP 149 > Also make sure the posterboard matches up to each corner.
-
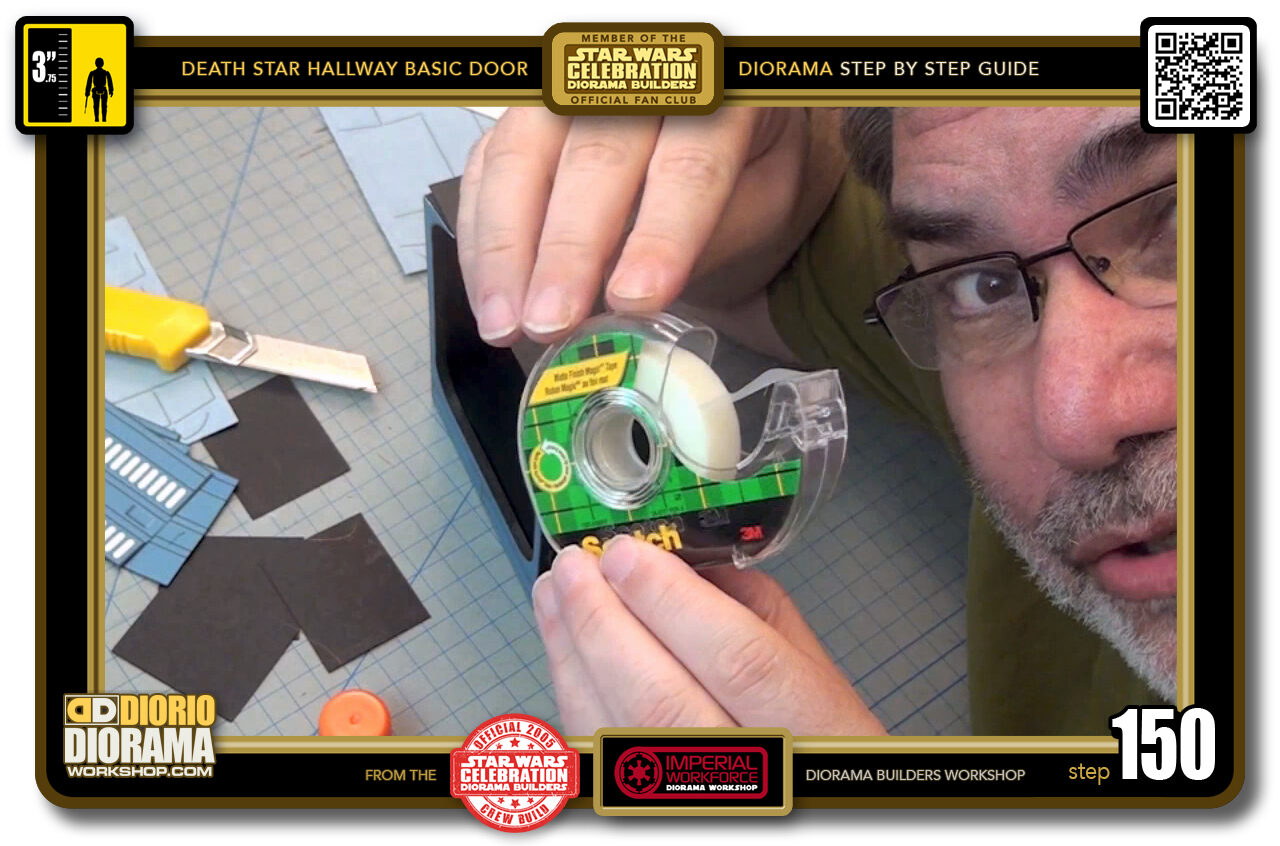
- STEP 150 > Since gluestick takes longer to dry than glue stick, you can grab some scotch tape.
-
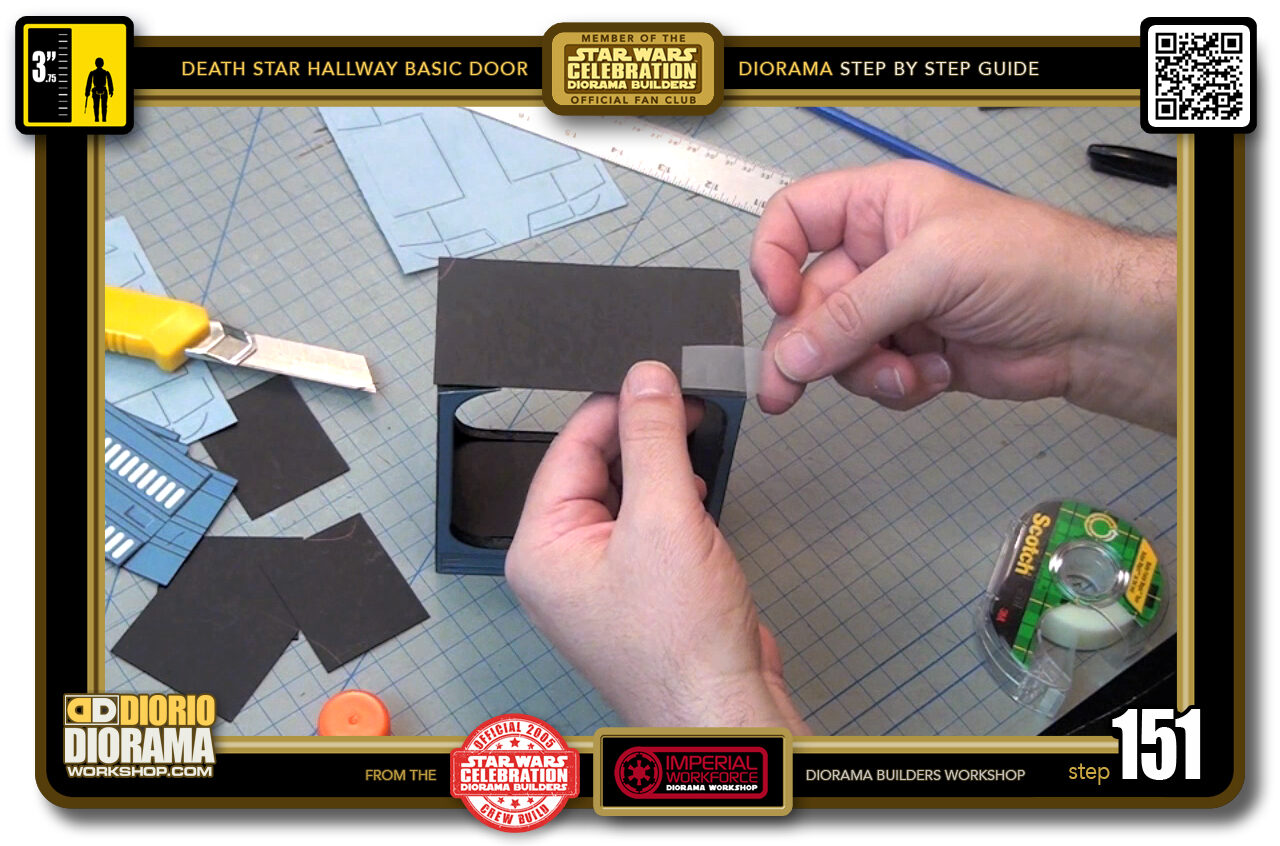
- STEP 151 > Peel a little piece and apply it to one corner.
-
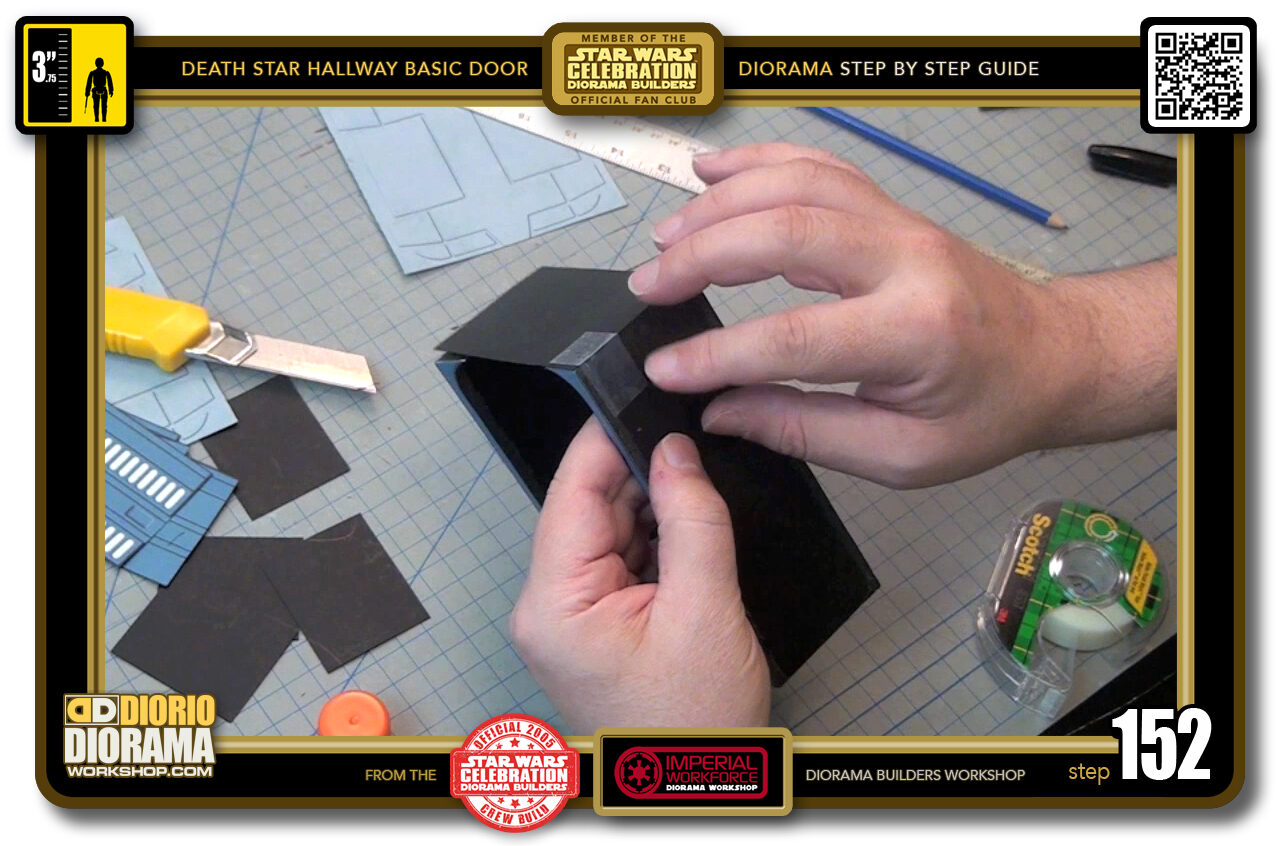
- STEP 152 > make sure you aren't shifting your piece out of alignment when doing this.
-

- STEP 153 > When ready, take another piece of tape and attach the other side
-
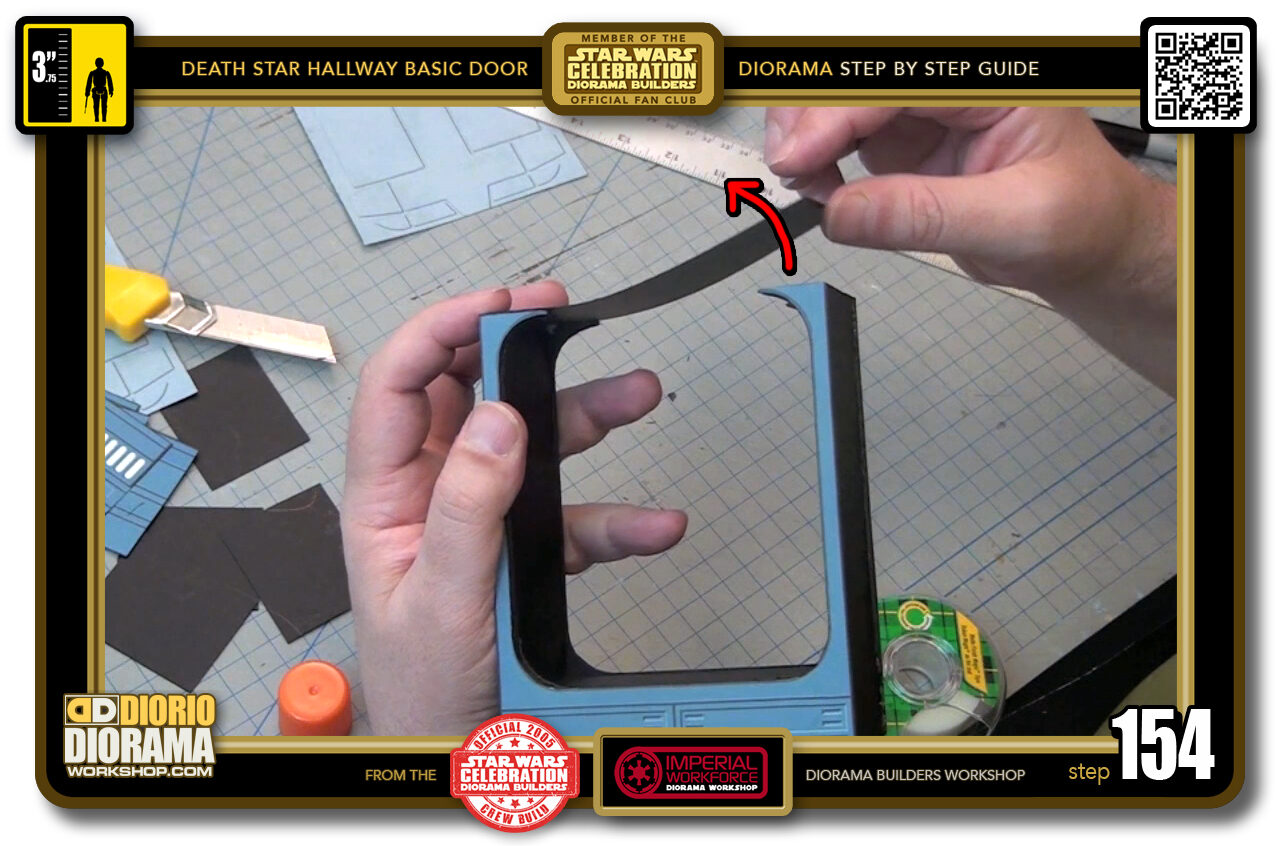
- STEP 154 > With the scotch tape and glue stick working it's magic, you can see that you can carefully lift the other end of your foot base posterboard like this.
-
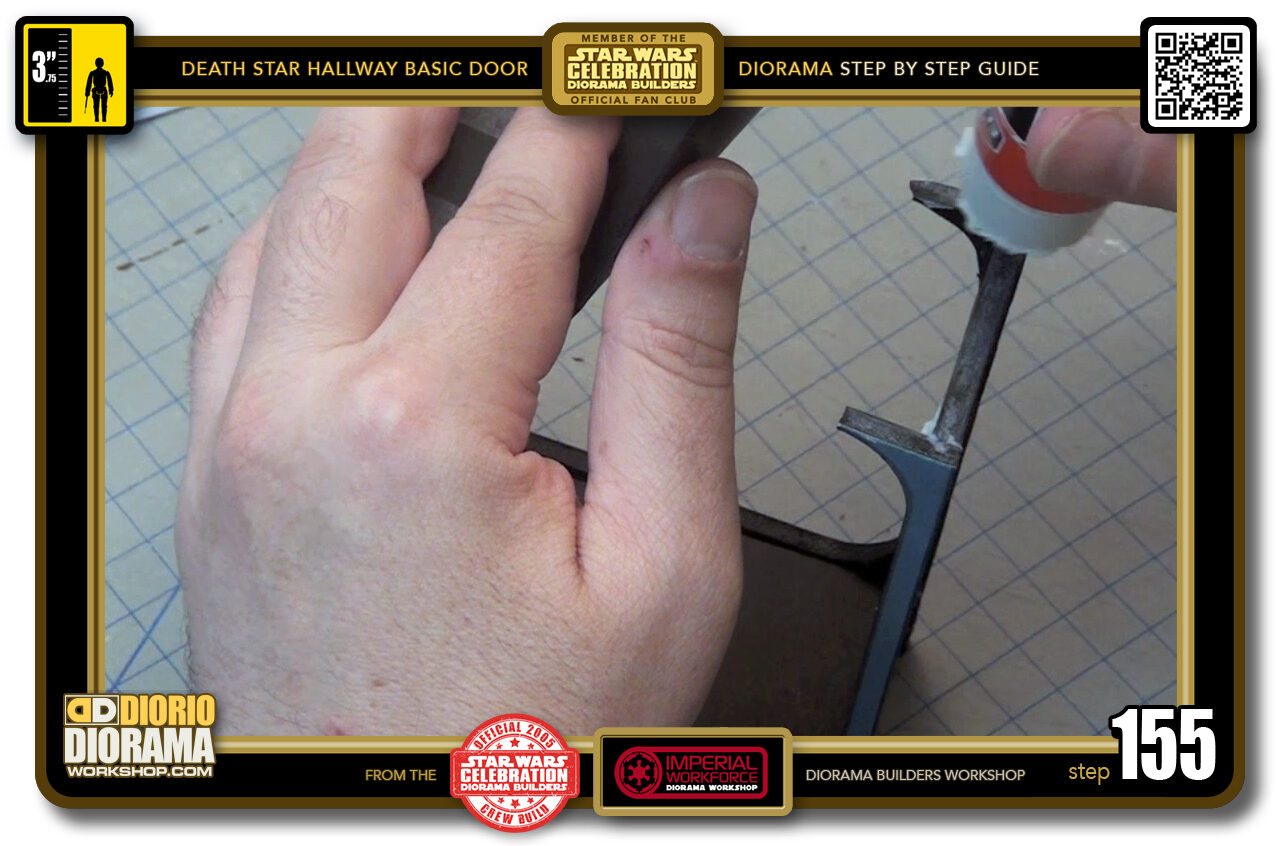
- STEP 155 > You now have enough room to apply gluestick to the bottom of the other side under the foot.
-
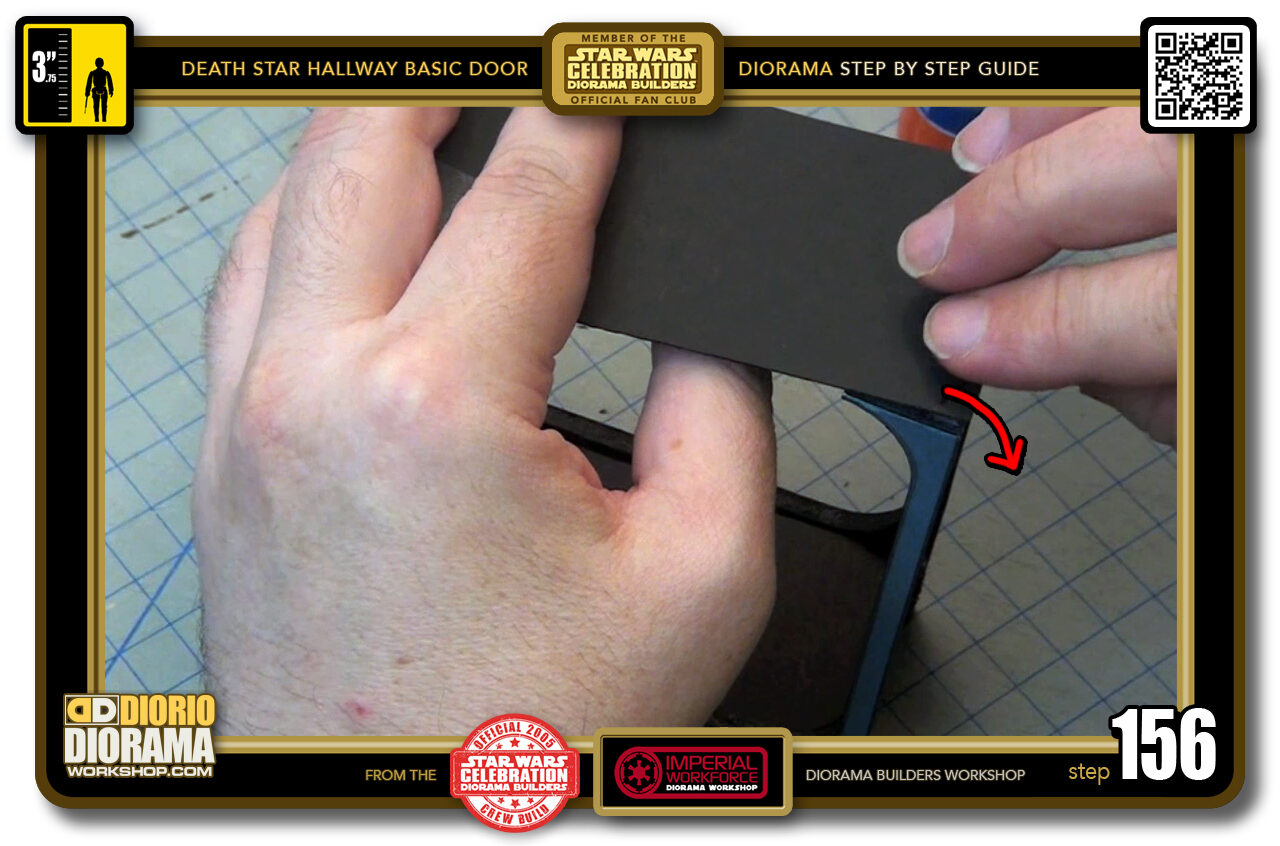
- STEP 156 > Now lower and close the foot base gap by pressing against the foamcore. Don't press too hard, it's still fragile due to being only 1 cm wide.
-
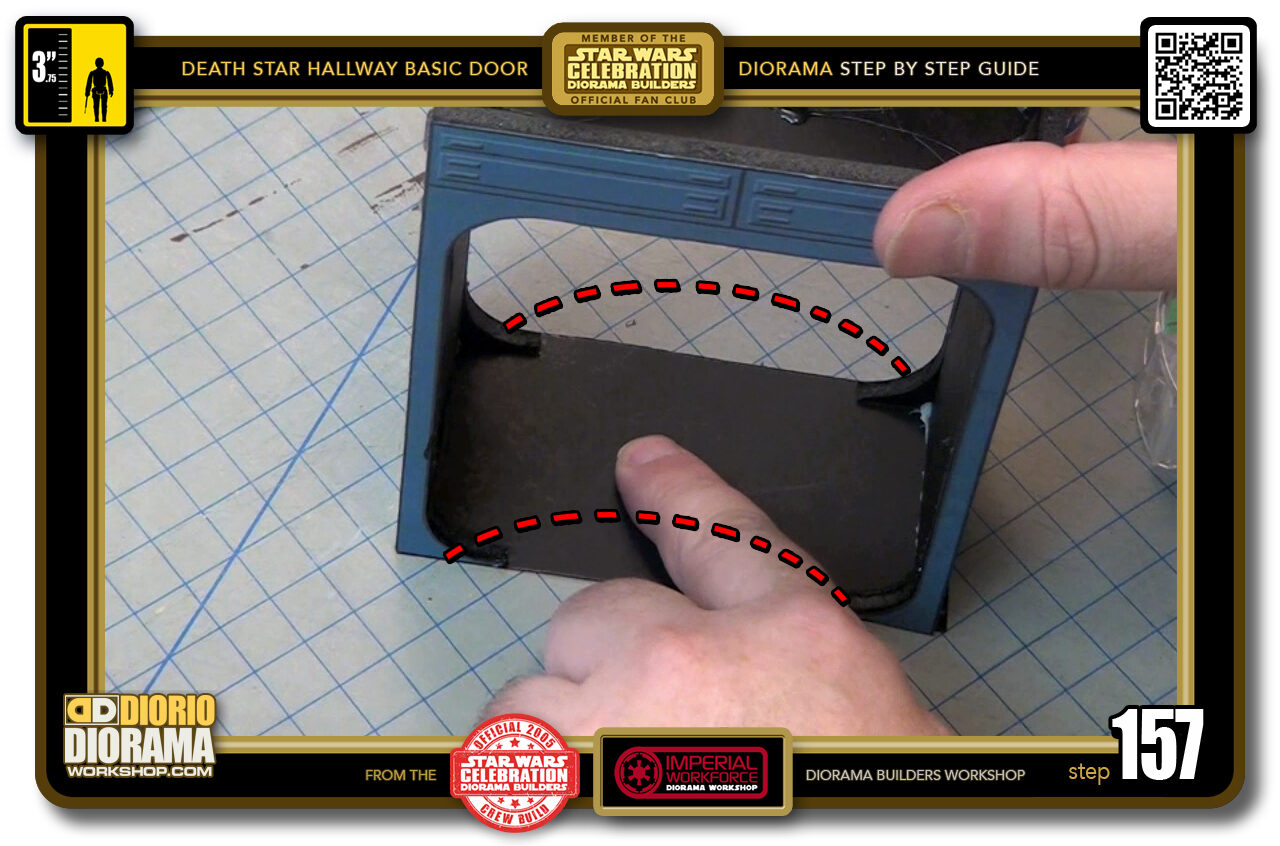
- STEP 157 > At this point you can flip it over to make sure the width of the bottom posterboard is just right and not pinched. You want it to lay flat against the surface NOT pushing up ( I exagerated so you can see it) like the red dotted lines.
-
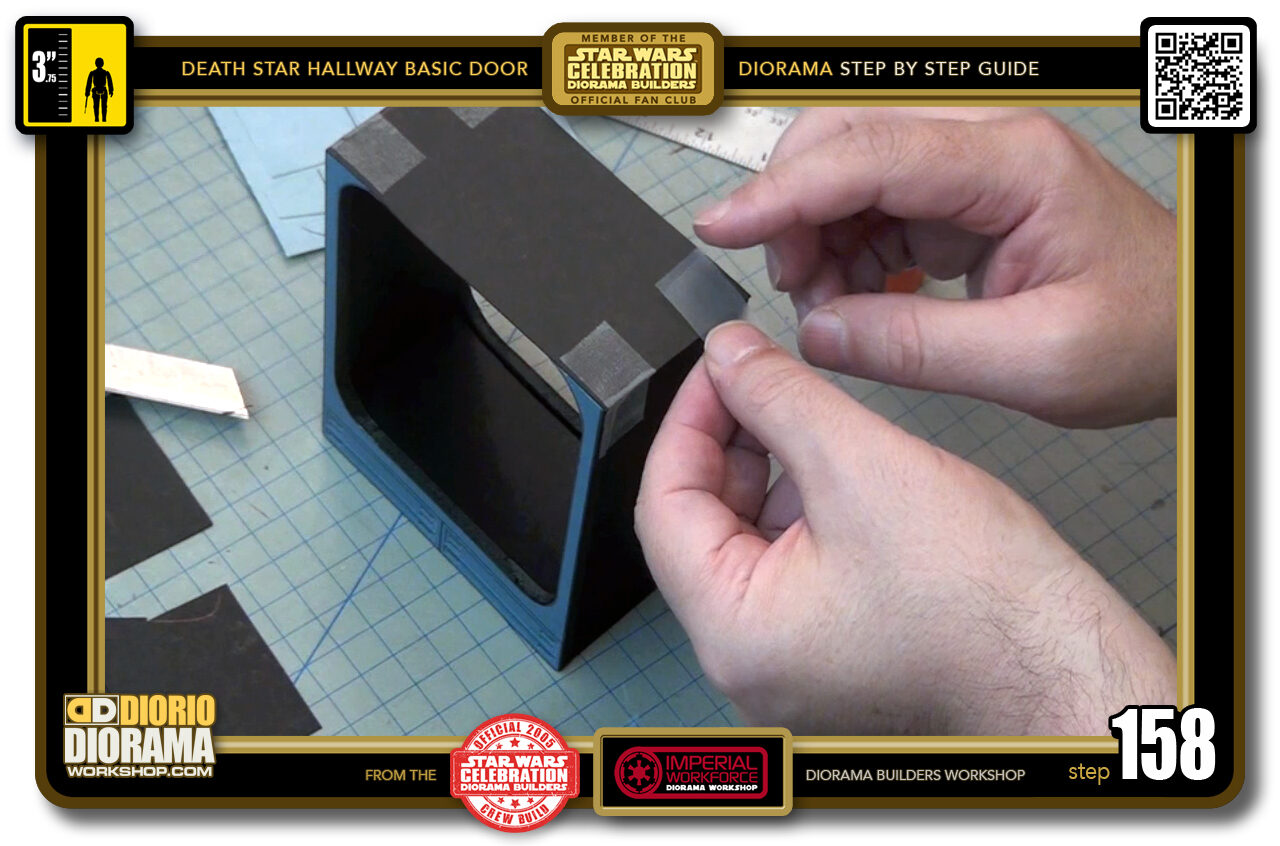
- STEP 158 > When you know the base is flat, you can tape the bottom of the feet like you did before.
-
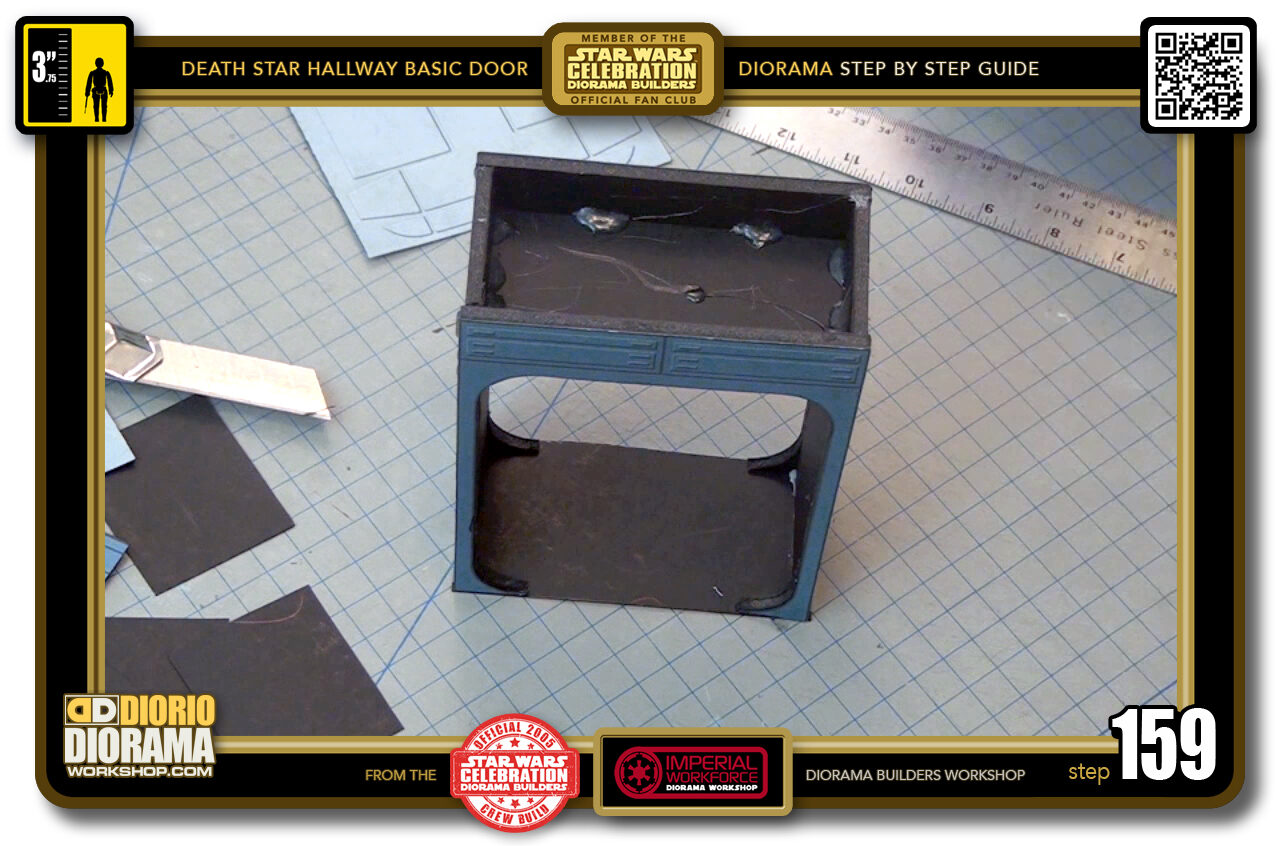
- STEP 159 > Your base is now secure, let this dry a little before you continue on.
-
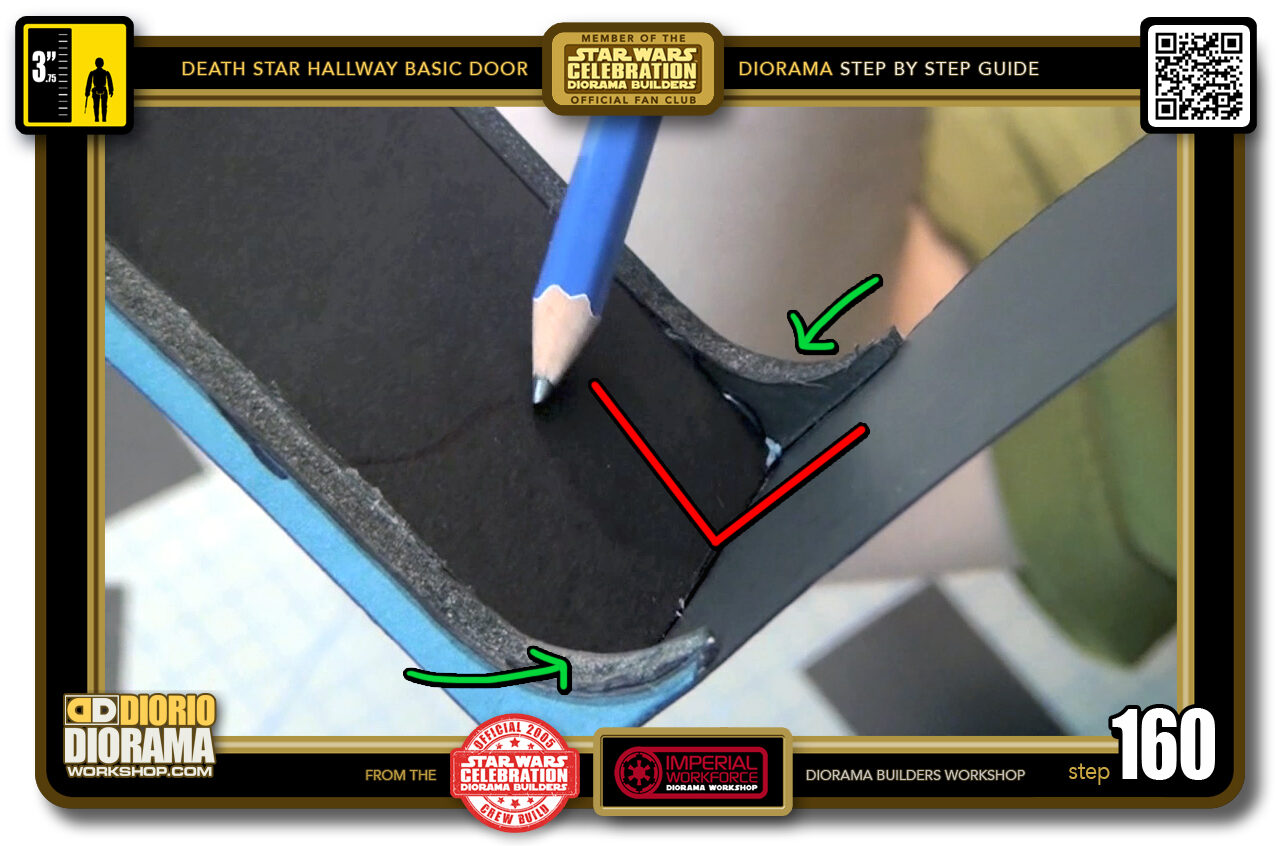
- STEP 160 > Now that assembly is almost done, you will notice that the frames create a curve (green arrows) at the front and the rear but the centre has a 90 angle (red lines) We want the curves to be in the centre also.

.
Did you already build this Diorama ? At home or at our Star Wars Celebration Diorama Builders workshop ? Would you like to show it in the site’s GALLERY VISITORS DIORAMAS section, YES ? That is Awesome !!! You can find out all the details on how to email me your photos on the VISITORS SUBMISSIONS INFO page … When I get your photos, I will create your very own page just like this one. You may not realize it but work does inspire others to join in the fun of making Action Figure Dioramas.
.
NOT FOR RESALE ALL Decals, tutorials and artwork are ©FrankDiorio (dioramaworkshop.com) and offered FOR FREE to the fans – that would be you ? so you can build and display my diorama designs in your very own home. I realize I cannot control what one does with my graphics once I place them on the web, I can only ask you as one fan to another, please respect the artist and do not be that jerk who uses my designs and tutorials to build a copy of my work only to sell it on EBAY or trade/sale groups and forums. Thank You. Frank.
.
.
If you have a facebook account, why not join the Official Diorama Builders Fan Club today, simply click the logo link below.
 .
.
Catch up with fellow visitors and exchange stories, read cool interviews with the crew, exchange photos, fun surprises and grab some FAN ONLY merchandise next year at actual future conventions ?
.
©2018 Frank Diorio DioramaWorkshop.Com
.
IF YOU LIKE WHAT YOU SEE, PLEASE SHARE WITH YOUR FRIENDS
USING THE SOCIAL MEDIA BUTTONS BELOW