


-
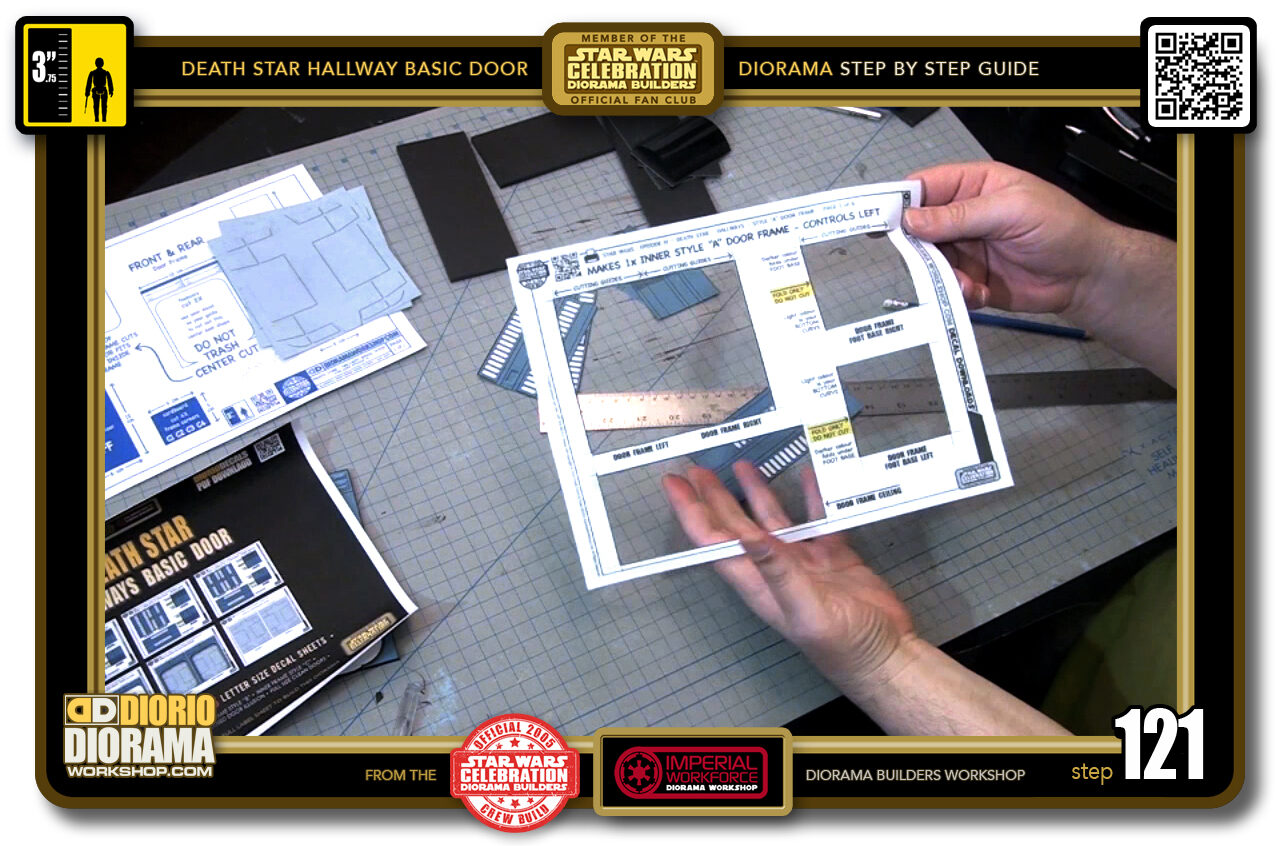
- STEP 121 > When all your decals are cut out you can trash what remains of the sheet.
-

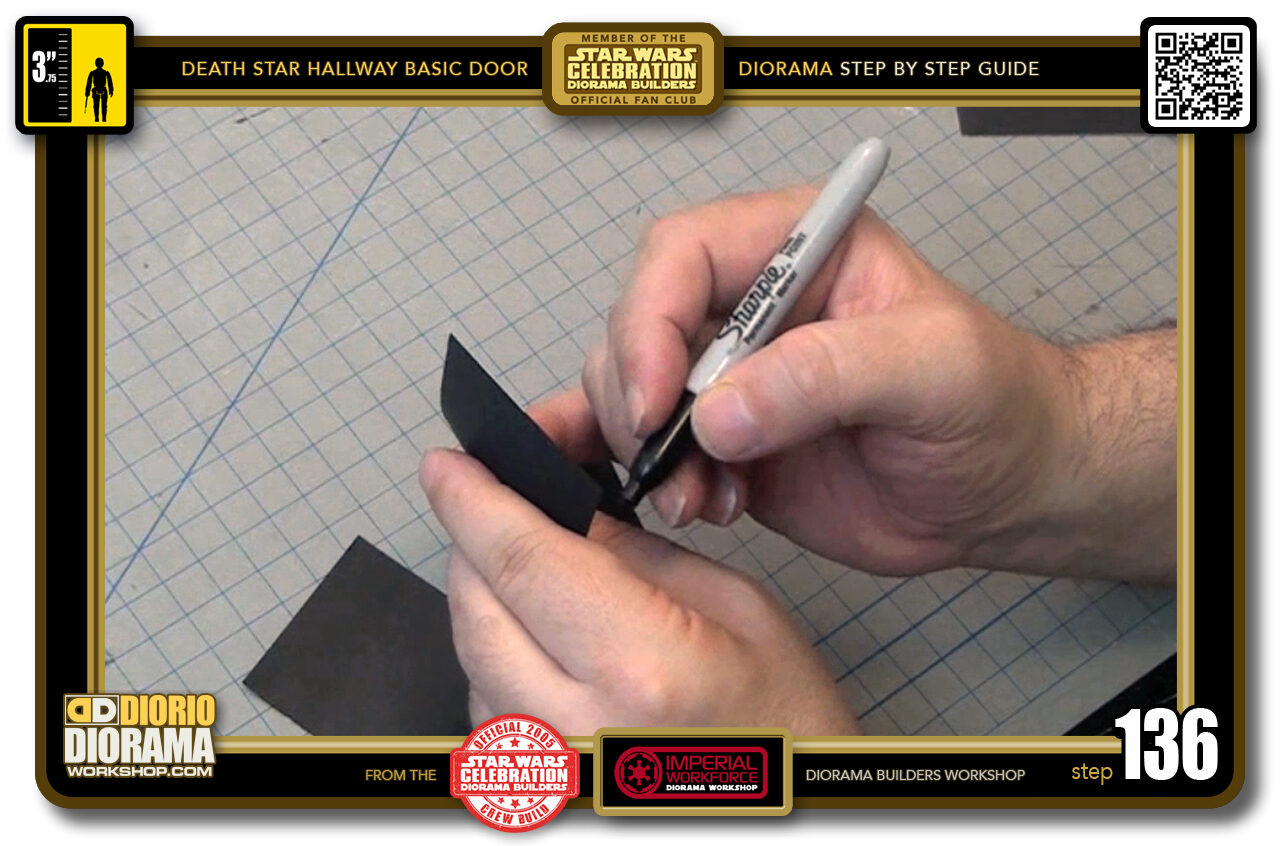
- STEP 122 > If this isn't your first build, you know what this is 🙂 time to colour the outside edges of our decals.
-
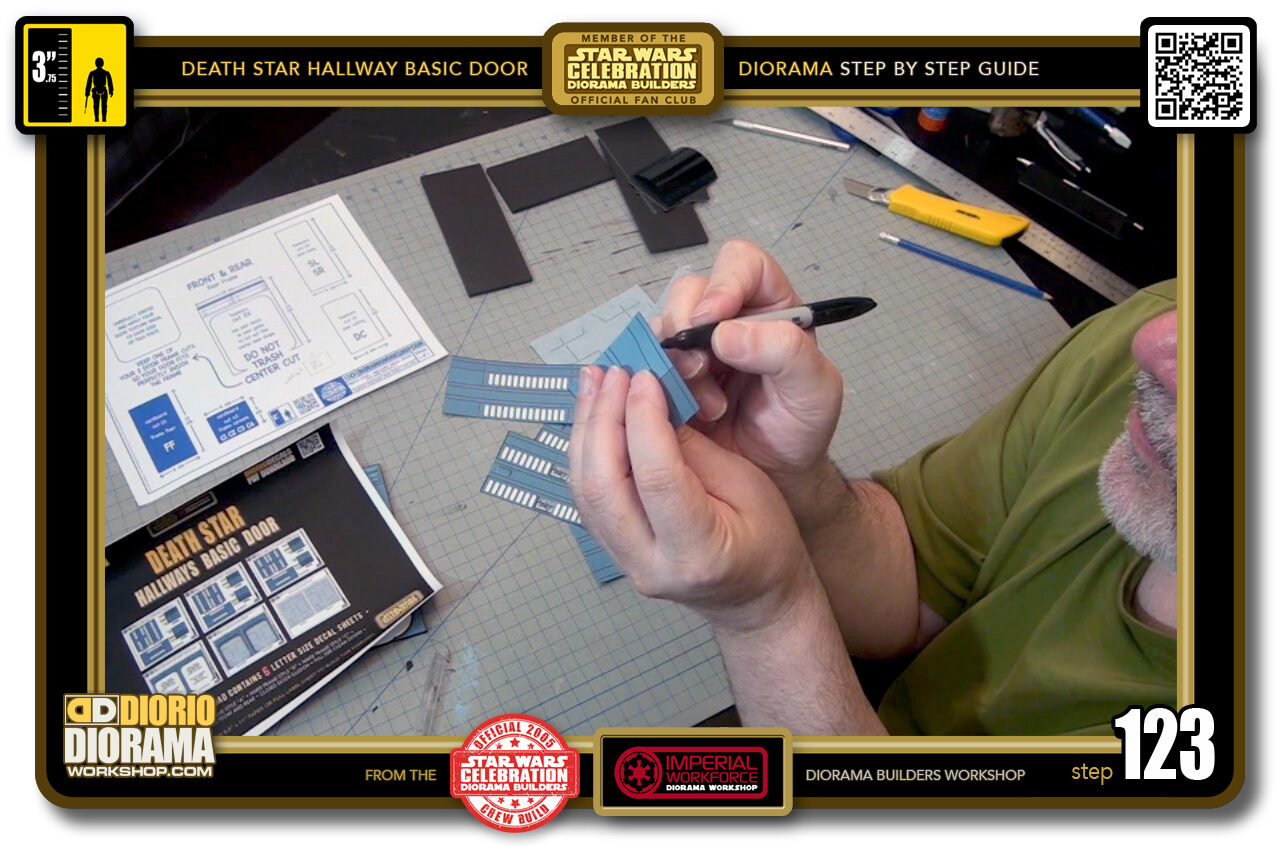
- STEP 123 > Nothing complicated about this. Tip #1 - HOLD your decal so the the skin printed side touches your fingers. the thumb should be on the rear. This way when you draw with the sharpie, if you slip, it will smear and make a line on the BACK instead of ON the sticker art.
-
- STEP 124 > Tip #2 Draw with the SIDE of your sharpie NOT with the TIP. It is a lot easier this way for you to follow the edges.
-
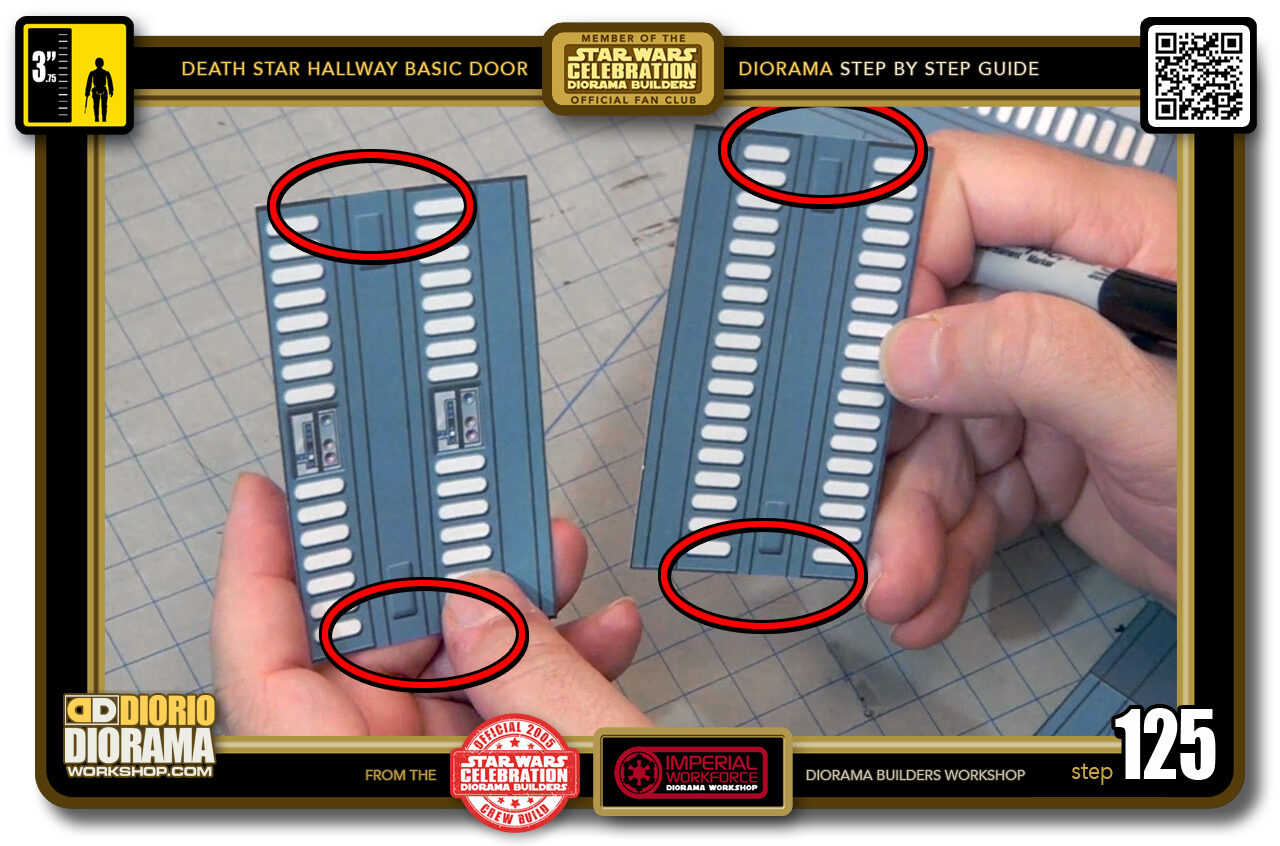
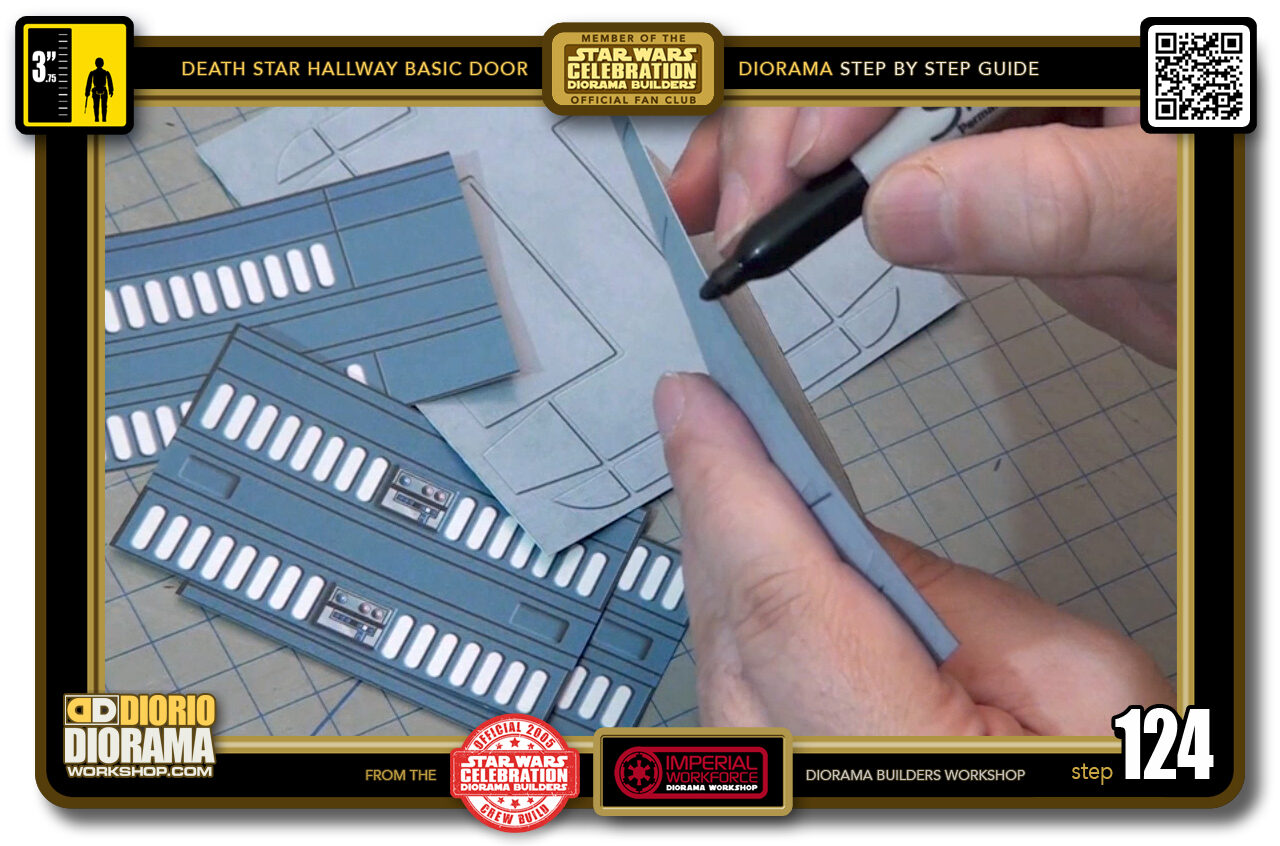
- STEP 125 > For these 2 side decals there is a SPECIAL IMPORTANT RULE !!!
-
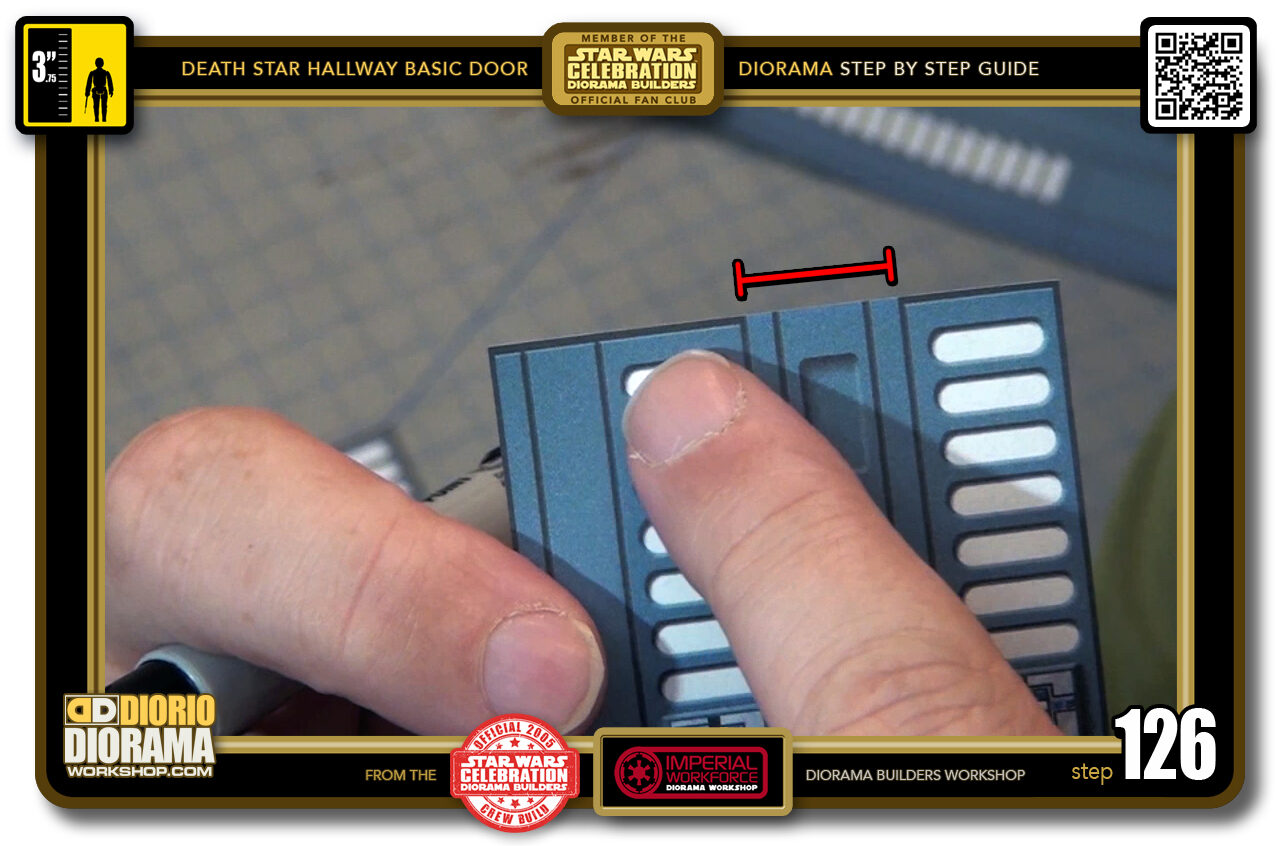
- STEP 126 > Notice how on the control panel decal there is already a preset dark emboss line at the left and right of your centre (the red zone) You want to put sharpie black ONLY on these areas. DO NOT SHARPIE THE CENTRE RED ZONE !!!
-
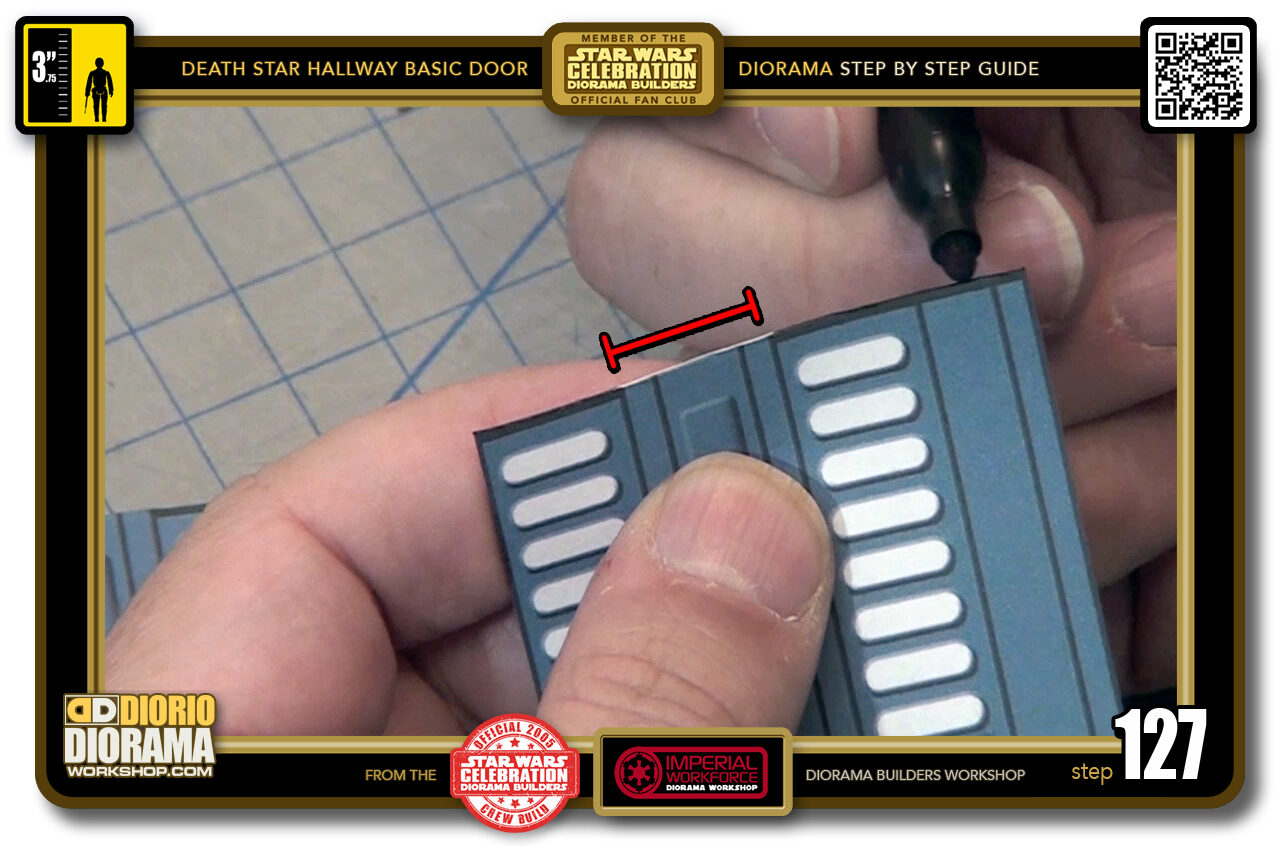
- STEP 127 > So start with one side and STOP where the red zone starts.
-
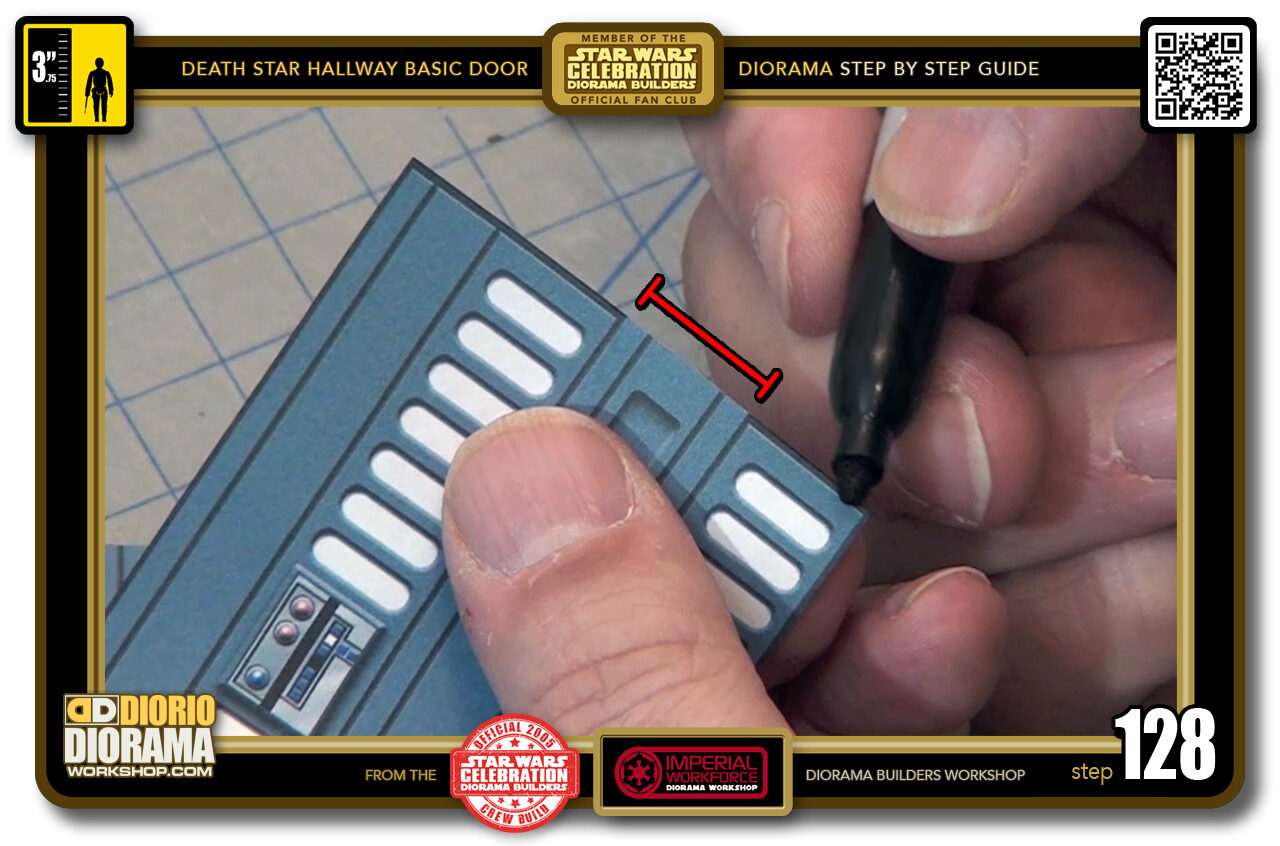
- STEP 128 > Same thing for the other side. MAKE SURE to KEEP THE RED ZONE CLEAN - NO BLACK LINE.
-
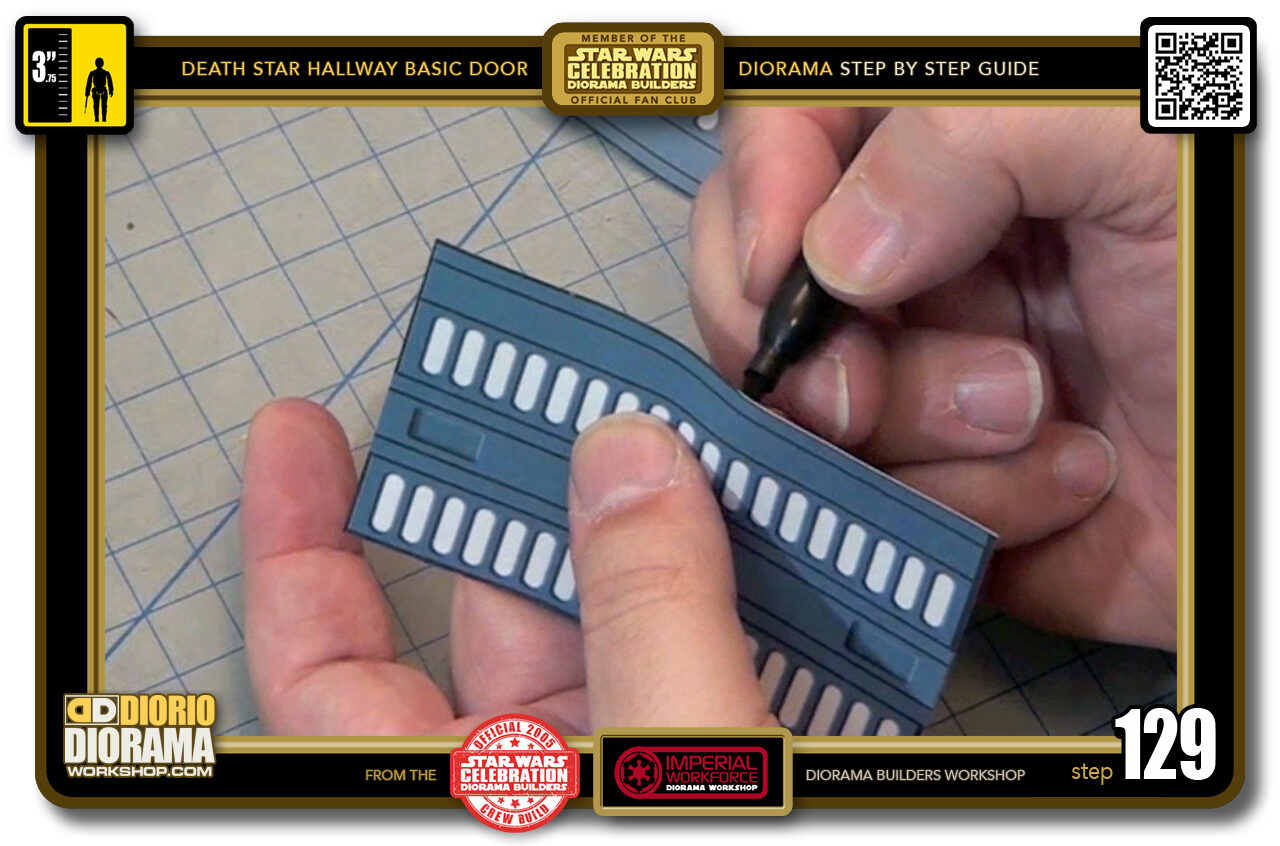
- STEP 129 > Same goes for the other full neon wall. Sharpie black the sides completely.
-
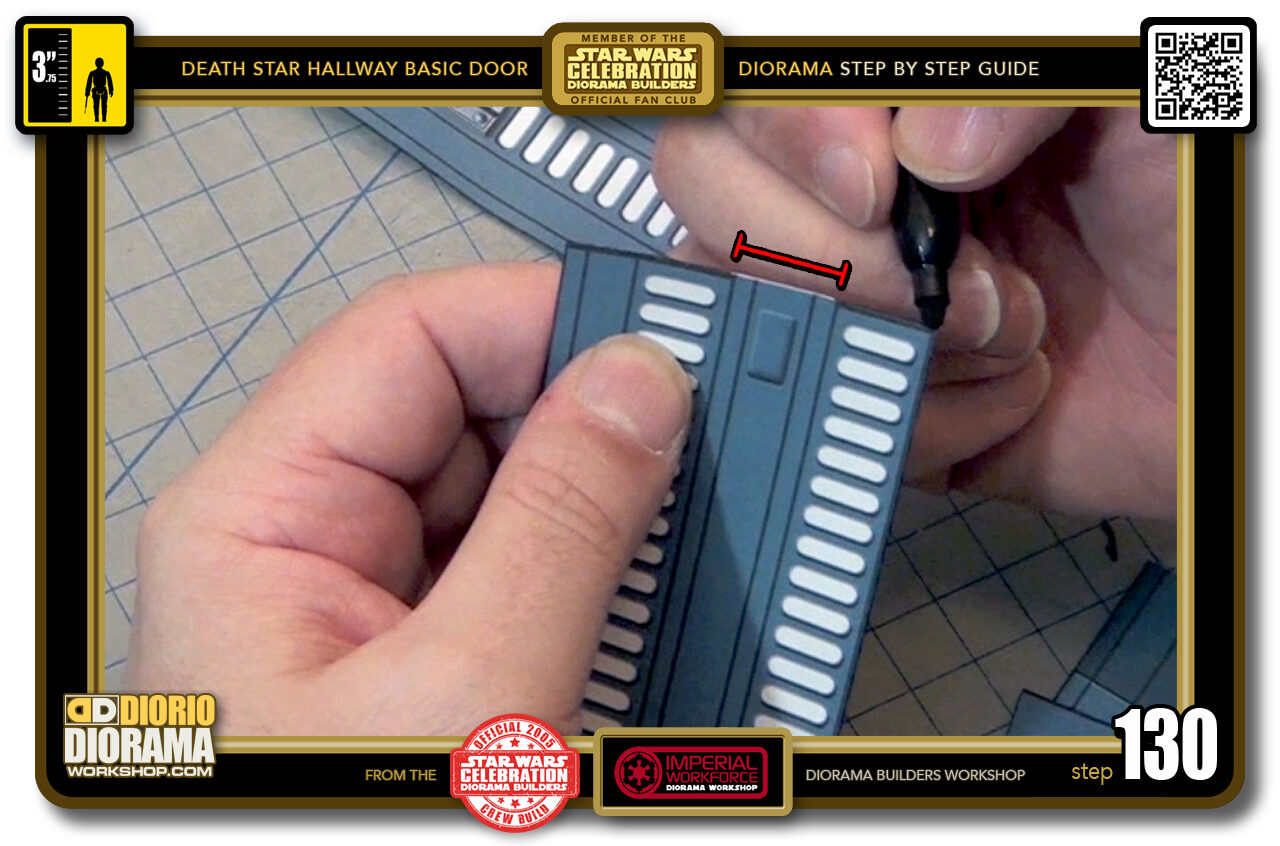
- STEP 130 > But when you get to the top and bottom, DO NOT SHARPIE THE RED ZONE
-
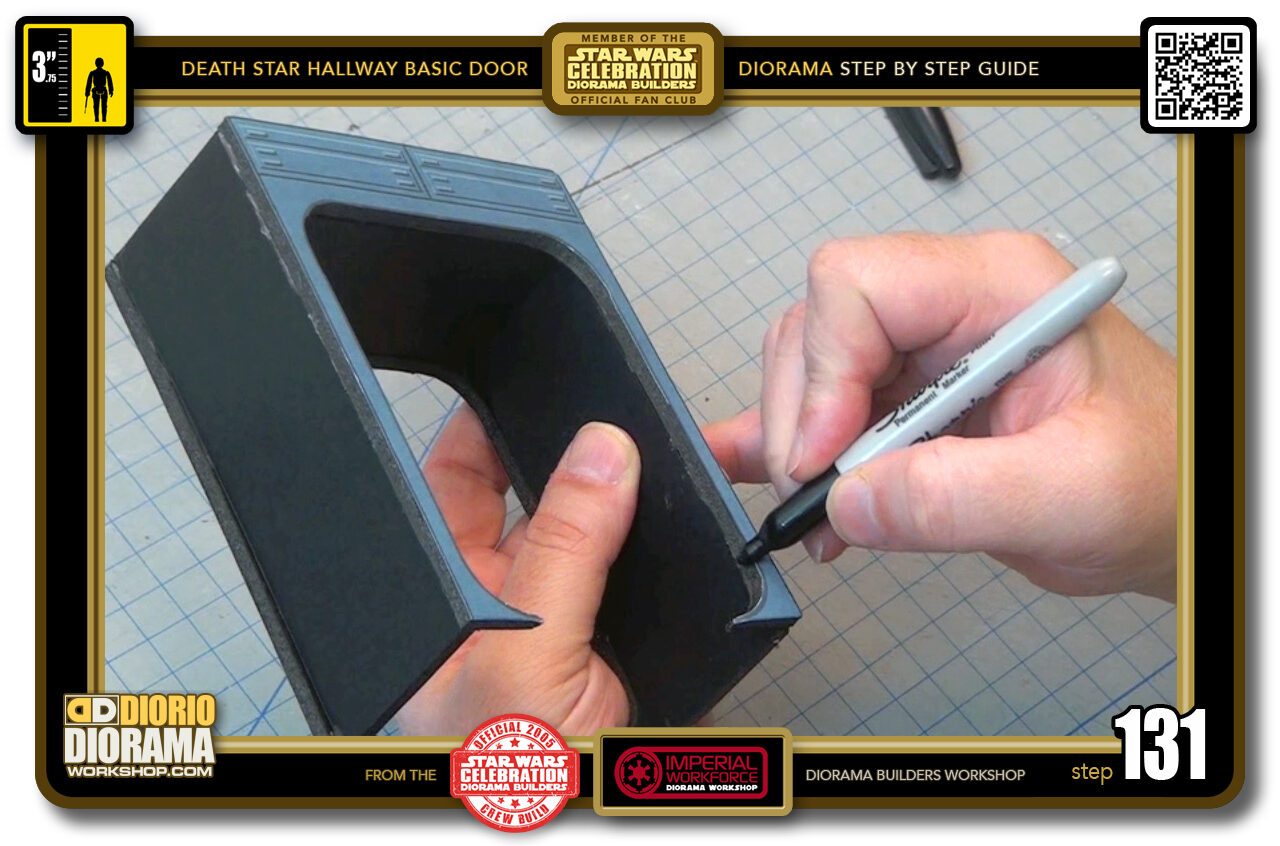
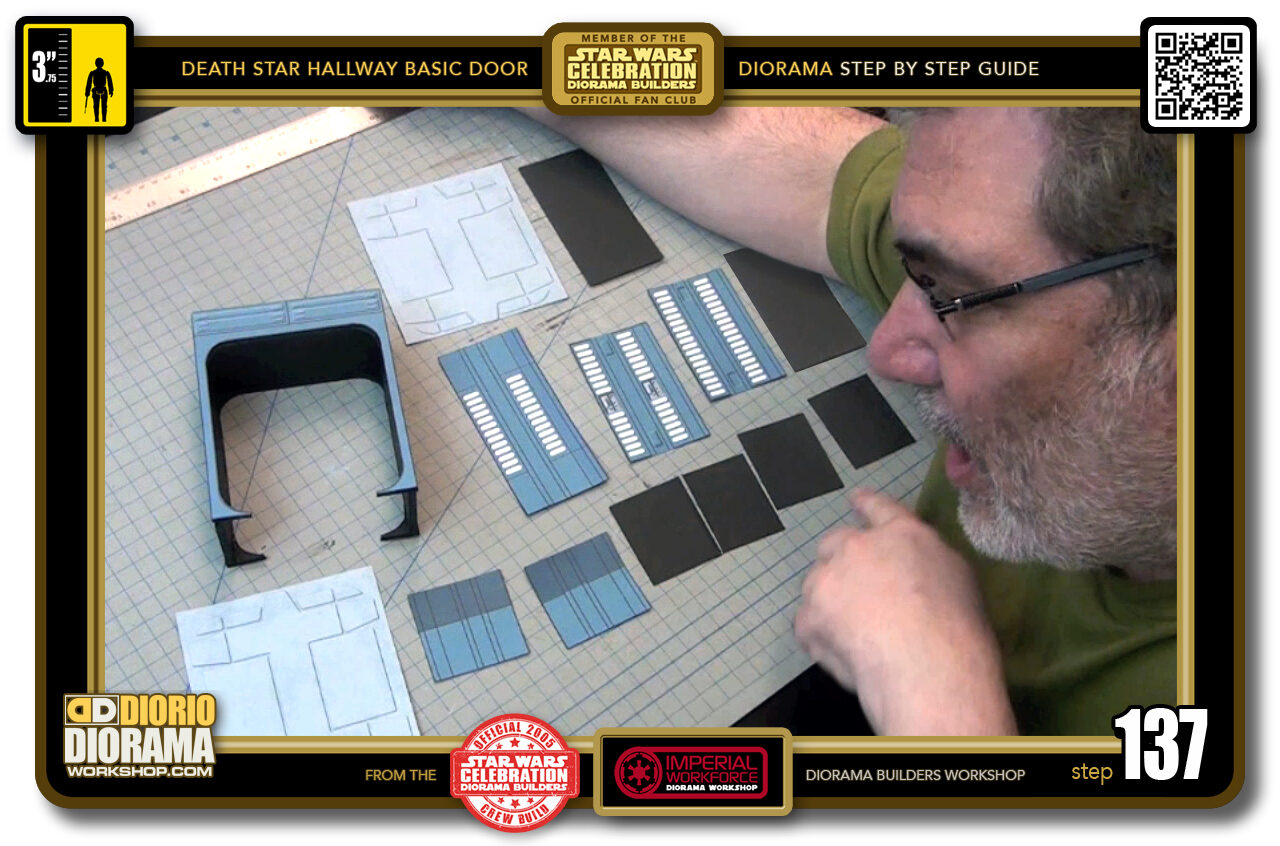
- STEP 131 > Once the decals are done, take your door frame assembly and go around all INNER FRAME sides. Since we applied and cut these out, we could not place the black sharpie on these decals before application.
-
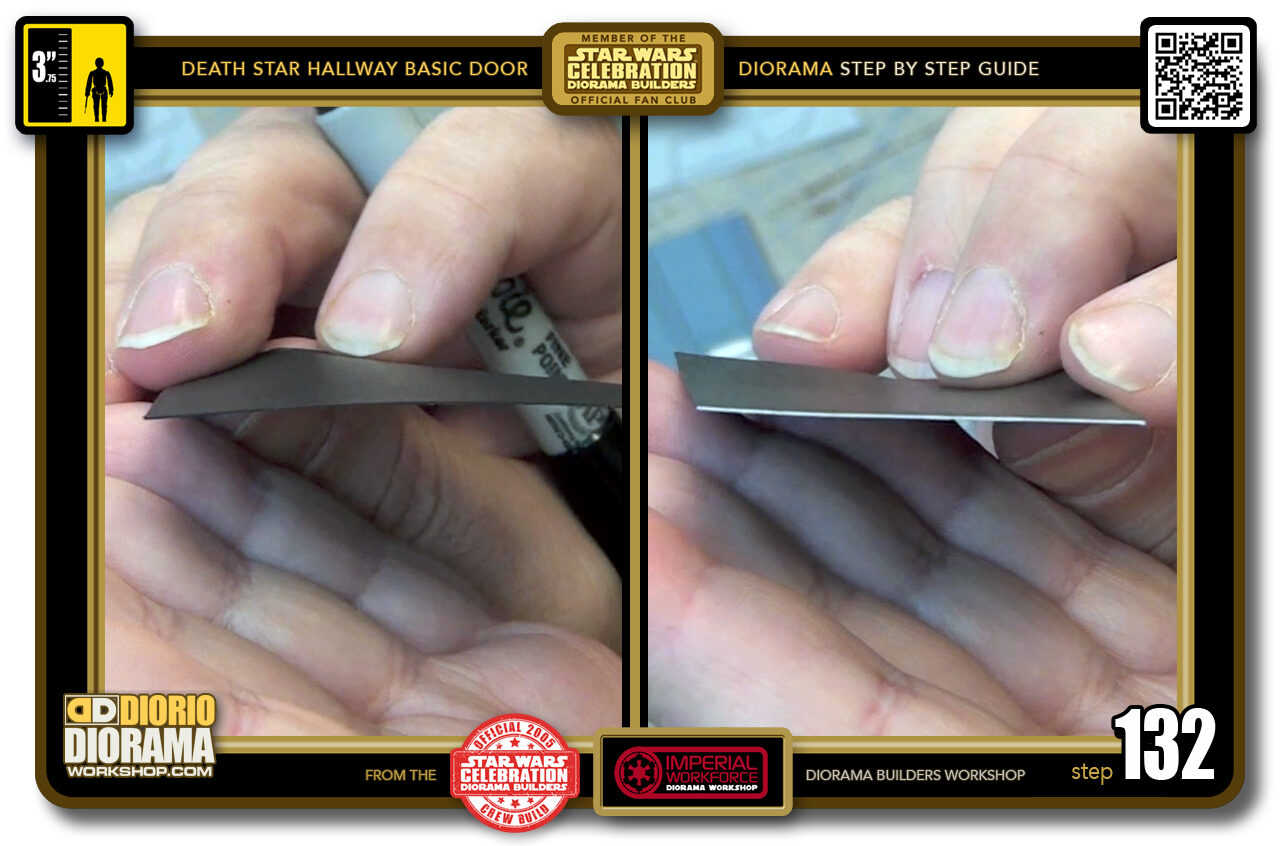
- STEP 132 > Grab your posterboards now and go around every side. See on the left what a difference it makes with the right side that has just the original white of the paper showing through the cuts.
-
- STEP 133 > It seems like a dumb step and waste of time but it really makes a difference in your diorama build.
-
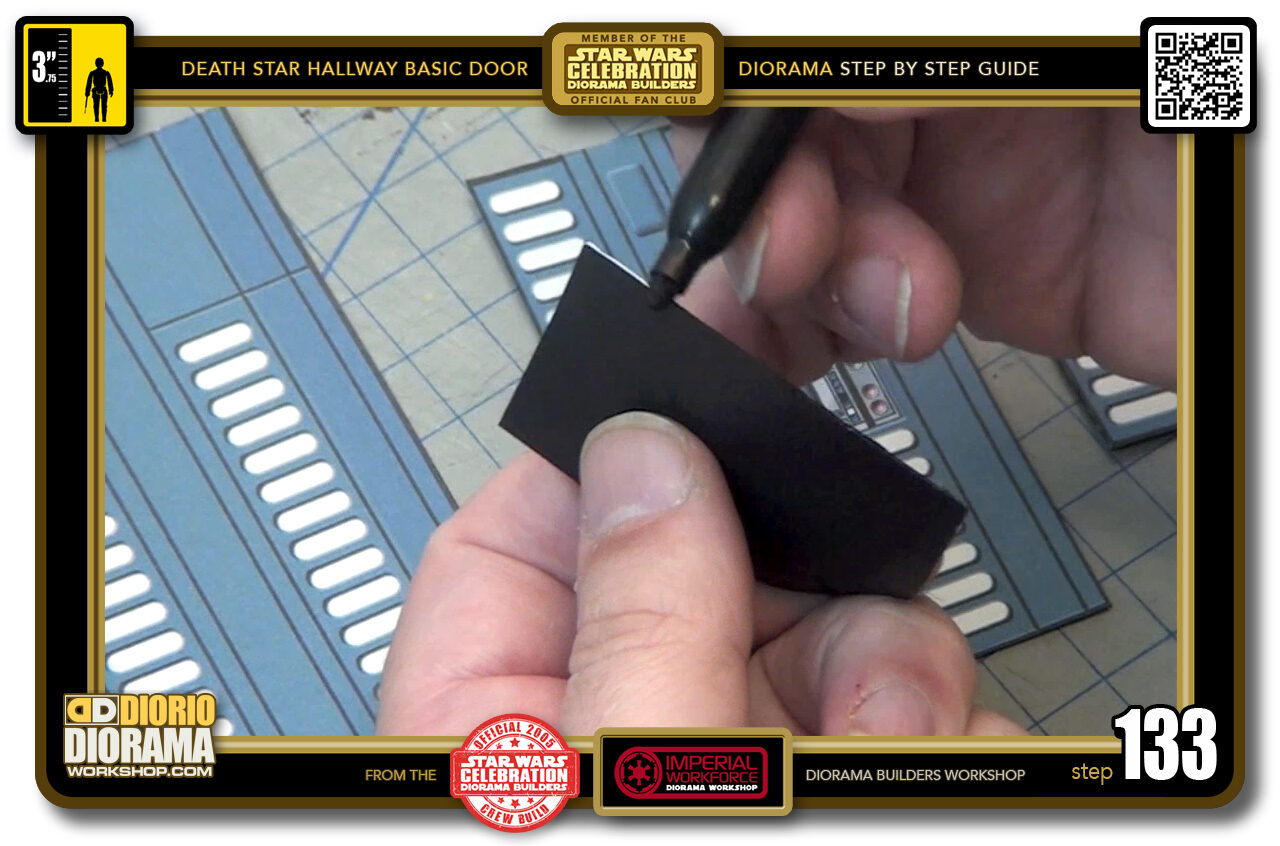
- STEP 134 > Time to grab your posterboard foot base. Now you only need to do 1 really as the other base is for temporary placement of the feet corner supports and will be ripped off and trashed. You can do both if you want to but you really need only do 1.
-

- STEP 135 > Round round you go all the way around.
-
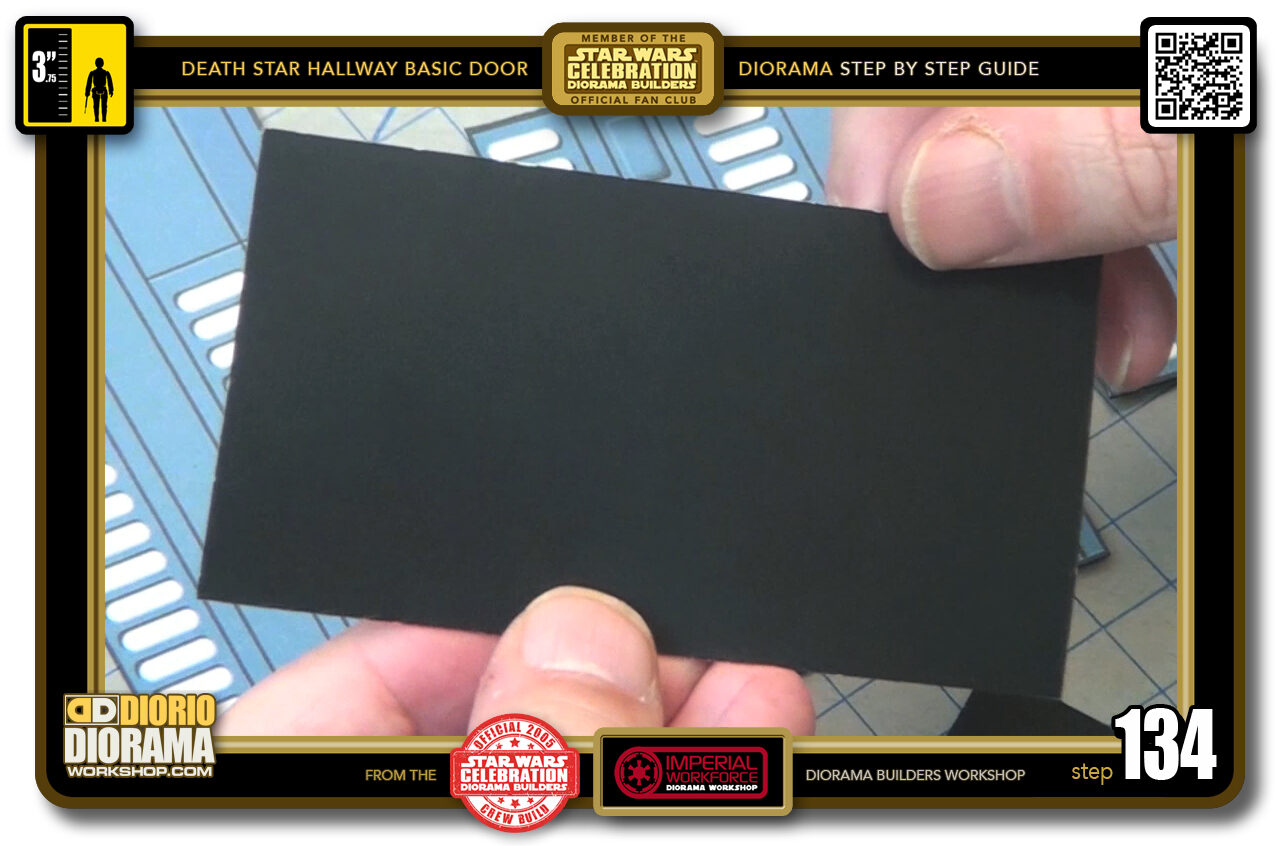
- STEP 136 > Almost done. the ONLY piece you DON'T need to sharpie is the GLOSSY BLACK DS Fix as the vinyl does not have a white edge when you cut it.
-
- STEP 137 > OK all your decals and frame have the black sharpie edge technique applied. YEAH good job !!! now time to place the corner curves.
-
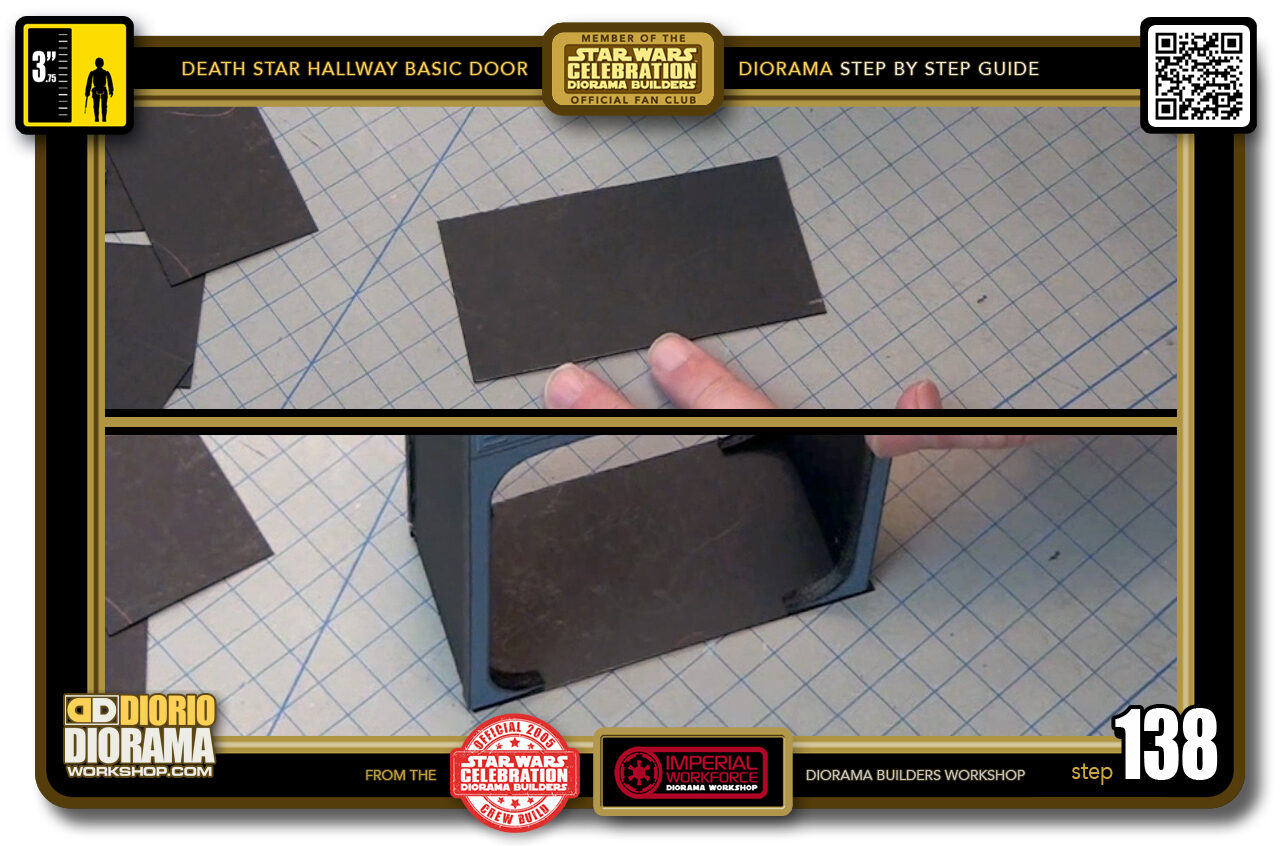
- STEP 138 > First we need to take the first of our foot base posterboards. The door frame assembly will be placed right on top of it.
-
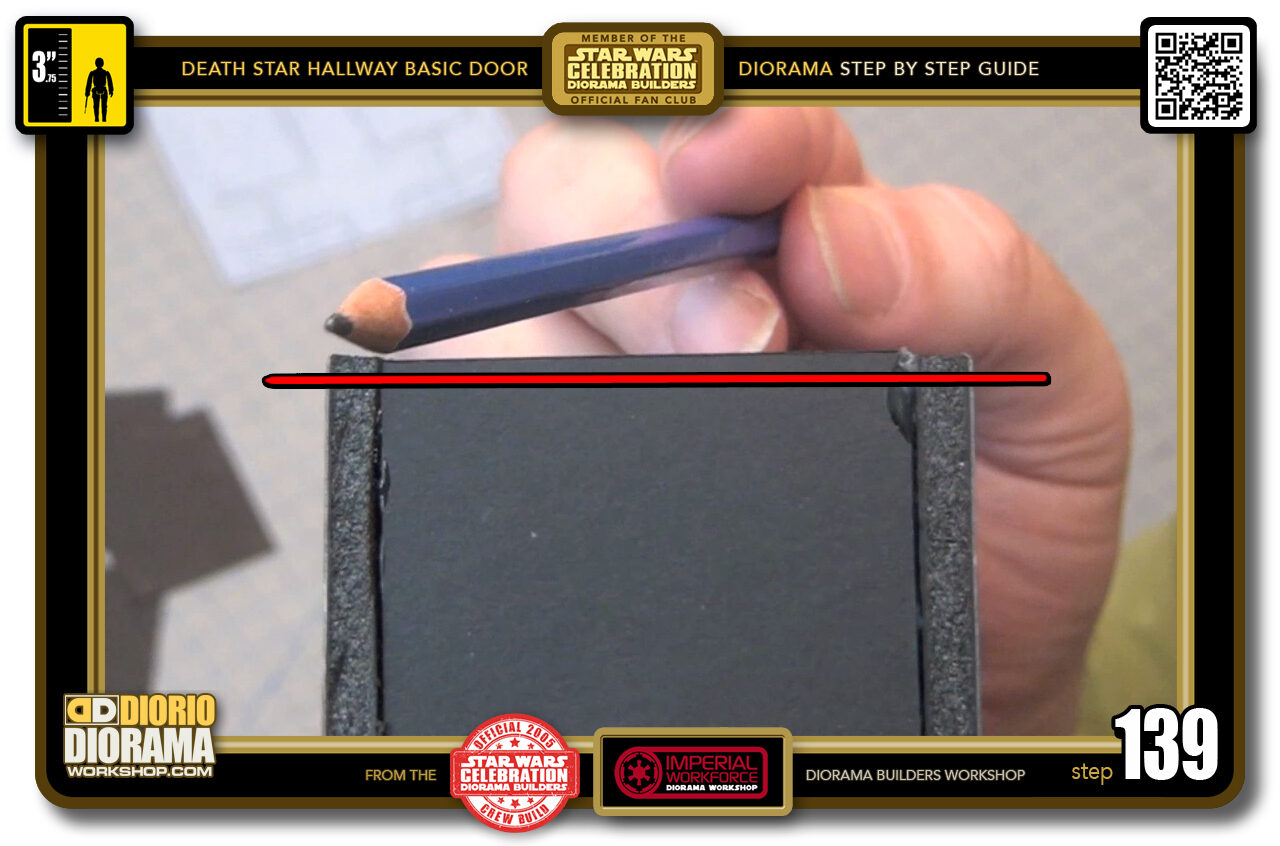
- STEP 139 > But first - I seem to be saying that a lot LOL - First we need to make sure both feet bottoms are 100% FLUSH. On this side there is a slight overlap.
-
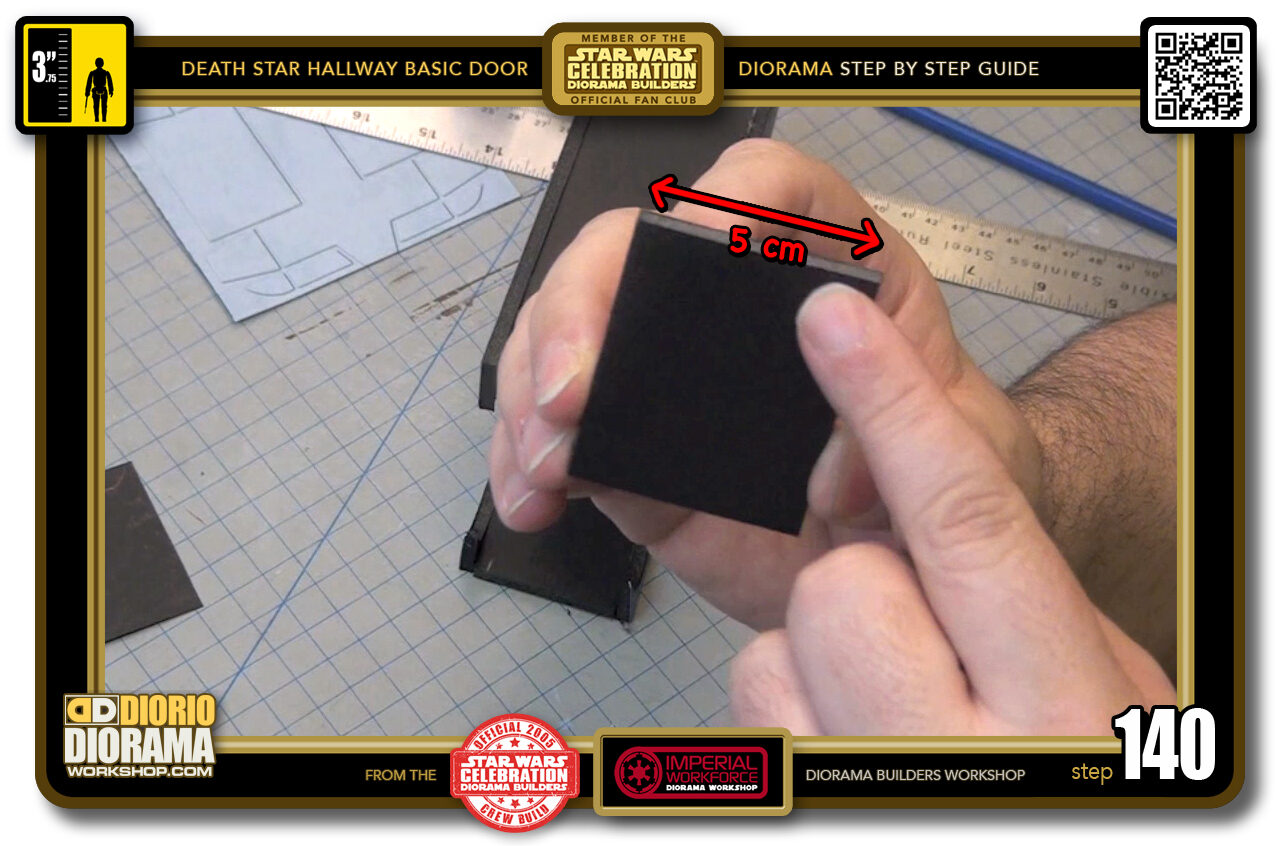
- STEP 140 > So grab yourself a piece - can be scrap - of foamcore that is 5 cm wide.

.
Did you already build this Diorama ? At home or at our Star Wars Celebration Diorama Builders workshop ? Would you like to show it in the site’s GALLERY VISITORS DIORAMAS section, YES ? That is Awesome !!! You can find out all the details on how to email me your photos on the VISITORS SUBMISSIONS INFO page … When I get your photos, I will create your very own page just like this one. You may not realize it but work does inspire others to join in the fun of making Action Figure Dioramas.
.
NOT FOR RESALE ALL Decals, tutorials and artwork are ©FrankDiorio (dioramaworkshop.com) and offered FOR FREE to the fans – that would be you ? so you can build and display my diorama designs in your very own home. I realize I cannot control what one does with my graphics once I place them on the web, I can only ask you as one fan to another, please respect the artist and do not be that jerk who uses my designs and tutorials to build a copy of my work only to sell it on EBAY or trade/sale groups and forums. Thank You. Frank.
.
.
If you have a facebook account, why not join the Official Diorama Builders Fan Club today, simply click the logo link below.
 .
.
Catch up with fellow visitors and exchange stories, read cool interviews with the crew, exchange photos, fun surprises and grab some FAN ONLY merchandise next year at actual future conventions ?
.
©2018 Frank Diorio DioramaWorkshop.Com
.
IF YOU LIKE WHAT YOU SEE, PLEASE SHARE WITH YOUR FRIENDS
USING THE SOCIAL MEDIA BUTTONS BELOW