


-
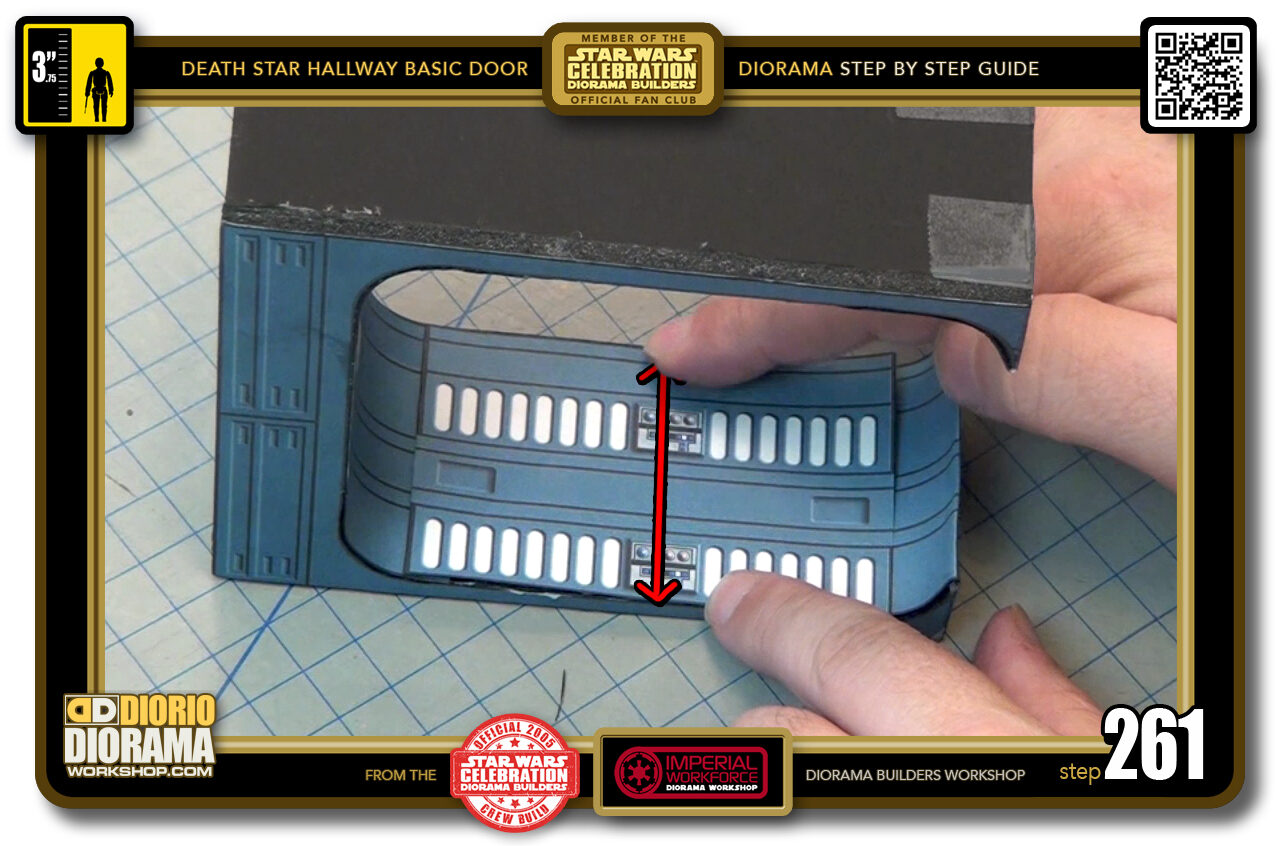
- STEP 261 > Index finger across the CENTRE ONLY
-
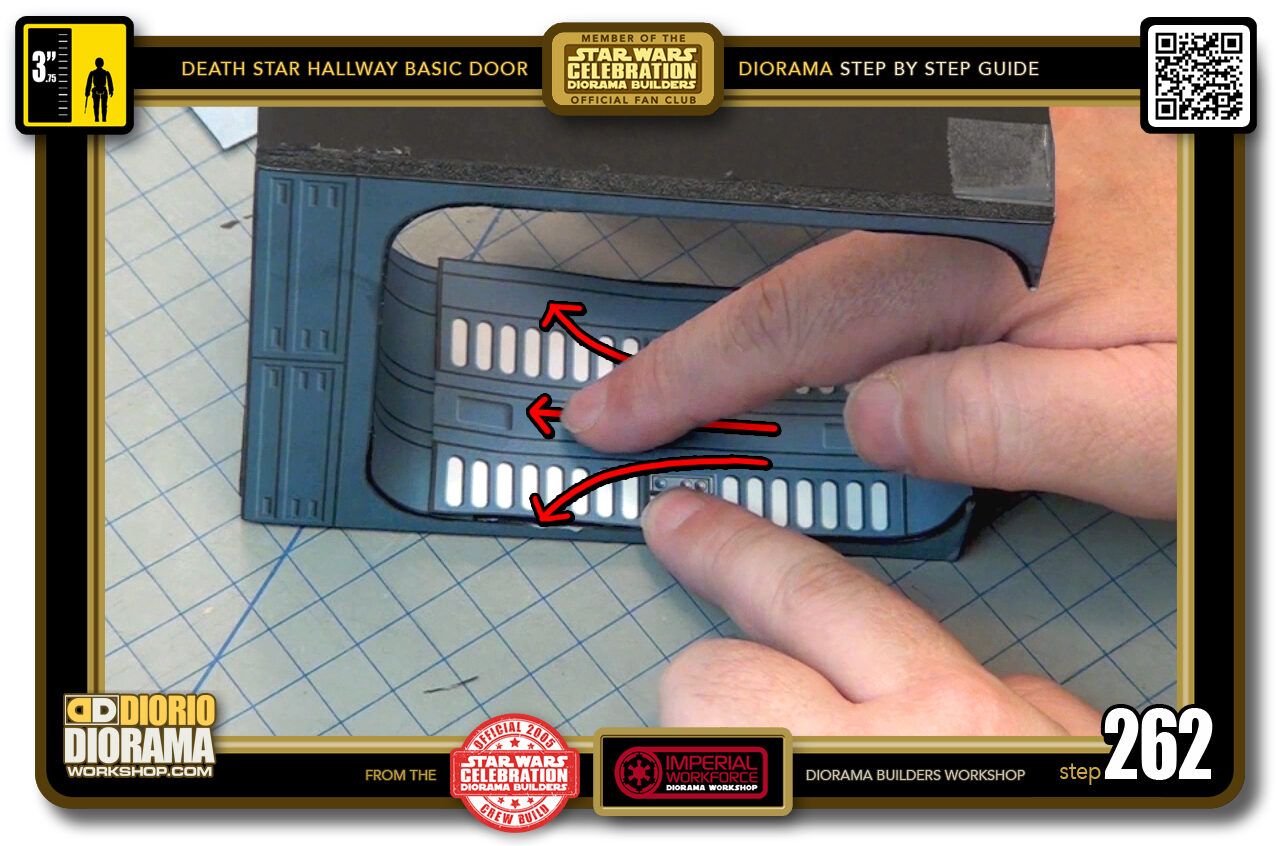
- STEP 262 > Inch your way up to the other side. ONE LANE AT A TIME, always return to the start before moving to the next lane.
-
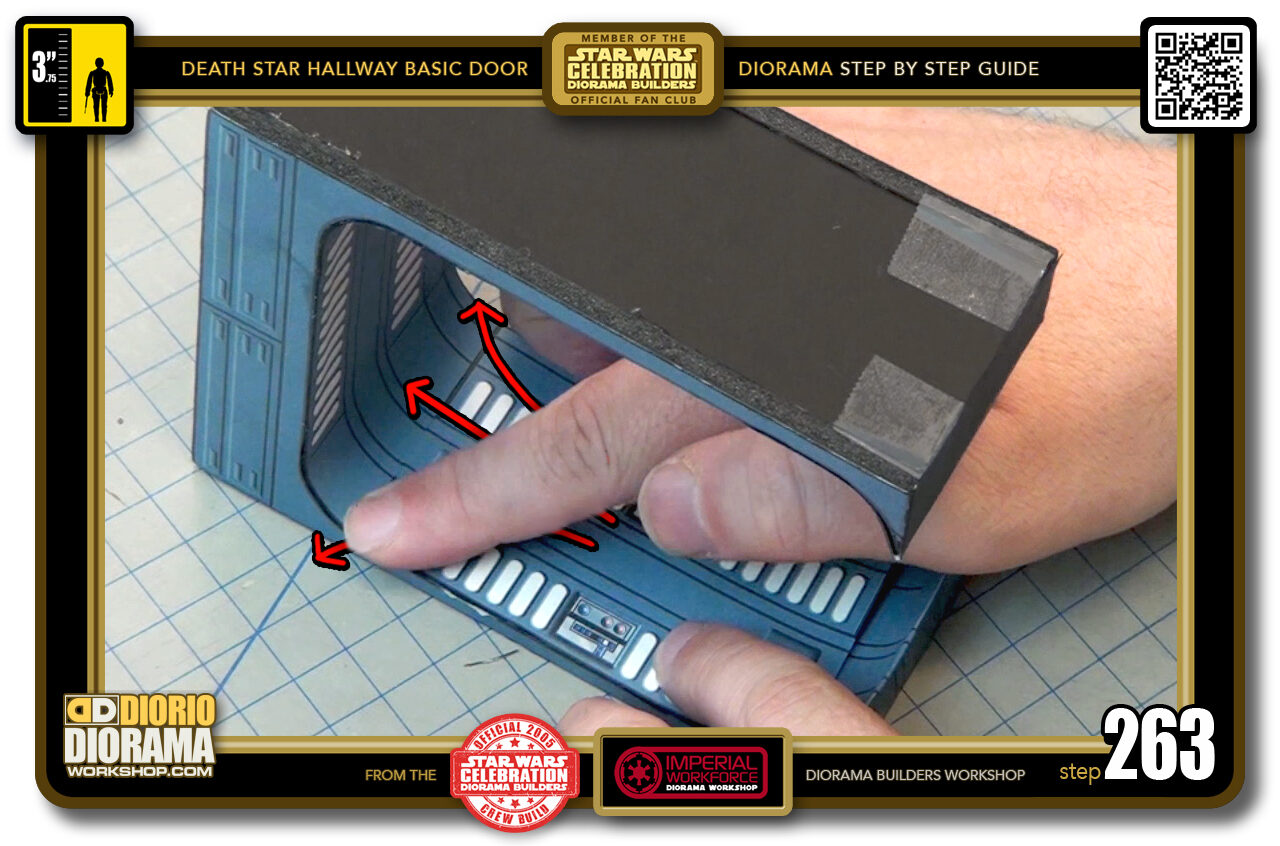
- STEP 263 > End zone, CENTRE FIRST, LEFT then RIGHT and ALWAYS RETURN TO START BEFORE MOVING ON UP.
-
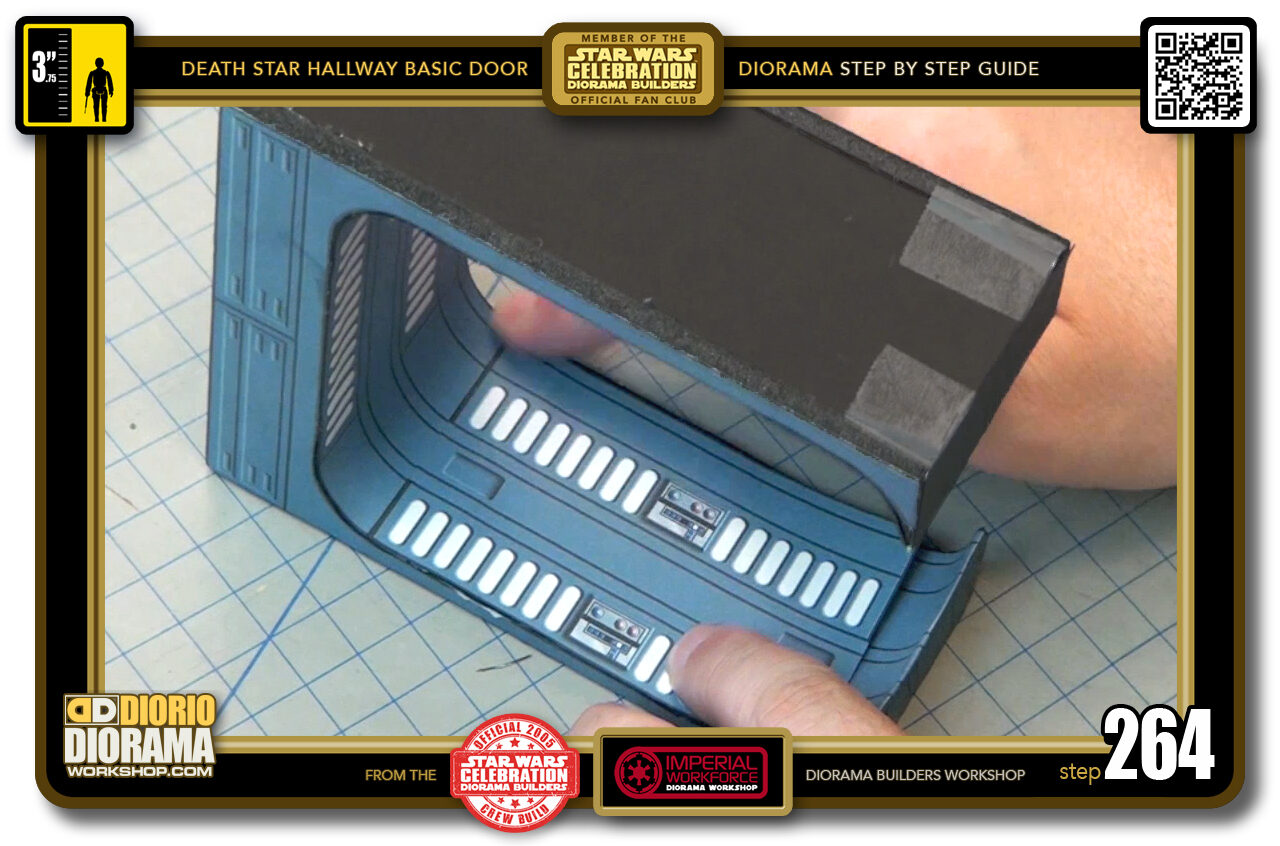
- STEP 264 > Looking good, flip to the other side.
-
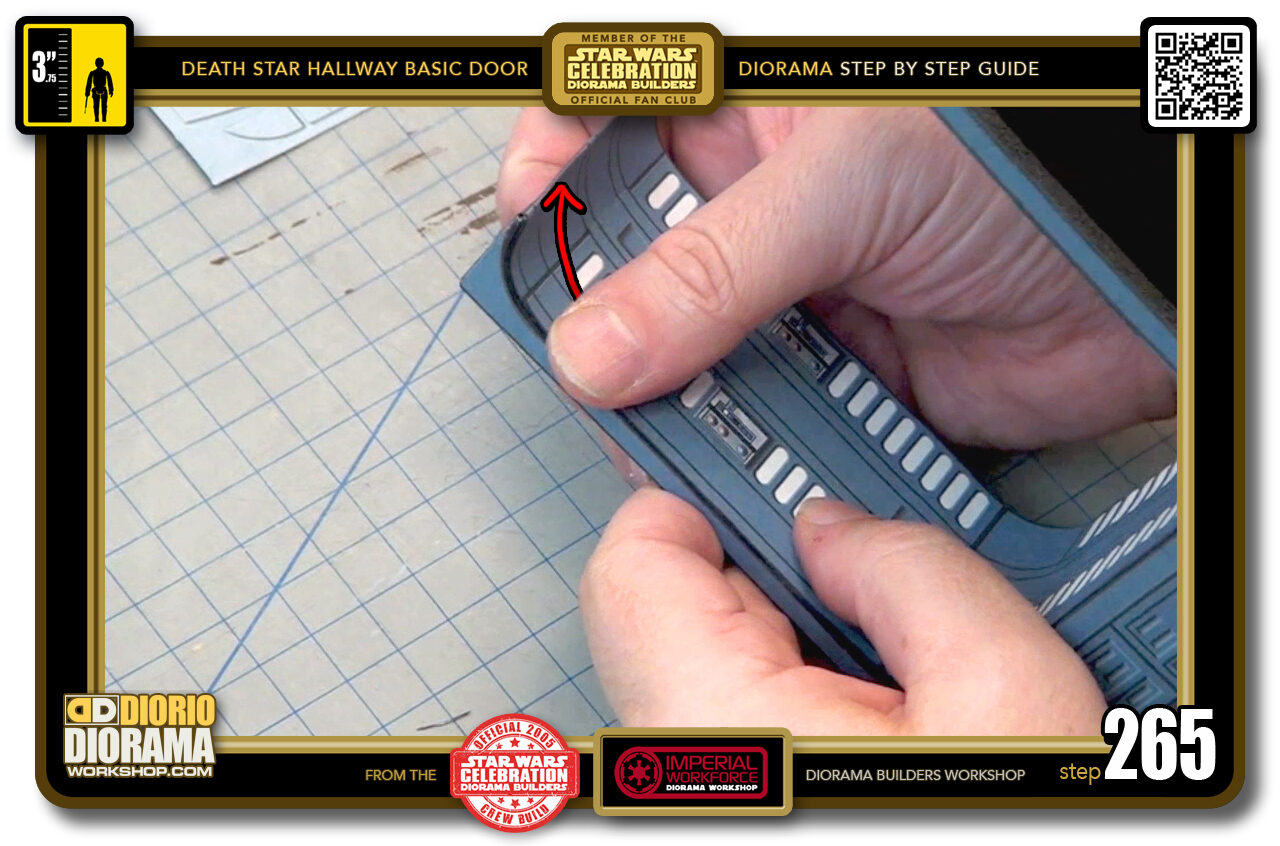
- STEP 265 > Now inch your way to the finish line.
-
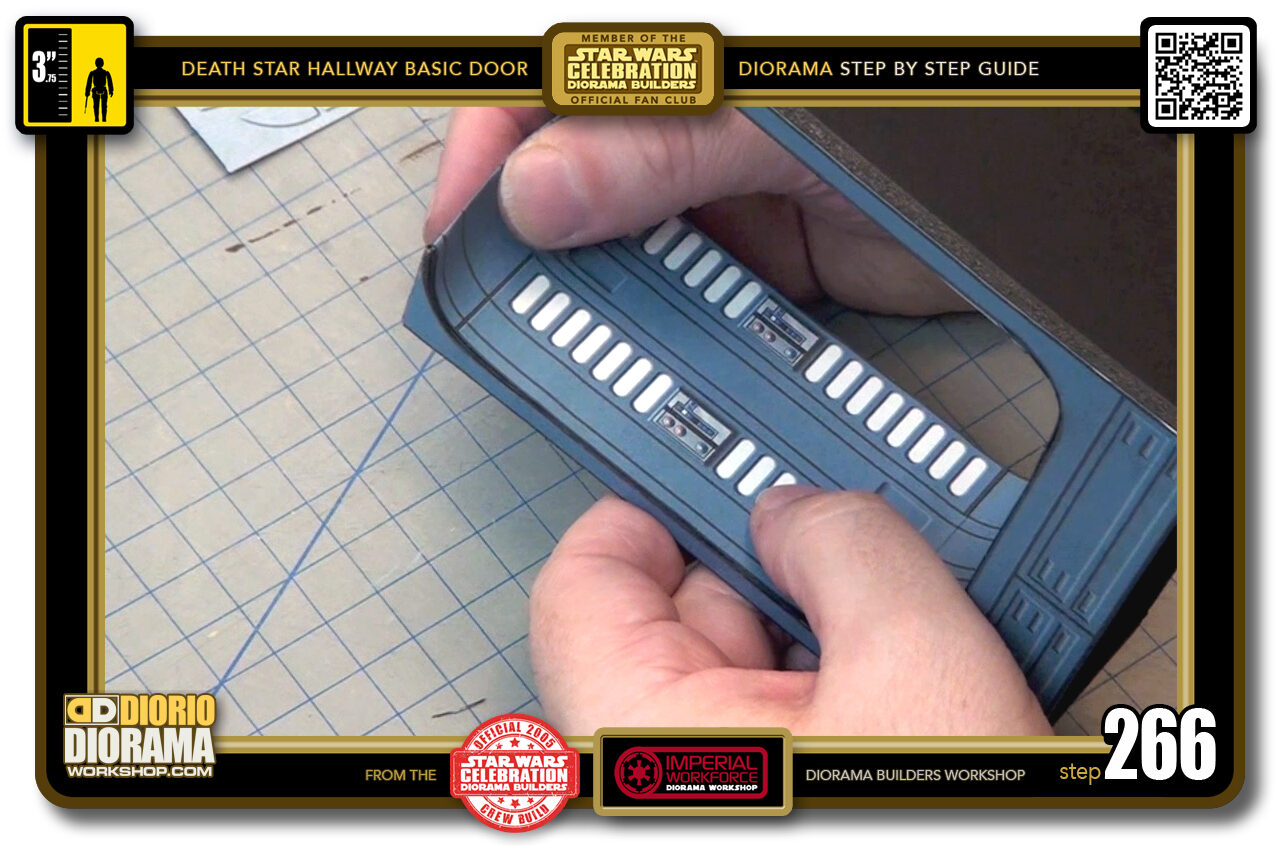
- STEP 266 > Make sure everything is lined up one last time...
-

- STEP 267 > When all lines up and light pressure removal of bubbles is done, you can use your hands to apply MORE pressure to smoosh the glues layers together even more.
-
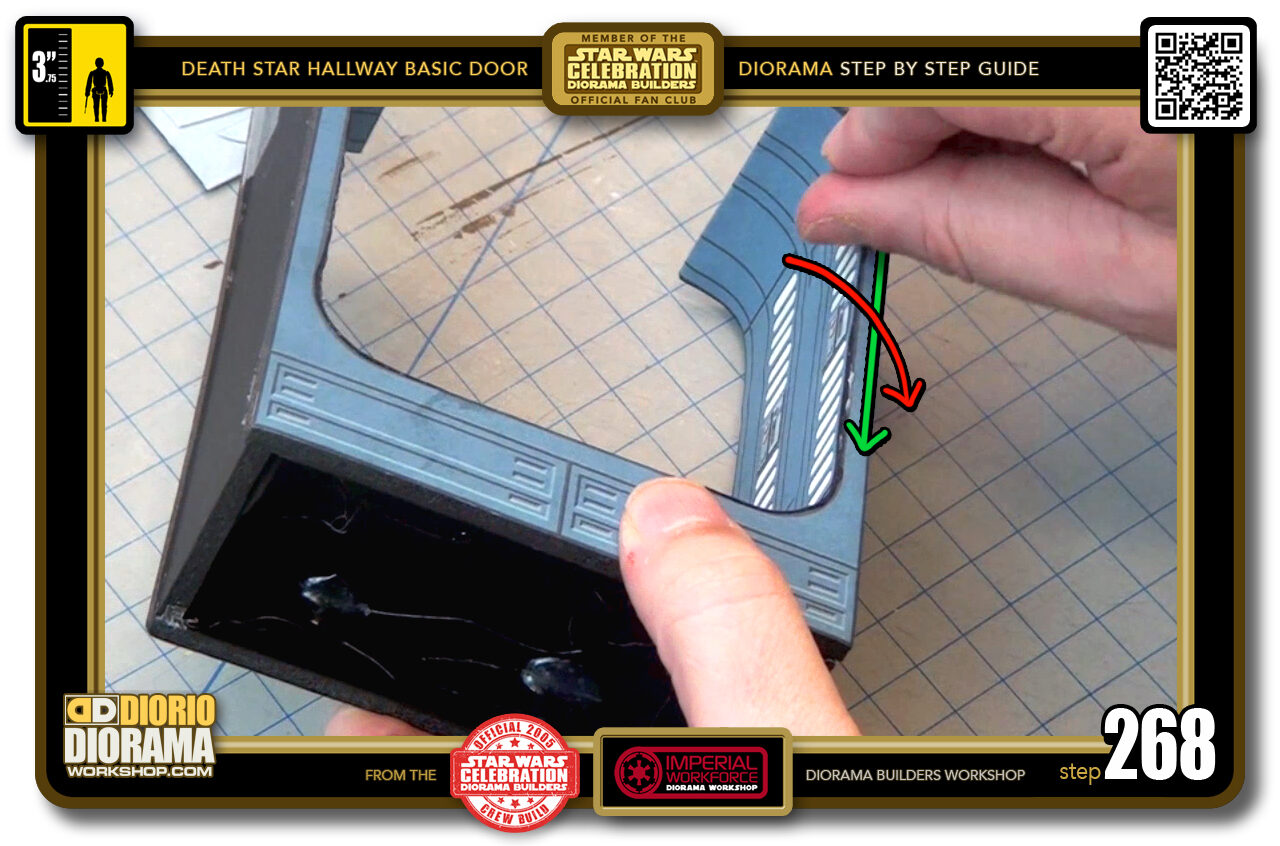
- STEP 268 > Use the fingernail technique to blend the sides with the front even more. Remember to CURVE OUTWARDS (red arrow) as you move your thumb downwards (green arrow).
-

- STEP 269 > Remember to do the rounded curves too.
-
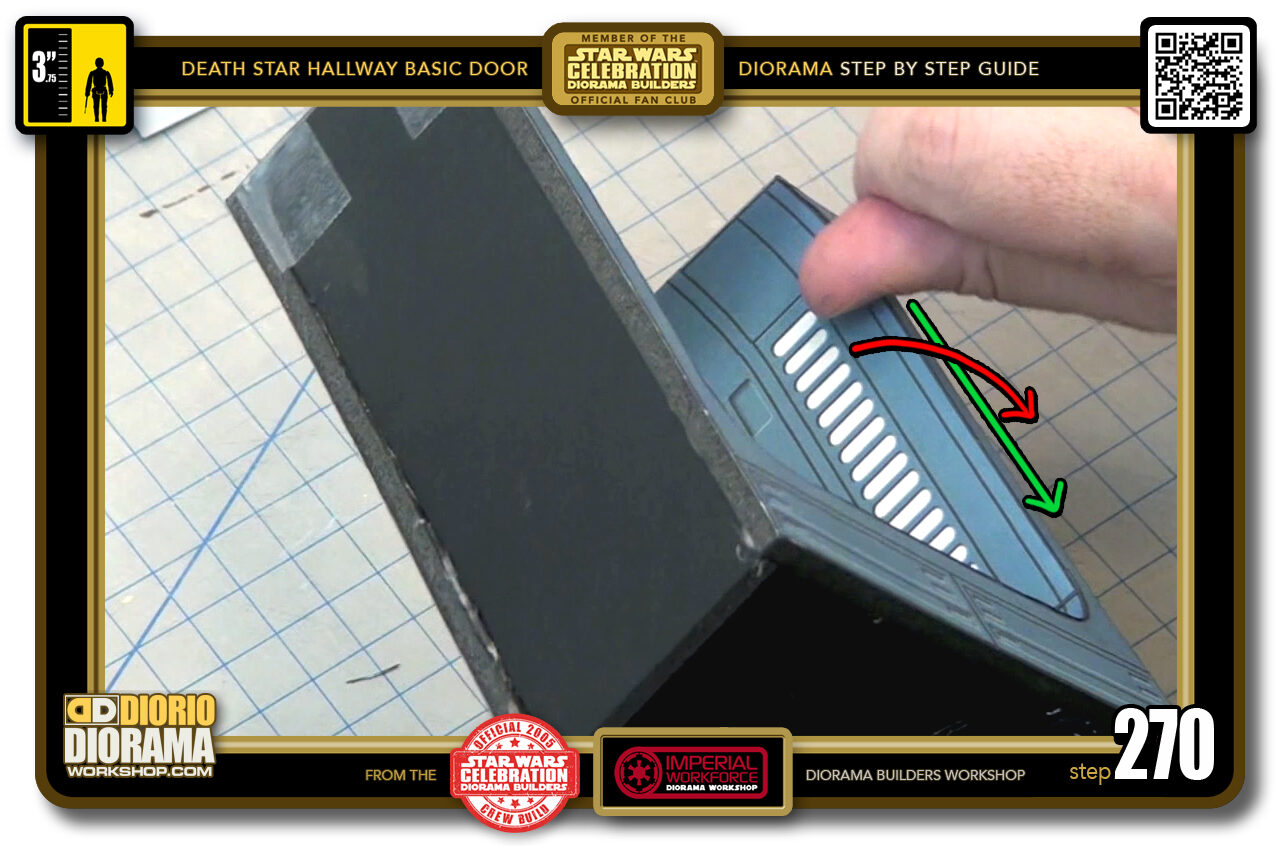
- STEP 270 > Also remember this isn't ONE LONG MOVEMENT, it's a series of small advance and curve, advance and curve...
-
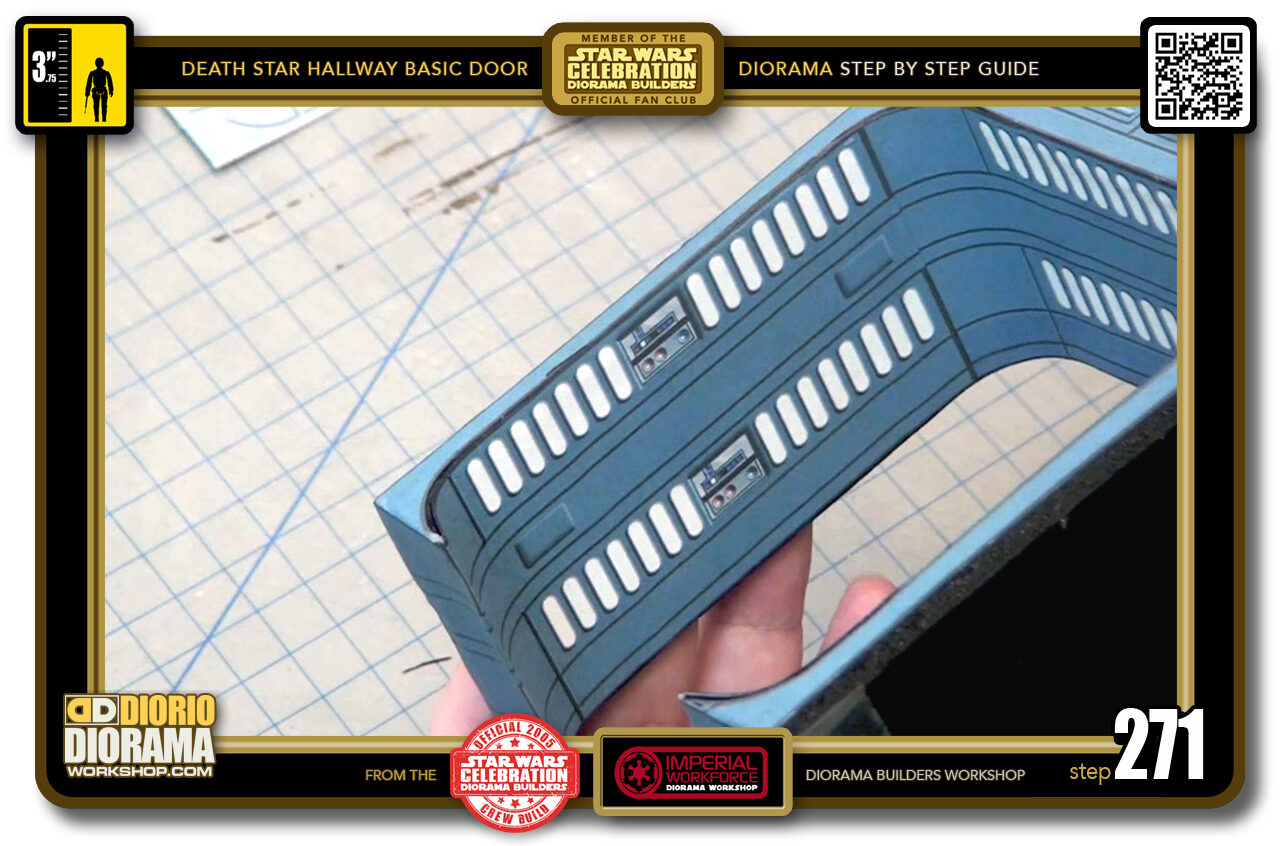
- STEP 271 > Your sides are now complete. Bravo !!!
-
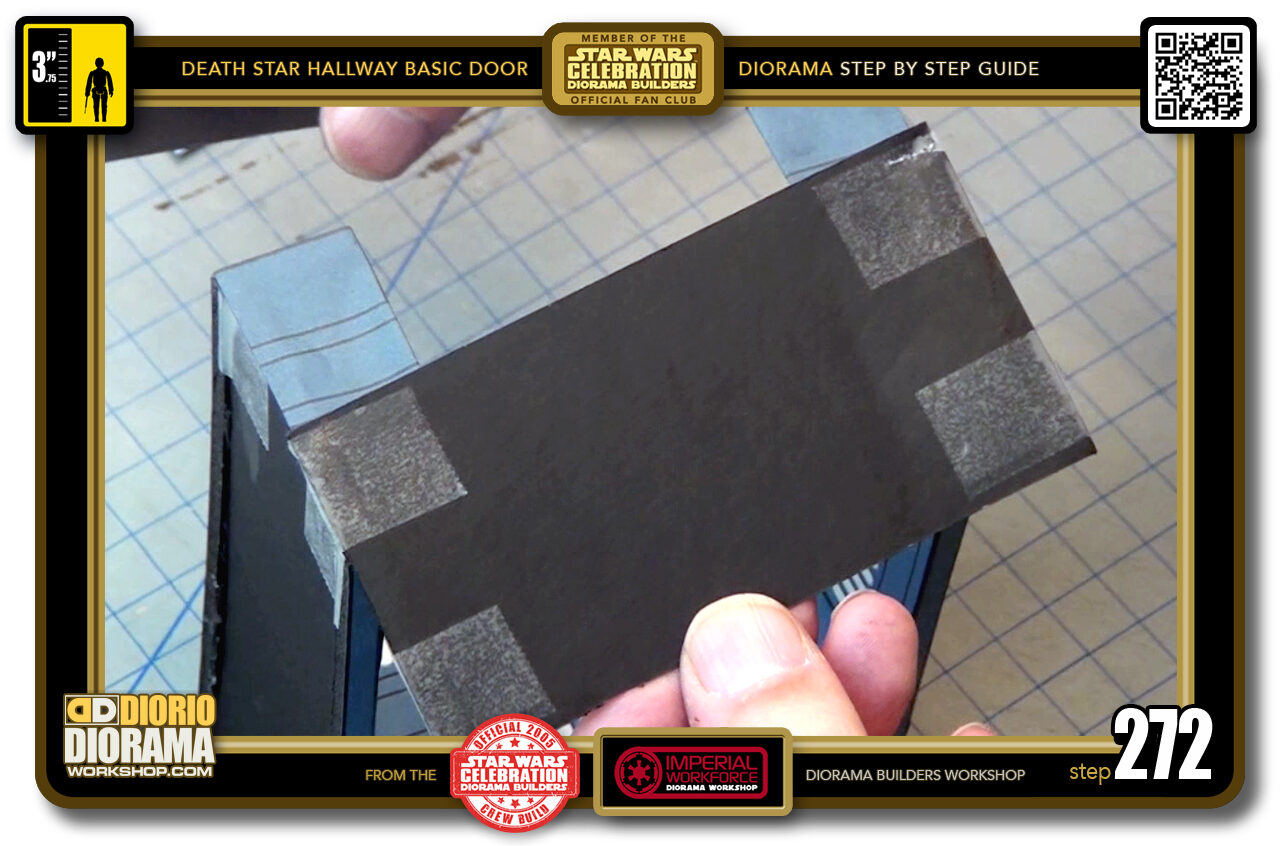
- STEP 272 > Now remember that first posterboard base that is all bent out of shape now ?
-
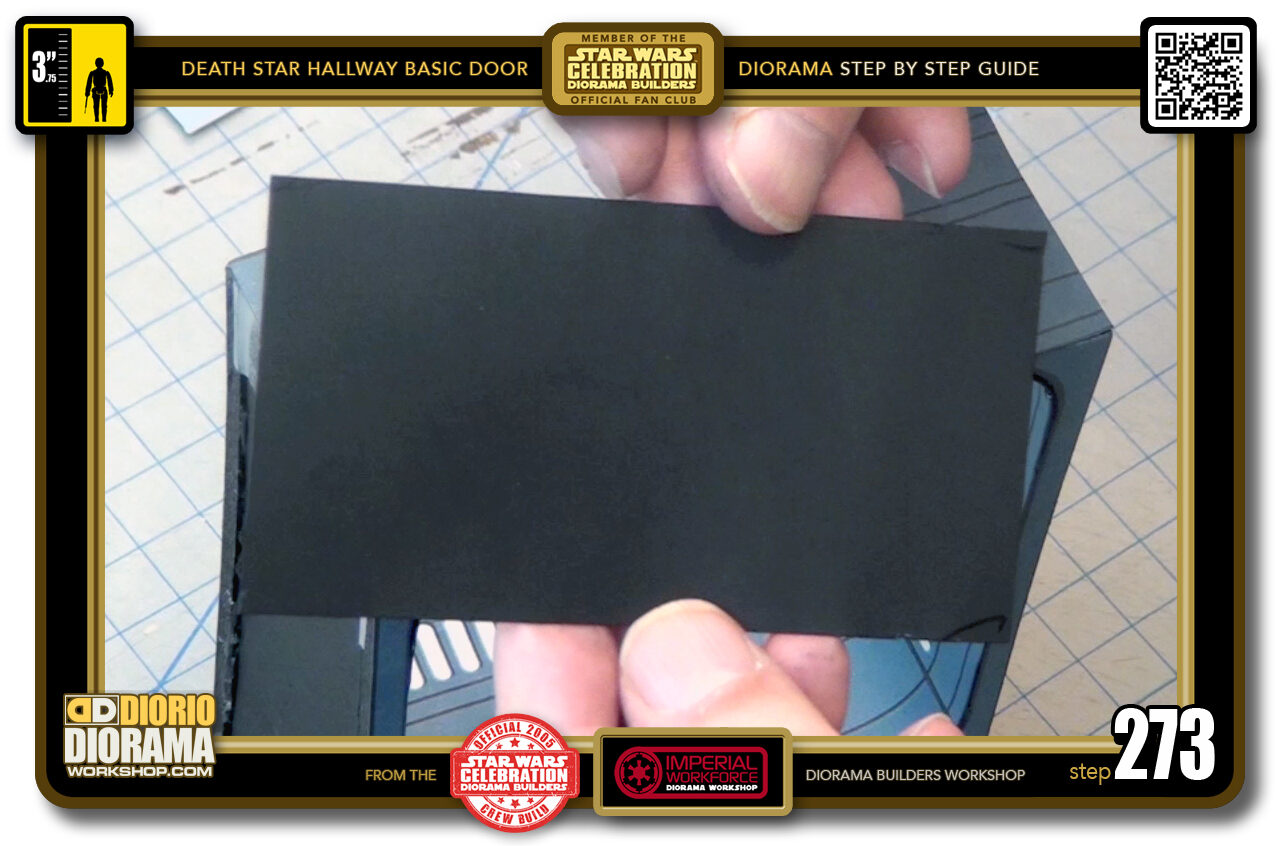
- STEP 273 > Well grab the SECOND one you cut, it's time to put it in it's final resting place.
-
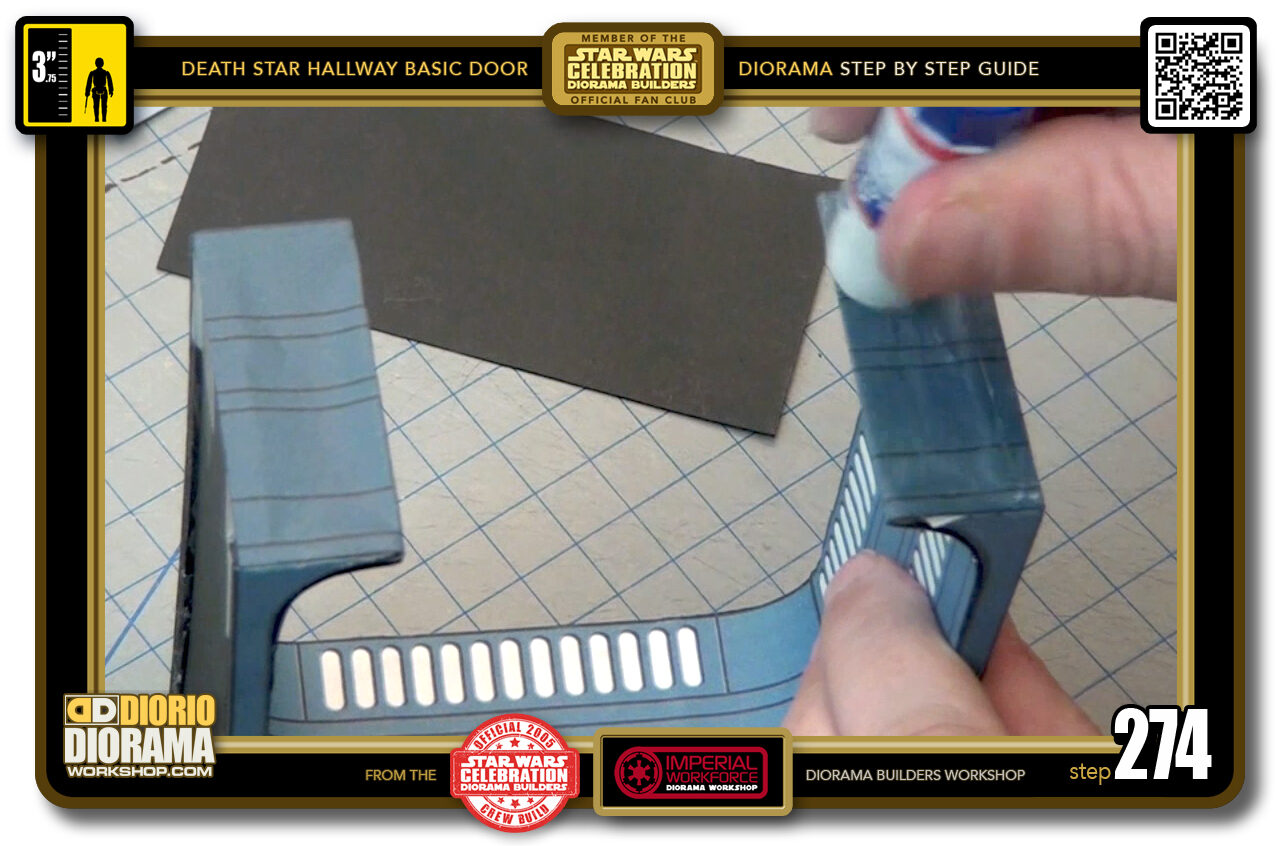
- STEP 274 > Apply a generous amount of gluestick first to the one side of your feet
-
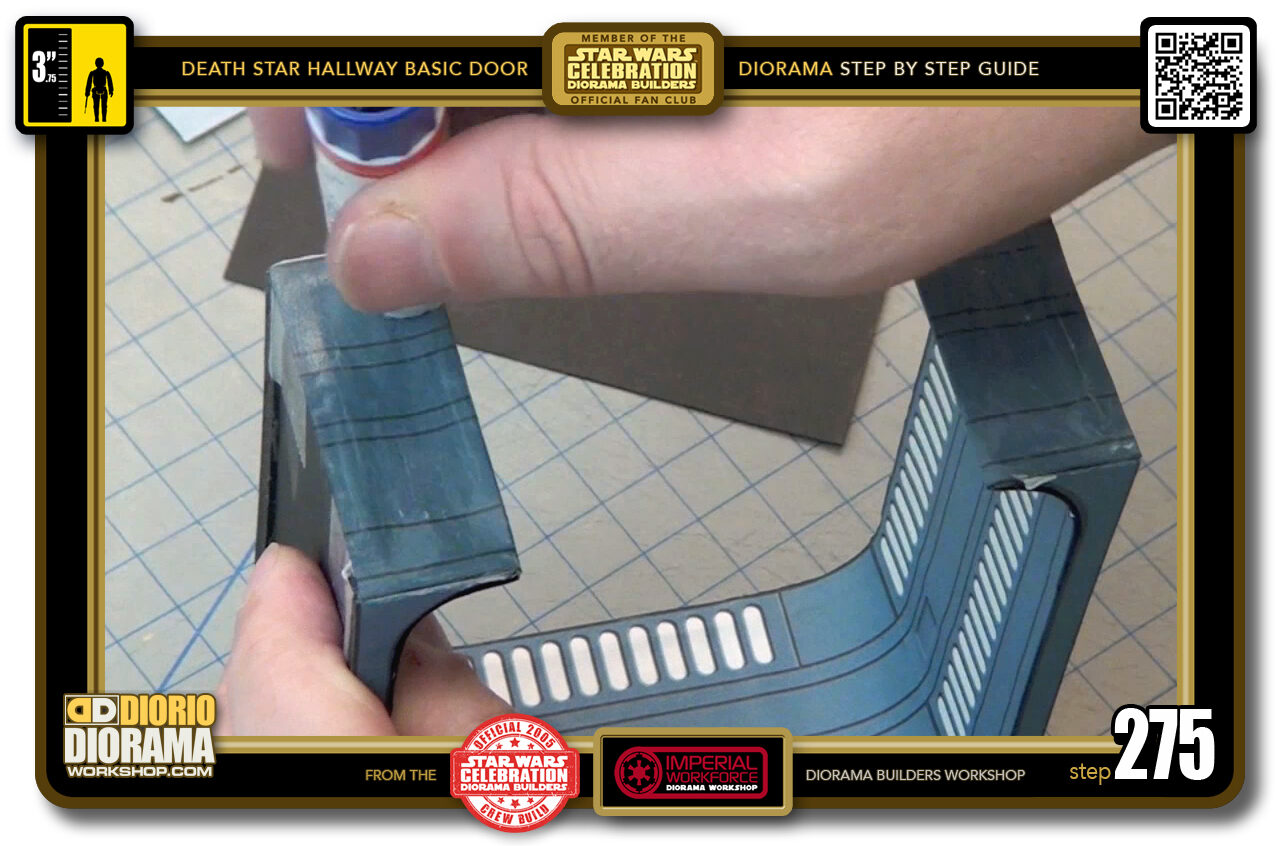
- STEP 275 > Then more to the other side. Flip your assembly over 180 degrees...
-
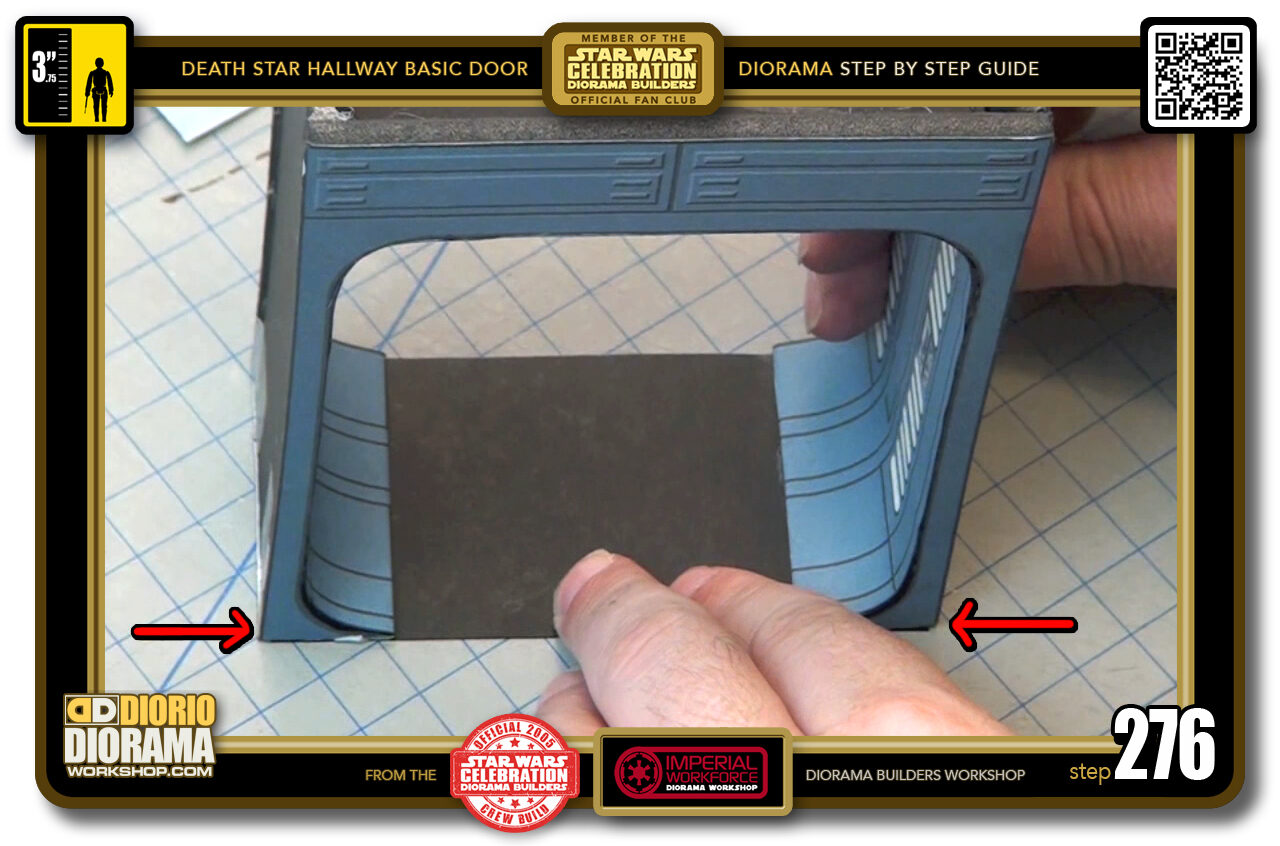
- STEP 276 > And lay the feet to the surface of your new floor base. Make sure all is aligned properly (red arrows), nothing major poking out of corners.
-
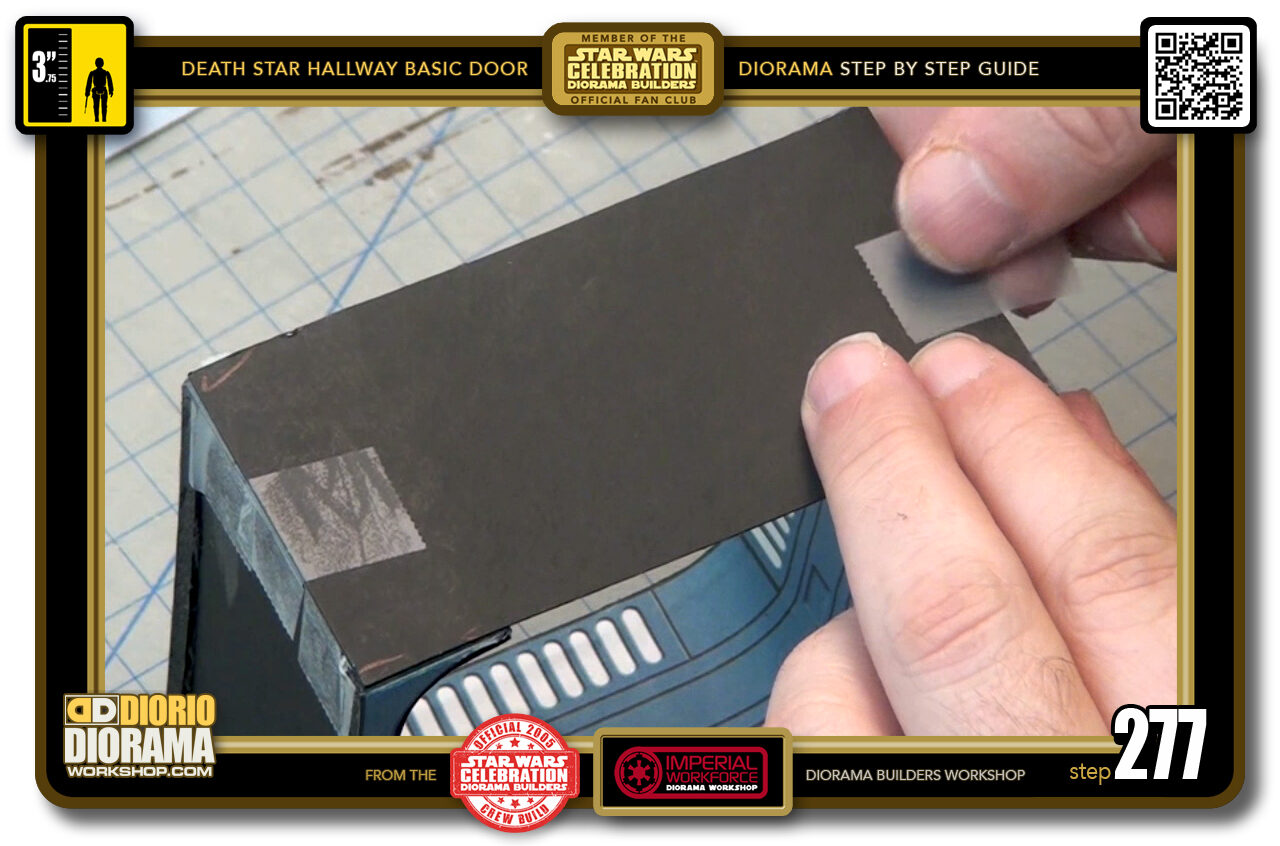
- STEP 277 > Now put some scotchtape of both sides to help it stay in place as the gluestick dries.
-
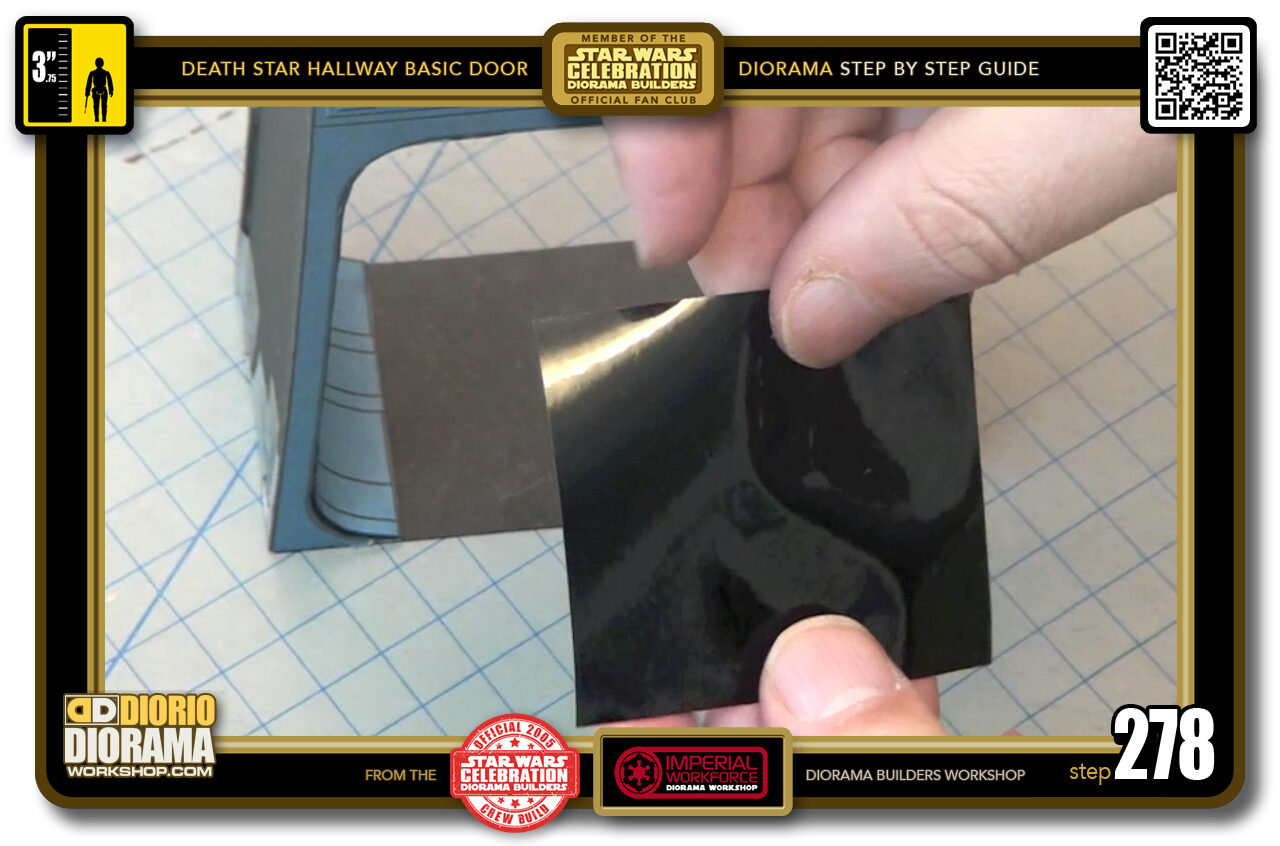
- STEP 278 > After 5 minutes or so, grab your little BLACK GLOSS VINYL
-
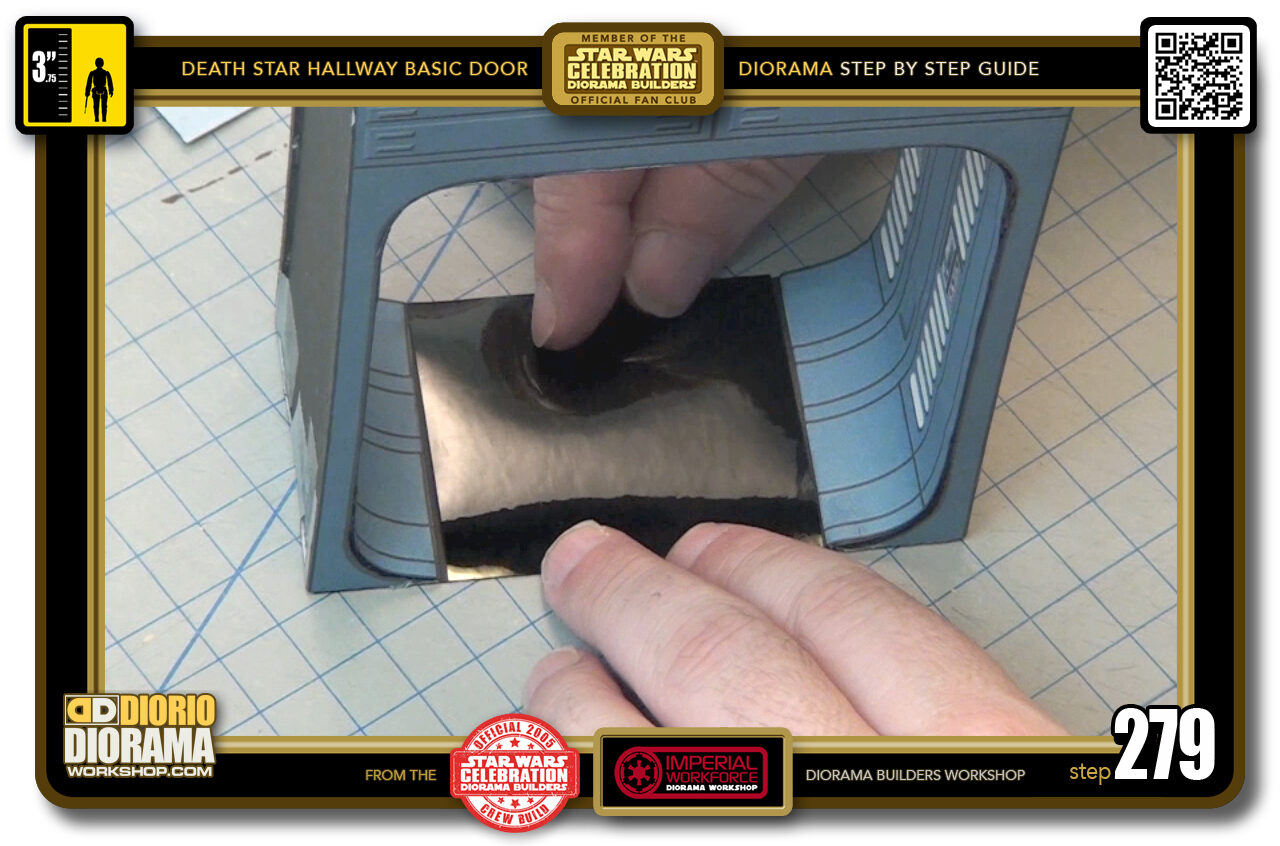
- STEP 279 > Do a DRY RUN on the base to make sure it fits just right.
-
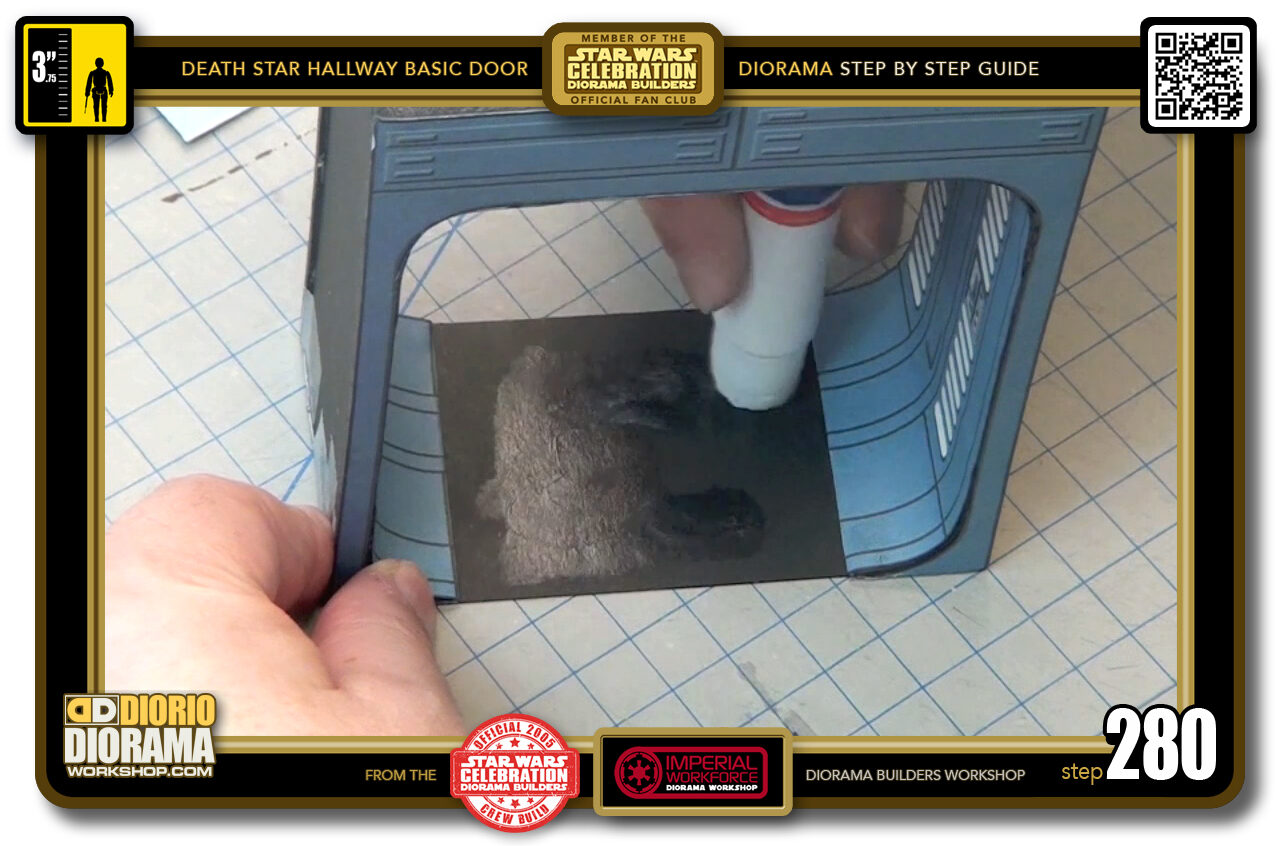
- STEP 280 > Remove the vinyl and apply generous amount of gluestick to the exposed posterboard area. DO NOT put glue on the ROUNDED CORNERS !!!

.
Did you already build this Diorama ? At home or at our Star Wars Celebration Diorama Builders workshop ? Would you like to show it in the site’s GALLERY VISITORS DIORAMAS section, YES ? That is Awesome !!! You can find out all the details on how to email me your photos on the VISITORS SUBMISSIONS INFO page … When I get your photos, I will create your very own page just like this one. You may not realize it but work does inspire others to join in the fun of making Action Figure Dioramas.
.
NOT FOR RESALE ALL Decals, tutorials and artwork are ©FrankDiorio (dioramaworkshop.com) and offered FOR FREE to the fans – that would be you ? so you can build and display my diorama designs in your very own home. I realize I cannot control what one does with my graphics once I place them on the web, I can only ask you as one fan to another, please respect the artist and do not be that jerk who uses my designs and tutorials to build a copy of my work only to sell it on EBAY or trade/sale groups and forums. Thank You. Frank.
.
.
If you have a facebook account, why not join the Official Diorama Builders Fan Club today, simply click the logo link below.
 .
.
Catch up with fellow visitors and exchange stories, read cool interviews with the crew, exchange photos, fun surprises and grab some FAN ONLY merchandise next year at actual future conventions ?
.
©2018 Frank Diorio DioramaWorkshop.Com
.
IF YOU LIKE WHAT YOU SEE, PLEASE SHARE WITH YOUR FRIENDS
USING THE SOCIAL MEDIA BUTTONS BELOW