


-
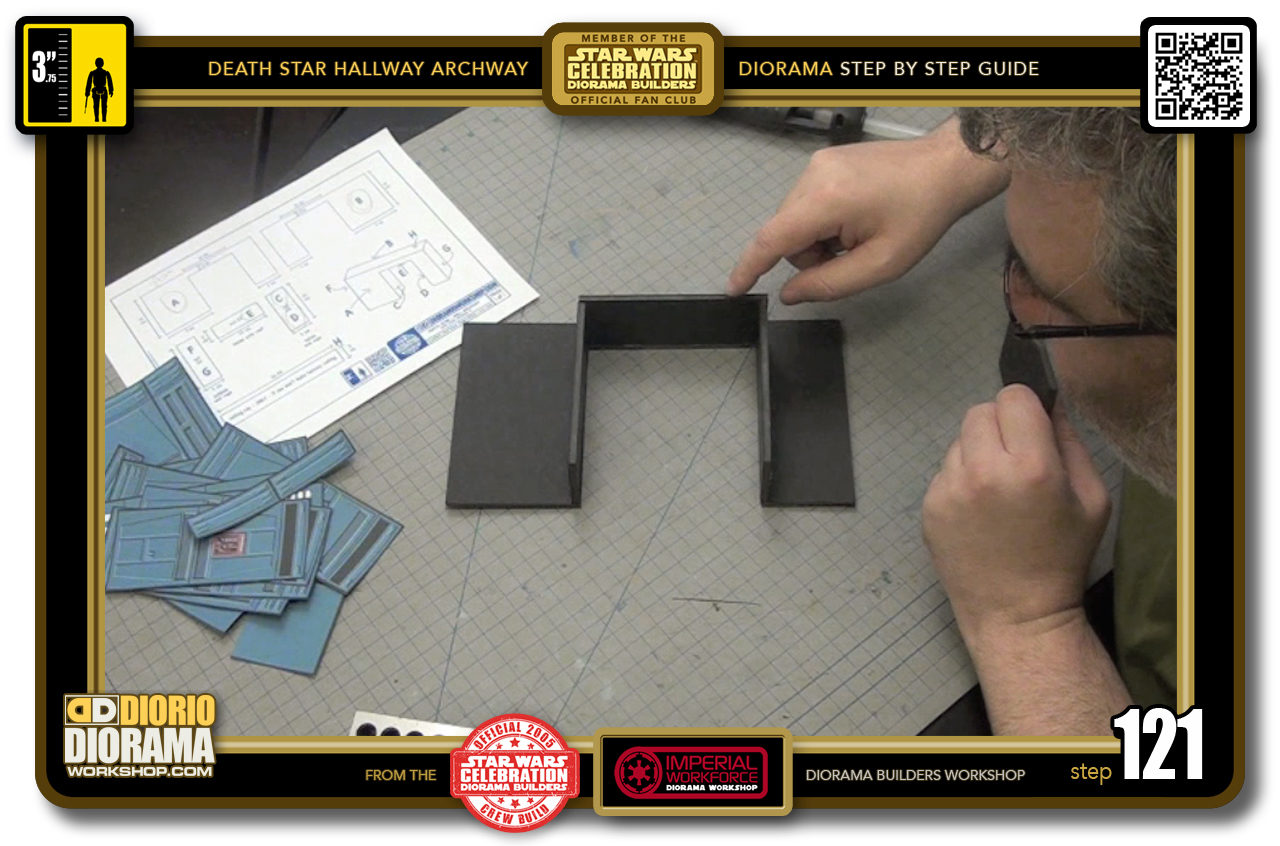
- STEP 121 > The first thing I must warn you about is that when trying to attach as big a section as this in one take, you will likely end up with a huge mess. To avoid this, the construction is large enough to allow a little flexibility meaning that we can attack it in sectioned areas. To start here, we will be connecting ONLY THE CORNER - 1 inch at the top - AND RIGHT SIDE
-
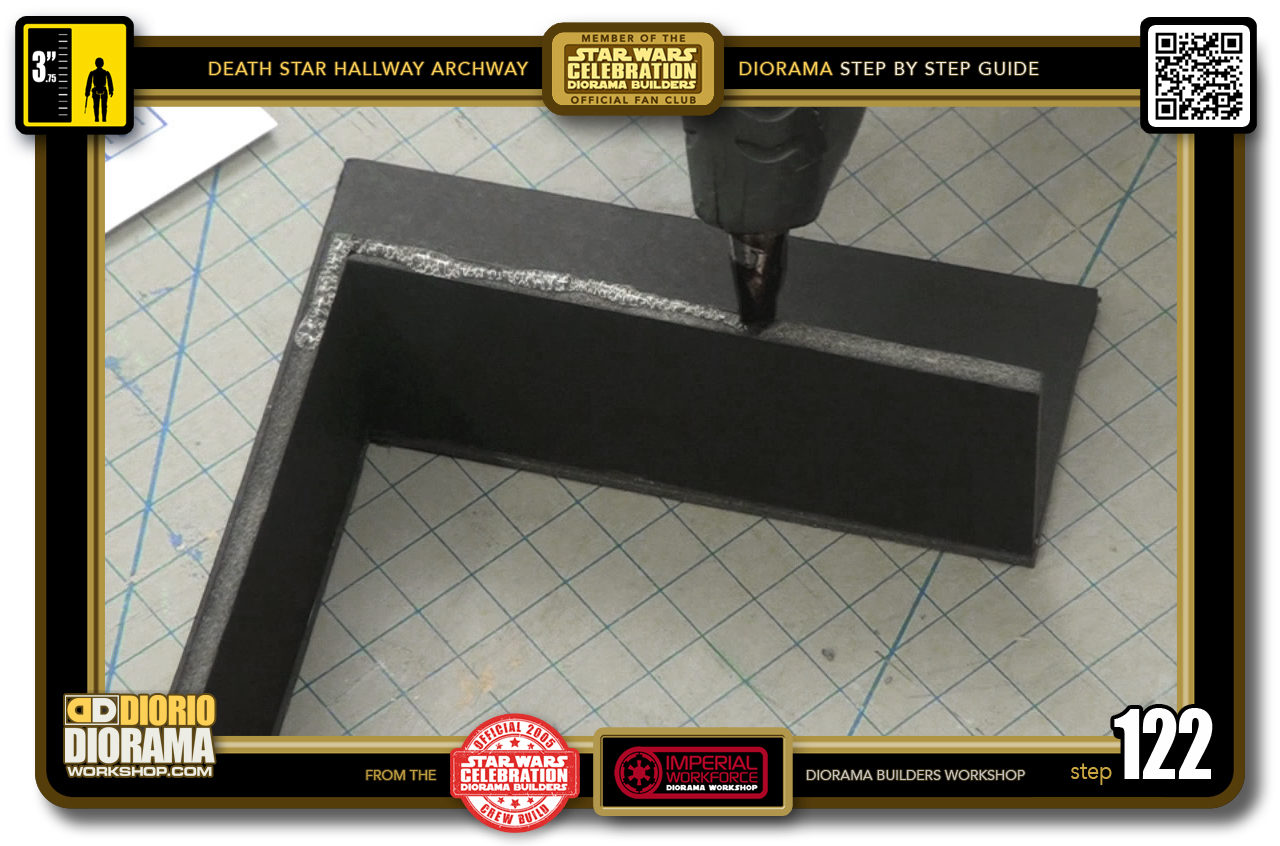
- STEP 122 > So apply a thin line of Hot Glue only at anbout 1 inch from the corner on the top spine and all the way down to the bottom on the right side spine.
-
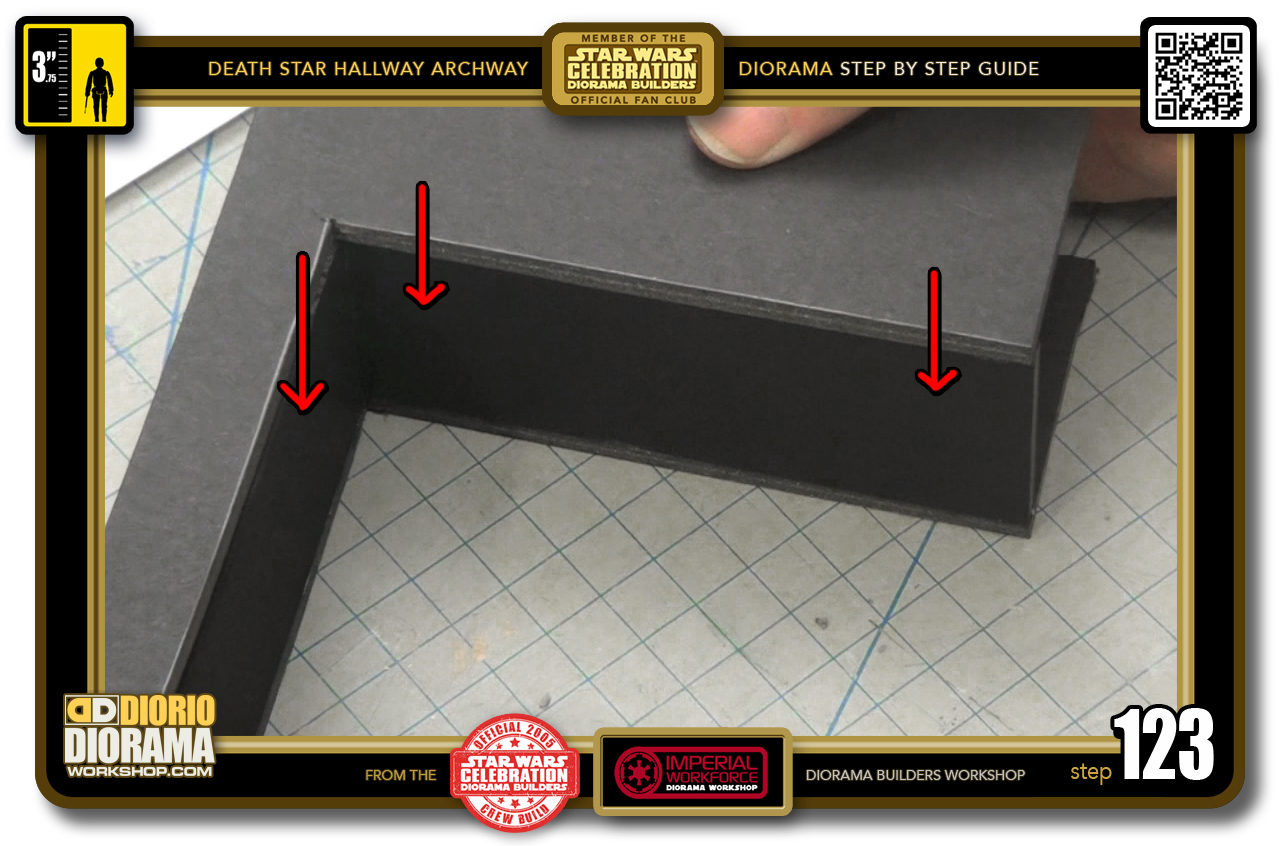
- STEP 123 > Carefully align the opposite side wall to the inner arch pieces. CONCENTRATE ONLY ON THE ZONE YOU GLUED.
-
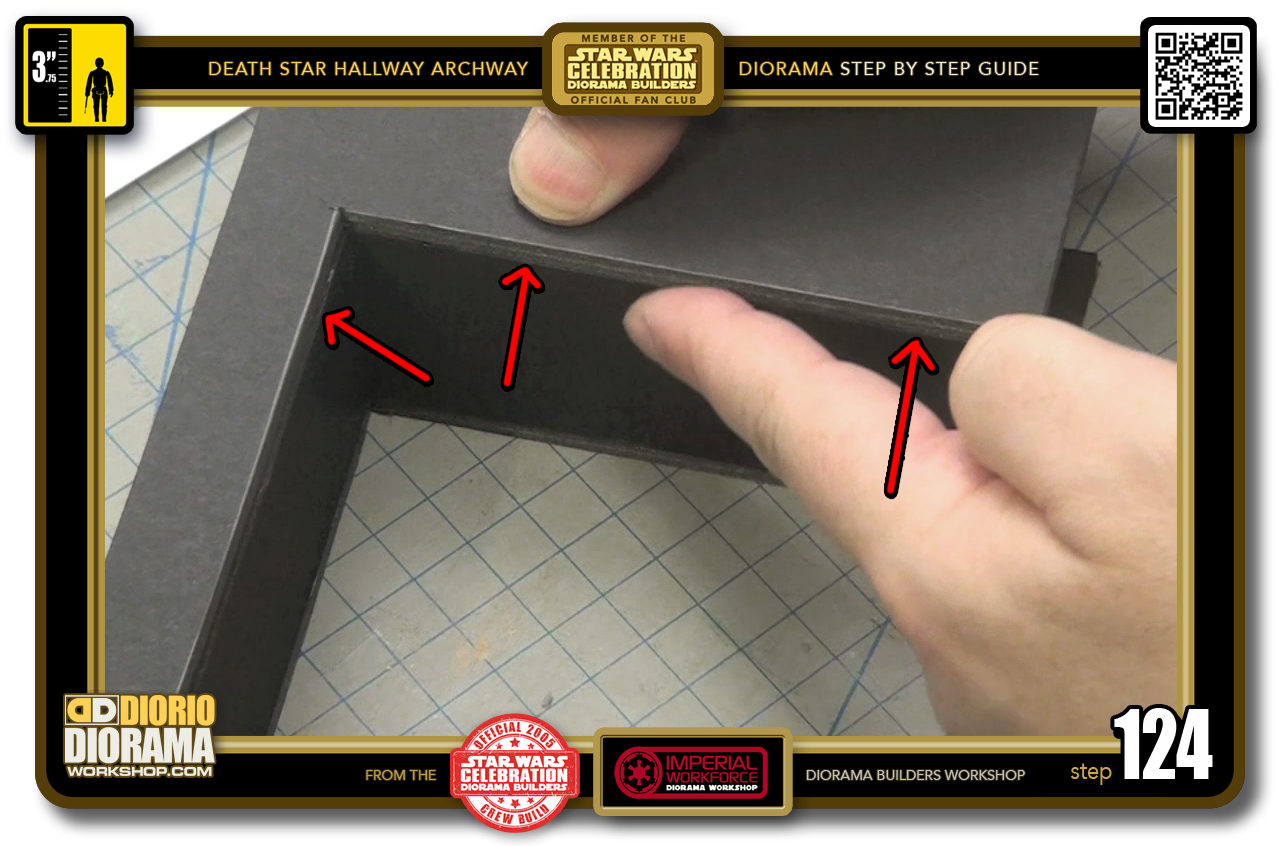
- STEP 124 > Make certain it is as FLUSH with the side surface as possible. Try to avoid your finger feeling a "speedbump" when you reach the connection. You want it to feel like it is one piece of foamcore, or your decals will not apply properly later on.
-
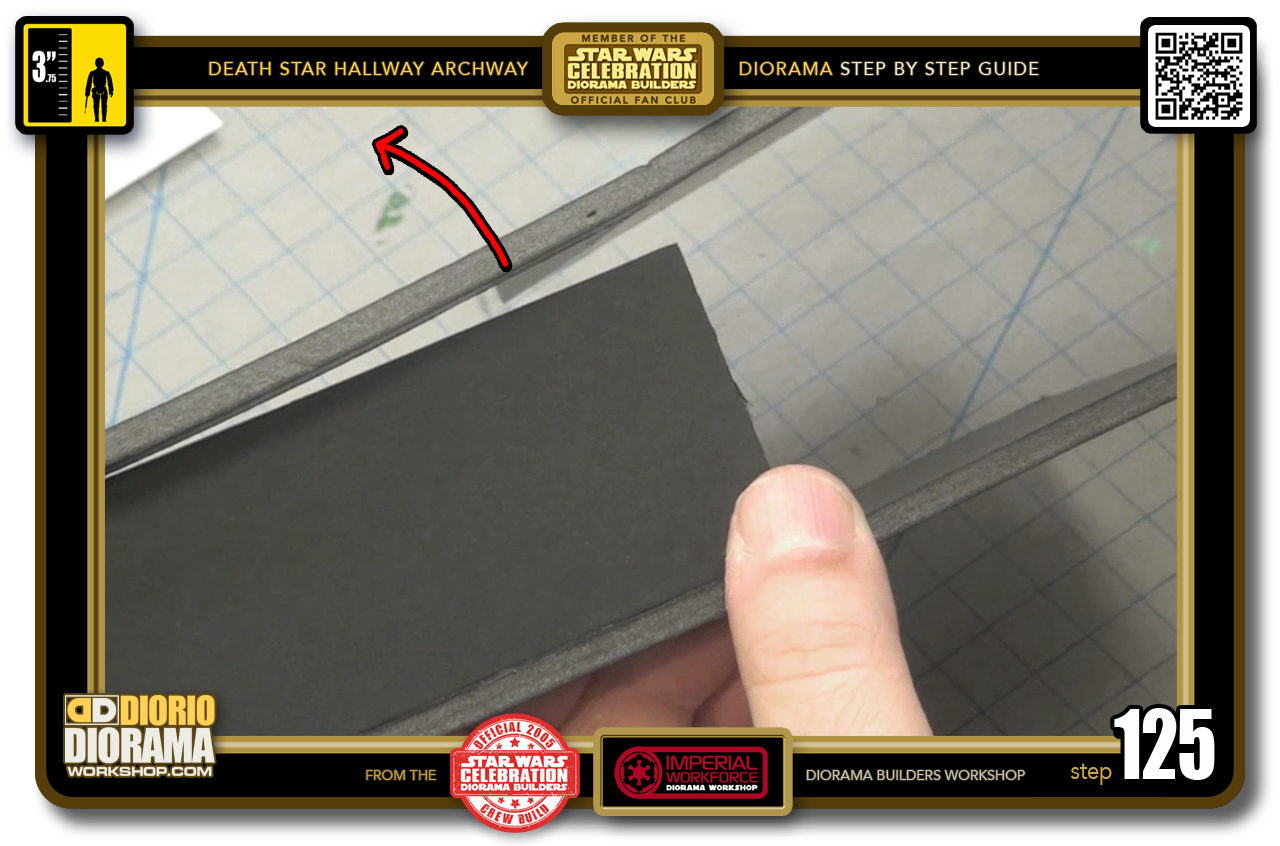
- STEP 125 > Once the hot glue has cooled down and your right corner is totally secure, you will be able to carefully lift UP the opposite side of your arch and expose it's spine.
-
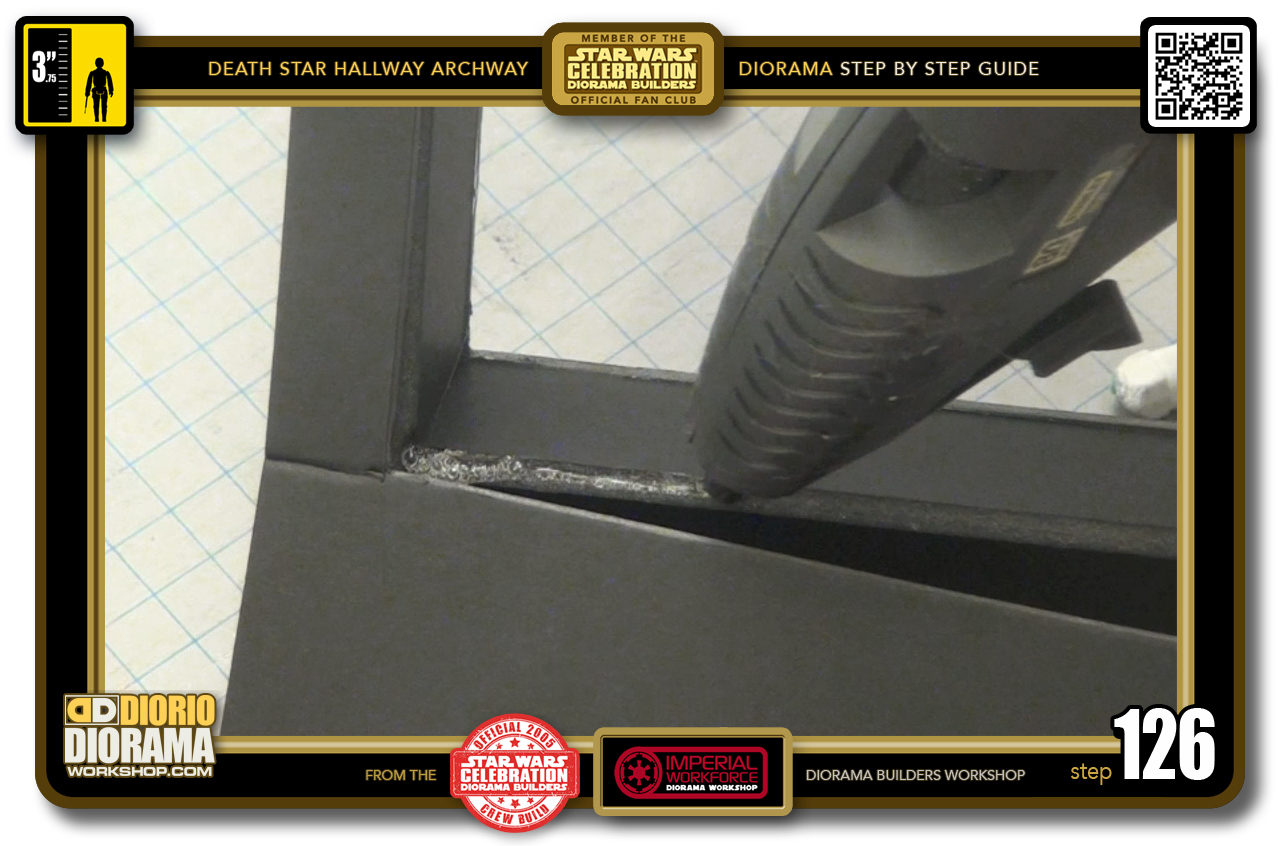
- STEP 126 > You can now carefully applu a line of Hot Glue along the complete spine edge.
-
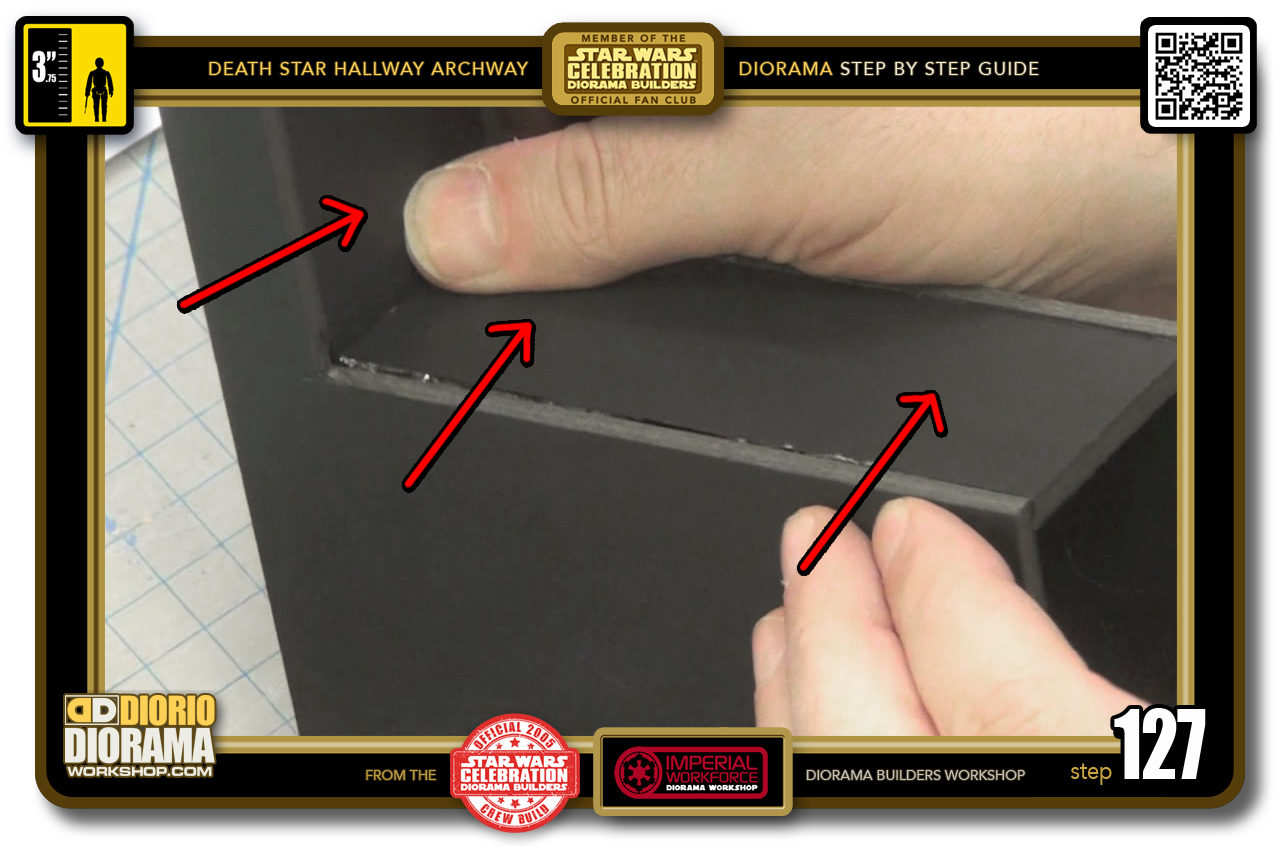
- STEP 127 > Now lower the opposite wall to connect with the left side inner wall top.
-
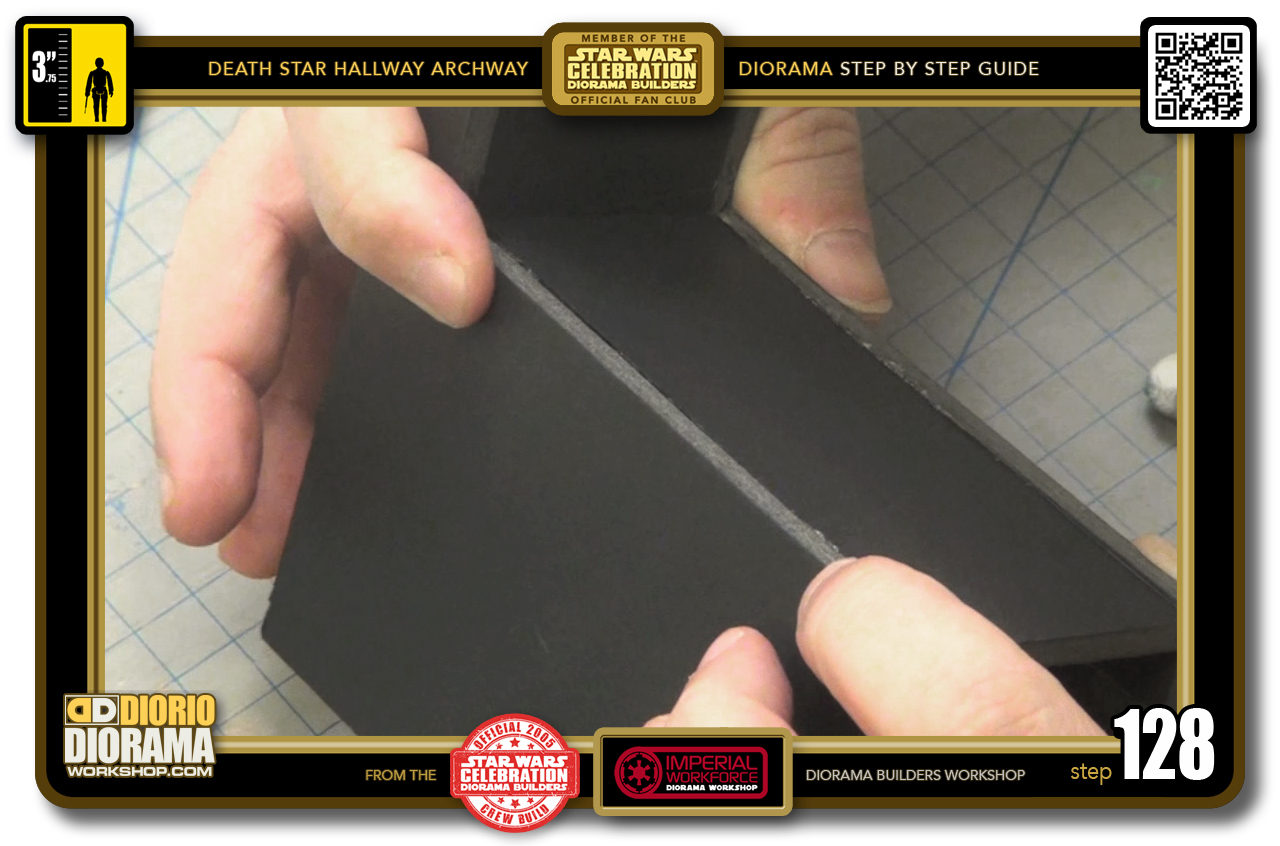
- STEP 128 > Examine, make it FLUSH and then hold in position until the glue cools down - about 30 seconds.
-
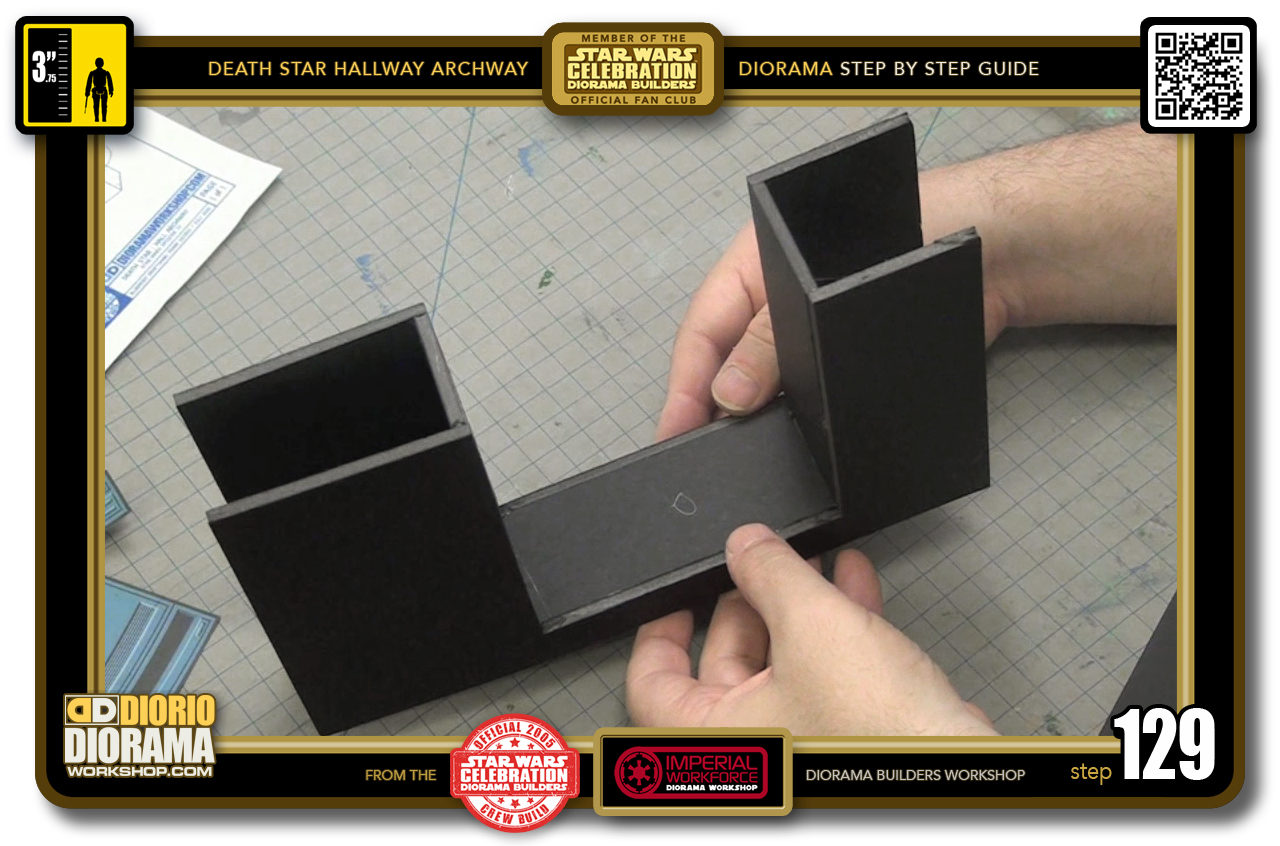
- STEP 129 > Both front and rear walls "A" and "B" are now attached to the centre arch walls. However it is still pretty fragile as the ends have no support yet. So avoid putting to much pressure at the extremities for now.
-
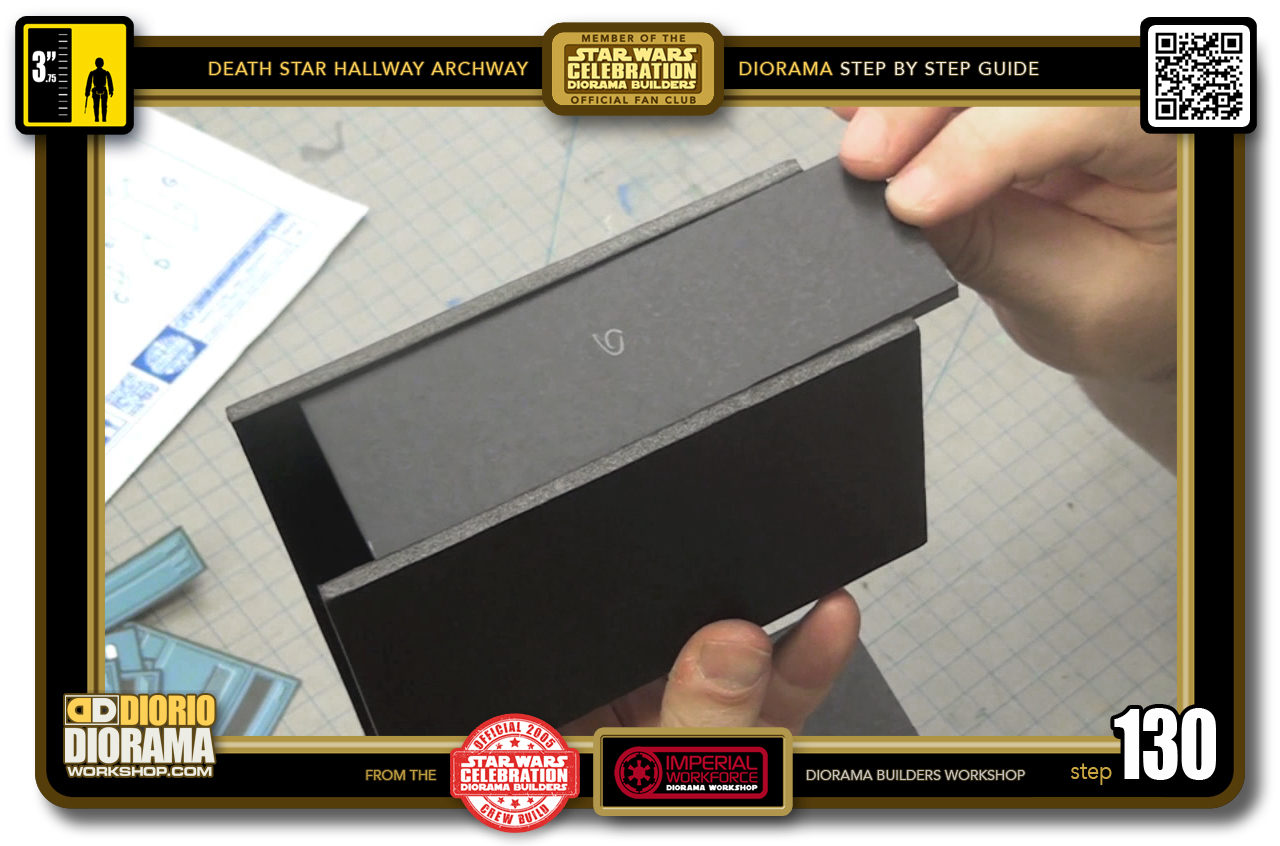
- STEP 130 > Your end pieces will slide in between the "A" and "B" walls until they reach the ends for a perfect fit.
-
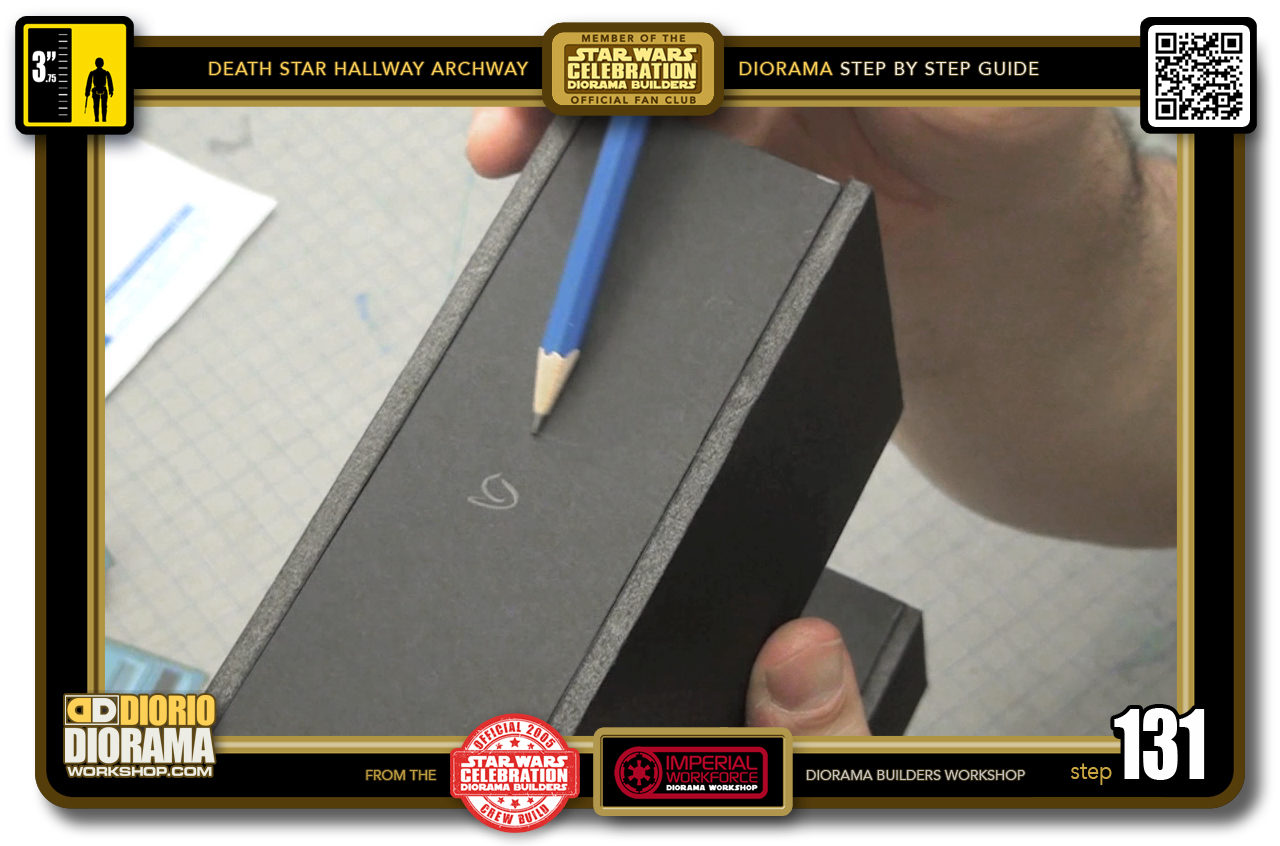
- STEP 131 > The great thing about this design is that your centre end piece when added to the thicknesses of the front and rear walls are exactly the width of your decals.
-
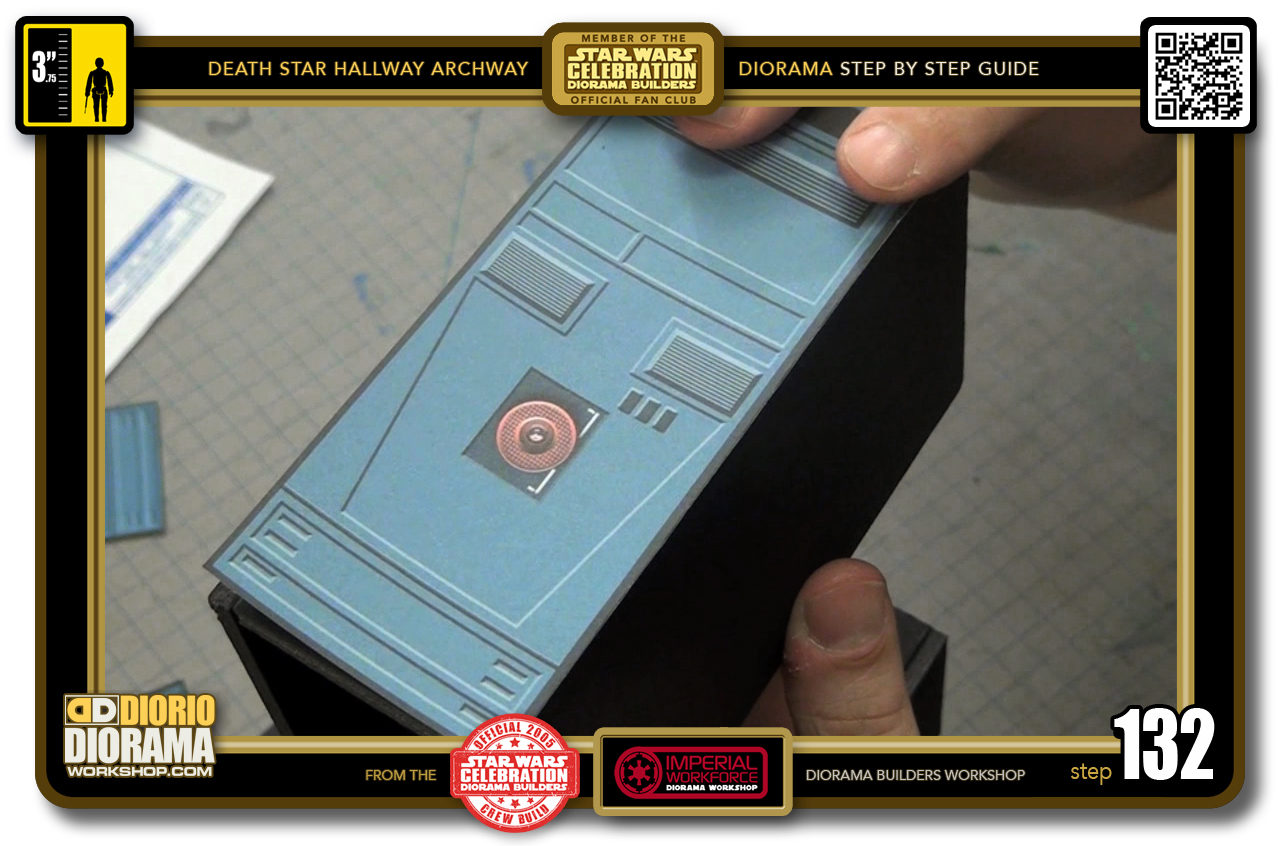
- STEP 132 > So once placed over it, you hide the connections giving you the illusion of one flat smooth piece. This is why the importance to try and get all your connections to be as FLUSH as possible, VERY IMPORTANT.
-

- STEP 133 > Time to assemble. Place a small line of Hot Glue on ONE SIDE ONLY.
-
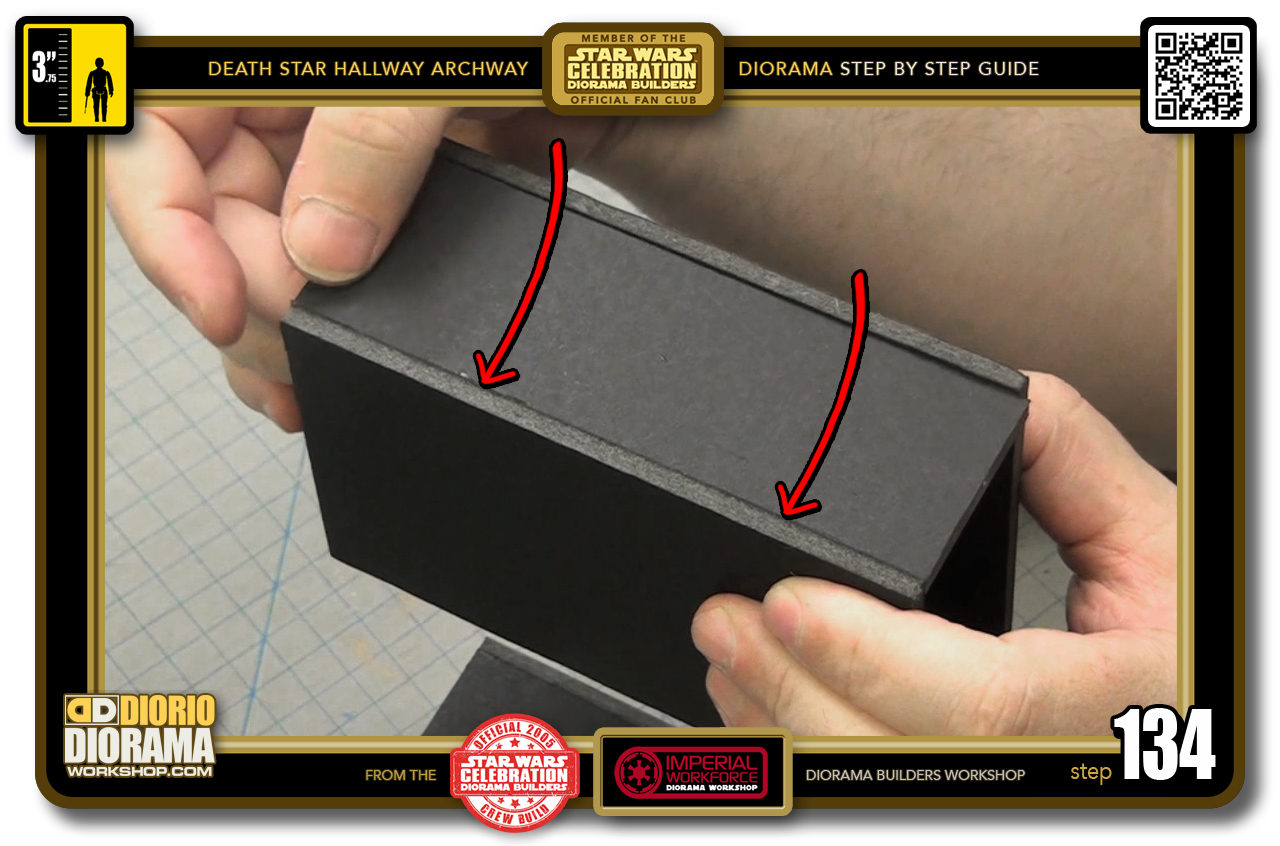
- STEP 134 > Insert your end piece, make sure the corners connect and that the edge is FLUSH as can be. Hold in place till it cools off - around 30 seconds.
-
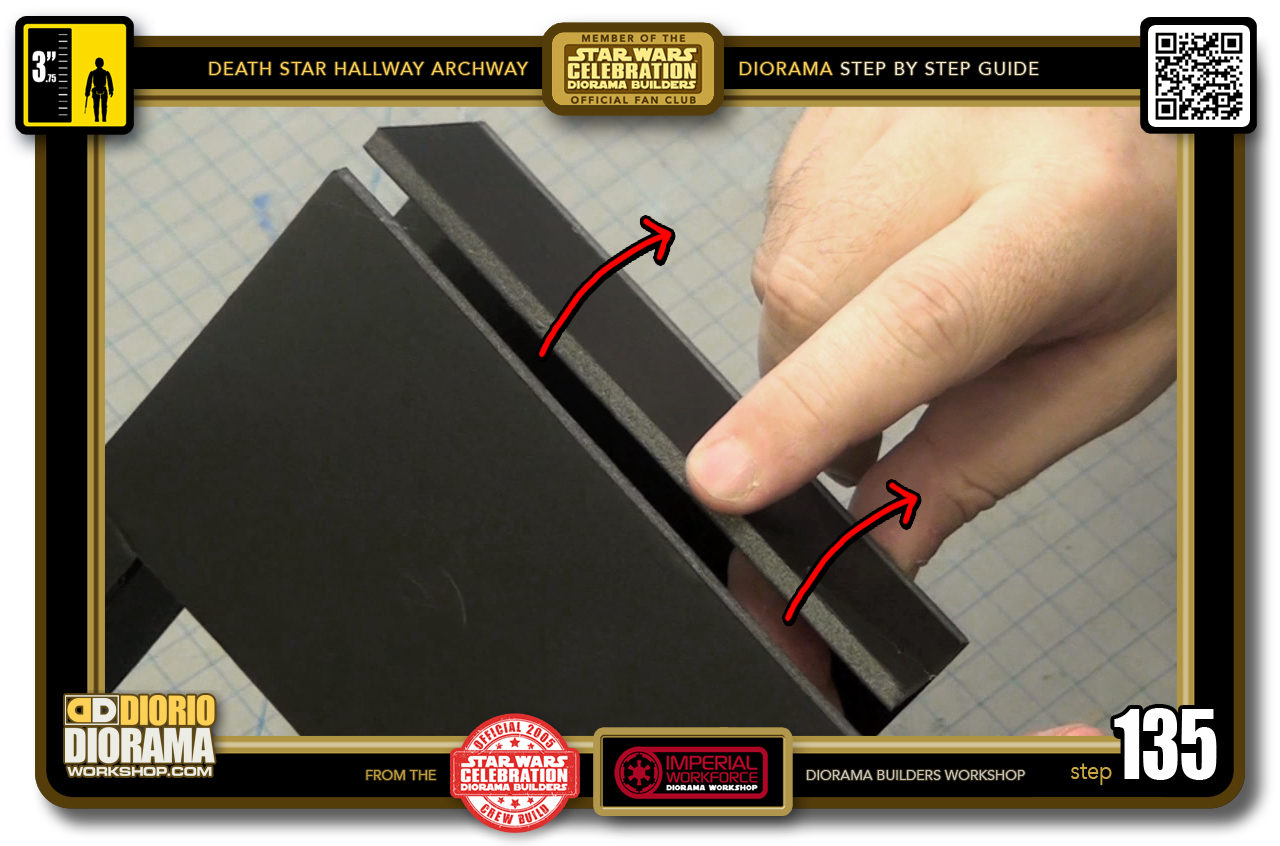
- STEP 135 > When completely cooled down, you can carefully lift up the other side to expose the other side's spine
-
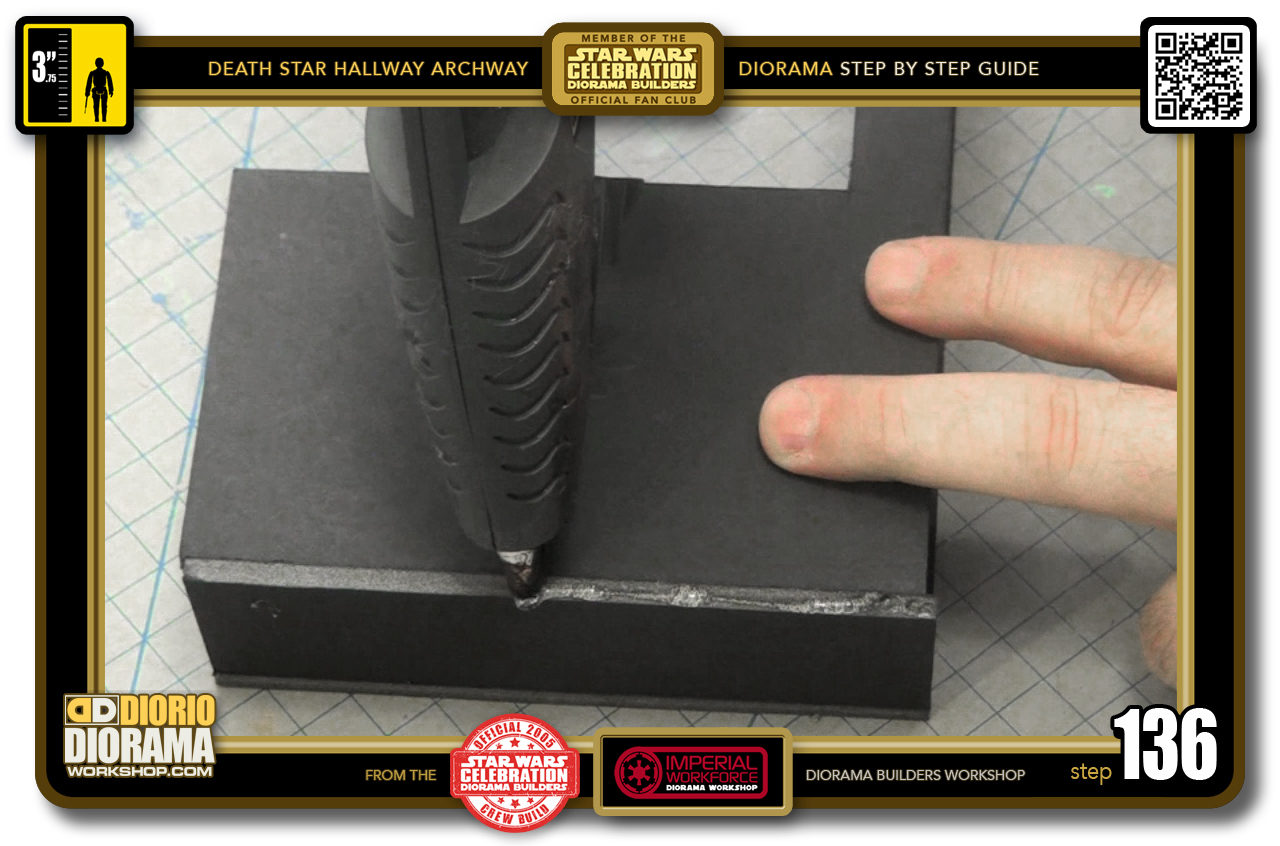
- STEP 136 > Apply a small line of Hot Glue to the entire spine.
-

- STEP 137 > Keeping the wall corner slightly lifted, slowly push back in ( red arrows ) the end wall towards a 90 degree angle.
-
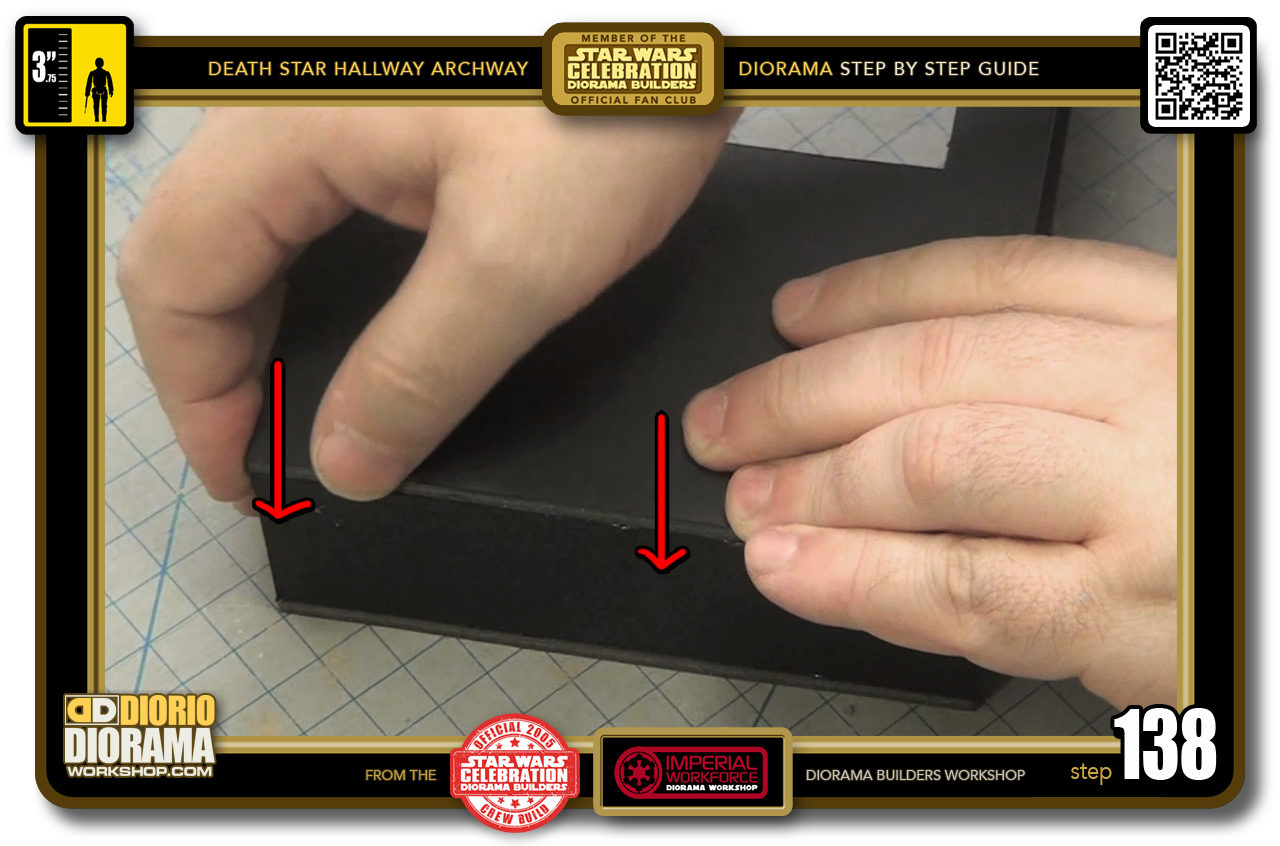
- STEP 138 > Then carefully lower your wall end until it connects with the end piece spine.
-
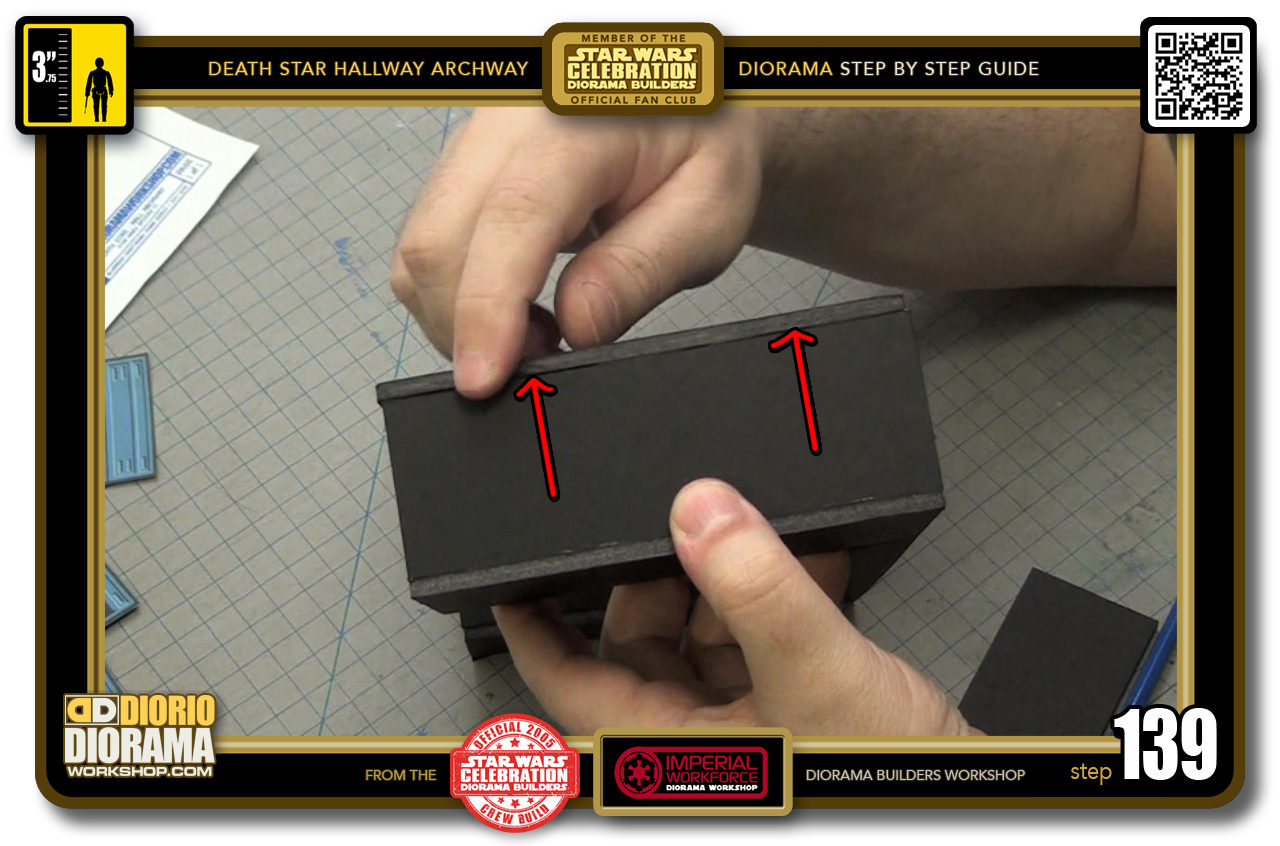
- STEP 139 > Check the corners and make sure the long ends are as FLUSH as can be with the end walls. If you need to scrape some nose boogers when the glue has cooled down, do so before placing your decals.
-
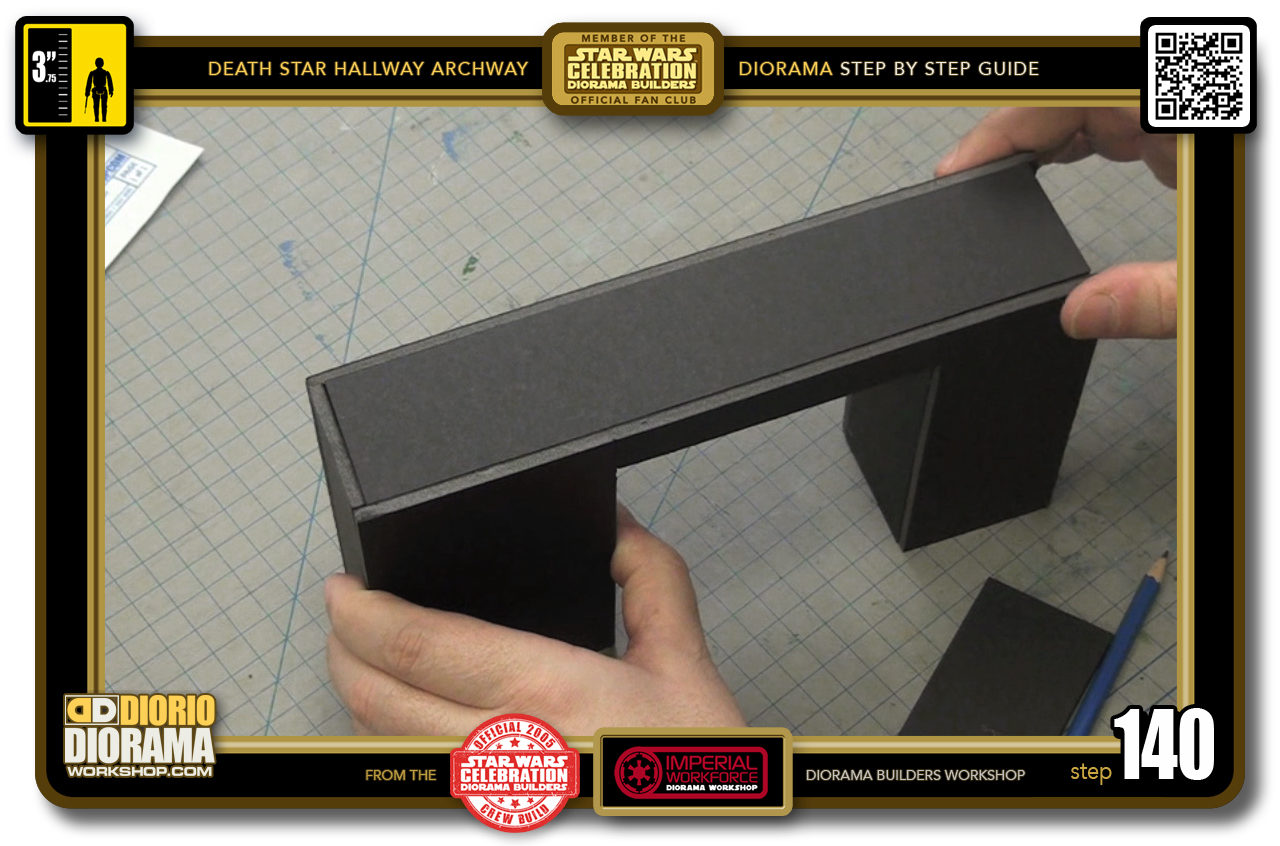
- STEP 140 > For the "H" Top Cap, it will slide in perfectly and after being pressed against the glued end wall...

.
Did you already build this Diorama ? At home or at our Star Wars Celebration Diorama Builders workshop ? Would you like to show it in the site’s GALLERY VISITORS DIORAMAS section, YES ? That is Awesome !!! You can find out all the details on how to email me your photos on the VISITORS SUBMISSIONS INFO page … When I get your photos, I will create your very own page just like this one. You may not realize it but work does inspire others to join in the fun of making Action Figure Dioramas.
.
NOT FOR RESALE ALL Decals, tutorials and artwork are ©FrankDiorio (dioramaworkshop.com) and offered FOR FREE to the fans – that would be you ? so you can build and display my diorama designs in your very own home. I realize I cannot control what one does with my graphics once I place them on the web, I can only ask you as one fan to another, please respect the artist and do not be that jerk who uses my designs and tutorials to build a copy of my work only to sell it on EBAY or trade/sale groups and forums. Thank You. Frank.
.
.
If you have a facebook account, why not join the Official Diorama Builders Fan Club today, simply click the logo link below.
 .
.
Catch up with fellow visitors and exchange stories, read cool interviews with the crew, exchange photos, fun surprises and grab some FAN ONLY merchandise next year at actual future conventions ?
.
©2018 Frank Diorio DioramaWorkshop.Com
.
IF YOU LIKE WHAT YOU SEE, PLEASE SHARE WITH YOUR FRIENDS
USING THE SOCIAL MEDIA BUTTONS BELOW