


-
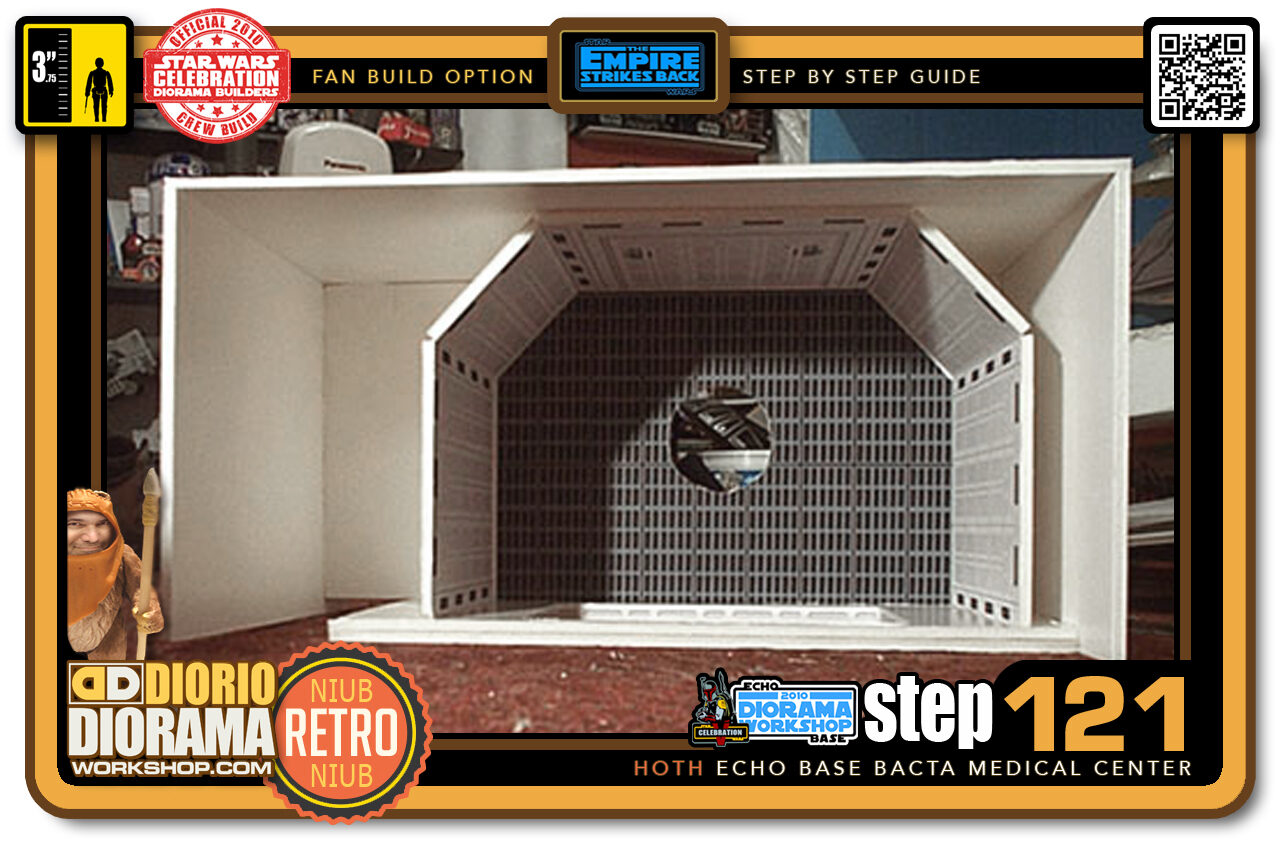
- Step 121 >> So basically, this is what we created. A box that surrounds the Bacta Room. It will raise the diorama, give us a false floor and look cleaner on the outside.
-
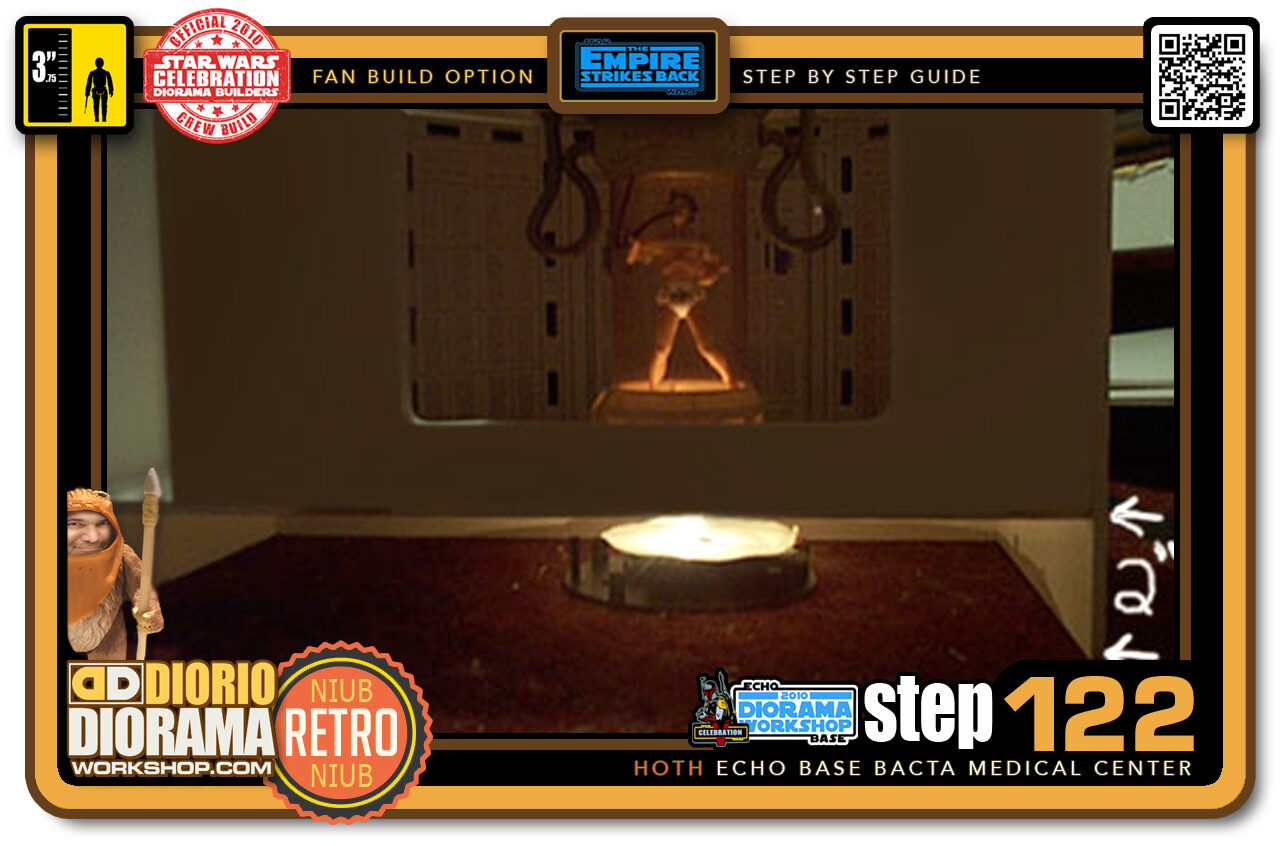
- Step 122 >> The Diorama is not upright again. Here you can see how my light fits just right underneath. The 2 inch space gives us plenty of room to work in. This is just a test and the figure already looks cool - Hee hee - Imagine when the bubbles are inside the tube!!!
-
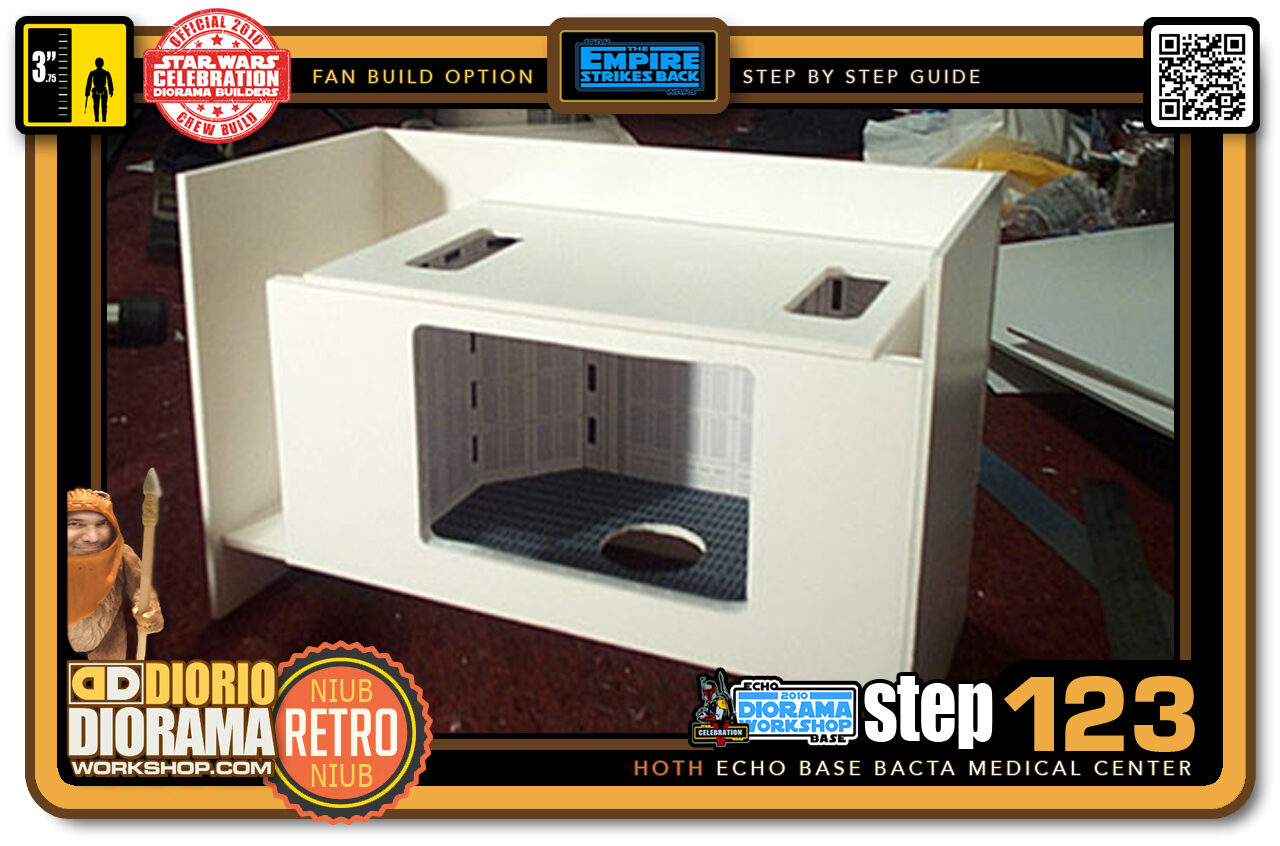
- Step 123 >> This picture shows you how I have also added space up on top by securing the Diorama Room to the center of the exterior pieces of foamcore.
-

- Step 124 >> Now let's do the same for the Medical Center. I started by attaching the ceiling to the main walls.
-

- Step 125 >> Then added the side panels keeping the same 2 inch space at the bottom. After all we want all the pieces to align again. Be sure to measure correctly before using your Hot Glue Gun.
-

- Step 126 >> Both pieces joined at the hip, well Medical Bay Windows - :P. See how the exterior walls now look like a nice box instead of ugly uneven shapes 🙂
-
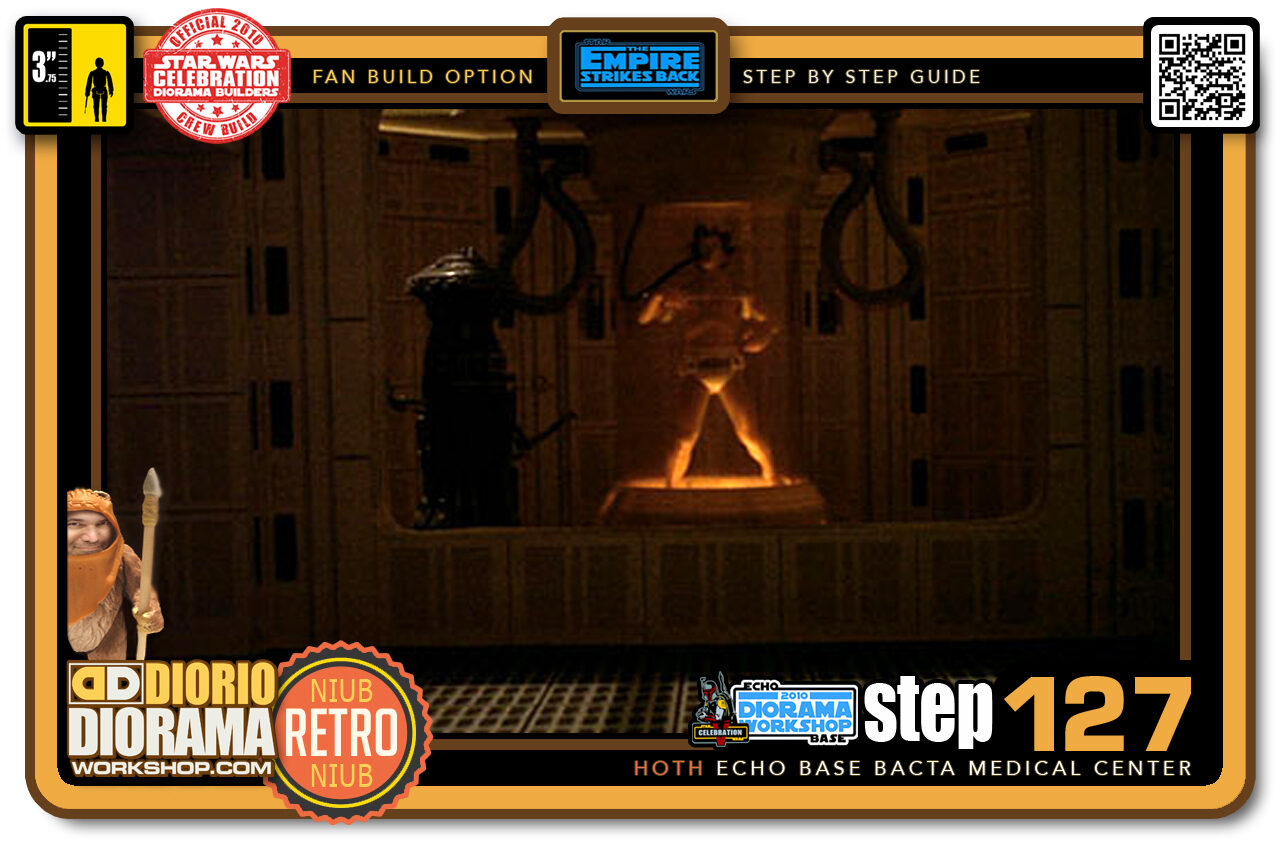
- Step 127 >> And where we are at now. A little light and a bad picture - LOL. Once the ceiling lights are in place it will light up much better. More on that next week - which will be the LAST preview before the actual Diorama pictures. I know you can't wait to see em 🙂
-
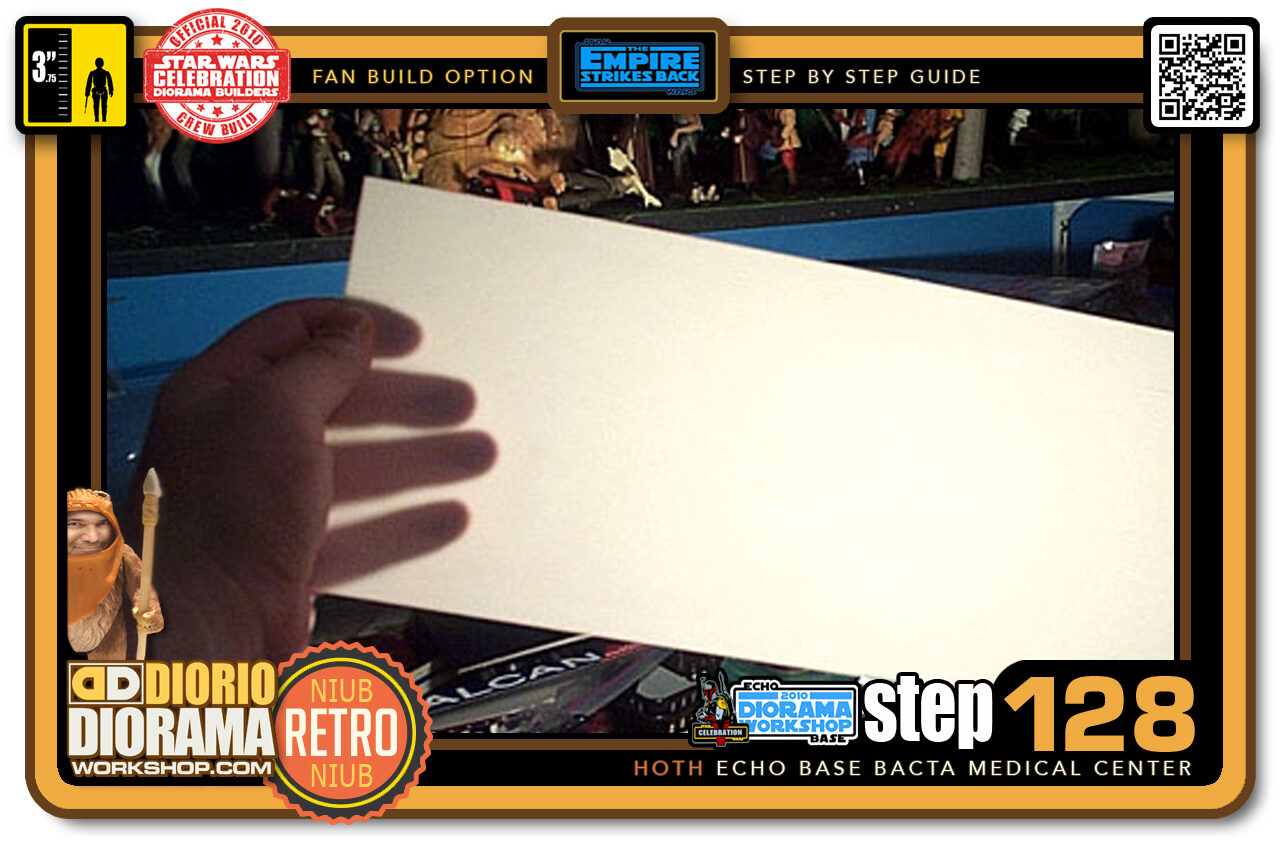
- Step 128 >> I found a cool plastic lamp at the dollar store that had these plexiglass side panels. Perfect for my ceiling light panels. It diffuses light just right instead of seeing through like glass.
-
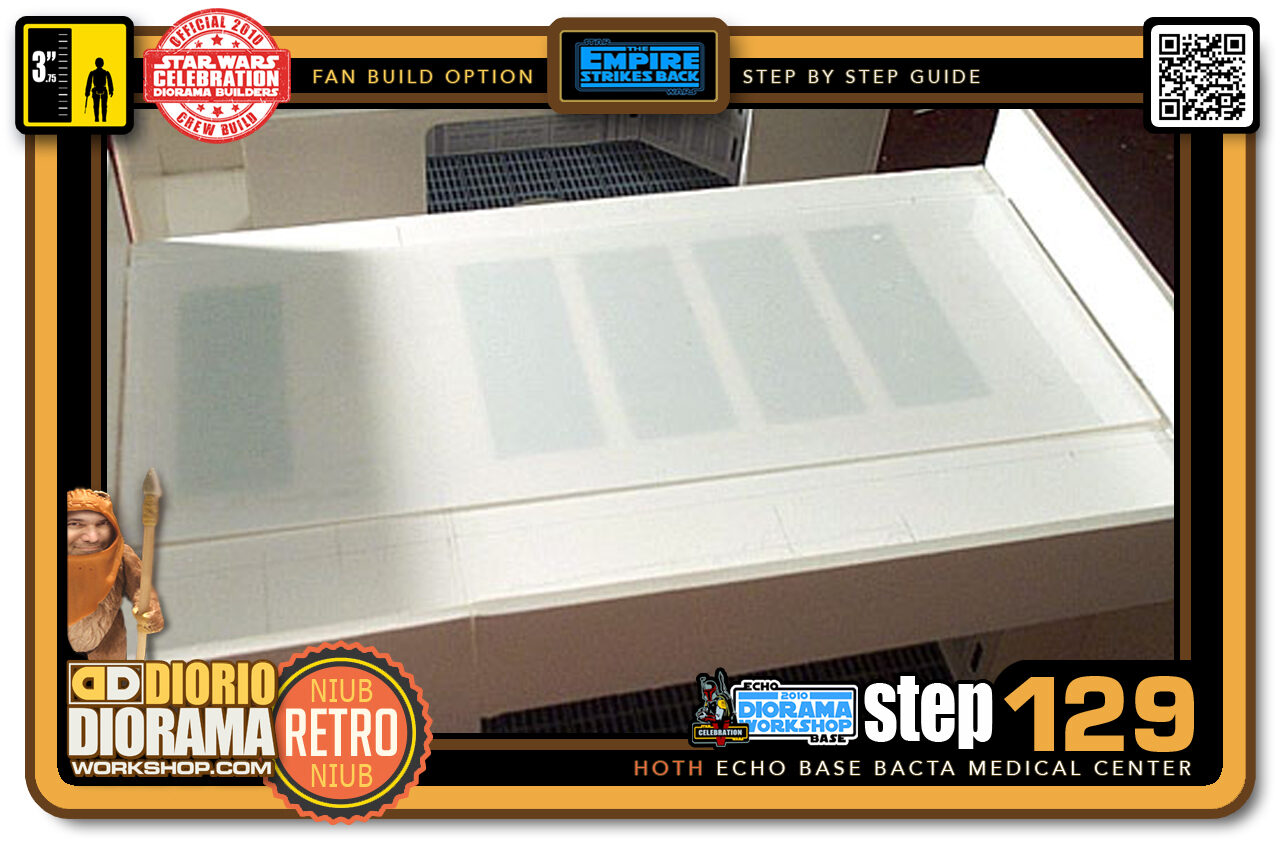
- Step 129 >> I used 2 drops of Hot Glue to keep the plexiglass from giggling around.
-
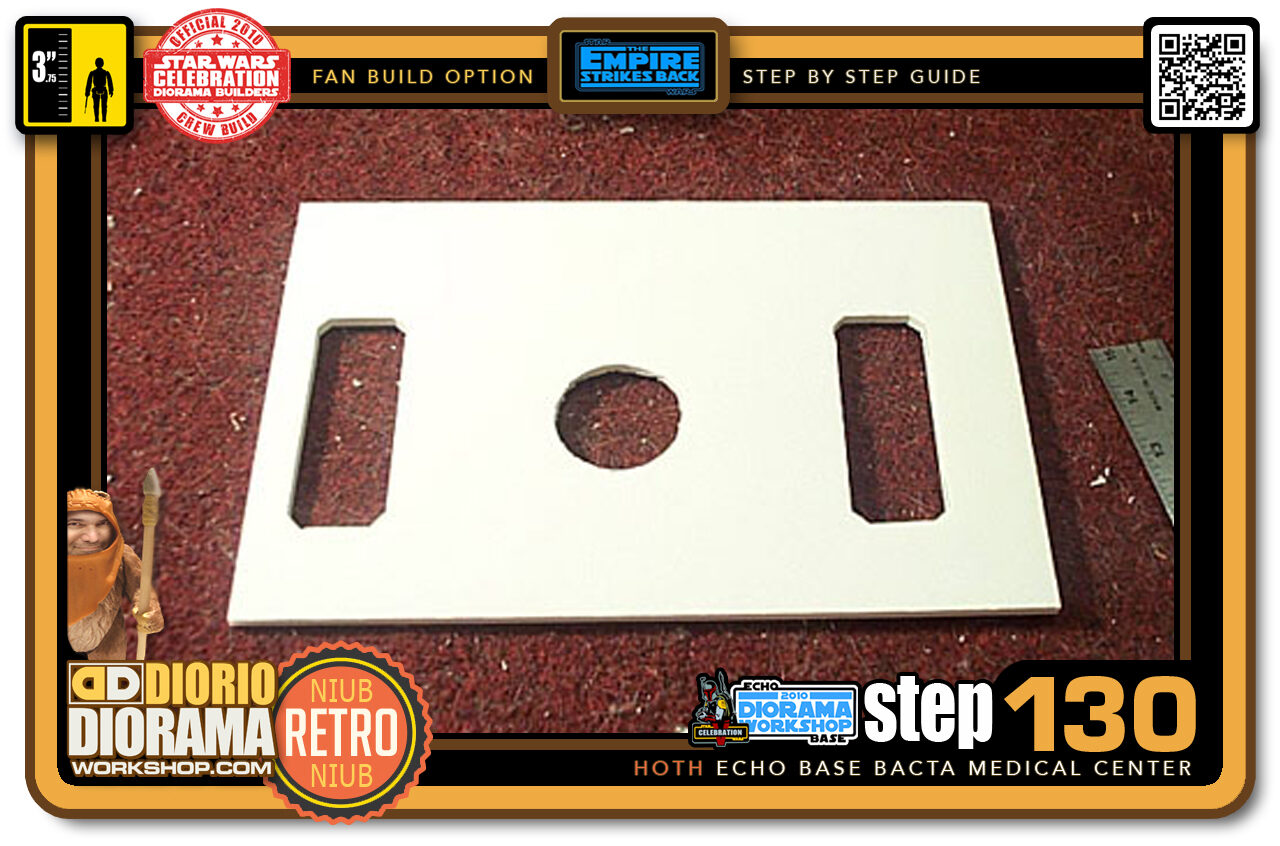
- Step 130 >> You might have noticed that the lid on the Bacta Luke has a sculpted lid that prevents the top from being completely flat. So I cut a hole in the ceiling where the Bacta Tank fits.
-
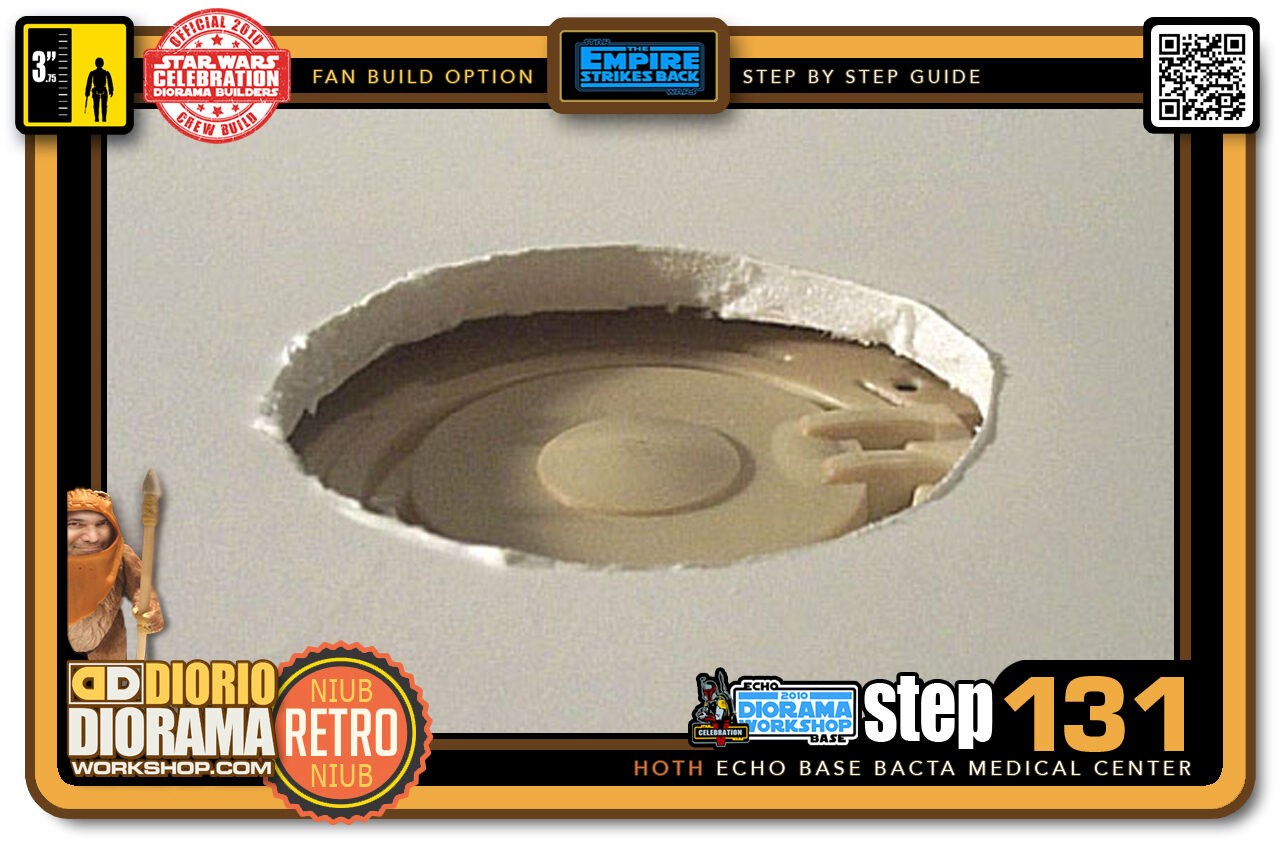
- Step 131 >> Here you see what I was trying to explain about the Bacta Tank lid detail.
-
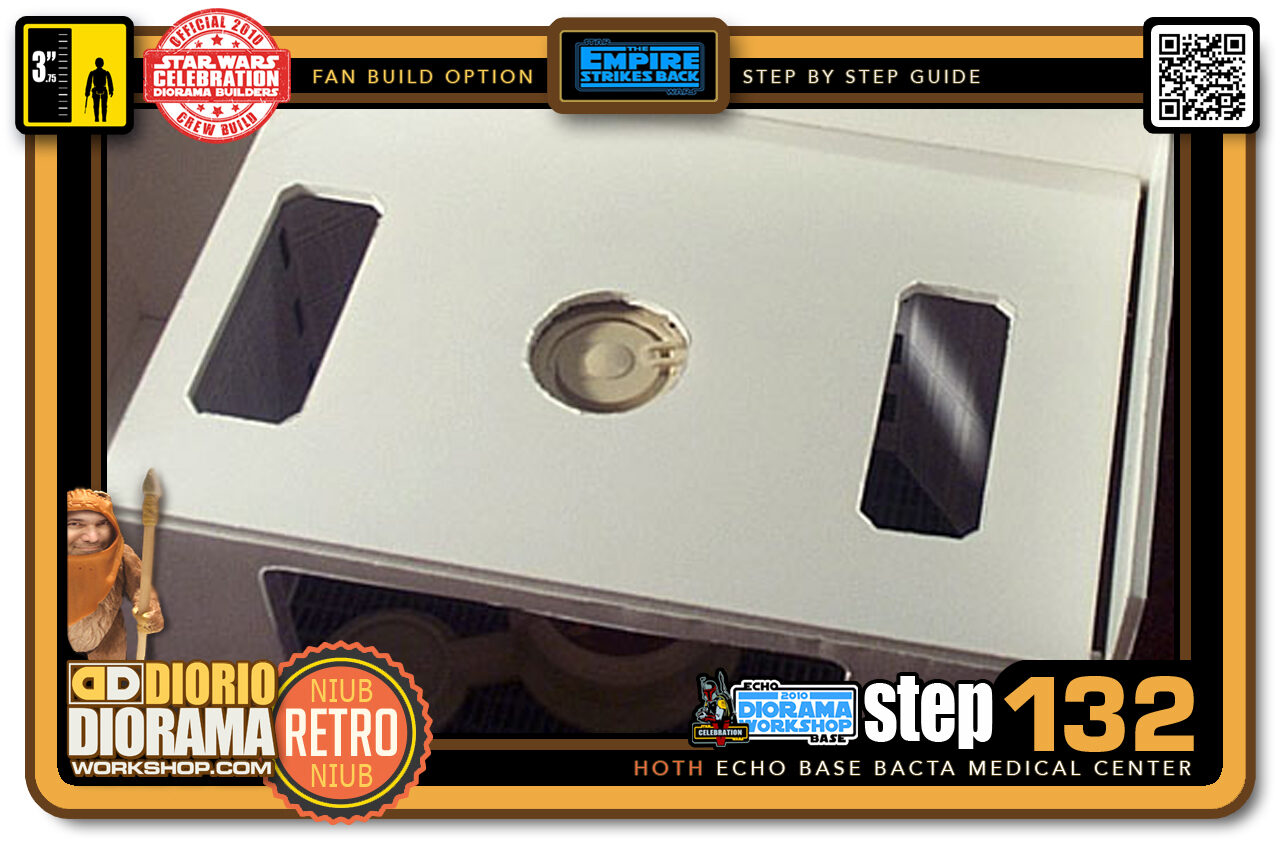
- Step 132 >> Having the hole now lets the roof fall flat onto the Bacta Tank, just like in the movie.
-
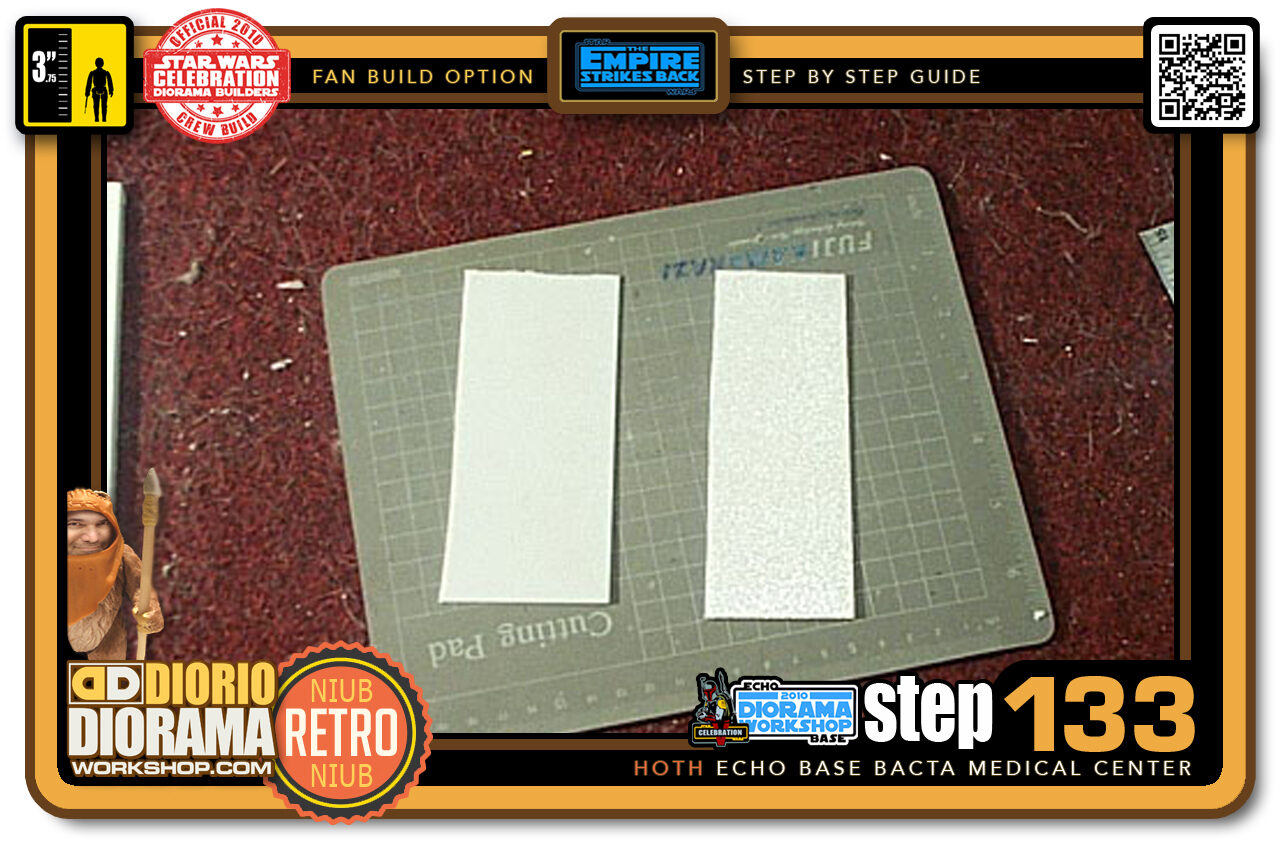
- Step 133 >> I now cut 2 more pieces of my dollar store lamp. These panels are for the Bacta Tank Room.
-
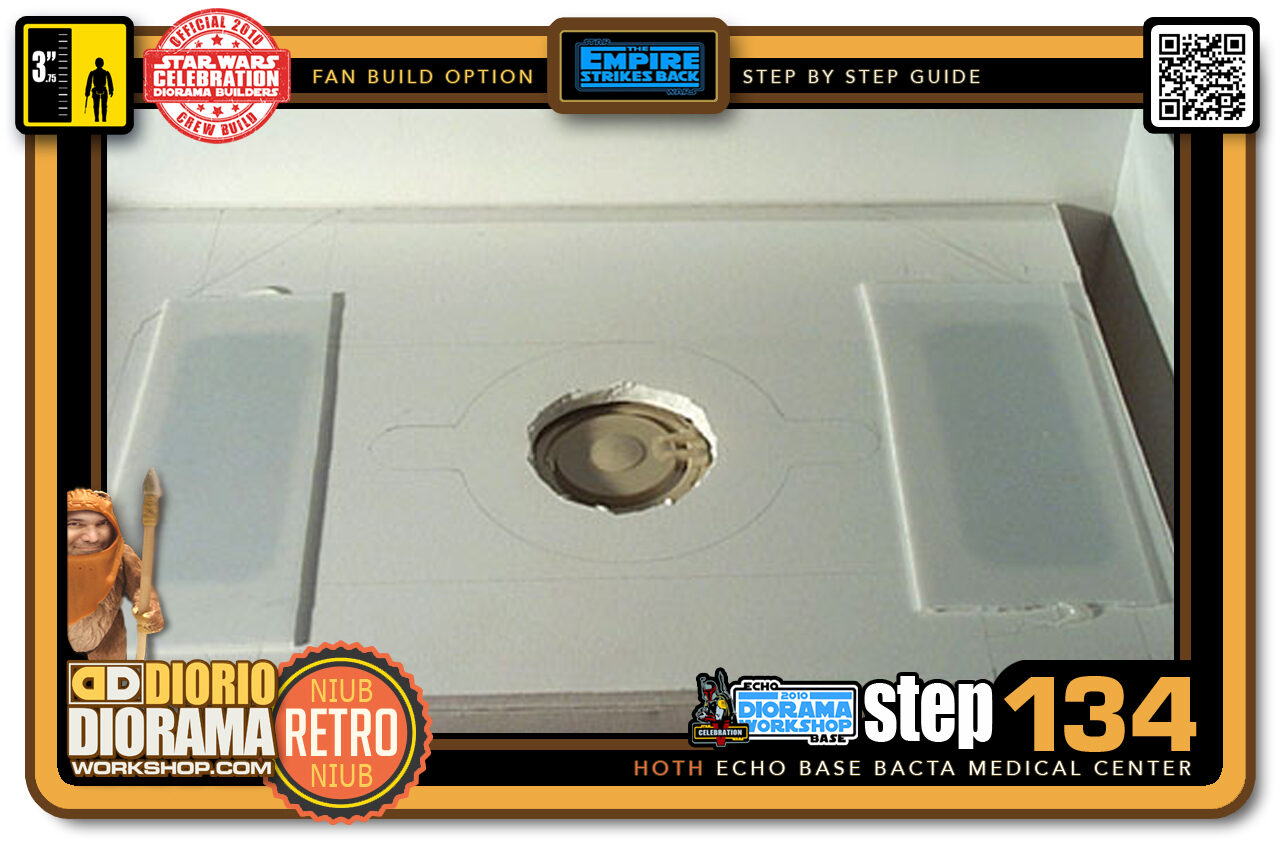
- Step 134 >> A little Hot Glue keeps everything in place.
-
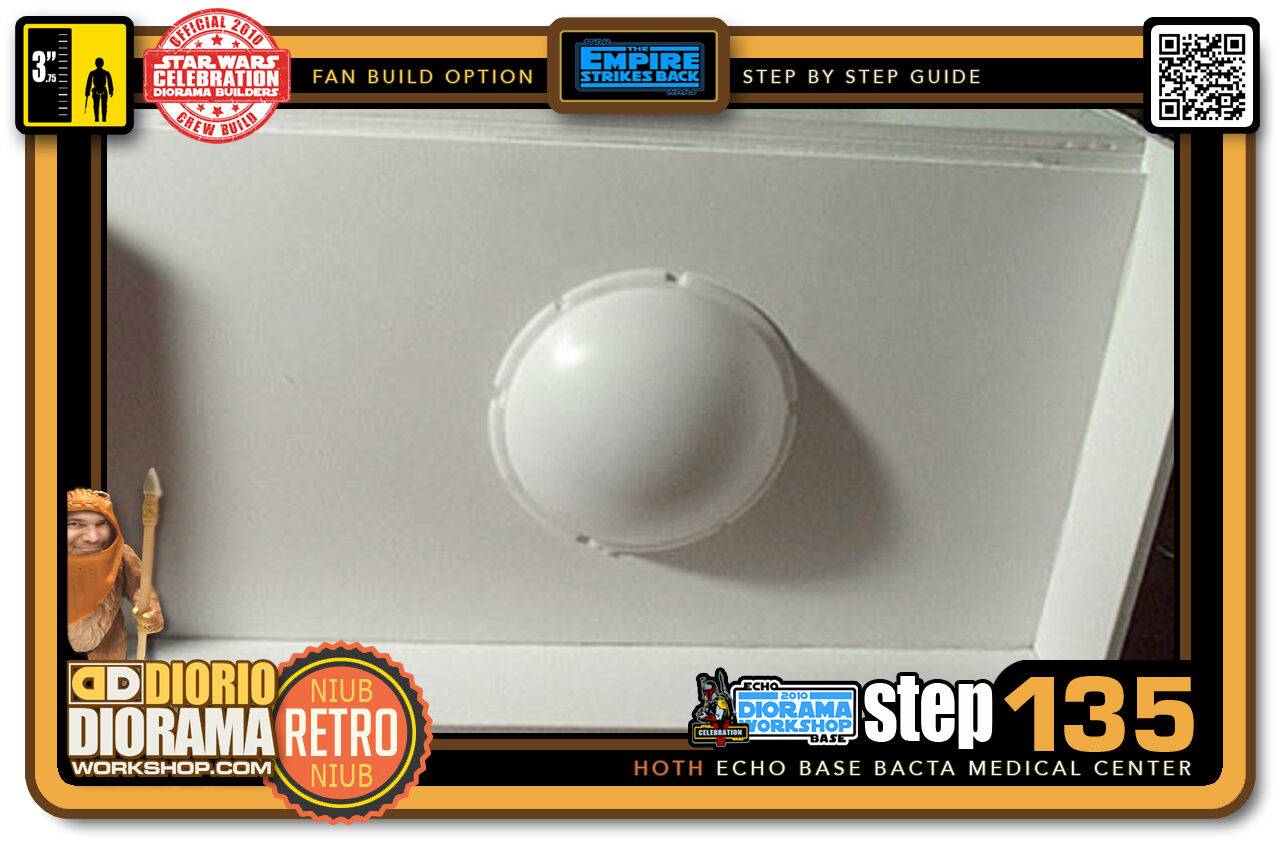
- Step 135 >> Another wonderful find at the dollar store 🙂 You know those night lights or emergency lights that you push down to illuminate? I opened it up and kept only the plastic bubble. I used some hot Glue to attach it to the bottom of the Bacta Tank Room floor.
-
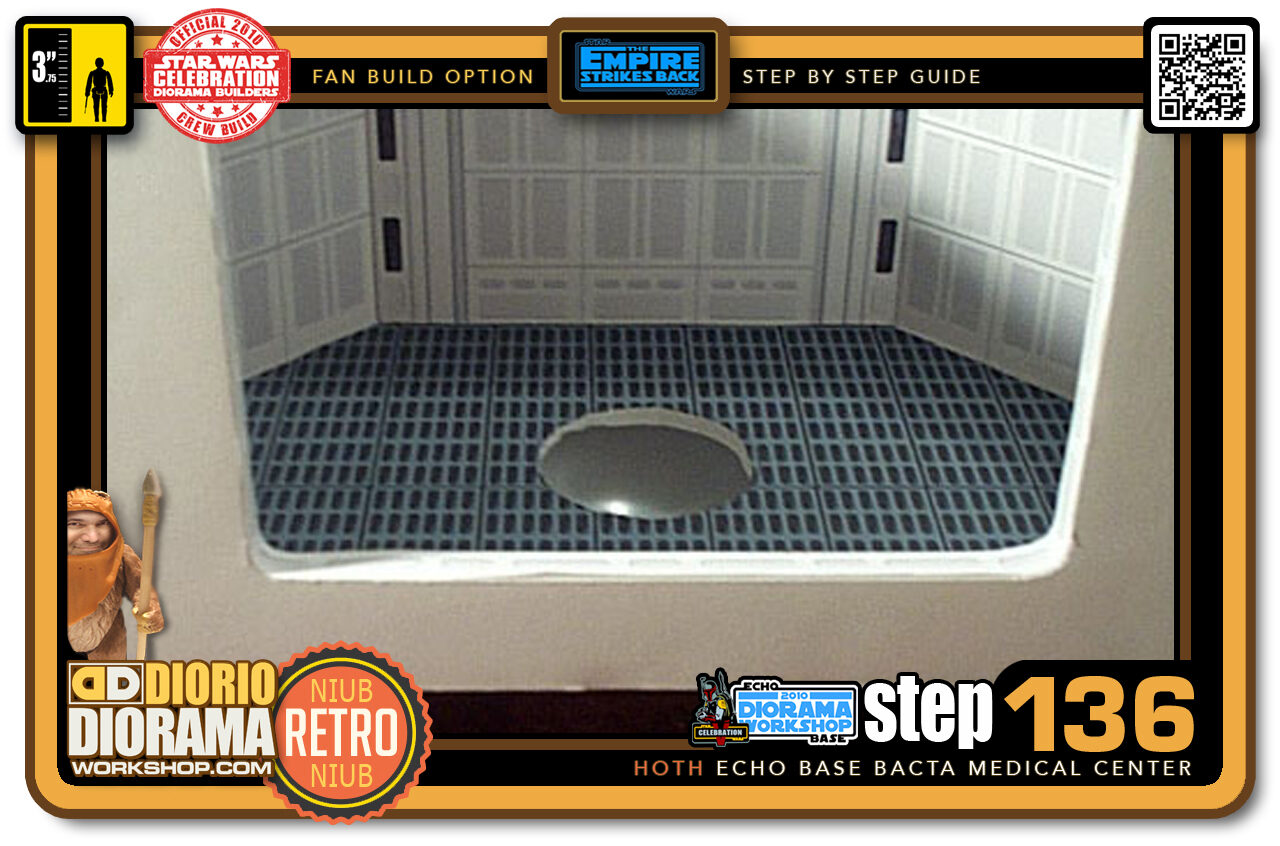
- Step 136 >> Looking into the Bacta Tank Room, we can see the plastic bubble through the hole in the floor. This is what will illuminate the Bacta Tank.
-
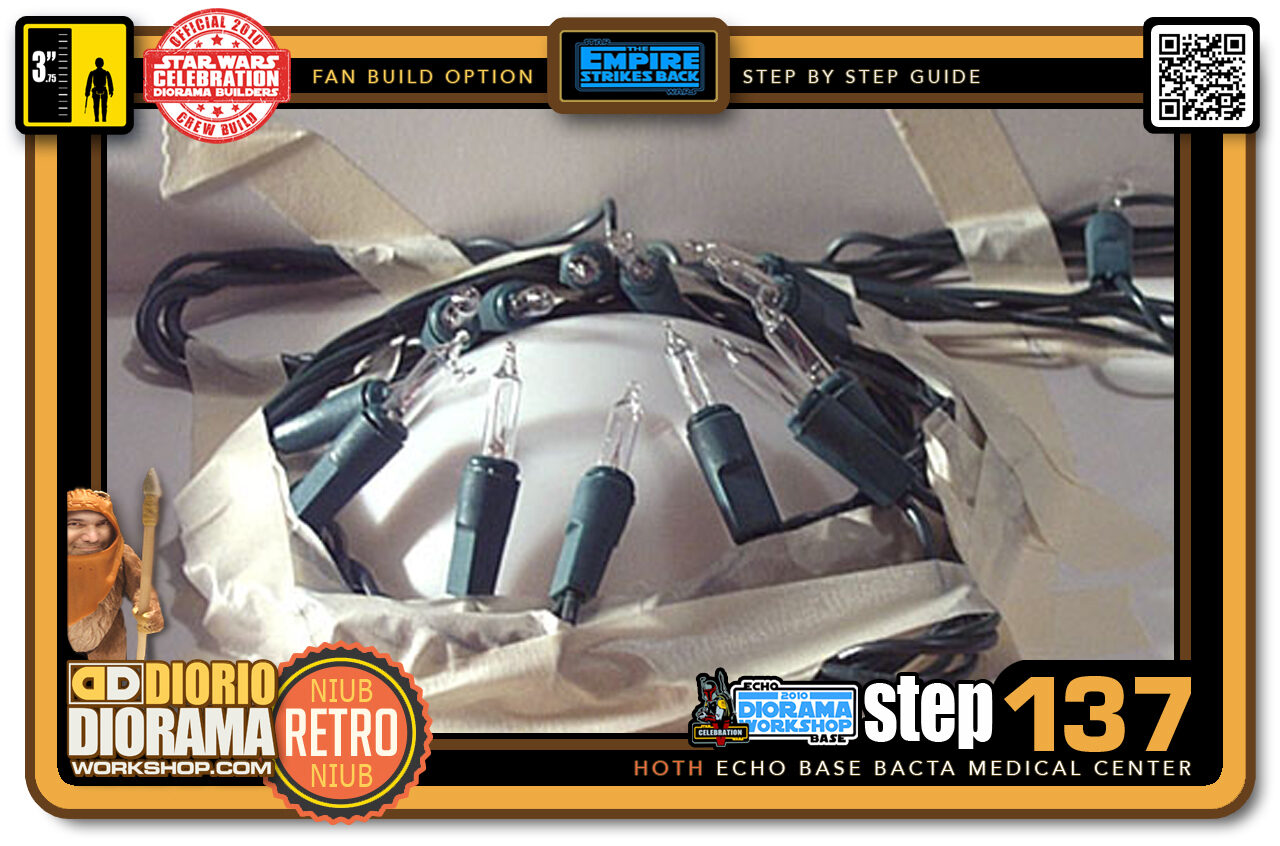
- Step 137 >> Get out your old Christmas tree lights 🙂 I used masking tape to put the strand of lights all around the plastic bubble. To the right there is a hole that allows the rest of the lights to go to the top of the Diorama where we will light the ceilings.
-
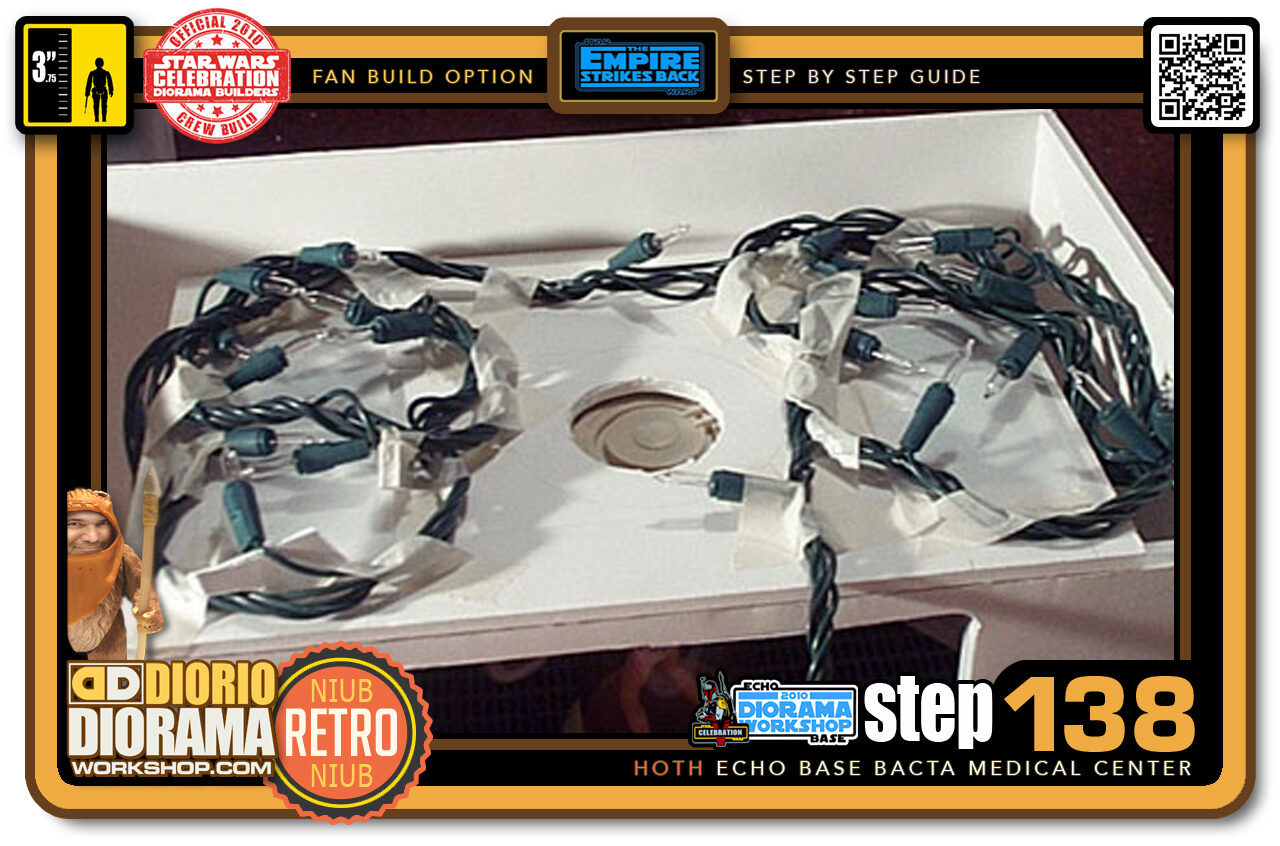
- Step 138 >> The lights go around each plexiglass panel on the ceiling. The masking tape keeps everything from moving all over the place. If you look at the left you can see the wire going down to the bubble.
-
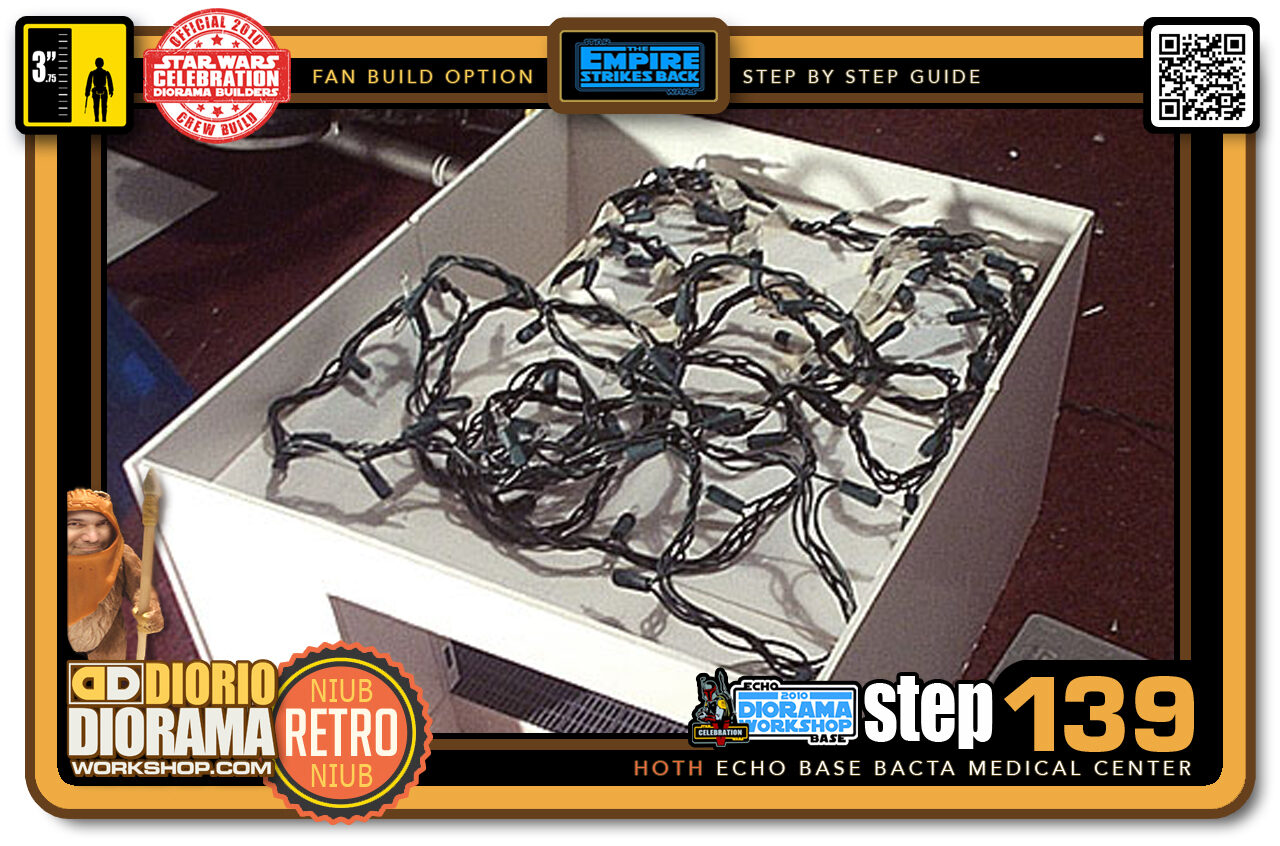
- Step 139 >> After the Bacta Tank Ceiling lights were all in place I used the remaining lights to cover the Medical Center's roof. No Need for tape here. 2022 NOTE : It sure is cleaner today with modern LED'S 🙂
-
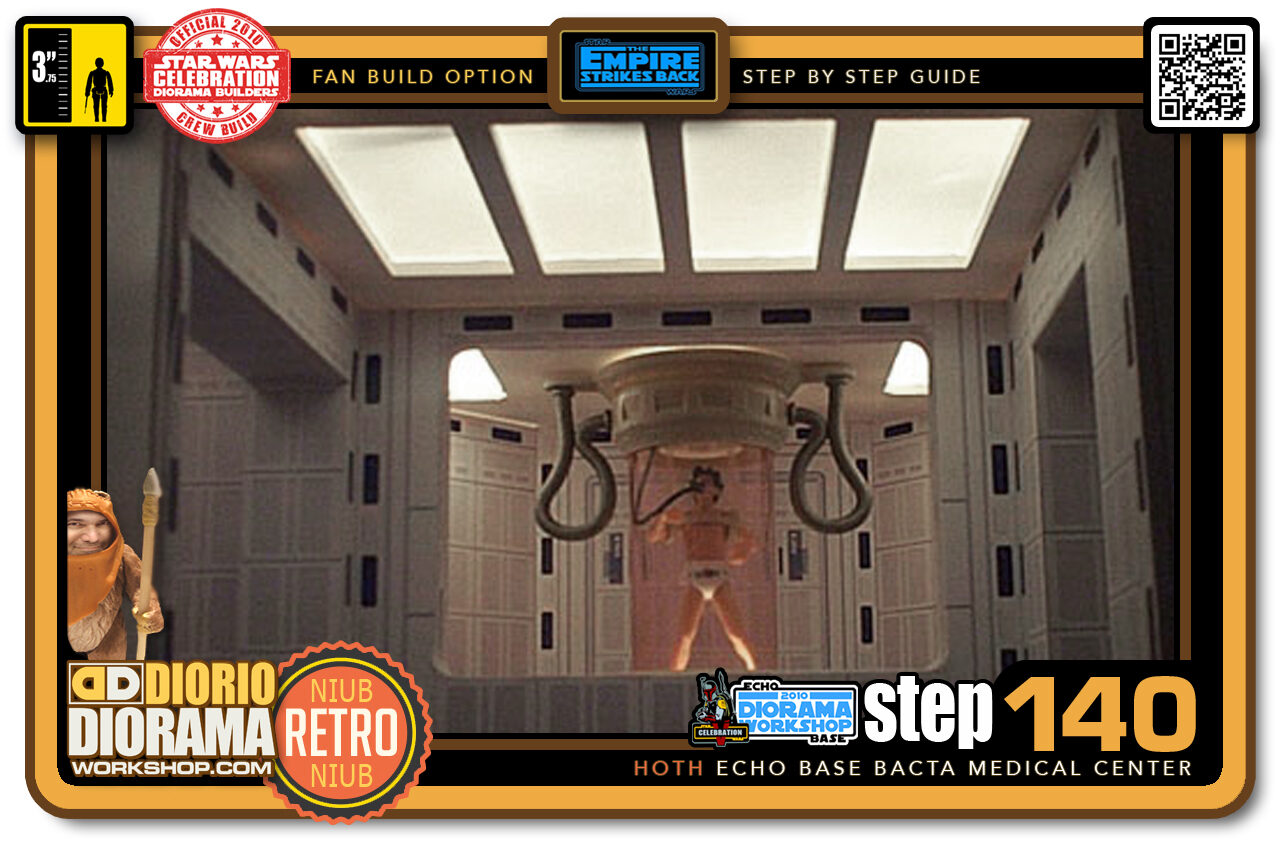
- Step 140 >> A look inside with all the lights on. Not bad. Not Bad 🙂
.
Did you already build this Diorama ? At home or at our Star Wars Celebration Diorama Builders workshop ? Would you like to show it in the site’s GALLERY VISITORS DIORAMAS section, YES ? That is Awesome !!! You can find out all the details on how to email me your photos on the VISITORS SUBMISSIONS INFO page … When I get your photos, I will create your very own page just like this one. You may not realize it but work does inspire others to join in the fun of making Action Figure Dioramas.
.
NOT FOR RESALE ALL Decals, tutorials and artwork are ©FrankDiorio (dioramaworkshop.com) and offered FOR FREE to the fans – that would be you ? so you can build and display my diorama designs in your very own home. I realize I cannot control what one does with my graphics once I place them on the web, I can only ask you as one fan to another, please respect the artist and do not be that jerk who uses my designs and tutorials to build a copy of my work only to sell it on EBAY or trade/sale groups and forums. Thank You. Frank.
.

.
.
If you have a facebook account, why not join the Official Diorama Builders Fan Club today, simply click the logo link below.
 .
.
Catch up with fellow visitors and exchange stories, read cool interviews with the crew, exchange photos, fun surprises and grab some FAN ONLY merchandise next year at actual future conventions ?
.
©2021 Frank Diorio DioramaWorkshop.Com
.
IF YOU LIKE WHAT YOU SEE, PLEASE SHARE WITH YOUR FRIENDS
USING THE SOCIAL MEDIA BUTTONS BELOW