


-
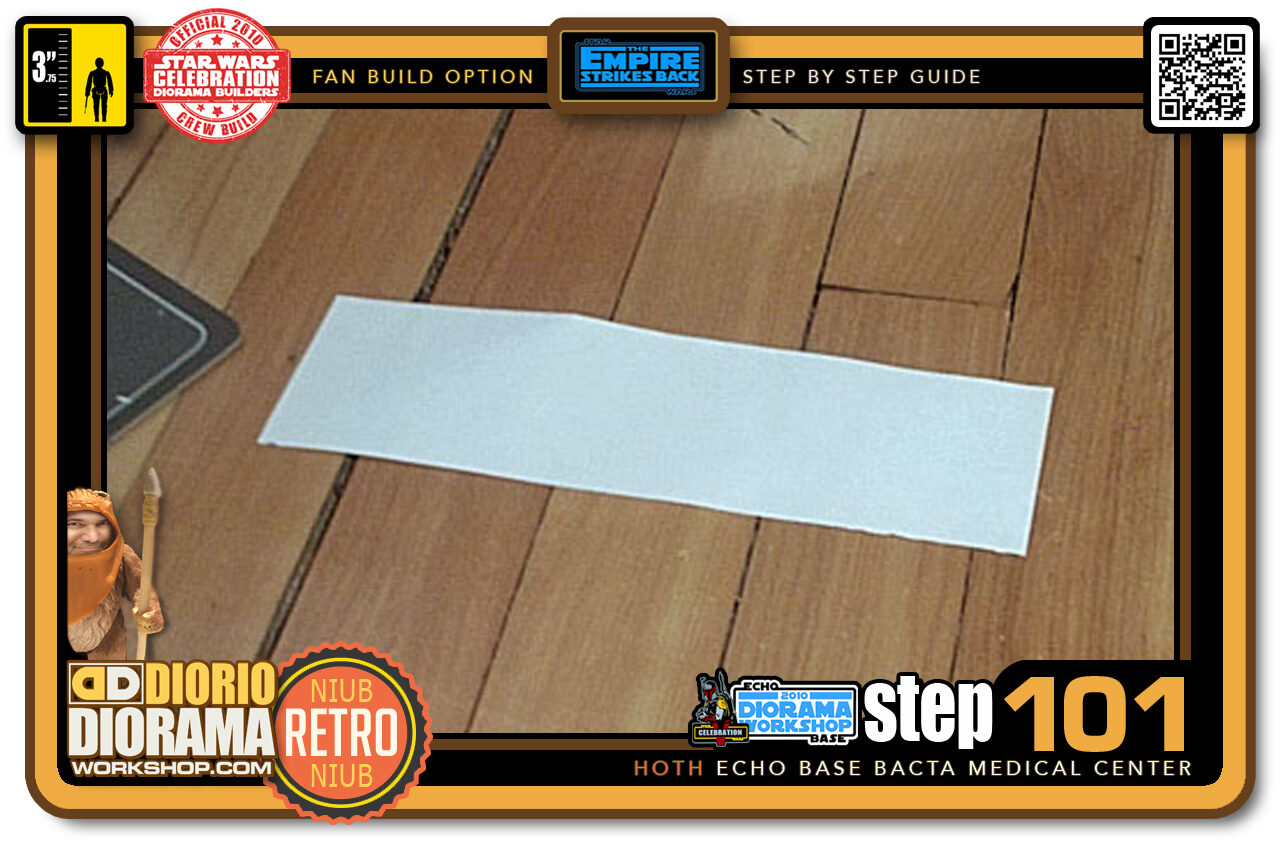
- Step 101 >> Next I cut a plain piece of paper that will act as a support so that the pieces turn into a mattress and don't tumble to the ground.
-
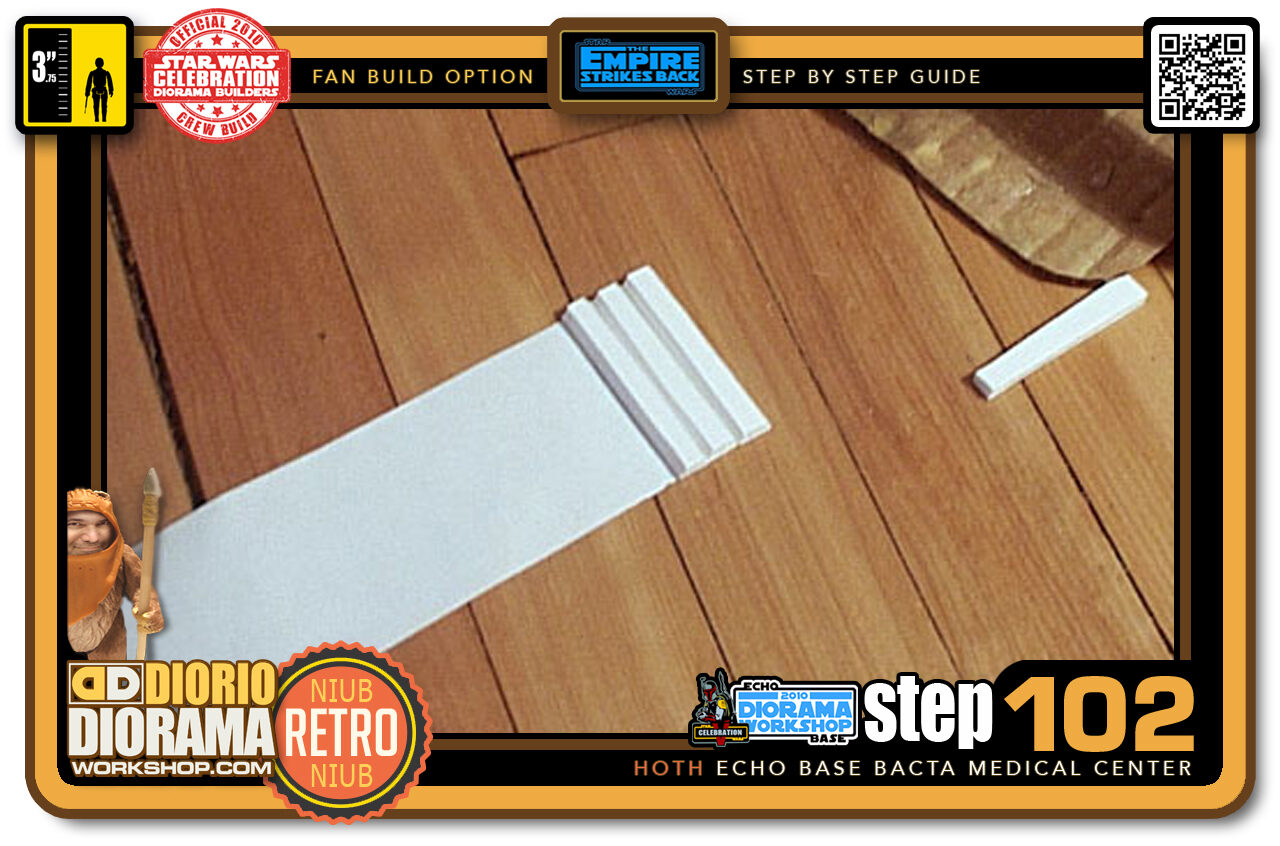
- Step 102 >> One at a time, Attach them to the paper surface using your Hot Glue Gun.
-

- Step 103 >> After 10 minutes or so you will have a finished mattress 🙂 Isn't it pretty? 😛
-
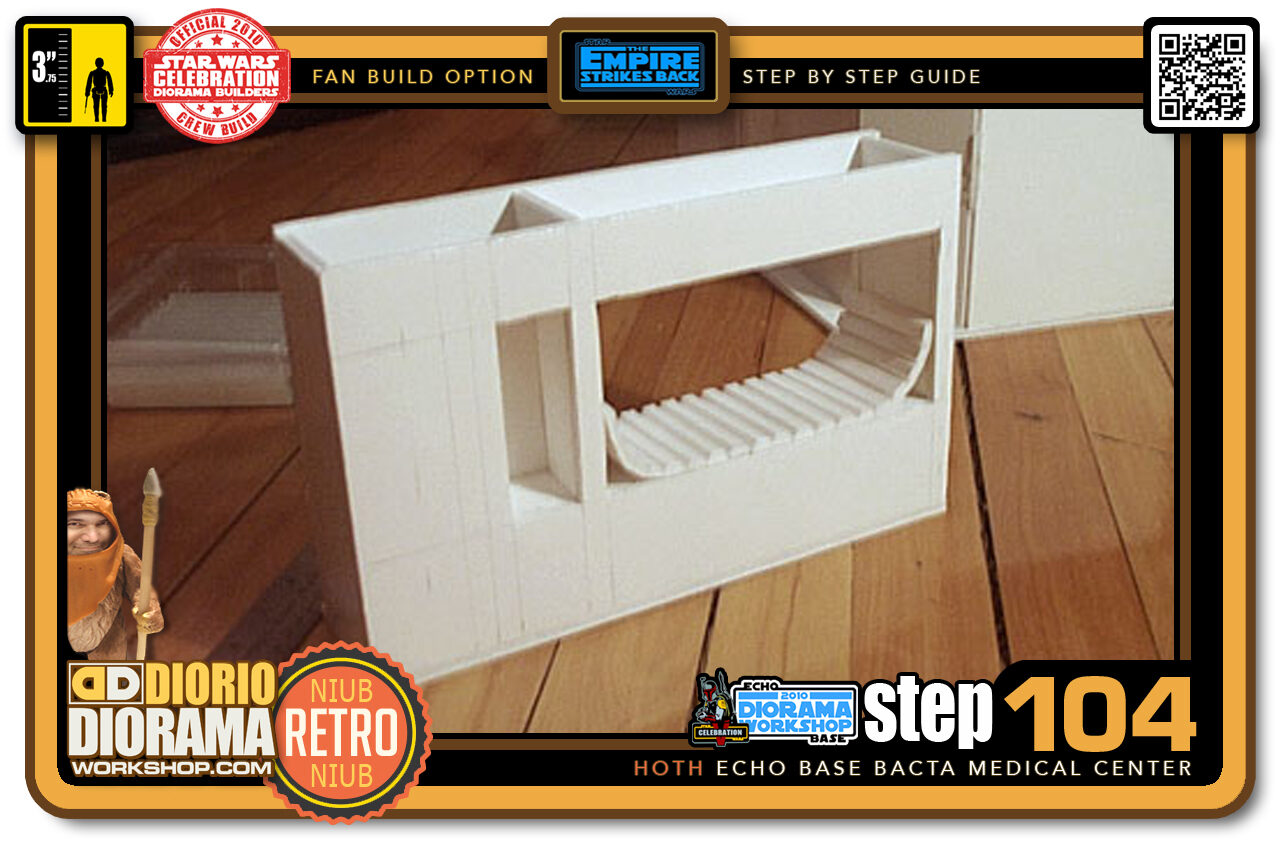
- Step 104 >> And here is the mattress in place. if you think it looks funny go to the scene where Luke is putting his X-Wing jumpsuit on and telling goodbye to 2-1B. You have a clear angle of the bed.
-
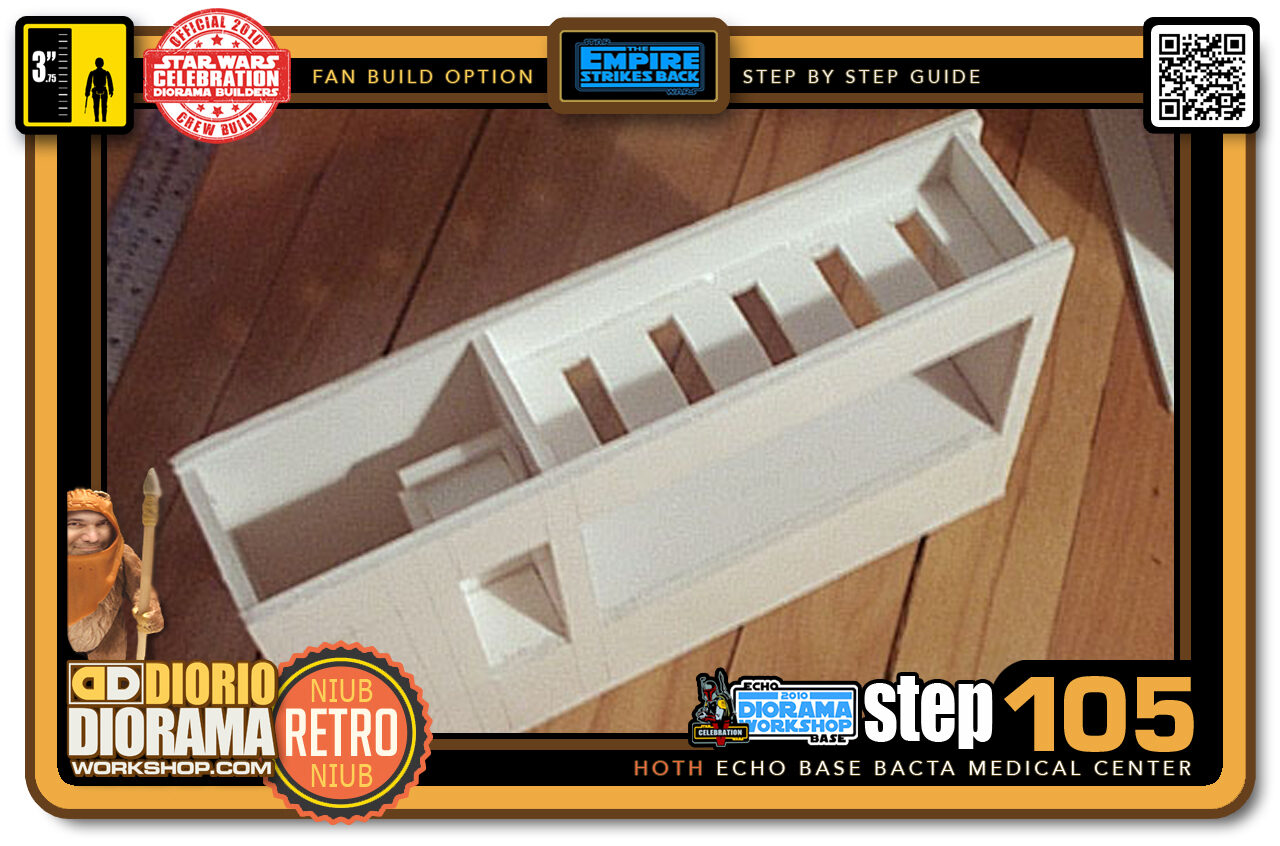
- Step 105 >> Above Luke's bed are more lights. So I cut out 1cm strips 2cm apart. This will add texture to the diorama and look just like the film set.
-
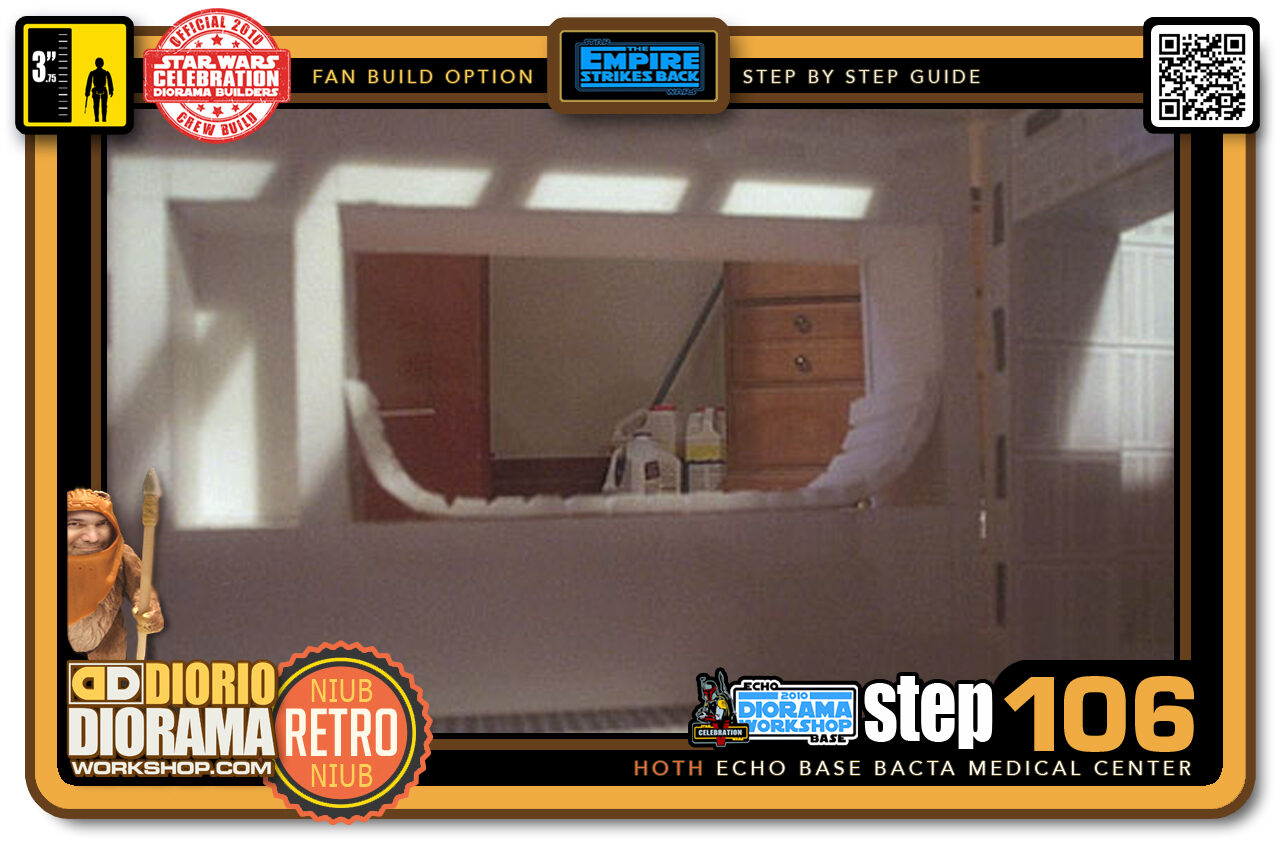
- Step 106 >> And what the wall number 4 looks like from inside the bacta Tank Room. On the left of the bed you see the closet where Luke hangs his jacket. One last foamcore piece to lean against the back of the bed's hole and we are set for lights 🙂
-

- Step 107 >> Once I finished all the Photoshop decals, I printed them on Full Sized Label Sheets. These have peel off backings, so you don't have to apply gluestick. Plus it sticks evenly. Be careful with large areas, if the paper touches the foamcore where it shouldn't, you will have a really hard time pulling it off without tearing. That said...I applied the front wall decals and closet decals.
-

- Step 108 >> Next up are the decals on Luke's Bunk bed area. Along the inner side walls and the back wall. At the moment I am not too happy with my closet decals. As you can see, the graphics weren't quite the right size and caused big white gaps between the joints. Yuk - LOL.
-
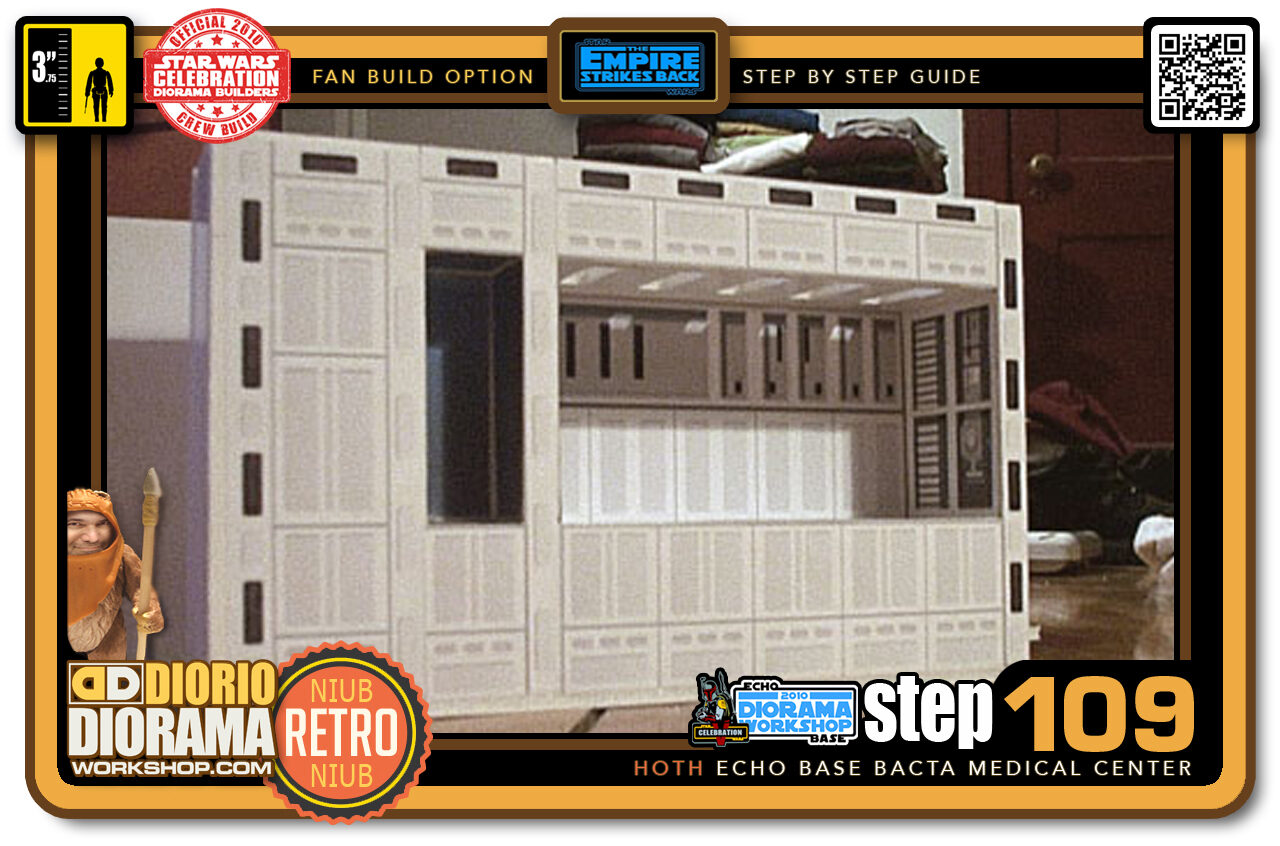
- Step 109 >> Here is Luke's Bed / Wall - I never know what to call it 🙂 - back in it's final resting place.
-
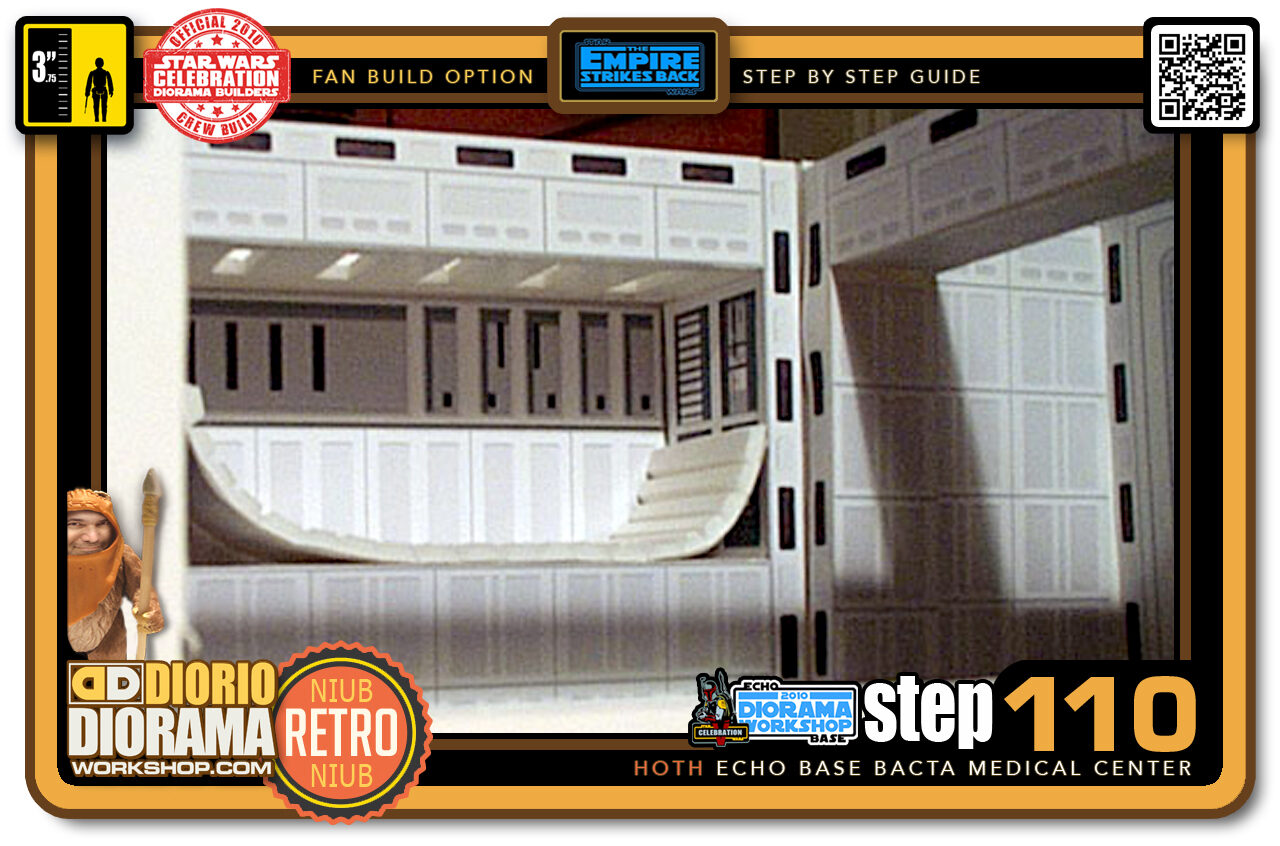
- Step 110 >> Here is a better angle showing you the layout of the Bacta Tank Medical Center.
-
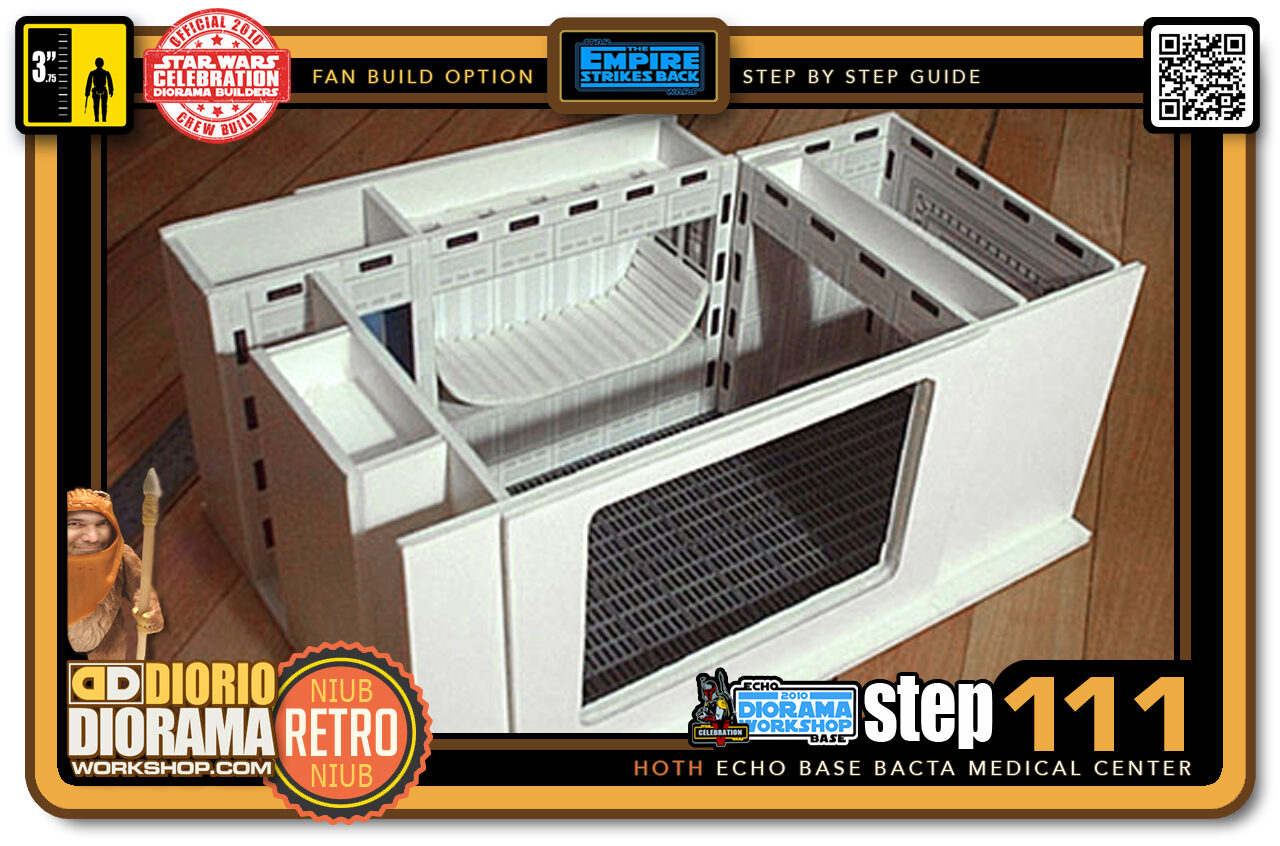
- Step 111 >> Last of the decals to apply are the Window Ledge Strips. Not only do the hide the ugly foam sides where we cut the foamcore, but it looks pretty cool as well 🙂 Just like in the movie.
-
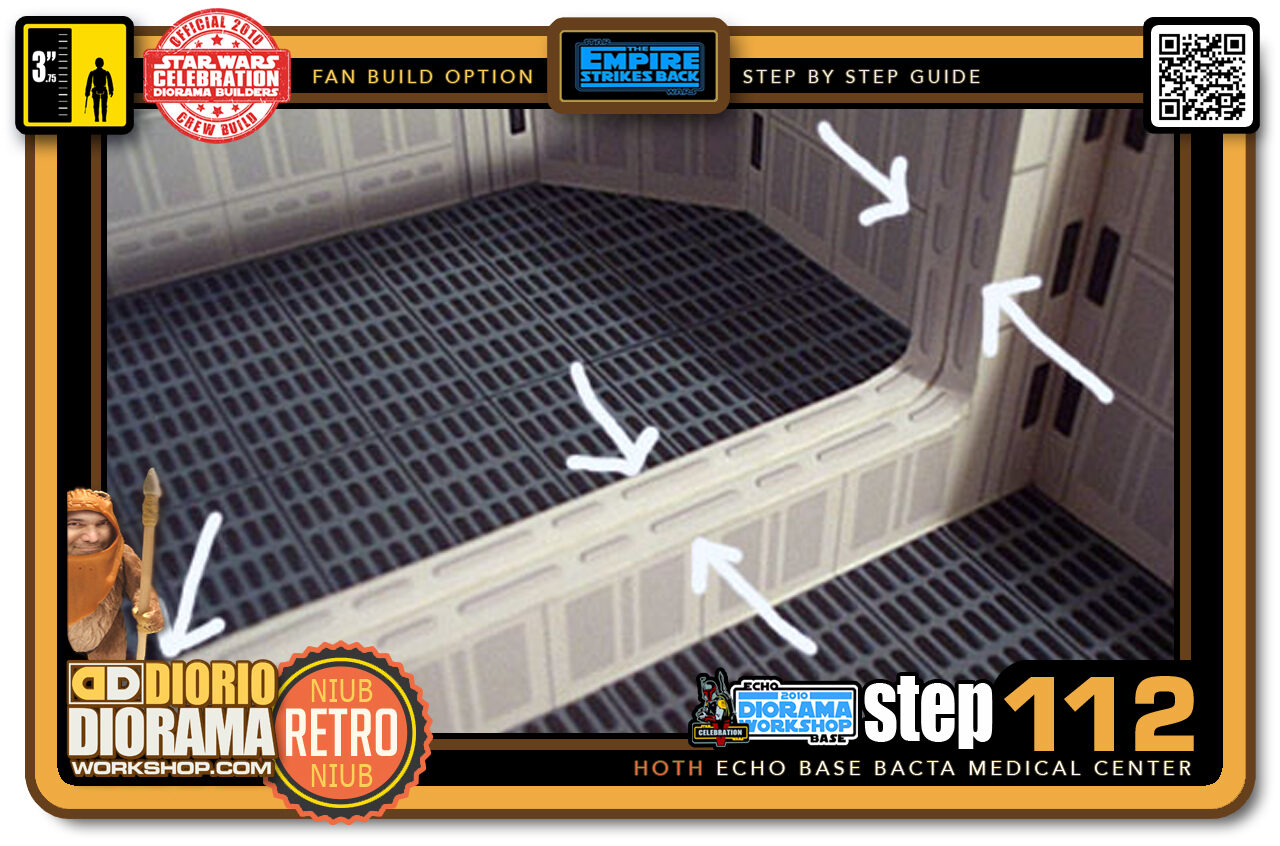
- Step 112 >> One last step for Luke's Bed is to cut the "mattress" to the appropriate height. I used 2 drops of Hot Glue to keep the "mattress" in place and give it the proper curves on each end.
-
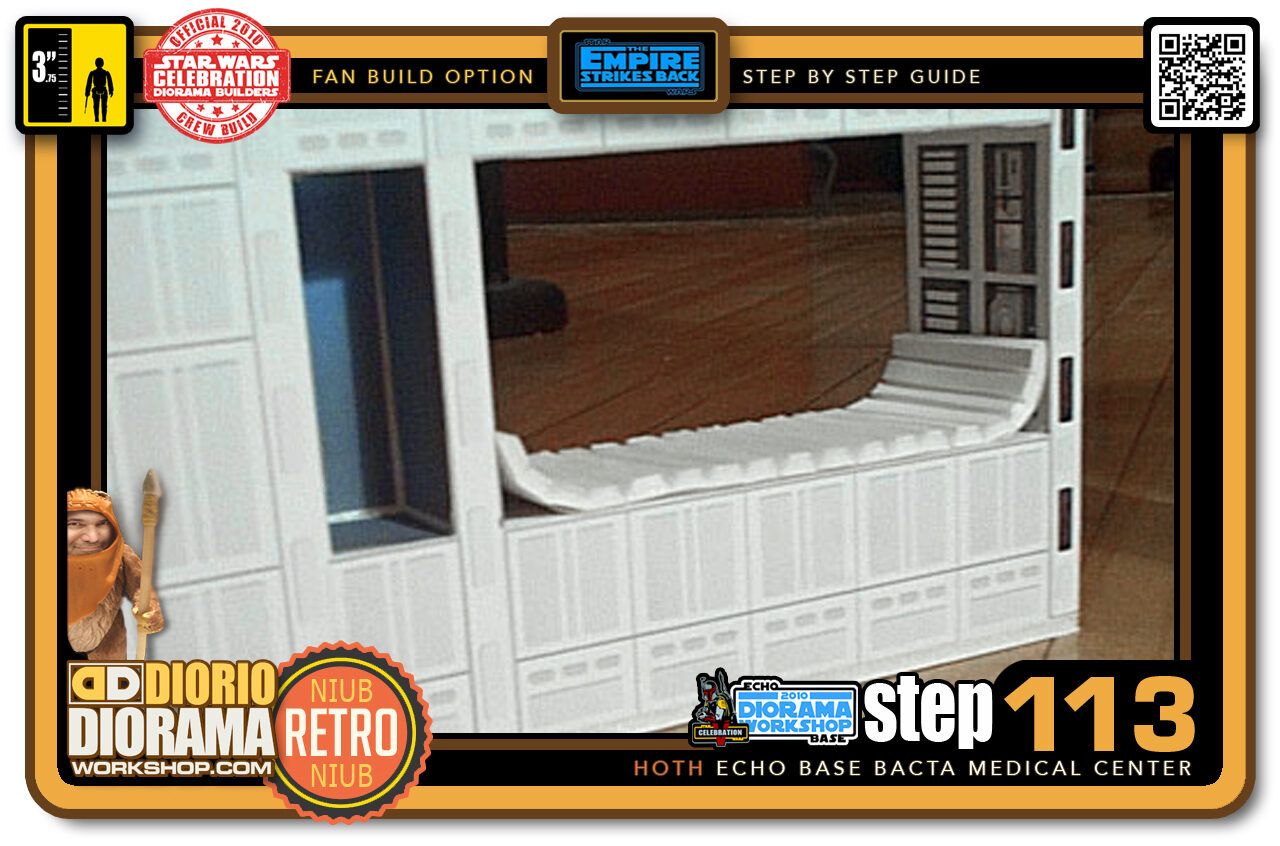
- Step 113 >> Here is the COMPLETE back wall. Well unless you count the ugly closet decals I will be replacing next week 😛 Sounds silly I know but every time I see it I cringe - LOL.
-
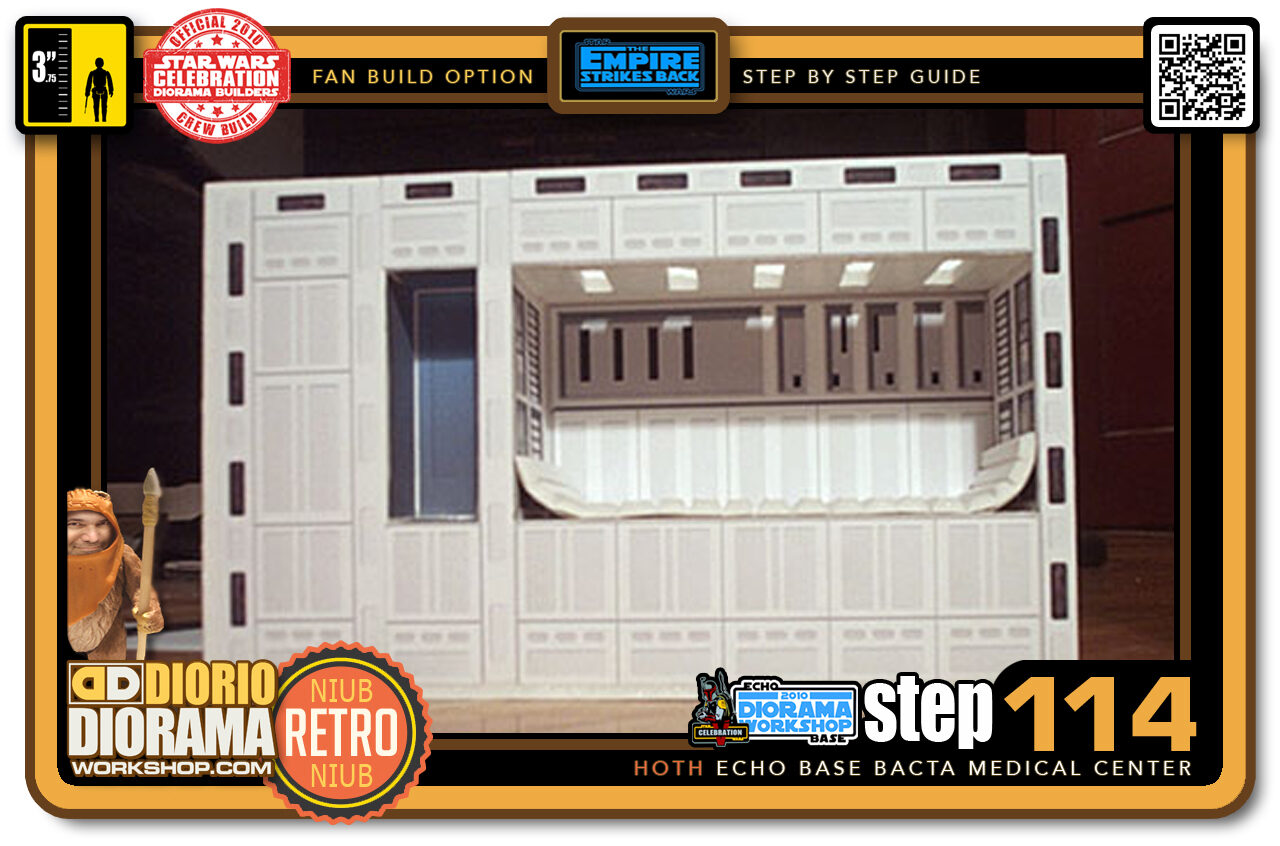
- Step 114 >> All the sections put together. Not bad eh?
-
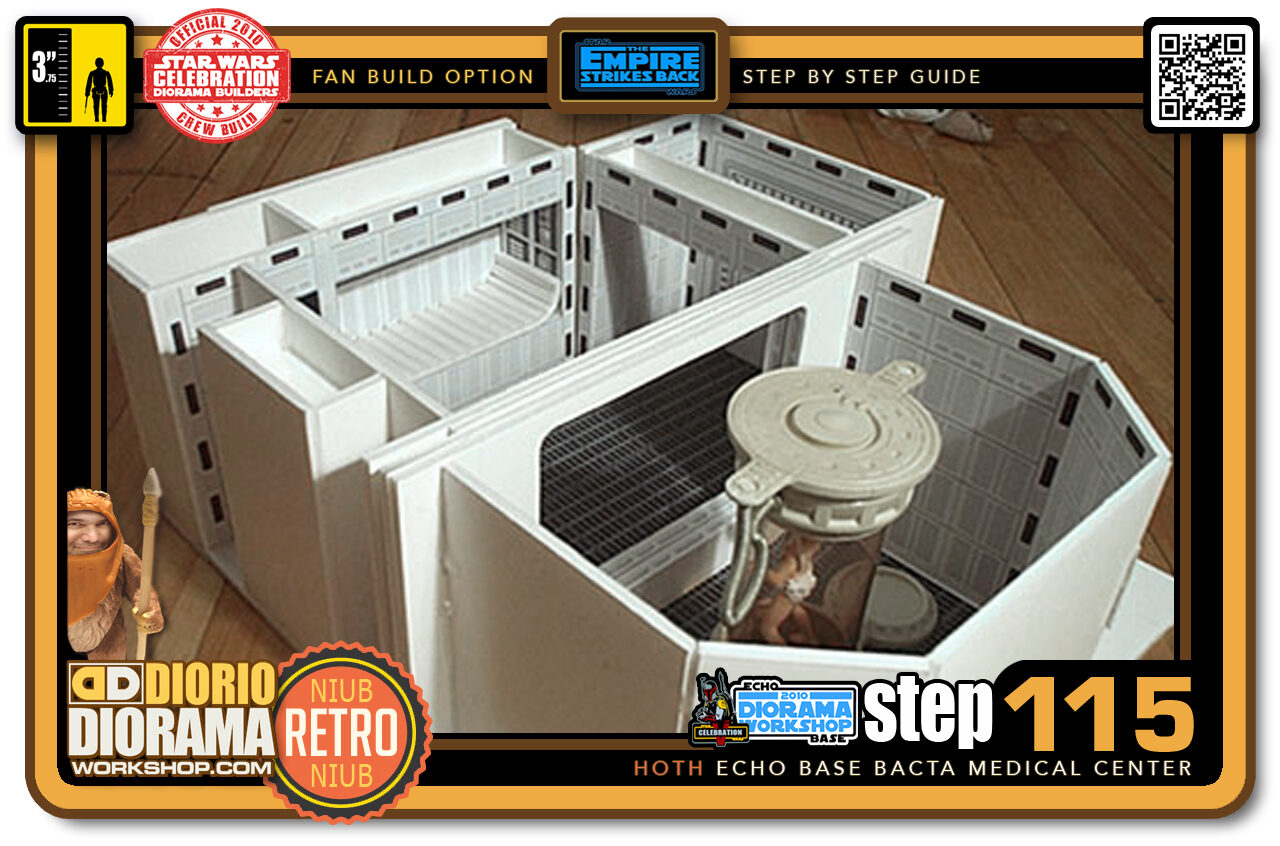
- Step 115 >> Now let's get it ready for lighting.
-
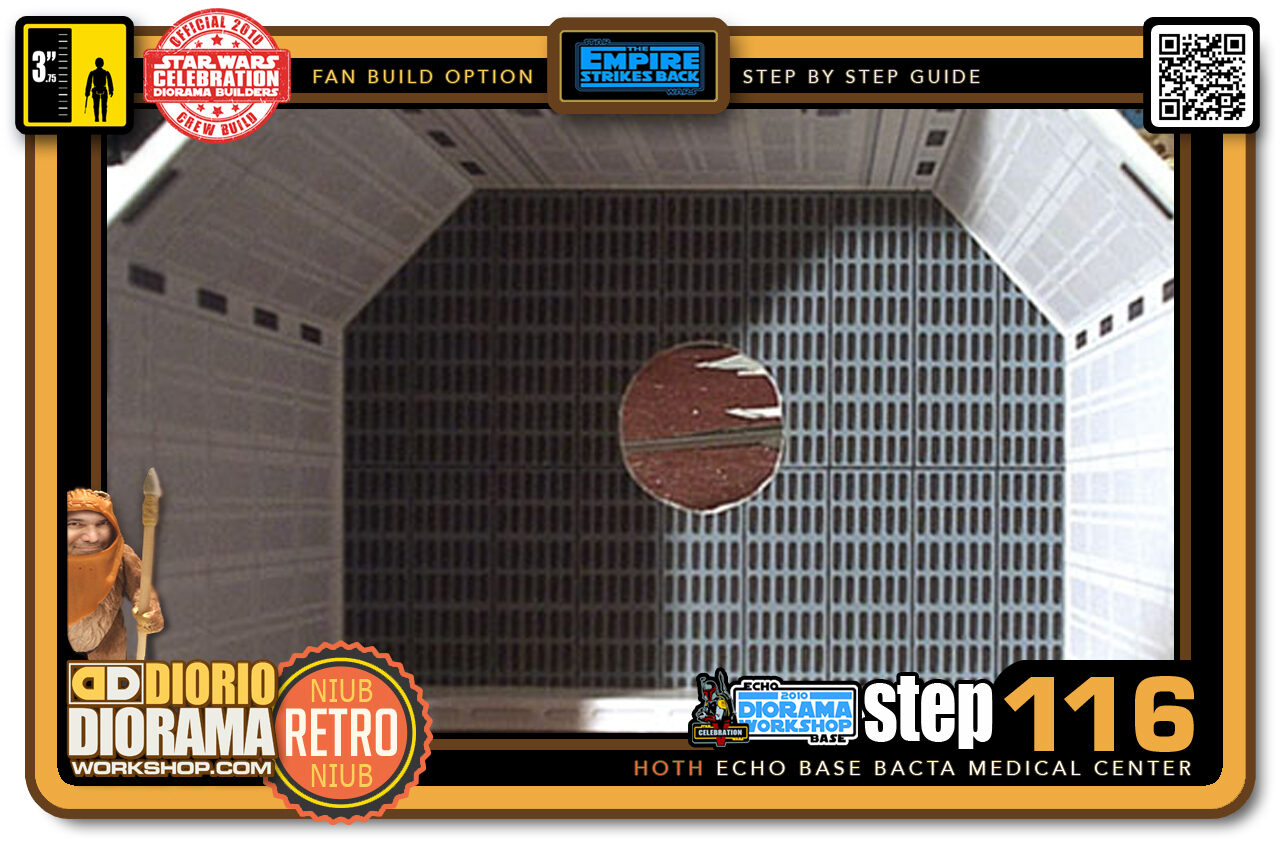
- Step 116 >> No this isn't the Aliens Air Lock - LOL. It's the floor of the Bacta Room as seen from high above. I traced the base of the Bacta Tank and then cut a hole in the floor to let the light shine in.
-
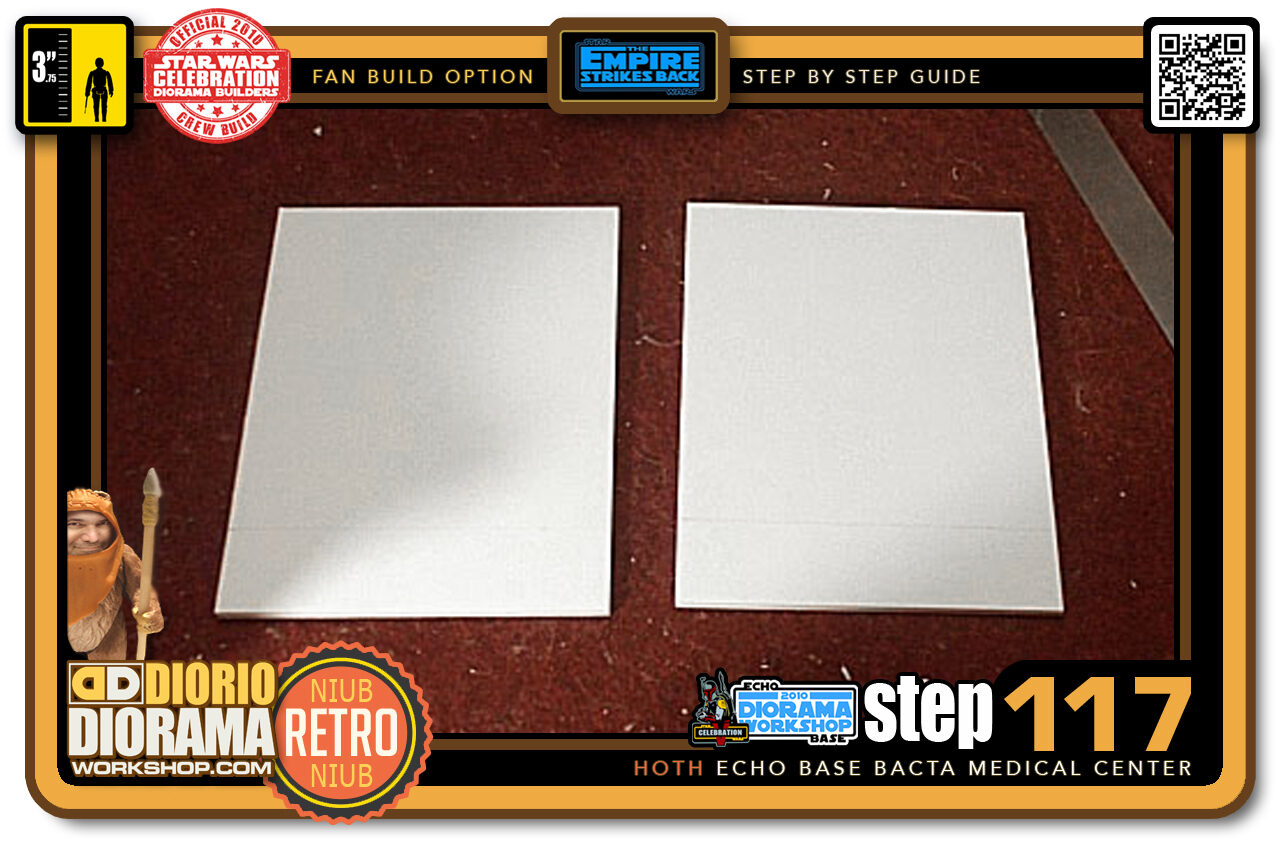
- Step 117 >> These pieces aren't in the blueprints you printed, Since not everyone will want to light up their diorama. What I am doing now is raising the floor to give a space to put a light and some space in the top to place the ceiling lights. I decided 26 cm was a good height. You can choose higher if you wish to accommodate the type of light you have at home.
-
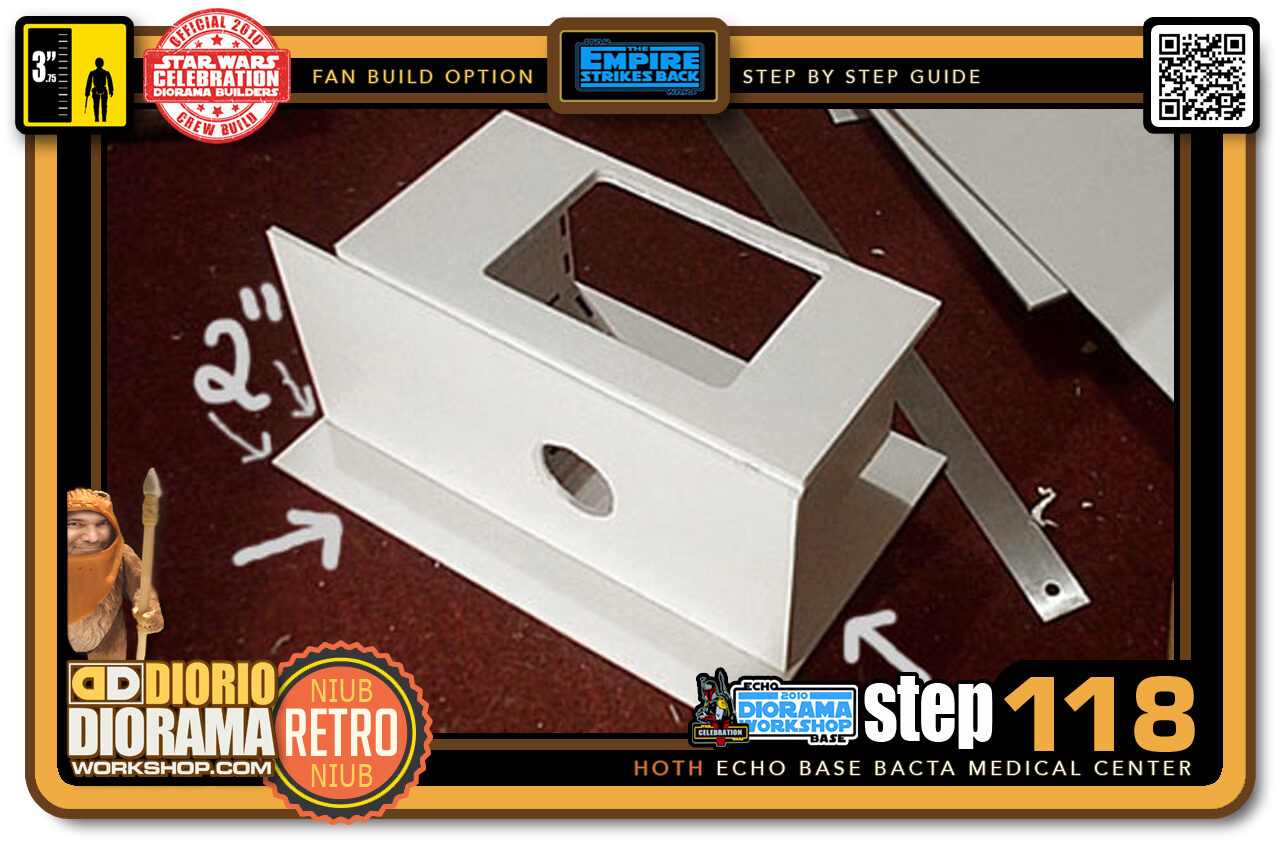
- Step 118 >> First piece is attached to the back of the Bacta Room using my trusted Hot Glue Gun. I left a 2 inch gap at the bottom for the lights to fit. You can use more or less depending how much space you need.
-
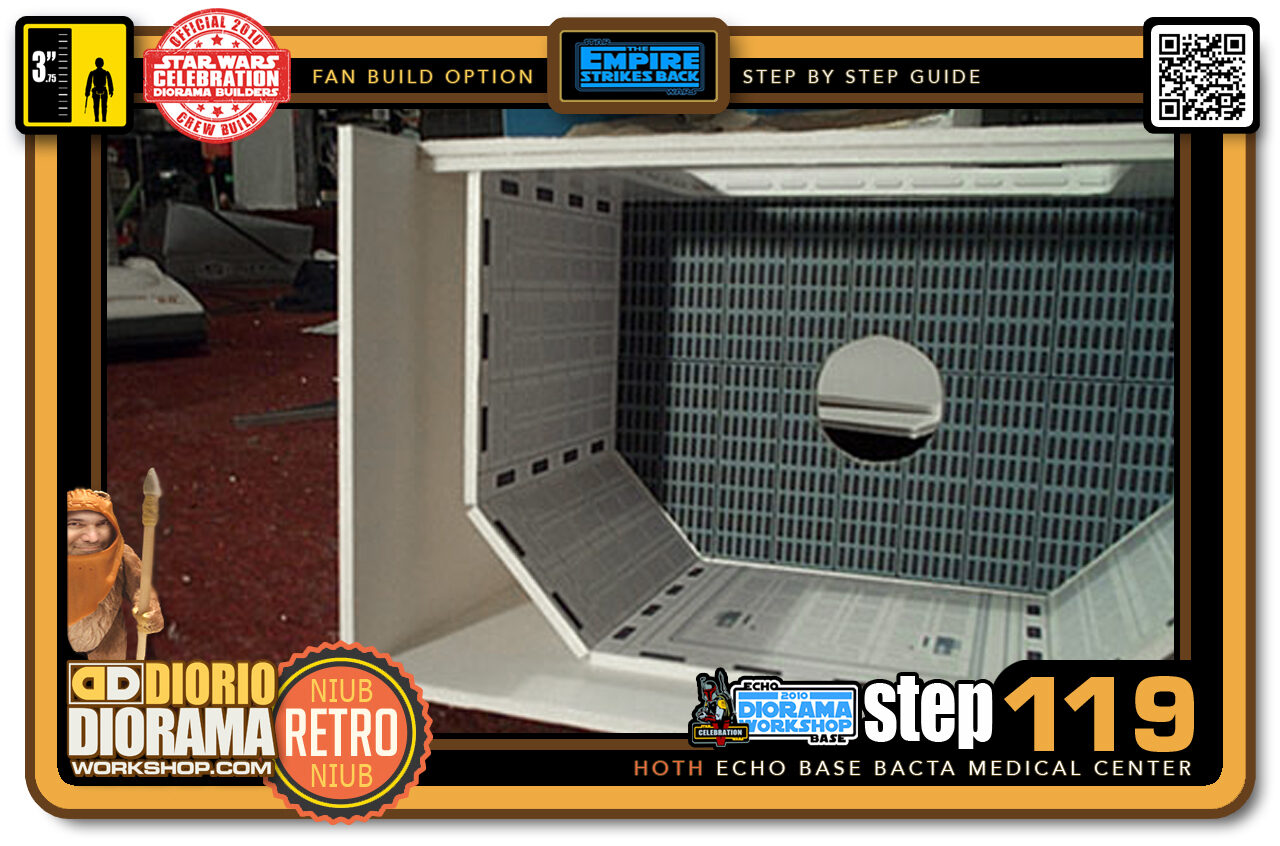
- Step 119 >> I then align another piece of foamcore and secure it to the back piece using my Hot Glue Gun.
-
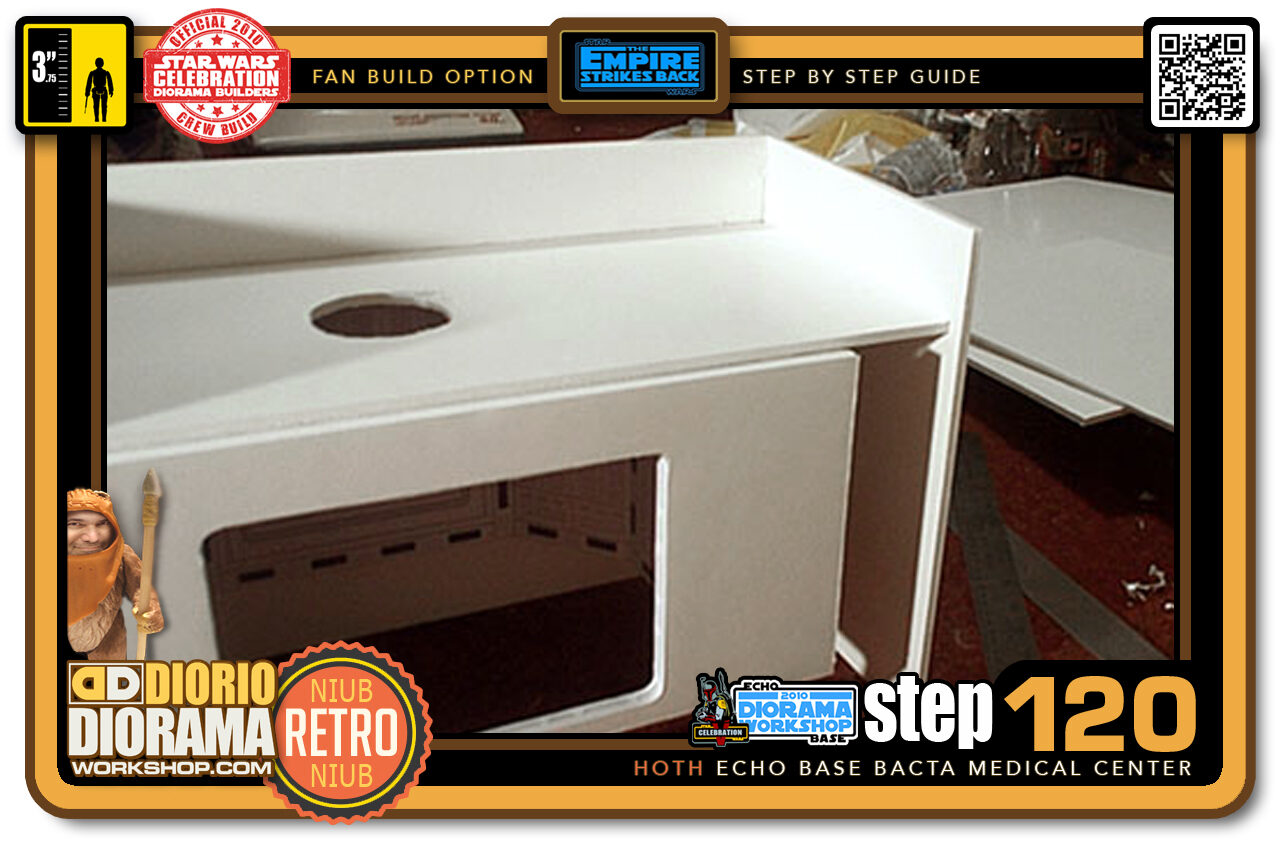
- Step 120 >> Then the last piece on the opposite side. This picture shows us the bottom of the diorama. Looks like an Easy-Bake-Oven don't you think? LOL. Yummy cakes 🙂
.
Did you already build this Diorama ? At home or at our Star Wars Celebration Diorama Builders workshop ? Would you like to show it in the site’s GALLERY VISITORS DIORAMAS section, YES ? That is Awesome !!! You can find out all the details on how to email me your photos on the VISITORS SUBMISSIONS INFO page … When I get your photos, I will create your very own page just like this one. You may not realize it but work does inspire others to join in the fun of making Action Figure Dioramas.
.
NOT FOR RESALE ALL Decals, tutorials and artwork are ©FrankDiorio (dioramaworkshop.com) and offered FOR FREE to the fans – that would be you ? so you can build and display my diorama designs in your very own home. I realize I cannot control what one does with my graphics once I place them on the web, I can only ask you as one fan to another, please respect the artist and do not be that jerk who uses my designs and tutorials to build a copy of my work only to sell it on EBAY or trade/sale groups and forums. Thank You. Frank.
.

.
.
If you have a facebook account, why not join the Official Diorama Builders Fan Club today, simply click the logo link below.
 .
.
Catch up with fellow visitors and exchange stories, read cool interviews with the crew, exchange photos, fun surprises and grab some FAN ONLY merchandise next year at actual future conventions ?
.
©2021 Frank Diorio DioramaWorkshop.Com
.
IF YOU LIKE WHAT YOU SEE, PLEASE SHARE WITH YOUR FRIENDS
USING THE SOCIAL MEDIA BUTTONS BELOW