


-
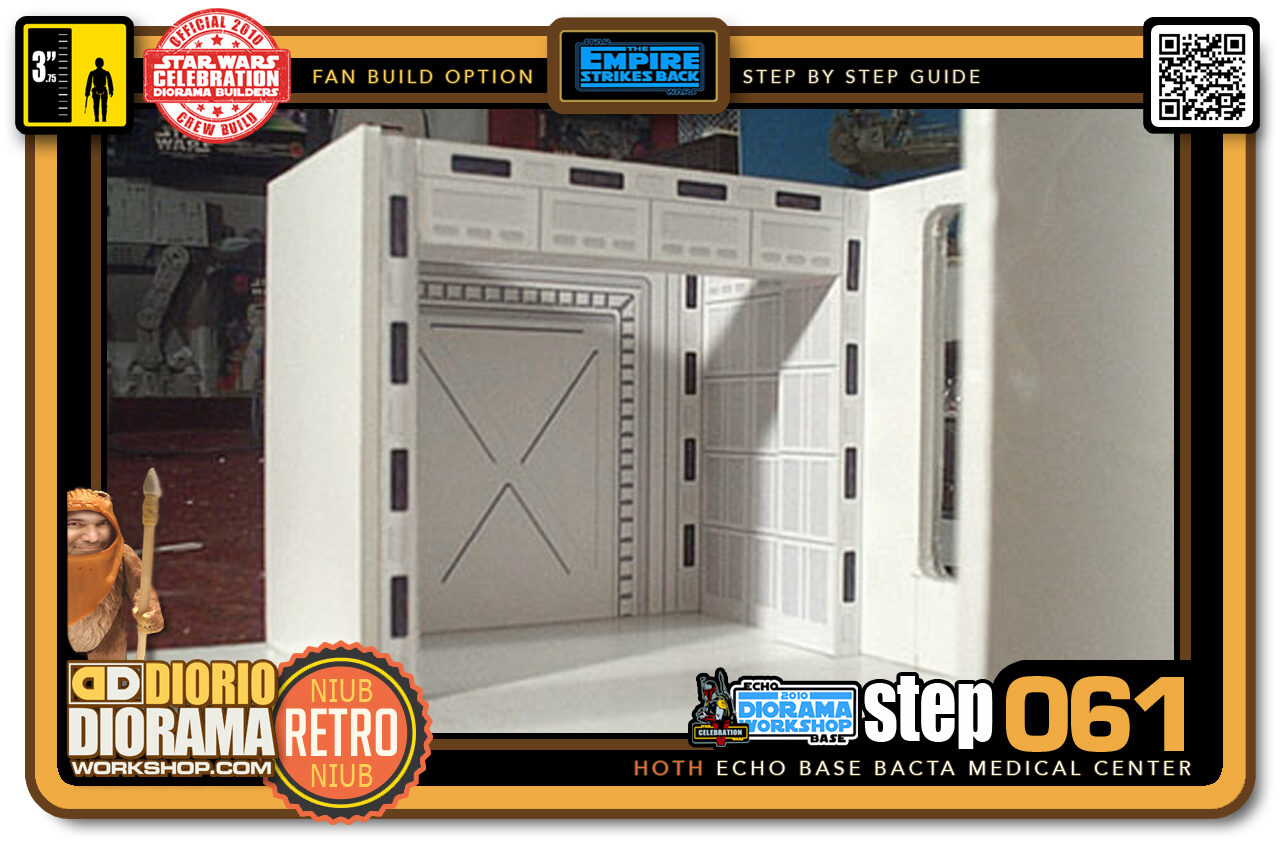
- Step 061 >> The Medical Center should now look like this. Not the most exciting look being all white but it's movie accurate and is starting to look cool.
-
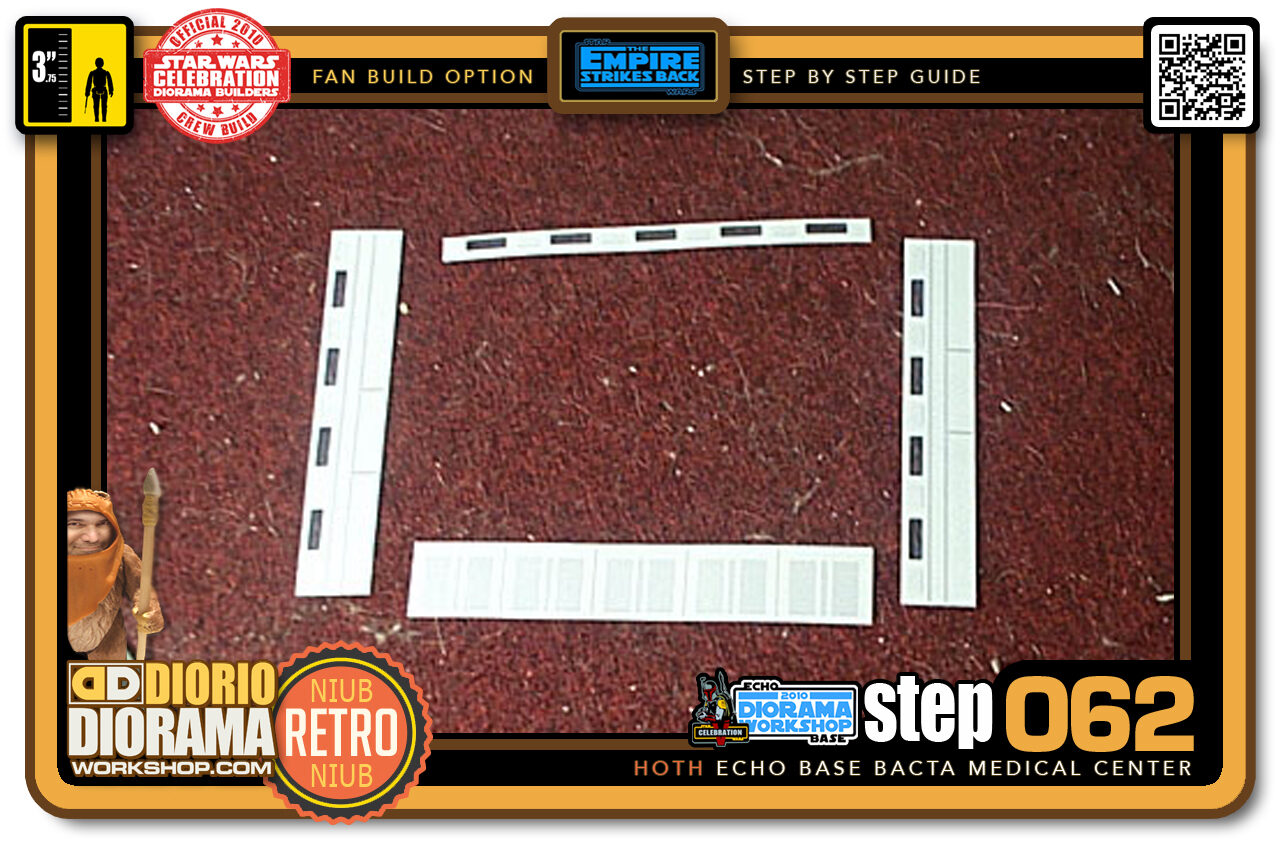
- Step 062 >> Let's move on to the center of the room and the Main Window. After printing the Window Texture, cut it in these 4 pieces. it will be easier to apply then in 1 shape. Trust me - LOL.
-
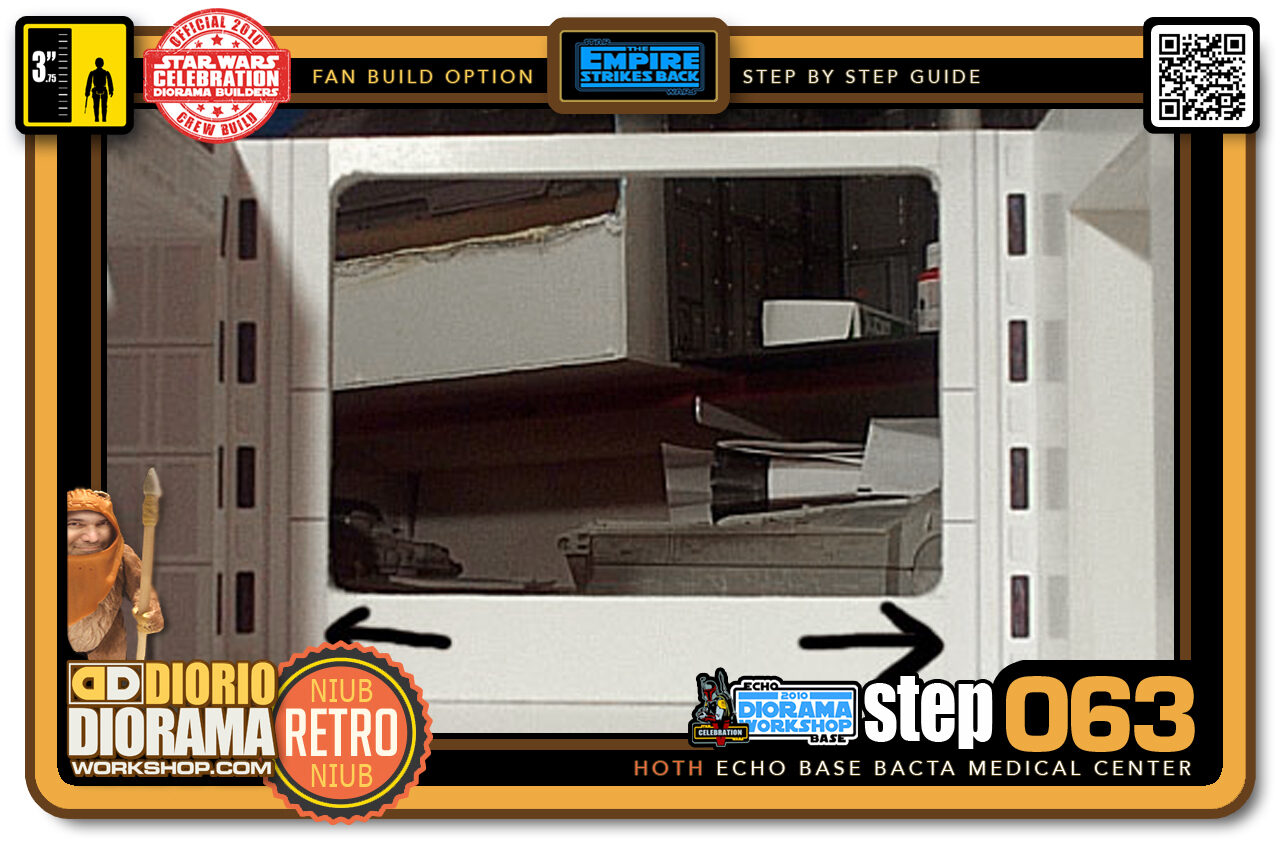
- Step 063 >> Let's start again by applying the side panels. They should fit from the walls to the window's edge.
-
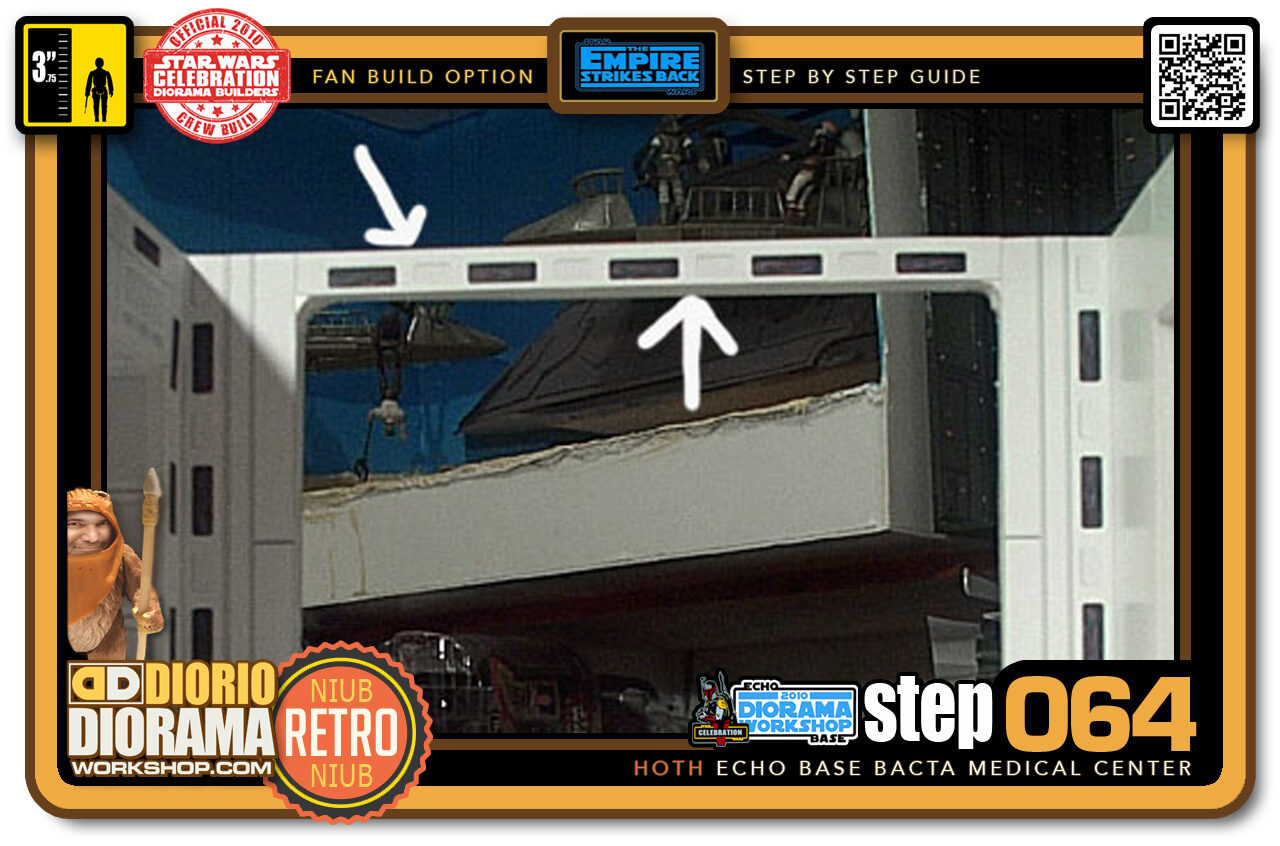
- Step 064 >> The center top "Wire" Strip fits snug between the 2 side panels.
-
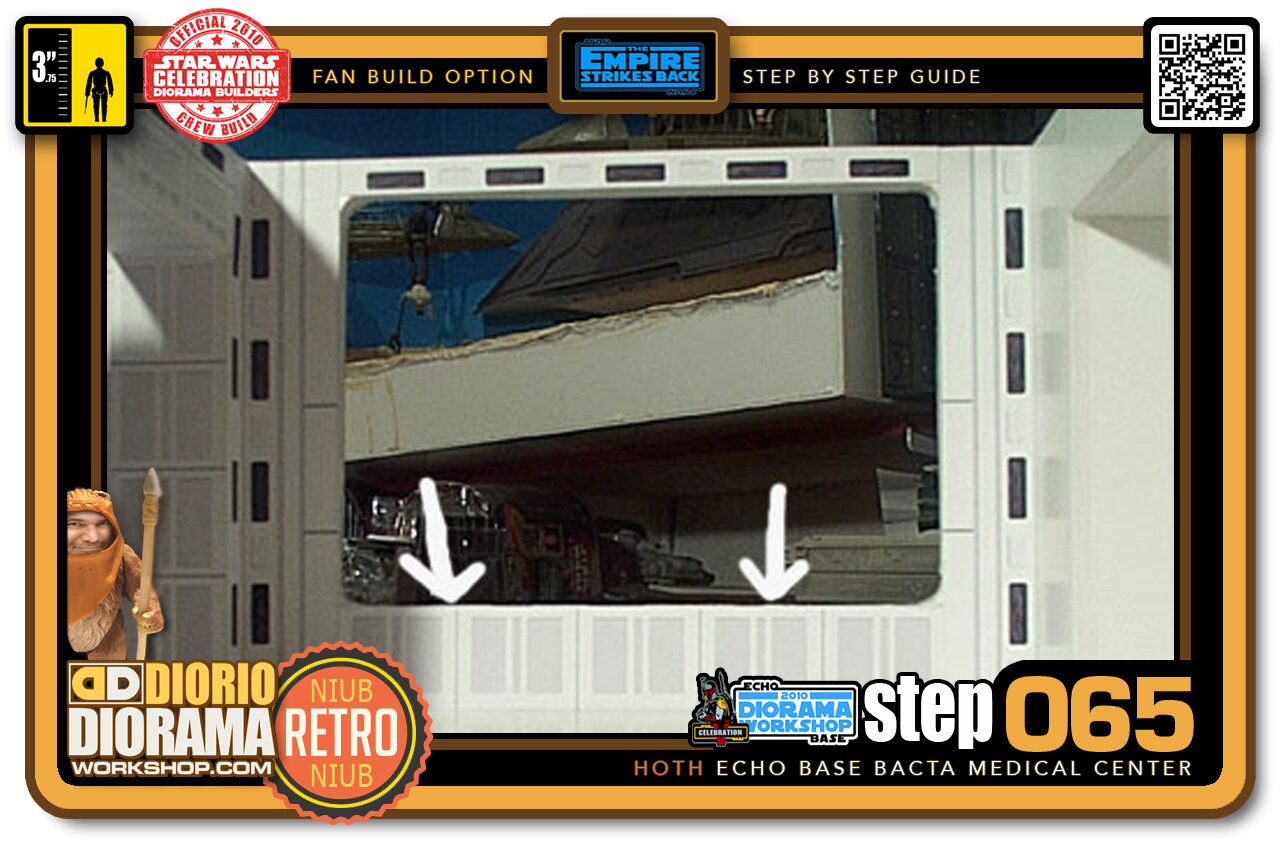
- Step 065 >> Last but not least, the bottom panel finishes off the wall.
-
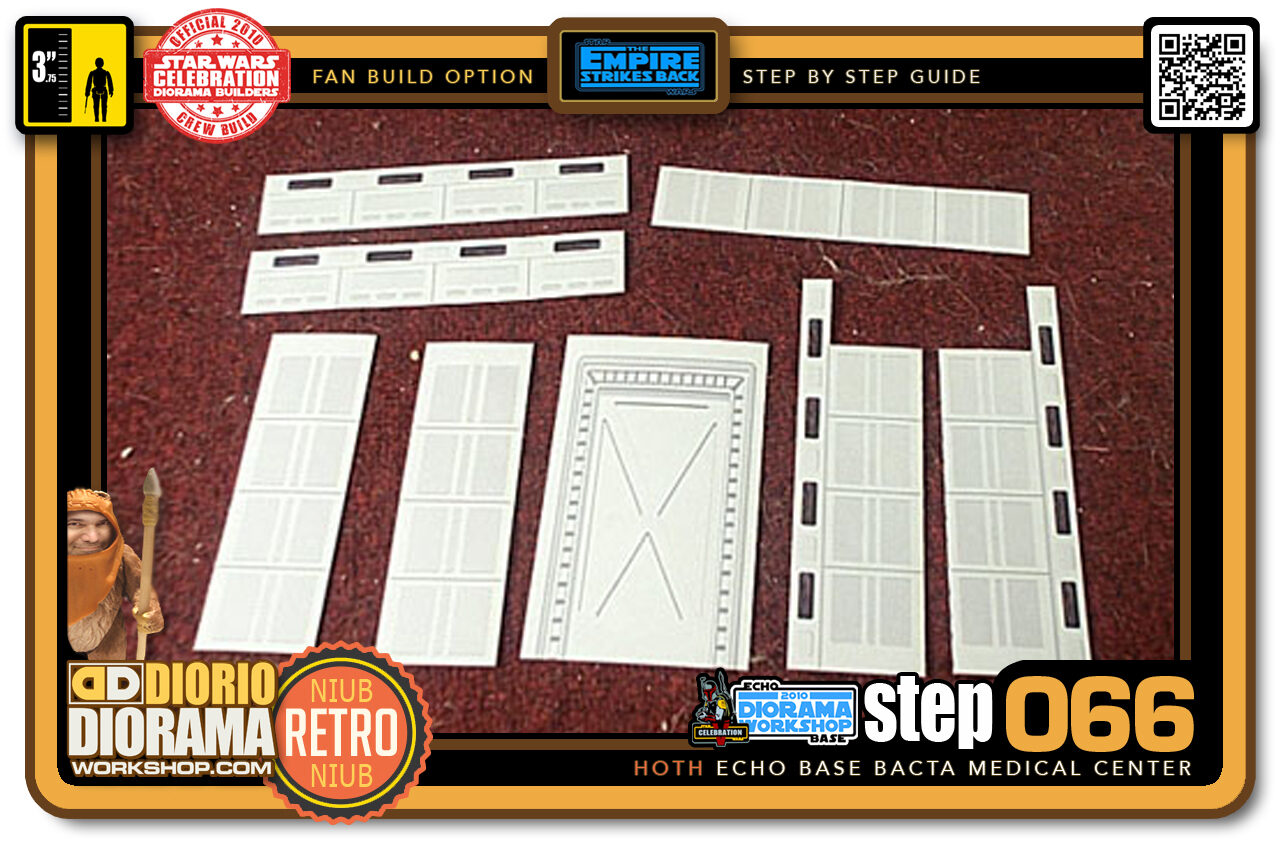
- Step 066 >> These pieces will dress up the Right Side of the Medical Center.
-
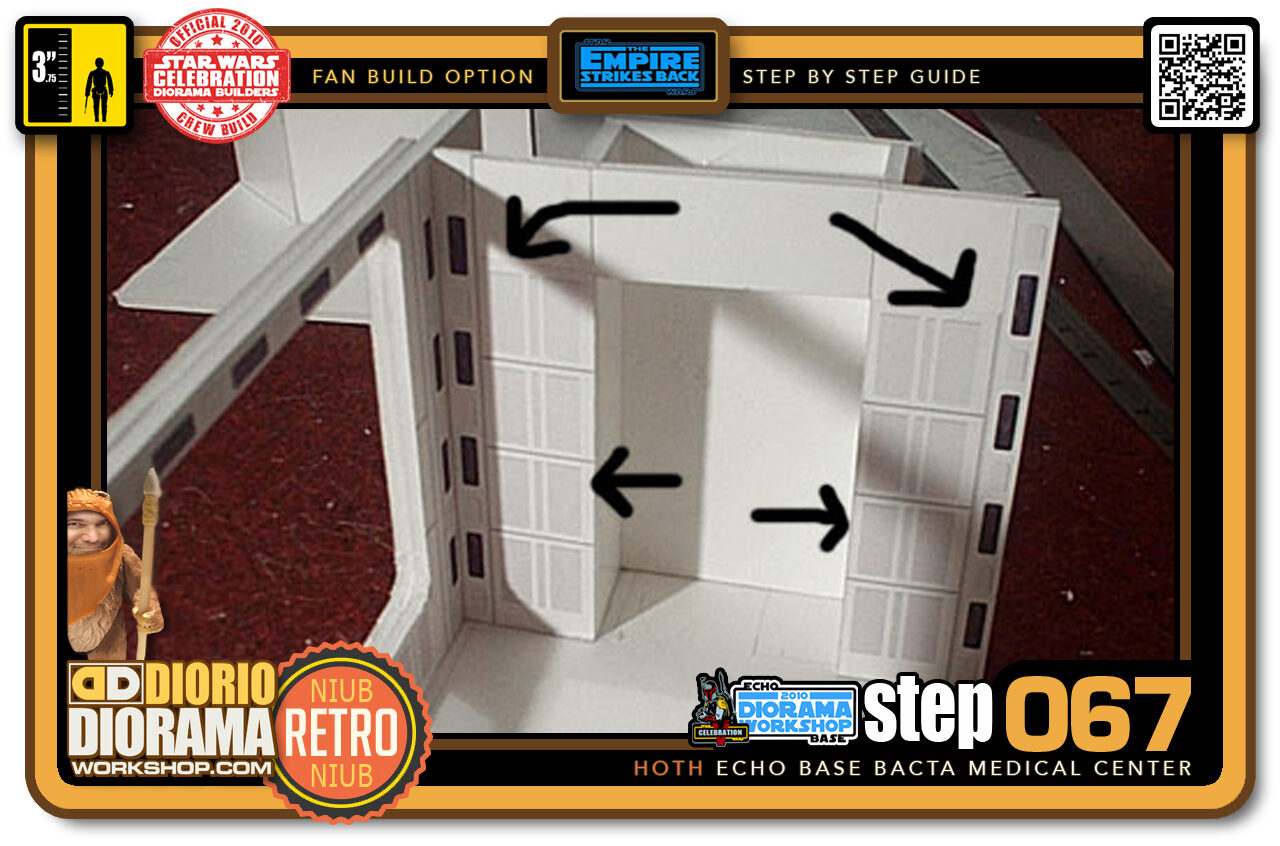
- Step 067 >> I again started with the outer pieces that fit nicely on the Left and Right sides.
-
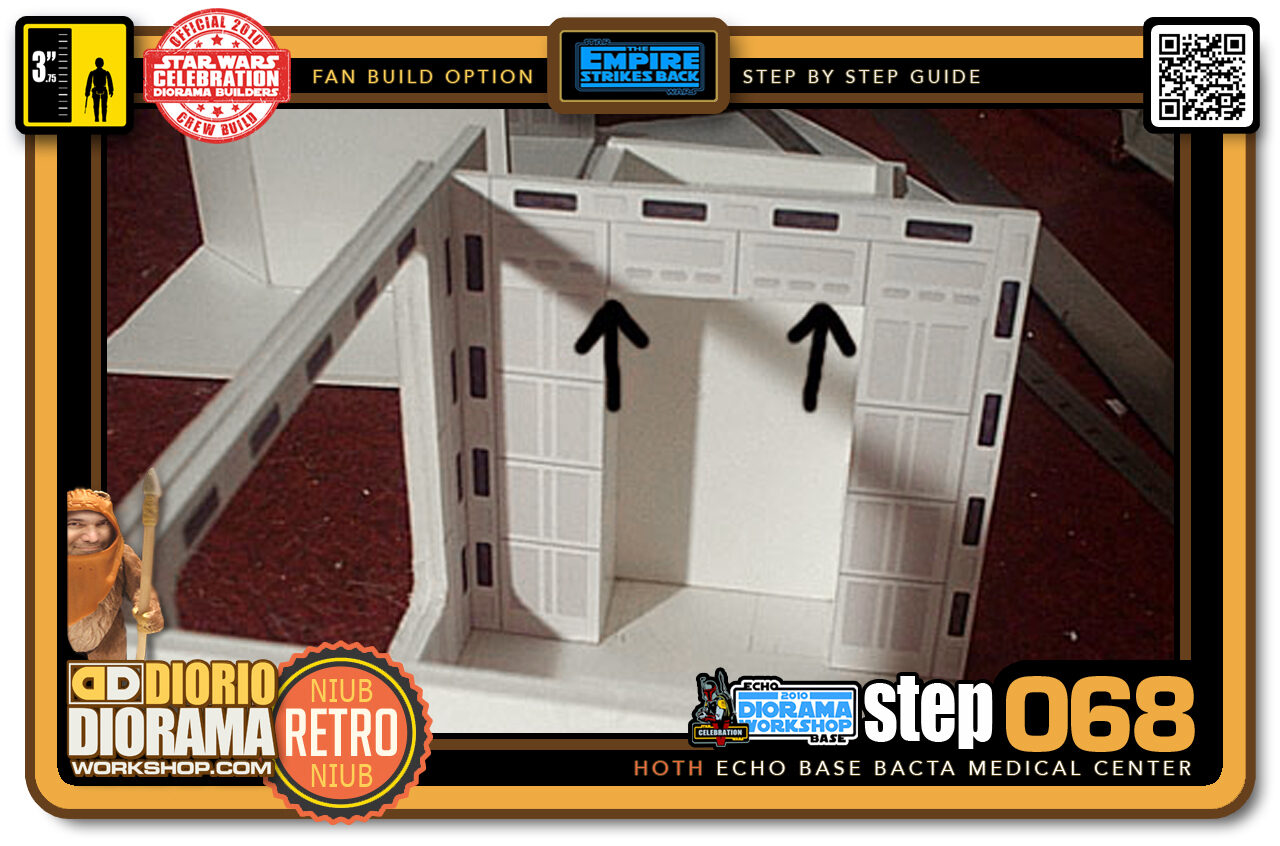
- Step 068 >> Remember that foamcore "V" Shape I inserted on page 4? Well the Beam Texture fits perfectly on top and even hides the addition. Making it seem we planned it like this from the start 🙂
-
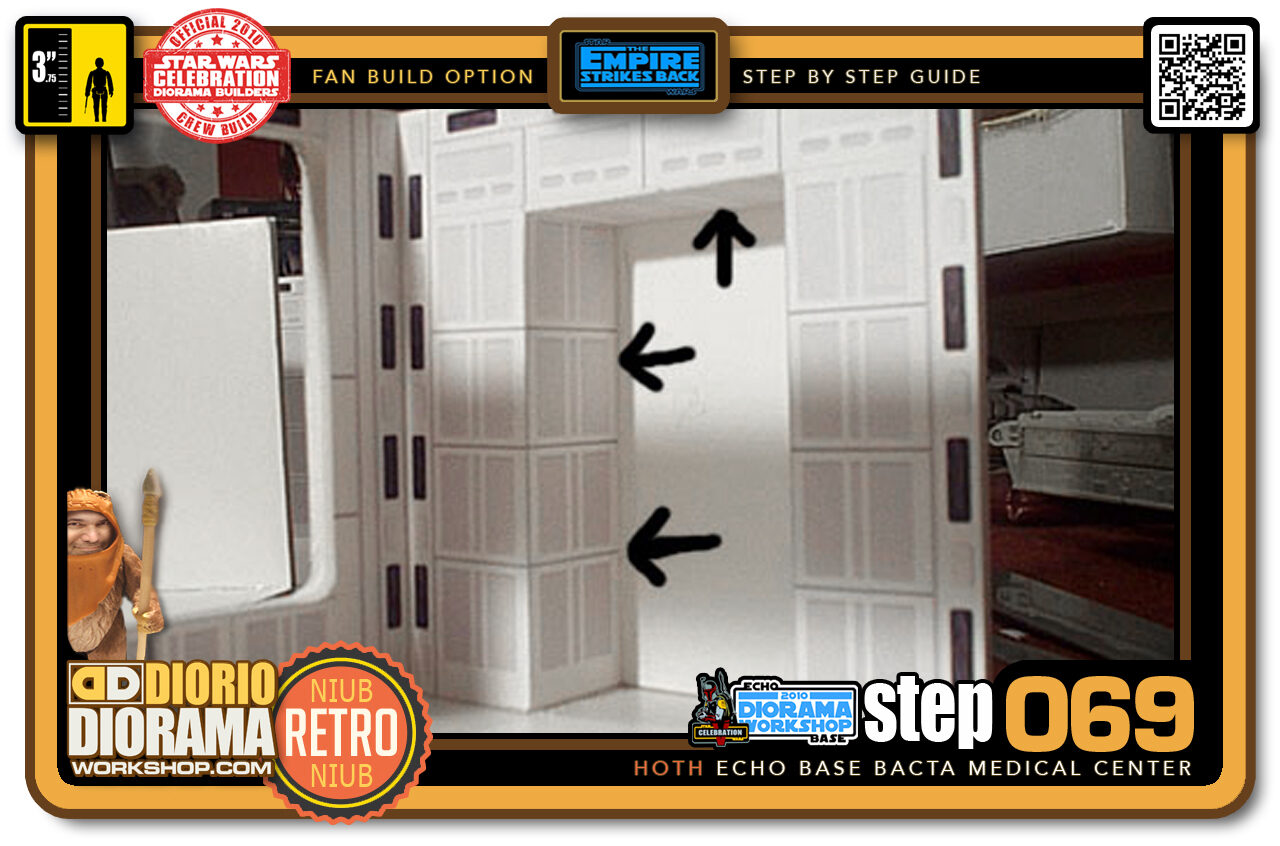
- Step 069 >> Now apply the inside Left, Top and Right textures. Try to align the panels so that the division lines match to give a more realistic and neater appearance.
-
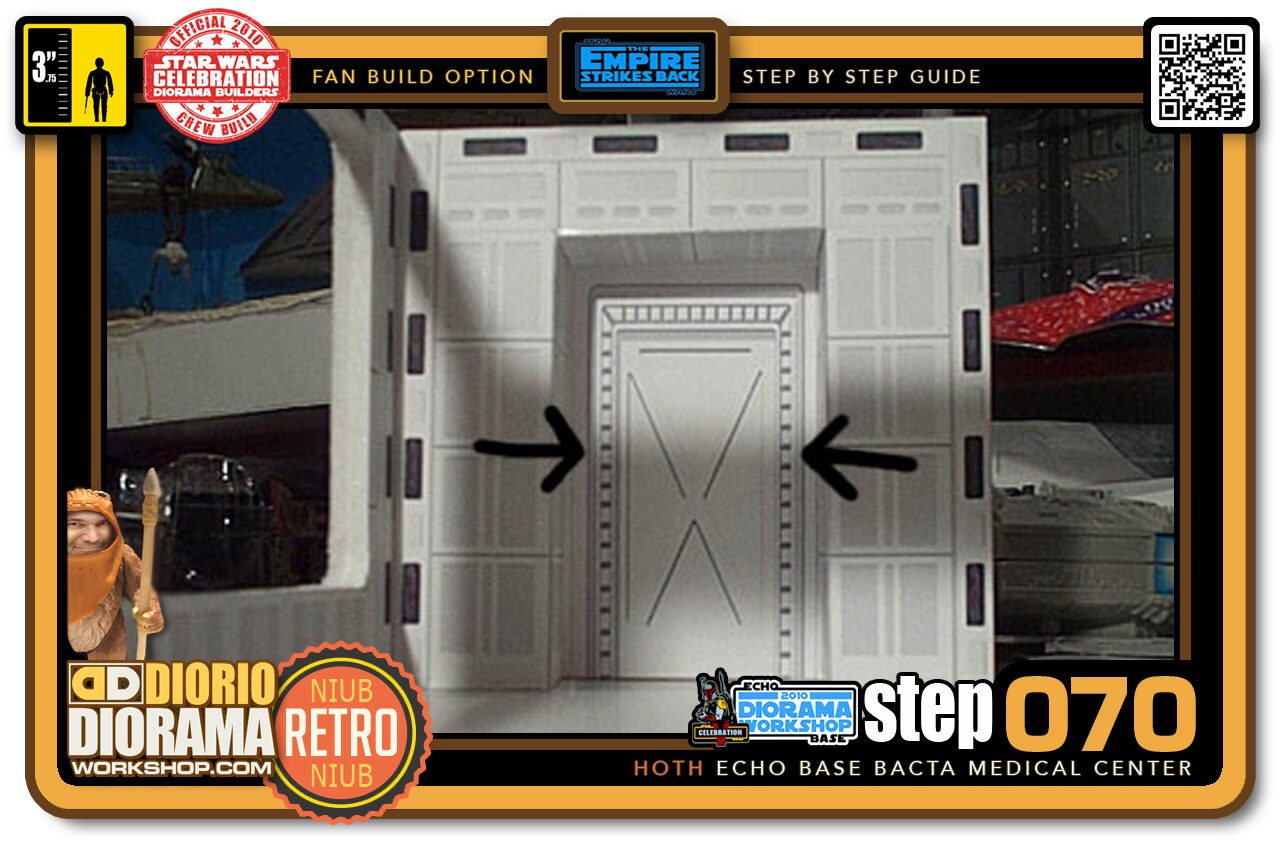
- Step 070 >> The last decal for this wall is the Right Door. Smack in the center wall 🙂 If you want to make a playset you could have this piece loose so you can open and close the door.
-
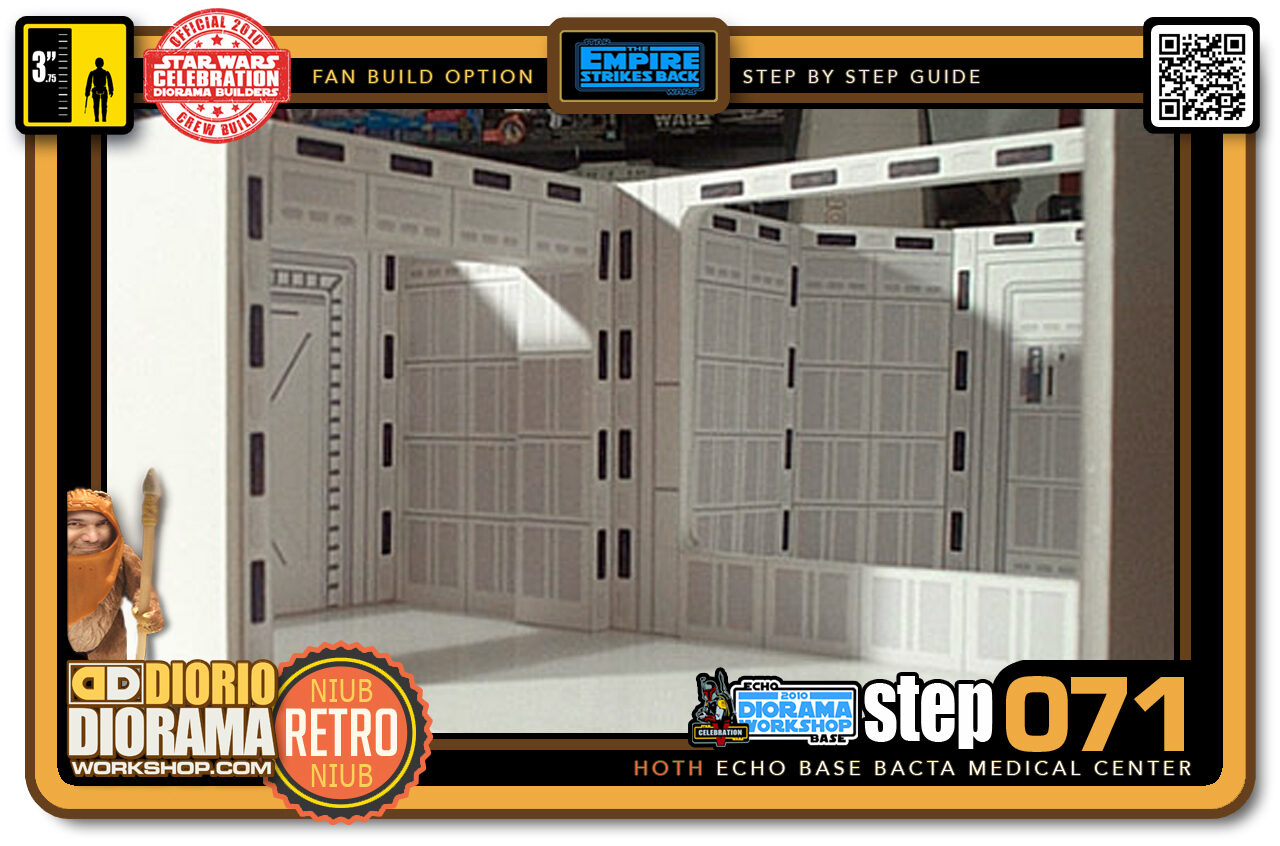
- Step 071 >> Here is where we are at so far looking at the Left Side. Pretty cool eh? Especially compared to plain white walls - Hee hee.
-
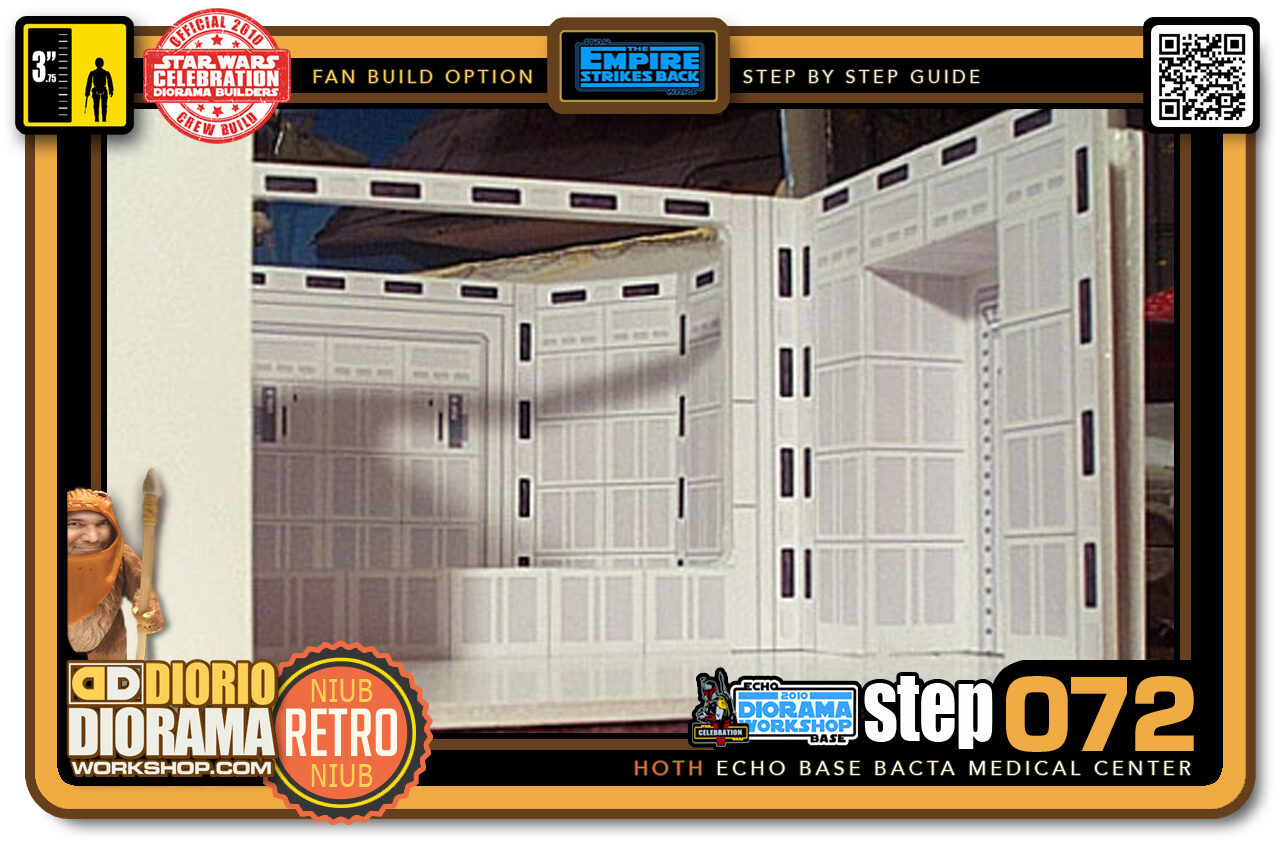
- Step 072 >> A picture looking to the Right Side.
-
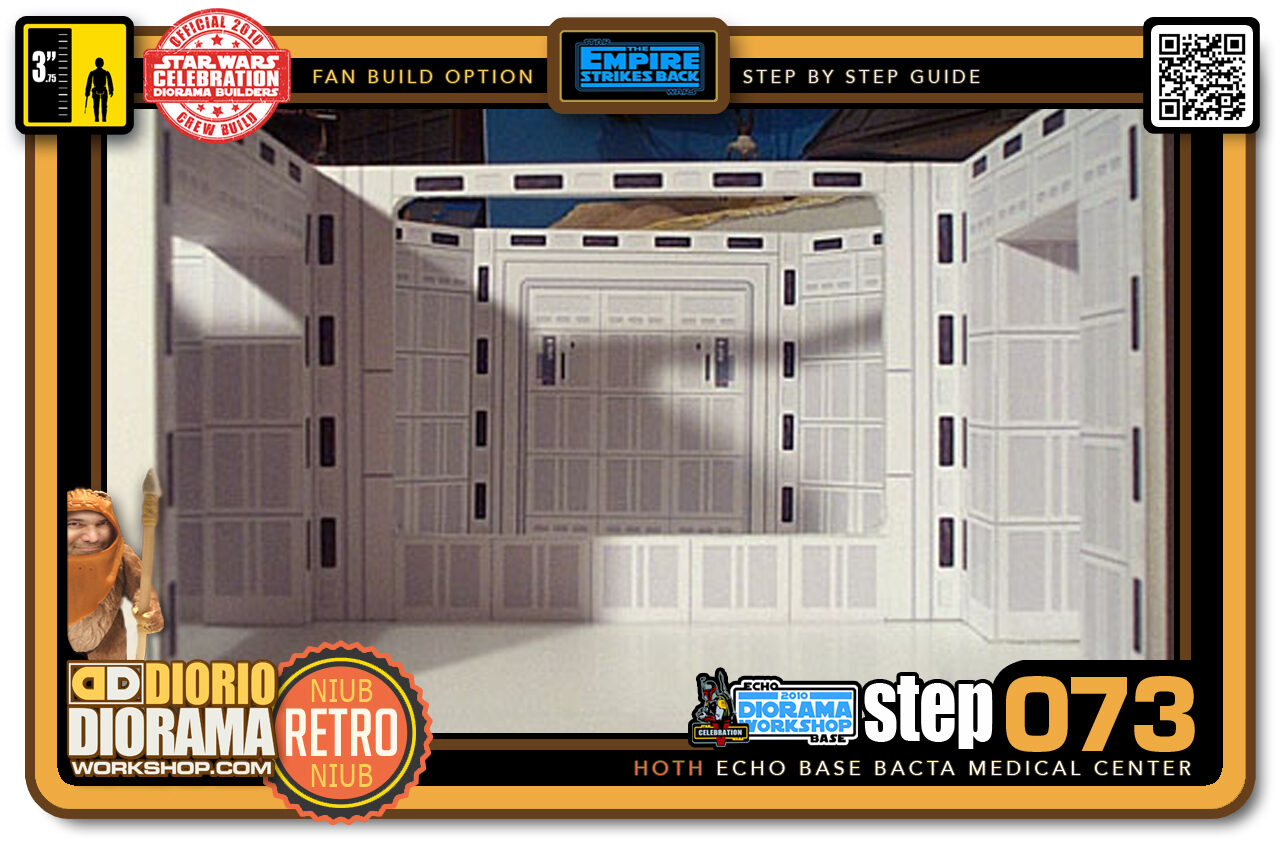
- Step 073 >> This is the Front View. Pretty cool considering the Floor has still to be put in as well as the Ceiling piece and lights (Not a necessity but will look really amazing).
-
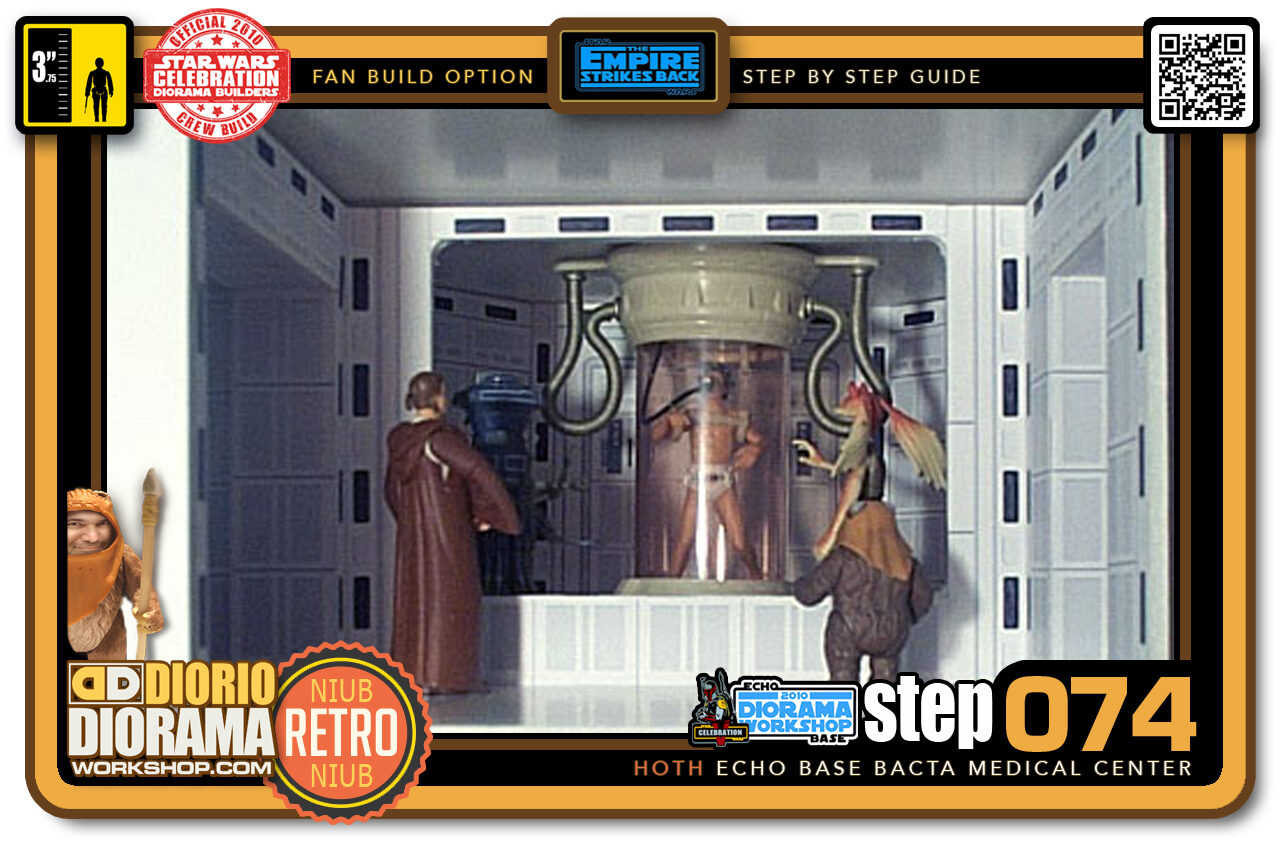
- Step 074 >> See what I mean about colour? Hey how did I end up in the picture? LOL Don't panic...Jar Jar and his friends will NOT be in the final pictures. 🙂
-
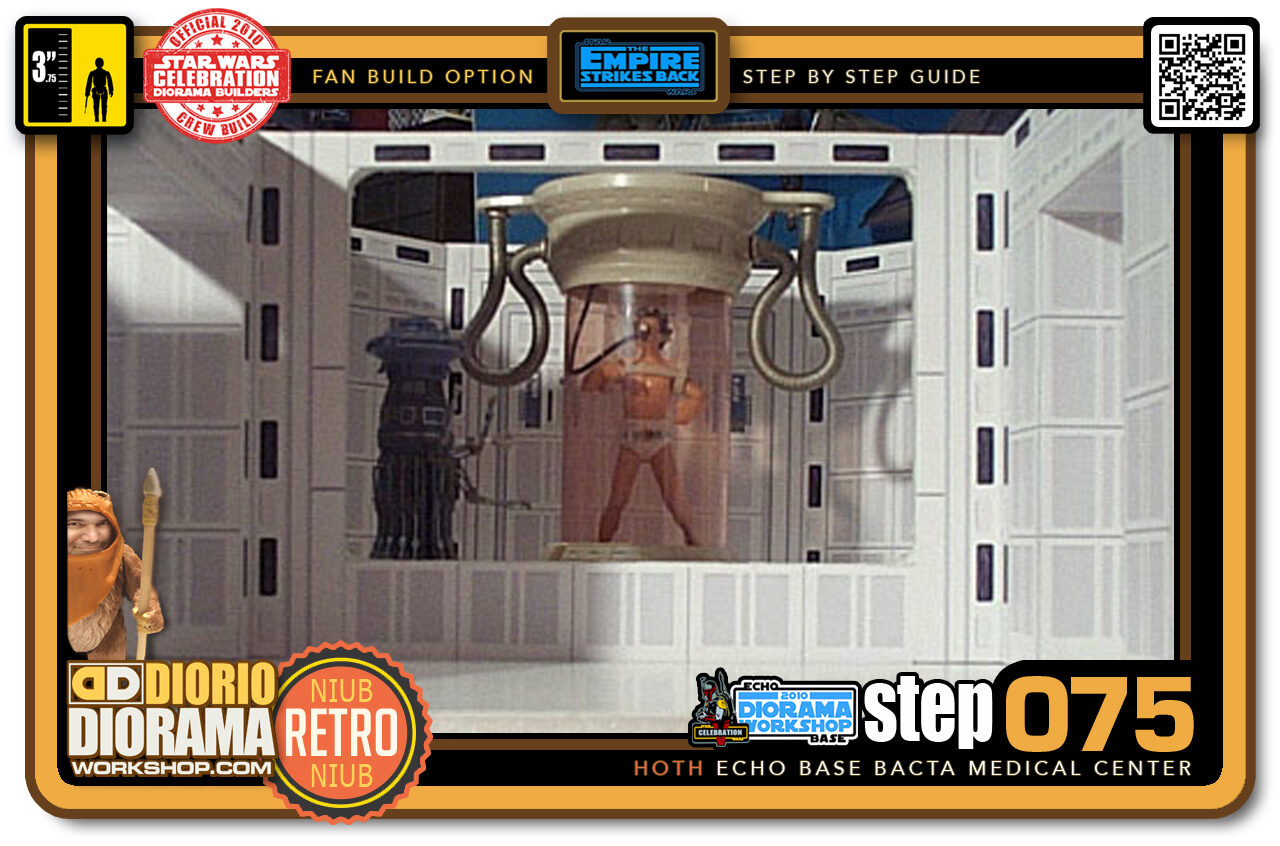
- Step 075 >> This picture shows you the space that the Figures will occupy.
-
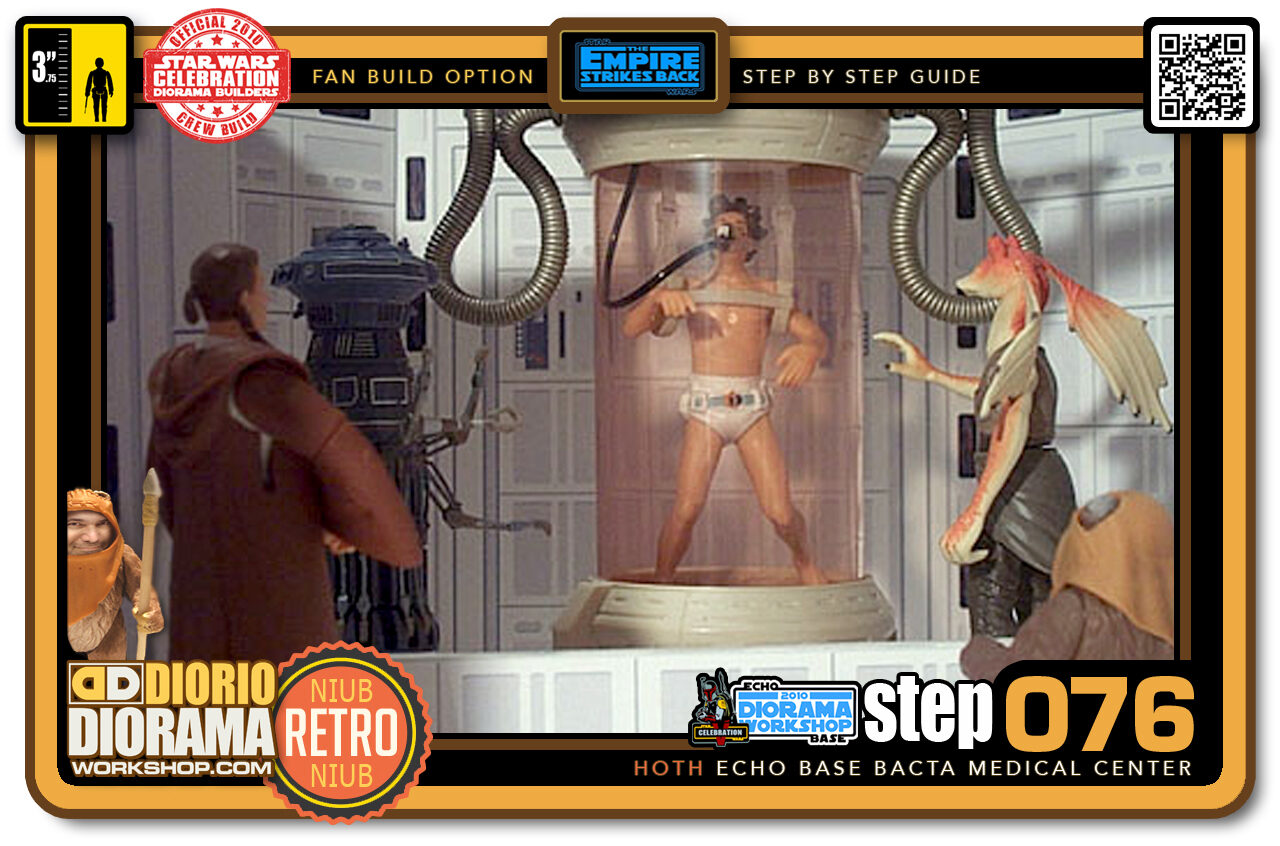
- Step 076 >> As opposed to Dioramas like say Carbon Chamber, In this Scene, it is the Figures that will add the colour and take away the monotony of having white everywhere.
-
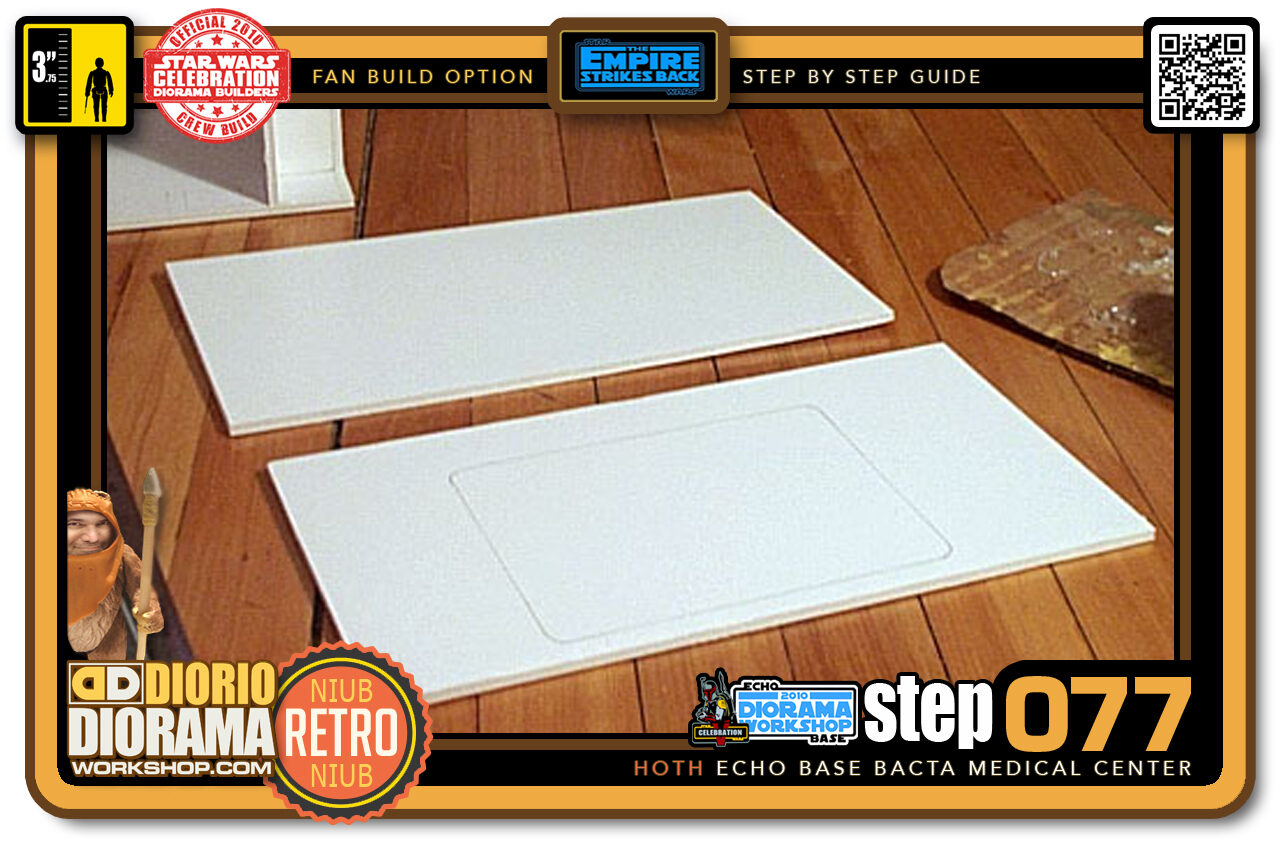
- Step 077 >> Getting back in the action. Time to make the 2nd Medic Bay Window. I cut 2 identical pieces of foamcore as the first wall. Placed it against the window and traced the contour.
-
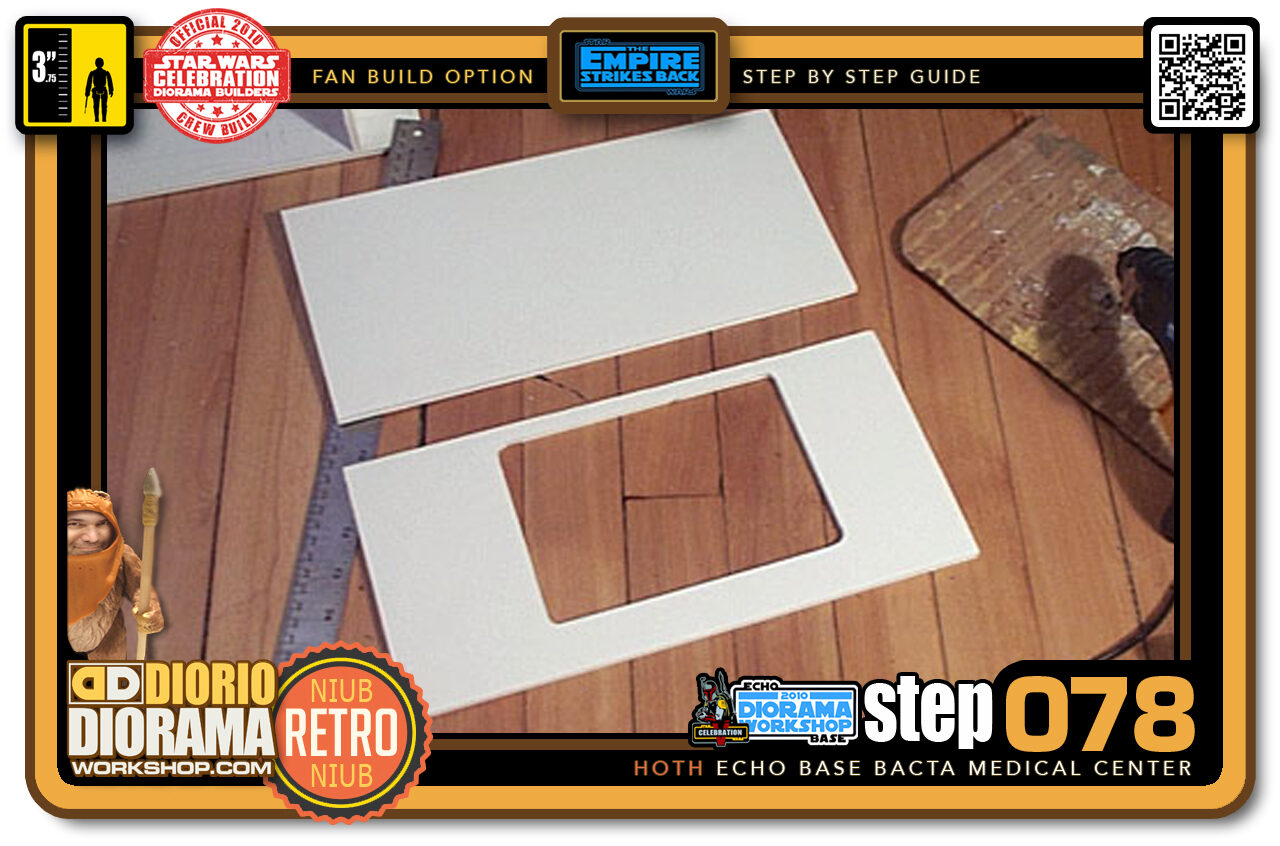
- Step 078 >> I used my Xacto knife to cut out the window shape in the first piece. Now you know where your cutout area is. Use the Hot Glue Gun and smear glue all over the cut side around the window and attach it to the second foamcore piece.
-
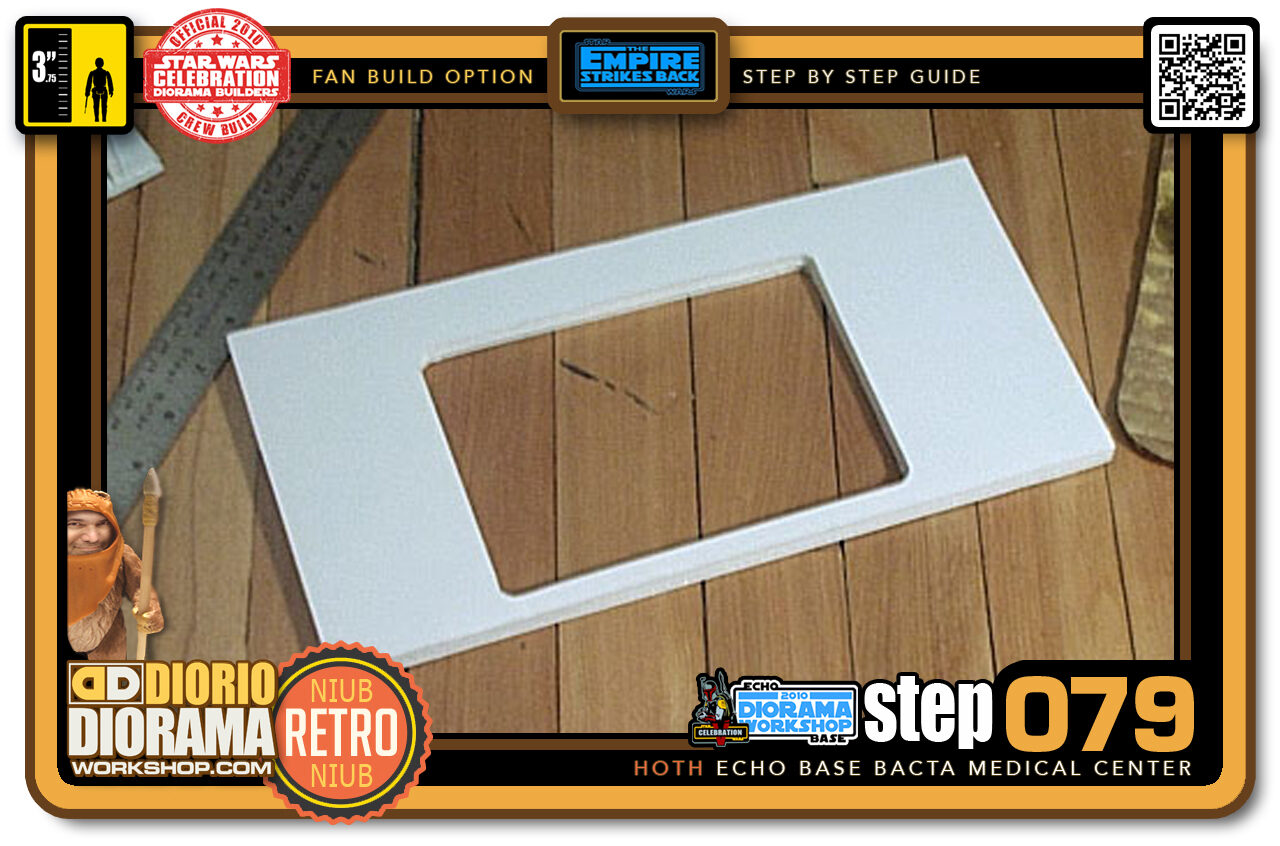
- Step 079 >> Now you can cut the bottom piece to match the first cut perfectly. A 2 thickness window 🙂
-
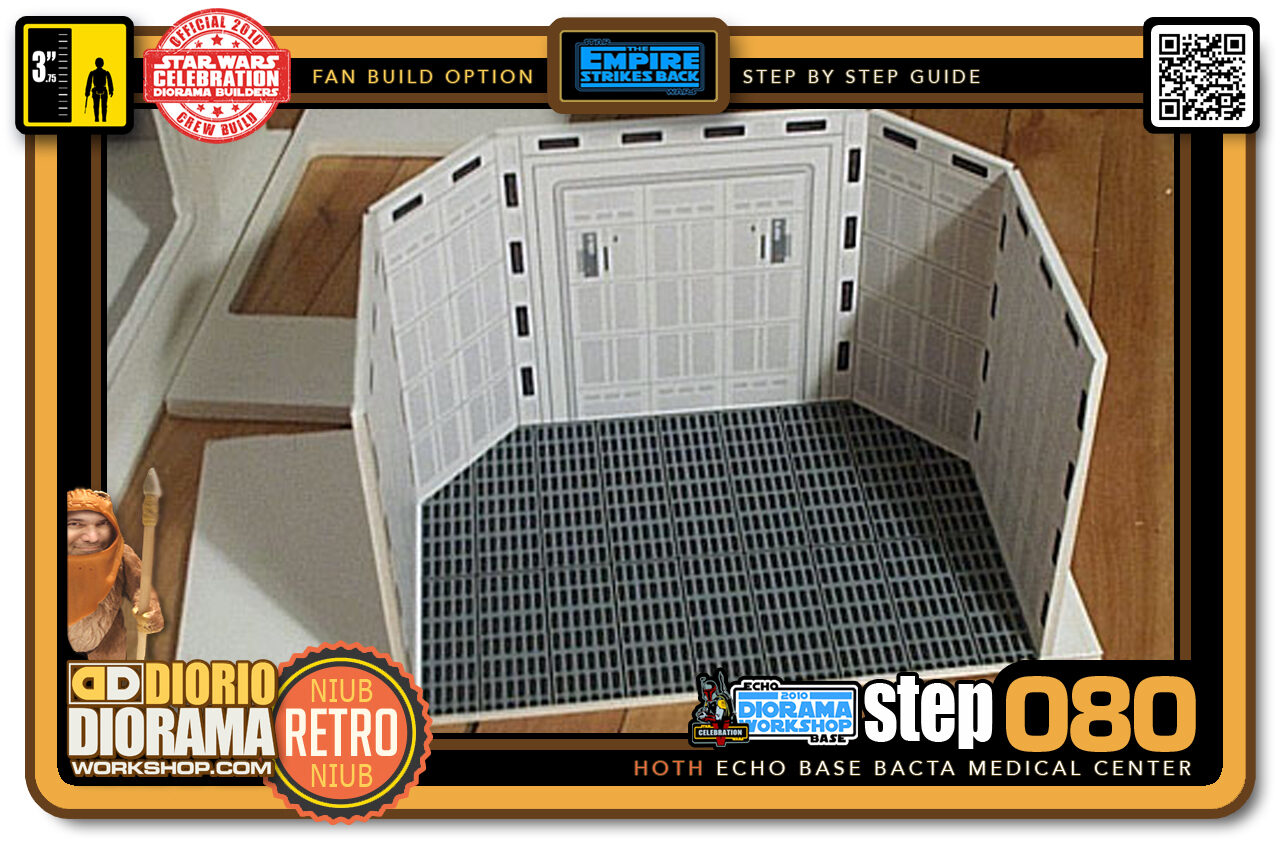
- Step 080 >> I looked at my pictures and watched Empire Strikes Back frame by frame and never saw a shot of the floor. So I decided to improvise and thought if they are on Hoth they would have grid floors. I printed the decals from the download section. If you don't want grids and prefer a floor that is more medical, you can leave the floor white or create your own texture.
.
Did you already build this Diorama ? At home or at our Star Wars Celebration Diorama Builders workshop ? Would you like to show it in the site’s GALLERY VISITORS DIORAMAS section, YES ? That is Awesome !!! You can find out all the details on how to email me your photos on the VISITORS SUBMISSIONS INFO page … When I get your photos, I will create your very own page just like this one. You may not realize it but work does inspire others to join in the fun of making Action Figure Dioramas.
.
NOT FOR RESALE ALL Decals, tutorials and artwork are ©FrankDiorio (dioramaworkshop.com) and offered FOR FREE to the fans – that would be you ? so you can build and display my diorama designs in your very own home. I realize I cannot control what one does with my graphics once I place them on the web, I can only ask you as one fan to another, please respect the artist and do not be that jerk who uses my designs and tutorials to build a copy of my work only to sell it on EBAY or trade/sale groups and forums. Thank You. Frank.
.

.
.
If you have a facebook account, why not join the Official Diorama Builders Fan Club today, simply click the logo link below.
 .
.
Catch up with fellow visitors and exchange stories, read cool interviews with the crew, exchange photos, fun surprises and grab some FAN ONLY merchandise next year at actual future conventions ?
.
©2021 Frank Diorio DioramaWorkshop.Com
.
IF YOU LIKE WHAT YOU SEE, PLEASE SHARE WITH YOUR FRIENDS
USING THE SOCIAL MEDIA BUTTONS BELOW