


-
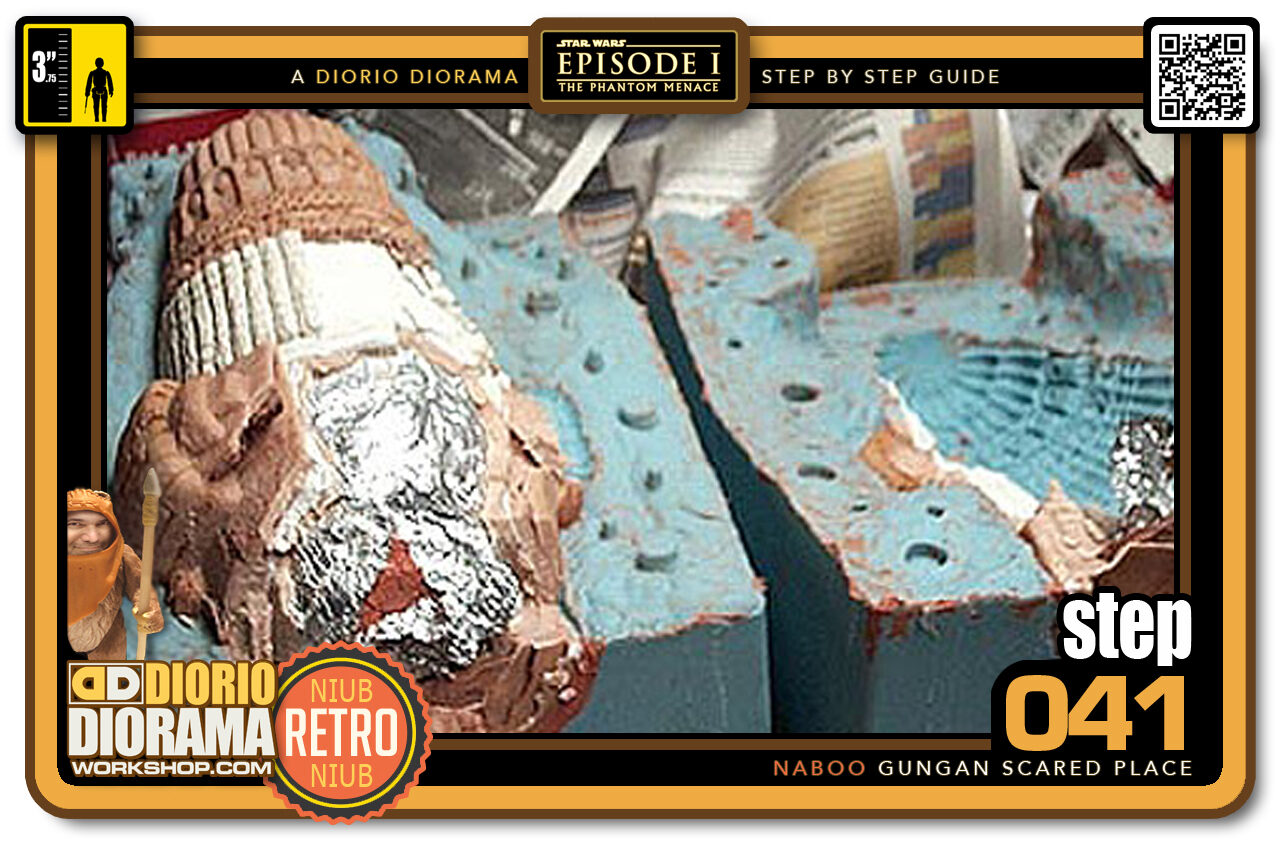
- STEP 041 > After about 15 minutes I managed to open the mould. As you can see, 90% of the time, making moulds will destroy your sculpture. But don't cry, you will be able to make copies 🙂
-
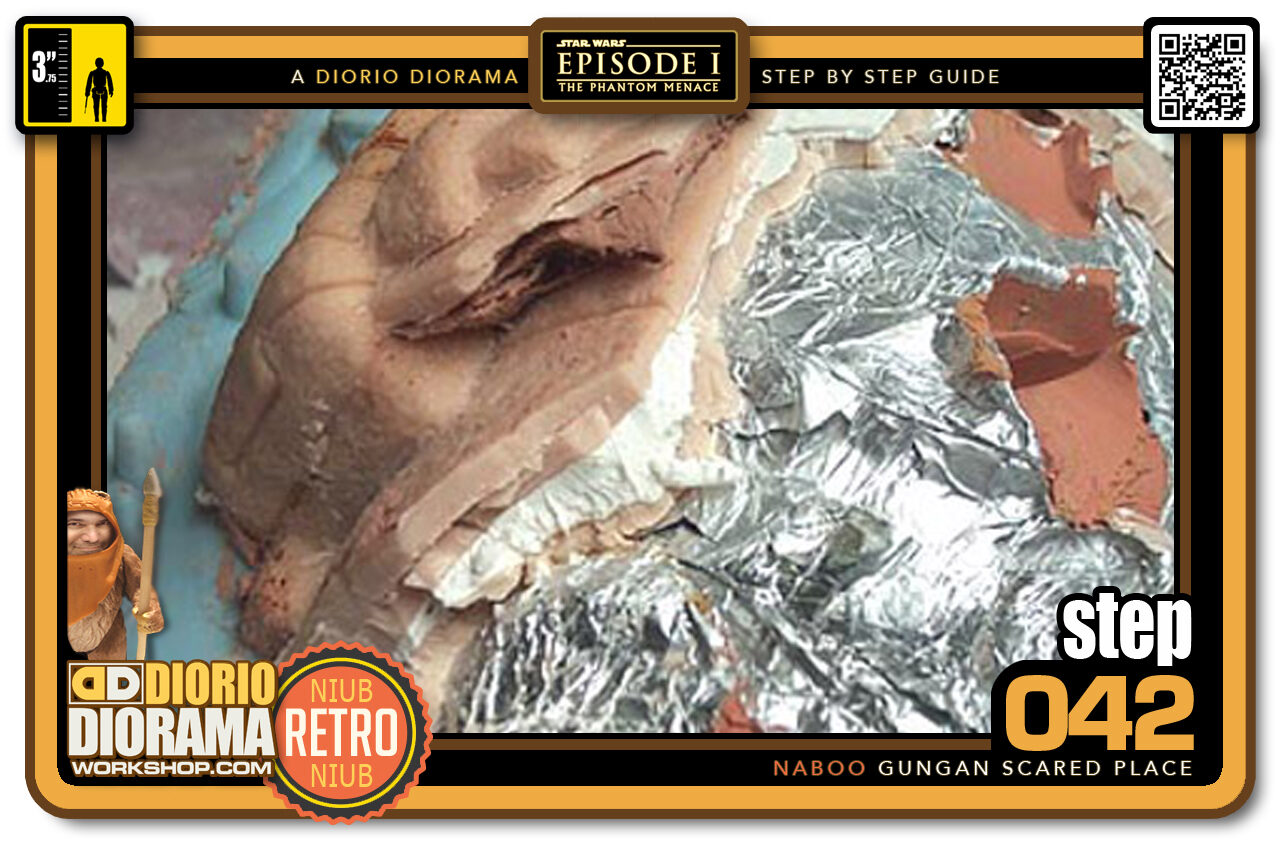
- STEP 042 > This isn't really a step but I found it very interesting how you can see the different sculpey layers like the earth's crust. A cool view of the evolution your sculpture.
-
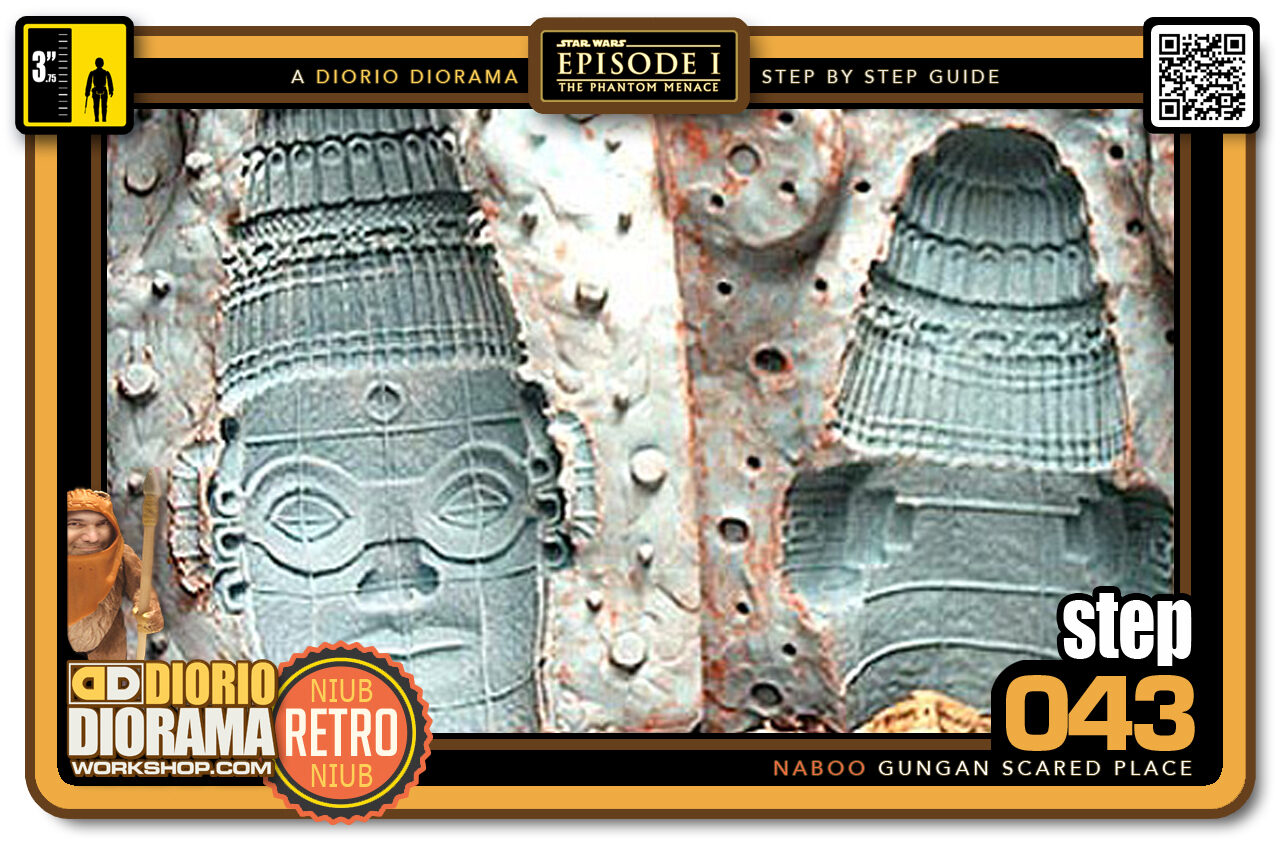
- STEP 043 > Once you remove your sculpture you have your finished mould. Isn't it cool how you get an optical illusion when looking at it? It looks like the face is popping out but it is really curved inside like a bowl.
-
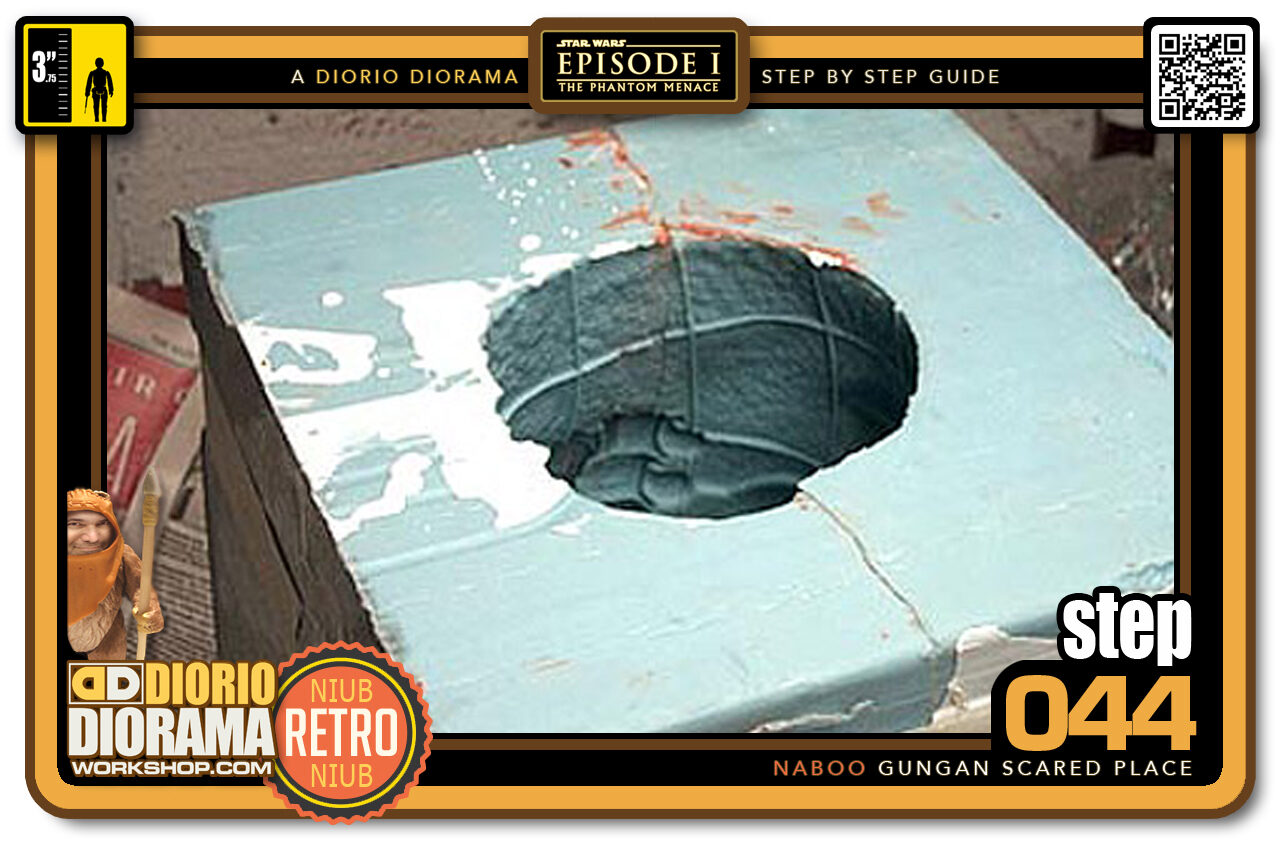
- STEP 044 > Time to make my first copy. I use a resin called Por-A-Cast. It is the same principle as the silicone. You mix 2 equal parts of liquid. the cool thing about this product is that it hardens in 30 seconds! right before your eyes. Here you see the 2 halves attached tightly together with the opening at the top. REMEMBER to spray a release agent in the mould before pouring. If you forget this important step your mould is trash and can NEVER be used again.
-
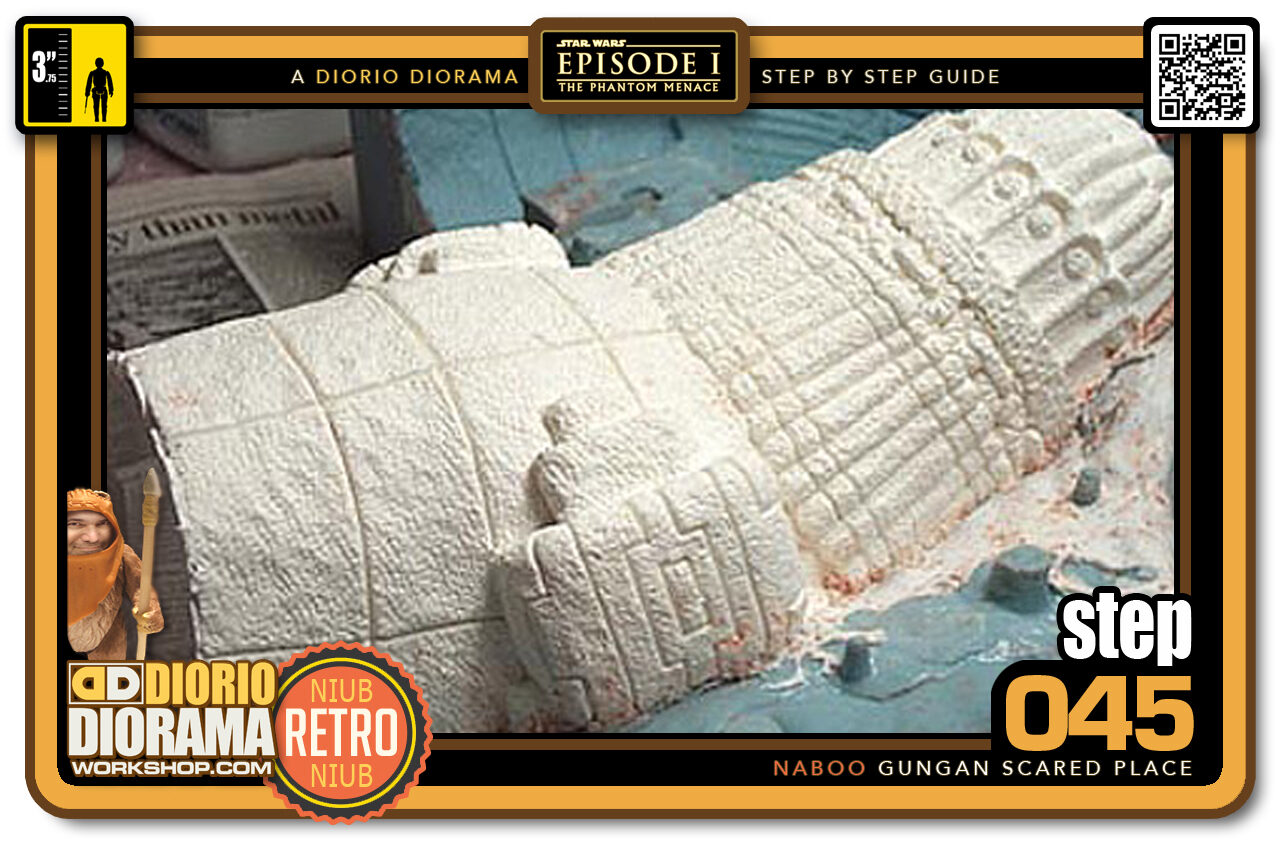
- STEP 045 > Now that the resin is 1 piece it is easier to pull the mould off as it wont rip into pieces. Here you can see the bottom half pulled off and how some excess spreads out to the sides. Don't worry about that, you can remove it with an exacto blade.
-

- STEP 046 > Well here we have it! the first ever copy from my original sculpture. What do you think? Not bad eh? Looks just like in the movie if I do say so myself 🙂 Now all that is left is to paint it and create a stone rock like look.
-
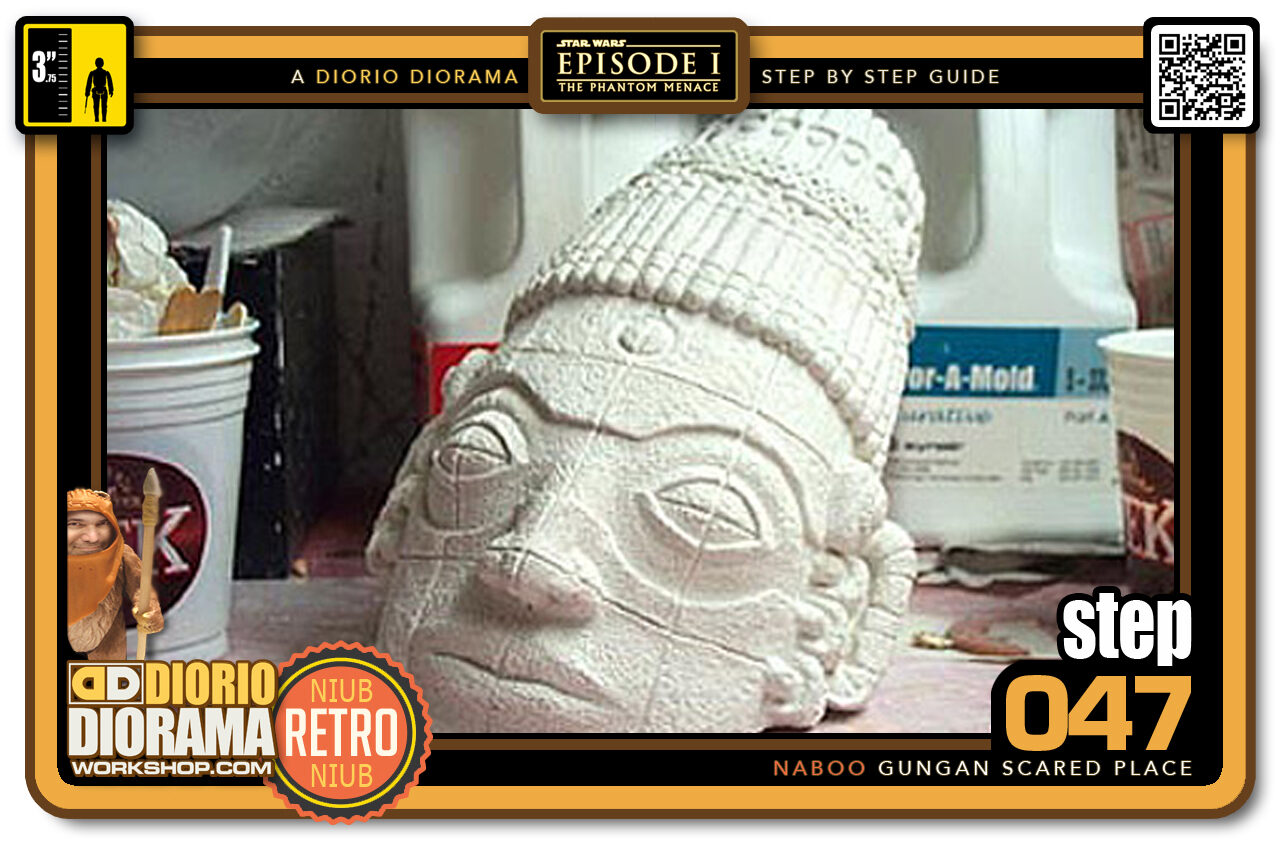
- STEP 047 > Well This head I made of Plaster Of paris So that I could Saw off the bottom at the correct angle of the movie picture. The downside is that since Plaster is comprised of water, it takes like 2-3 days to harden fully. So it really slows you down. I had time to make this one and another is still hardening in the mould. I will use 3 heads for my diorama.
-
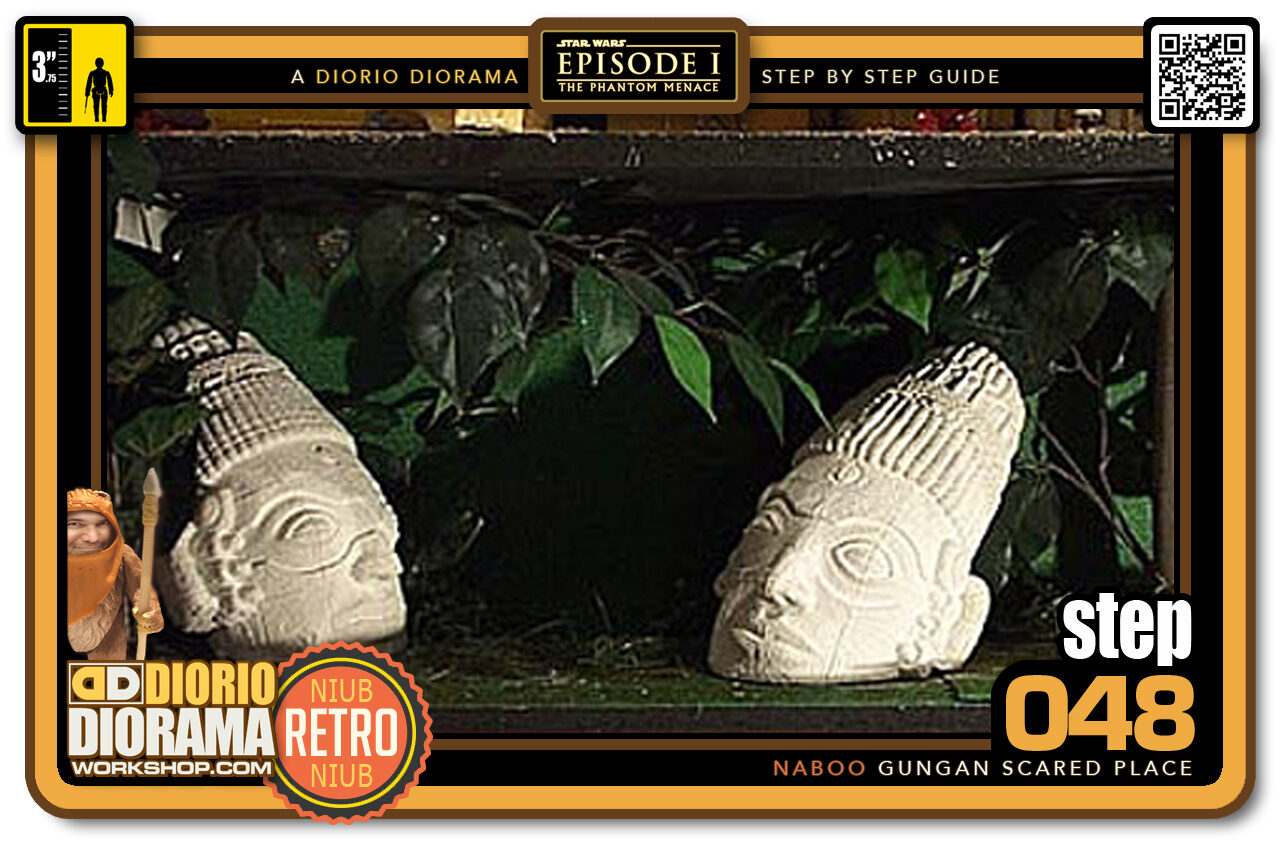
- STEP 048 > These are 2 plaster copies from my mould. I used a saw to cut the bottom part at the proper angle like in the movie. This is what the general diorama layout will be.
-
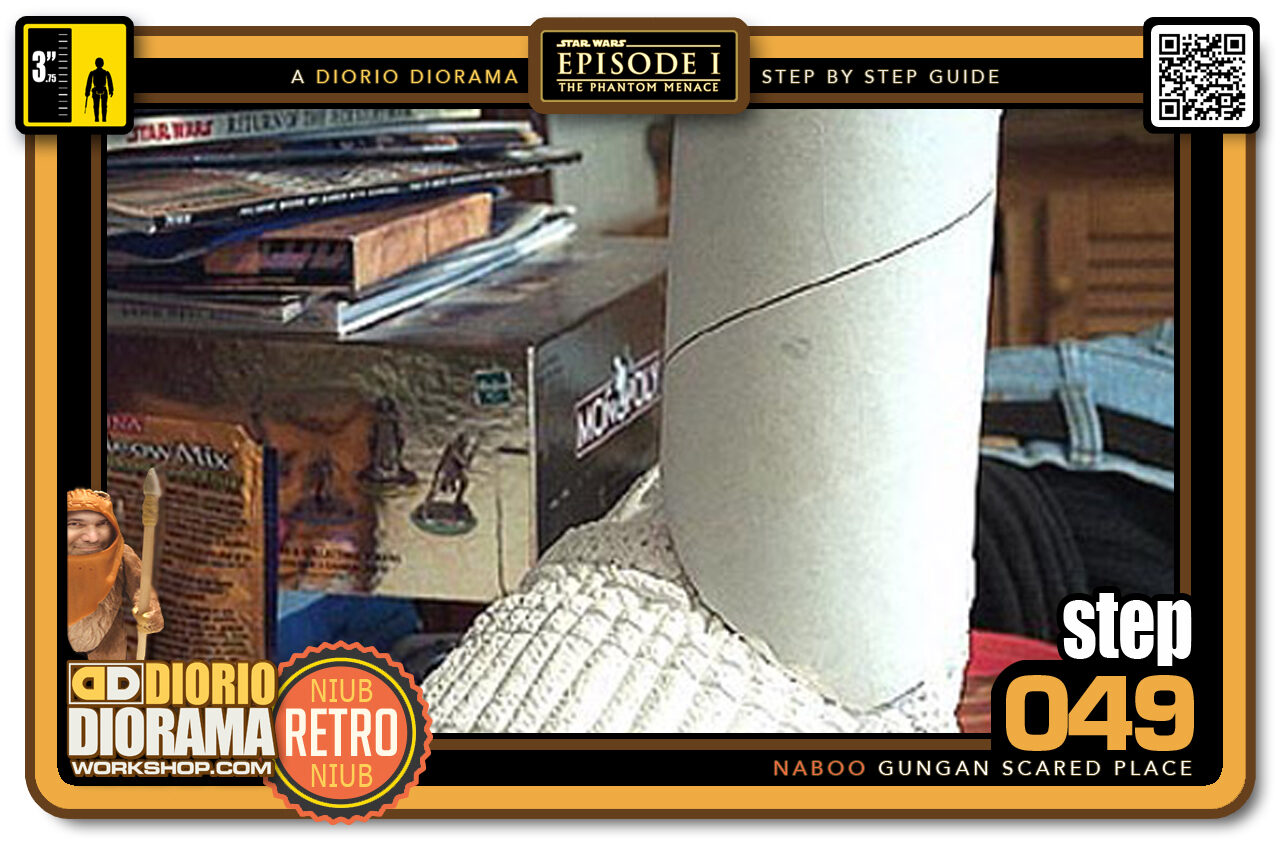
- STEP 049 > To start and also to save money, I cut a piece of poster tube at the correct angle and height that would fit under the diorama shelf. This shape will act as the base for out tree trunk.
-
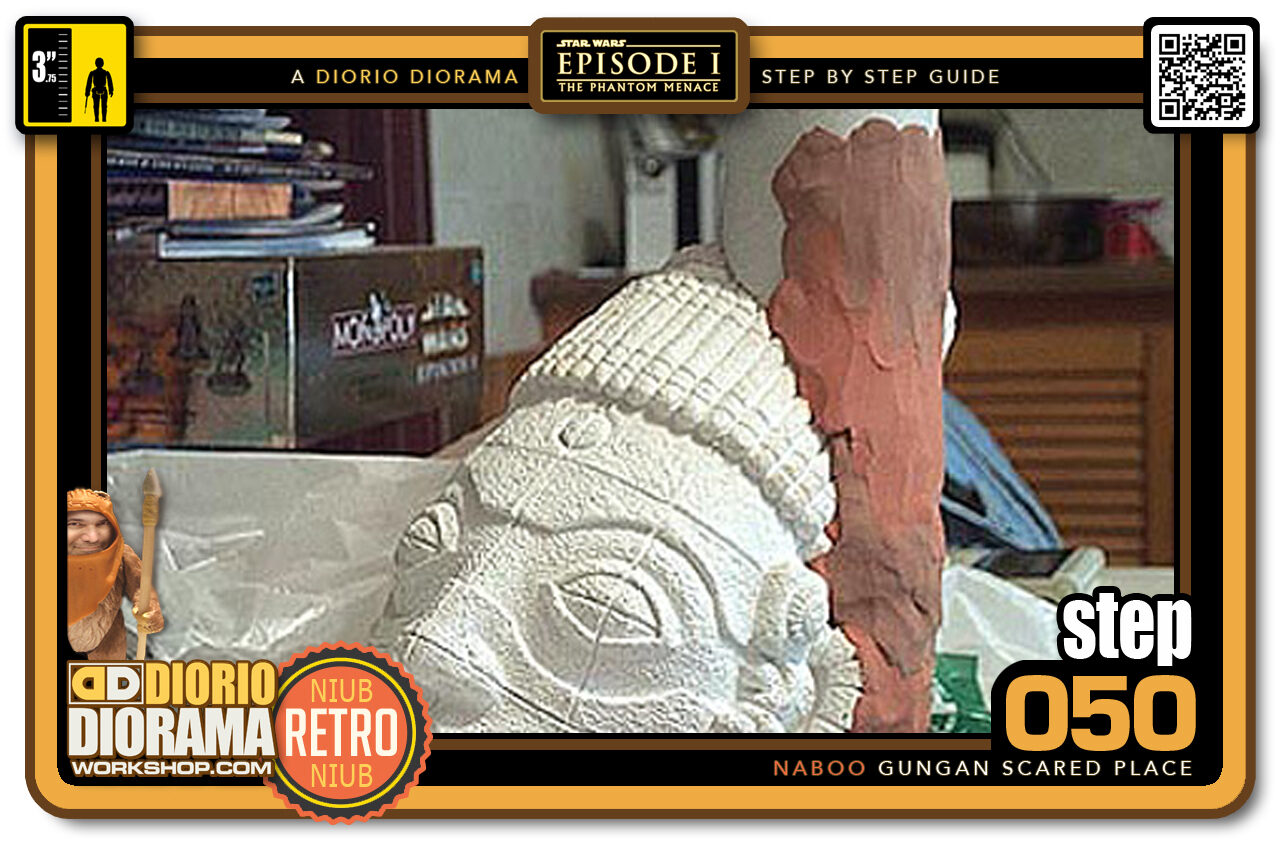
- STEP 050 > I have added some pieces of Plasticine to the head to continue the basic shape the tree trunk will have. using Plasticine is cheaper then Super Sculpey so it's a perfect material to create the basic shape that we want.
-
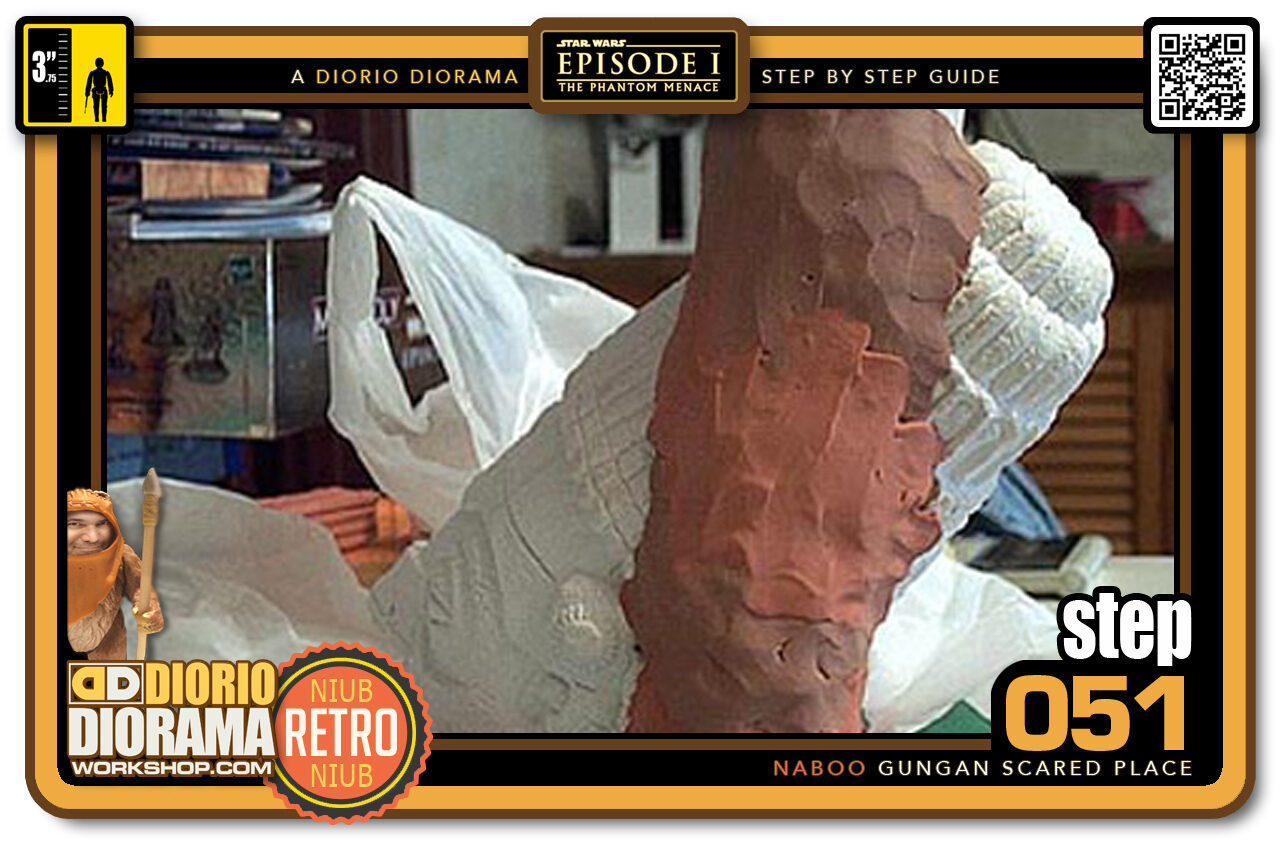
- STEP 051 > Here you can see what our tree trunk looks like from the side. Looks like a chimney doesn't it ? - LOL
-
-
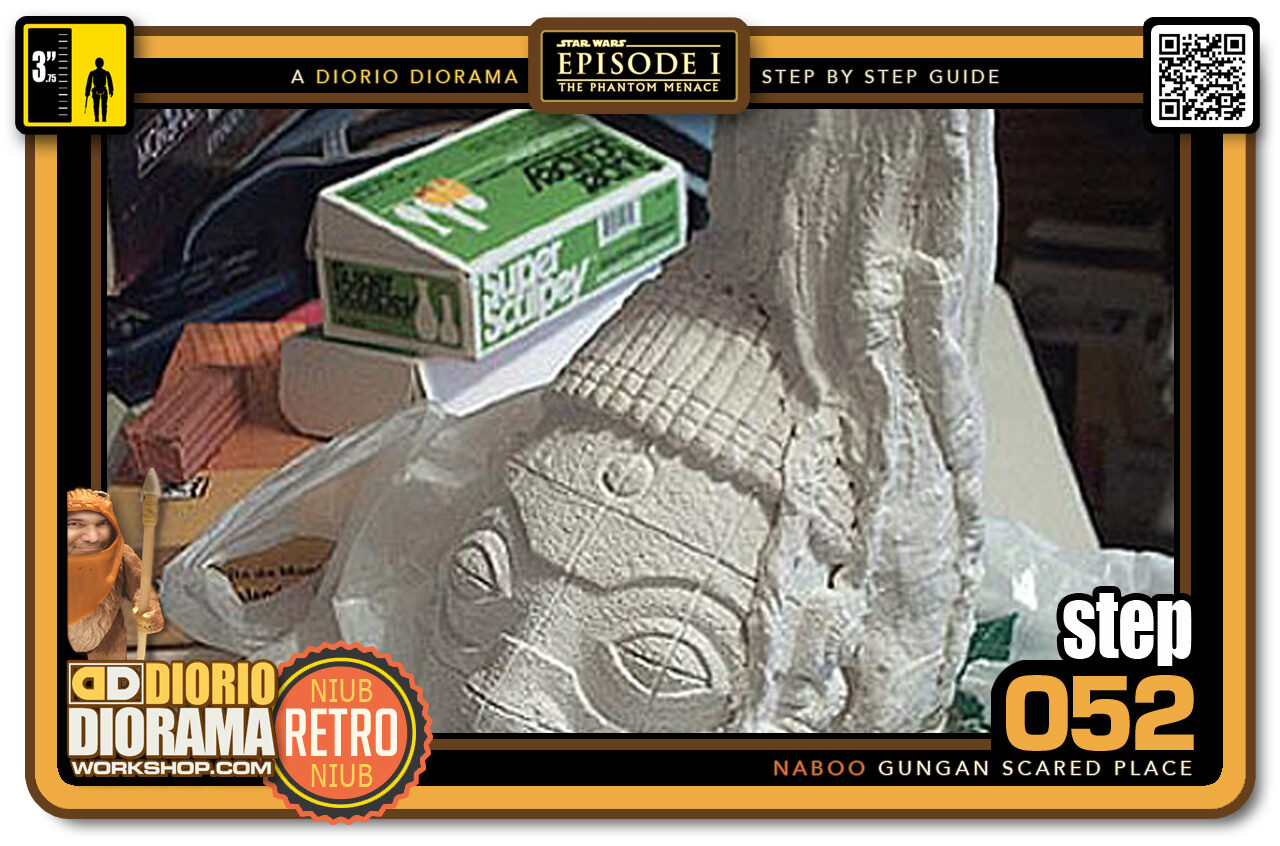
STEP 052 > To save even more on Super Sculpey costs I used plaster bandages to cover the tube and Plasticine pieces. For the roots, I dipped the bandages in water and scrunched them up into a roll and placed them in wiggly shapes down along the tube. You don't have to use plaster bandages, I just had some left over, and was short of sculpy. This way all I have to do is cover the plaster with a skin of sculpy .
Instead of using a thick "snake" that would probably use 2 boxes of Sculpey. You could even just use Plasticine if you don't need the tree to be hardened in the end. Just use what is best for you 🙂
-
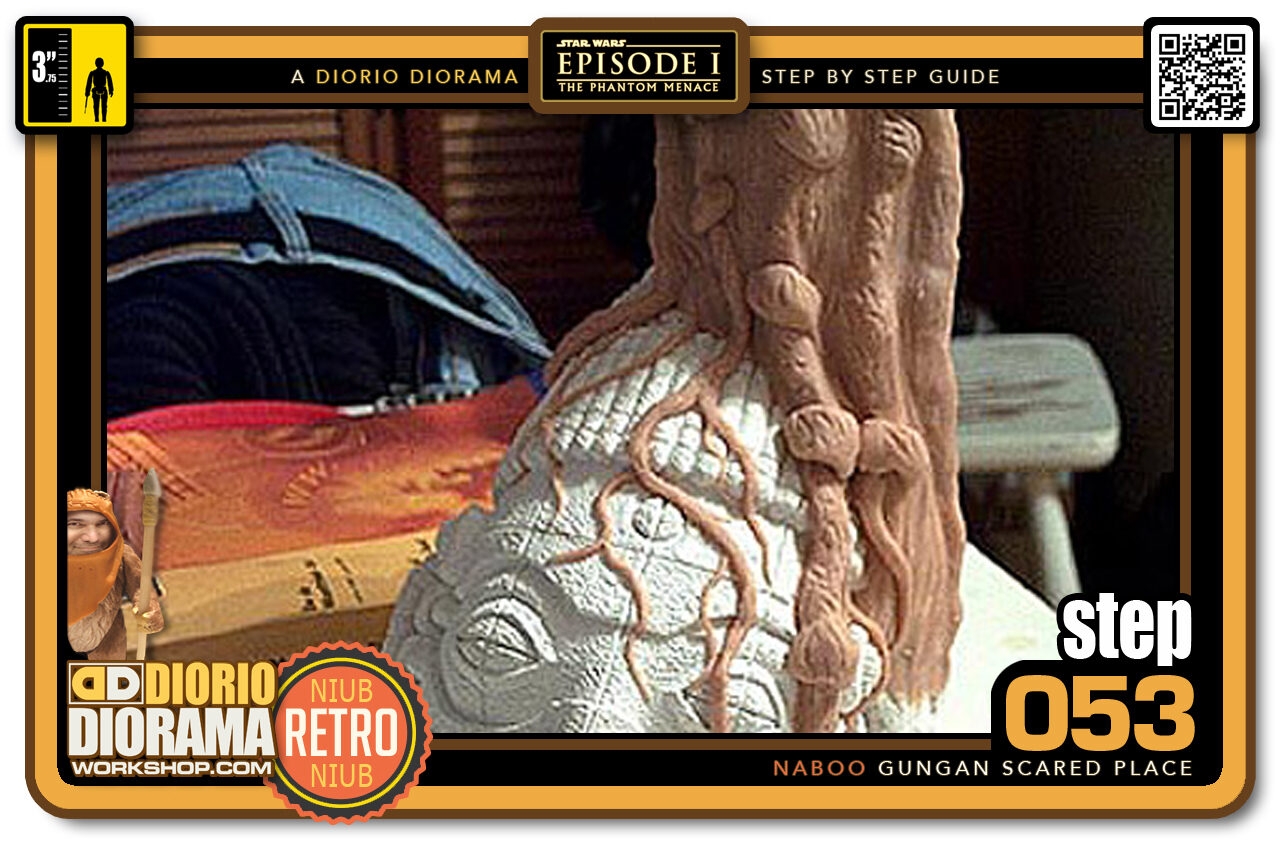
- STEP 053 > Now this is getting interesting 🙂 I used thin skins of Super Sculpey to cover the plaster bandages. I used "snakes" to make the smaller roots that cover the face. I then used a stamp tool to give a quick texture before adding details.
-
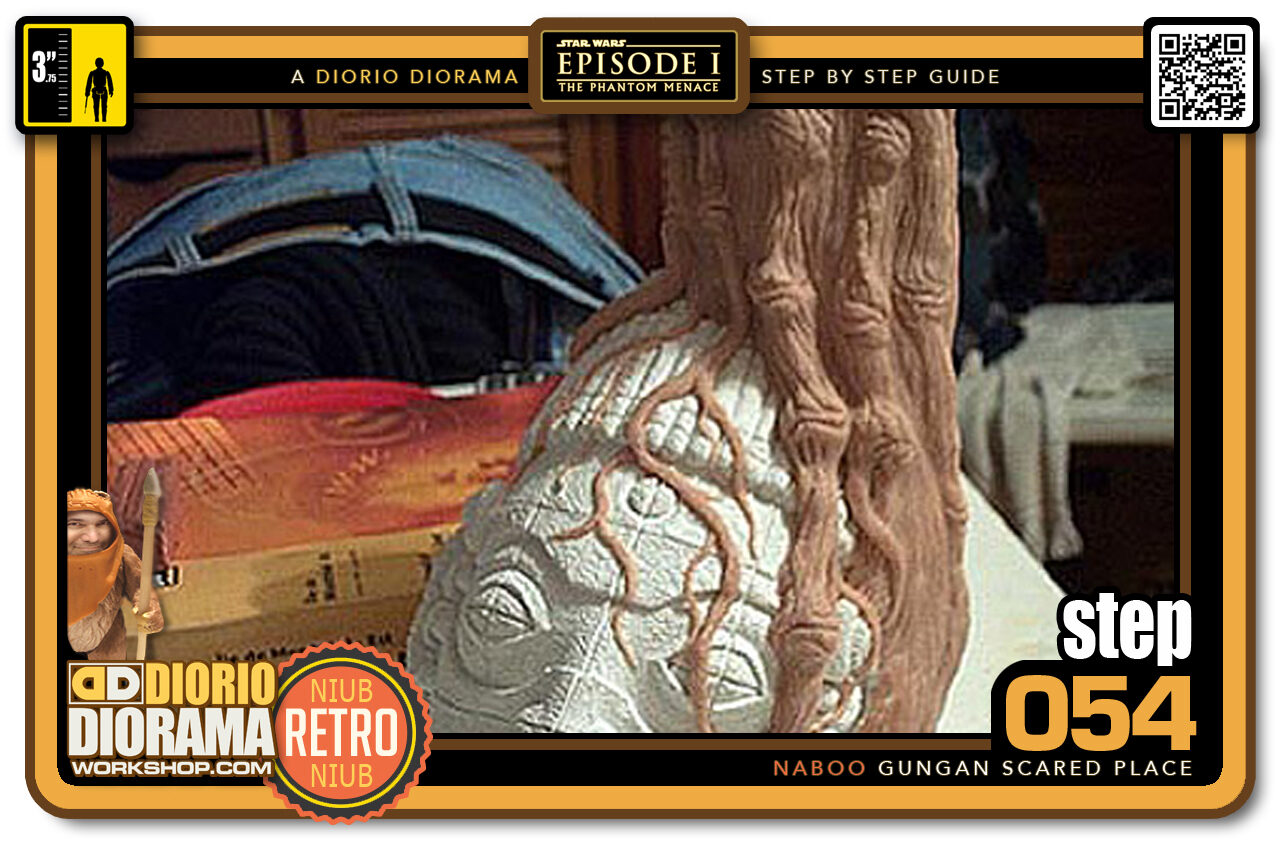
- STEP 054 > After 6 hours, all the blending and textures are done. I used the picture from Cinefex magazine as the guide for the roots paths. It's harder then I though to do tree bark - LOL.
-
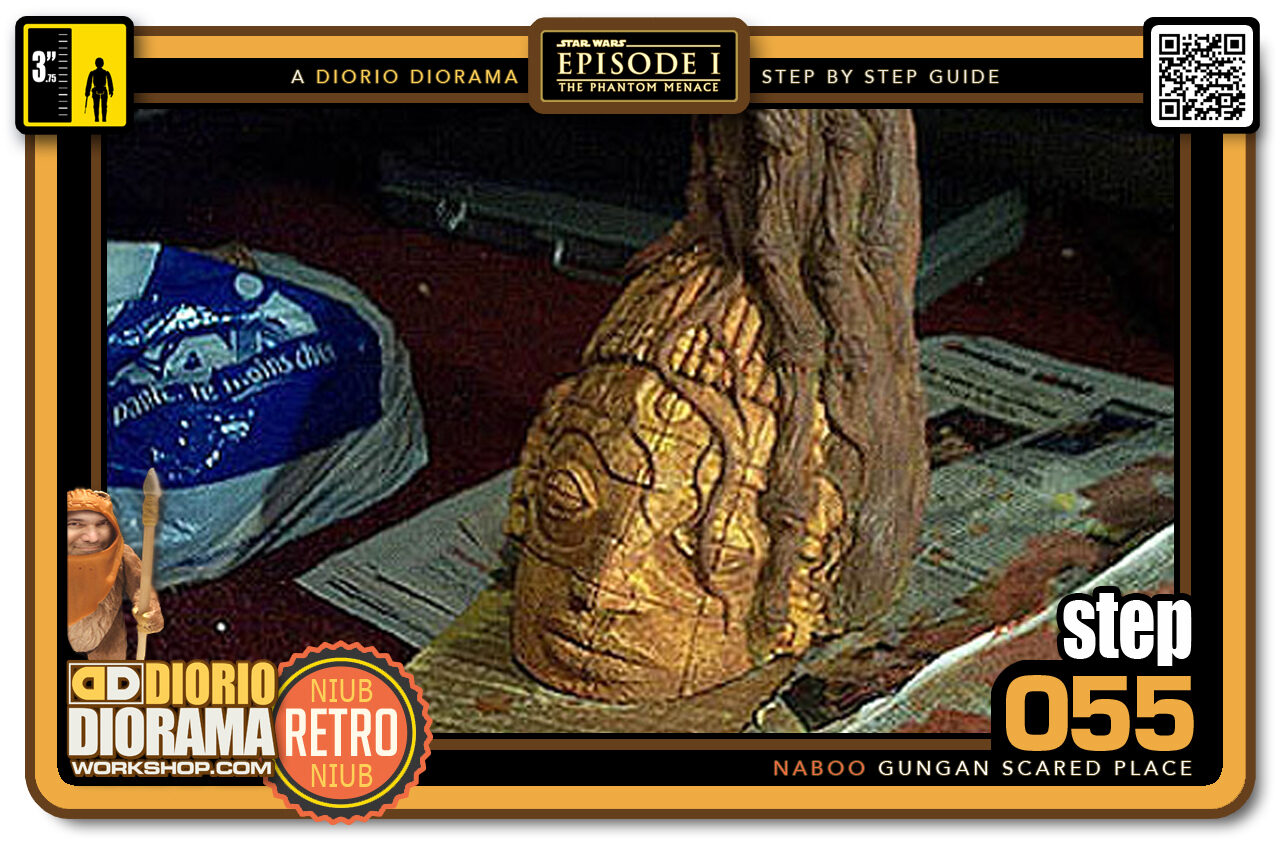
- STEP 055 > Here is another view of the finished Tree from more of a side view. You can see what the real tree looks like below. I took the liberty to add a little more details because I thought it would look cooler this way once painted. Let me know what you think 🙂
-
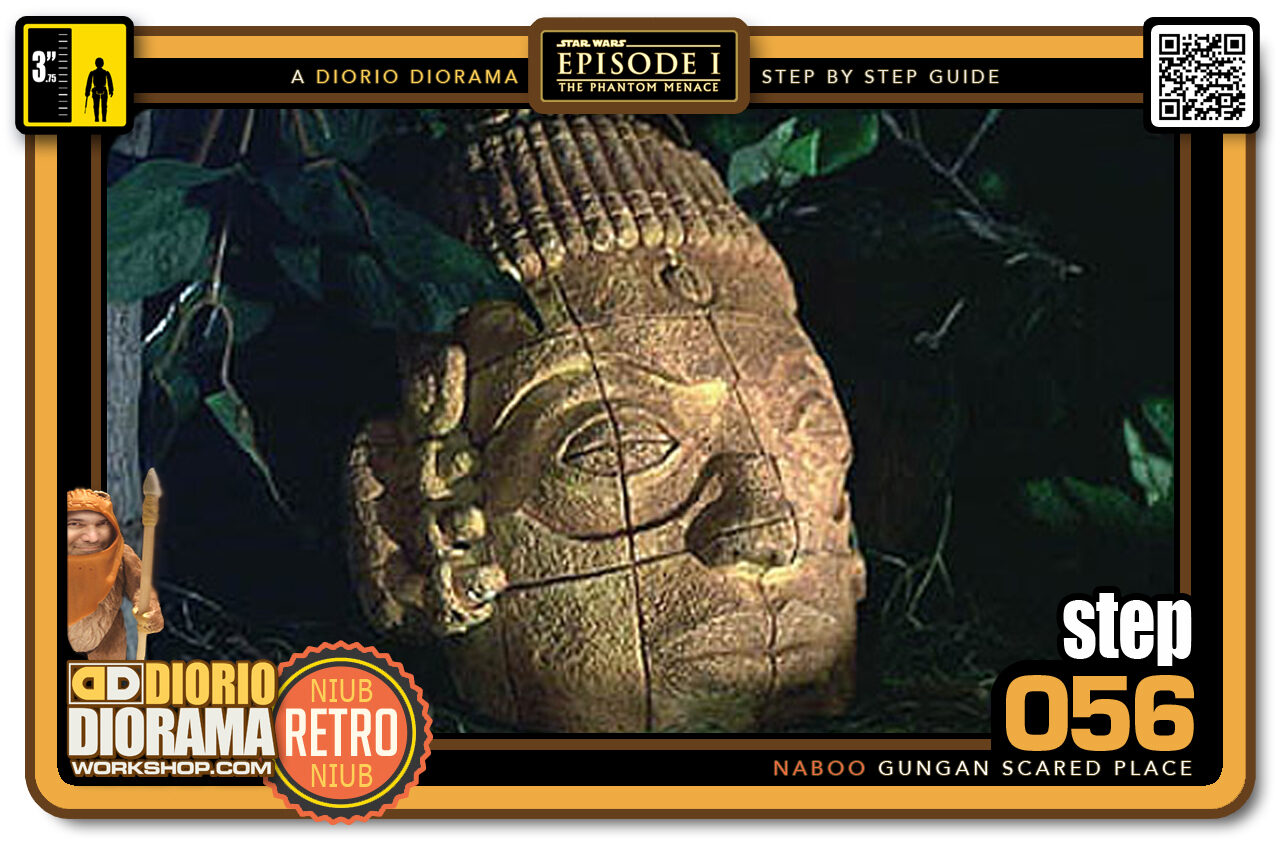
- STEP 056 > Here is what the normal head looks like in it's environment
-
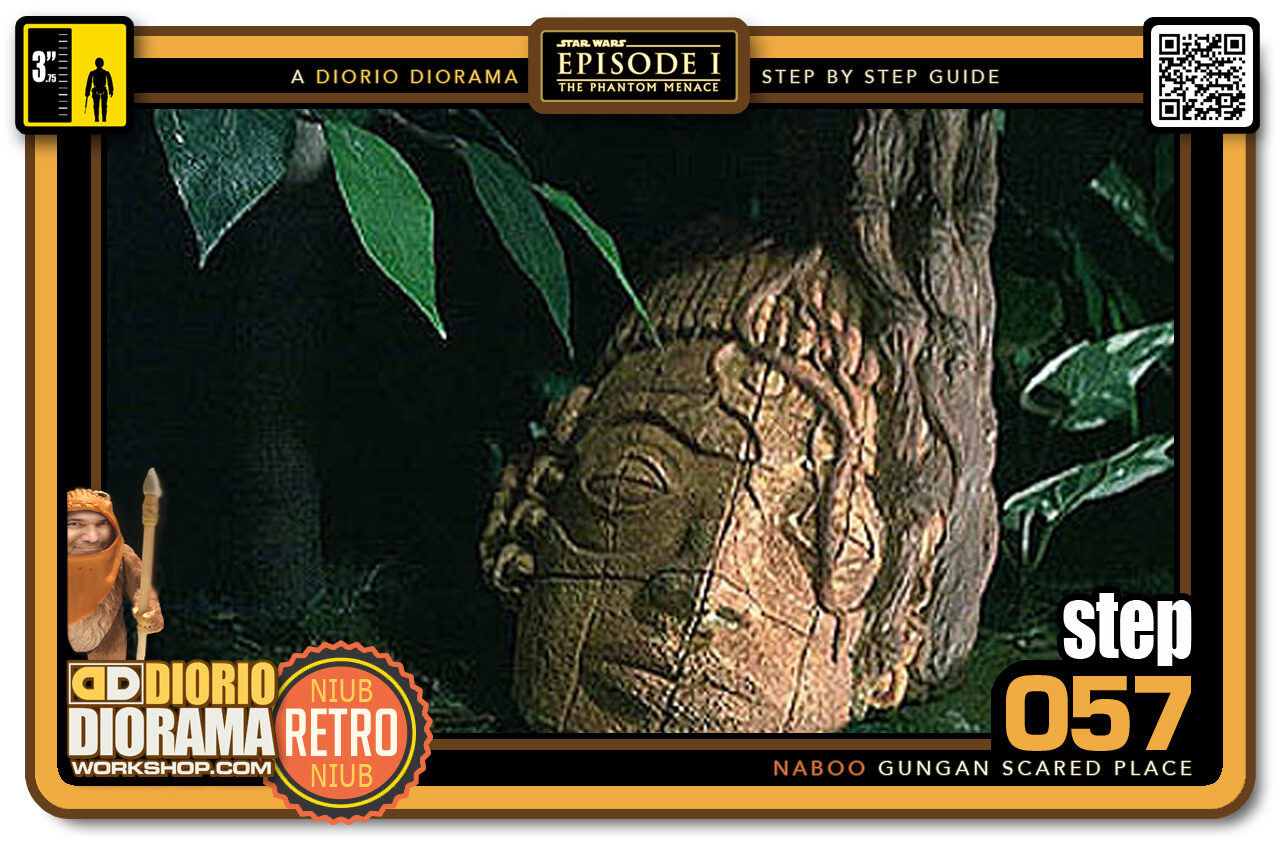
- STEP 057 > Here is the 2nd head with the tree trunk.
-
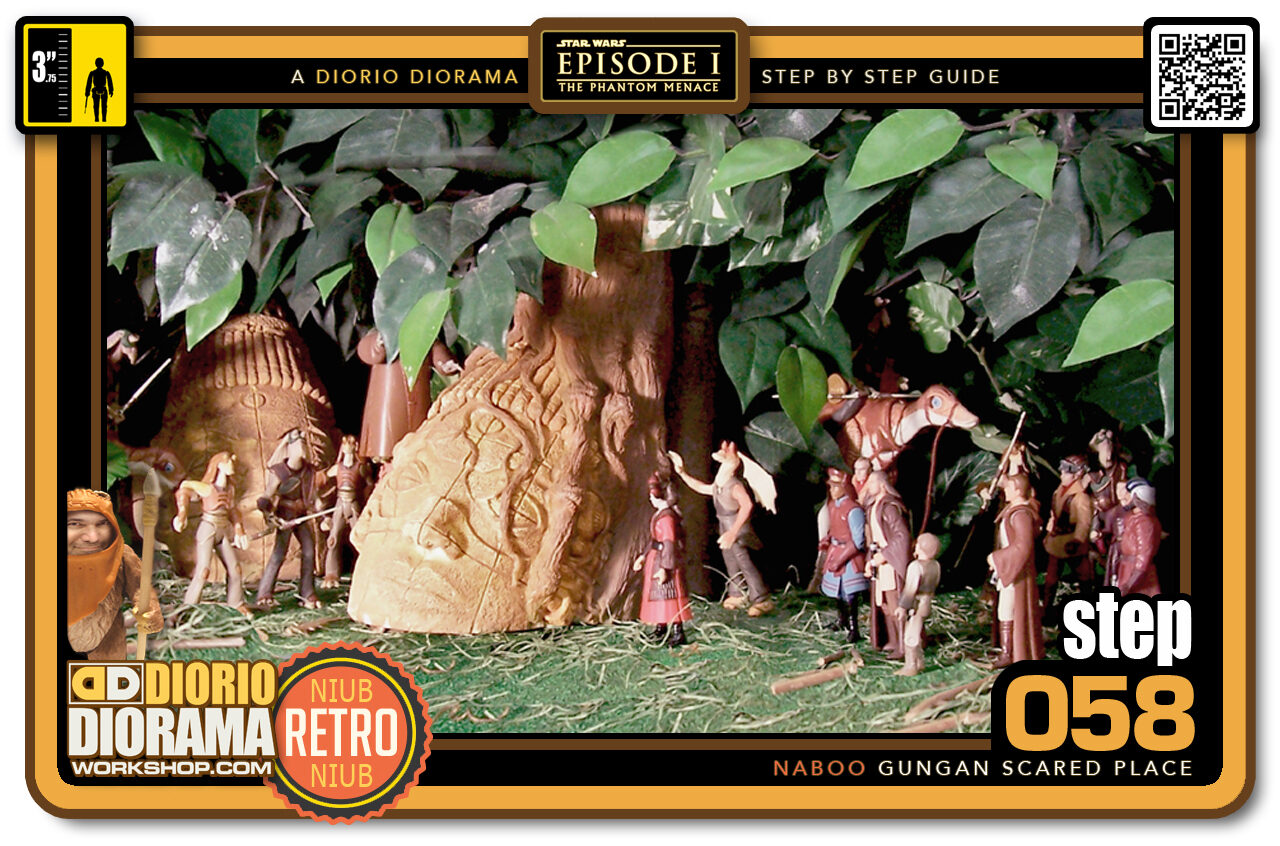
- STEP 058 > Finally I show you a preview of the final diorama. I need to add a few more leaves and some gravel to make a path on the floor. but this is pretty much it. Not bad if I do say so myself 🙂
.
Did you already build this Diorama ? At home or at our Star Wars Celebration Diorama Builders workshop ? Would you like to show it in the site’s GALLERY VISITORS DIORAMAS section, YES ? That is Awesome !!! You can find out all the details on how to email me your photos on the VISITORS SUBMISSIONS INFO page … When I get your photos, I will create your very own page just like this one. You may not realize it but work does inspire others to join in the fun of making Action Figure Dioramas.
.
NOT FOR RESALE ALL Decals, tutorials and artwork are ©FrankDiorio (dioramaworkshop.com) and offered FOR FREE to the fans – that would be you ? so you can build and display my diorama designs in your very own home. I realize I cannot control what one does with my graphics once I place them on the web, I can only ask you as one fan to another, please respect the artist and do not be that jerk who uses my designs and tutorials to build a copy of my work only to sell it on EBAY or trade/sale groups and forums. Thank You. Frank.
.

.
.
If you have a facebook account, why not join the Official Diorama Builders Fan Club today, simply click the logo link below.
 .
.
Catch up with fellow visitors and exchange stories, read cool interviews with the crew, exchange photos, fun surprises and grab some FAN ONLY merchandise next year at actual future conventions ?
.
©2021 Frank Diorio DioramaWorkshop.Com
.
IF YOU LIKE WHAT YOU SEE, PLEASE SHARE WITH YOUR FRIENDS
USING THE SOCIAL MEDIA BUTTONS BELOW