


-
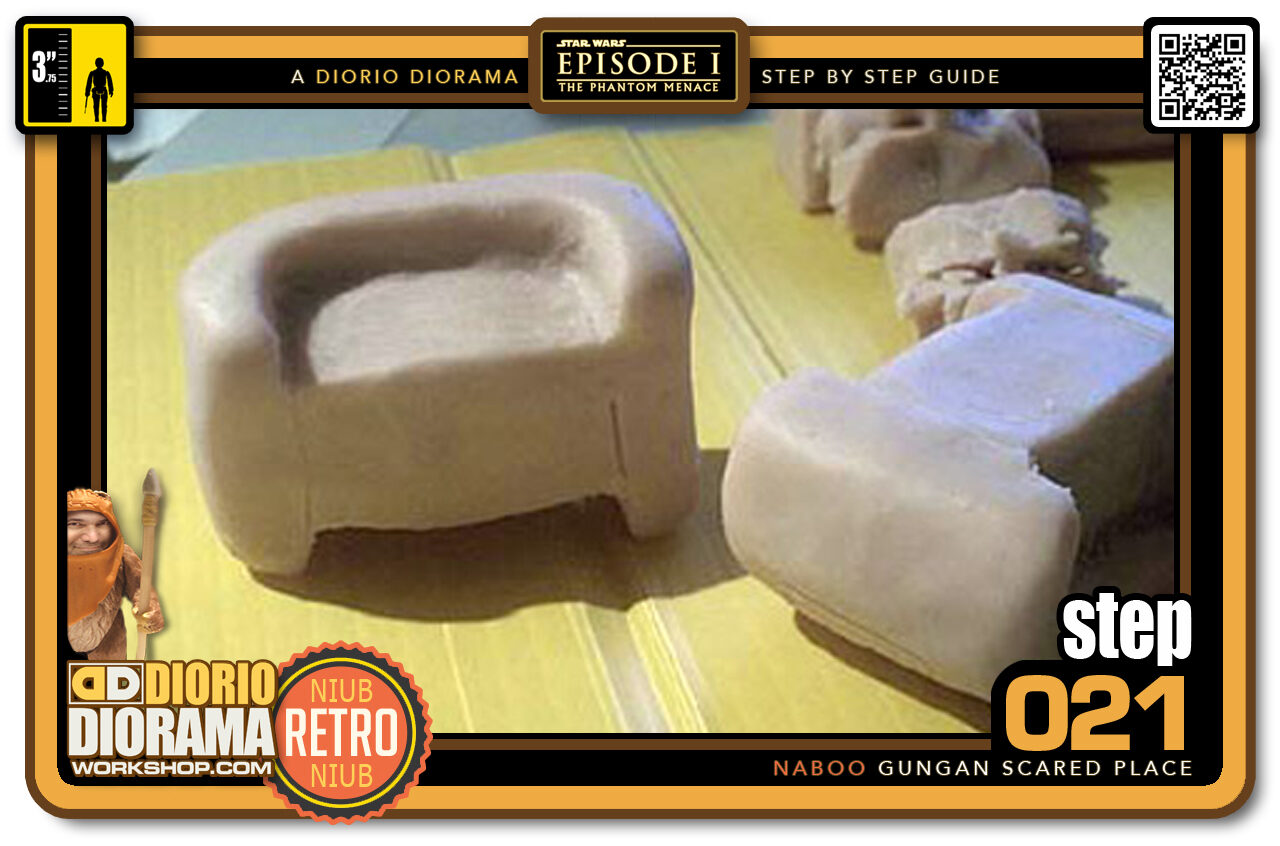
- STEP 021 > Then Cut out grooves for the inside of the ears. This will allow the earrings to fit inside.
-
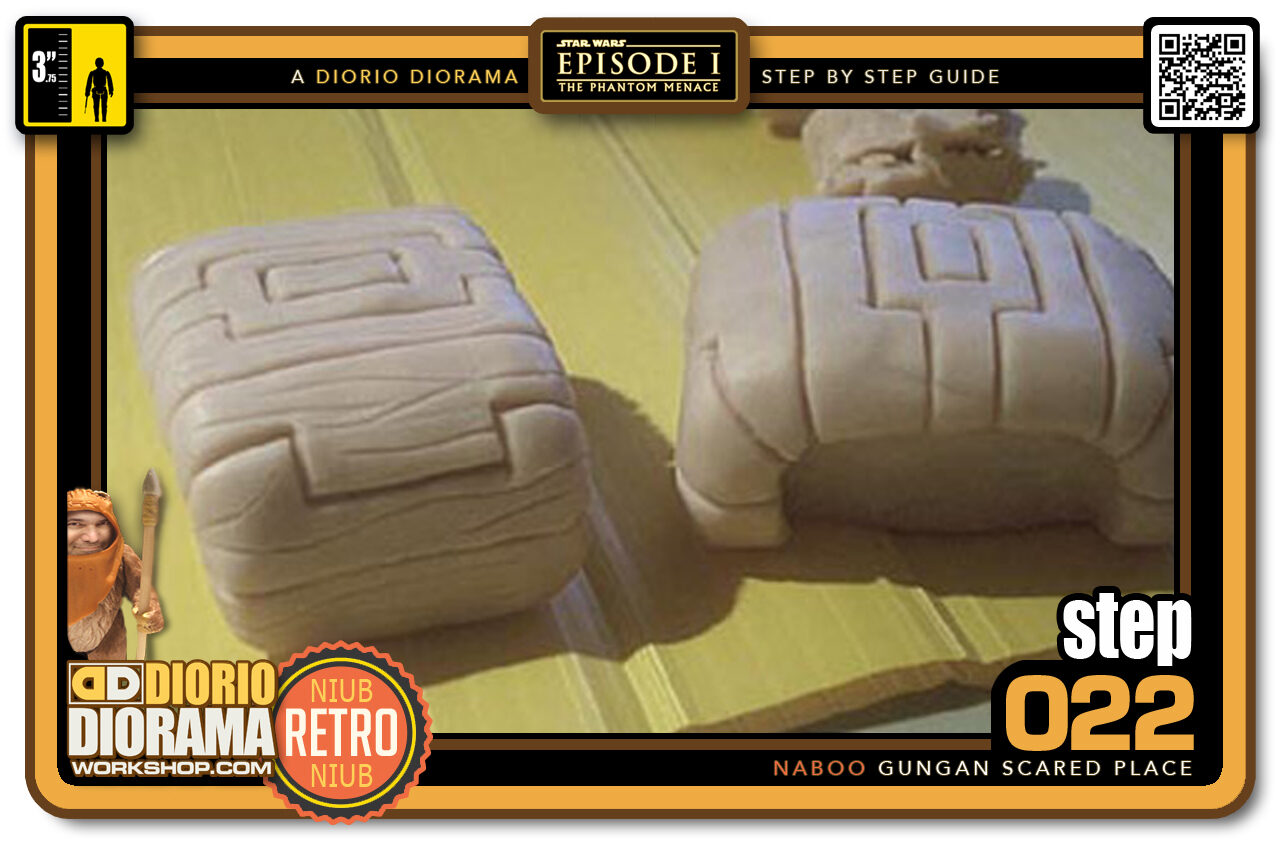
- STEP 022 > I used my instruments to add details just like in the real prop. This is also before applying the stone texture that I've been stamping on since the beginning.
-
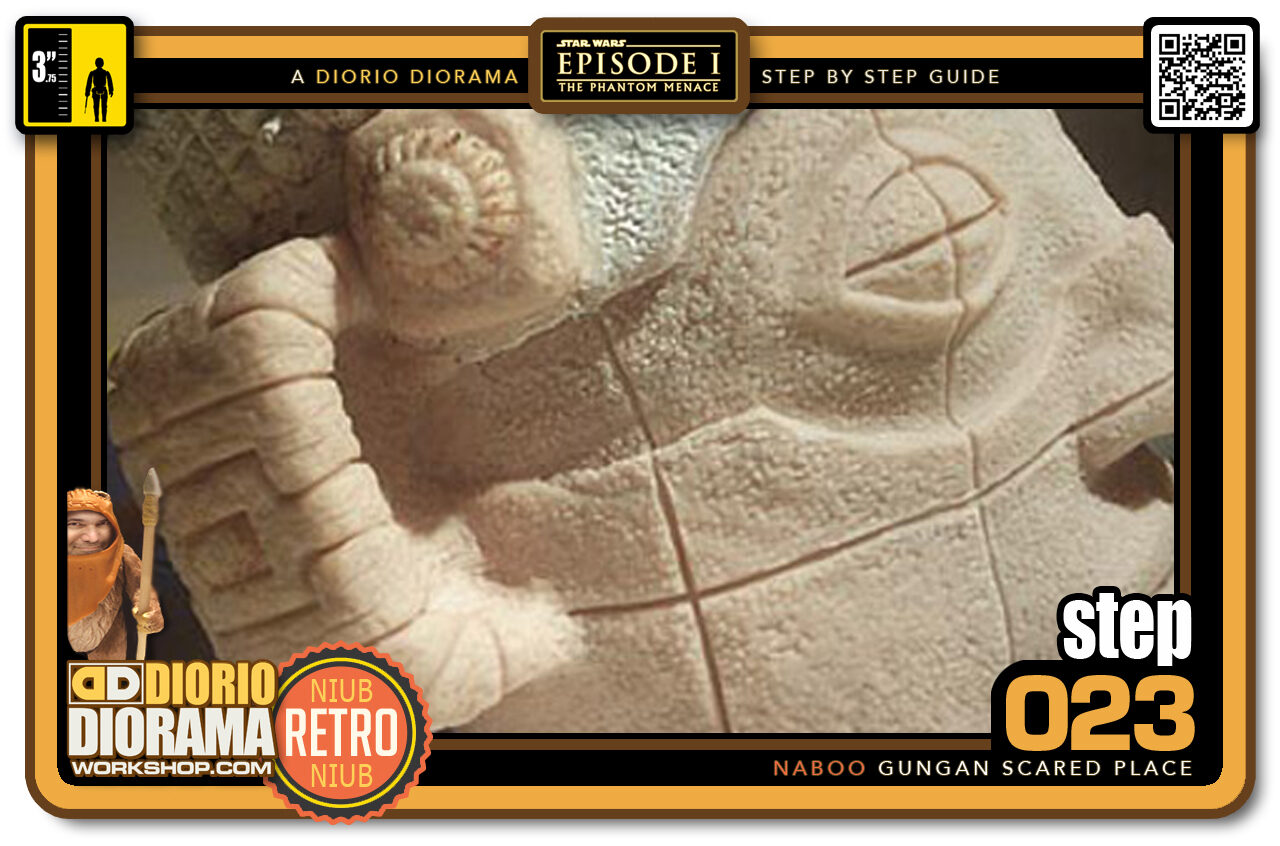
- STEP 023 > Attach the ear to the side of the head and stamp the stone texture.
-
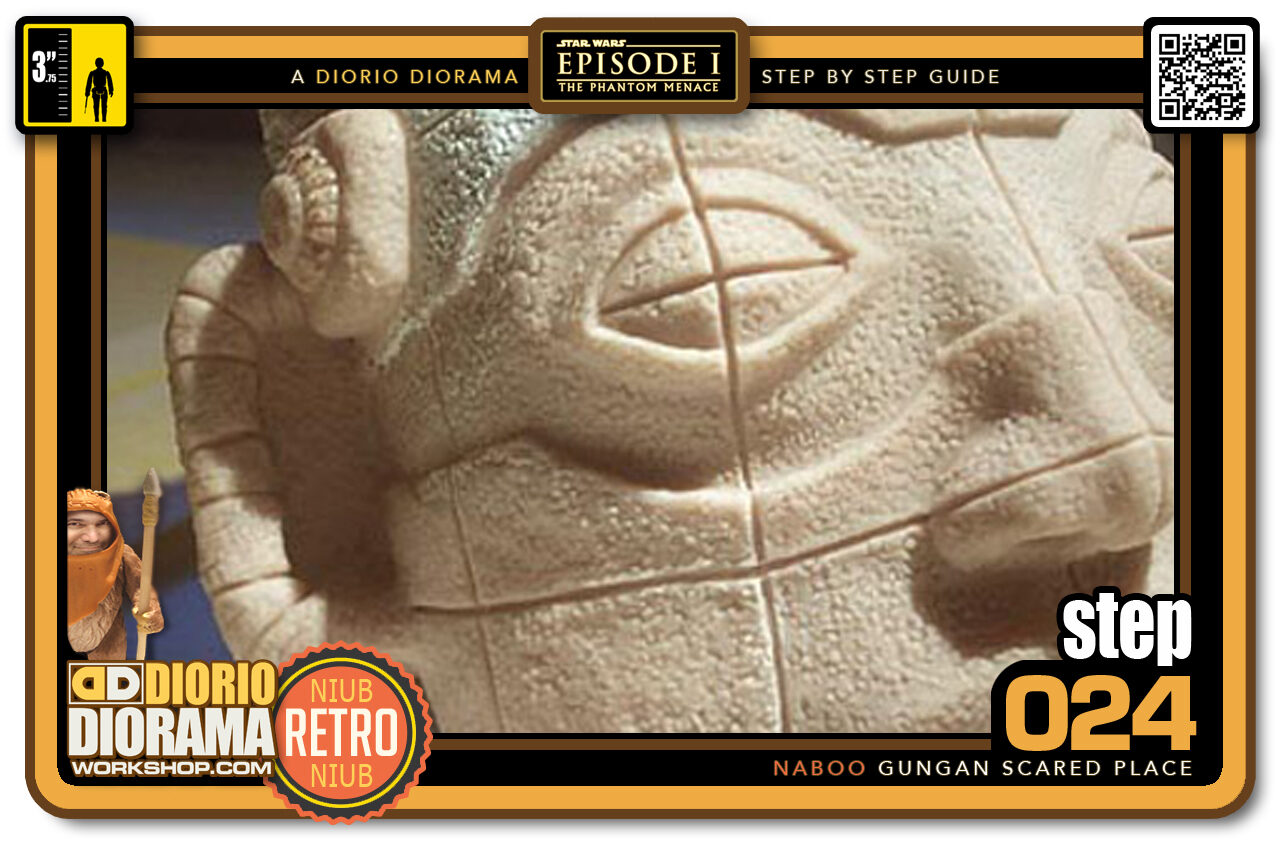
- STEP 024 > Here is a better view of the side so you can see where the ear goes beside the temple piece.
-
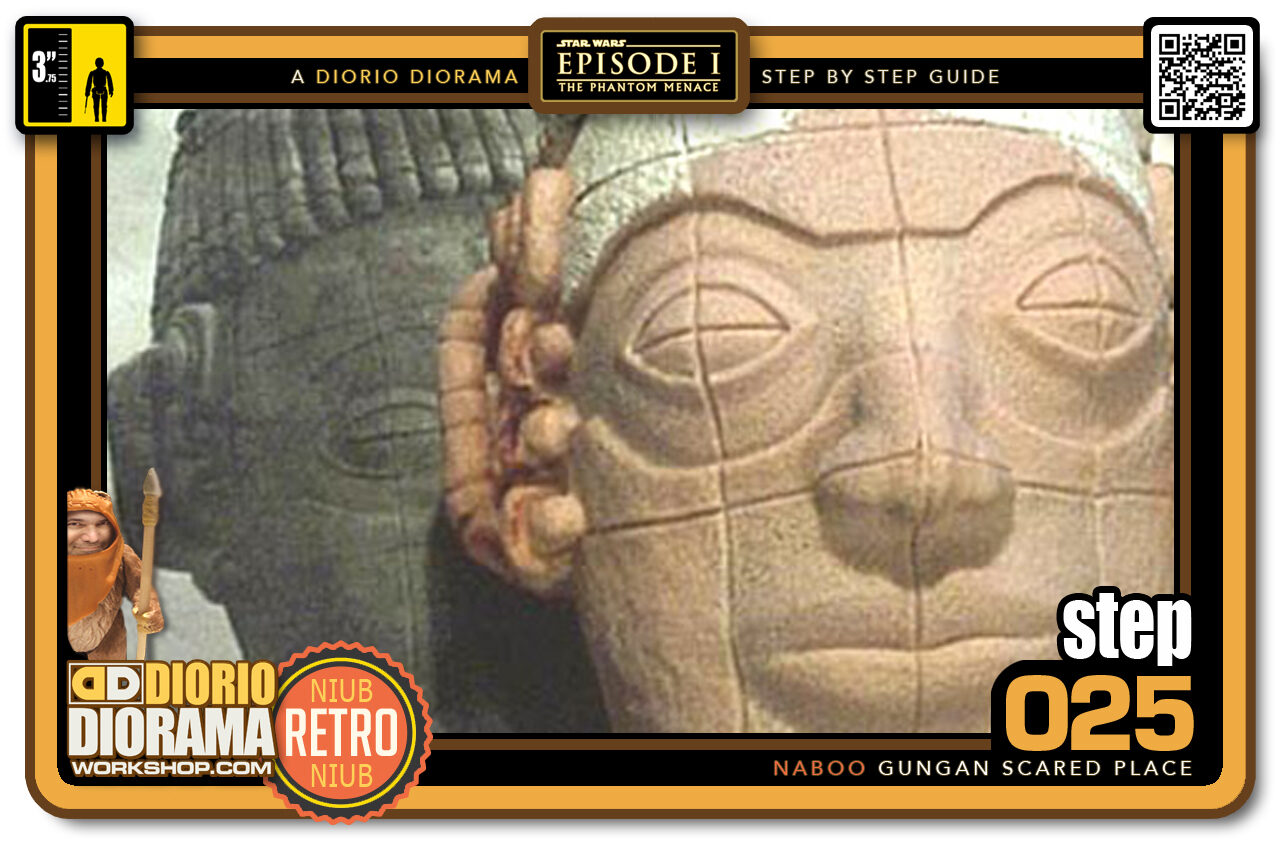
- STEP 025 > Now for the earrings. 3 on each side. 2 inside the ear and 1 at the bottom. I know it's ugly now and looks gross, I heated them up a bit too much and burned the poor things.
-
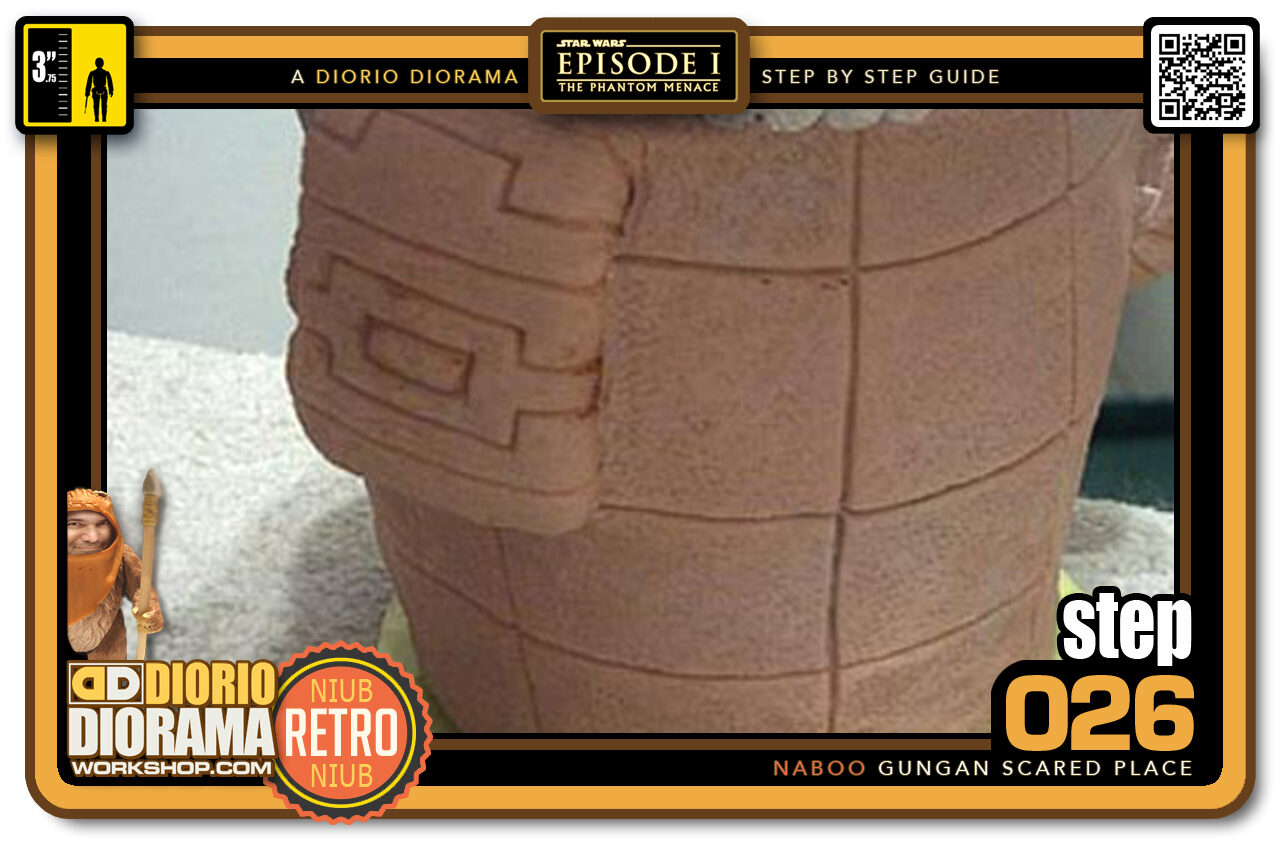
- STEP 026 > After completing the sculpt I found a perfect reference of the profile on the Episode 1 Insider's Guide CD. Now why I did not look at this last year I don't know, would have saved me a lot of trouble. The back of the head is much fatter then what I thought. So I removed the back earrings I had made on Page 7, and added an extra layer of Sculpey.
-
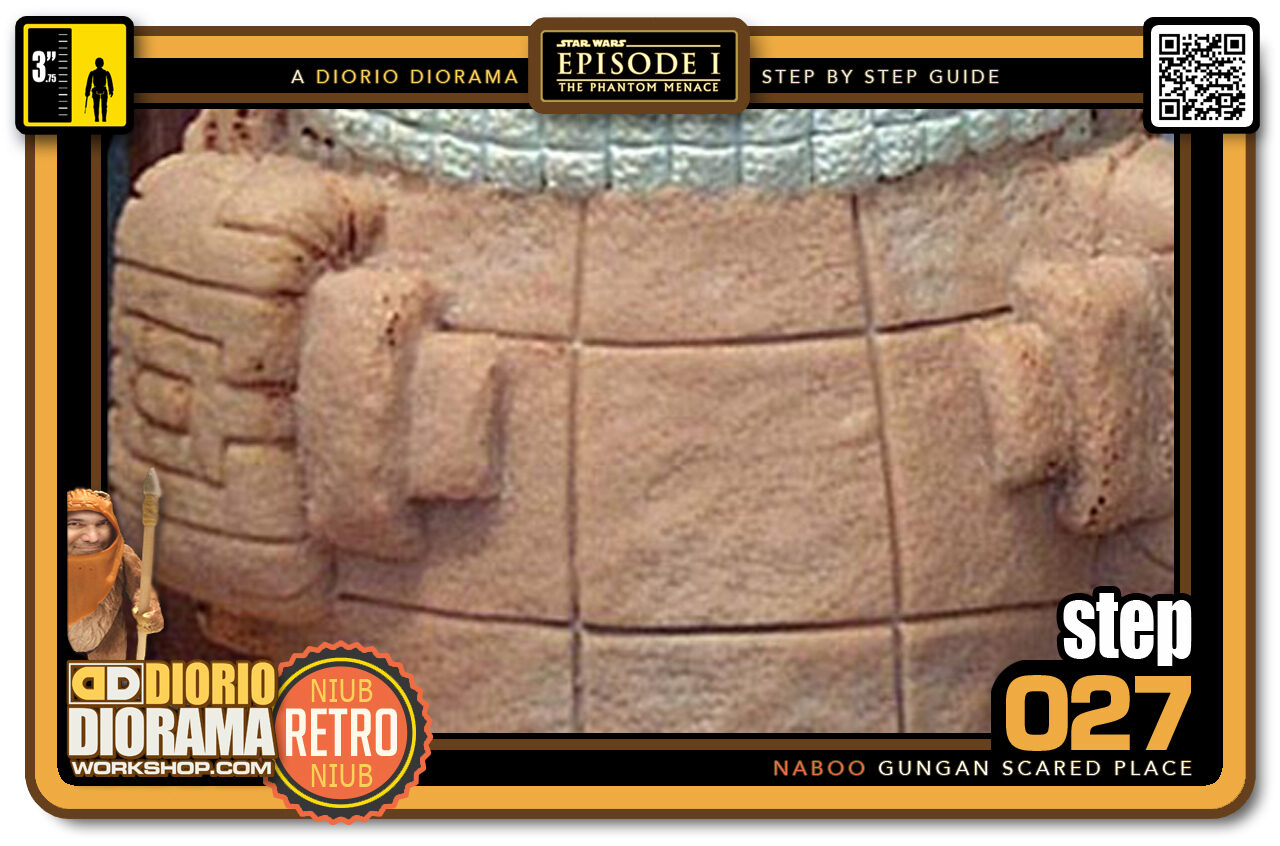
- STEP 027 > The back of the ears also have ornaments. I made a tiny rectangle and wrapped a thick slice of Sculpey over it and then attached it to the ear's back. Applied the now famous stone texture and heated them up with the paint stripper gun.
-
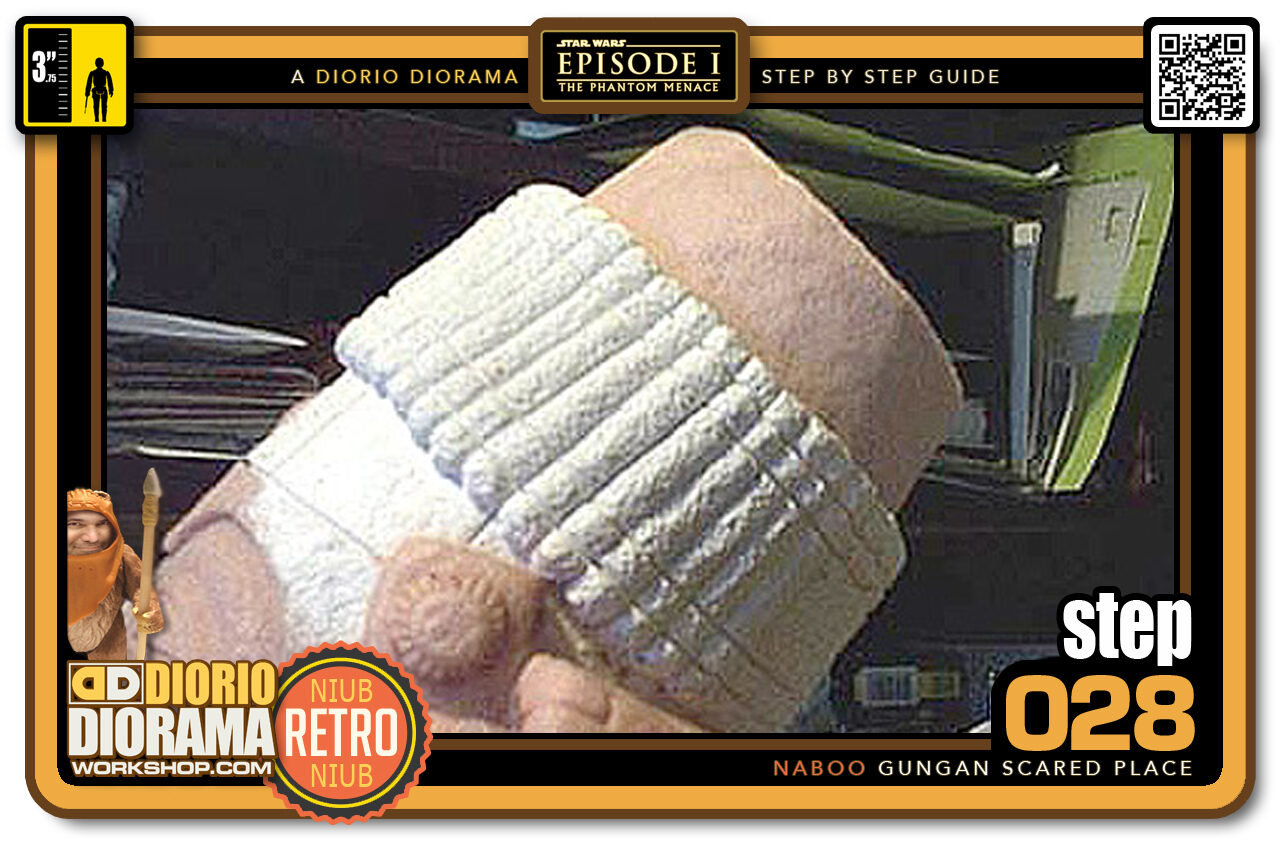
- STEP 028 > Now we must finish the hat piece. I started with a ball of Plasticine (much cheaper then sculpey) on the top of the hat and shaped it like a cake. I then wrapped a thin strip of Sculpey all the way around the shape, like if you were icing a cake.
-
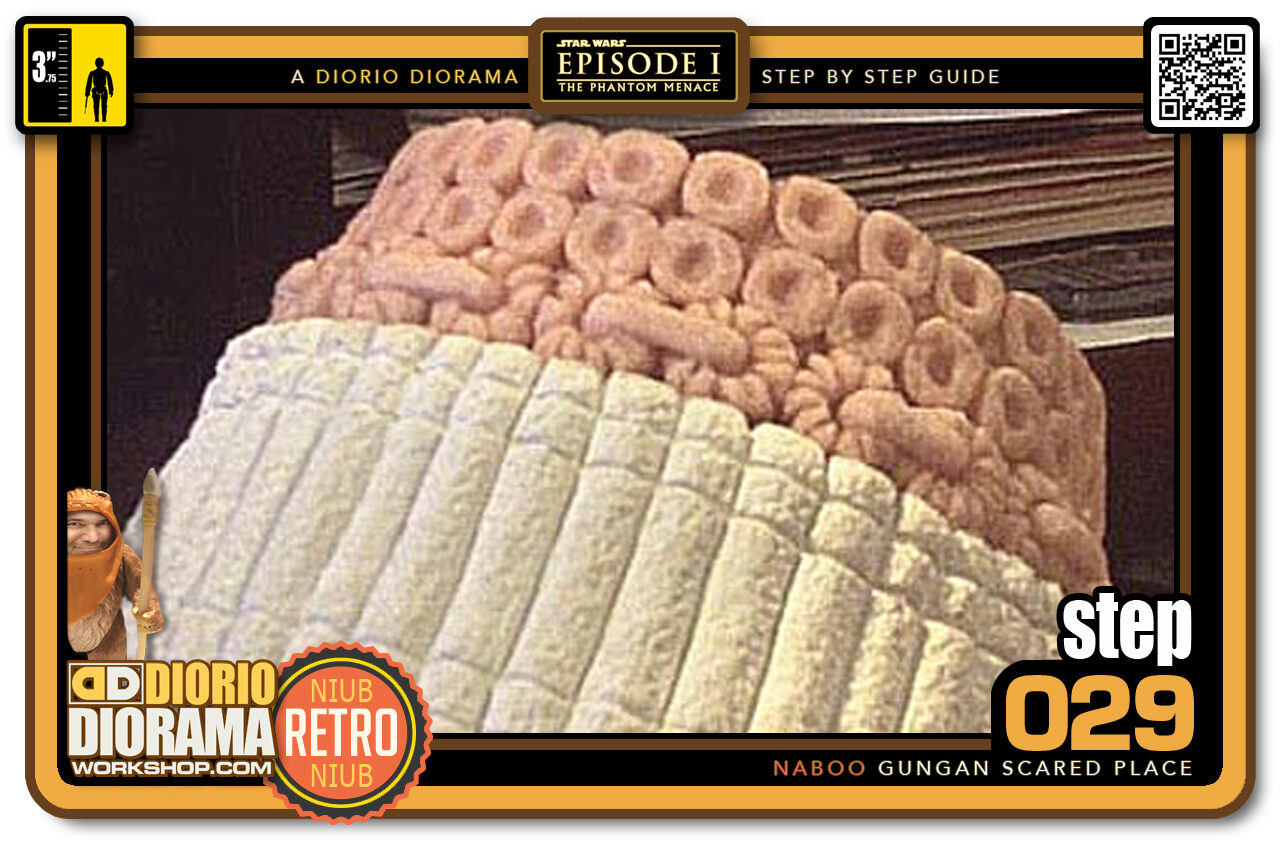
- STEP 029 > Next came the painful part. I hope you have patience...I thought those curlers were boring to make...HA!. Now came the time to make little flower things and cheerios that circle the entire hat. Just make each piece and stick it to the thin strip. Last step was to add a "snake" shape between each 2 flower things. Stamp everything very delicately when completed and use the paint stripper gun to harden your creation before you accidentally squish something 🙂
-
-
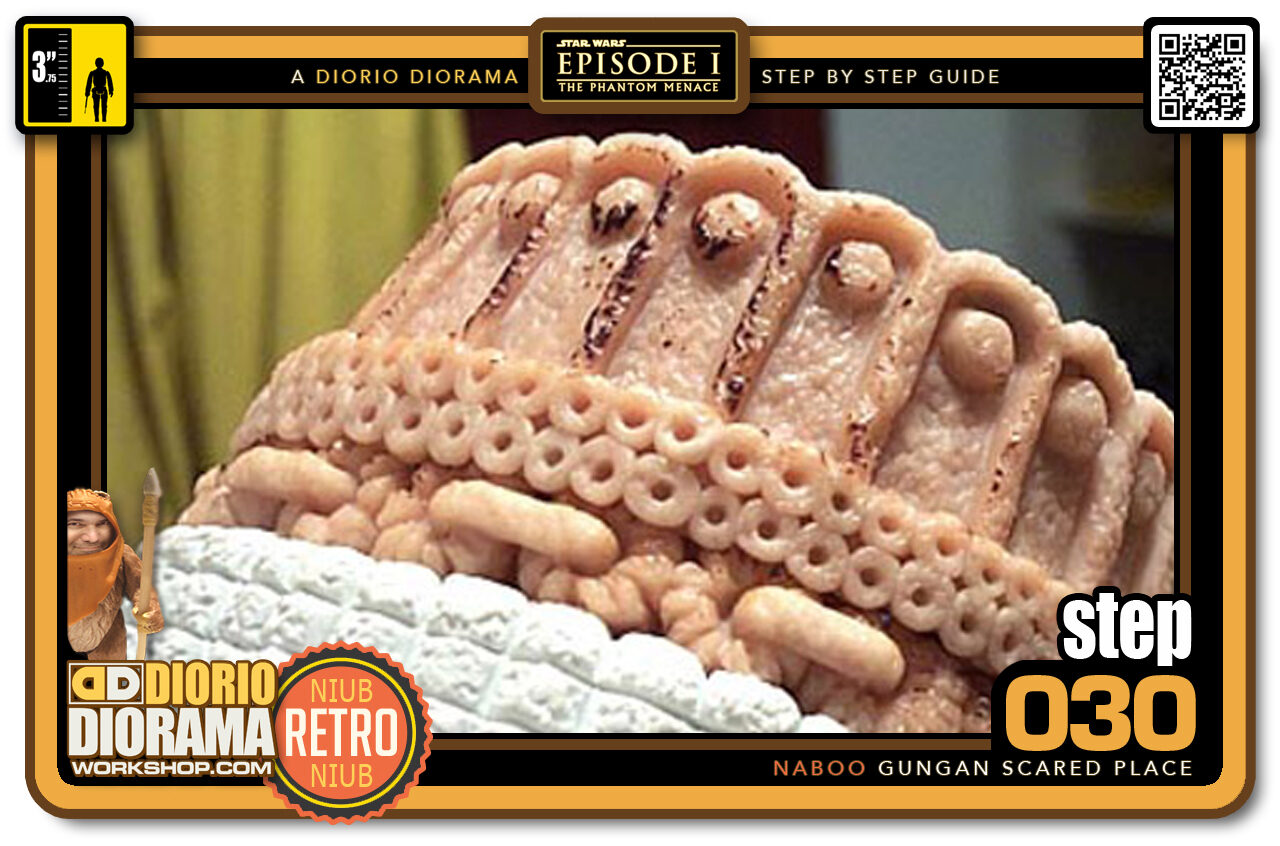
STEP 030 > When I started making the next level on the hat I noticed the "cheerios" were too big. Examining the reference closely I noticed that the 2 levels of rings were the height of 1 of the "cherios". So what did I do? Time to start over 🙂 I used an exacto knife and cut off the top row of "cheerios" and then made 120 little balls that I placed, and squished with my spatula tool. I then took a toothpick and poked holes in the centre.
Now the scale is accurate. I then added a 1.5 inch strip all the way around the top. Used the tools to create arches all the way around and placed little balls of Sculpey inside each arch. A jedi has much patience - LOL.
-
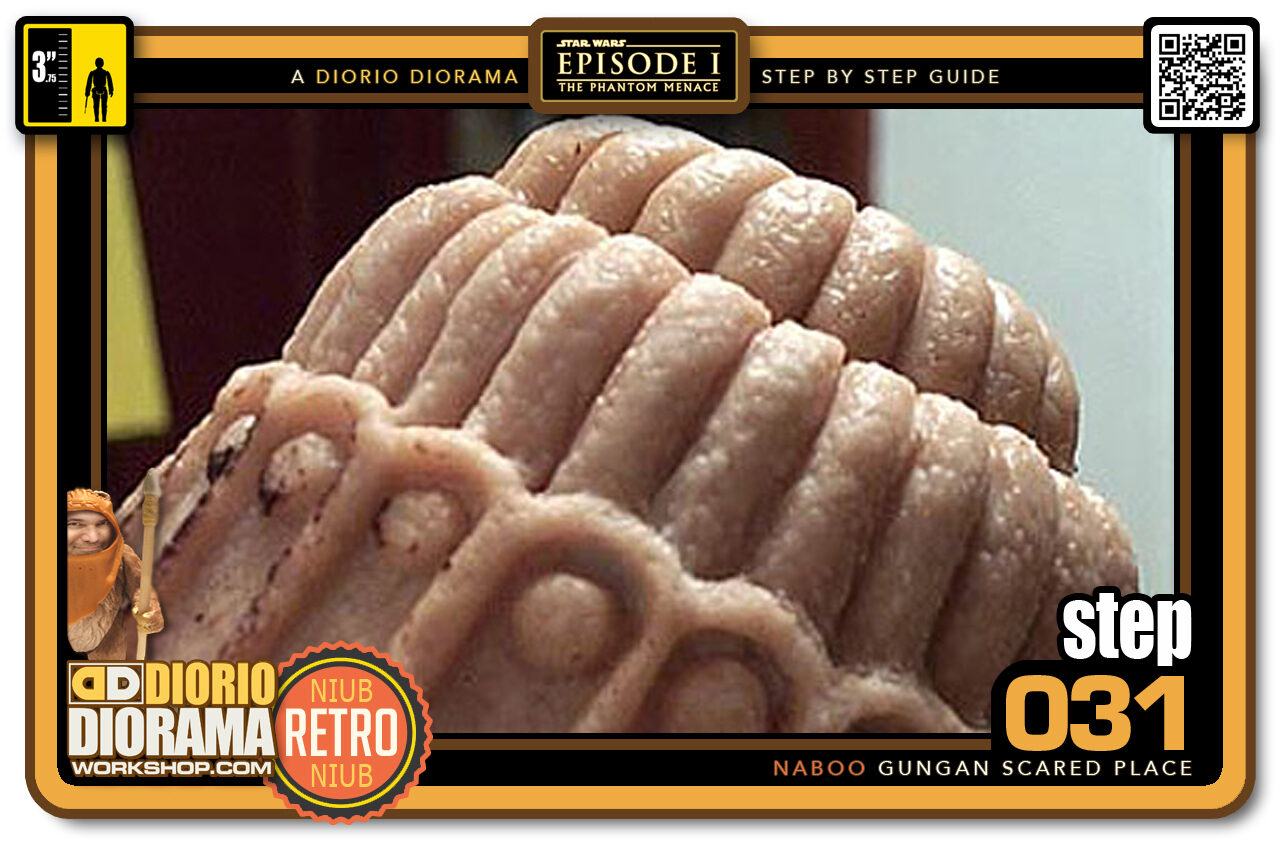
- STEP 031 > Now comes the easiest part of the "hat" just make a snake with the Sculpey and cut at 1 inch intervals. Then Put them one next to each other and close them at the top. Use the stamp to give it the rough stone texture and Voila!!! (that's french) it's done
-
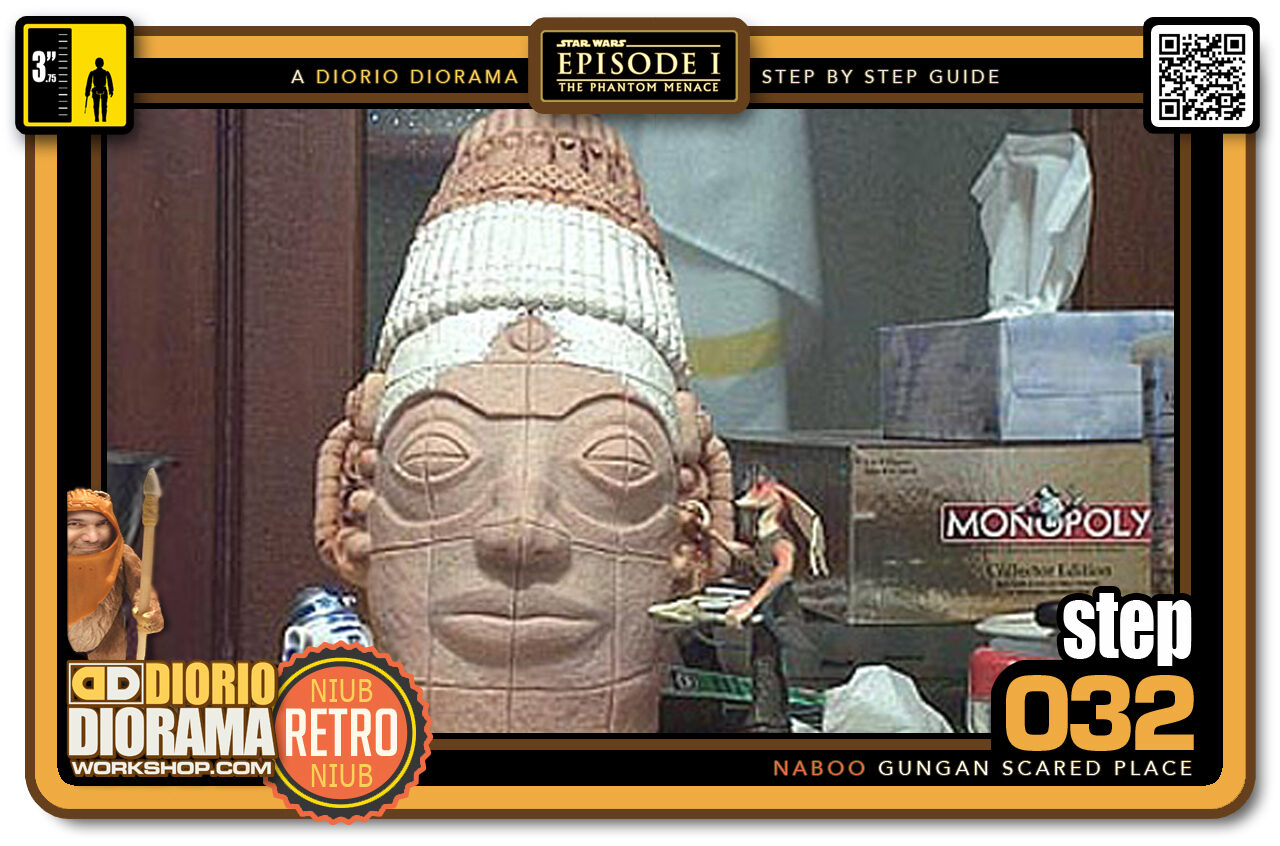
- STEP 032 > After 67 hours of sculpting, here is the finished product. not bad if I do say so myself 🙂 I added R2 and Jar Jar to show you the scale of the piece. Now I will let it harden a day or 2 more and I will be ready to make the mould.
-
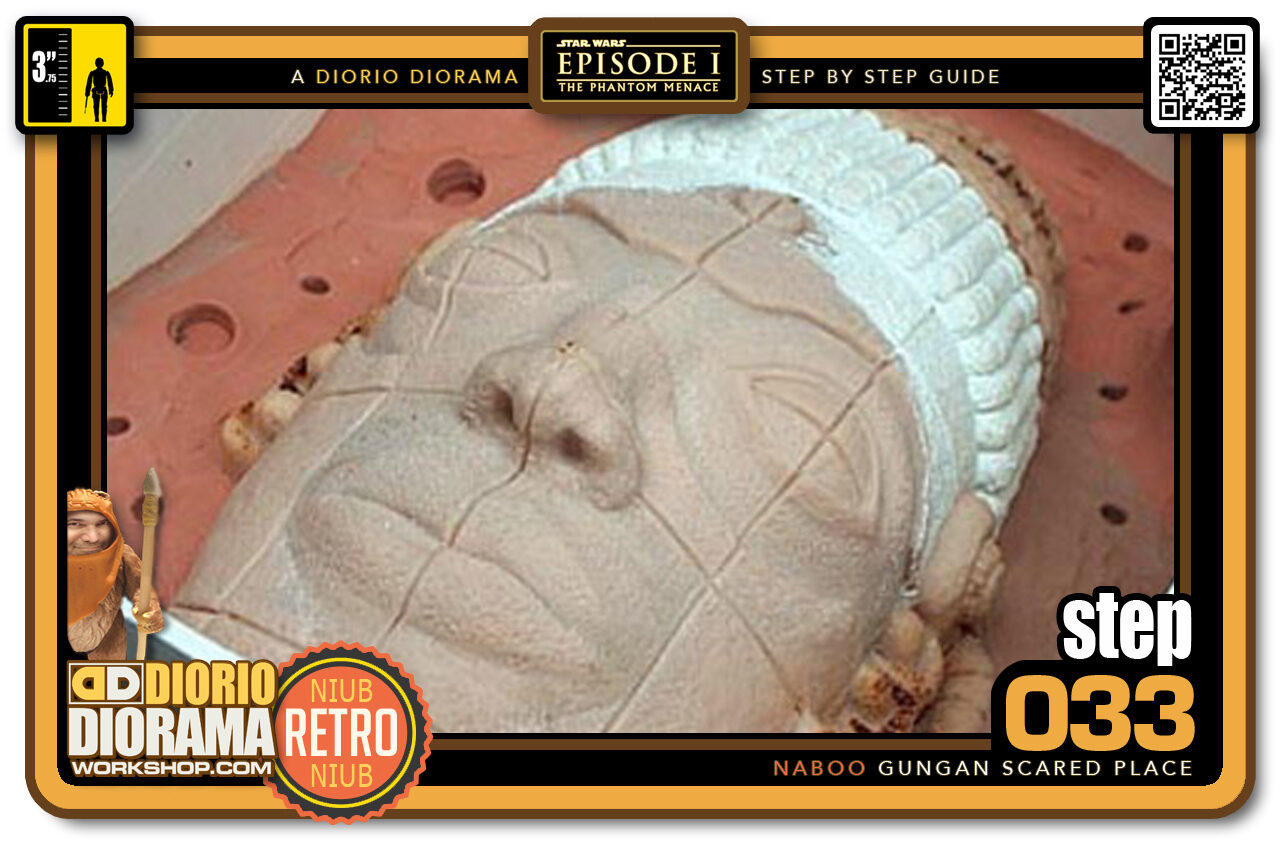
- STEP 033 > Time to make a mould. First I made a box that allowed 2 inches all around the head. Next step is to surround the head with Plasticine at the halfway mark of the head. This is where the 2 moulds halves will meet and facilitate the removal of the positive when copies are made. You then must make holes all around the flat surface so that you create "keys" that will lock and keep the 2 halves from slipping and making a deformed head positive.
-
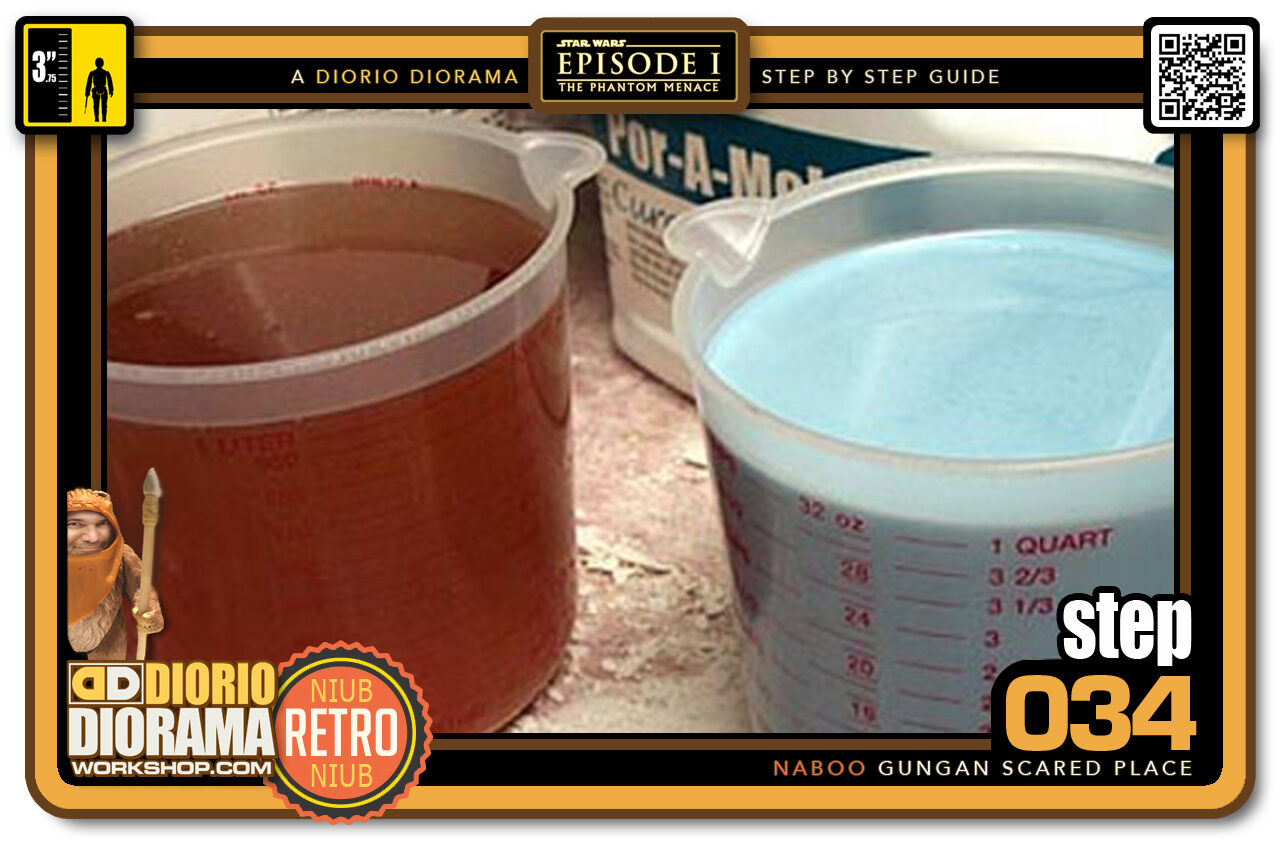
- STEP 034 > This is what the silicone mould material looks like. It consists of 2 parts, a resin (like honey) and a hardener (Luke's blue milk - LOL - like cake batter really). You measure equal amounts of both and mix both in a clean bigger bowl. you have 20 minutes to pour before the silicone starts to harden.
-
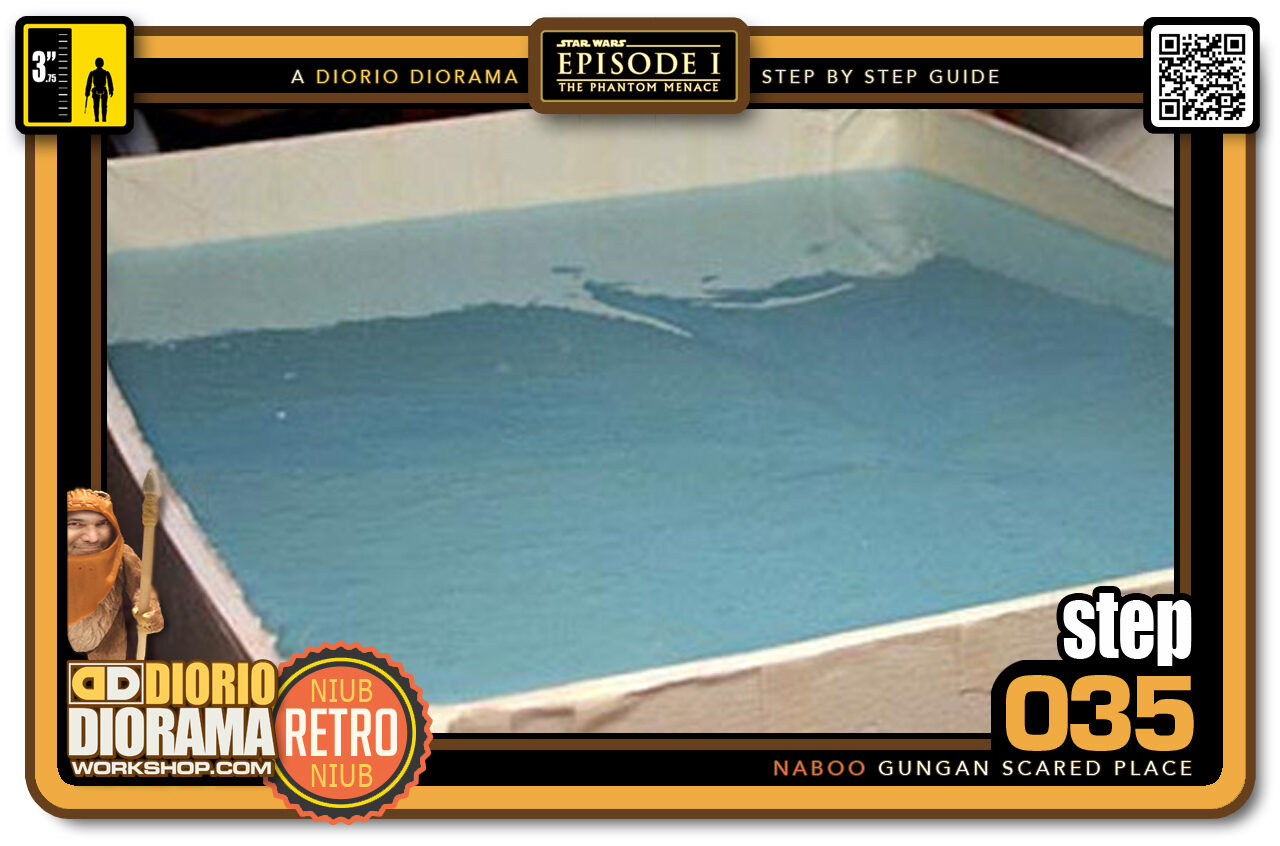
- STEP 035 > Then I poured the mixture slowly in the corner of the box, to prevent bubbles from forming and making holes when the silicone is hard. Holes are the enemy 🙂 Because of the size of the head it took the entire gallon to fill - all $145 worth. If anyone knows a cheaper product let me know - LOL. I have ordered another batch so the mould lesson will continue next week.
-
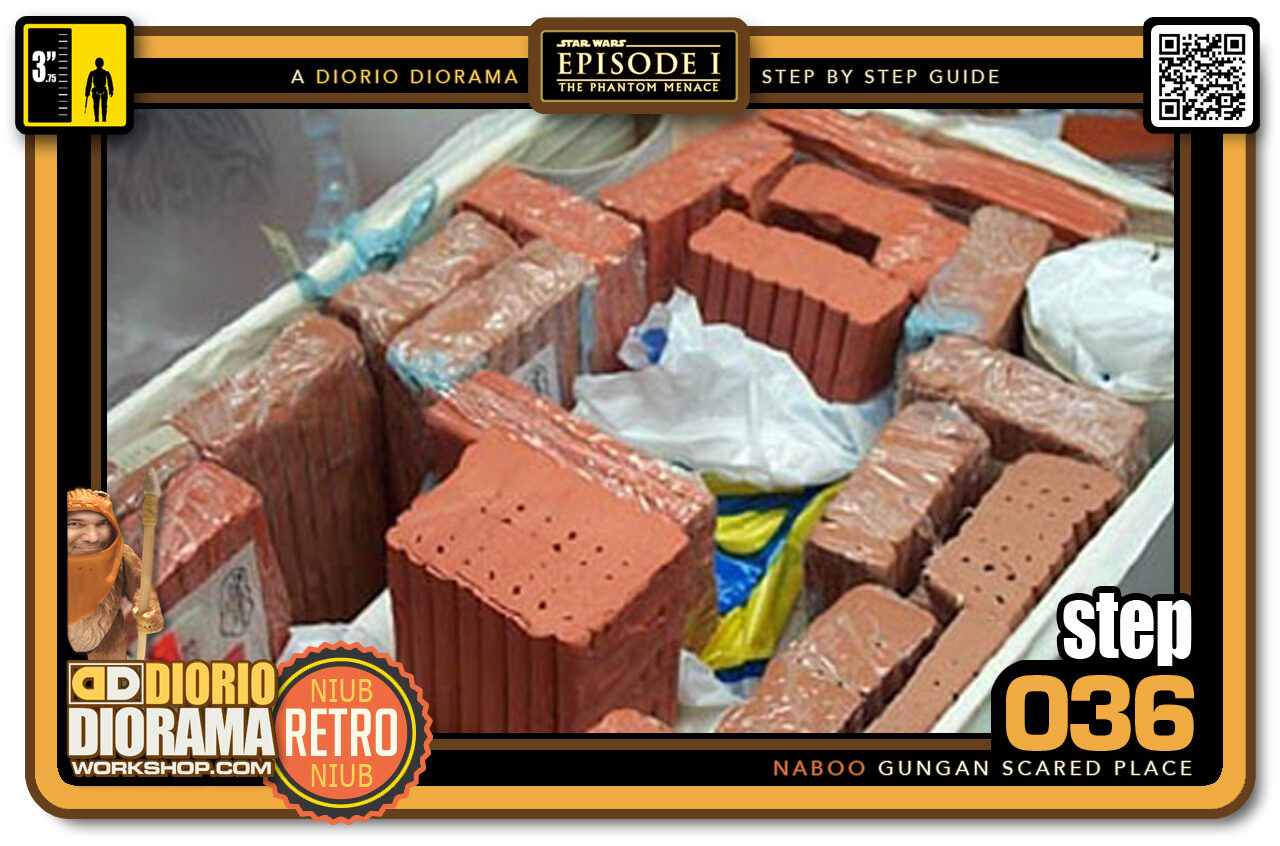
- STEP 036 > Now it's time to mould the other half. I flipped the box upside down, and removed the foamcore that was the bottom of the box. You can see how I stacked the plastiscine to support the head sculpt.
-
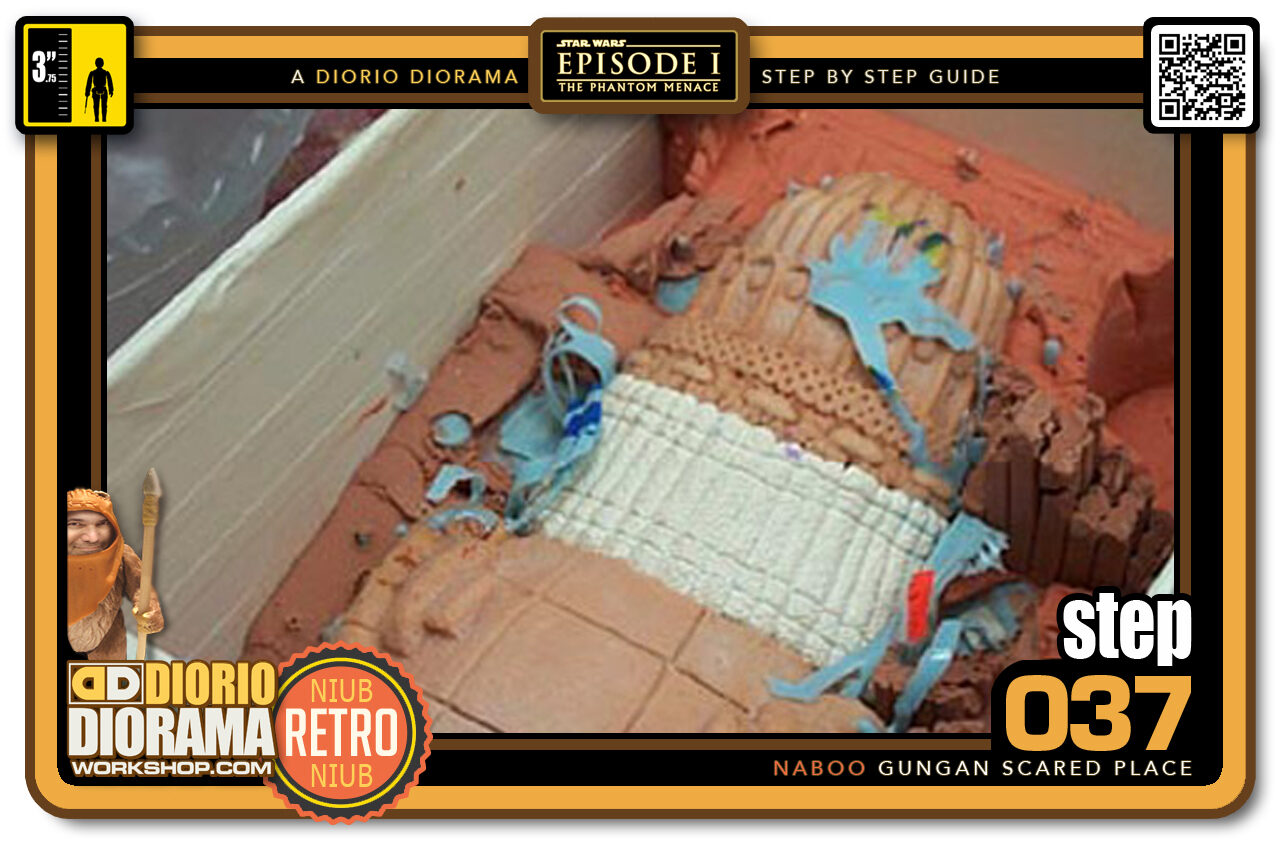
- STEP 037 > I have removed the Plasticine bricks and we can now see the exposed back of the statue sculpt. The blue goo is the silicone that leaked into the bottom half. We will get rid of that before pouring the other half.
-
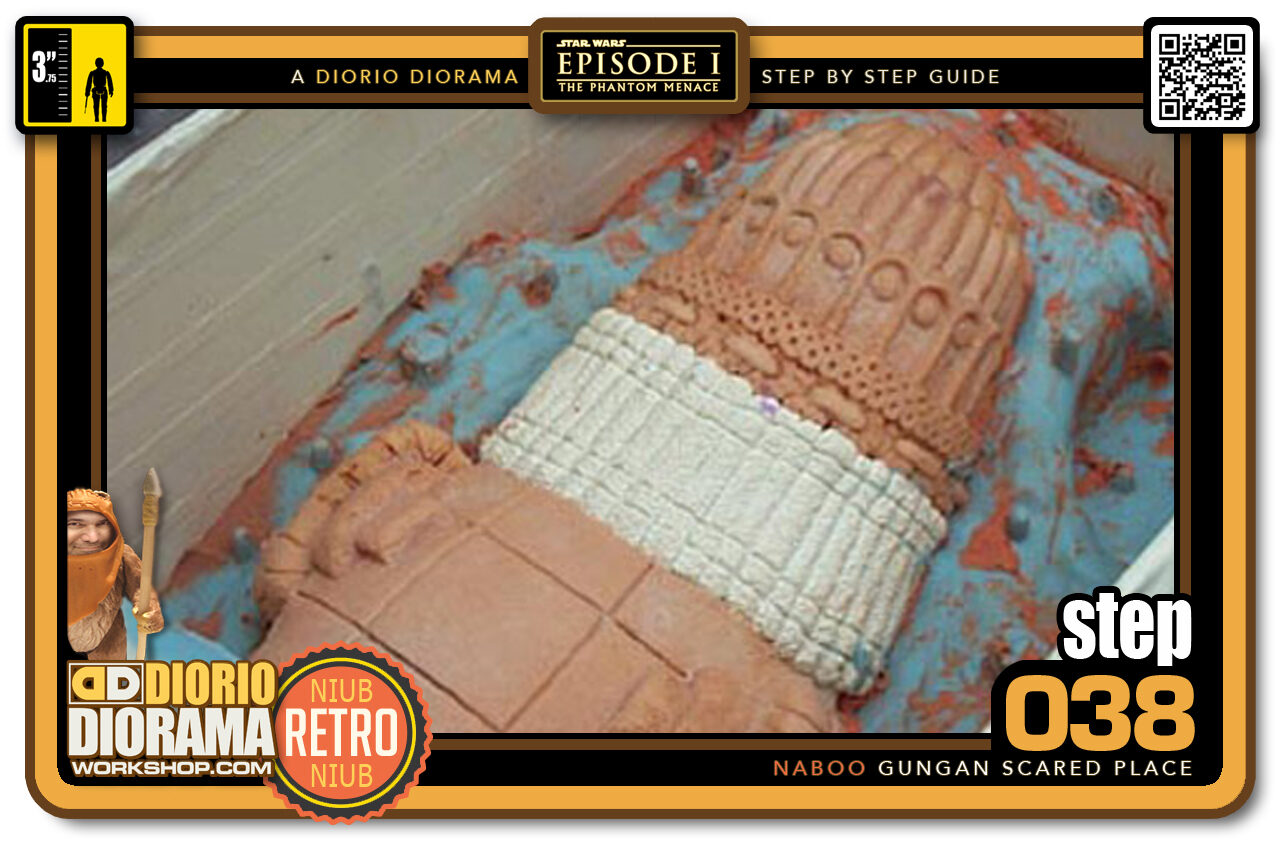
- STEP 038 > Most of the excess Plasticine is now removed. You can now see the blue which is the hardened silicone mould that was poured over the face last Saturday. I now spray the entire exposed area with a release agent to prevent the 2 halves from gluing together and then I am ready to pour the silicone mixture into the box.
-
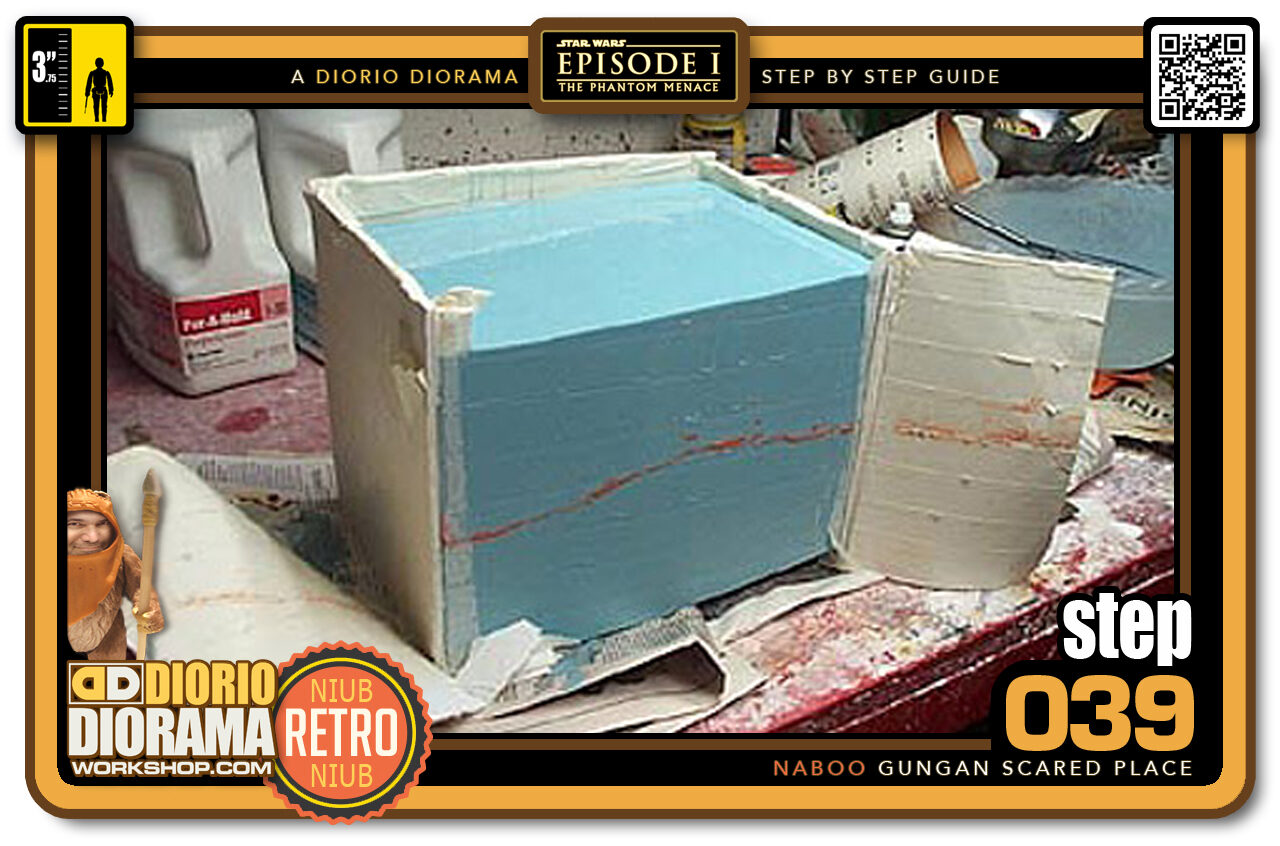
- STEP 039 > The mould is now cured and we can open it. First step is obvious, remove the cardboard or foamcore casing that was once your box. You can see the line here where the 2 pieces join together.
-
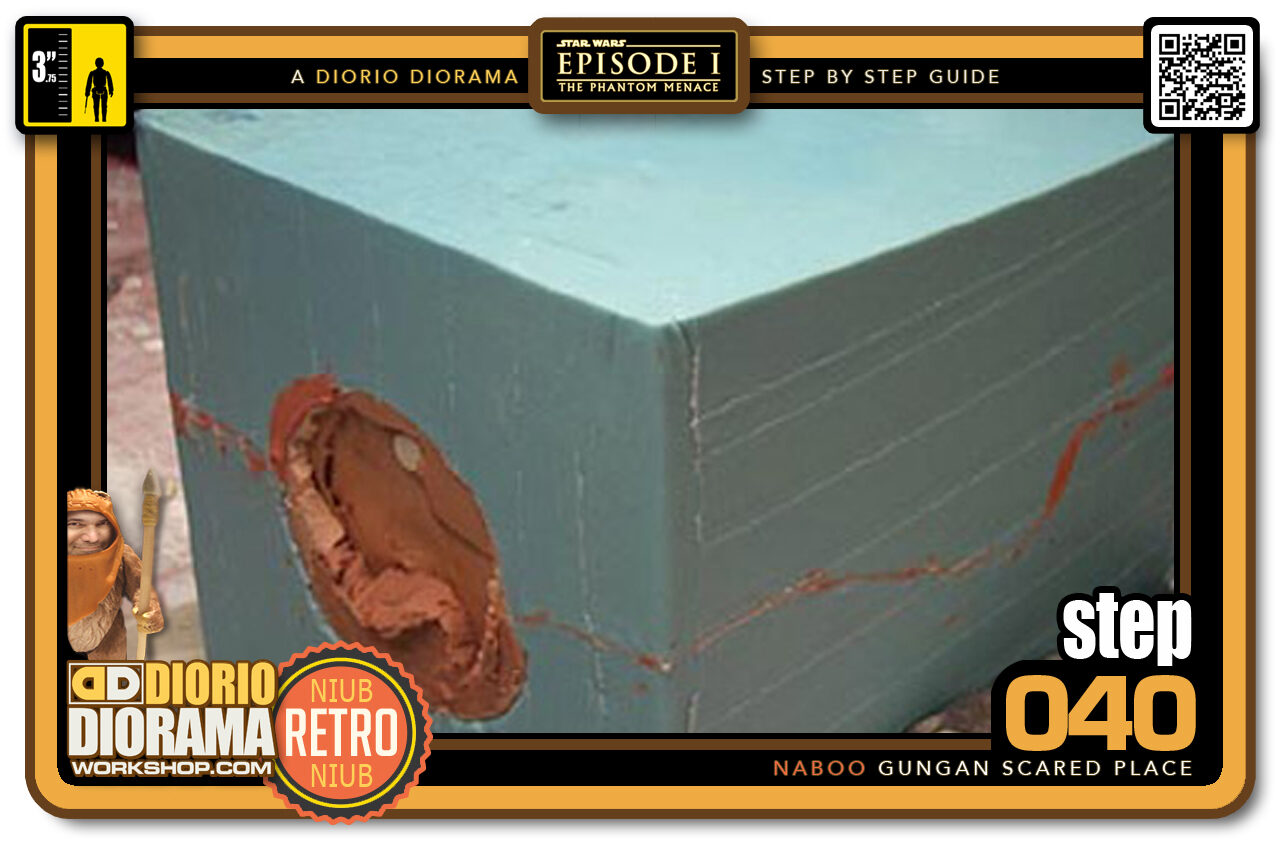
- STEP 040 > Once the box is removed this is what your mould will look like. The hole on the left is the base of the head where we will pour the liquid to make our positive copies. Now use a wooden spatula - NO METAL PLEASE or you will tear the mould - and start spreading the 2 parts apart.
.
Did you already build this Diorama ? At home or at our Star Wars Celebration Diorama Builders workshop ? Would you like to show it in the site’s GALLERY VISITORS DIORAMAS section, YES ? That is Awesome !!! You can find out all the details on how to email me your photos on the VISITORS SUBMISSIONS INFO page … When I get your photos, I will create your very own page just like this one. You may not realize it but work does inspire others to join in the fun of making Action Figure Dioramas.
.
NOT FOR RESALE ALL Decals, tutorials and artwork are ©FrankDiorio (dioramaworkshop.com) and offered FOR FREE to the fans – that would be you ? so you can build and display my diorama designs in your very own home. I realize I cannot control what one does with my graphics once I place them on the web, I can only ask you as one fan to another, please respect the artist and do not be that jerk who uses my designs and tutorials to build a copy of my work only to sell it on EBAY or trade/sale groups and forums. Thank You. Frank.
.

.
.
If you have a facebook account, why not join the Official Diorama Builders Fan Club today, simply click the logo link below.
 .
.
Catch up with fellow visitors and exchange stories, read cool interviews with the crew, exchange photos, fun surprises and grab some FAN ONLY merchandise next year at actual future conventions ?
.
©2021 Frank Diorio DioramaWorkshop.Com
.
IF YOU LIKE WHAT YOU SEE, PLEASE SHARE WITH YOUR FRIENDS
USING THE SOCIAL MEDIA BUTTONS BELOW