


-
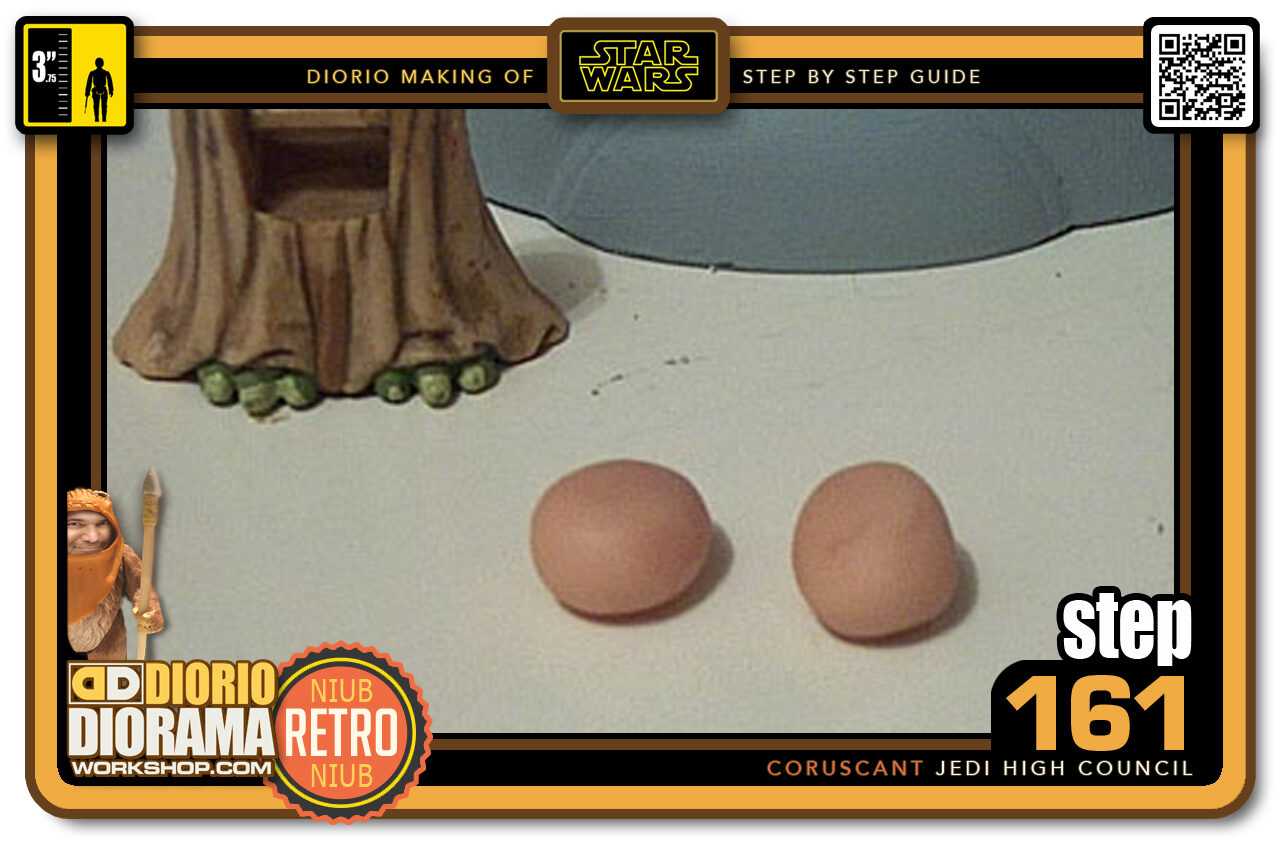
- Step 161 >> For the feet, I rolled 2 tiny balls of Super Sculpey the size of Yoda's hands.
-
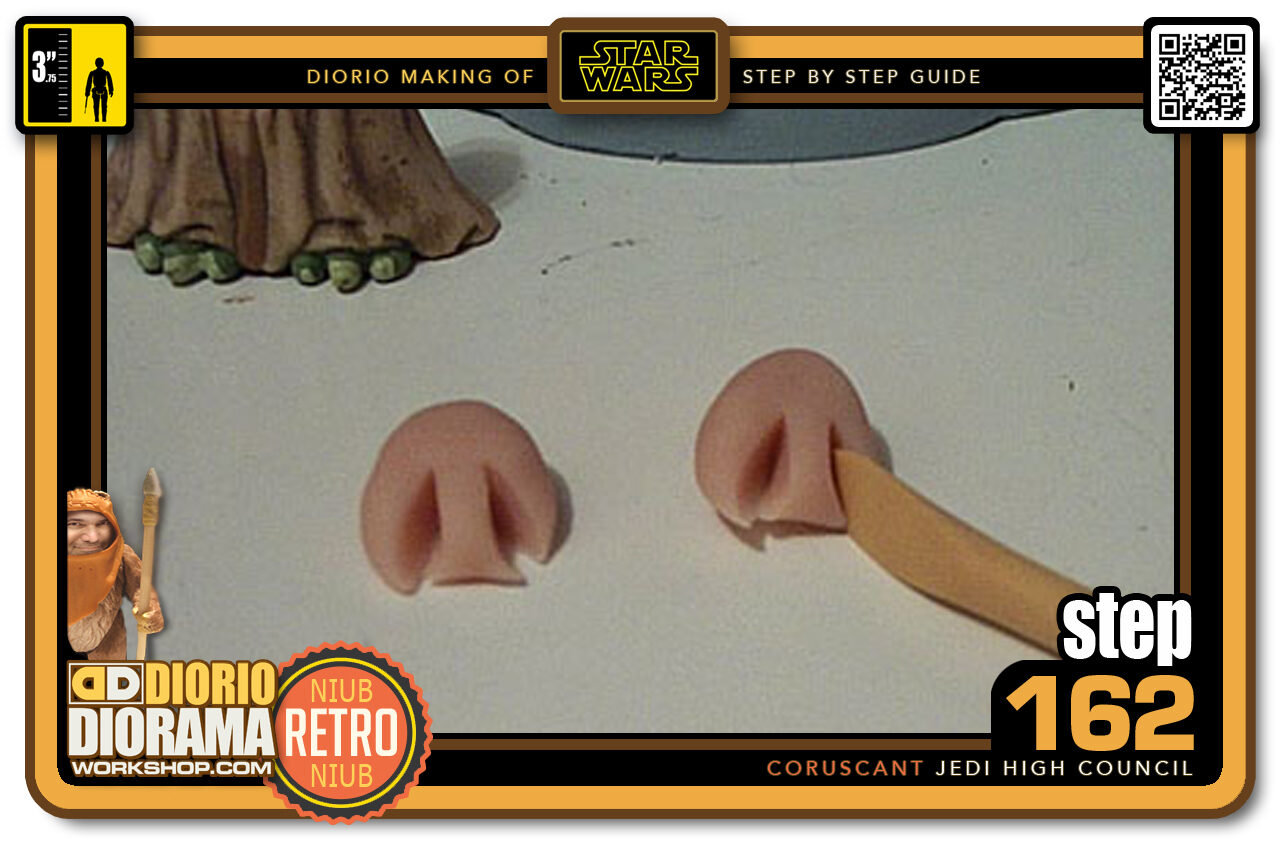
- Step 162 >> Cut 2 slits into the balls to make Yoda's toes.
-
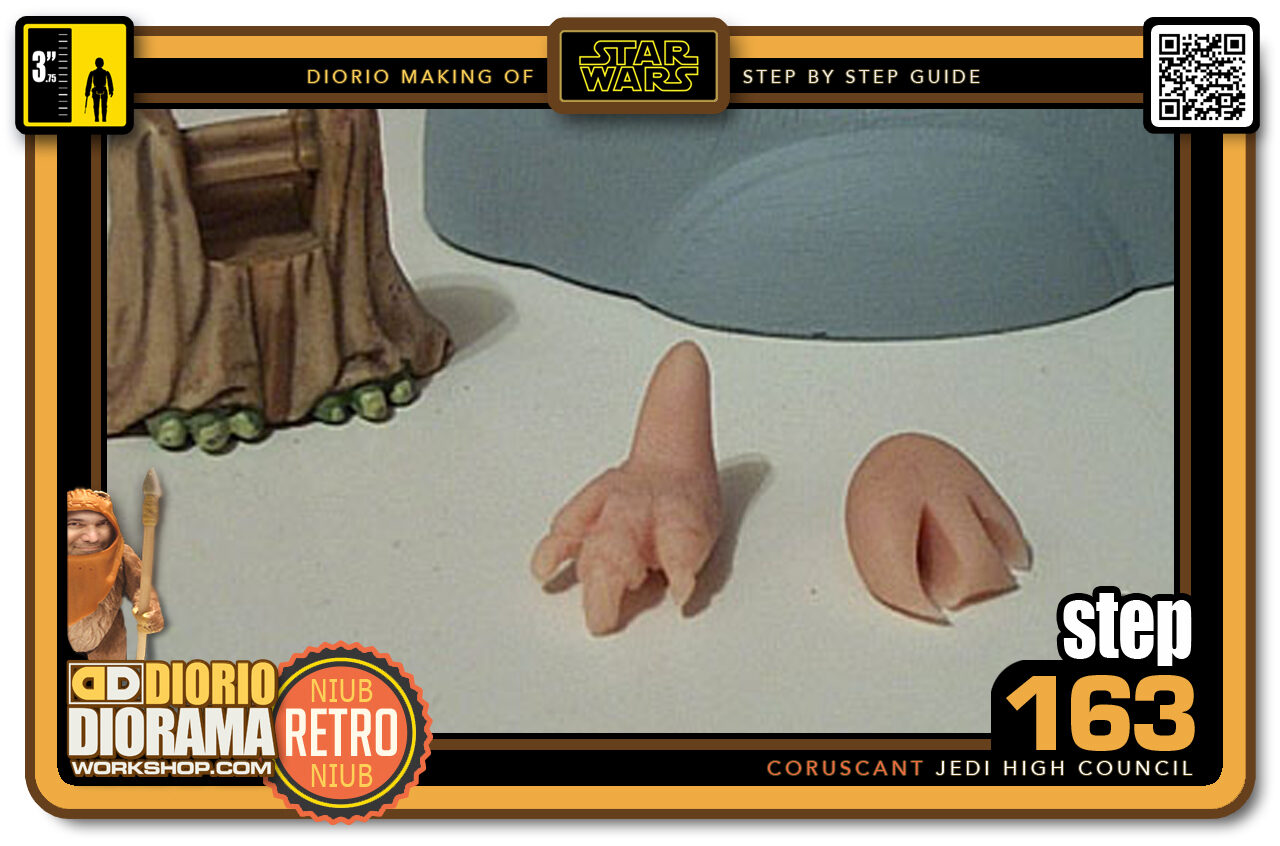
- Step 163 >> After about 10 minutes, You can see what his foot looks like on the left. All that's needed now is to repeat same technique for the other ball.
-
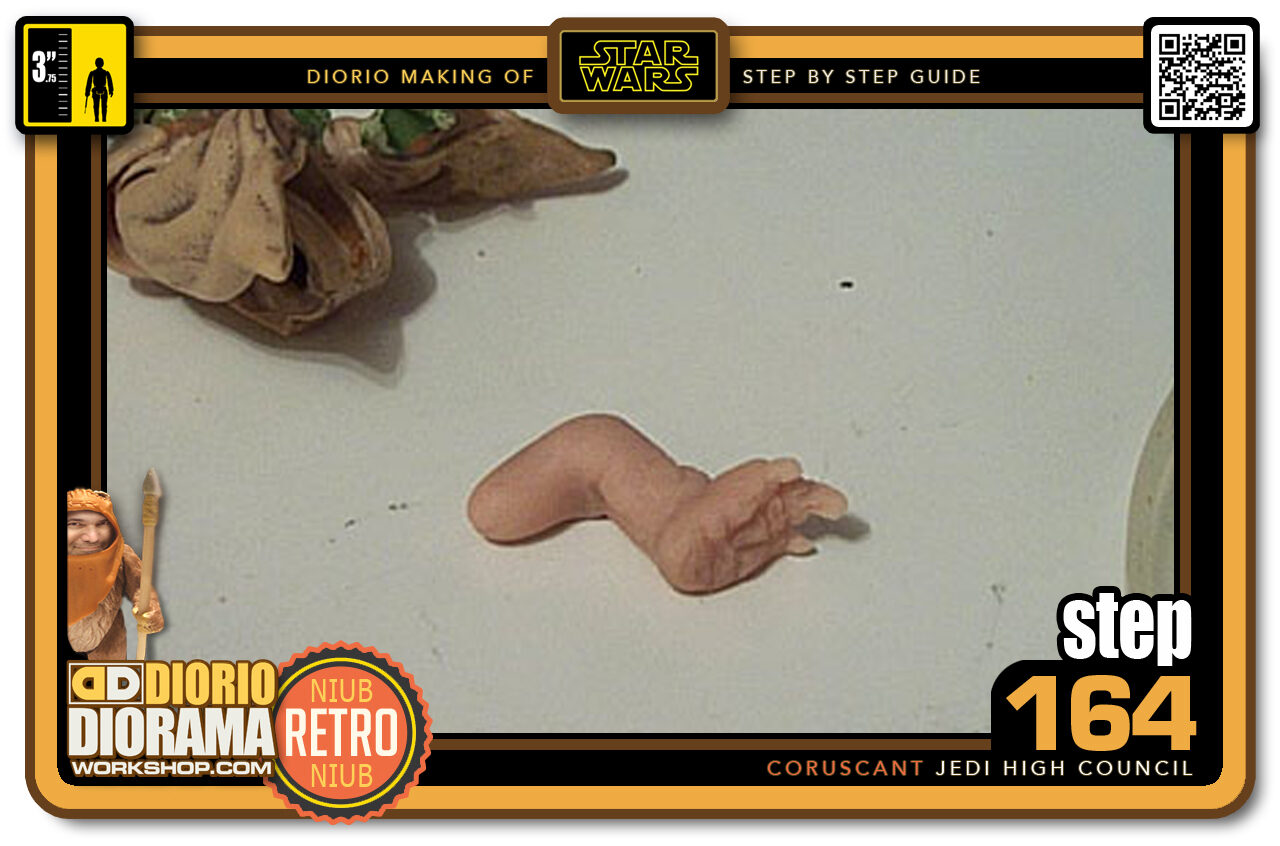
- Step 164 >> I added more Super Sculpey to form the leg and bent it at the knee.
-
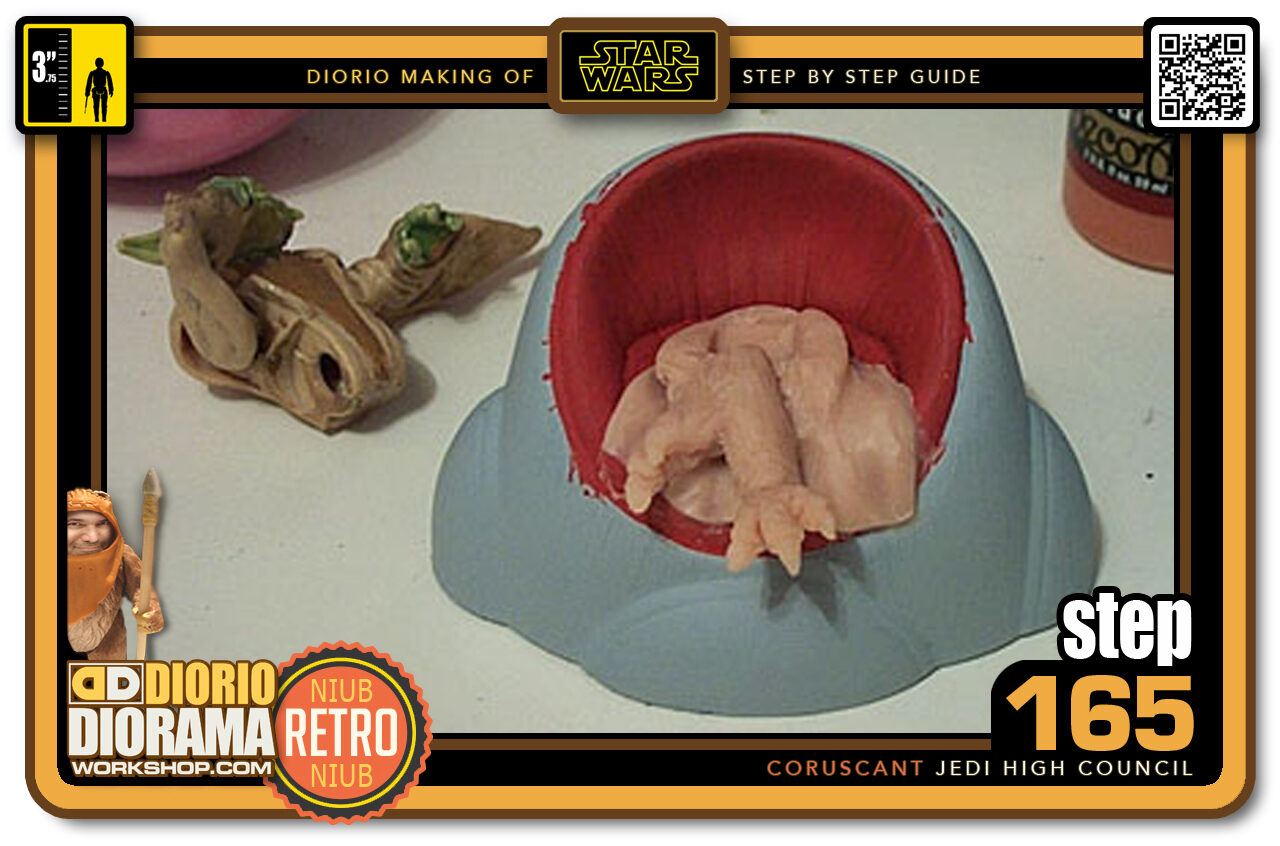
- Step 165 >> Here you can see how the legs are placed in a criss cross position. If you are using these pics as a guide to make your own sitting Yoda, please notice that I mistakenly positioned Yoda's left foot upside down. To see what is should like, look at picture 172.
-
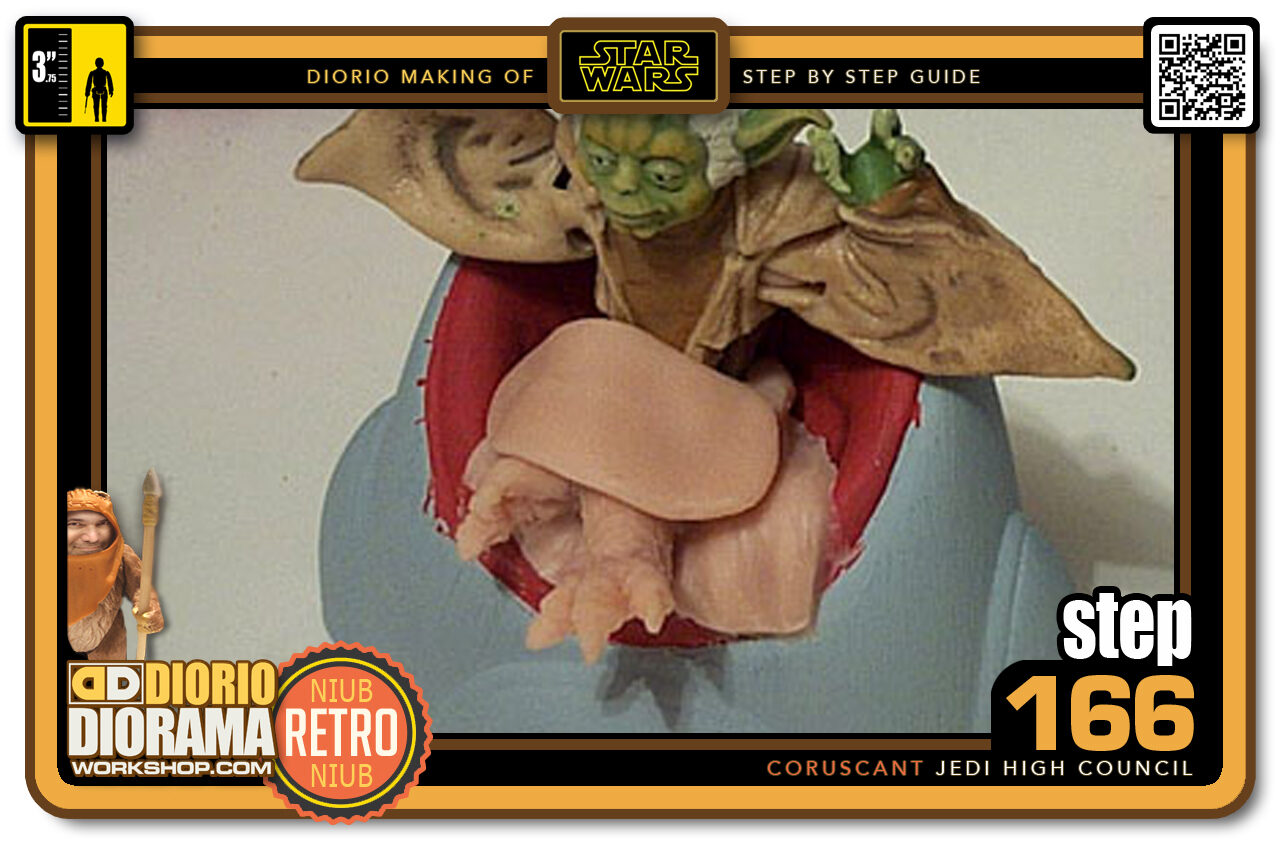
- Step 166 >> Next I cut out a small oval shape and placed it on Yoda's lap. This will become the cloth that is inside the Robe or a continuation of the dark brown shirt.
-
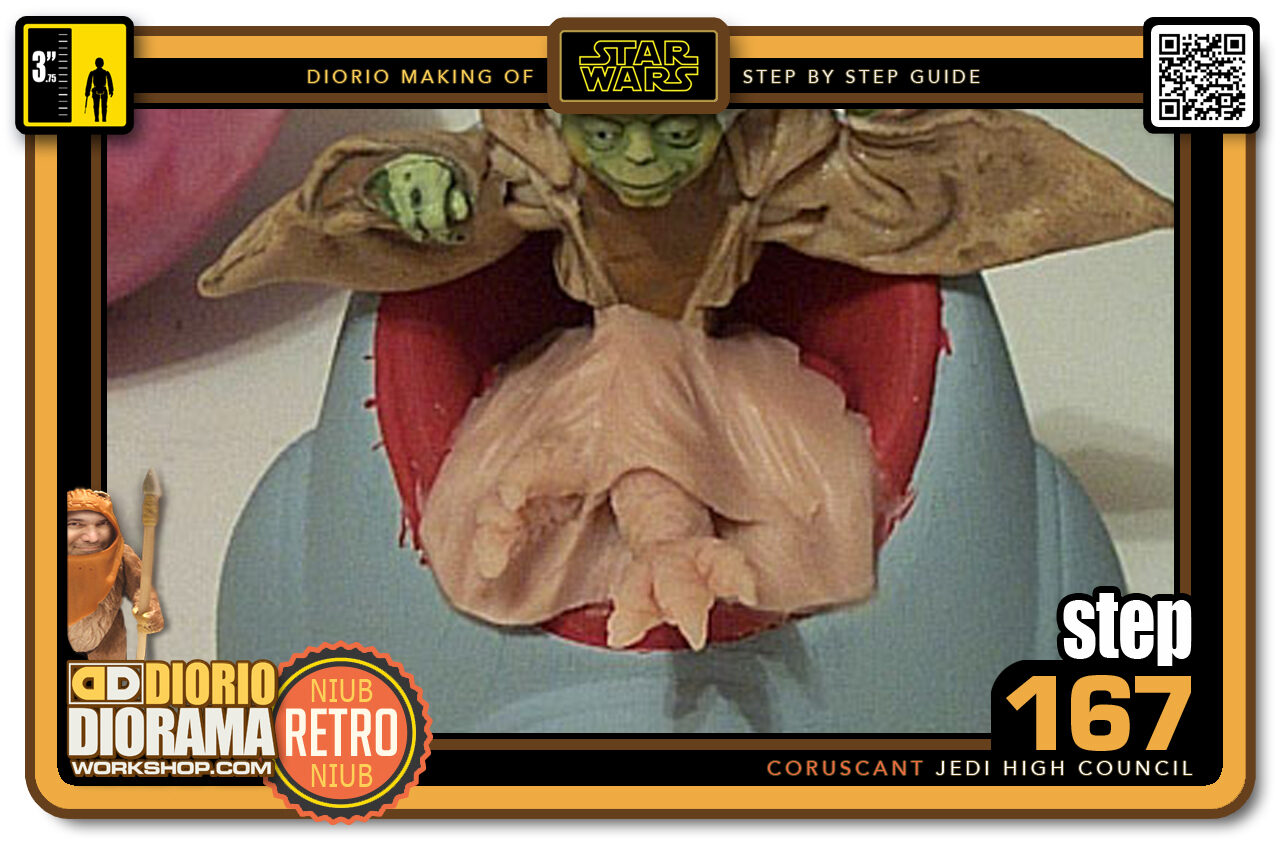
- Step 167 >> Now add some folds and blend everything together.
-
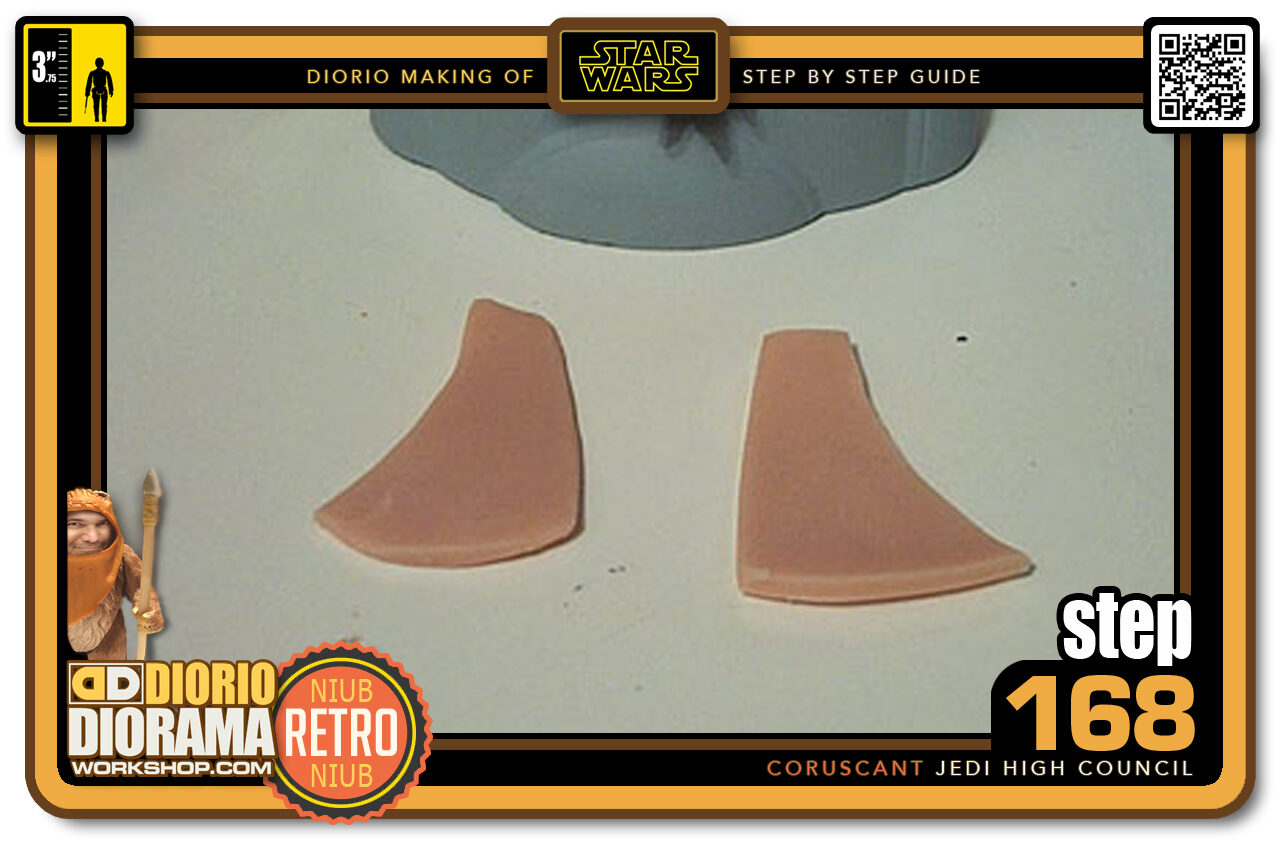
- Step 168 >> Time for the outer robe. I cut 2 mirror pieces of Super Sculpey.
-
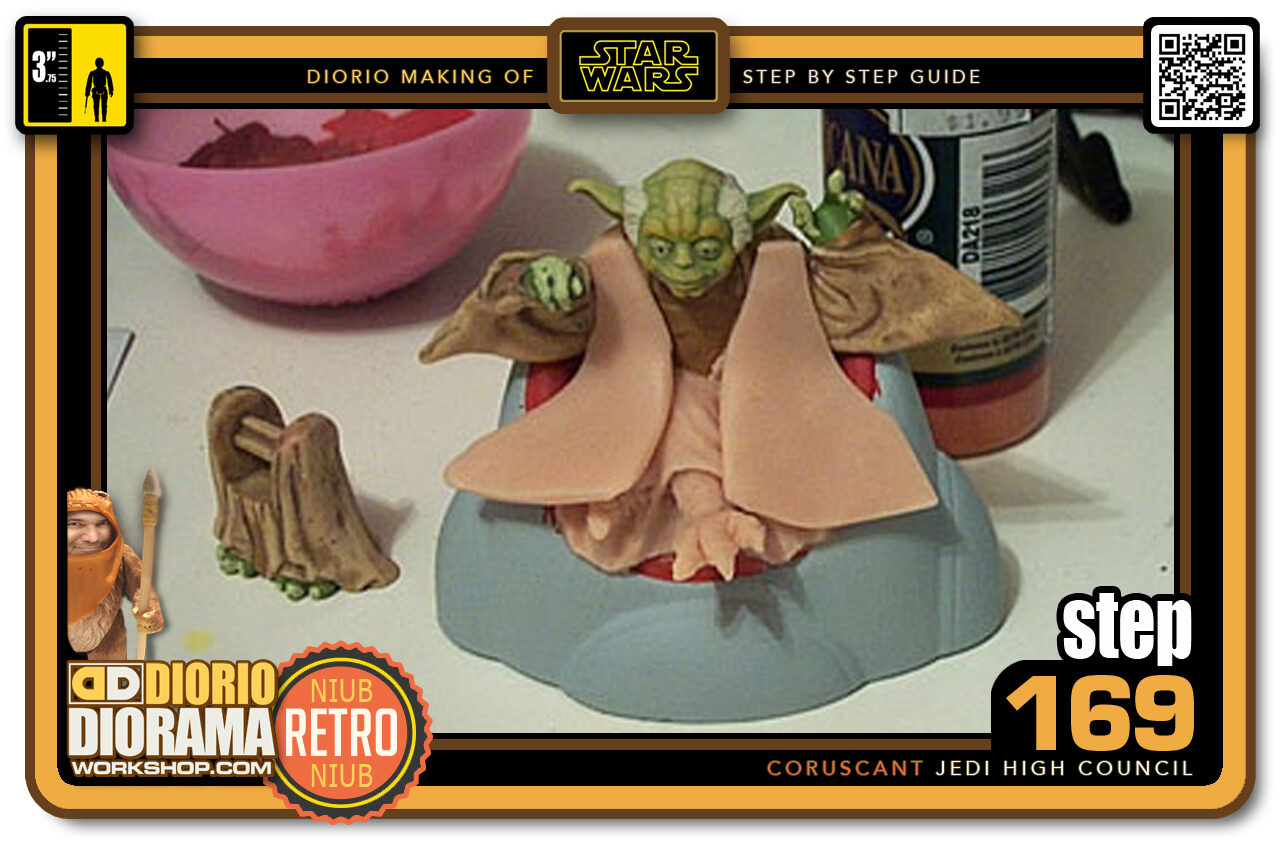
- Step 169 >> This is where they fit on the figure.
-
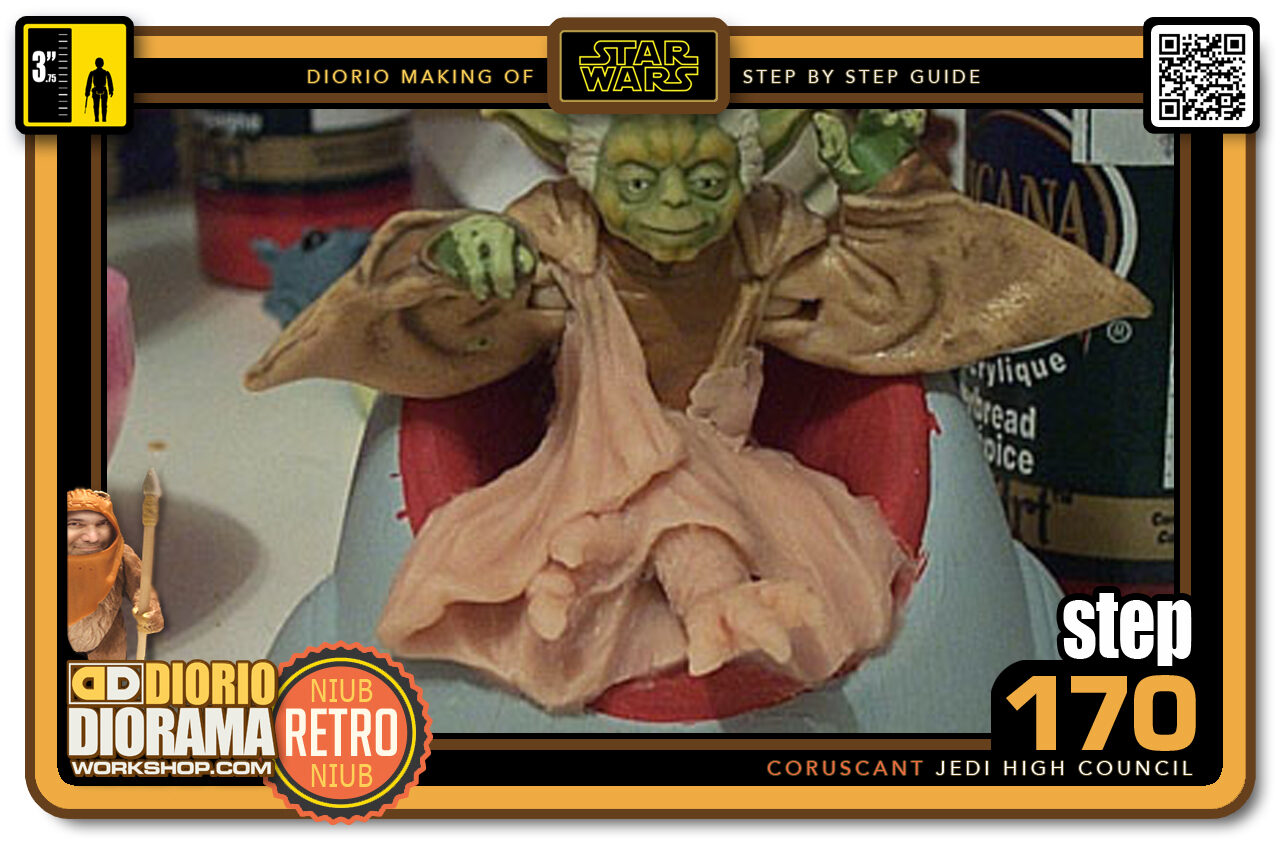
- Step 170 >> I started with the right side of the robe. I removed the other piece so not to squish it while adding details to this piece. Using the wooden tools, I again added folds to simulate flowing material. If you don't like what you see, just add more Sculpey and start again.
-
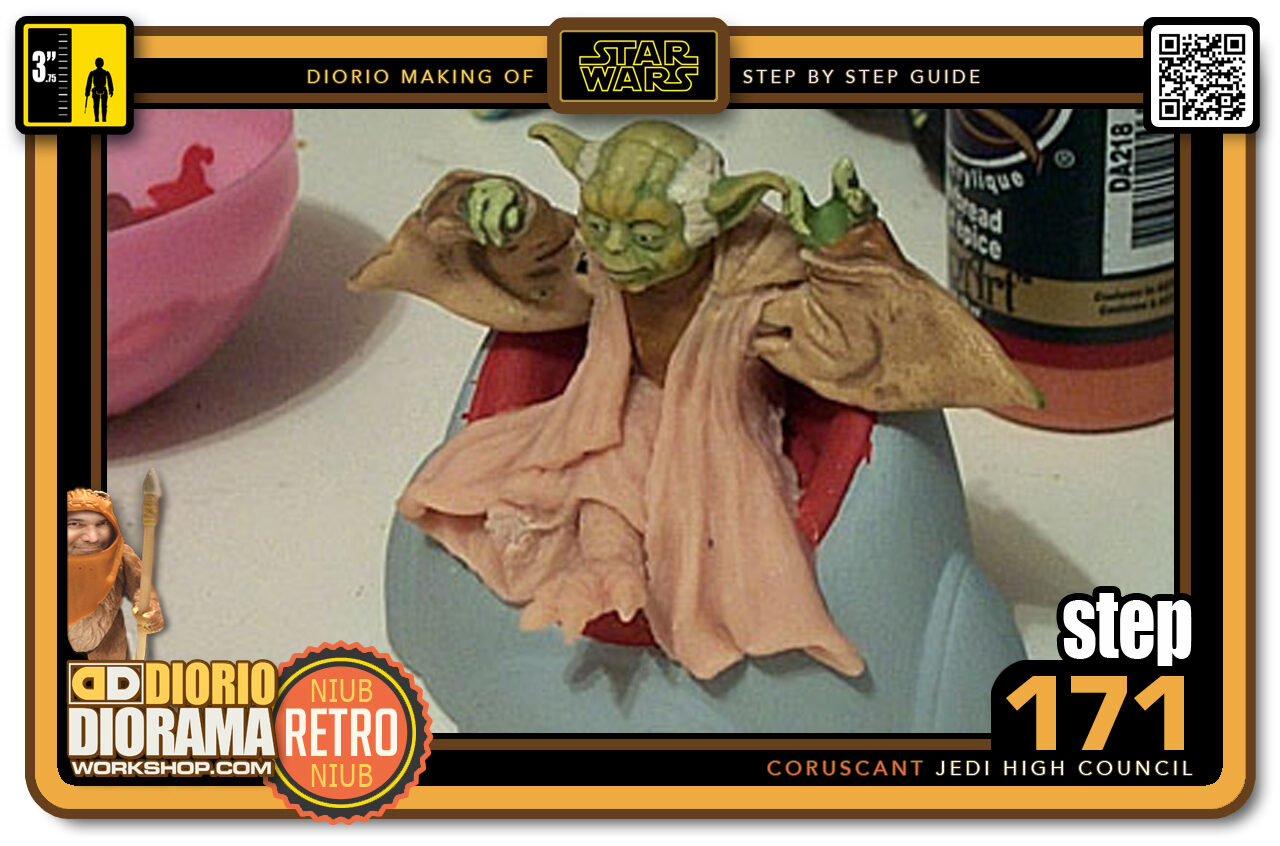
- Step 171 >> Time to repeat the procedure for the left side. I am almost done. You will notice Yoda's toes have been chopped off from his right foot. Since I noticed only at this step that his foot was pointing in the wrond decision, I decided to chop and fix the problem with extra Sculpey.
-
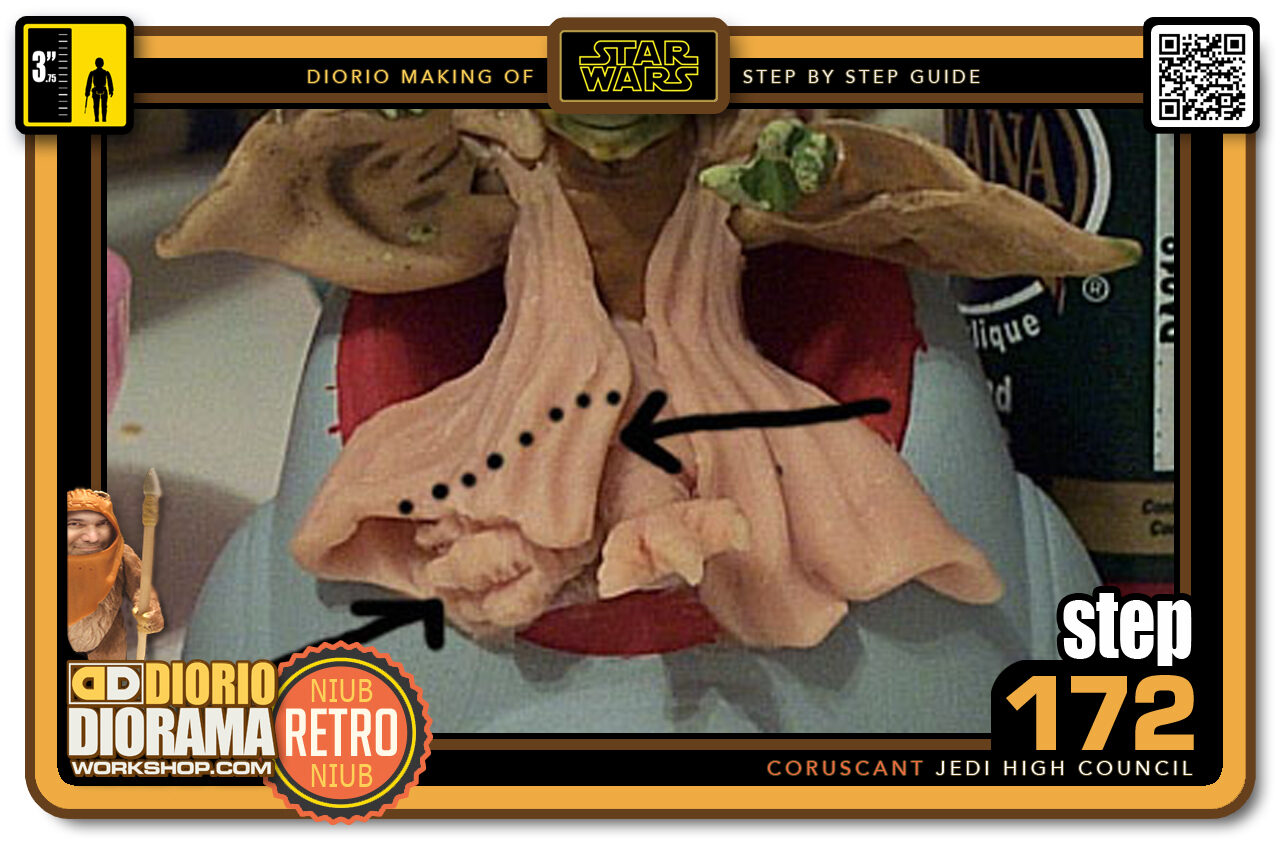
- Step 172 >> I made a completely new foot and pressed it on top of the old. Now it makes more sense. You should of seen my face why I noticed it was upside down after finishing the robe detail - LOL. To hide the error I also added an extra piece of Super Sculpey to make a better corner. The original border was where you see the dotted lines.
-
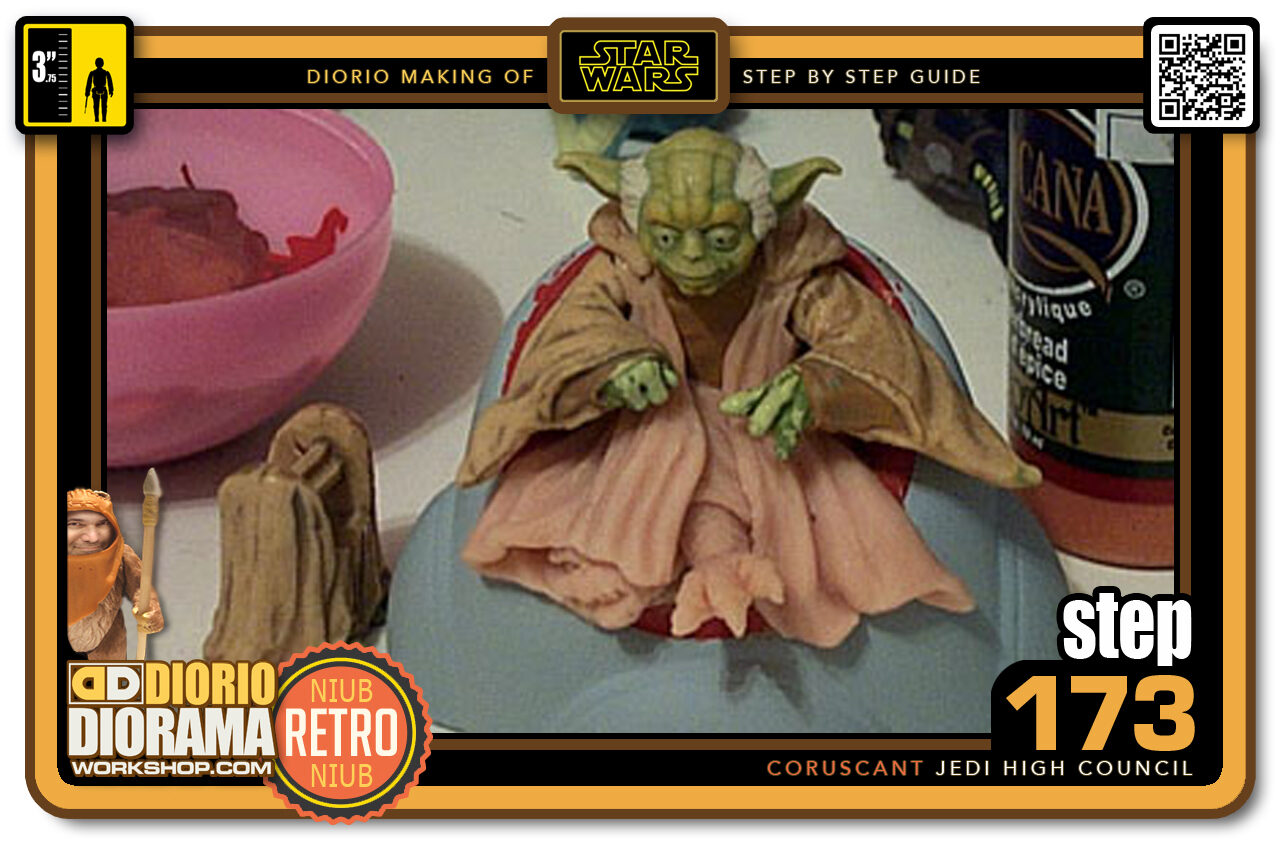
- Step 173 >> Ahh, now I am finished and happy with the final result. Now for the fun part - Painting 🙂
-
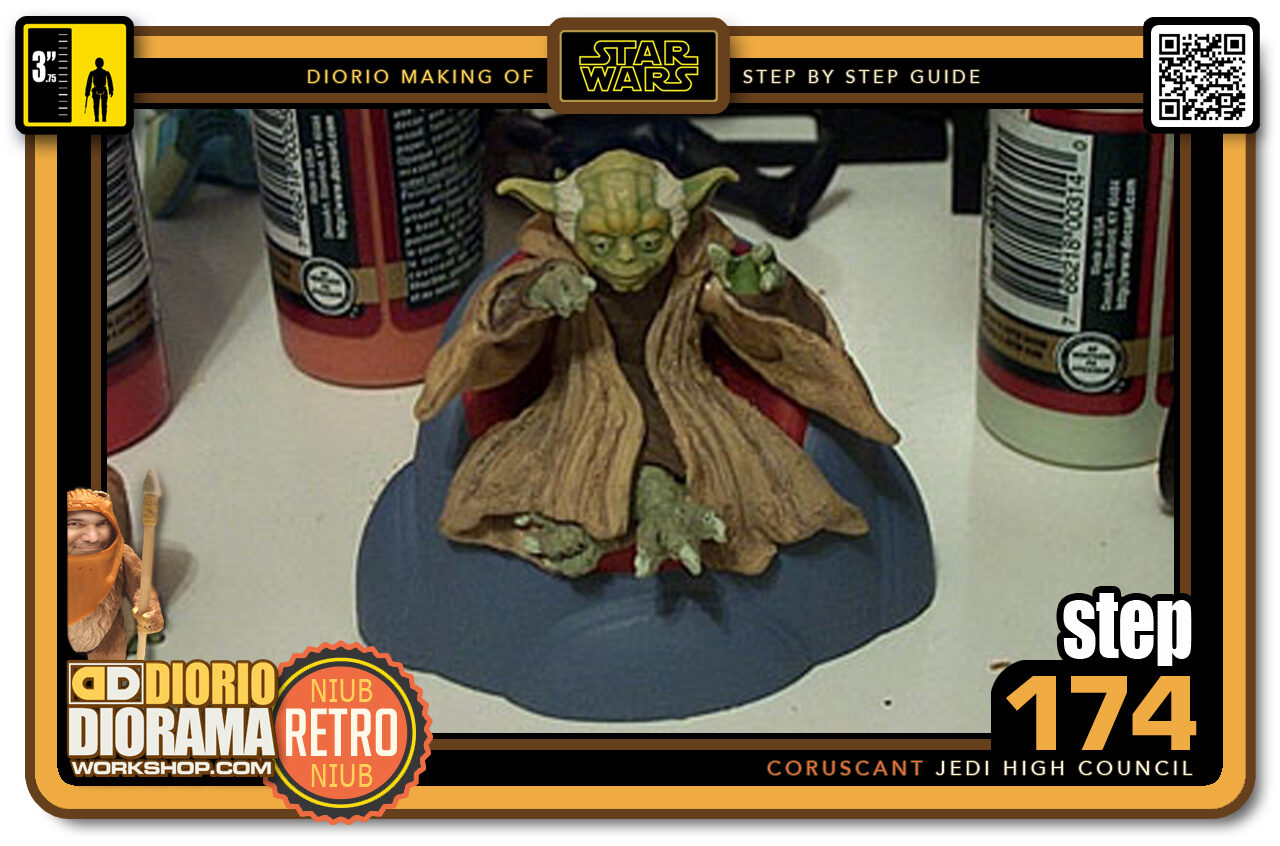
- Step 174 >> I found colors that matched the hands and robe. I used a dry brush technique with a darker brown to add weathering in the same style hasbro did on the original. I also added a lighter color for the toenails to make them stand out more.
-
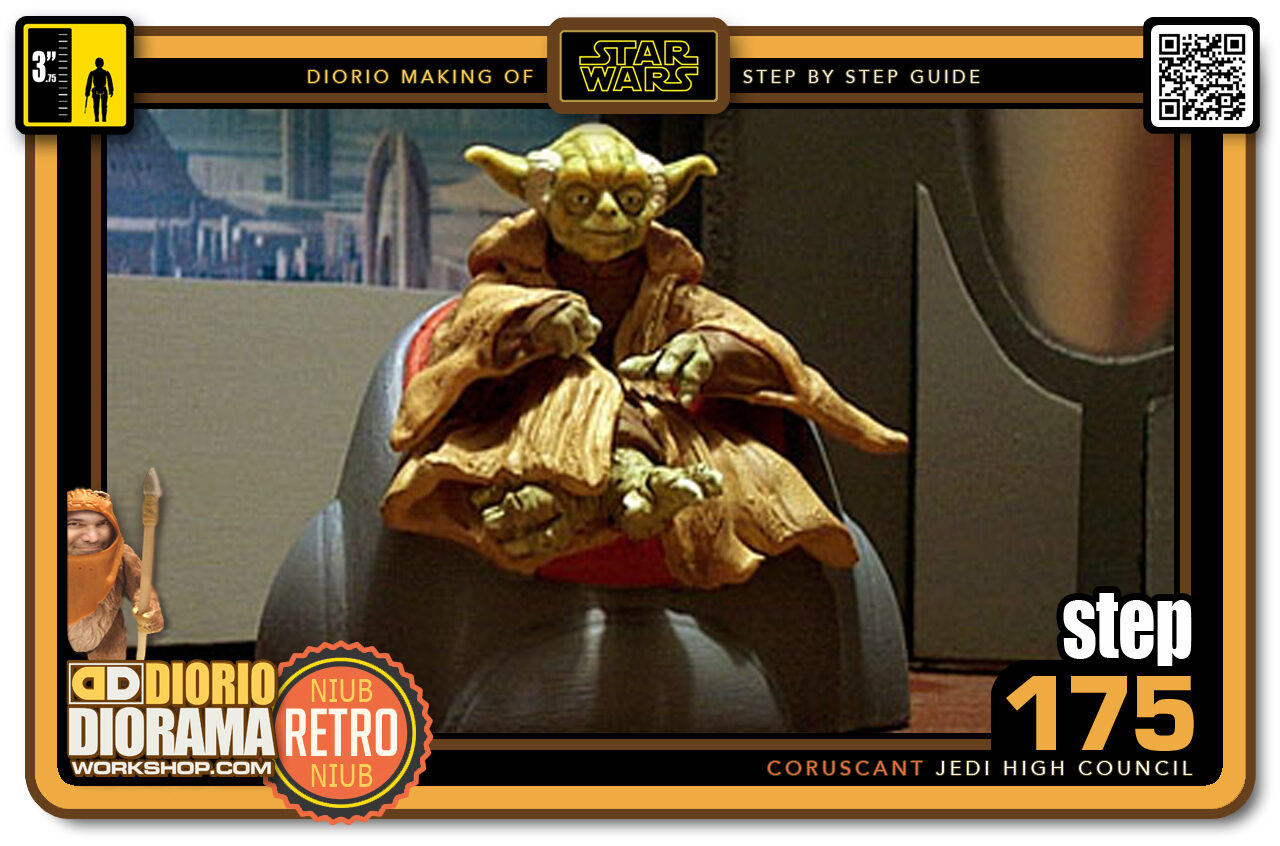
- Step 175 >> And here is a preview of Yoda in his jedi Council environment. Looks pretty cool.
-
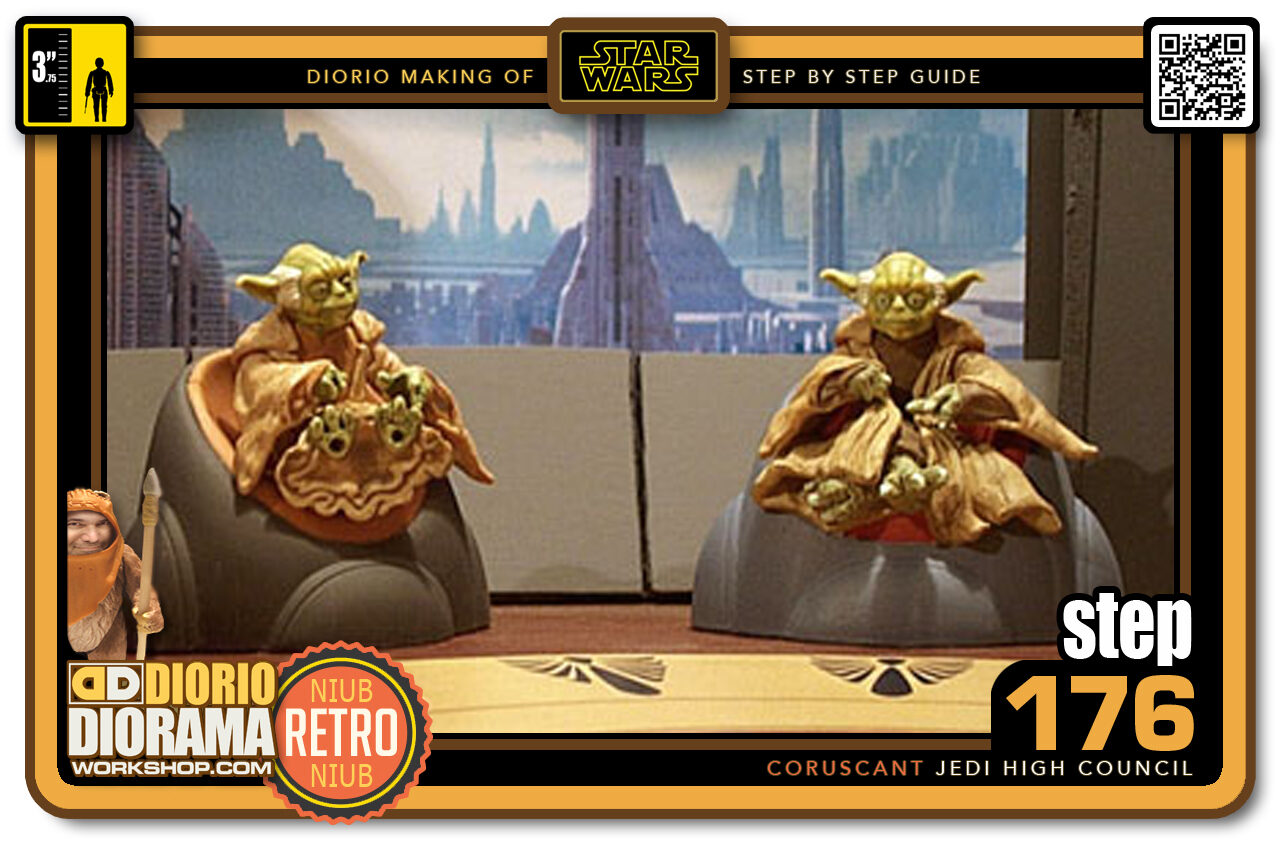
- Step 176 >> Just for fun I thought I would show you how silly the original yoda looks like sitting next to a custom yoda in a proper sitting position. Now the Jedi Council is complete and I can take my Diorama Phase 2 pictures 🙂
-
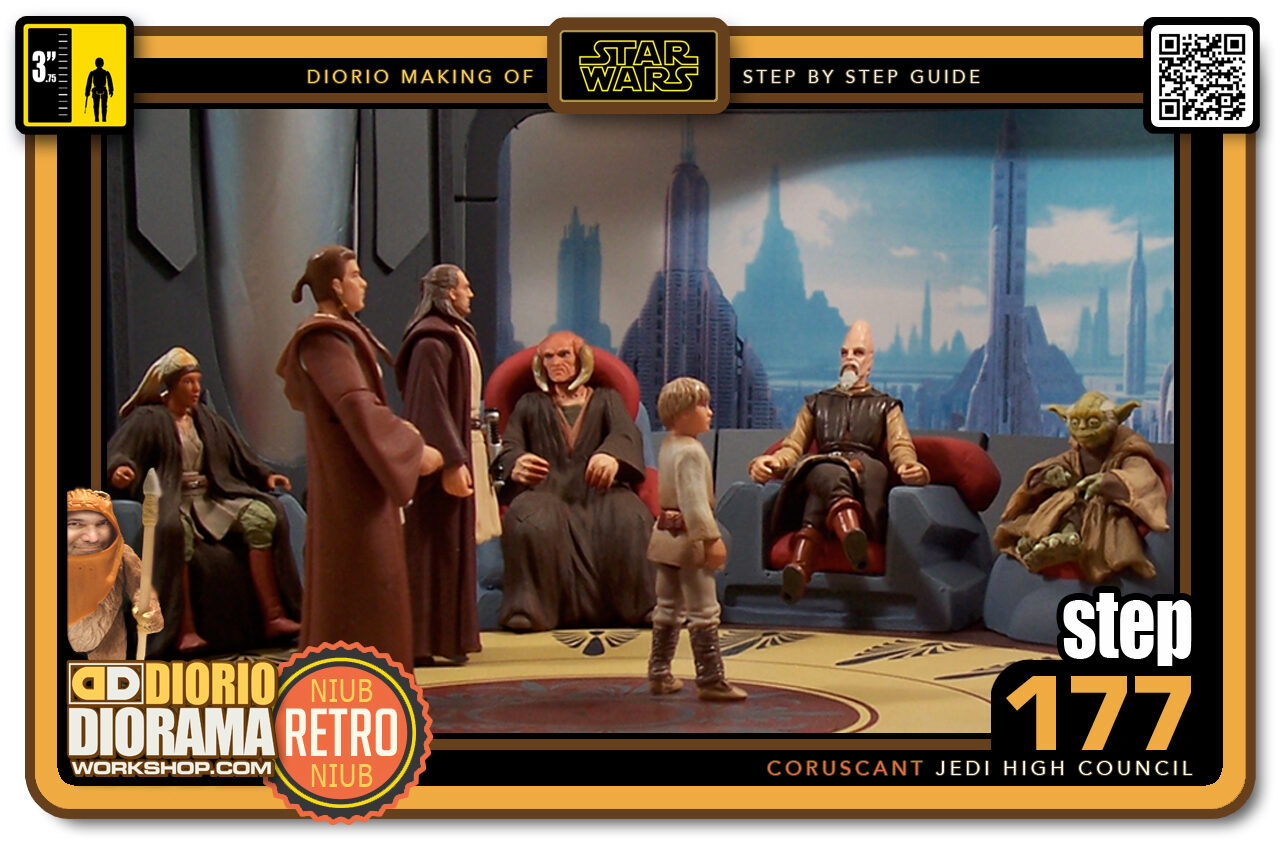
- Step 177 >> Once painted, you can't even tell that the legs were made of Super Sculpey. These sitting Jedis will dramatically improve the diorama and give it a movie accurate look.
-
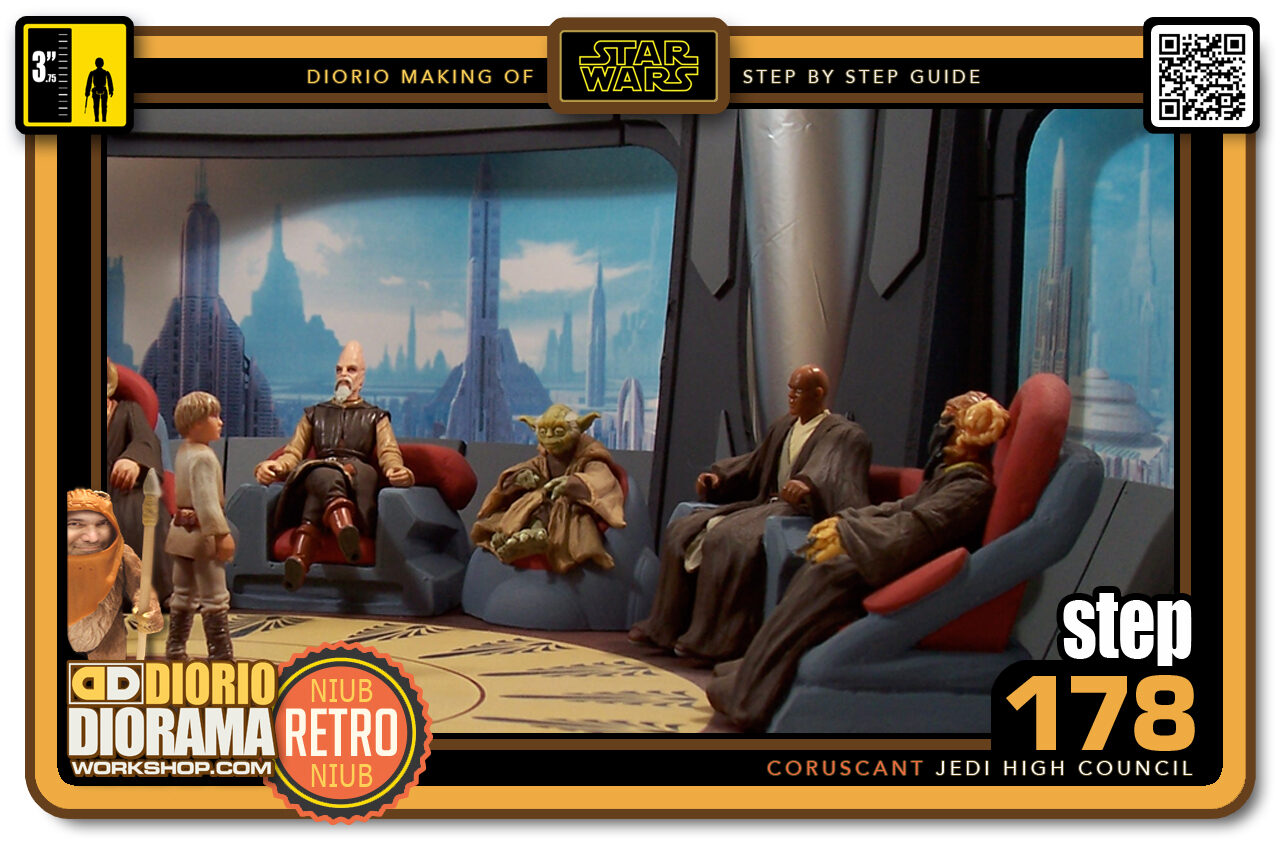
- Step 178 >> I just love how these turned out and again a HUGE thank you to the Jedi Master himself Joe Amaro.
.
Did you already build this Diorama ? At home or at our Star Wars Celebration Diorama Builders workshop ? Would you like to show it in the site’s GALLERY VISITORS DIORAMAS section, YES ? That is Awesome !!! You can find out all the details on how to email me your photos on the VISITORS SUBMISSIONS INFO page … When I get your photos, I will create your very own page just like this one. You may not realize it but work does inspire others to join in the fun of making Action Figure Dioramas.
.
NOT FOR RESALE ALL Decals, tutorials and artwork are ©FrankDiorio (dioramaworkshop.com) and offered FOR FREE to the fans – that would be you ? so you can build and display my diorama designs in your very own home. I realize I cannot control what one does with my graphics once I place them on the web, I can only ask you as one fan to another, please respect the artist and do not be that jerk who uses my designs and tutorials to build a copy of my work only to sell it on EBAY or trade/sale groups and forums. Thank You. Frank.
.

.
.
If you have a facebook account, why not join the Official Diorama Builders Fan Club today, simply click the logo link below.
 .
.
Catch up with fellow visitors and exchange stories, read cool interviews with the crew, exchange photos, fun surprises and grab some FAN ONLY merchandise next year at actual future conventions ?
.
©2021 Frank Diorio DioramaWorkshop.Com
.
IF YOU LIKE WHAT YOU SEE, PLEASE SHARE WITH YOUR FRIENDS
USING THE SOCIAL MEDIA BUTTONS BELOW