


-
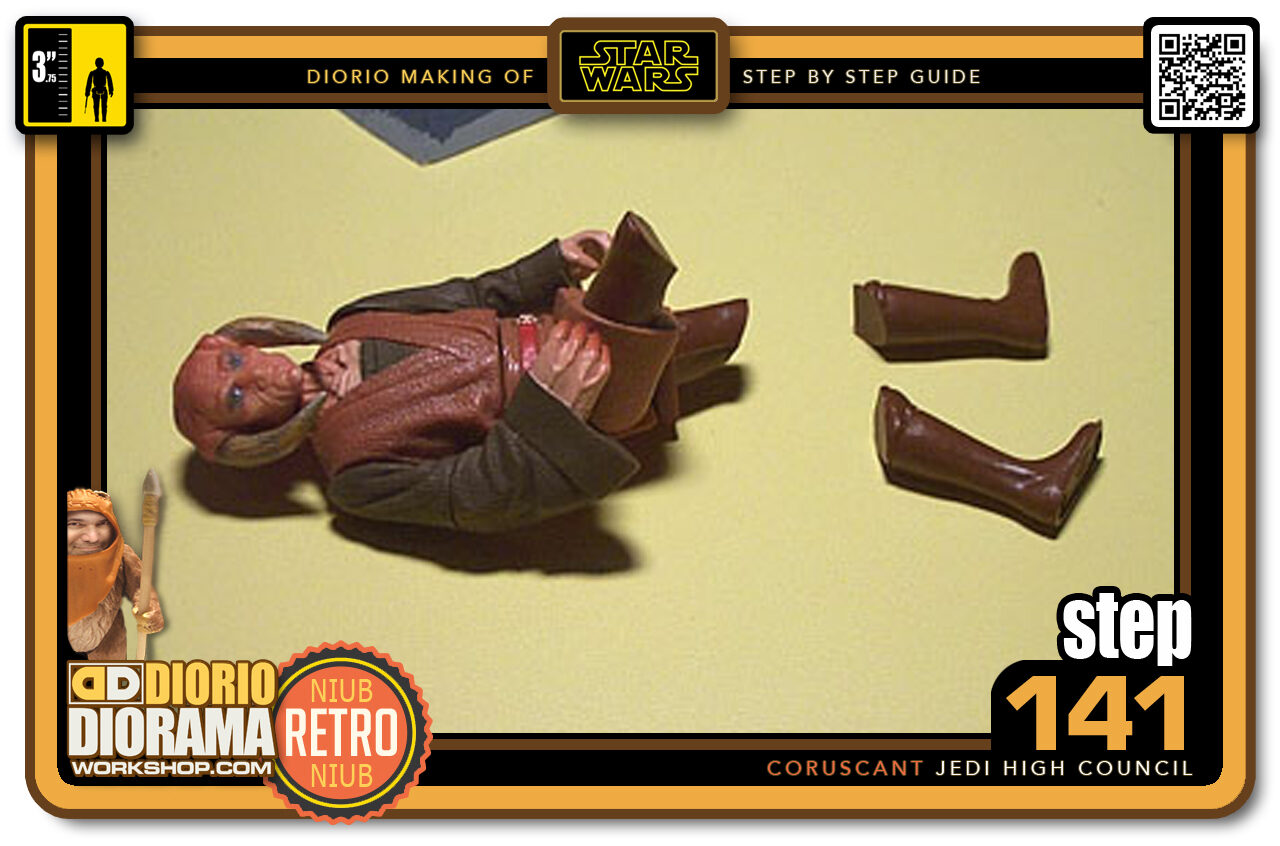
- Step 141 >> So let's chop them off at the kneecaps. Don't worry Jedi have high pain tolerance 🙂
-
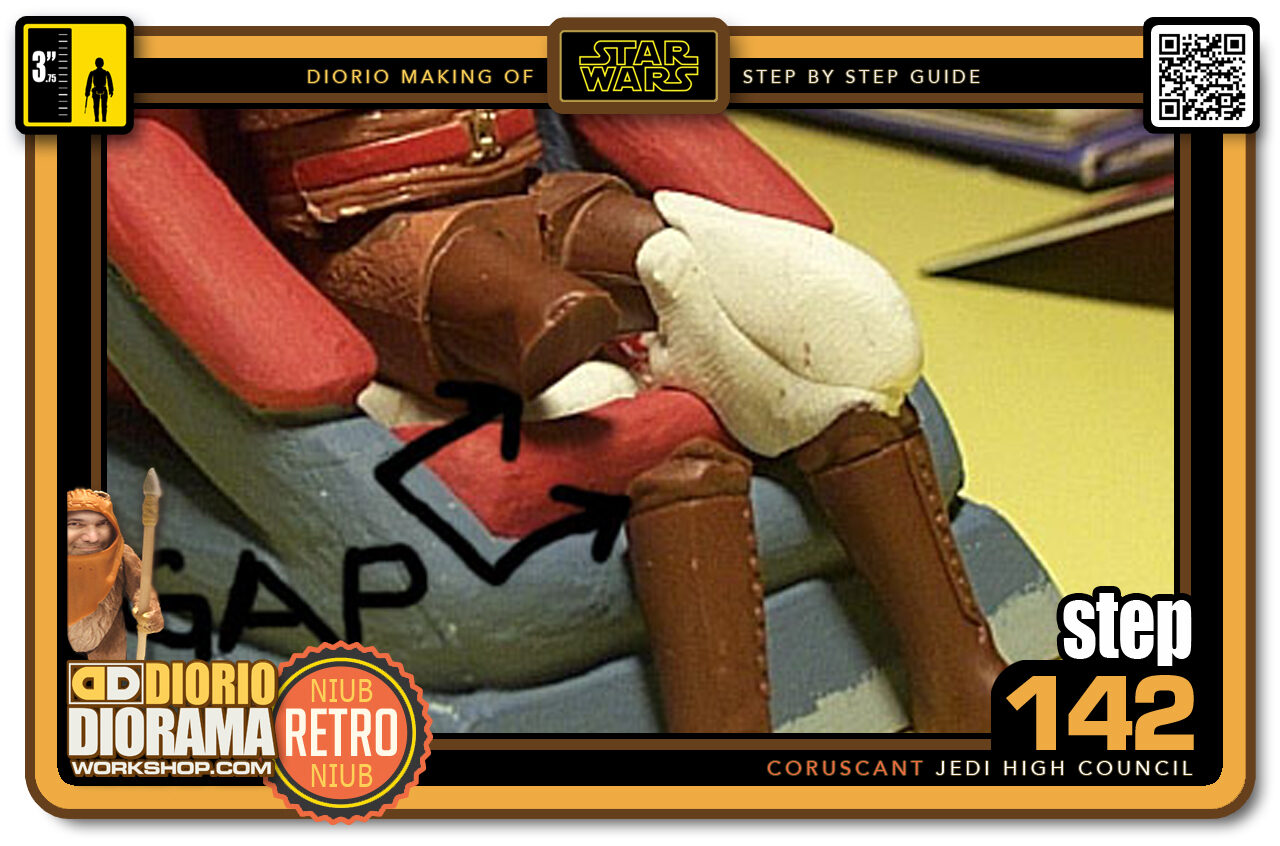
- Step 142 >> To make a nice shape for under the robe, I placed the boots on floor level. You can see on the right leg, the gap that is formed from the cut. just use some Sculpey and fill the hole like you see I did on the left leg. Doesn't have to be perfect, the robe will hide it.
-
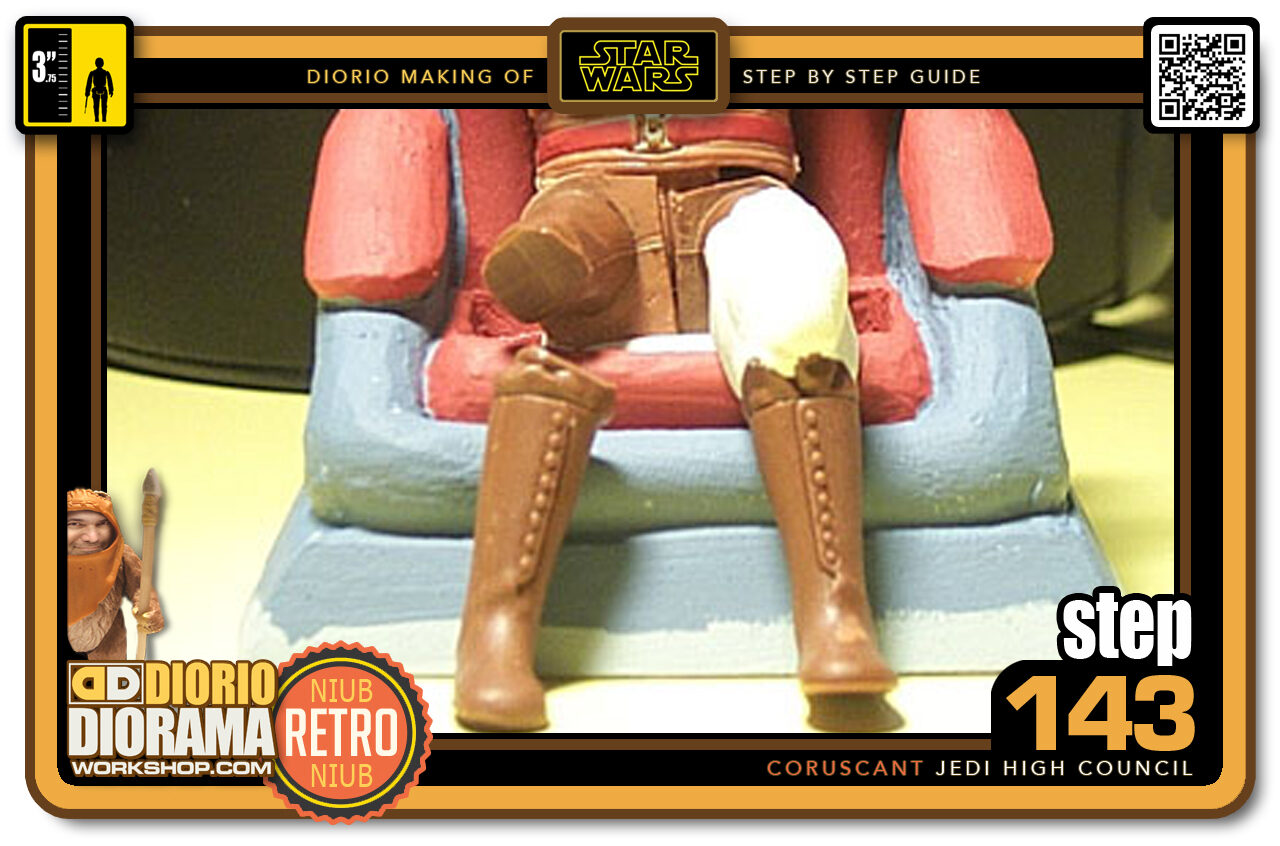
- Step 143 >> Here is a better view from the front of what the Sculpey looks like when shaped into a kneecap.
-
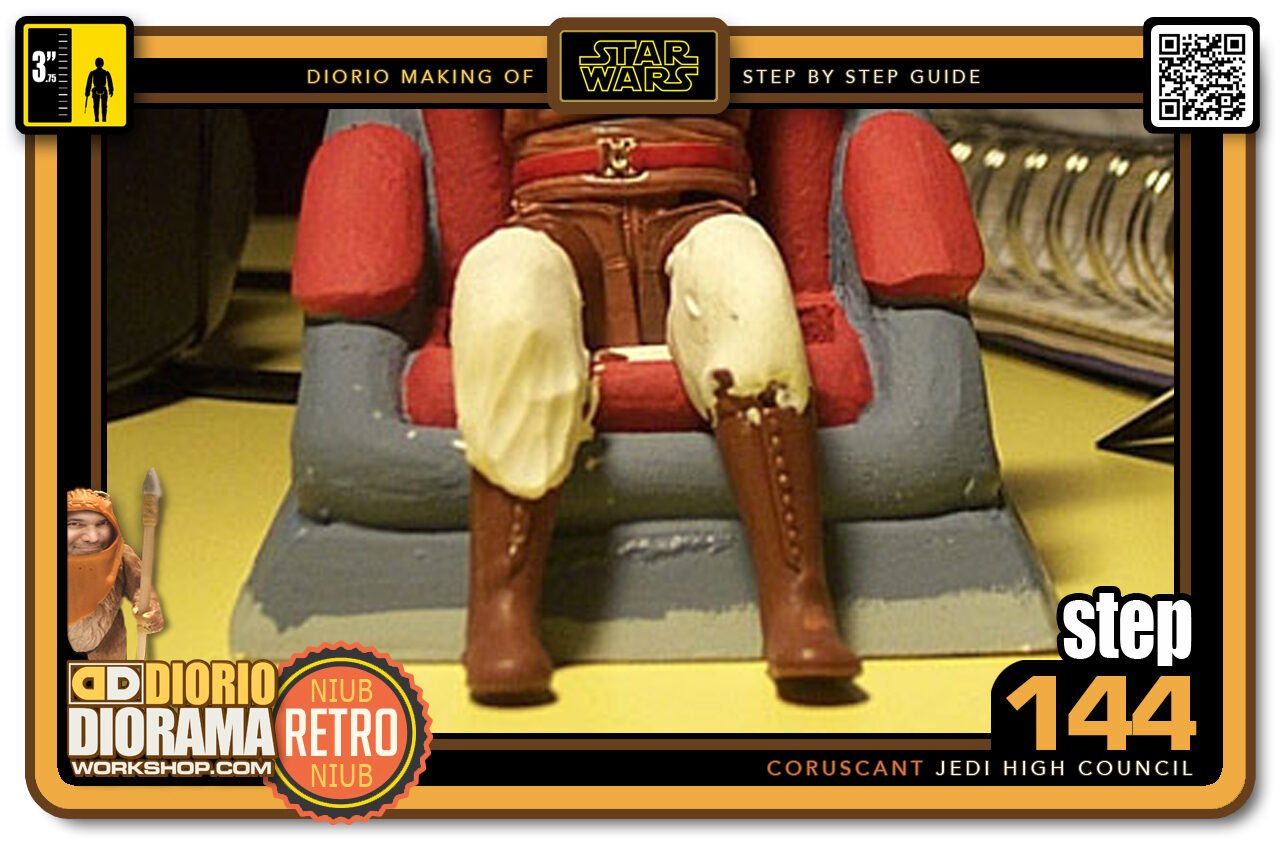
- Step 144 >> Now I have filled the gaps on both legs. Use the Heat gun to harden the Sculpey and the are ready to start working on the jedi Robe.
-
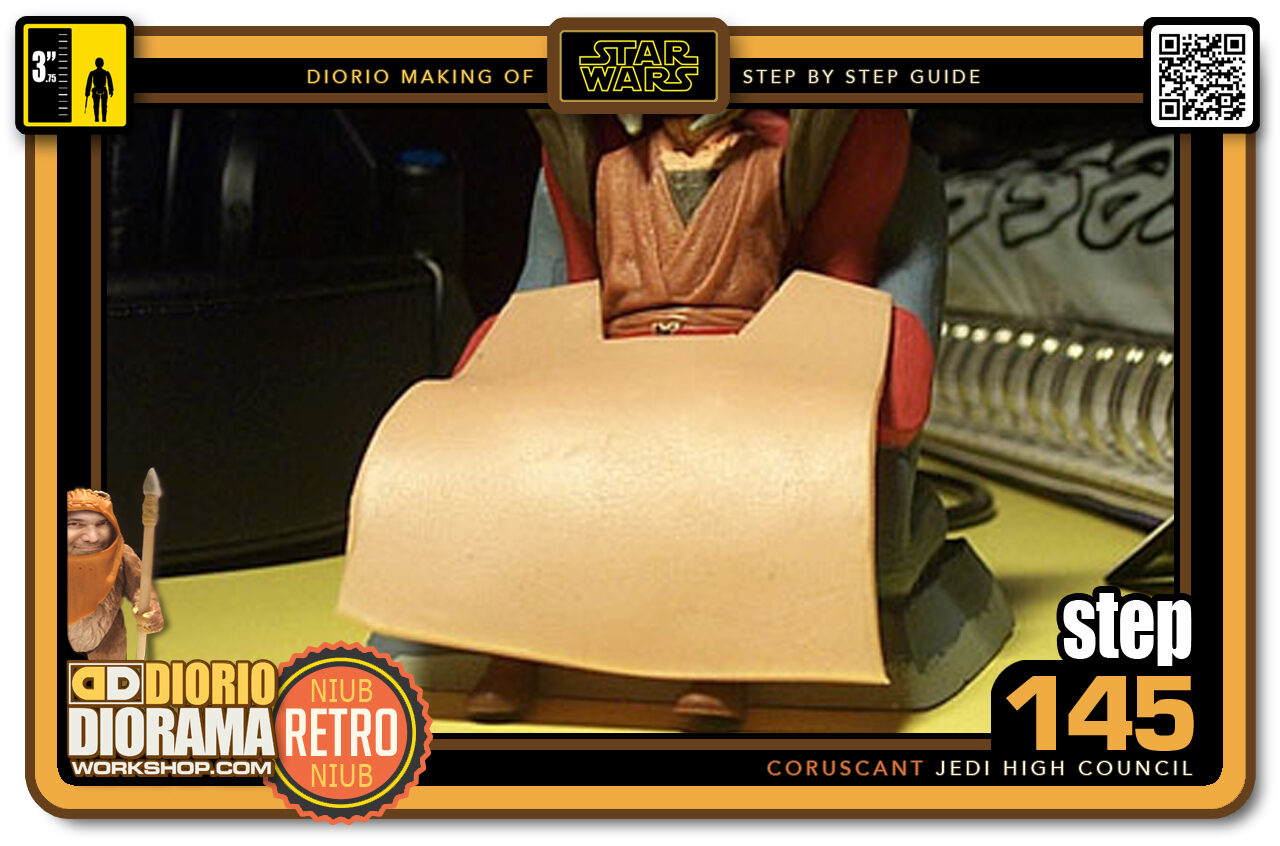
- Step 145 >> Flatten some Super Sculpey like Pie Dough and cut out in a rectangular shape with o cut in the center so that the sides of the hips will be covered when folded over.
-
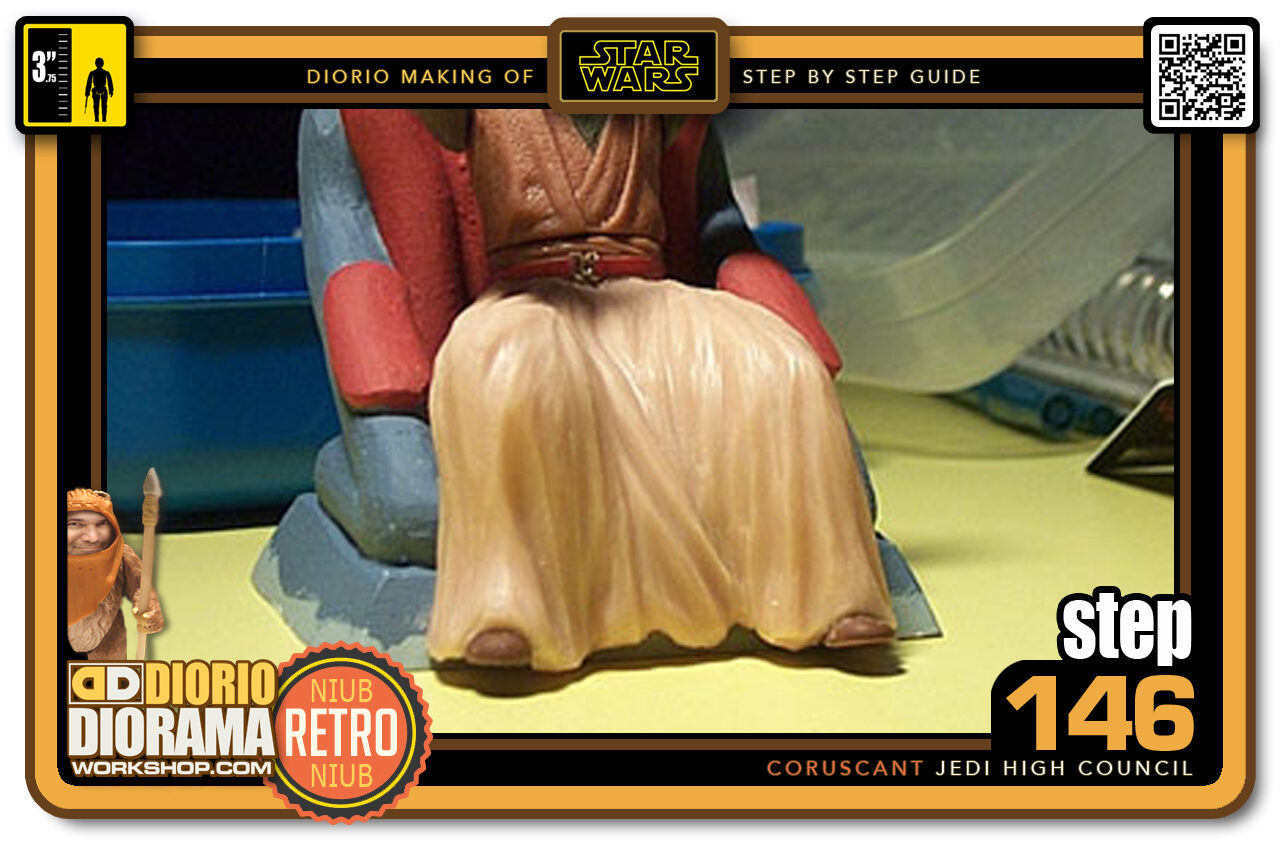
- Step 146 >> Now use your wooden tools to create folds in the Super Sculpey. Remember you can always add and remove Sculpey until you get shapes that you find interesting. The folds above took me about 1 hour to make.
-
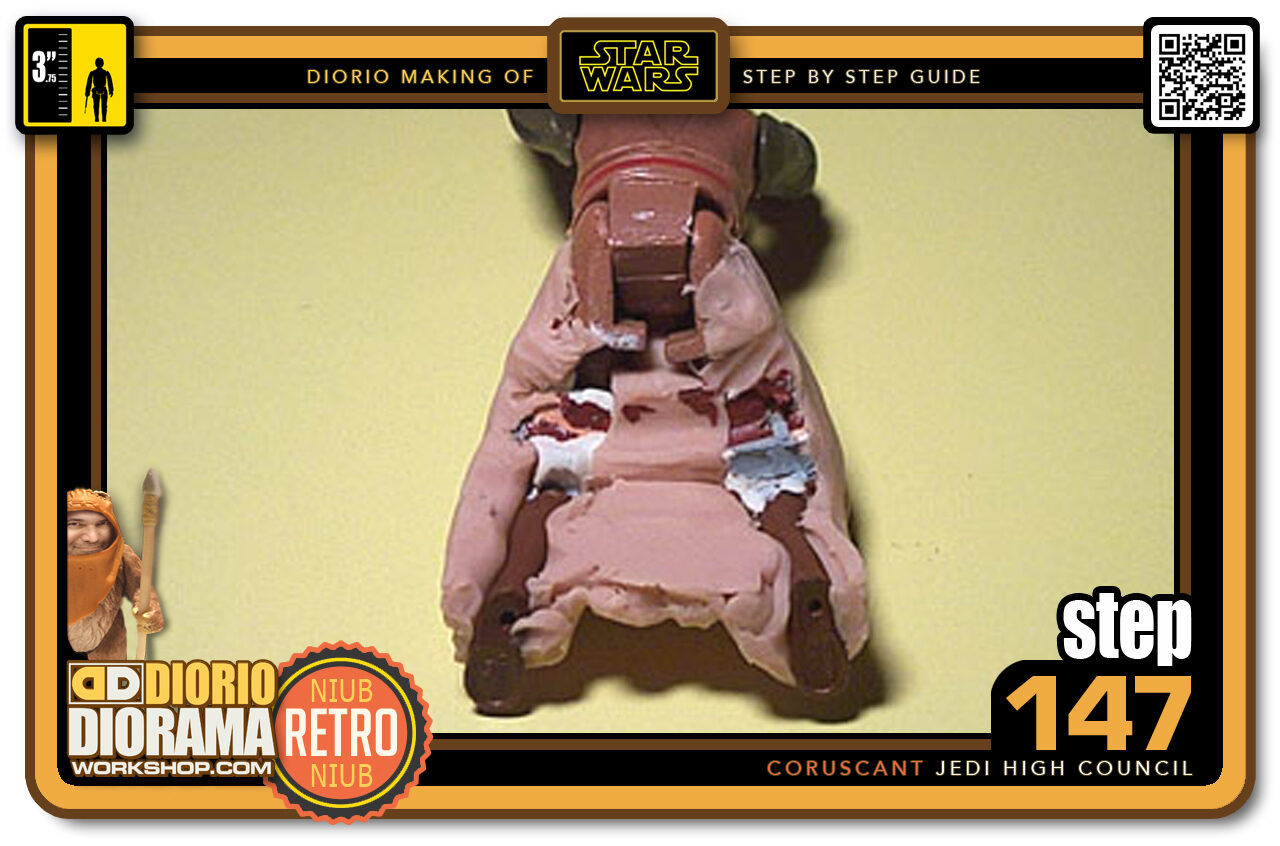
- Step 147 >> This is what the Robe looks like from behind. Pretty messy eh? 🙂 Don't worry about it. We will never see this so you can leave it as it is.
-
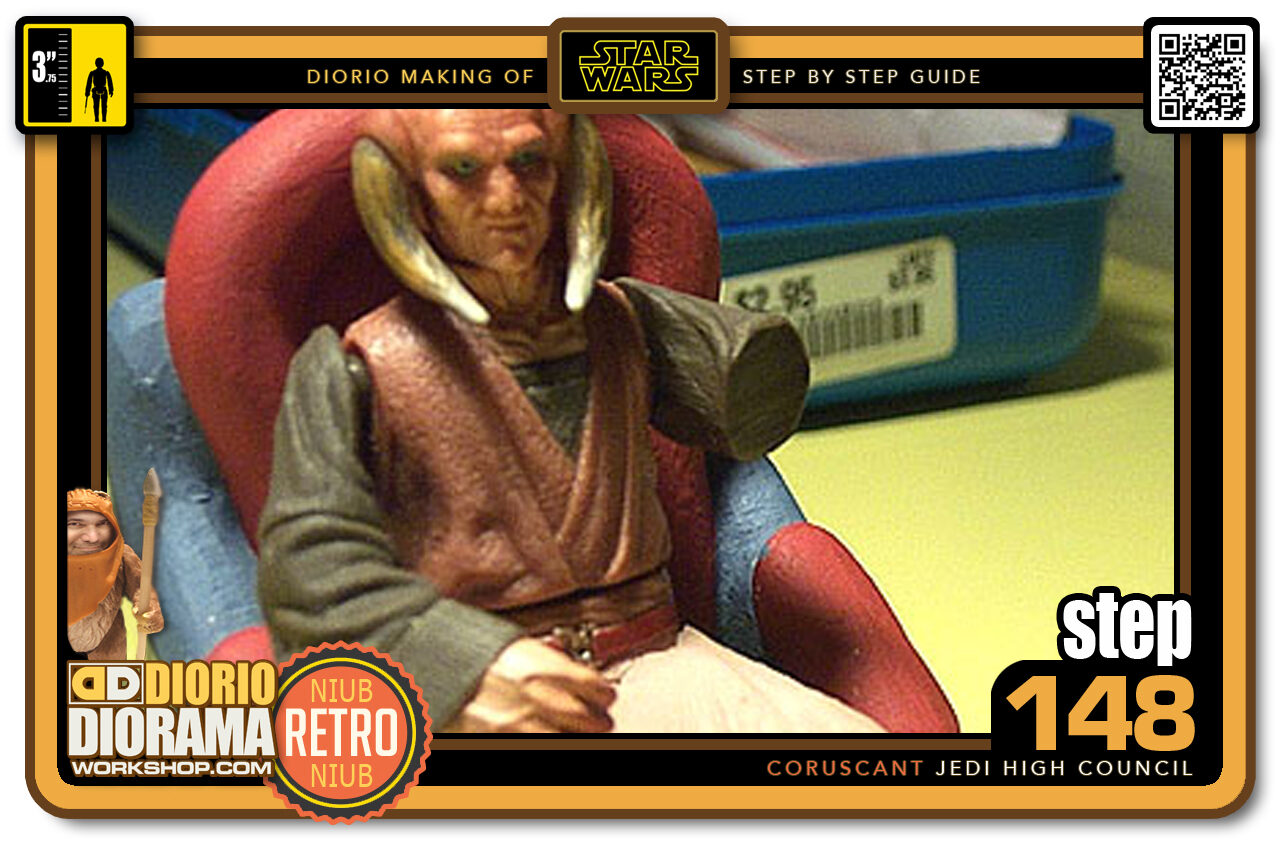
- Step 148 >> Well the wise people at Hasbro decided to put elbow articulation on the right arm only. So since we don't want our jedi to look weird, I cut the left arm off at the same hight as the left cut.
-
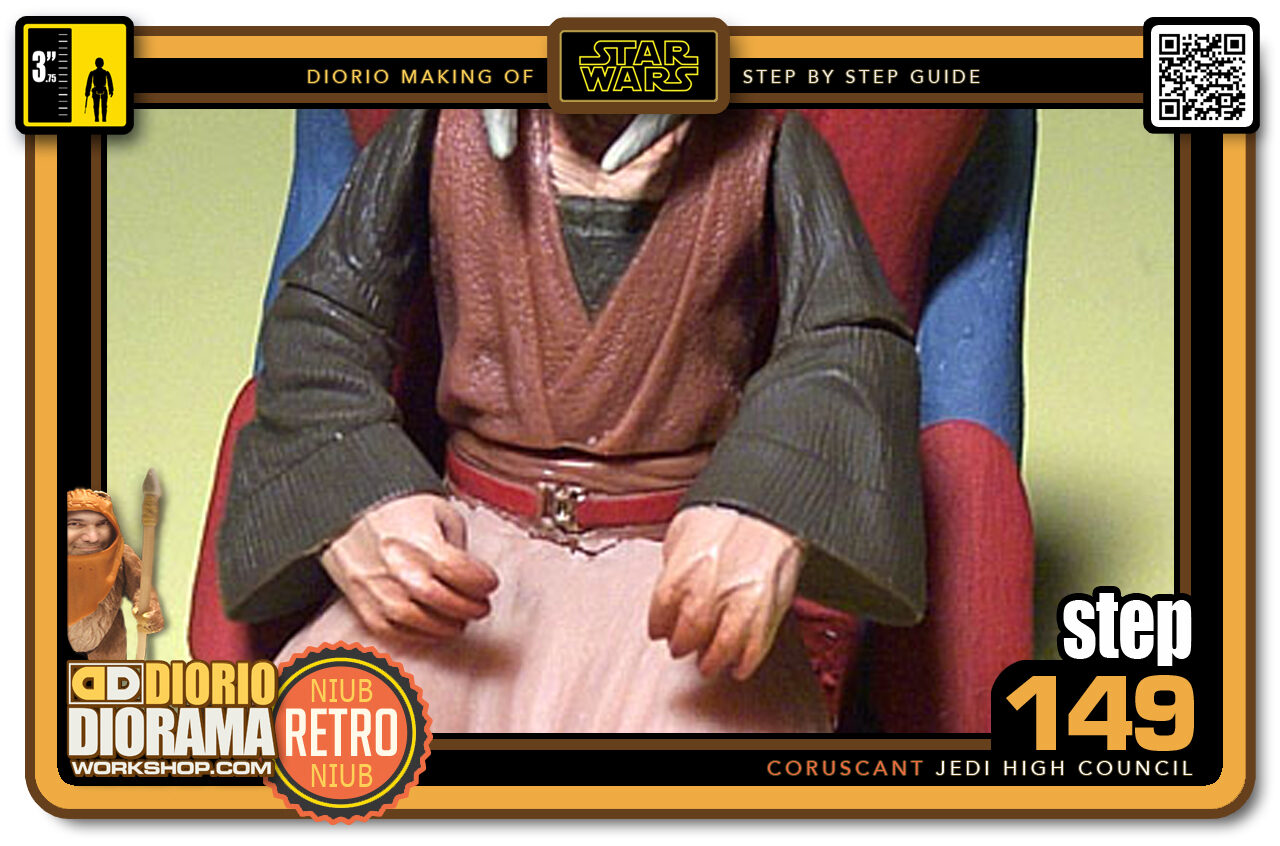
- Step 149 >> Since my figure will not be played with, I don't care if the arm won't turn. I just used Hot Glue Gun and attached the forearm to the arm with a slight rotation to the left.
-
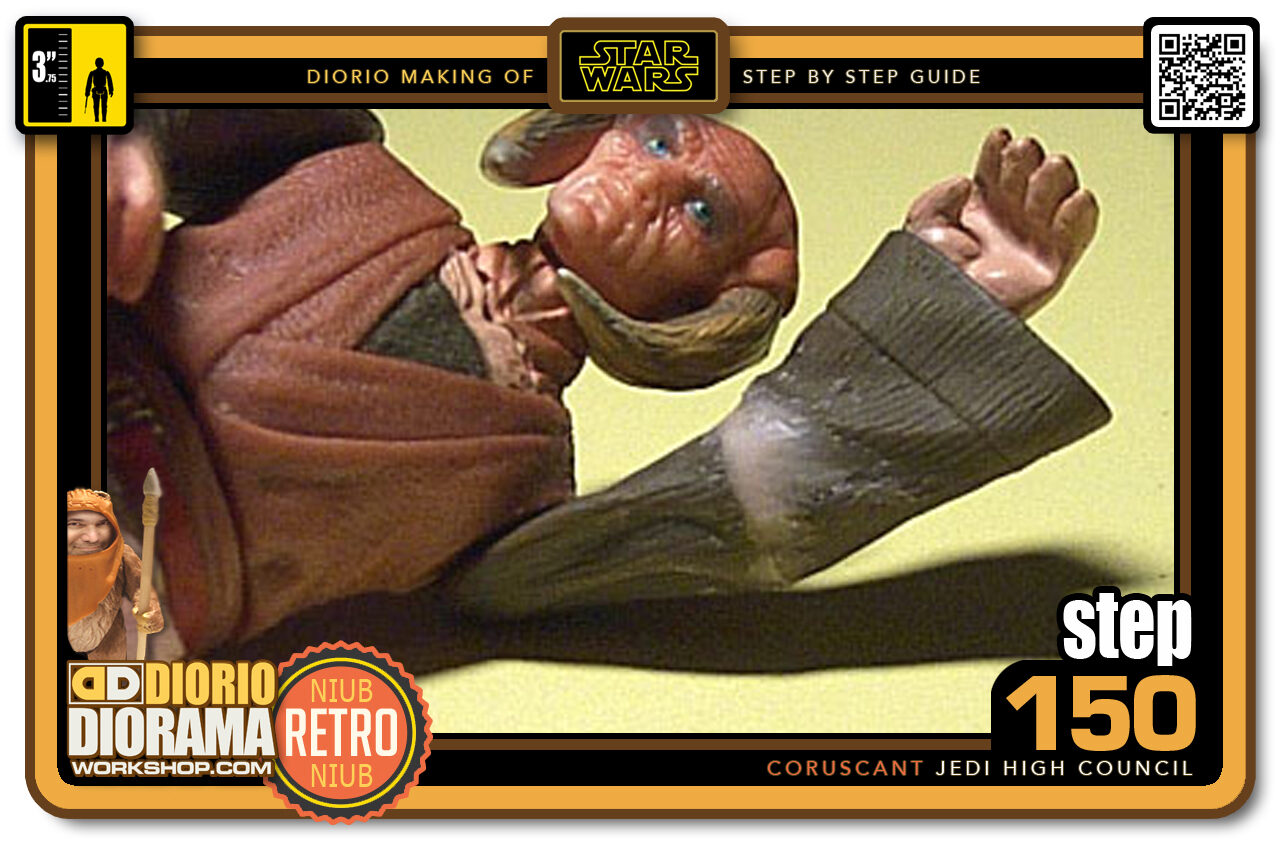
- Step 150 >> I decided to hide the cut with Super Sculpey. Just stick some in the groove and smooth it out. Be very carefull when you heat the Sculpey if you used Hot Glue. The heat from the Gun will soften the hardened glue and might cause the arm to fall off.
-
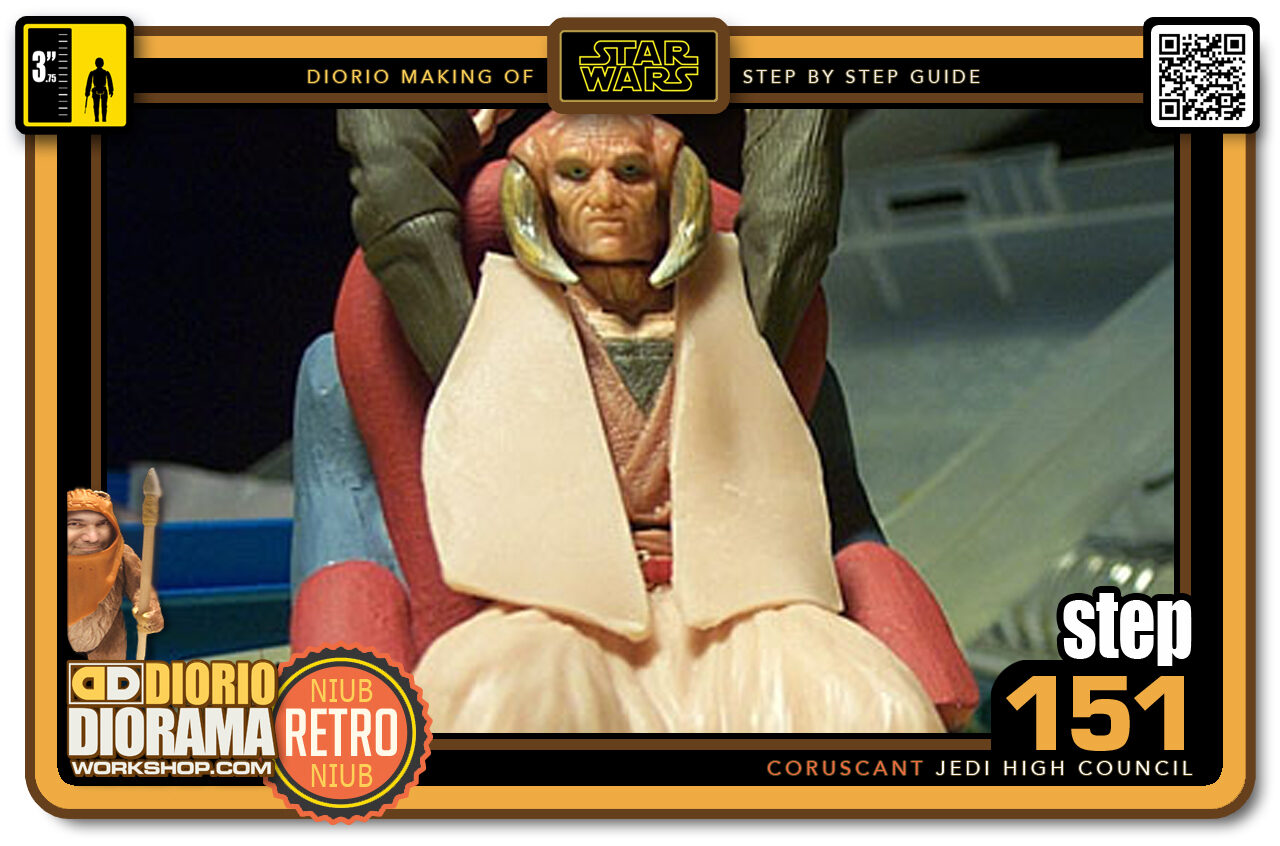
- Step 151 >> Now that we have done Hasbro's job 🙂 We can move on to the top part of the robes. Cut out 2 mirrored pieces of Super Sculpey in the shape you see above. Kinda like a vest.
-
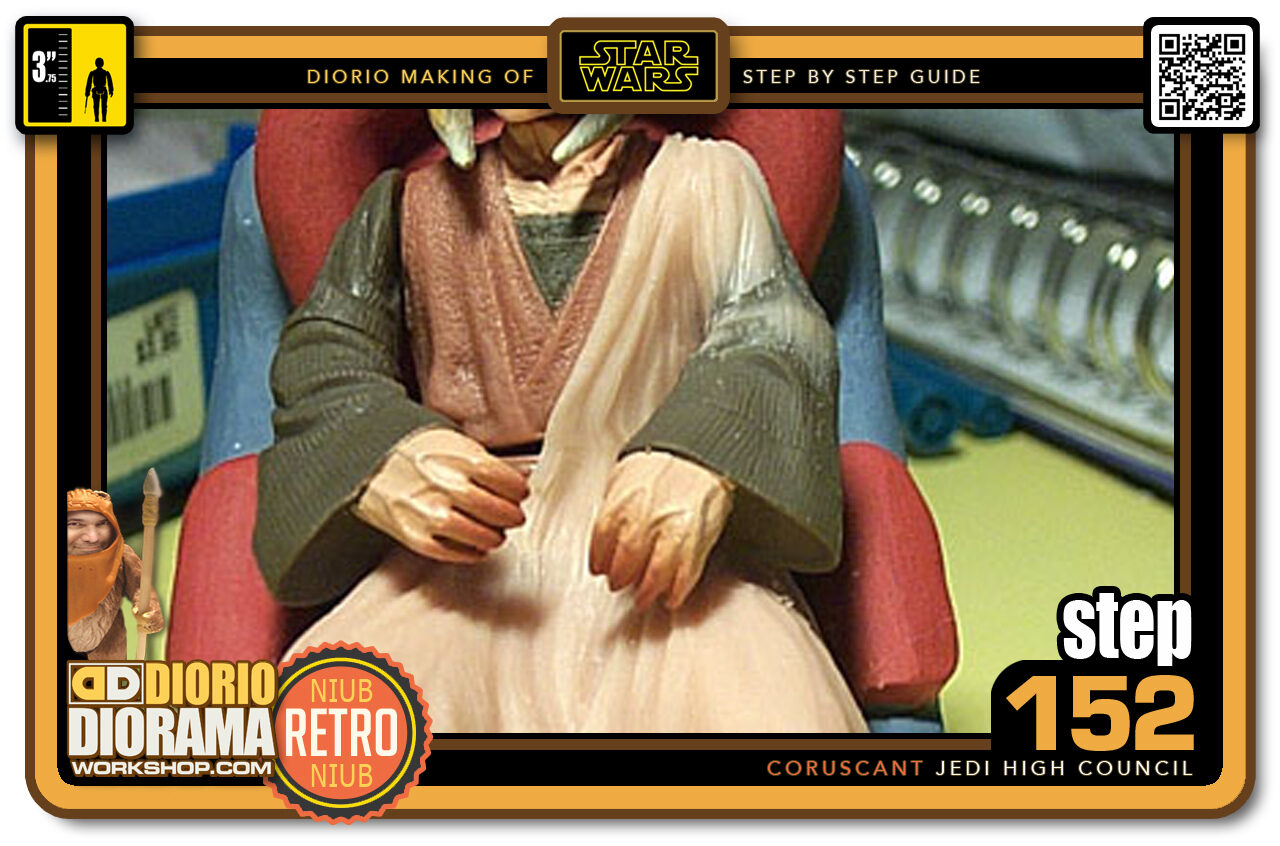
- Step 152 >> Start with one side and go all the way up the shoulder and add fold details.
-
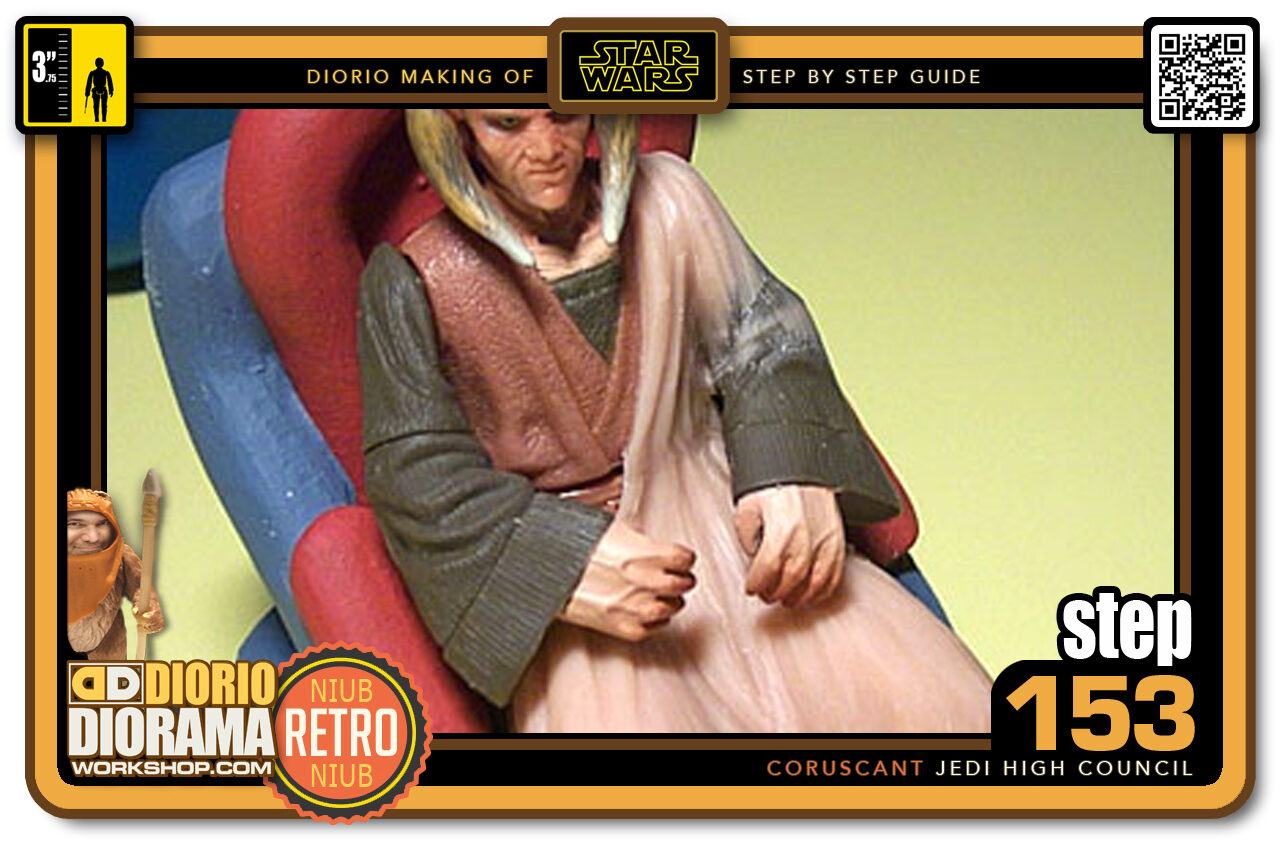
- Step 153 >> Here you can see how the piece was tucked into the side beneath the arm. Make sure to blend the edges into the figures plastic or you will be able to see the added Sculpey.
-
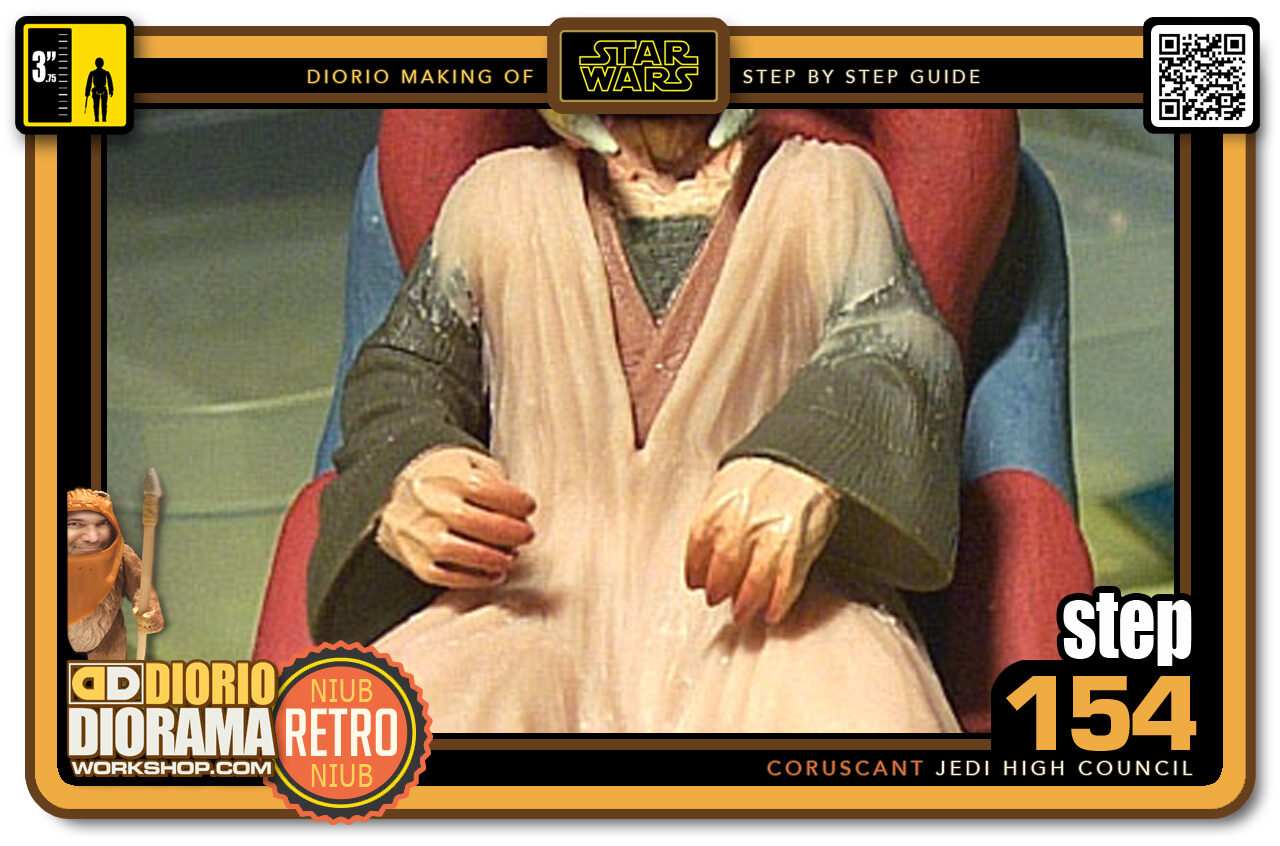
- Step 154 >> Once the left side was Heat Dried, I started working on the right part of the top robe.
-
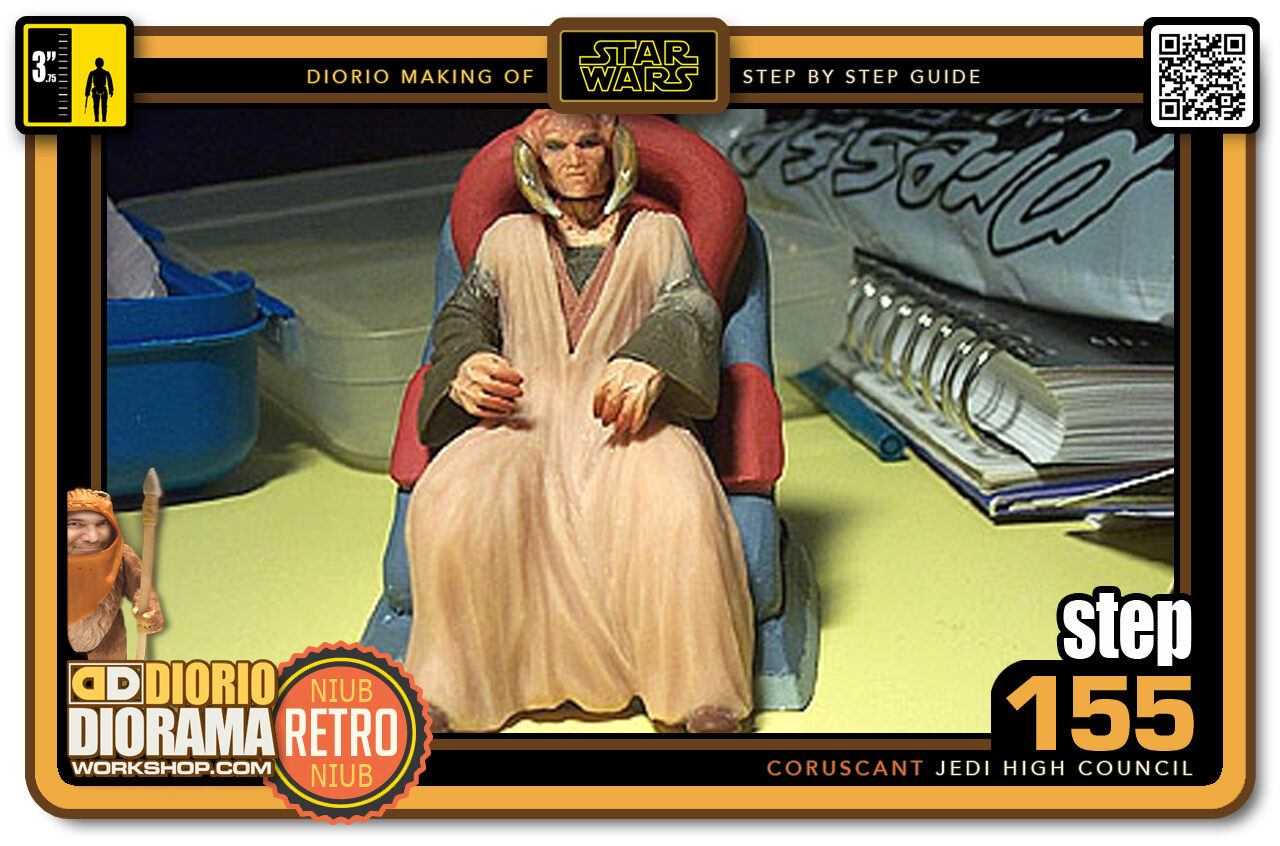
- Step 155 >> Once you are happy with the final sculpting, harden the Super Sculpey with your Heat Gun.
-
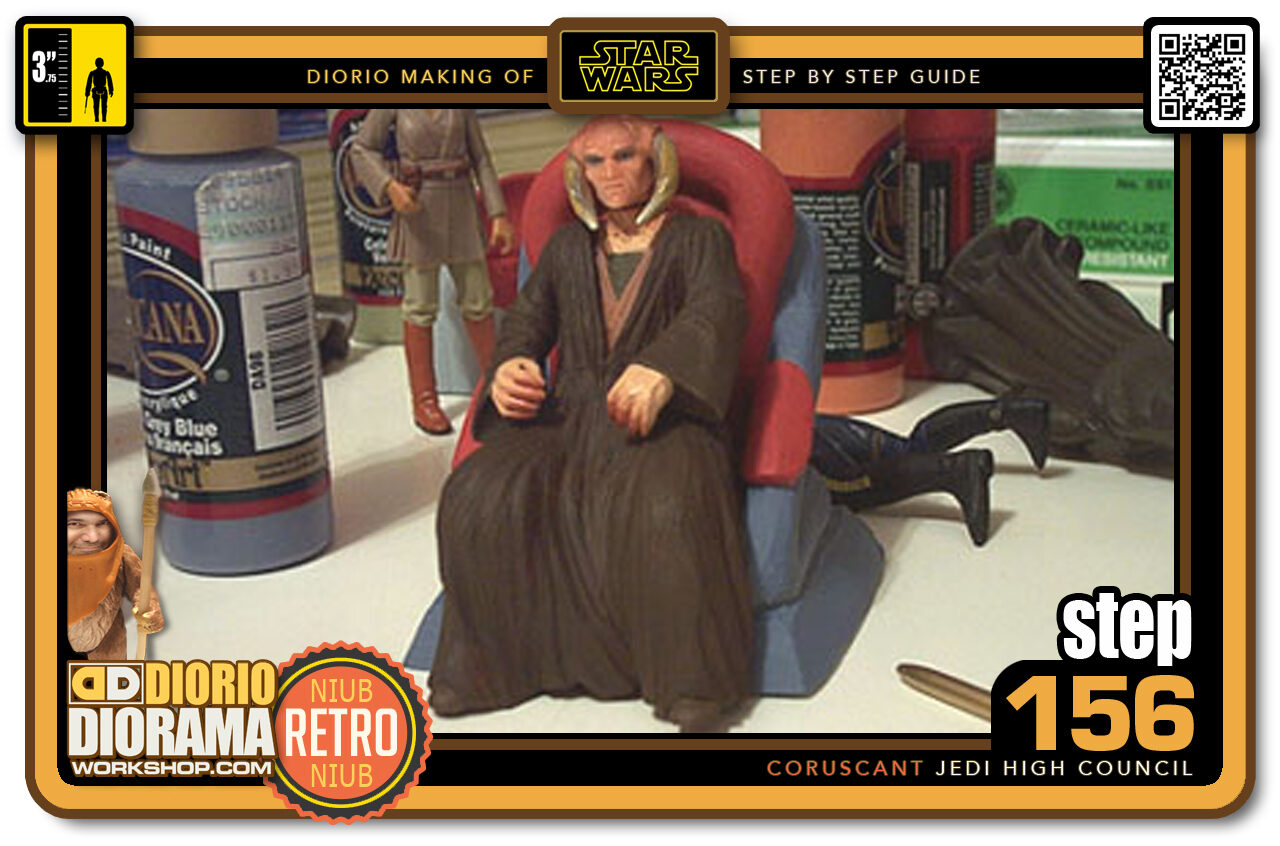
- Step 156 >> Now we are ready to paint. Again I used the same water based Acrylic colours that worked so well on mace and the other Jedi's. I repainted the arms so that the robe was the same colour from top to bottom. The Hasbro robe colour is more greenish but looking at the vhs and reference pics, all jedi's robes are the same dark brown. So this colour is more accurate.
-
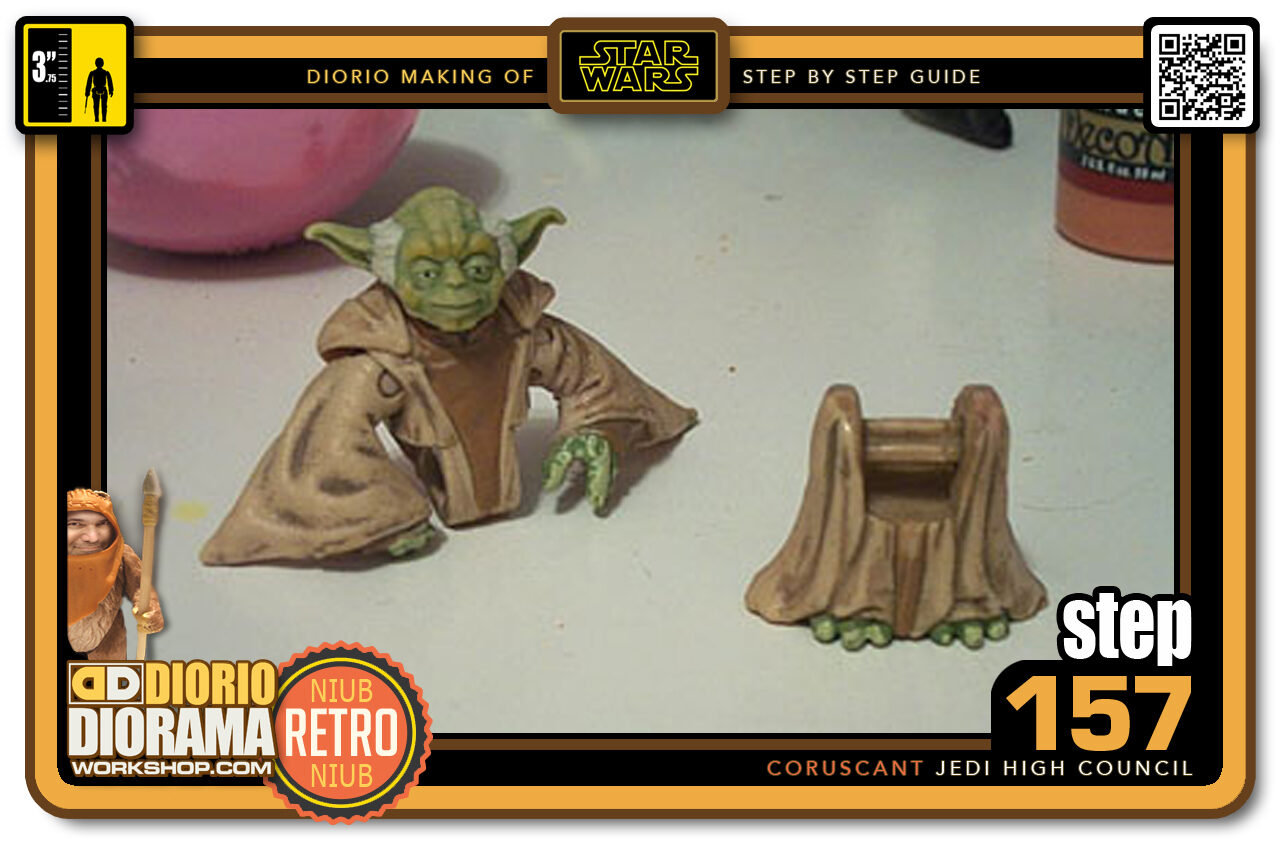
- Step 157 >> Let's start by boiling Yoda for 30 seconds to facilitate his amputation 🙂 The peg in the feet is attached at both ends, so you need to use scissors or an Xacto kinfe to cut one end of the peg in order to put the legs off the torso.
-
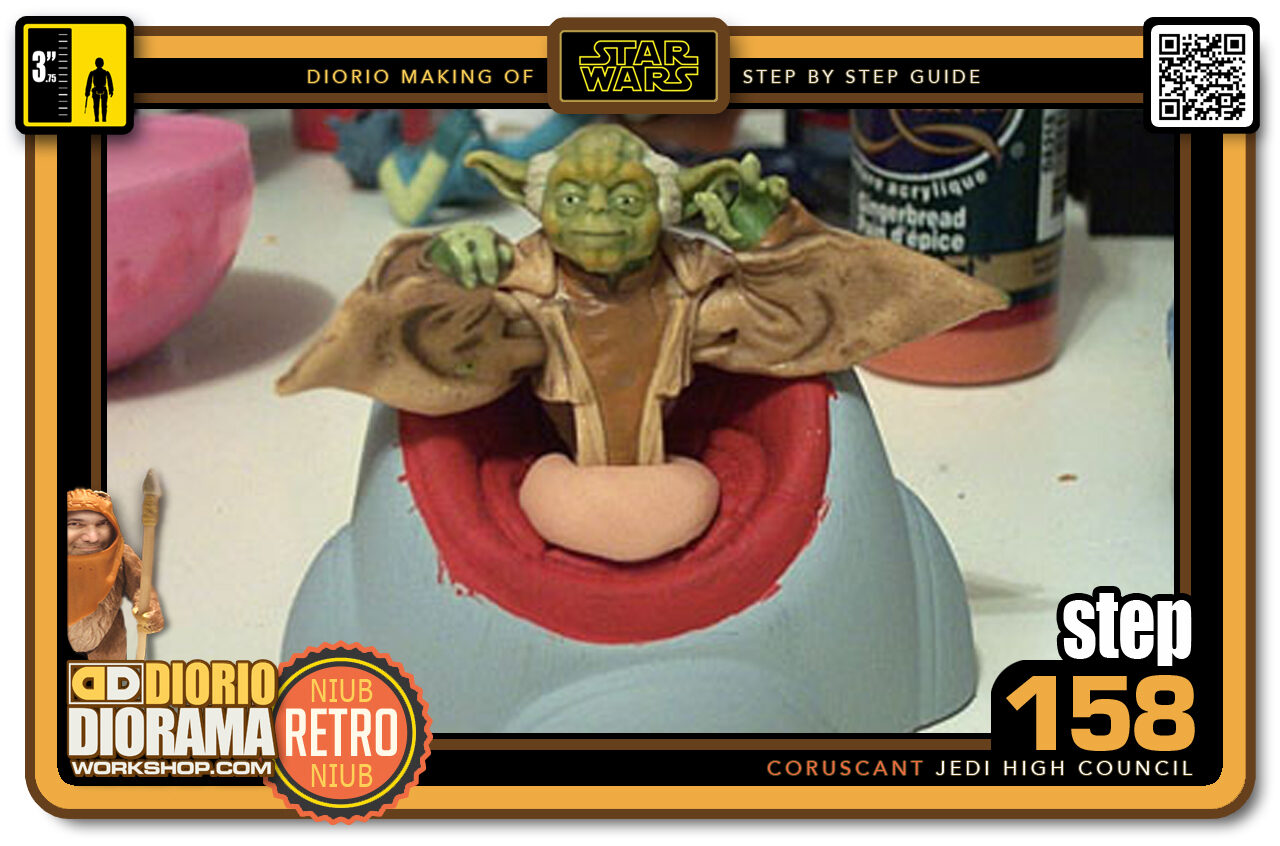
- Step 158 >> I took a ball of Super Sculpey and placed it in the center of the chair. This will act as an anchor for the torso but also the back of the jedi Robe.
-
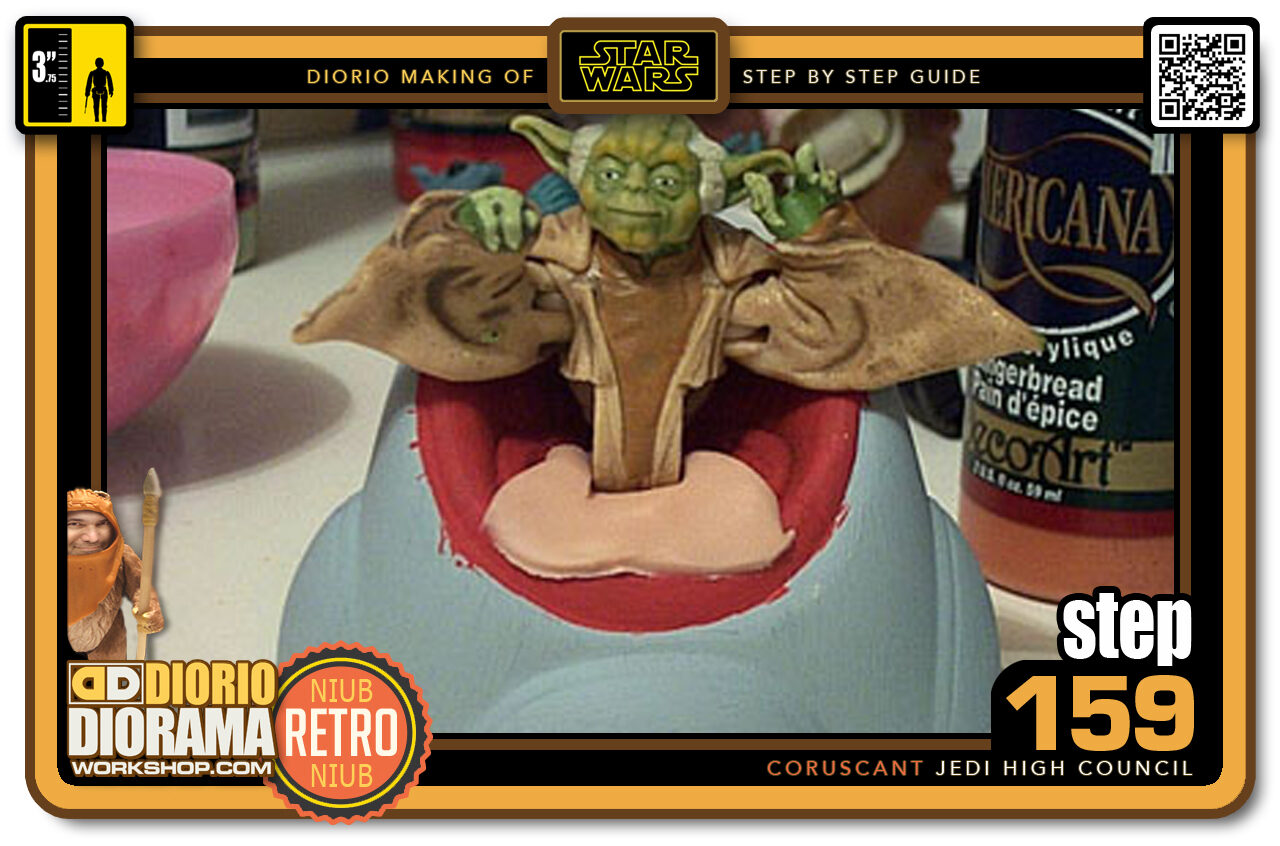
- Step 159 >> Start with flattening the ball by pressing it against the chair.
-
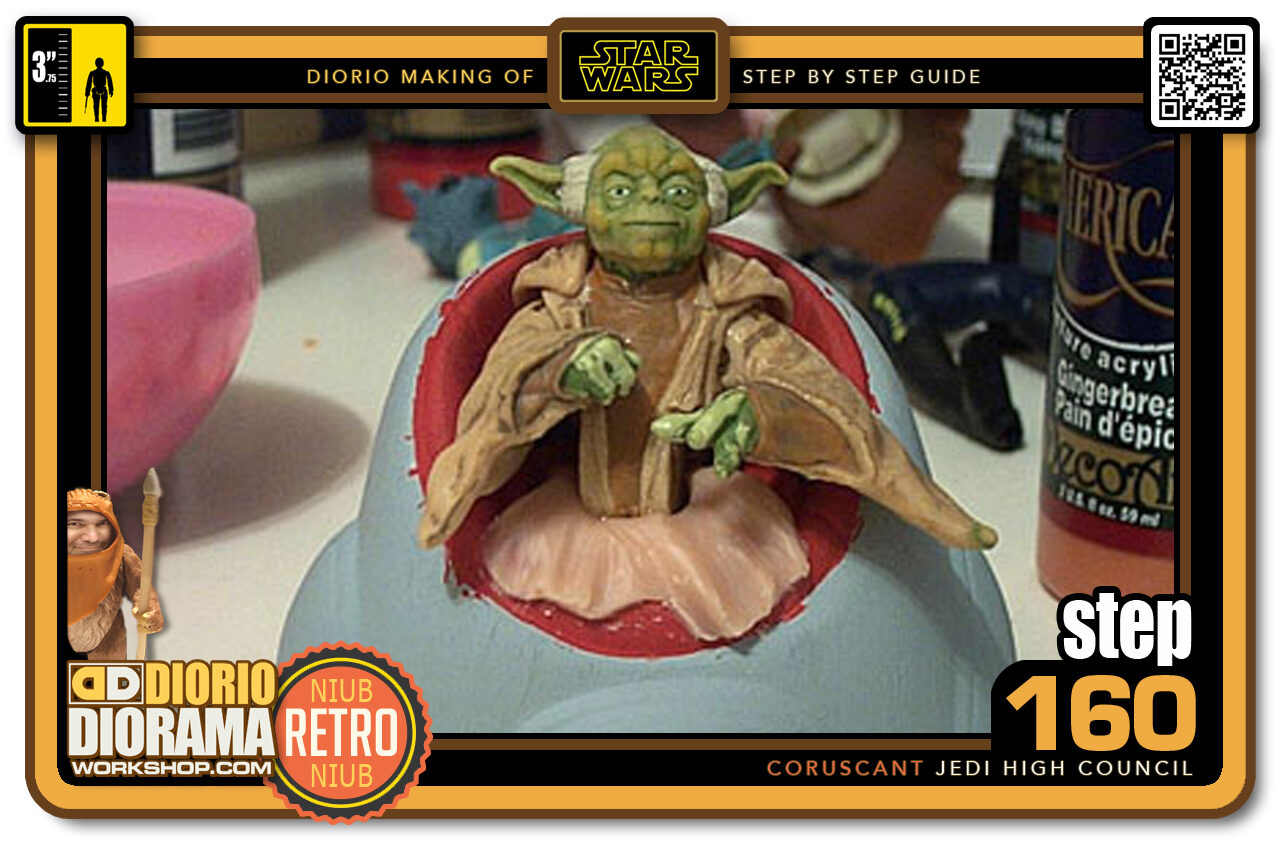
- Step 160 >> Then I used my tools to make folds in the same fashion as all the other Jedi Robes.
.
Did you already build this Diorama ? At home or at our Star Wars Celebration Diorama Builders workshop ? Would you like to show it in the site’s GALLERY VISITORS DIORAMAS section, YES ? That is Awesome !!! You can find out all the details on how to email me your photos on the VISITORS SUBMISSIONS INFO page … When I get your photos, I will create your very own page just like this one. You may not realize it but work does inspire others to join in the fun of making Action Figure Dioramas.
.
NOT FOR RESALE ALL Decals, tutorials and artwork are ©FrankDiorio (dioramaworkshop.com) and offered FOR FREE to the fans – that would be you ? so you can build and display my diorama designs in your very own home. I realize I cannot control what one does with my graphics once I place them on the web, I can only ask you as one fan to another, please respect the artist and do not be that jerk who uses my designs and tutorials to build a copy of my work only to sell it on EBAY or trade/sale groups and forums. Thank You. Frank.
.

.
.
If you have a facebook account, why not join the Official Diorama Builders Fan Club today, simply click the logo link below.
 .
.
Catch up with fellow visitors and exchange stories, read cool interviews with the crew, exchange photos, fun surprises and grab some FAN ONLY merchandise next year at actual future conventions ?
.
©2021 Frank Diorio DioramaWorkshop.Com
.
IF YOU LIKE WHAT YOU SEE, PLEASE SHARE WITH YOUR FRIENDS
USING THE SOCIAL MEDIA BUTTONS BELOW