


-
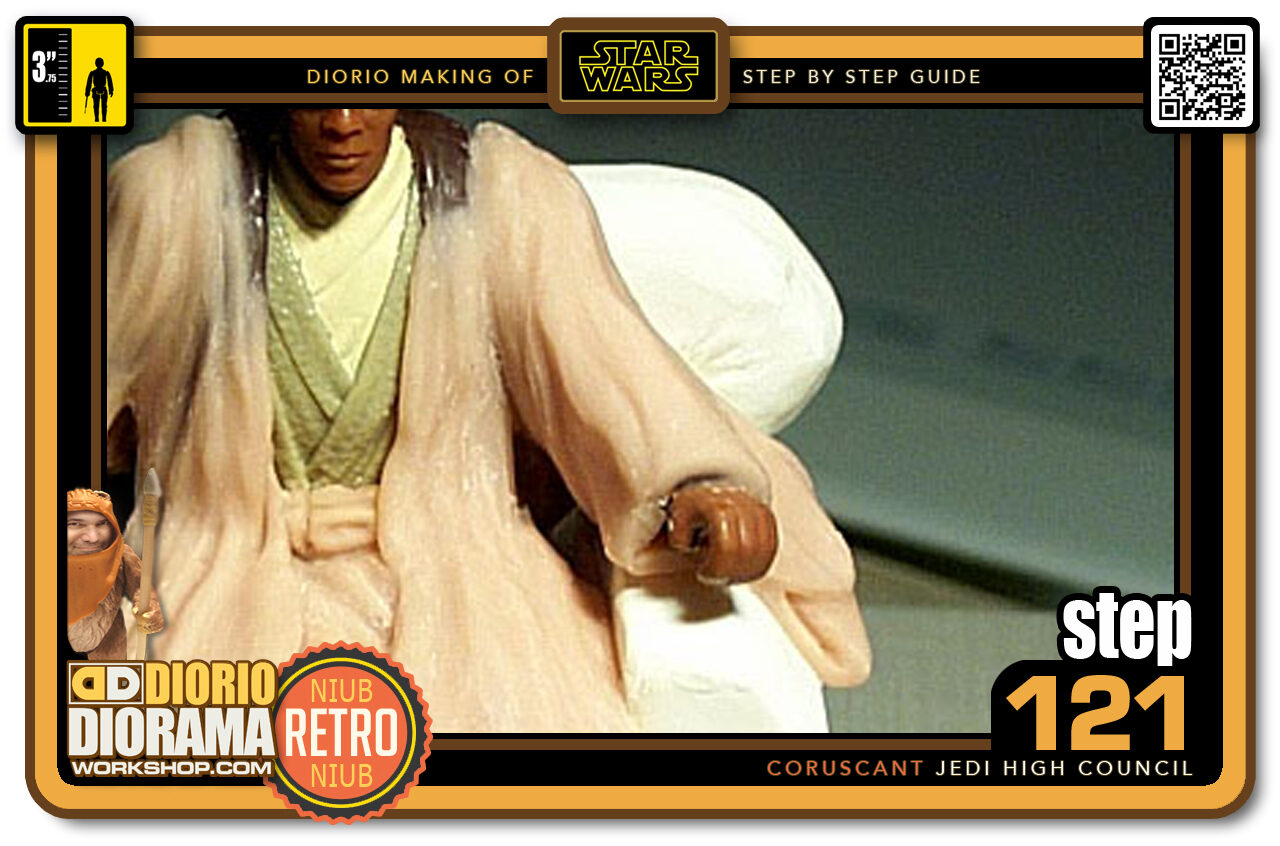
- Step 121 >> Now it's time for the left arm. What's harder this time is to match the look of the right arm. Simitry is hard to do, so I went with same shape idea but different fold patterns.
-
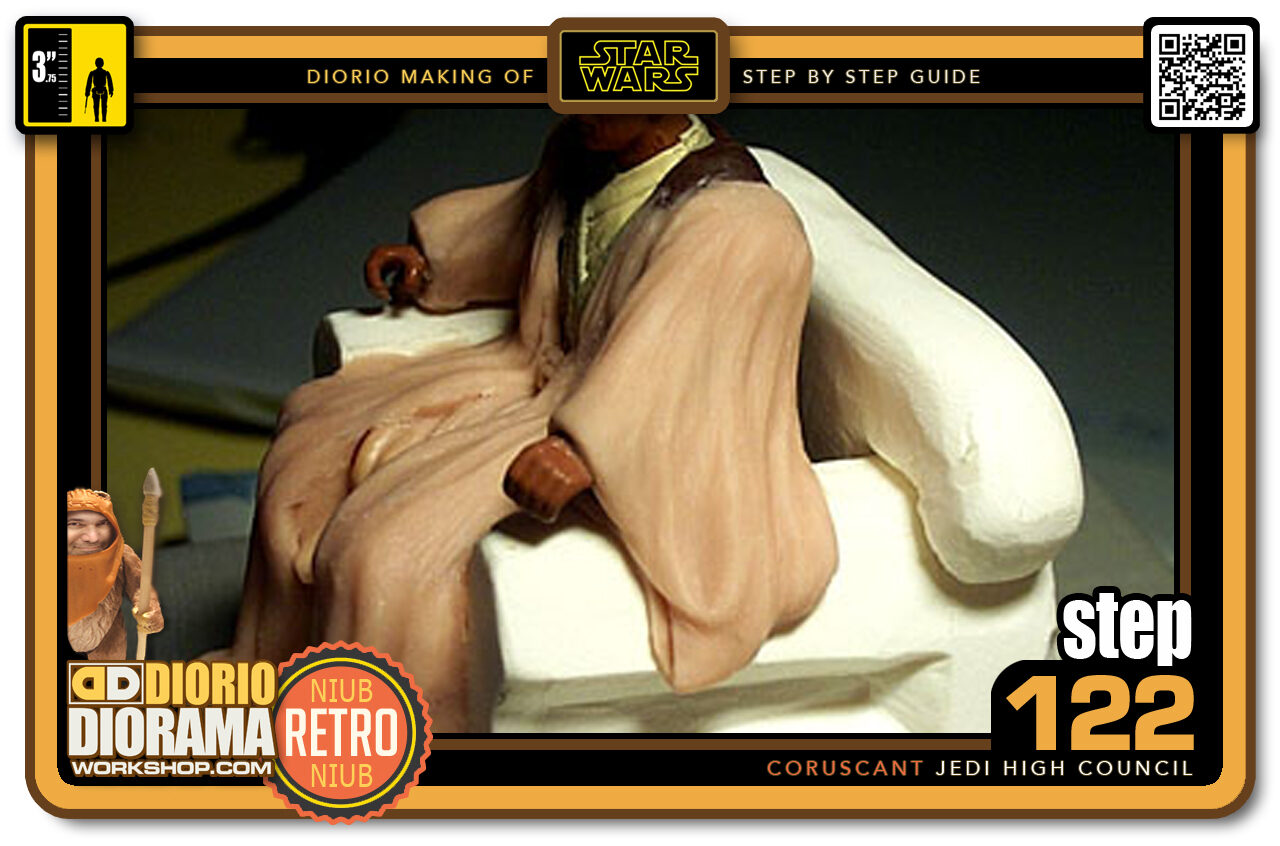
- Step 122 >> Here is the side view of the left arm. I actually like these folds bettern then the other side. Again just add pieces of Super Sculpey over the chairs arm to give a draped effect. Looks quite impressive once everything is smoothed out.
-
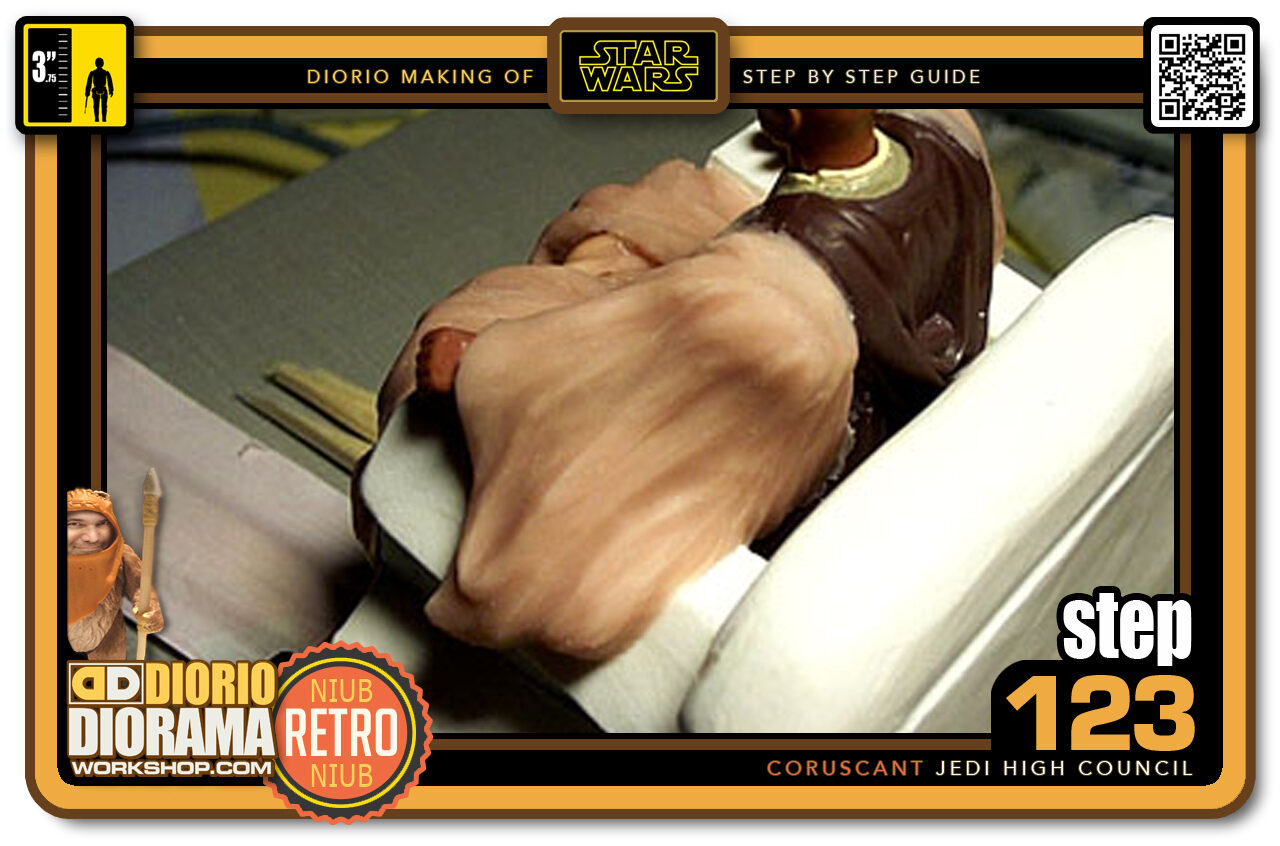
- Step 123 >> Here is the back view of the arm. Again note how it's attached to the chair.
-
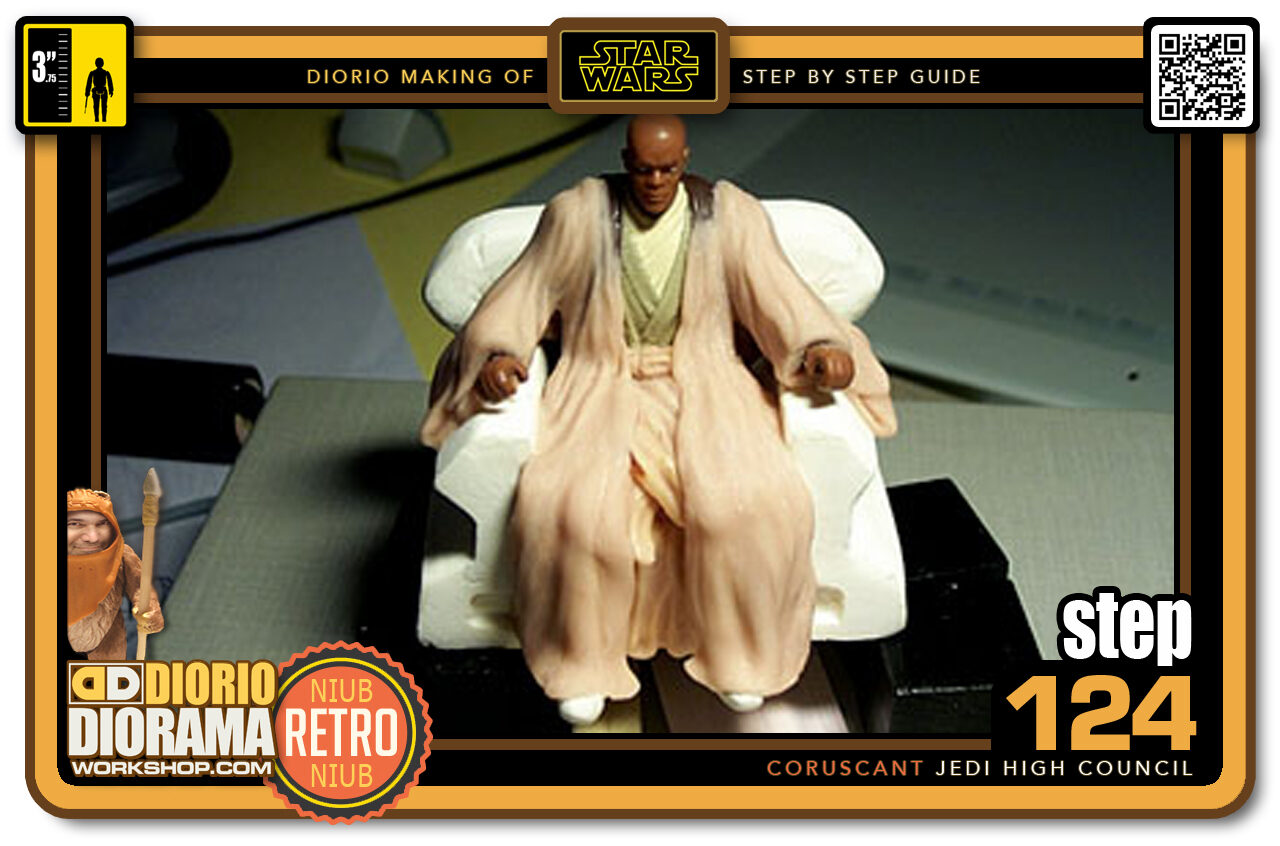
- Step 124 >> After 5 1/2 hours....the finished sculpt. Not bad if I do say so myself 🙂 Too bad Hasbro did not make all the council members sitting with their propper chairs. Big mistake if you ask my opinion, Doesn't this look so much cooler then just standing up? I know, I know...you can't have lightsaber fights sitting down - LOL. Now I need to find paint.
-
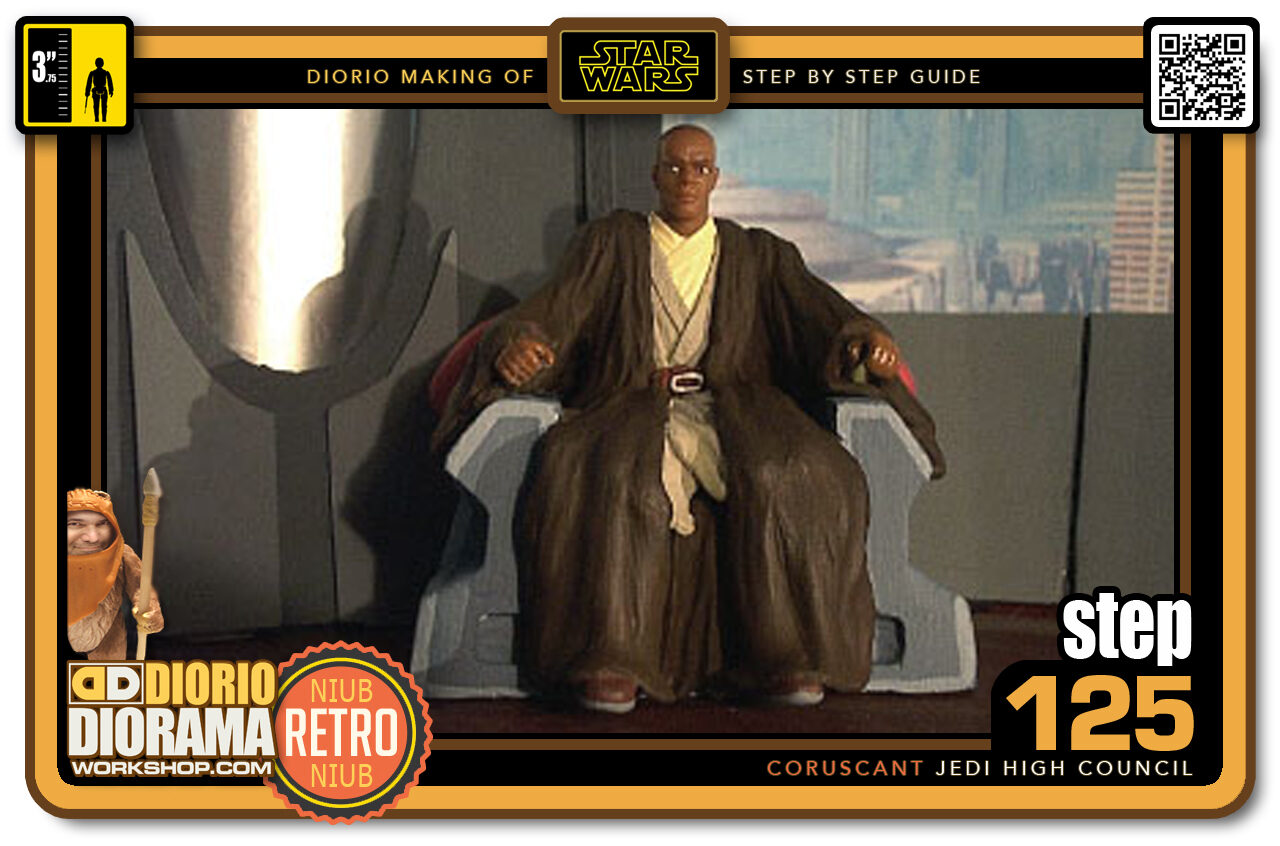
- Step 125 >> Painting really brings the figure to life - WOW - custom making is FUN !!! Personally I think this is how hasbro should have made Mace in the first place or at least 1 deluxe sitting with his chair and 1 standing for kids to pretend fight with.
-
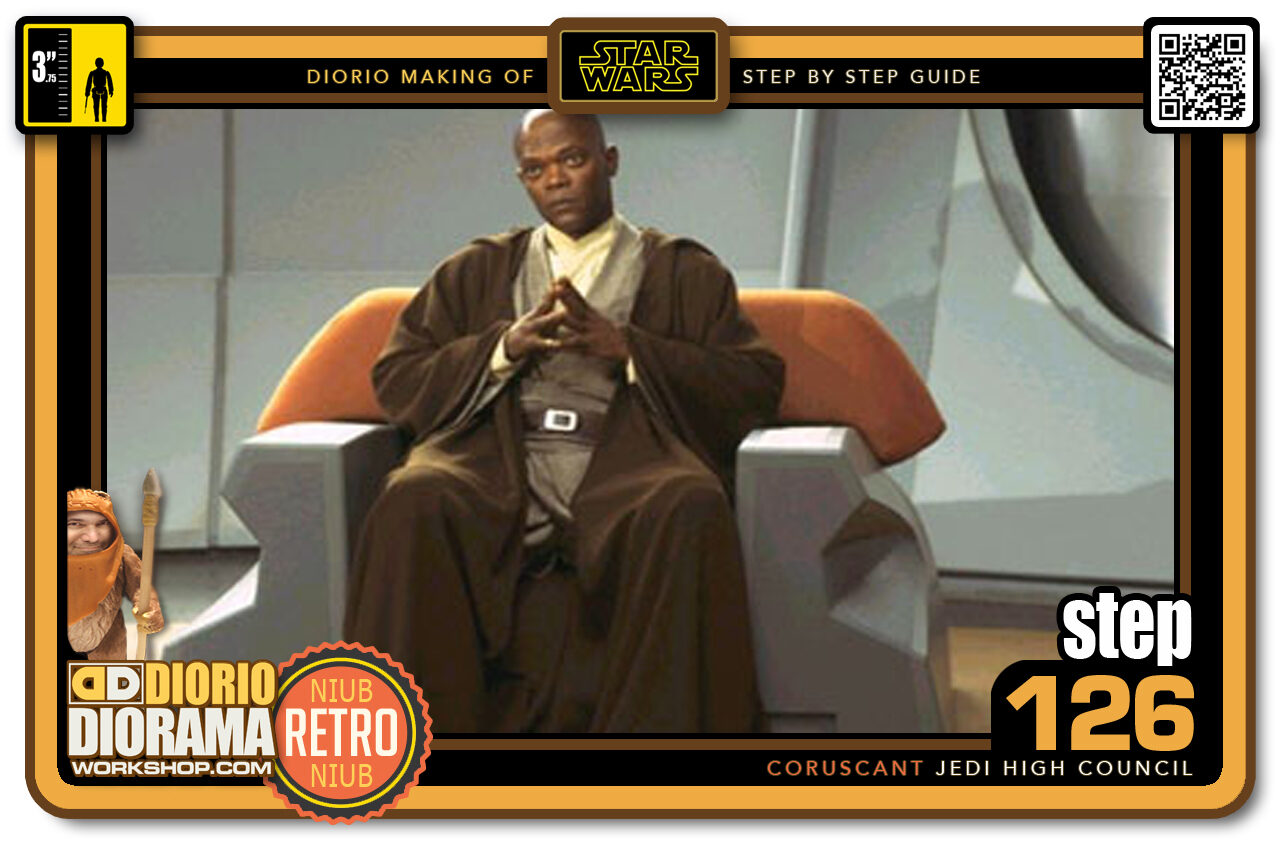
- Step 126 >> Here is the reference picture I used, pretty close don't you think? 🙂
-
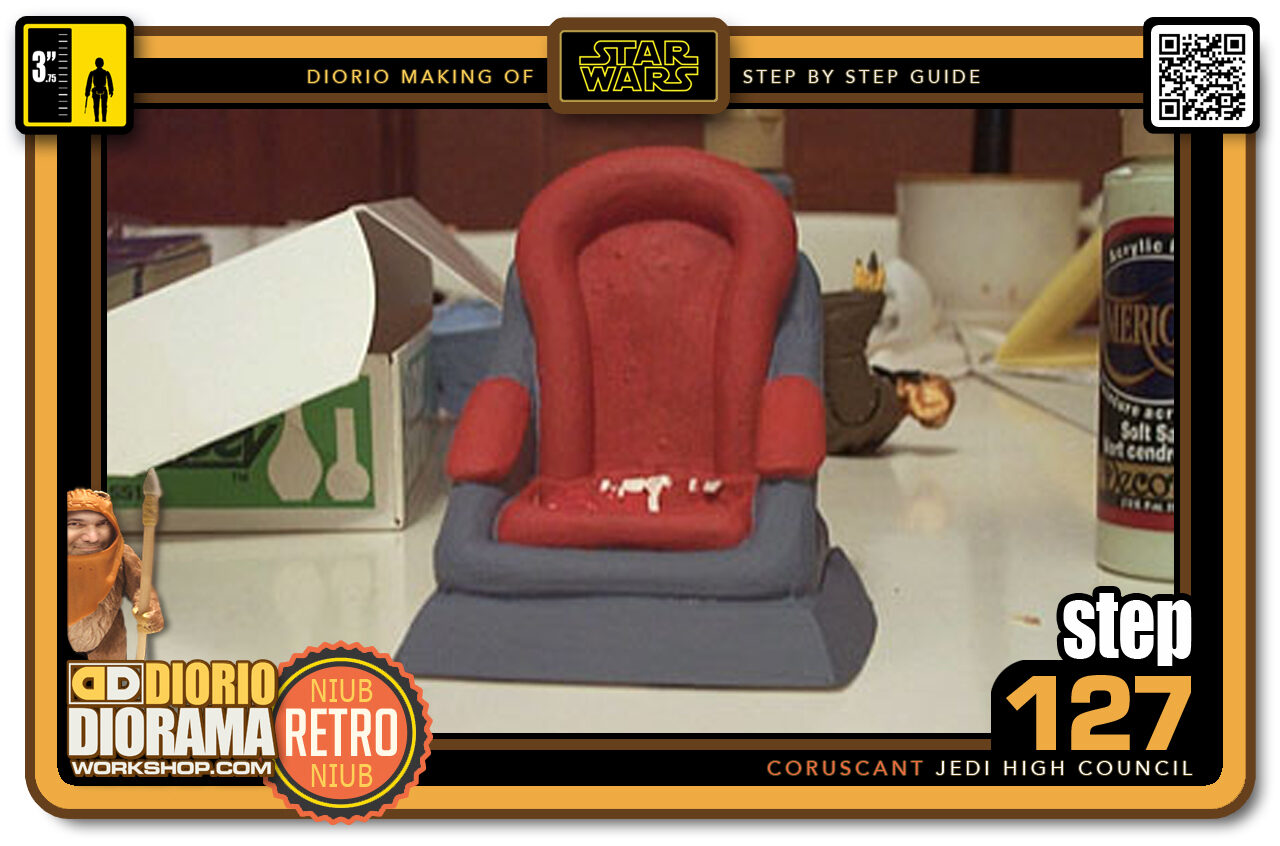
- Step 127 >> Start off with plo's Chair. I pre-painted it to help out on inside details
-
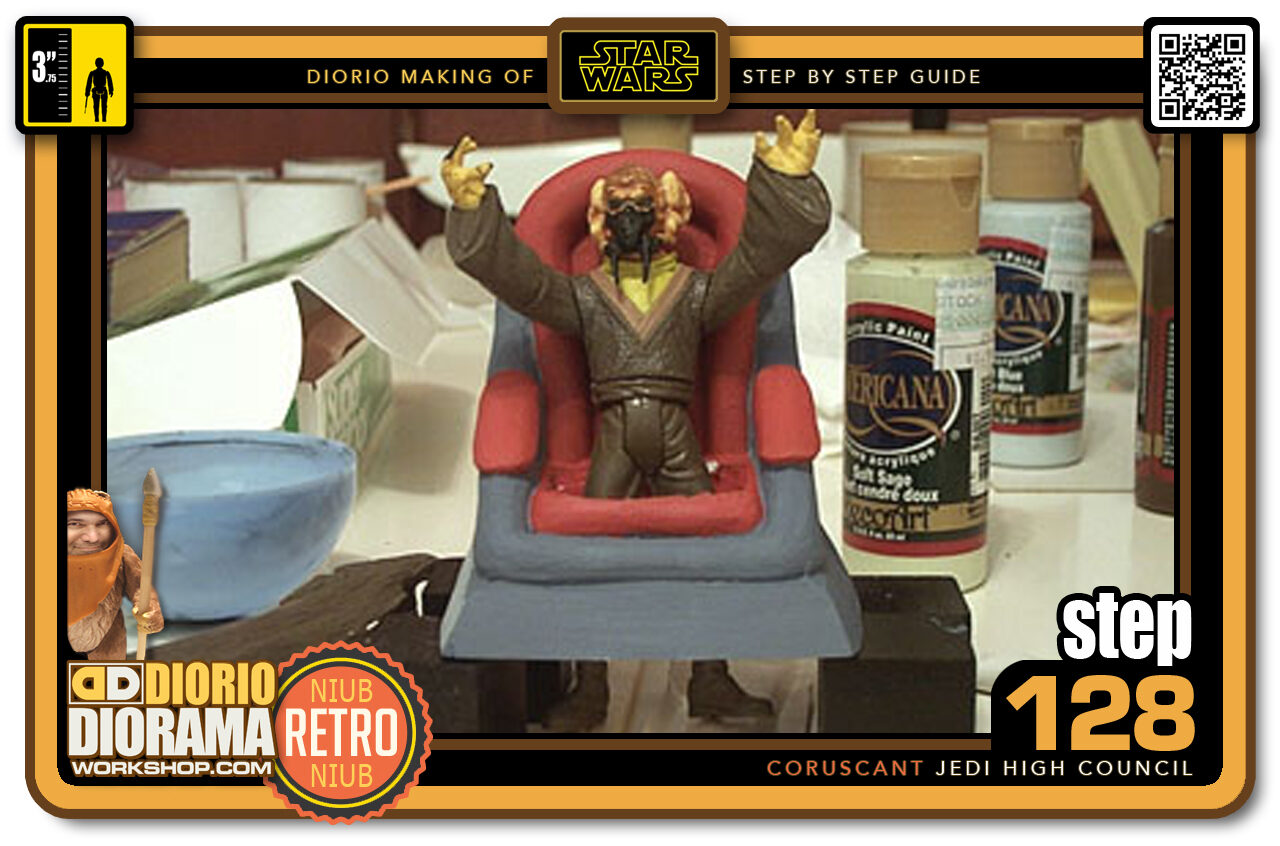
- Step 128 >> Here is plo Koon standing inside the chair. I removed the cloack because it was too bulky. I thought the end result would look better without it underneath.
-

- Step 129 >> So it's time to create some new legs for Mr Koon 🙂 I used Sculpey since it is ceaper and will be hidden under the robes anyways.
-
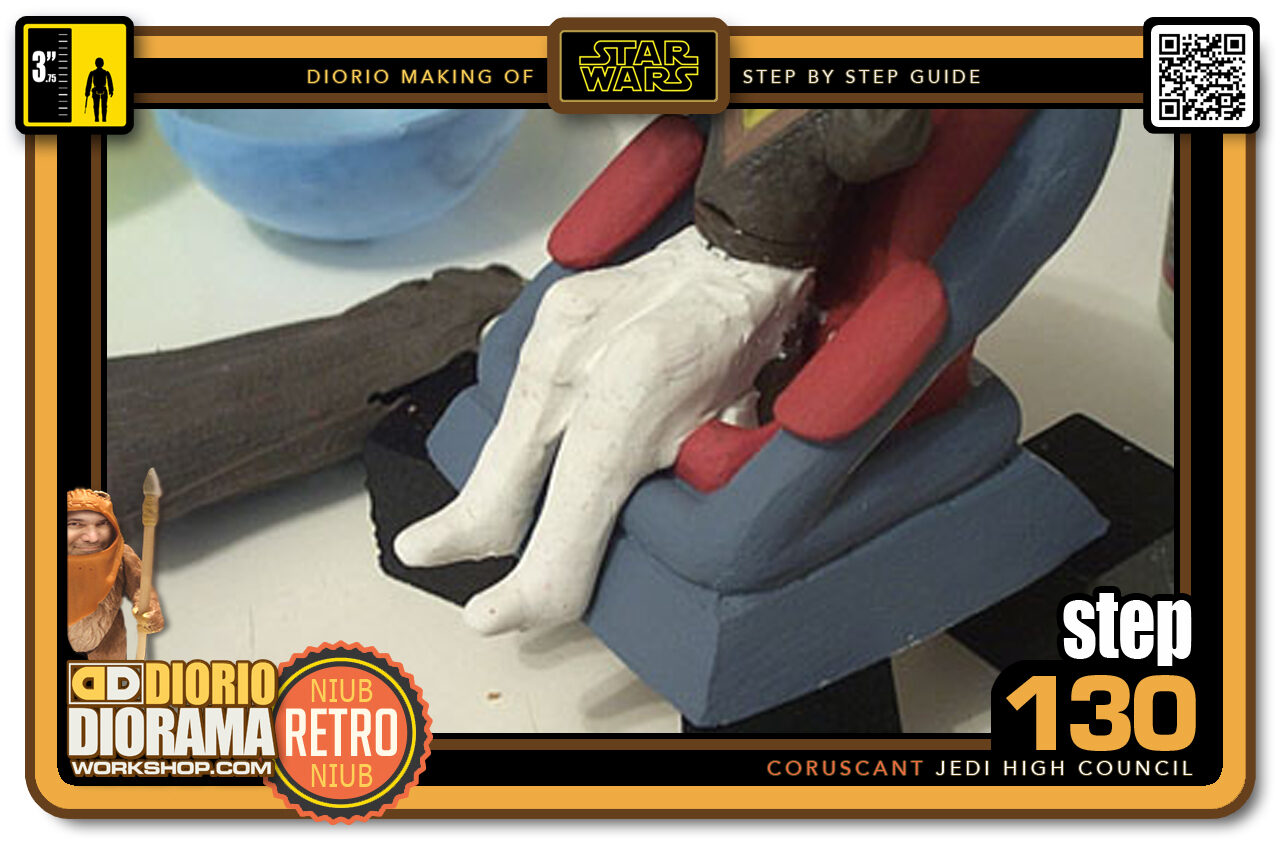
- Step 130 >> As you can see, you don't need details. A plain shape is enough for the robe to form fit itself to.
-
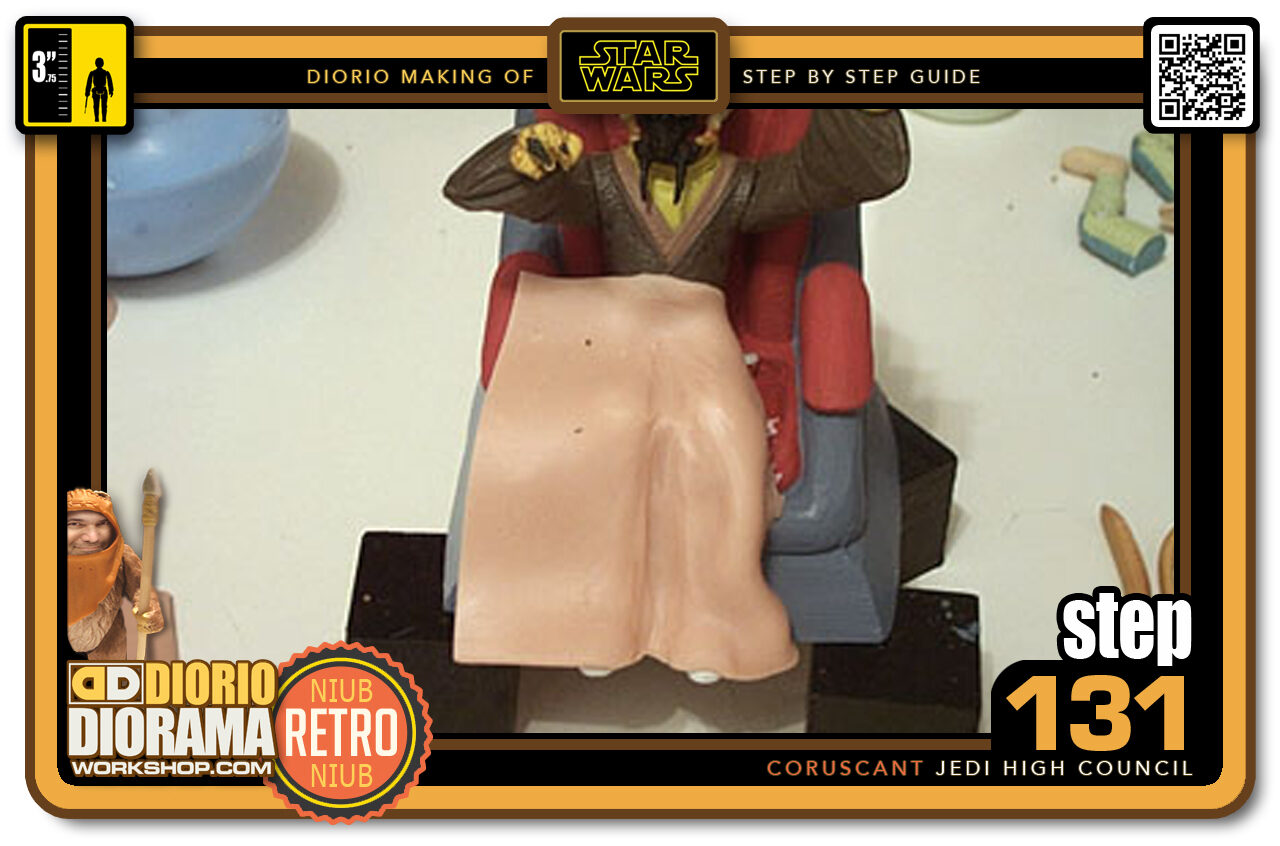
- Step 131 >> I flatten the Super Sculpy like a pie crust and cut out a square shape like a blanket. Then I placed it on the legs. On the right side you see what it looks like when folded around the leg. On the left is what it looks like when just placed on top of the leg.
-

- Step 132 >> Here is the basic shape now tucked into place with a few dents to give the idea of where I want the folds to fall in the robe.
-
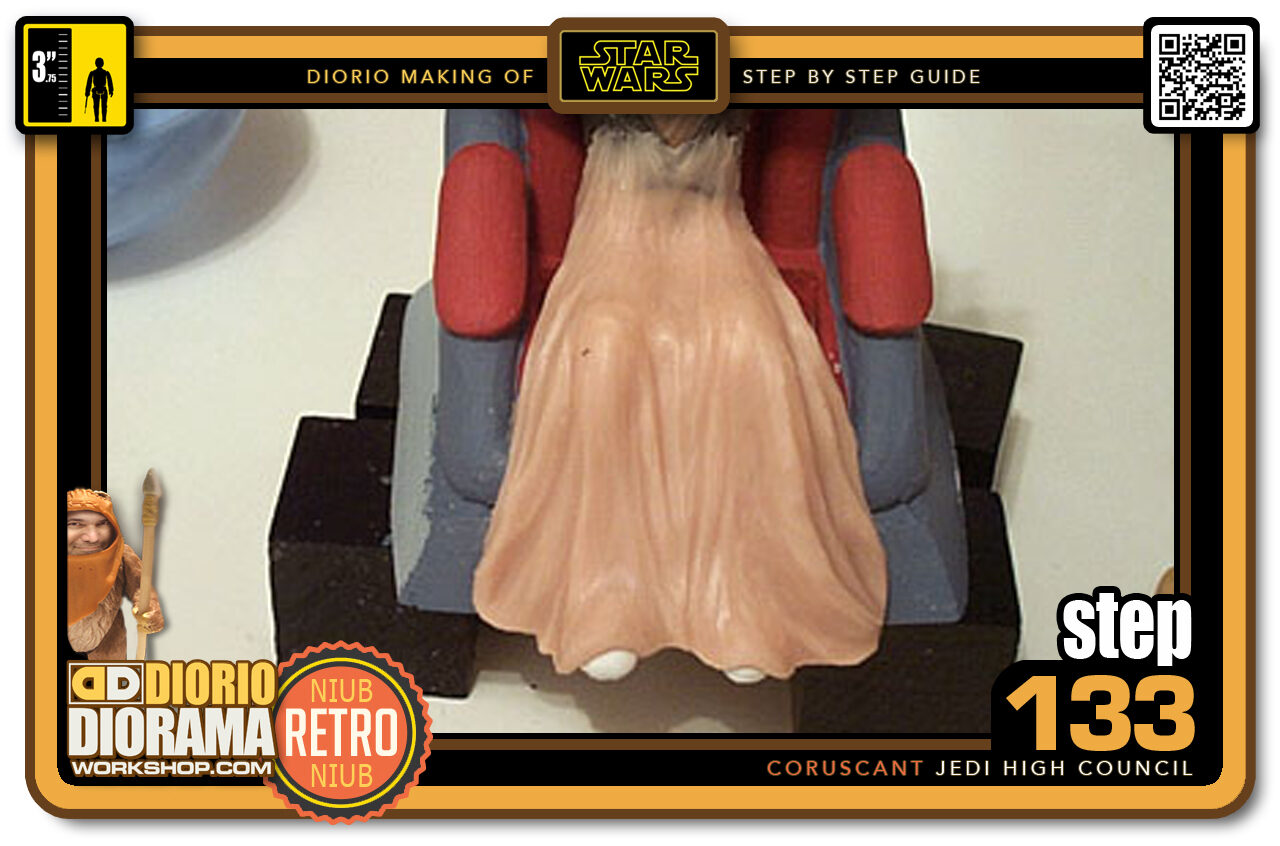
- Step 133 >> You can add extra Super Sculpey "pie crusts" to the main robe and add more details. It is with adding pieces that you get the best robe reults. Do not try and make a perfect robe with only 1 piece of Super Sculpey. It is too difficult that way.
-
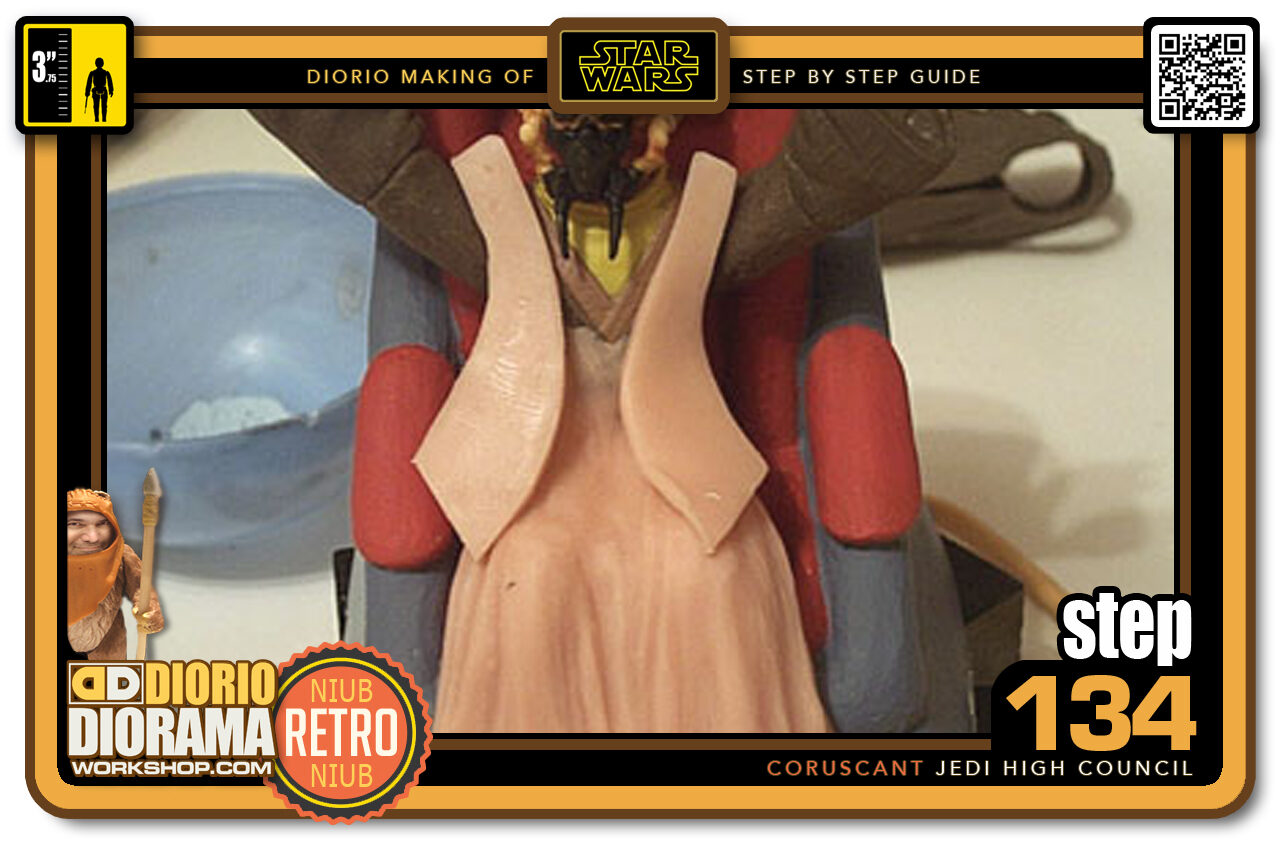
- Step 134 >> Now to work on the top of the robe. I cut out 2 shapes that mirror each other. They almost look like a vest. Place one side first then the other overlaping a little.
-
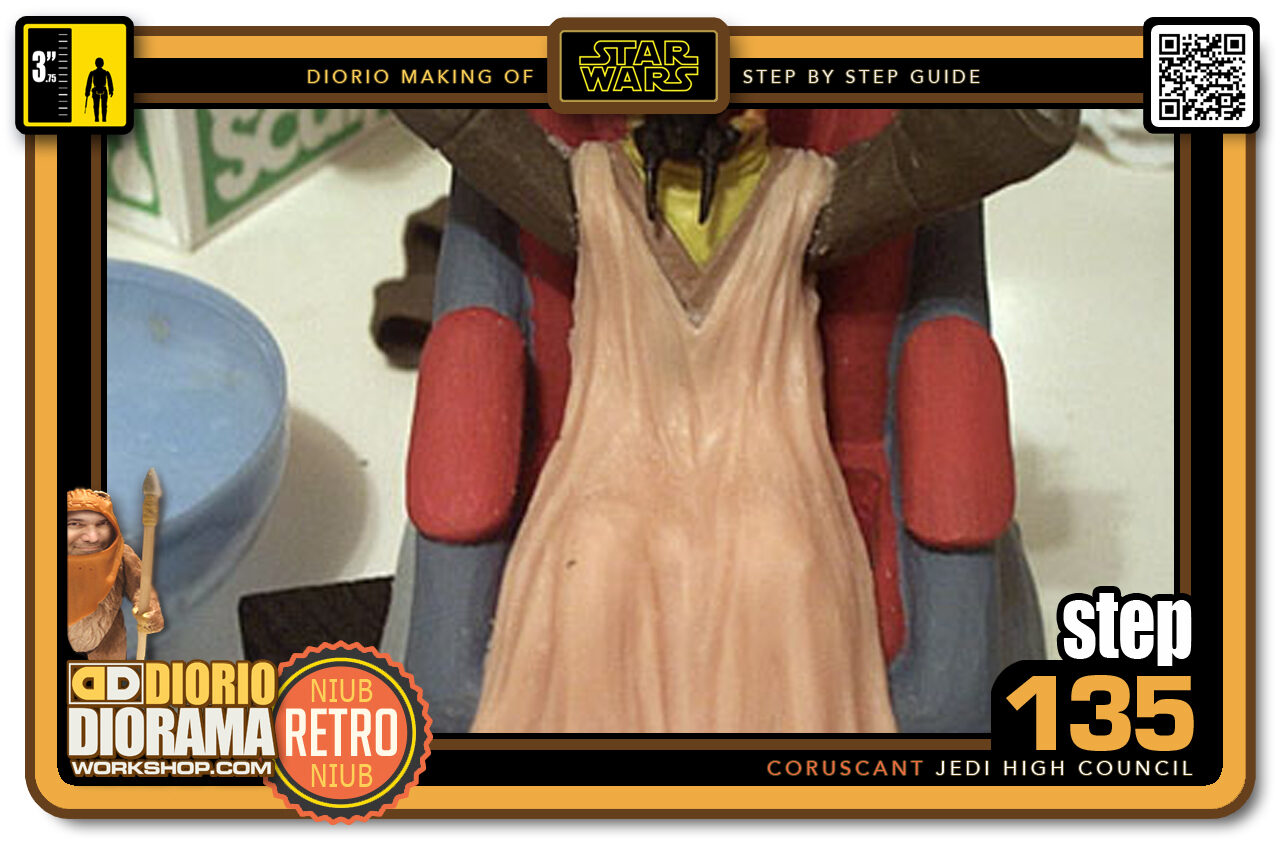
- Step 135 >> When they are blended to the main robe it looks like 1 piece.
-
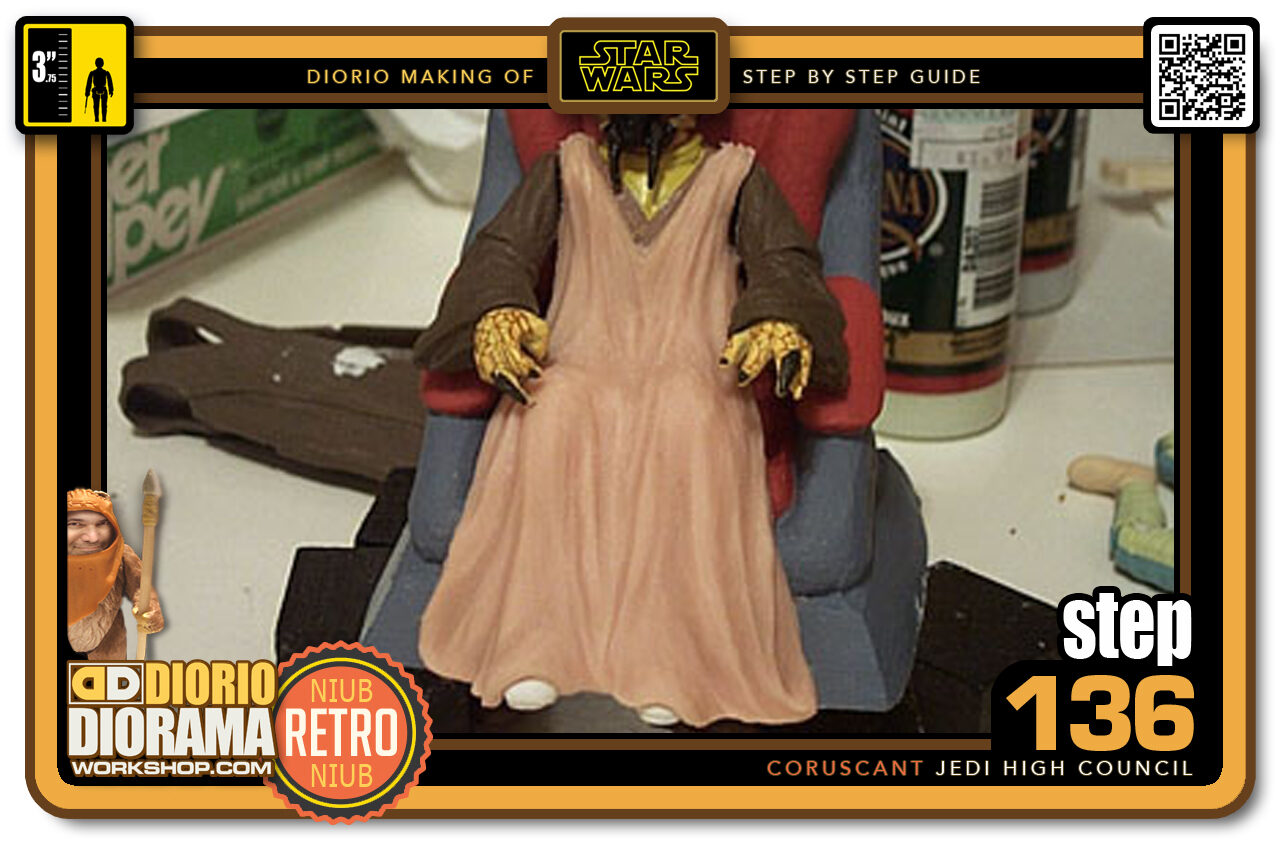
- Step 136 >> Now I can lower the arms to make sure nothing sticks to them and fix any folds that I am not happy with. At this time I also blend the shoulder Sculpy with the plastic. Now I used my paint heat stripper gun and dried the Super Sculpey using hot air. Don't aim at the same spot too long or your figure will melt - NOT GOOD - LOL
-
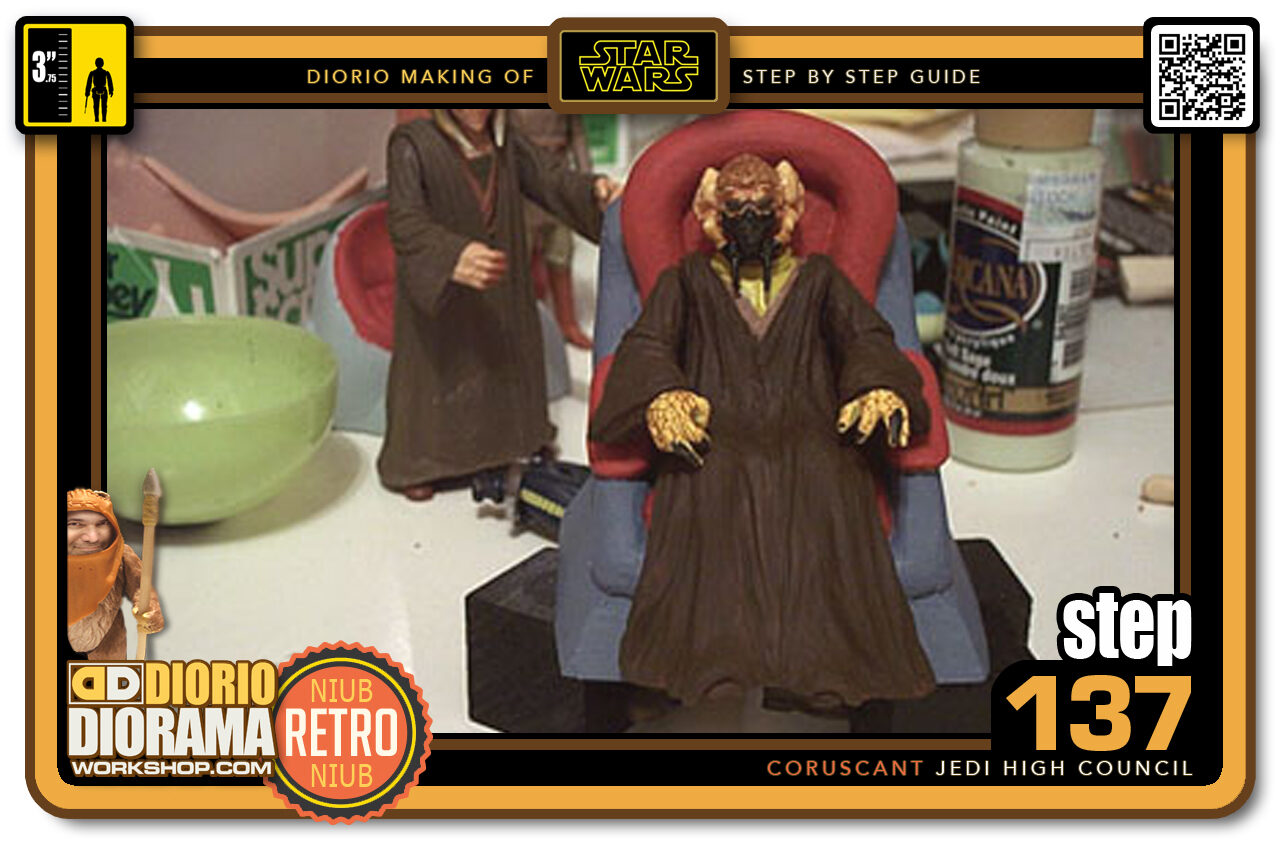
- Step 137 >> Some acrylic paint turns your creation from hand made to something that looks like Hasbro made 🙂 Make sure to put several thinner coats of paint instead of 1 fat blob. The result will be much better and look more like the real figures colour.
-
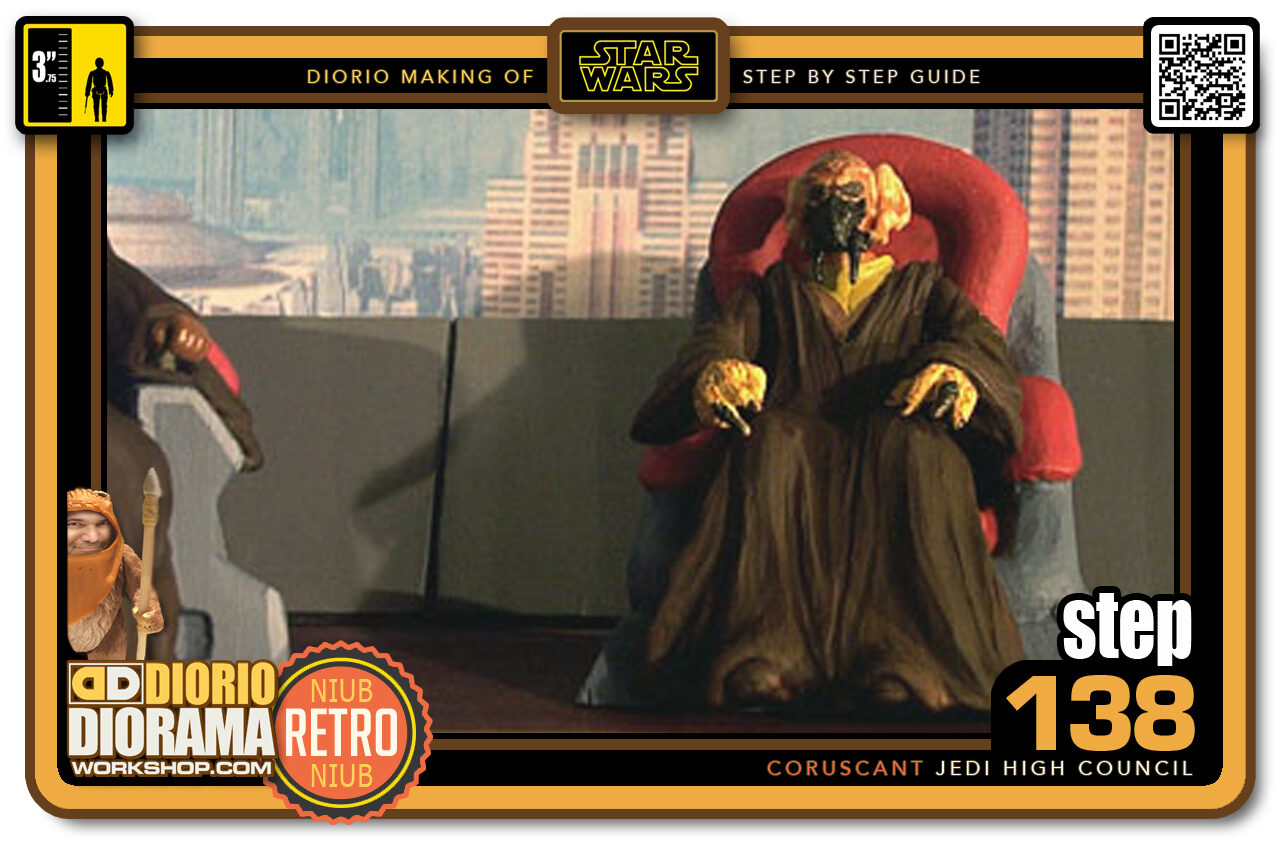
- Step 138 >> And there you go a small preview in the chamber set.
-
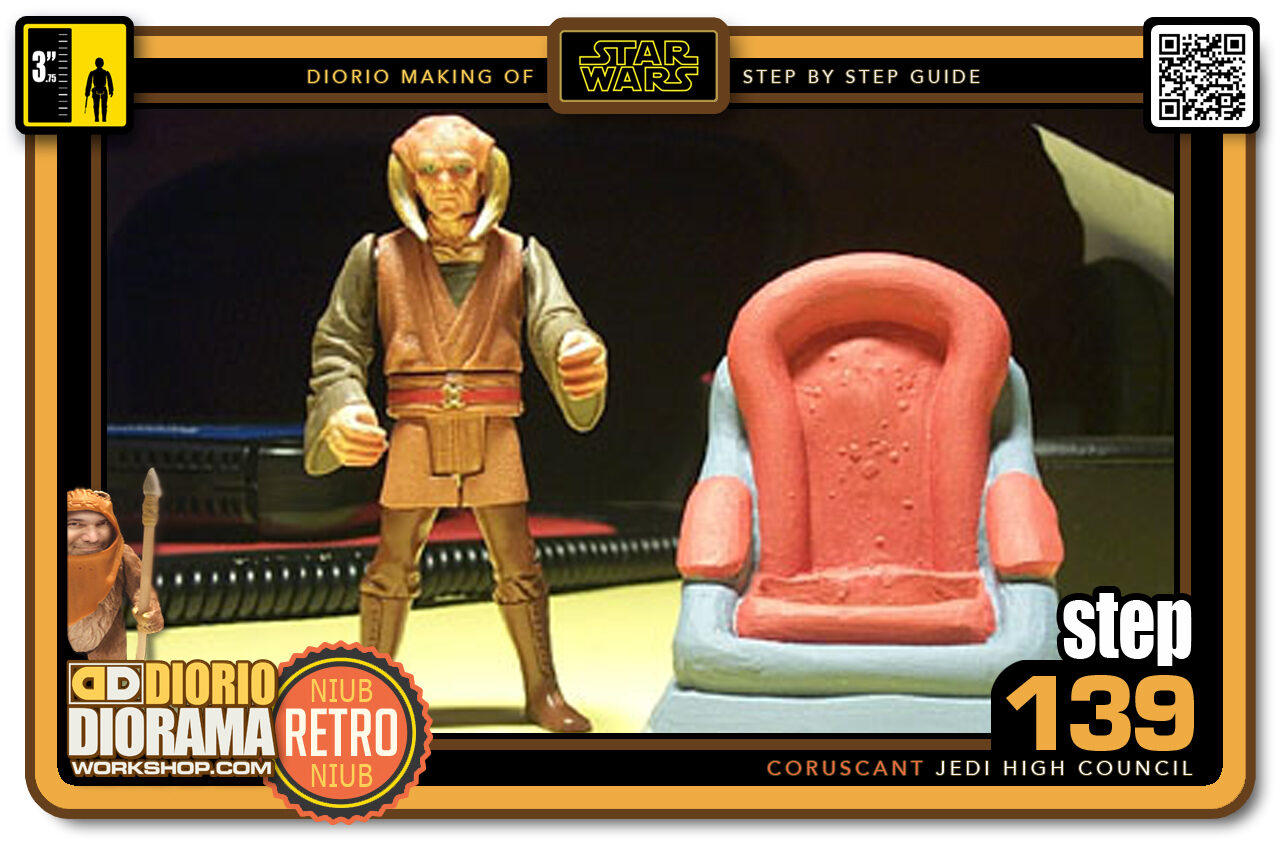
- Step 139 >> Let's start with a copy of Chair B and our friend Saesee Tiin. As you see I removed his Jedi Robe to facilitate the sculpting. Hasbro did quite a nice job detailing and painting the figure which is weird since we cannot see under the robe unless you cut it off.
-
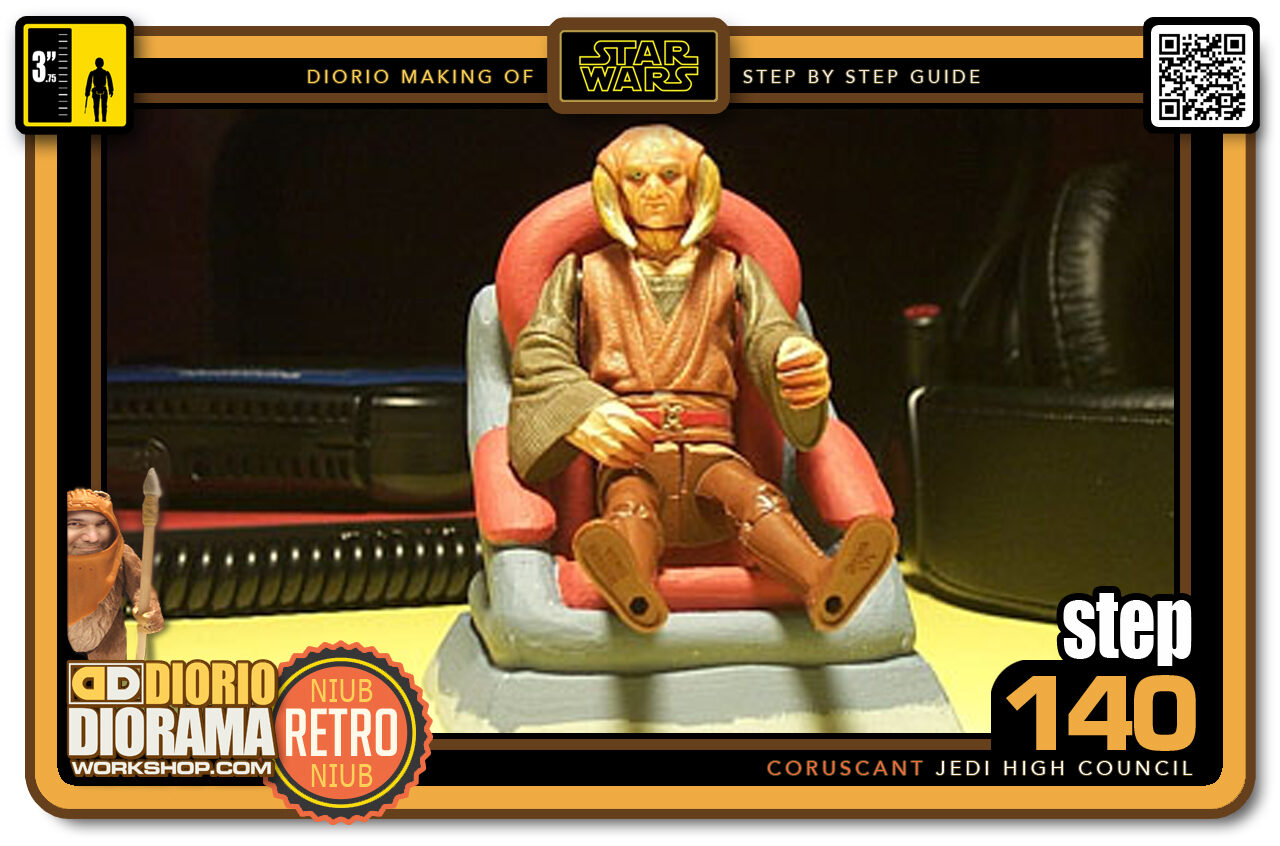
- Step 140 >> This is what he looks like sitting. Not bad but would help if his knees had articulation!
.
Did you already build this Diorama ? At home or at our Star Wars Celebration Diorama Builders workshop ? Would you like to show it in the site’s GALLERY VISITORS DIORAMAS section, YES ? That is Awesome !!! You can find out all the details on how to email me your photos on the VISITORS SUBMISSIONS INFO page … When I get your photos, I will create your very own page just like this one. You may not realize it but work does inspire others to join in the fun of making Action Figure Dioramas.
.
NOT FOR RESALE ALL Decals, tutorials and artwork are ©FrankDiorio (dioramaworkshop.com) and offered FOR FREE to the fans – that would be you ? so you can build and display my diorama designs in your very own home. I realize I cannot control what one does with my graphics once I place them on the web, I can only ask you as one fan to another, please respect the artist and do not be that jerk who uses my designs and tutorials to build a copy of my work only to sell it on EBAY or trade/sale groups and forums. Thank You. Frank.
.

.
.
If you have a facebook account, why not join the Official Diorama Builders Fan Club today, simply click the logo link below.
 .
.
Catch up with fellow visitors and exchange stories, read cool interviews with the crew, exchange photos, fun surprises and grab some FAN ONLY merchandise next year at actual future conventions ?
.
©2021 Frank Diorio DioramaWorkshop.Com
.
IF YOU LIKE WHAT YOU SEE, PLEASE SHARE WITH YOUR FRIENDS
USING THE SOCIAL MEDIA BUTTONS BELOW