


-
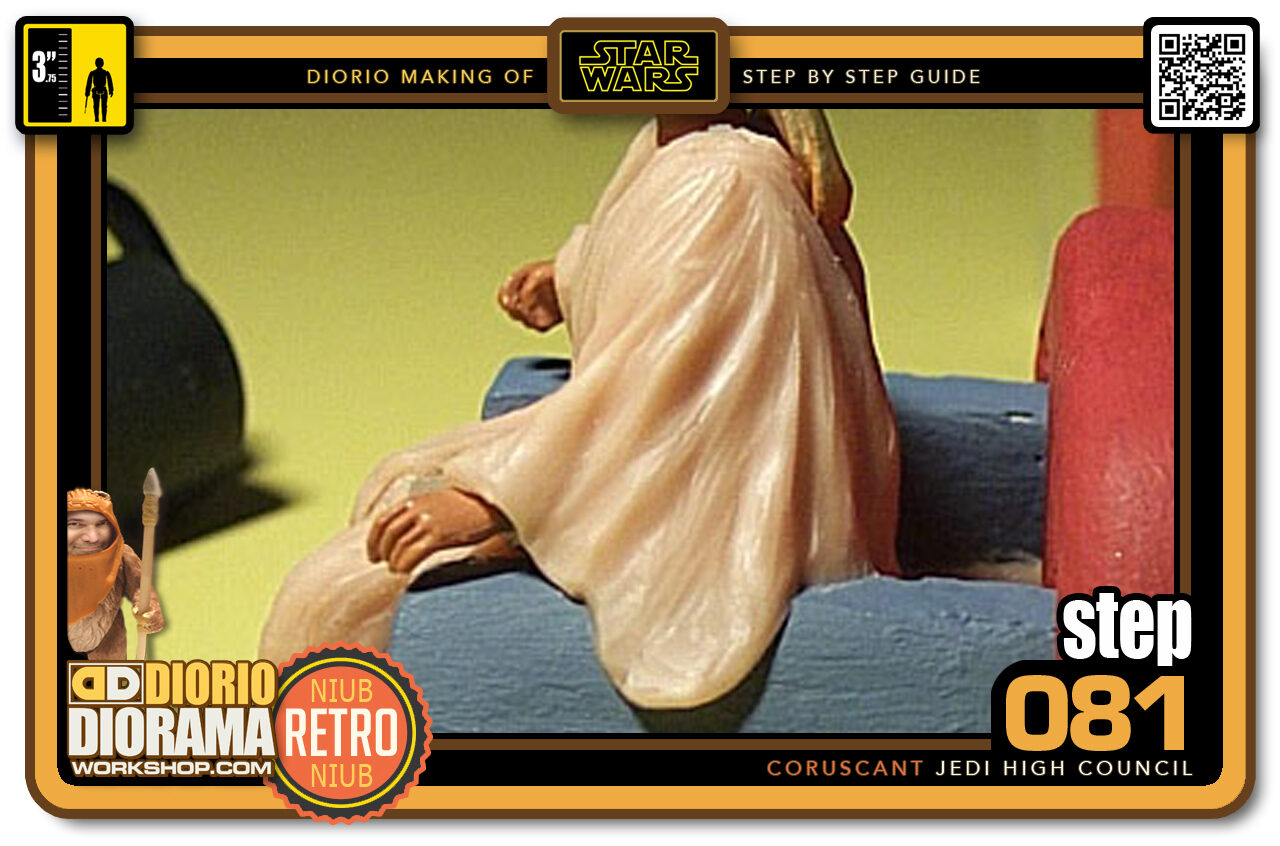
- Step 081 >> Now onto the next sleeve. This is what the folds look like from the side.
-
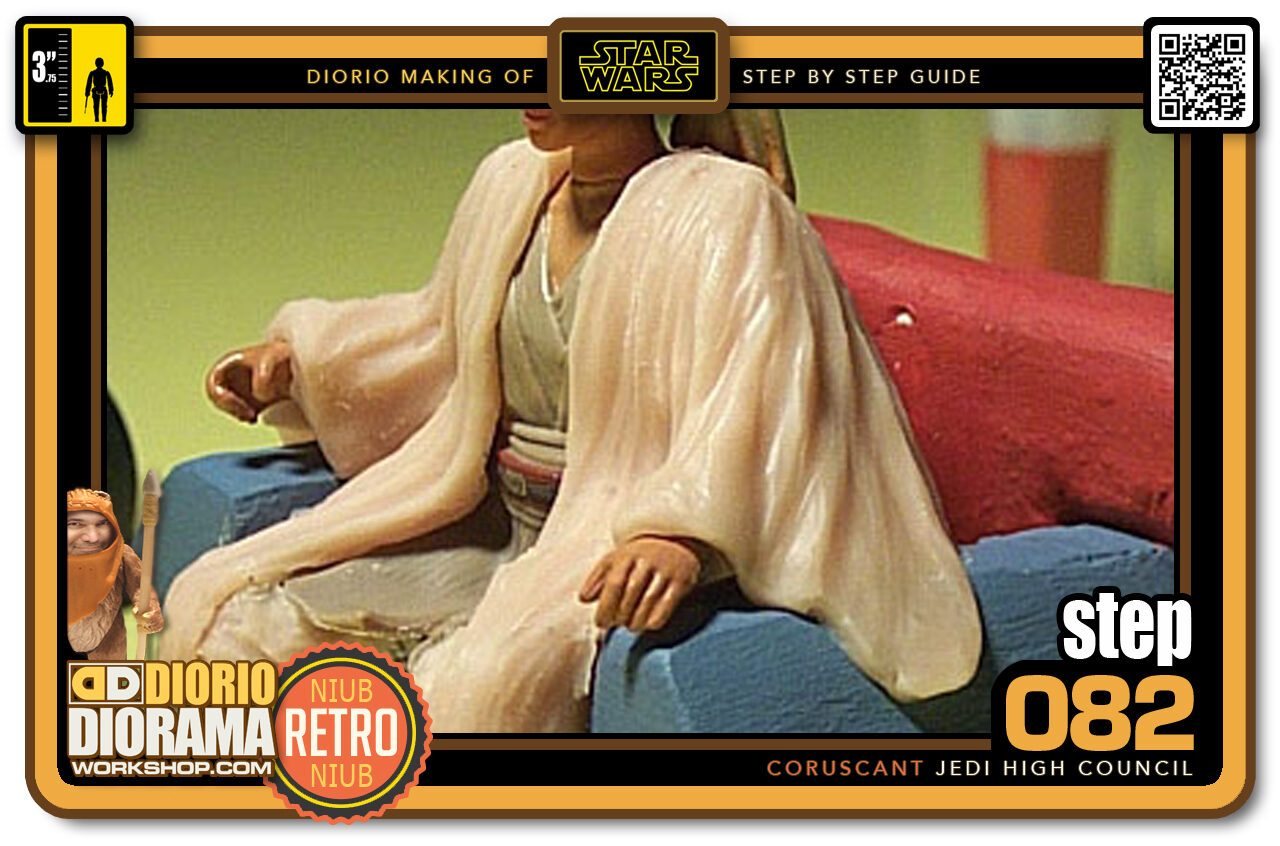
- Step 082 >> Here is the side angle view of the left sleeve.
-
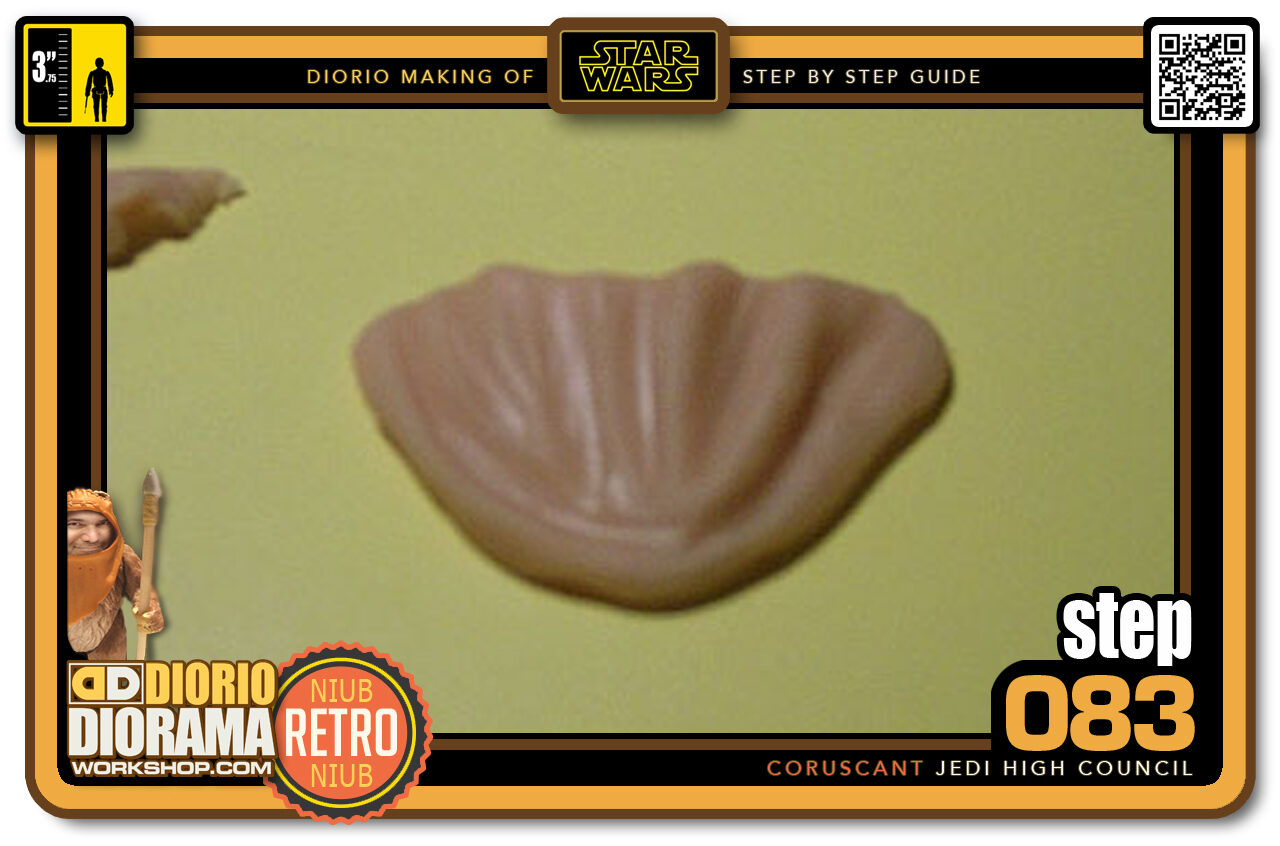
- Step 083 >> You don't need to put this but I think it adds a little extra touch. Cut a half circle shape of Super Sculpey and then add folds to it. Yes...it is her hood 🙂
-
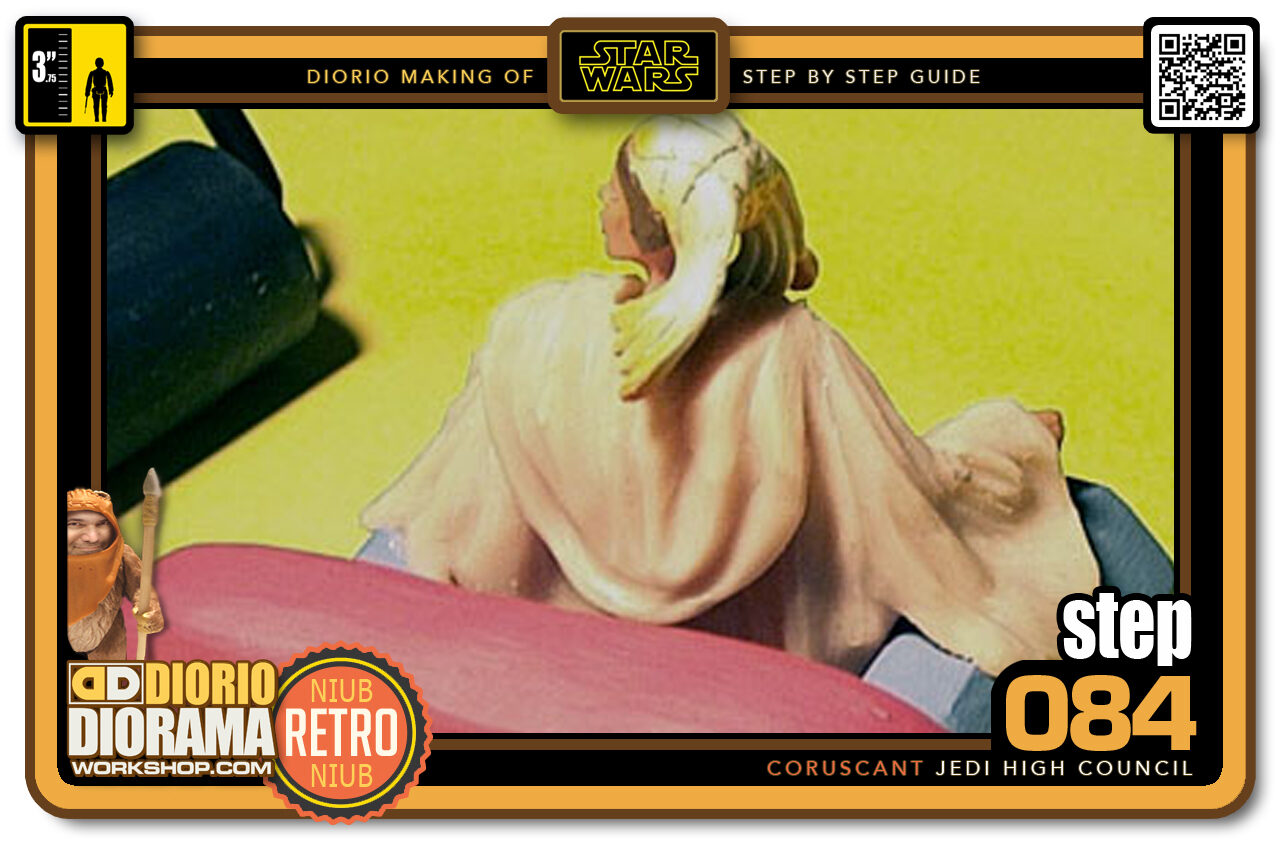
- Step 084 >> Attach the hood to the shoulders blending the Super Sculpey at the seams. Do not connect the bottom, let it droop. this will give a more realistic effect.
-
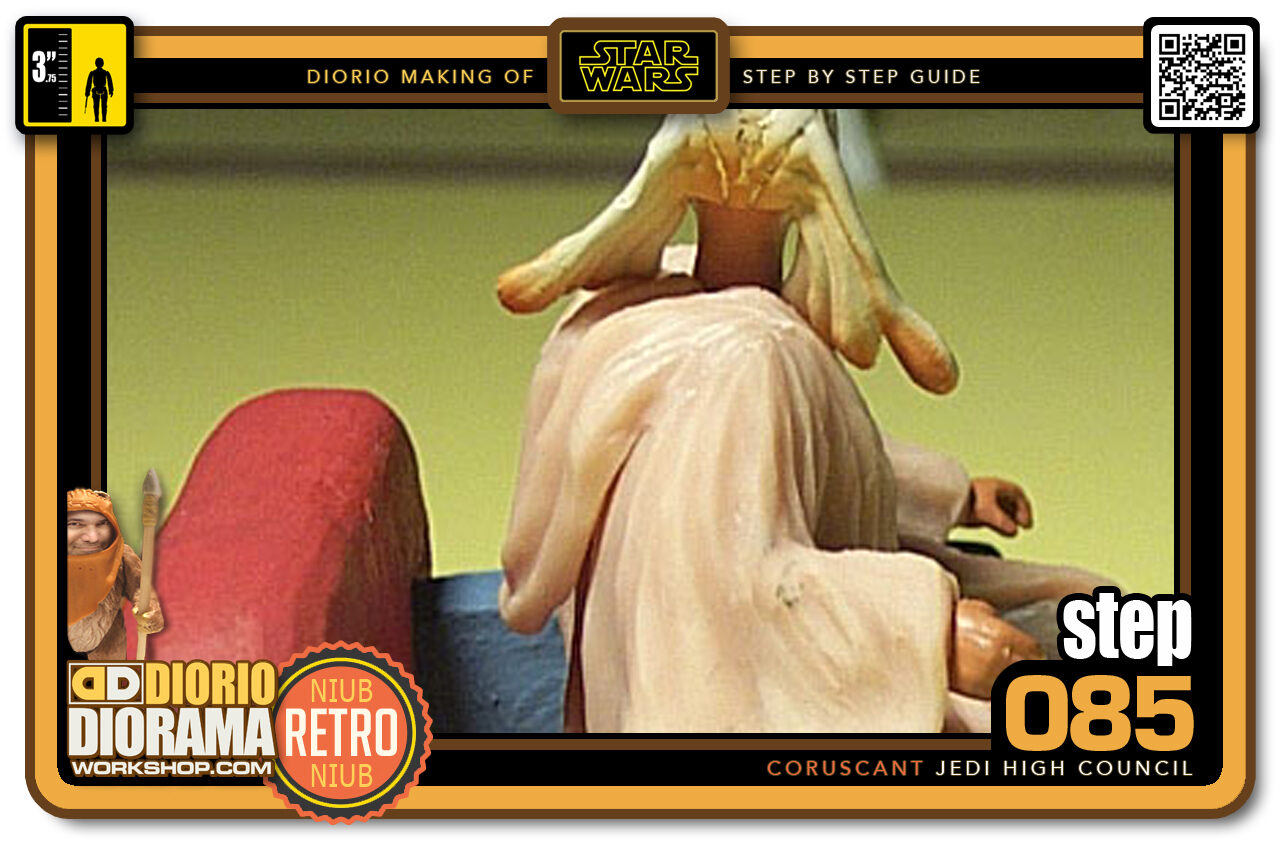
- Step 085 >> Here is the side view of the hood attached to the back of the shoulders.
-

- Step 086 >> Last thing to do is Crazy glue the vest to the thighs to make them fall properly instead of just sticking out straight. Now we are ready to paint.
-
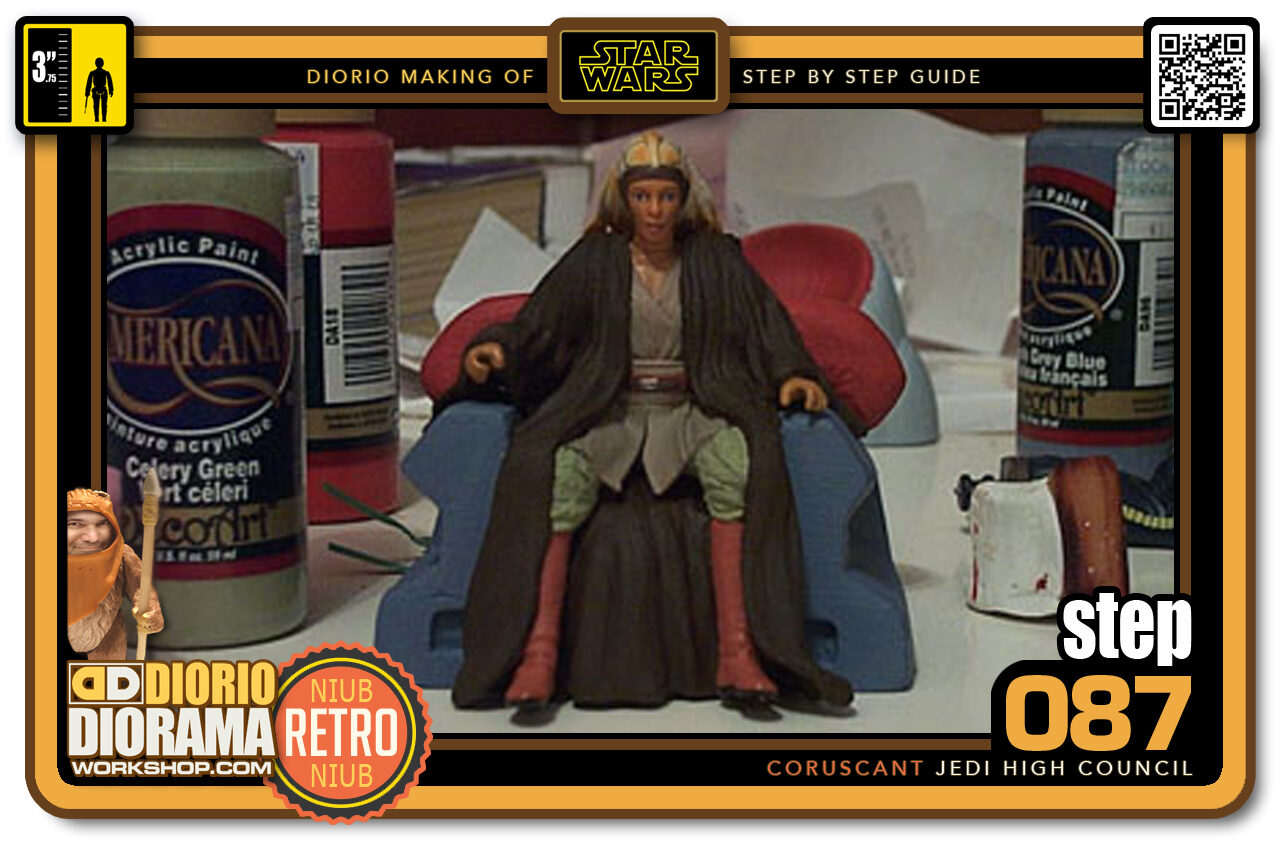
- Step 087 >> Here is the final Adi. Not bad eh?
-
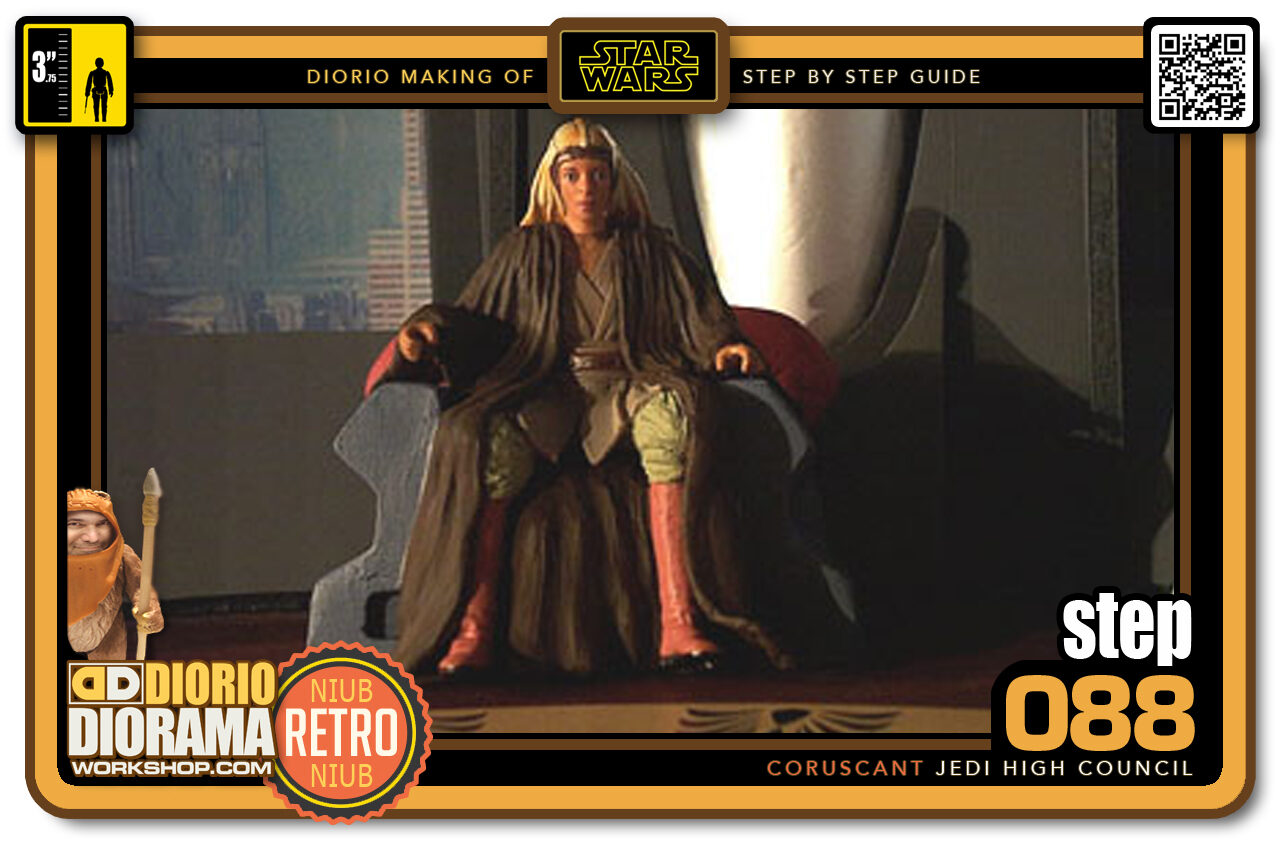
- Step 088 >> ... And a preview of her in the Jedi Council Diorama.
-
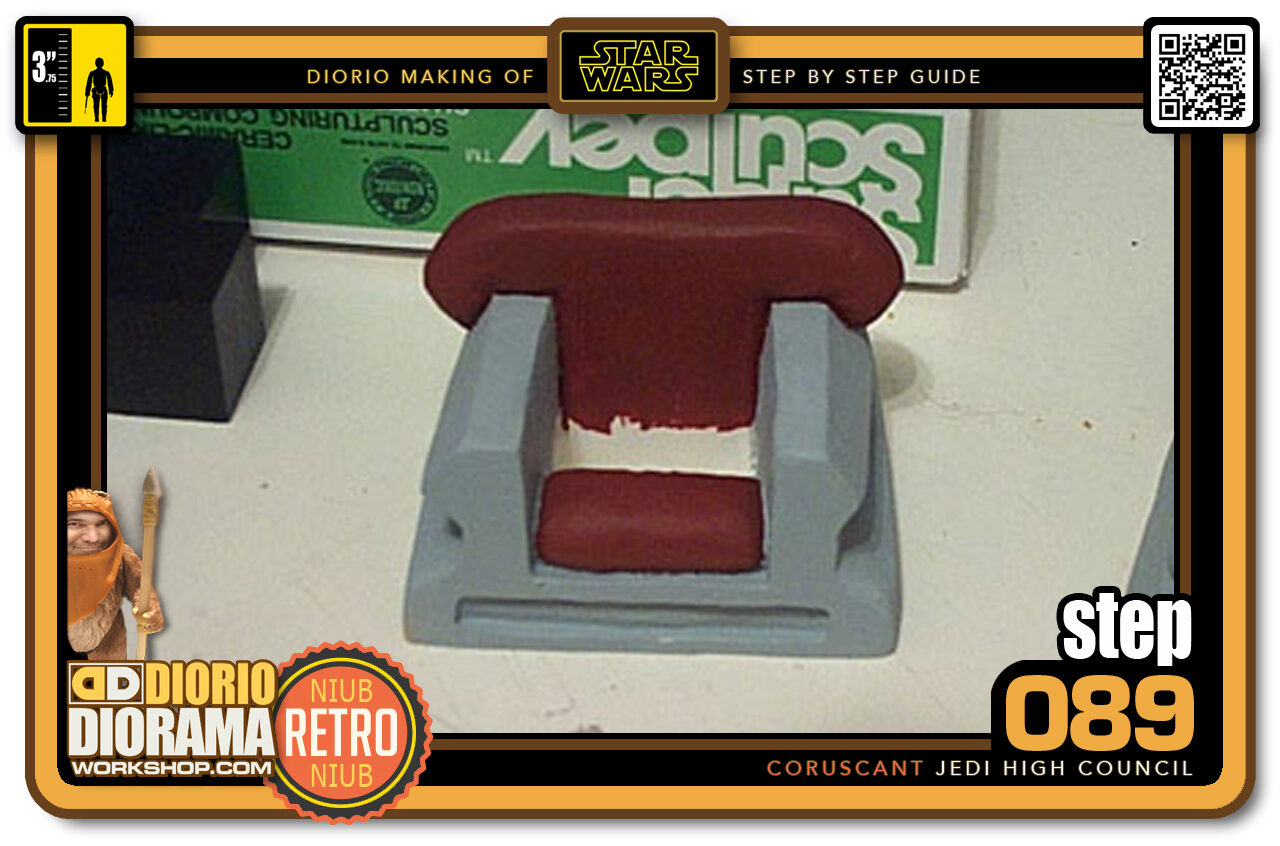
- Step 089 >> Start with makind a copy of Ki Adi Mundi's Chair and painting it.
-
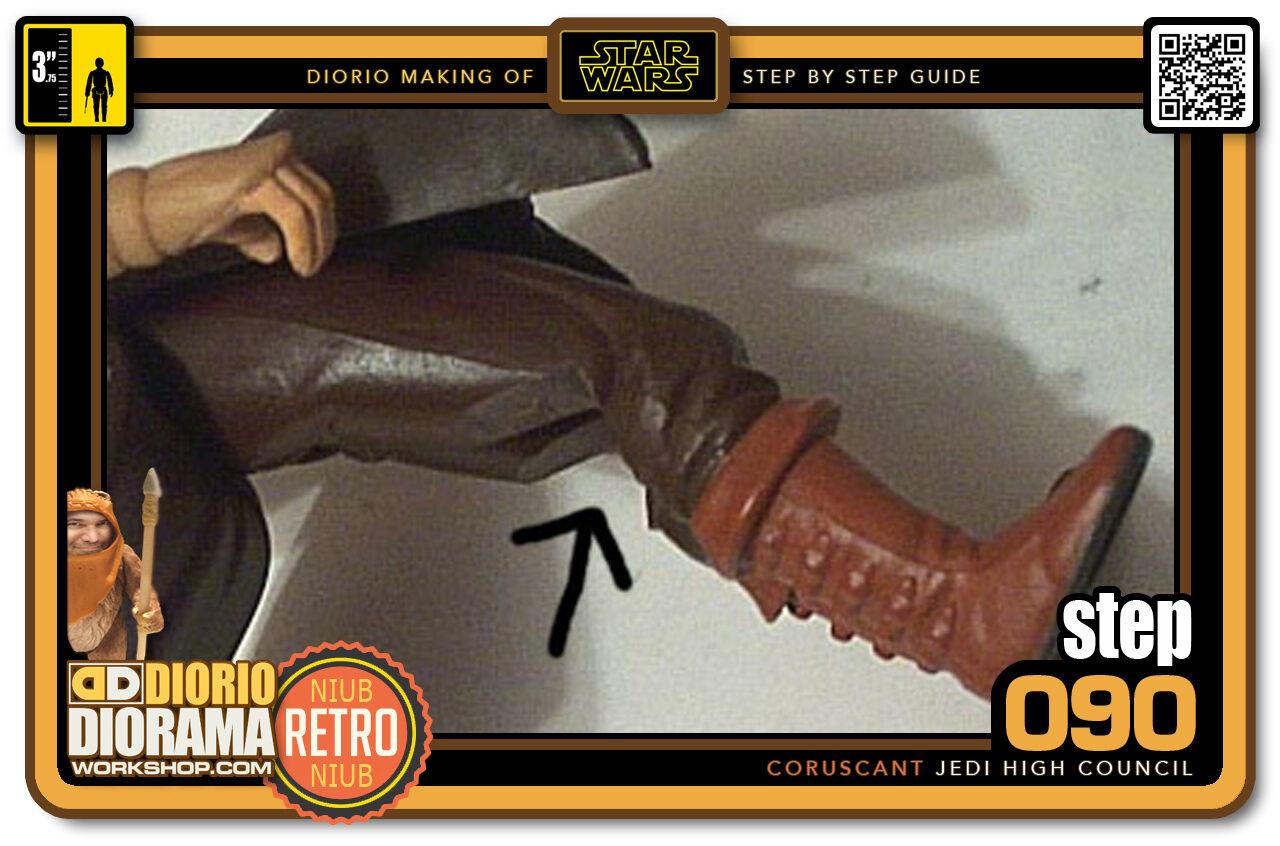
- Step 090 >> My original plan was to keep the figures intact, I know I will never sell them so it was easier to do it this way. Using my Xacto knife, I started cutting a V groove behind the knee caps. You can see the cut where the arrow is pointing. This will facilitate bending the leg.
-

- Step 091 >> After many unsuccessful attempts of trying to cross the legs with bending, I had to chop off the left leg. Using the Hot Air Dryer, I was able to get the plastic of the other leg soft enough to bend in a sitting position. When the plastic cools, it will keep it's new shape. On the chopped off leg, I removed even more plastic to make the leg rest more realistically. The black lines show you where there was plastic before the cut.
-
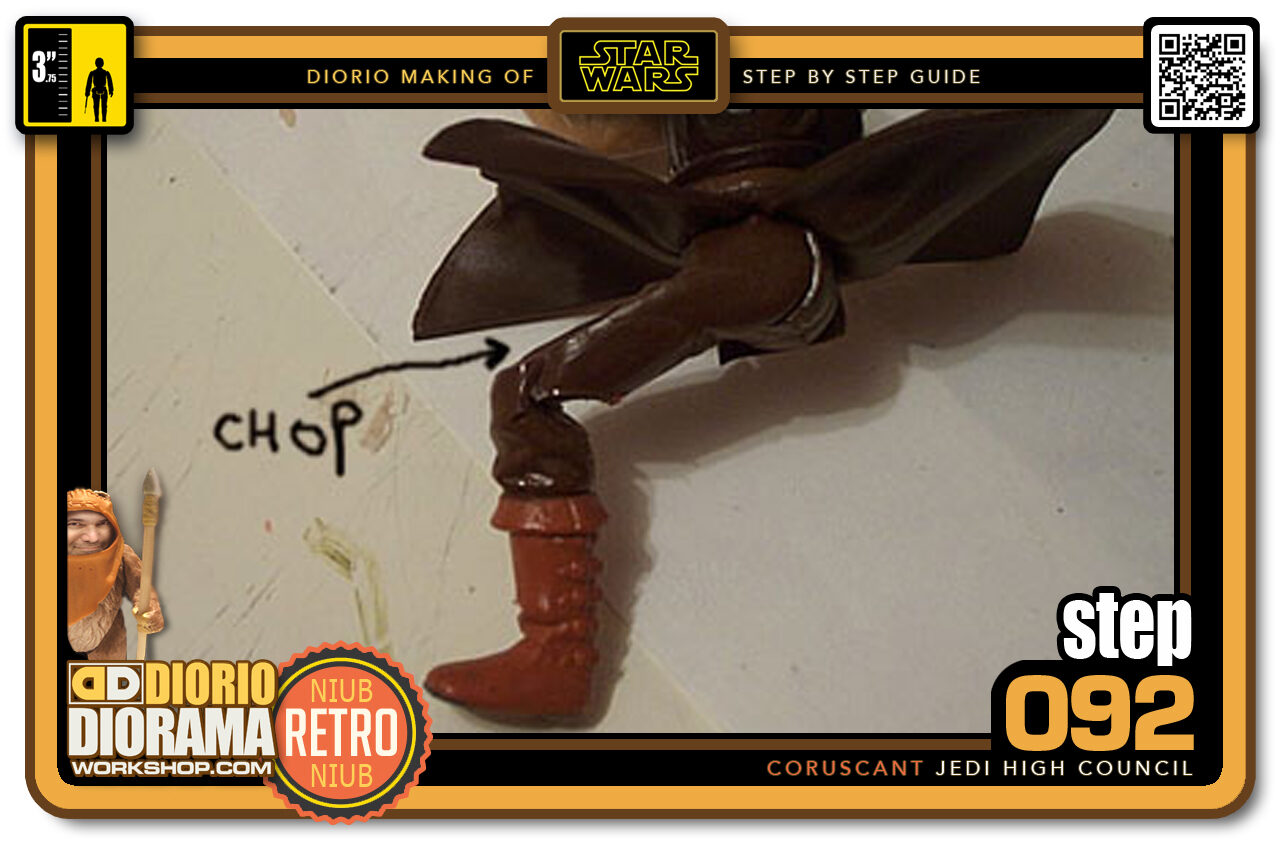
- Step 092 >> After placing the right leg over the left I noticed that I need to cut off the top of the left leg's thigh as well. It looks strange but will all be hidden in a few steps.
-
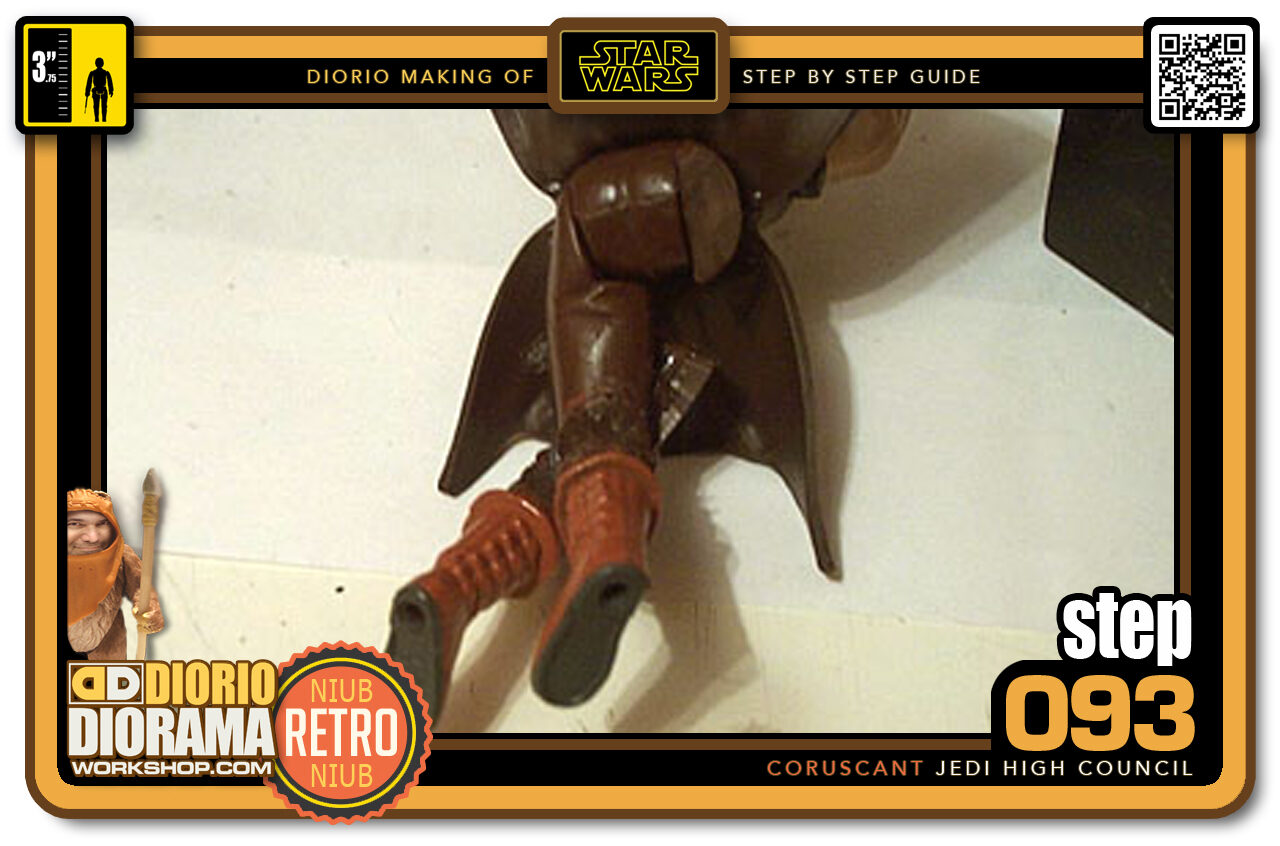
- Step 093 >> Finally happy with the way the legs crossed, I used my Hot Glue Gun and bonded the 2 legs together. Here is what it looks like from the backside.
-

- Step 094 >> From the front now, you can see the effect is pretty convincing.
-
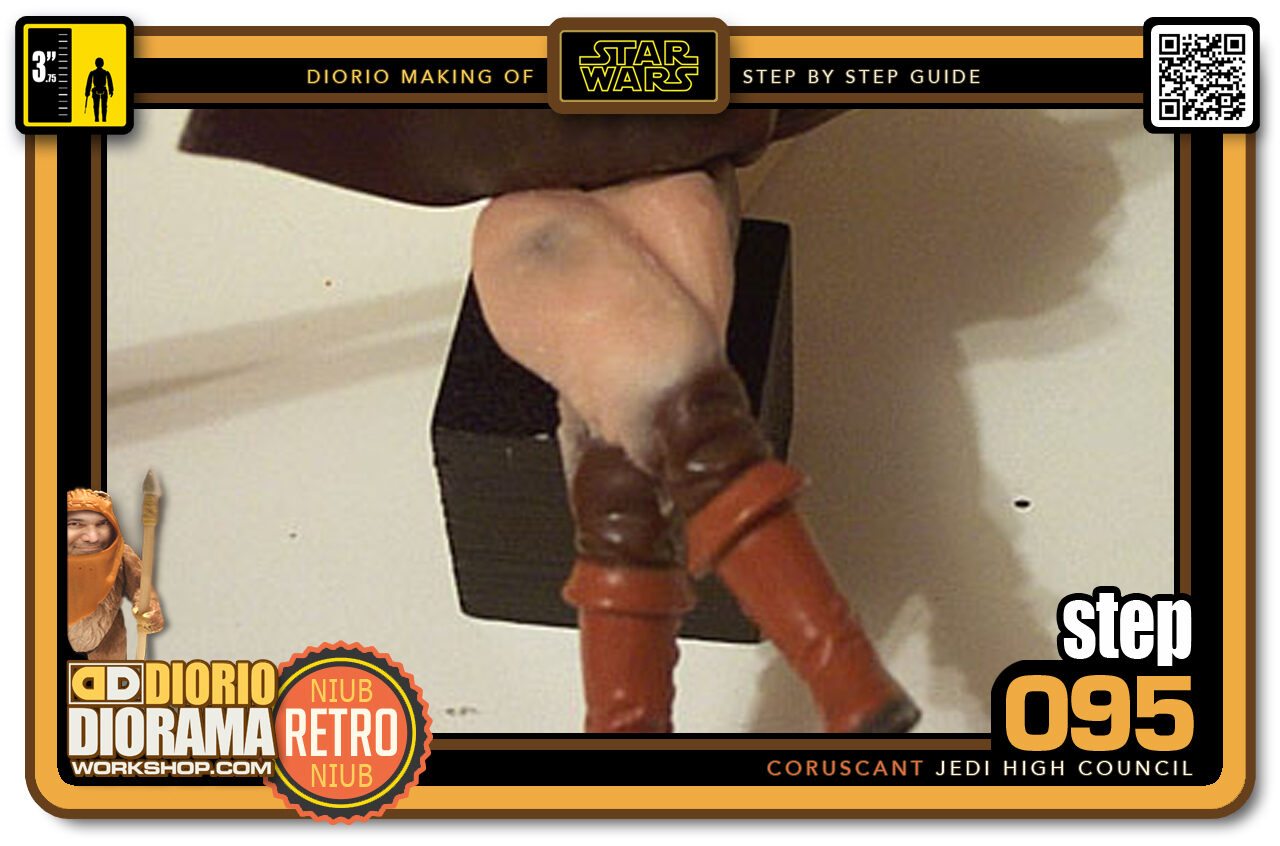
- Step 095 >> Now I took out my Super Sculpy and replaced the thighs I had cut off so that the Jedi Robe would lay down properly. Since I won't be having Ki Adi stand up, I molded both legs into 1 piece.
-

- Step 096 >> Here is the underside of how the legs were joined and the Super Sculpey additions.
-
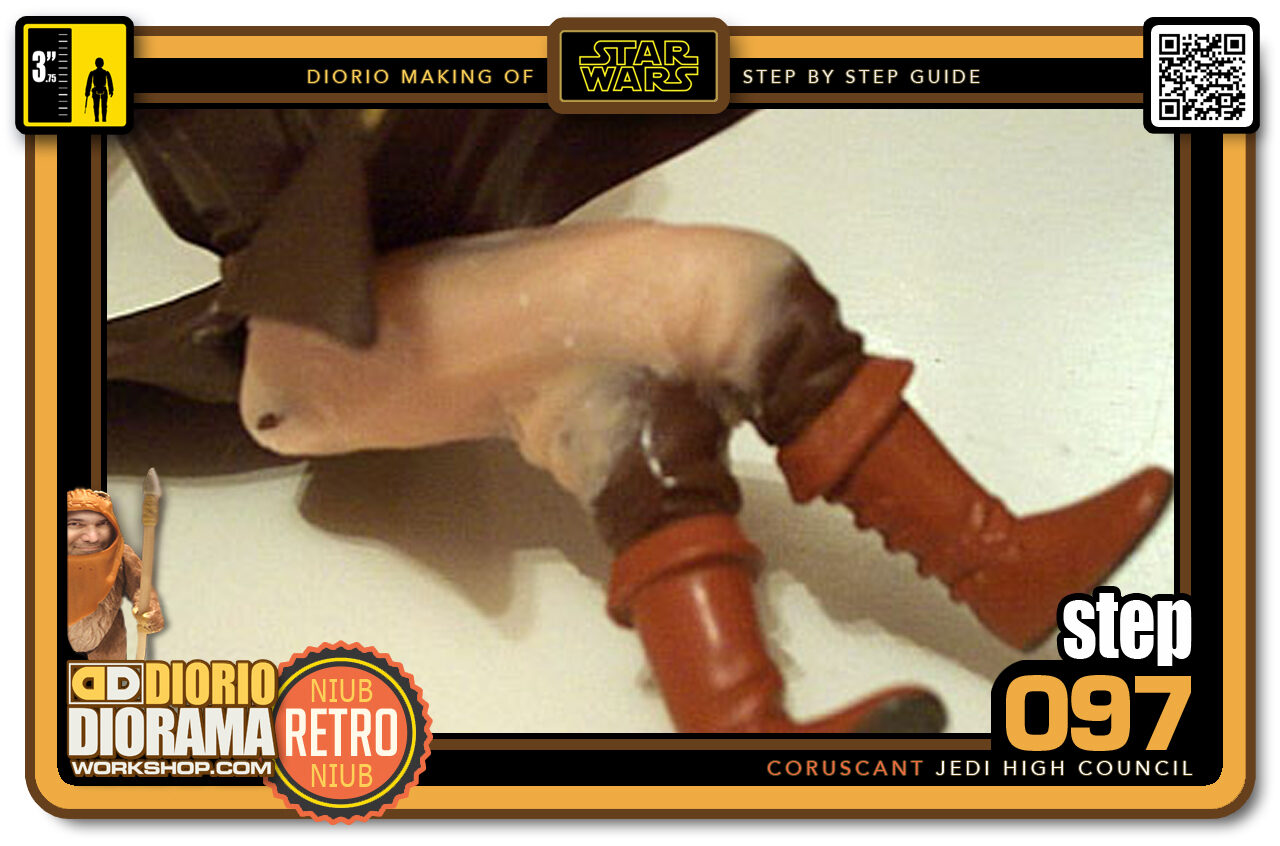
- Step 097 >> From the side now, we know that both legs are together but the illusion of right over left works well by adding some fold details in the pants.
-
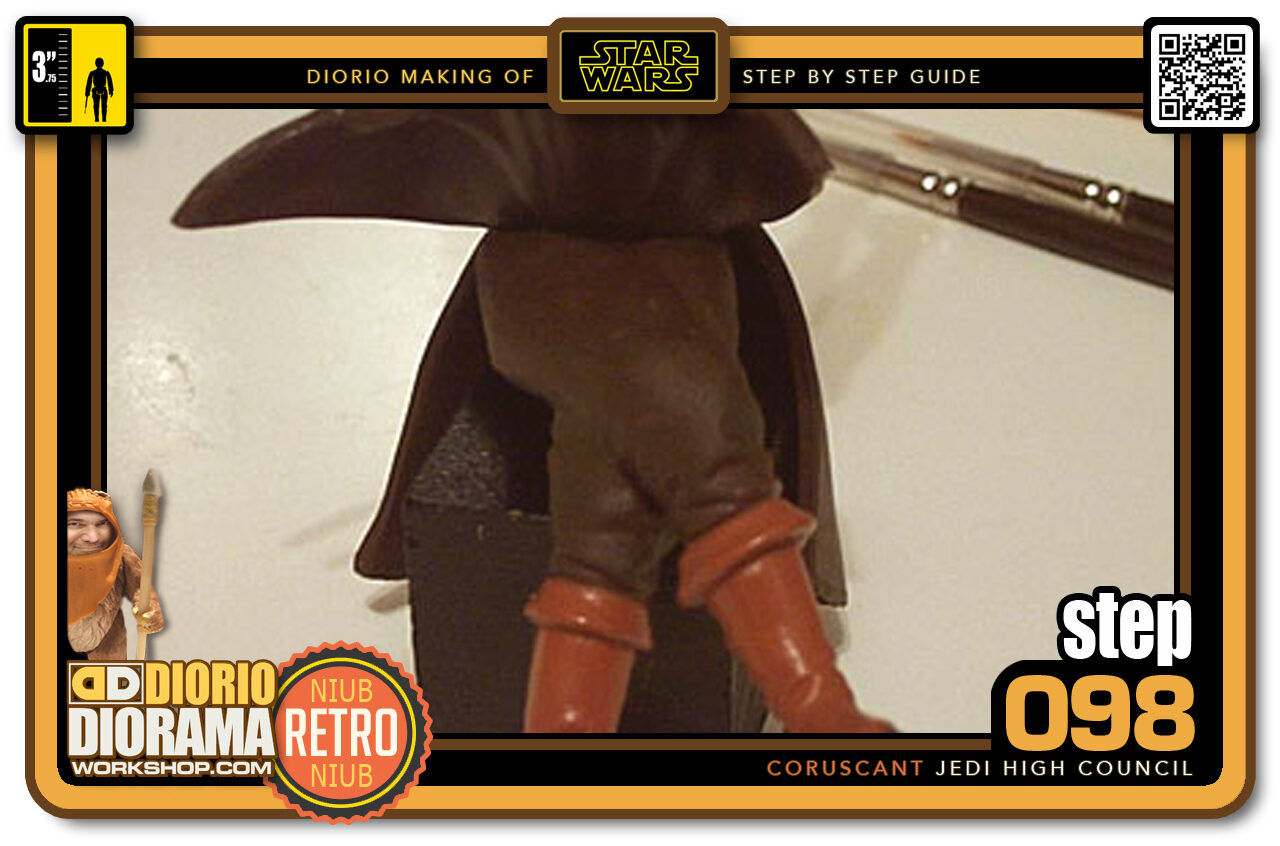
- Step 098 >> After Blow Drying the Super Sculpey hard, it i stime to paint. Since these are his original legs, I just painted the pants. I didn't have to paint the boots 🙂
-
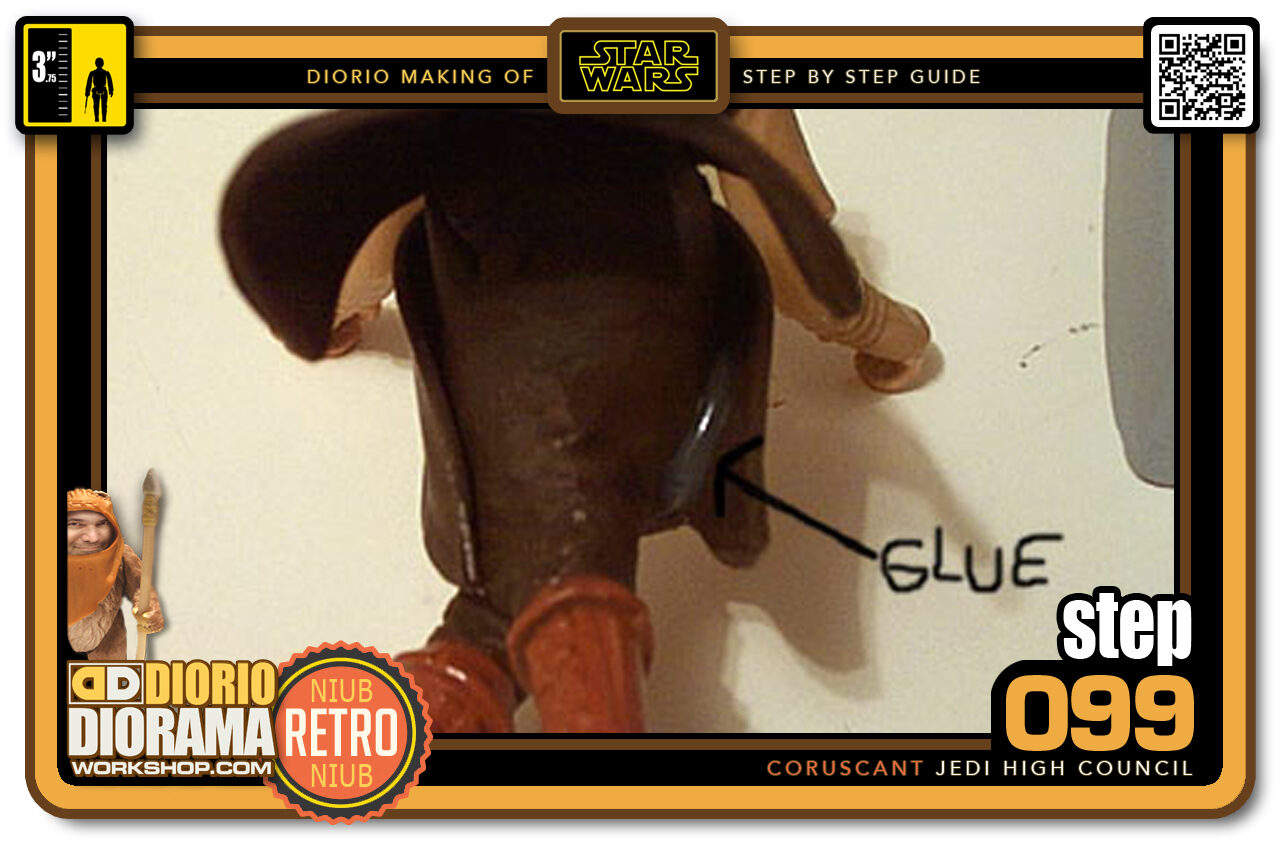
- Step 099 >> Now I want the top robe to fall properly and since the plastic is a bit stiff, I used some Hot Glue to make the robe cling to Ki Adi's legs.
-
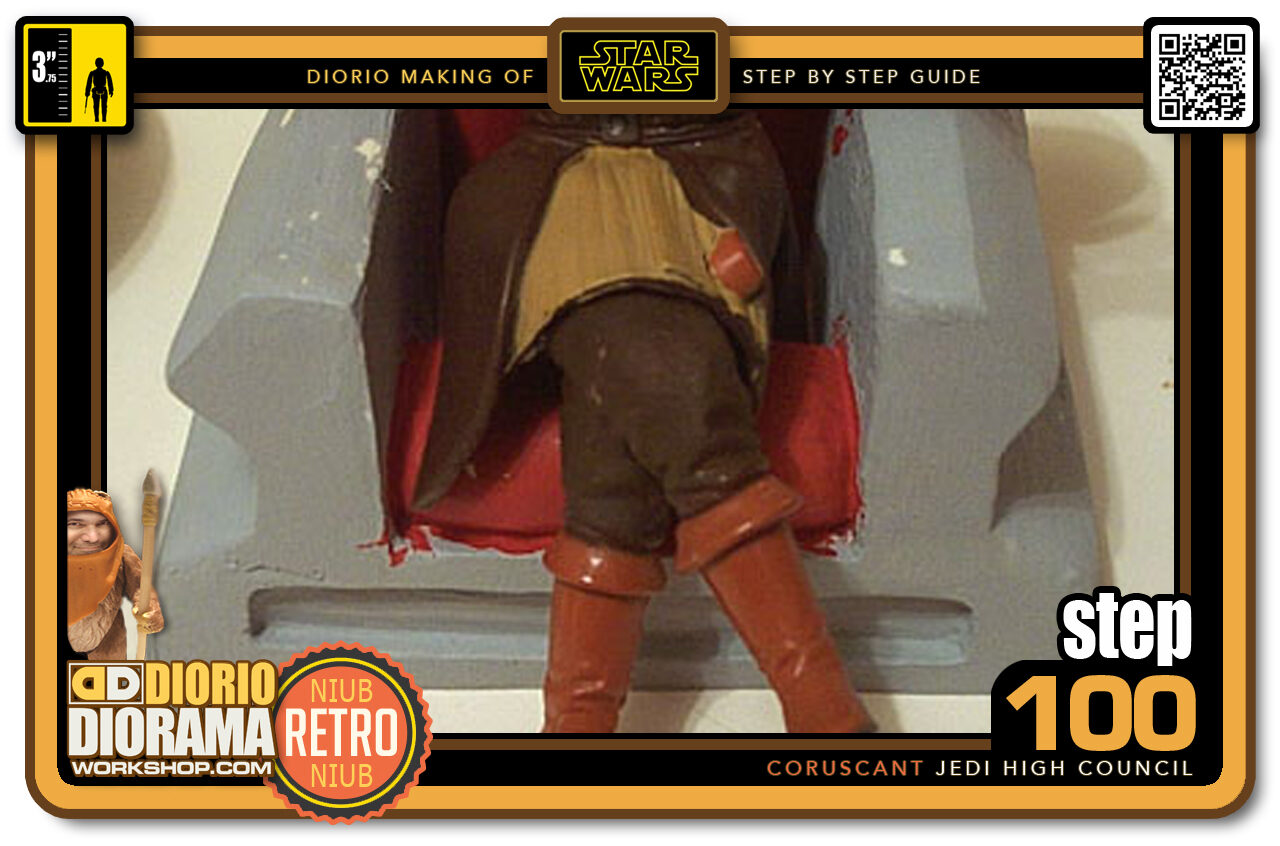
- Step 100 >> Here you can see the result. Looks great except it now seems a piece of robe is missing.
.
Did you already build this Diorama ? At home or at our Star Wars Celebration Diorama Builders workshop ? Would you like to show it in the site’s GALLERY VISITORS DIORAMAS section, YES ? That is Awesome !!! You can find out all the details on how to email me your photos on the VISITORS SUBMISSIONS INFO page … When I get your photos, I will create your very own page just like this one. You may not realize it but work does inspire others to join in the fun of making Action Figure Dioramas.
.
NOT FOR RESALE ALL Decals, tutorials and artwork are ©FrankDiorio (dioramaworkshop.com) and offered FOR FREE to the fans – that would be you ? so you can build and display my diorama designs in your very own home. I realize I cannot control what one does with my graphics once I place them on the web, I can only ask you as one fan to another, please respect the artist and do not be that jerk who uses my designs and tutorials to build a copy of my work only to sell it on EBAY or trade/sale groups and forums. Thank You. Frank.
.

.
.
If you have a facebook account, why not join the Official Diorama Builders Fan Club today, simply click the logo link below.
 .
.
Catch up with fellow visitors and exchange stories, read cool interviews with the crew, exchange photos, fun surprises and grab some FAN ONLY merchandise next year at actual future conventions ?
.
©2021 Frank Diorio DioramaWorkshop.Com
.
IF YOU LIKE WHAT YOU SEE, PLEASE SHARE WITH YOUR FRIENDS
USING THE SOCIAL MEDIA BUTTONS BELOW