


-
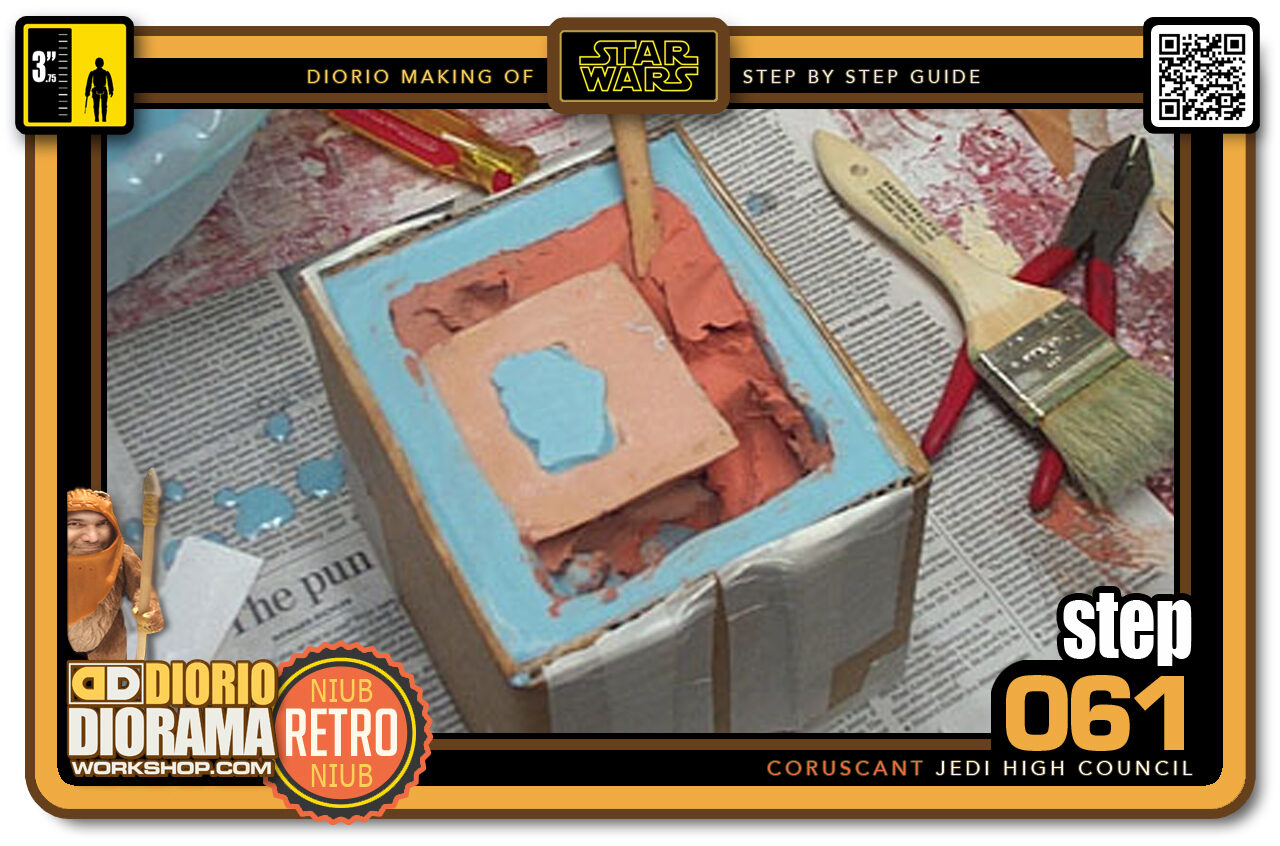
- Step 061 >> Carefully remove all the Plasticine from the box. What was Plasticine will be replaced with Silicone, giving us the 2nd half of our mould.
-
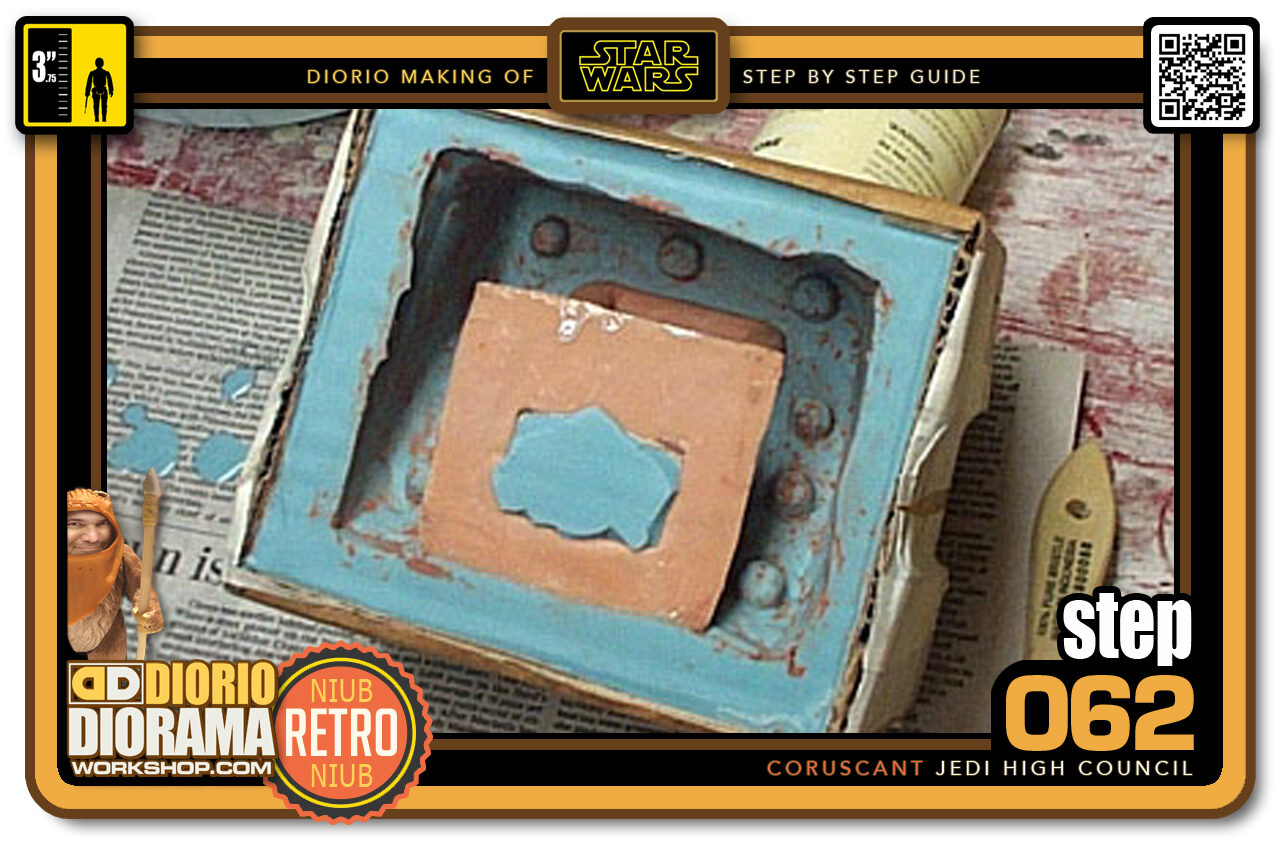
- Step 062 >> Now all the Plasticine has been removed. Spray Release agent and let dry. you don't want the 2 Silicone halves to merge into 1 big cube and never get your chair out. At this point if that happened to me I would cry at the thought of starting over again. LOL.
-
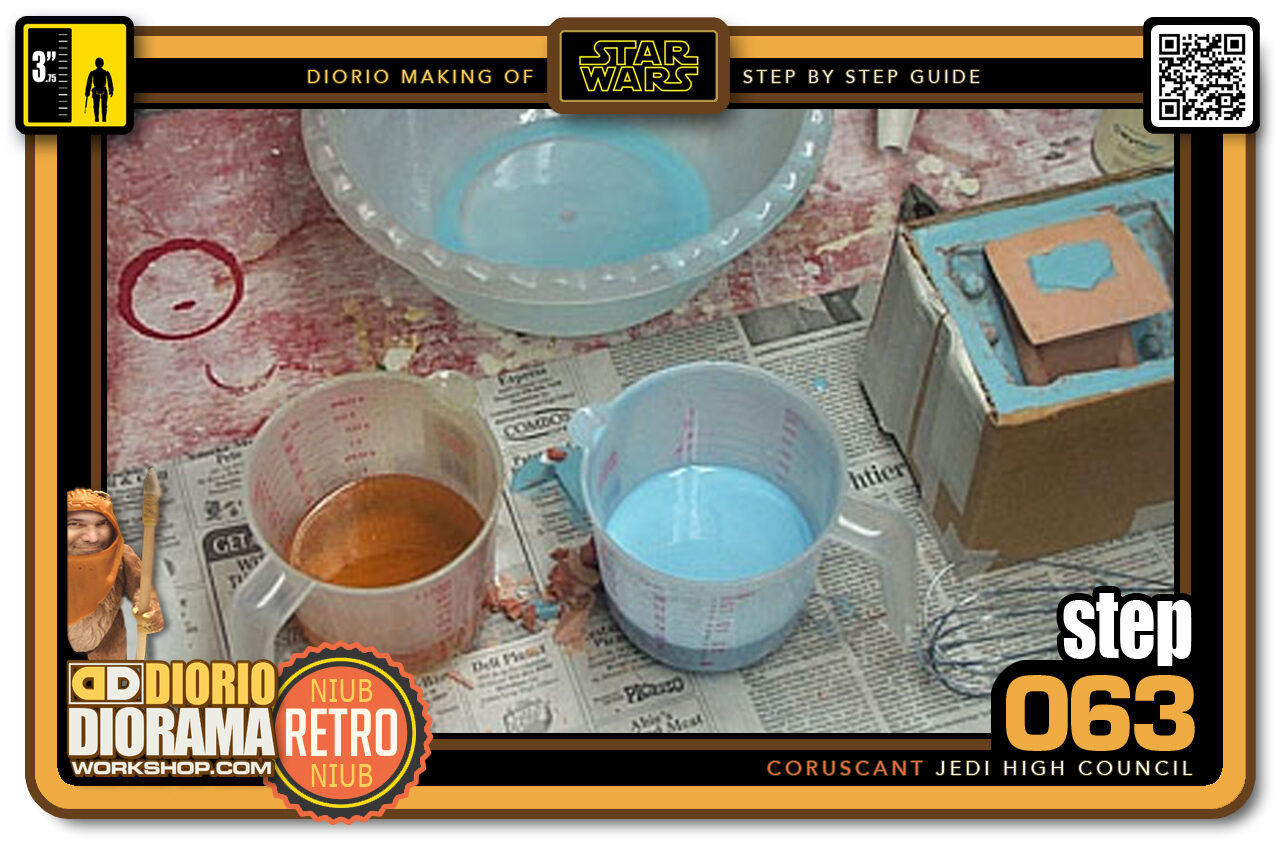
- Step 063 >> This is what my silicone product looks like. It is called Por-A-Mold and made by Synair. it is a 2 part mixture. Measure equal part in seperate containers...
-
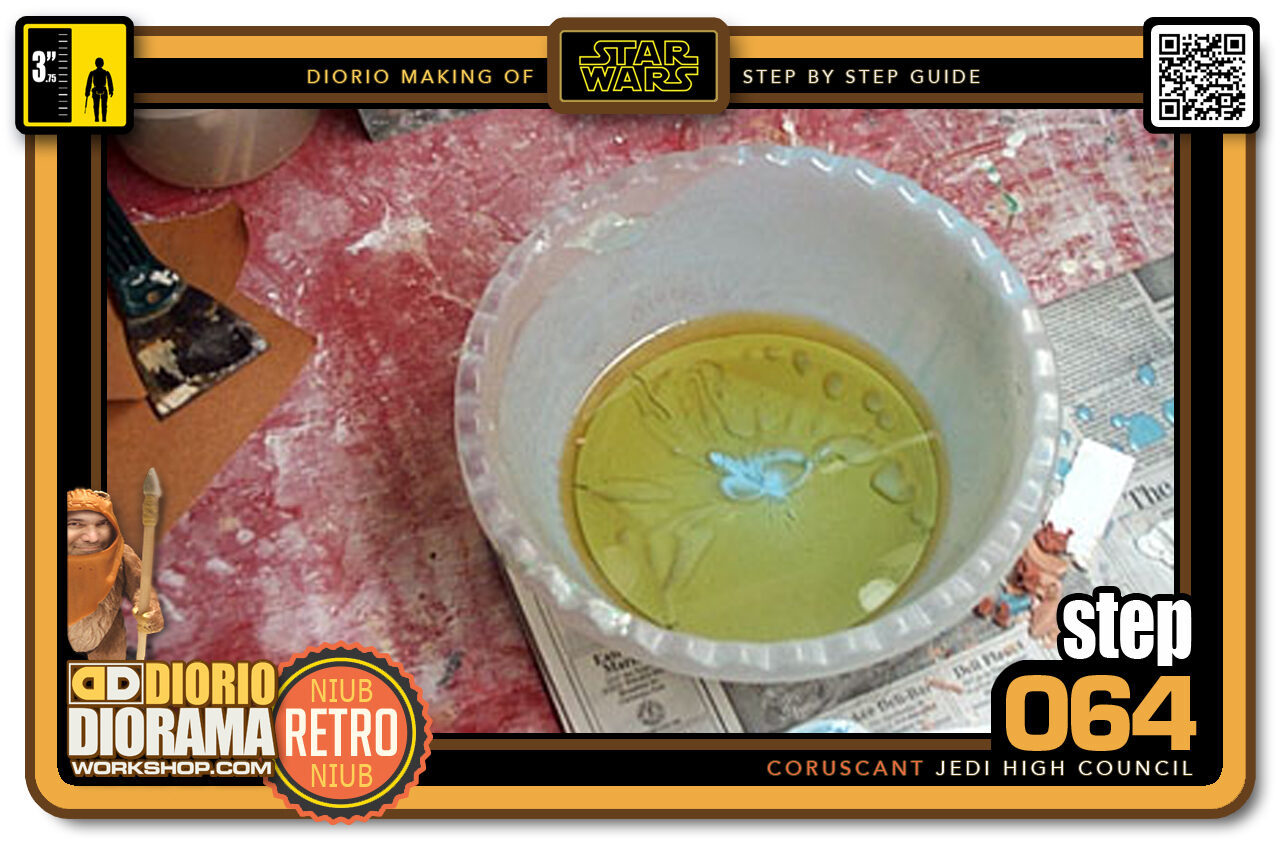
- Step 064 >> ...And pour into a clean bowl. This is what the 2 parts look like before mixing. I use a regular wisk to stir things up. the secret is to make slow moves as to limit the amount of air bubbles. When the mixture turns an even color of blue we are ready to pour into the box.
-
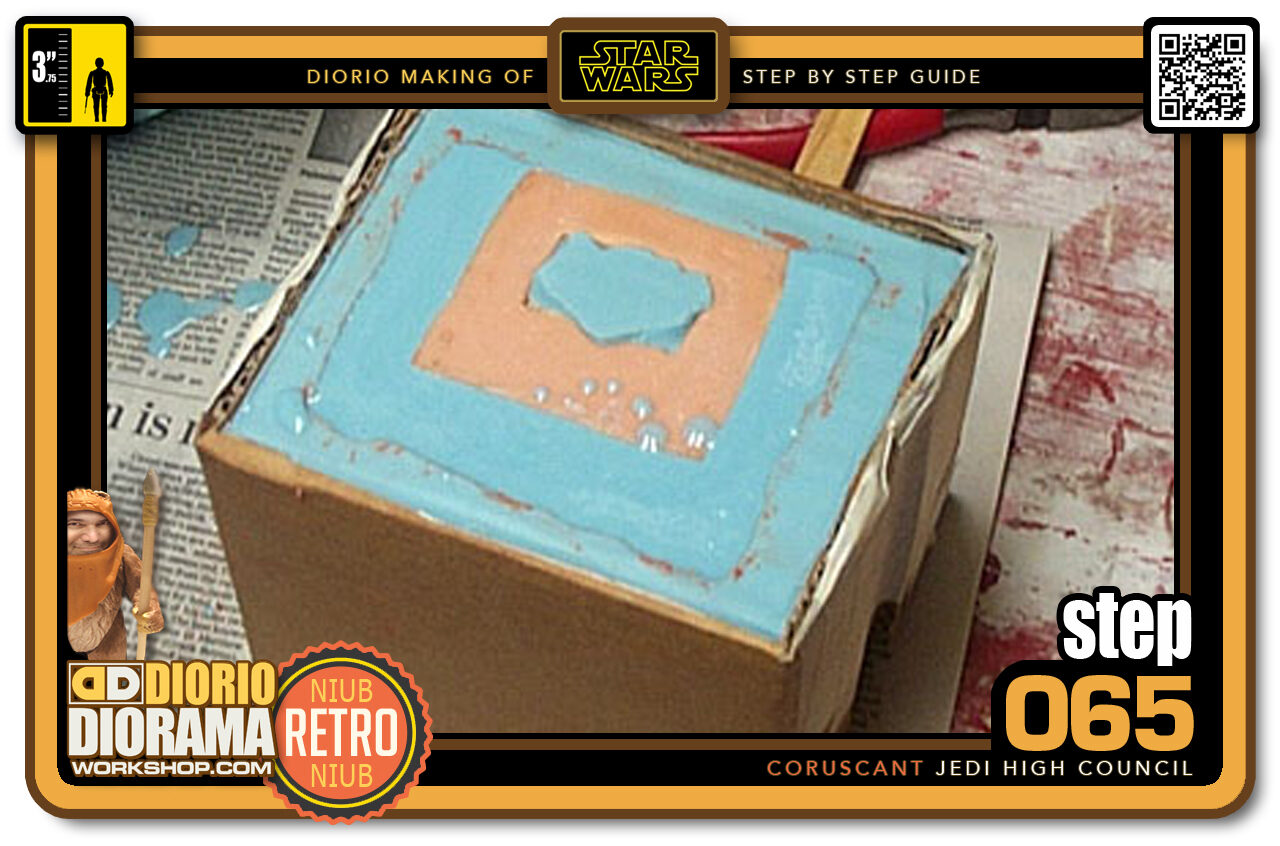
- Step 065 >> Now pour the mixture into the hardened first half of the chair mold and go to bed 🙂 In 12 hours we will be able to open the mold.
-

- Step 066 >> Well here we have the finished mold. As in most of the time, the original chair got destroyed in the removal process. So make sure you make your mold seperations correctly or you will have a sad and nasty surprise. Now I am ready to make positive resin copies. woo hoo 🙂
-
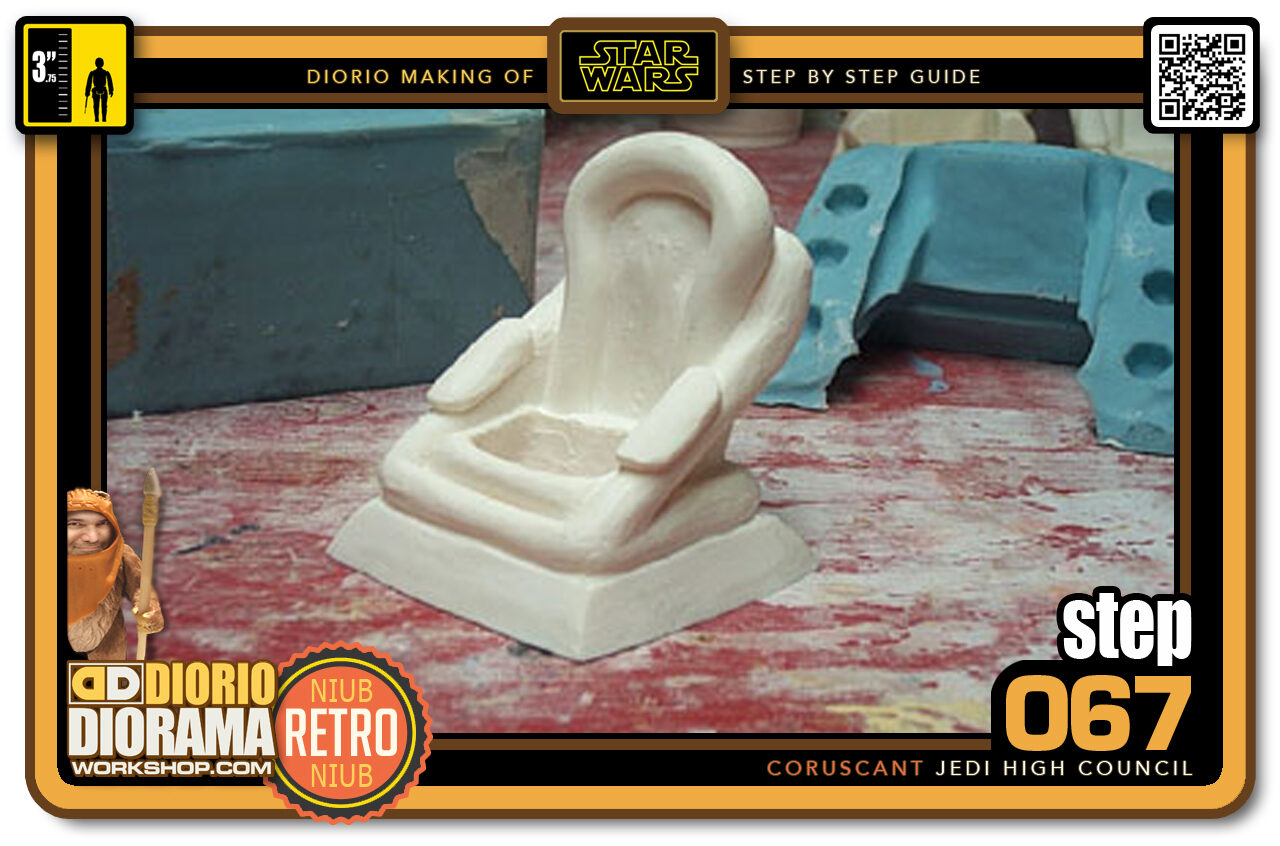
- Step 067 >> Mixing 2 parts of Por-A-Kast into the mold gives us the final Jedi Chair B.
-
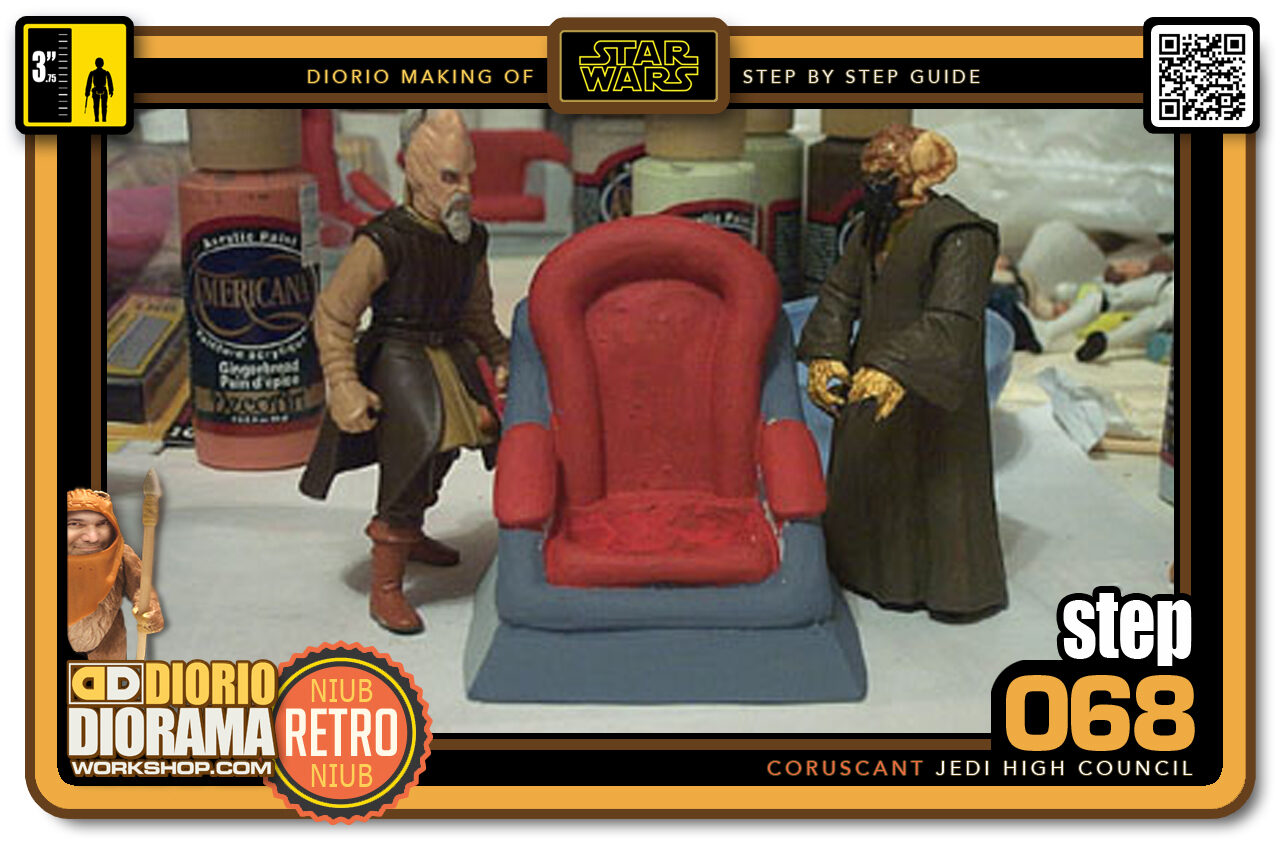
- Step 068 >> And here is what the chair looks like painted. Now we are ready to custom our Jedis.
-

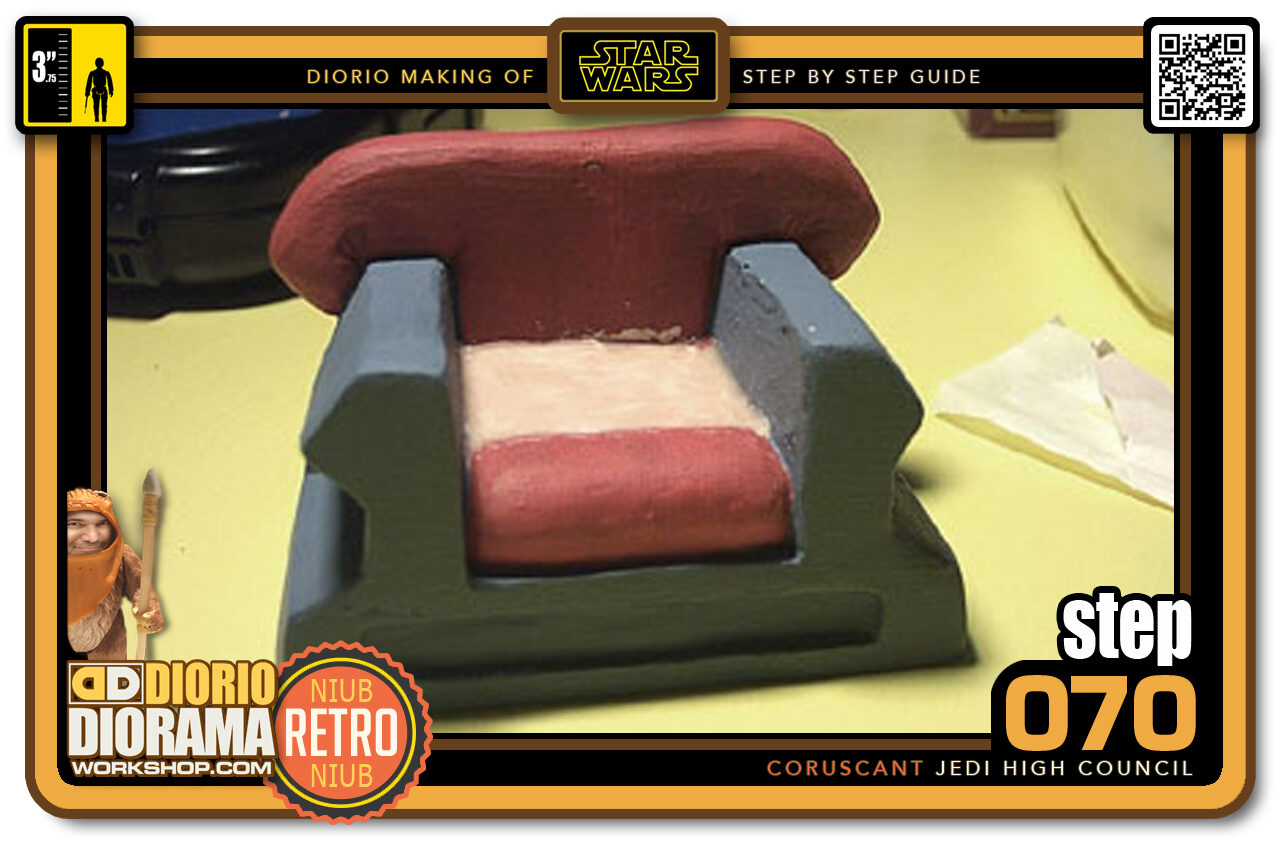
- Step 069 >> A little protection coat of gloss so that it stays clean once the figures are placed on them.
-
- Step 070 >> Since Adi Gallia's robe doesn't hide her legs, I decided to use the real ones and cut them as opposed to sticking them in the hole. So I filled that up and used the Heat Gun to harden the Super Sculpey into a full pillow.
-
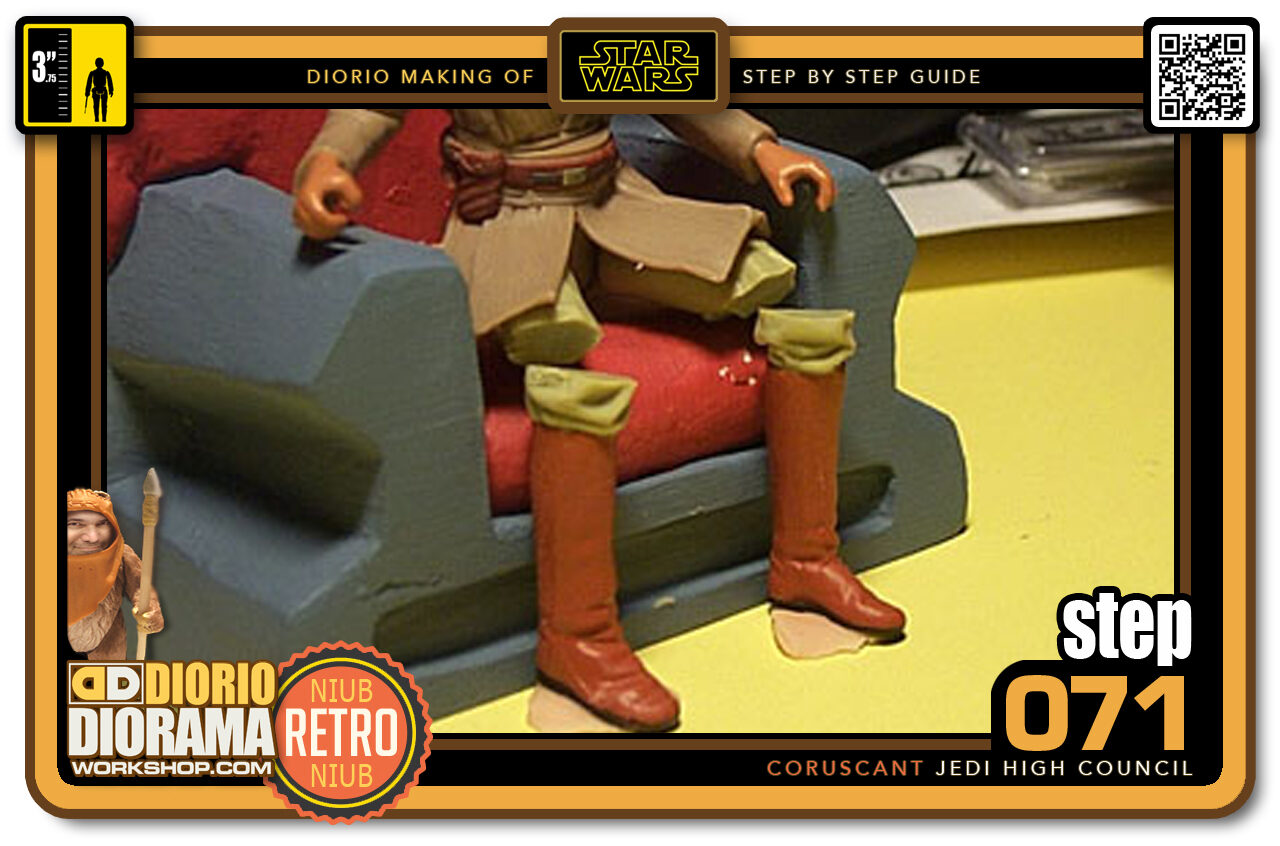
- Step 071 >> Cut Adi's legs at the knees. place them in the position that looks best.
-
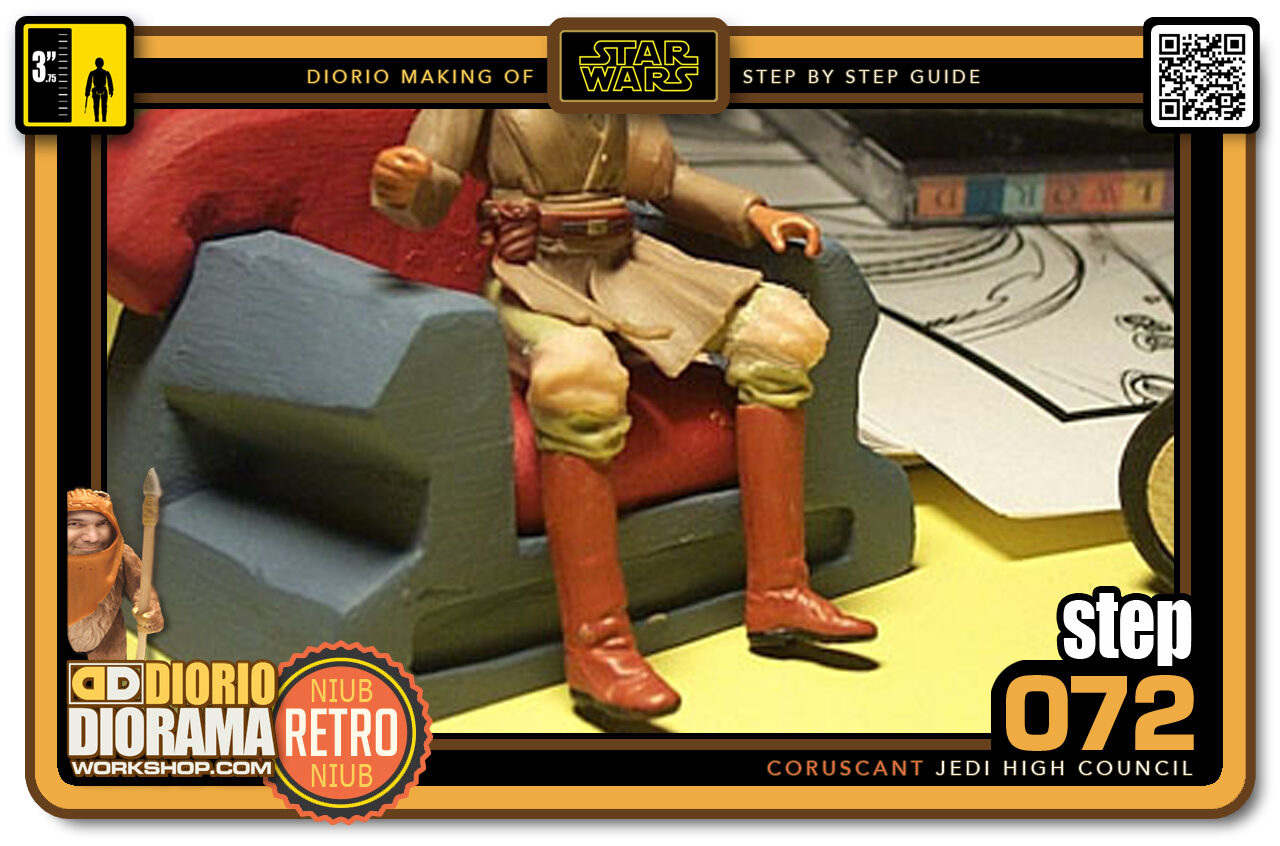
- Step 072 >> Use Super Sculpey to join the 2 together. Add some folds detailing to blend them as hasbro would have sculpted. I had Crazy Glue smear on the left knee and kinda ruined it so don't look there - LOL. And don't keep Crazy Glue near your workplace 🙂
-
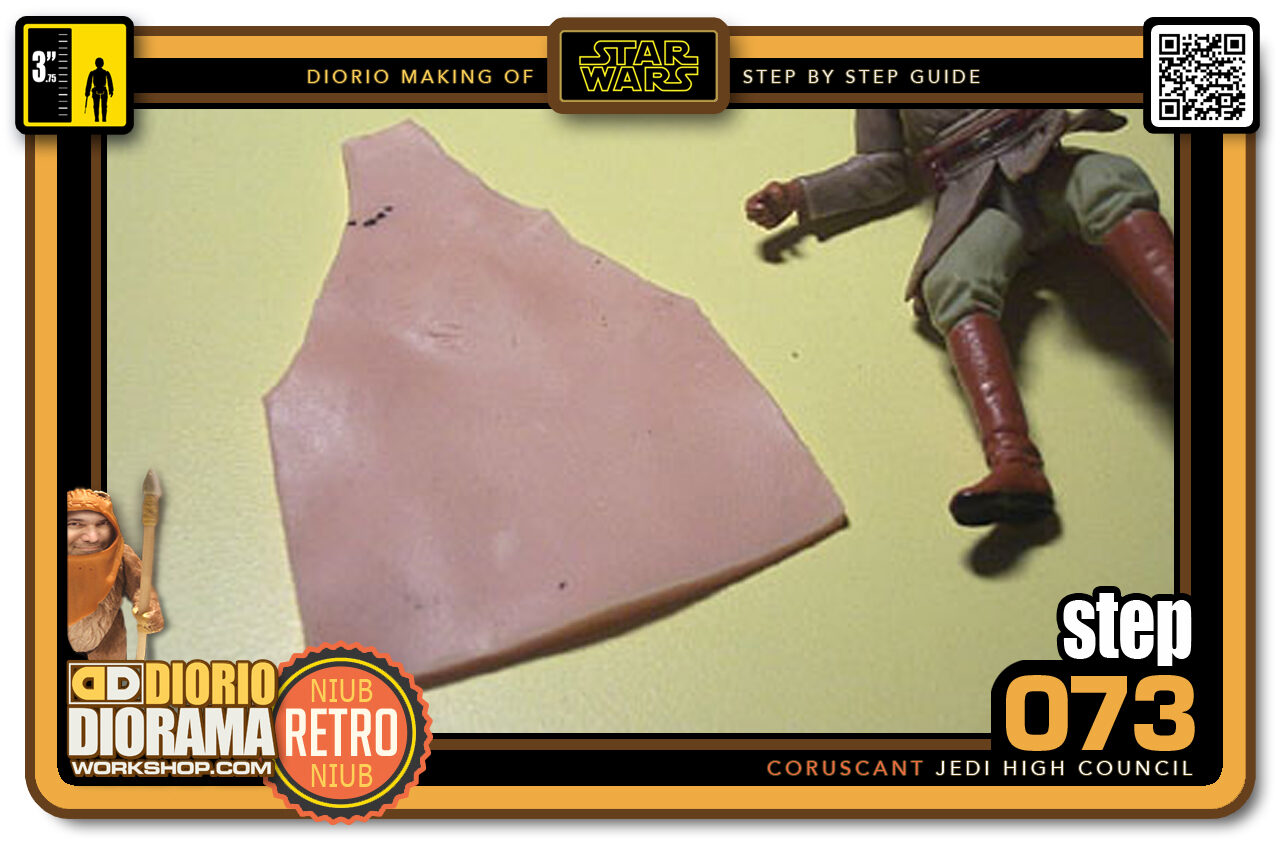
- Step 073 >> Time for the bottom robe. Cut out a piece of Super Sculpey in the shape you see in the picture. This will form the robe that is under the body.
-
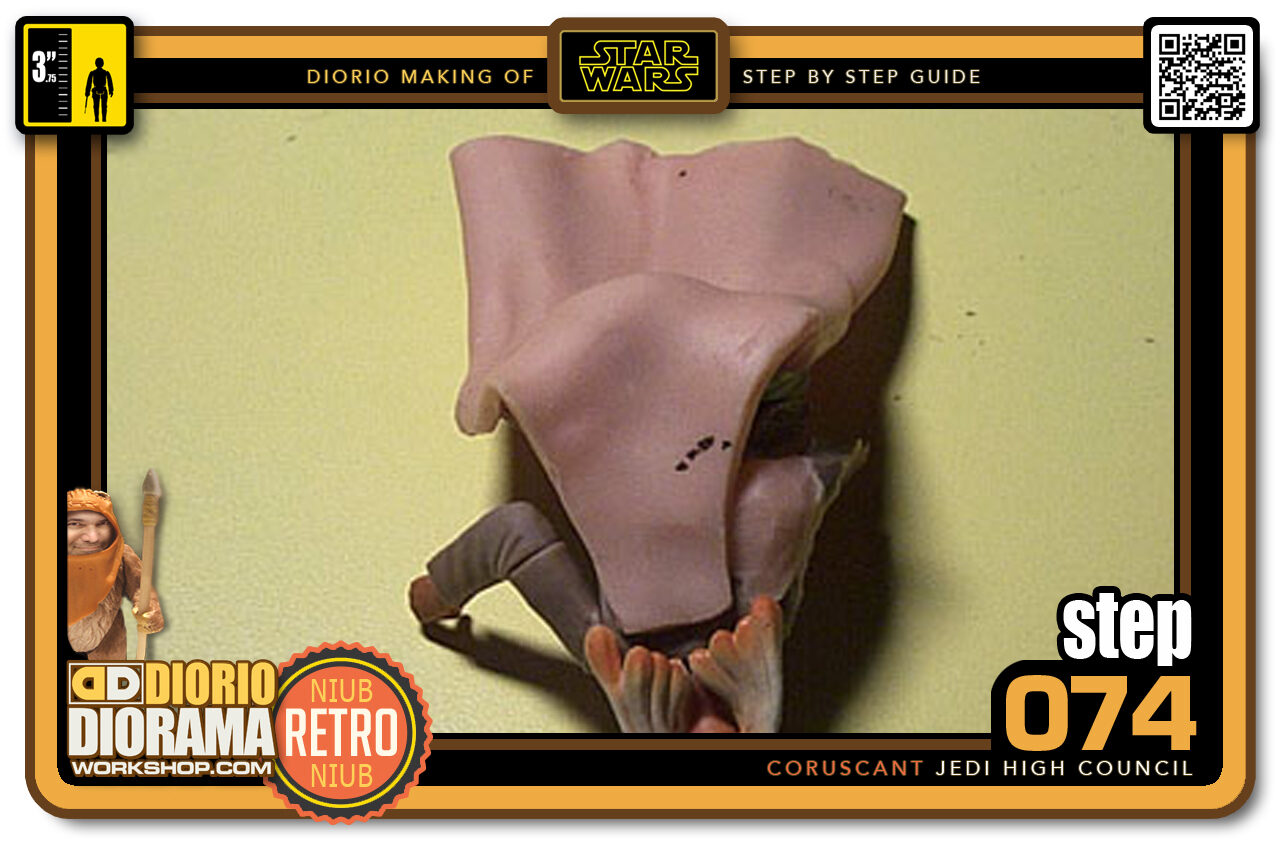
- Step 074 >> Attach the Super Sculpey to the back of Adi and bend it around the legs.
-
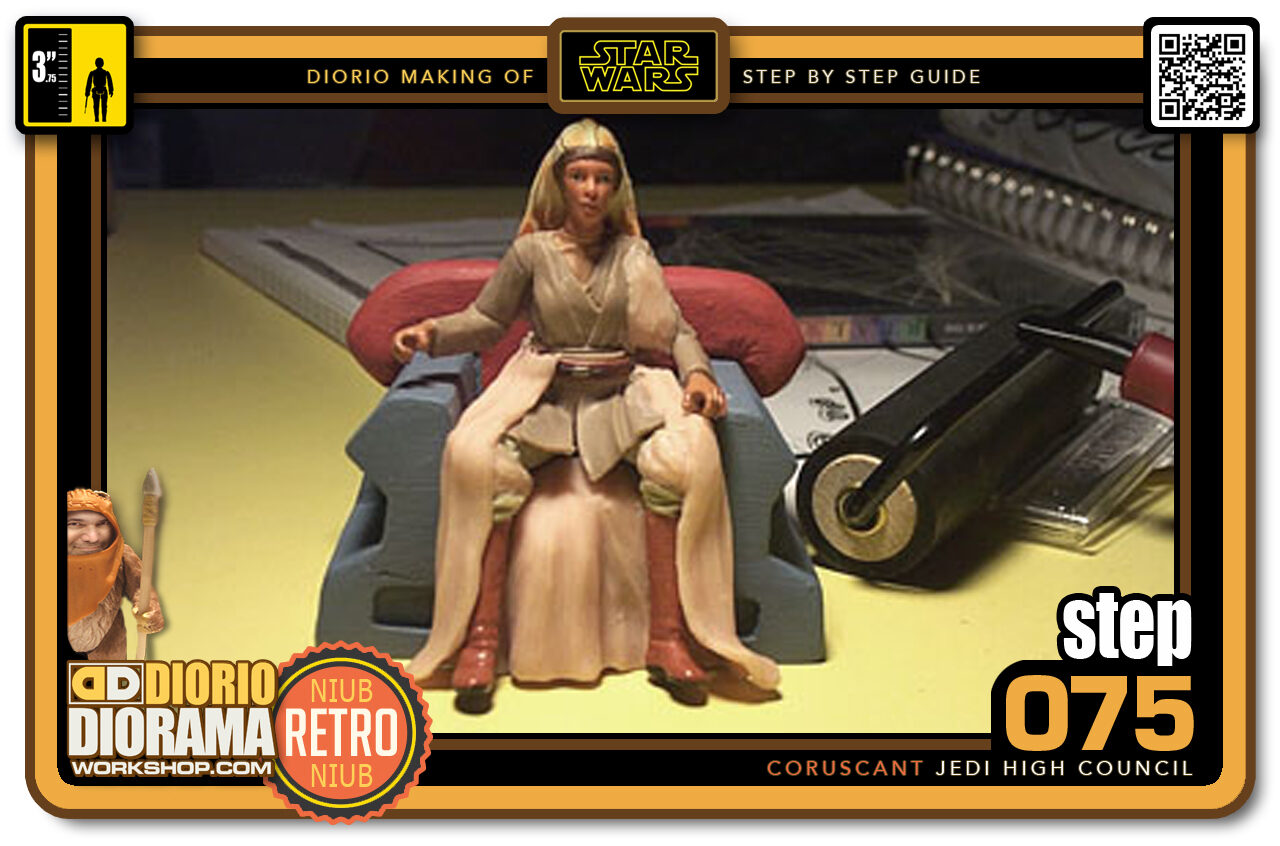
- Step 075 >> Then flip over the ends over the top of her thighs but only going half way. Add folds using your tools and try to give a droop at the bottom edges where it hits the floor.
-
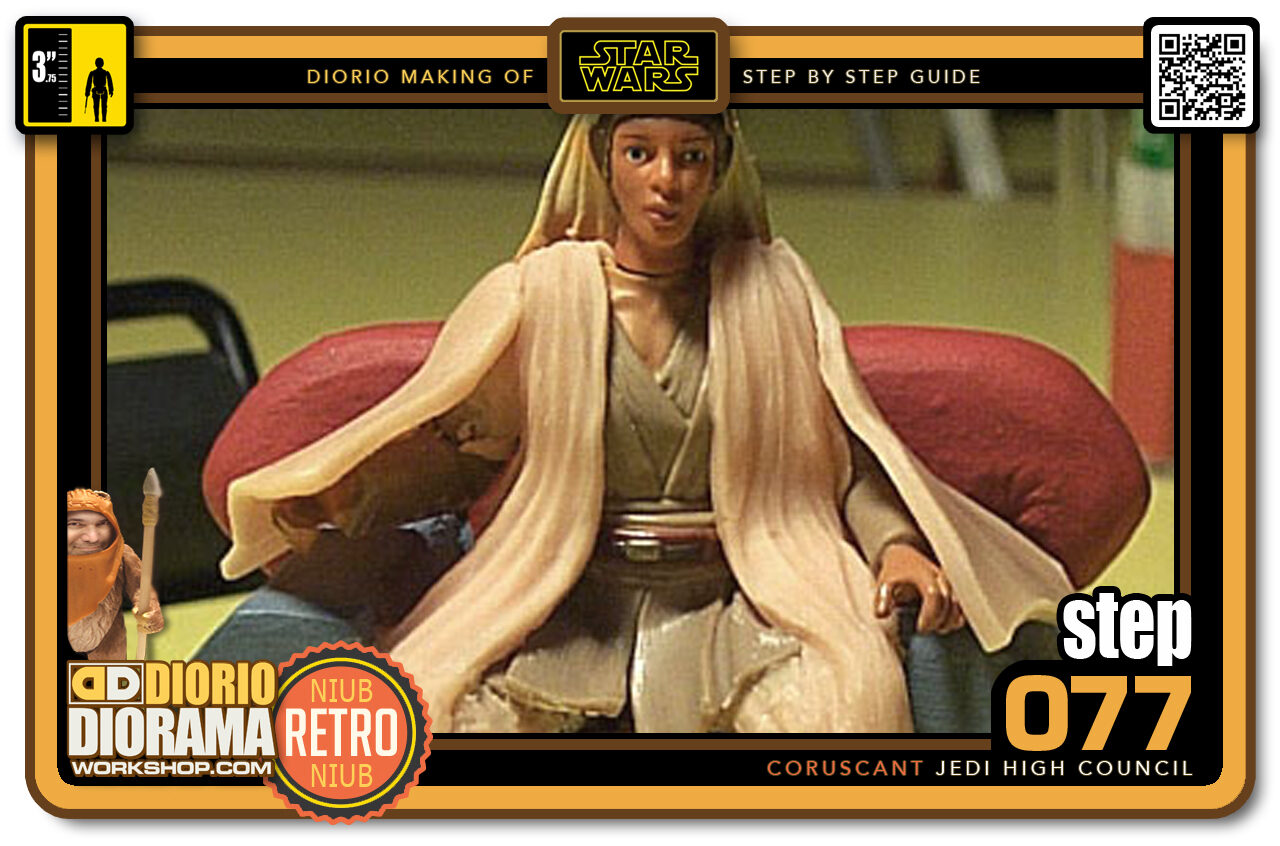
- Step 077 >> Add some fold details with the tools and blend everything into 1 piece. Then you can move on to the sleeves. Cut 2 mirror shapes and place on each arm
-
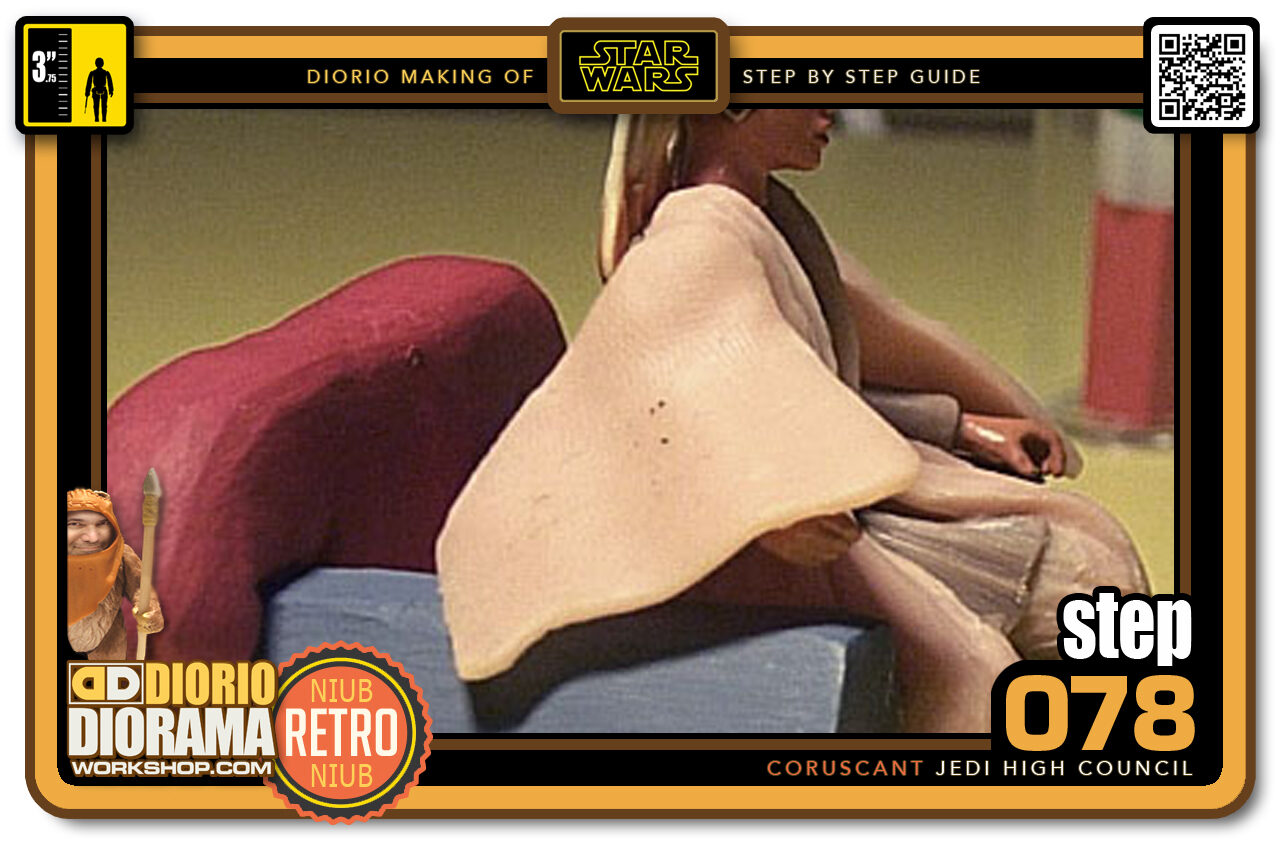
- Step 078 >> Here is a better view of the shape needed. Almost like a pilsbury turnover 🙂
-
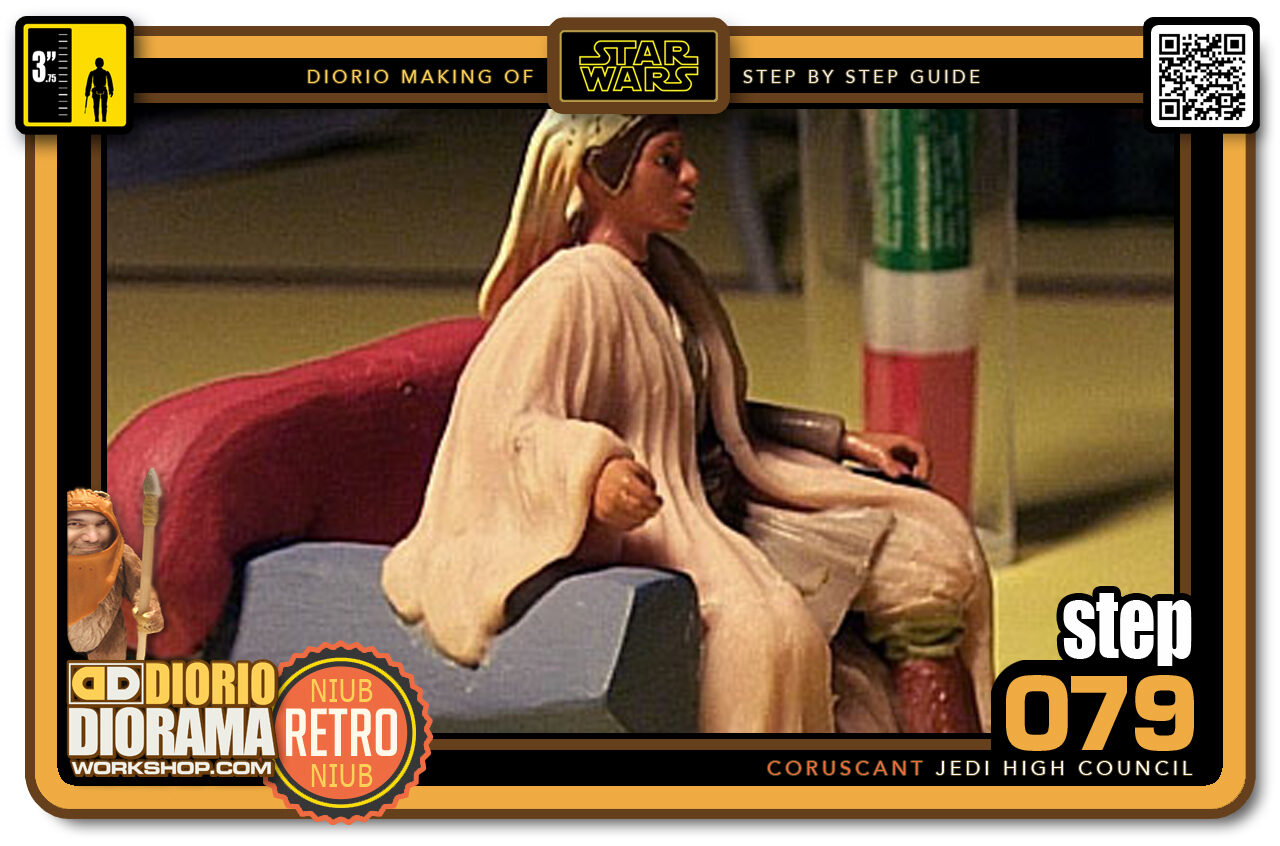
- Step 079 >> Now detail the sleeve using your sculpting tools. The arm doesnt quite touch the chair but that's alright. Still better then having her standing 🙂
-
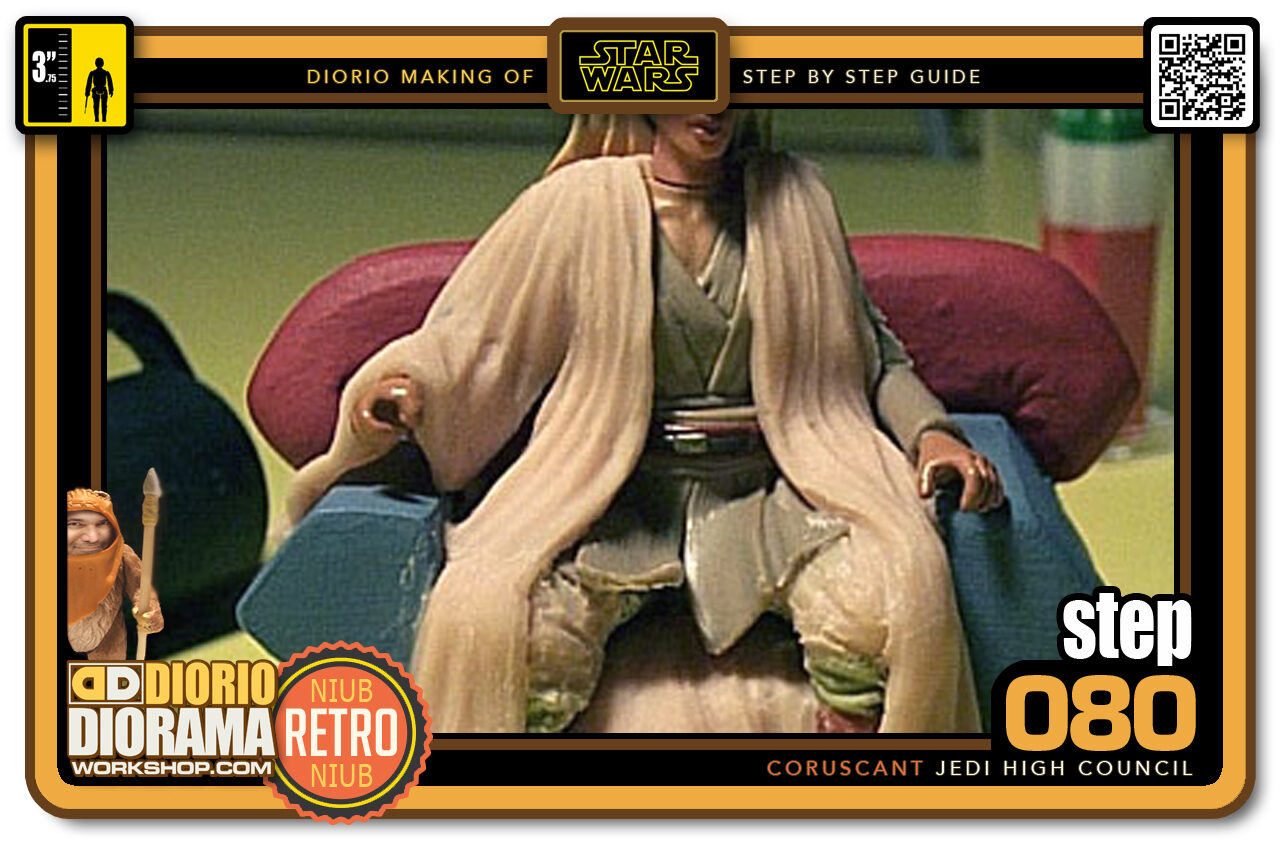
- Step 080 >> Now fold under and over the arm. Let the Super Sculpey droop and add more details.
.
Did you already build this Diorama ? At home or at our Star Wars Celebration Diorama Builders workshop ? Would you like to show it in the site’s GALLERY VISITORS DIORAMAS section, YES ? That is Awesome !!! You can find out all the details on how to email me your photos on the VISITORS SUBMISSIONS INFO page … When I get your photos, I will create your very own page just like this one. You may not realize it but work does inspire others to join in the fun of making Action Figure Dioramas.
.
NOT FOR RESALE ALL Decals, tutorials and artwork are ©FrankDiorio (dioramaworkshop.com) and offered FOR FREE to the fans – that would be you ? so you can build and display my diorama designs in your very own home. I realize I cannot control what one does with my graphics once I place them on the web, I can only ask you as one fan to another, please respect the artist and do not be that jerk who uses my designs and tutorials to build a copy of my work only to sell it on EBAY or trade/sale groups and forums. Thank You. Frank.
.

.
.
If you have a facebook account, why not join the Official Diorama Builders Fan Club today, simply click the logo link below.
 .
.
Catch up with fellow visitors and exchange stories, read cool interviews with the crew, exchange photos, fun surprises and grab some FAN ONLY merchandise next year at actual future conventions ?
.
©2021 Frank Diorio DioramaWorkshop.Com
.
IF YOU LIKE WHAT YOU SEE, PLEASE SHARE WITH YOUR FRIENDS
USING THE SOCIAL MEDIA BUTTONS BELOW