


-
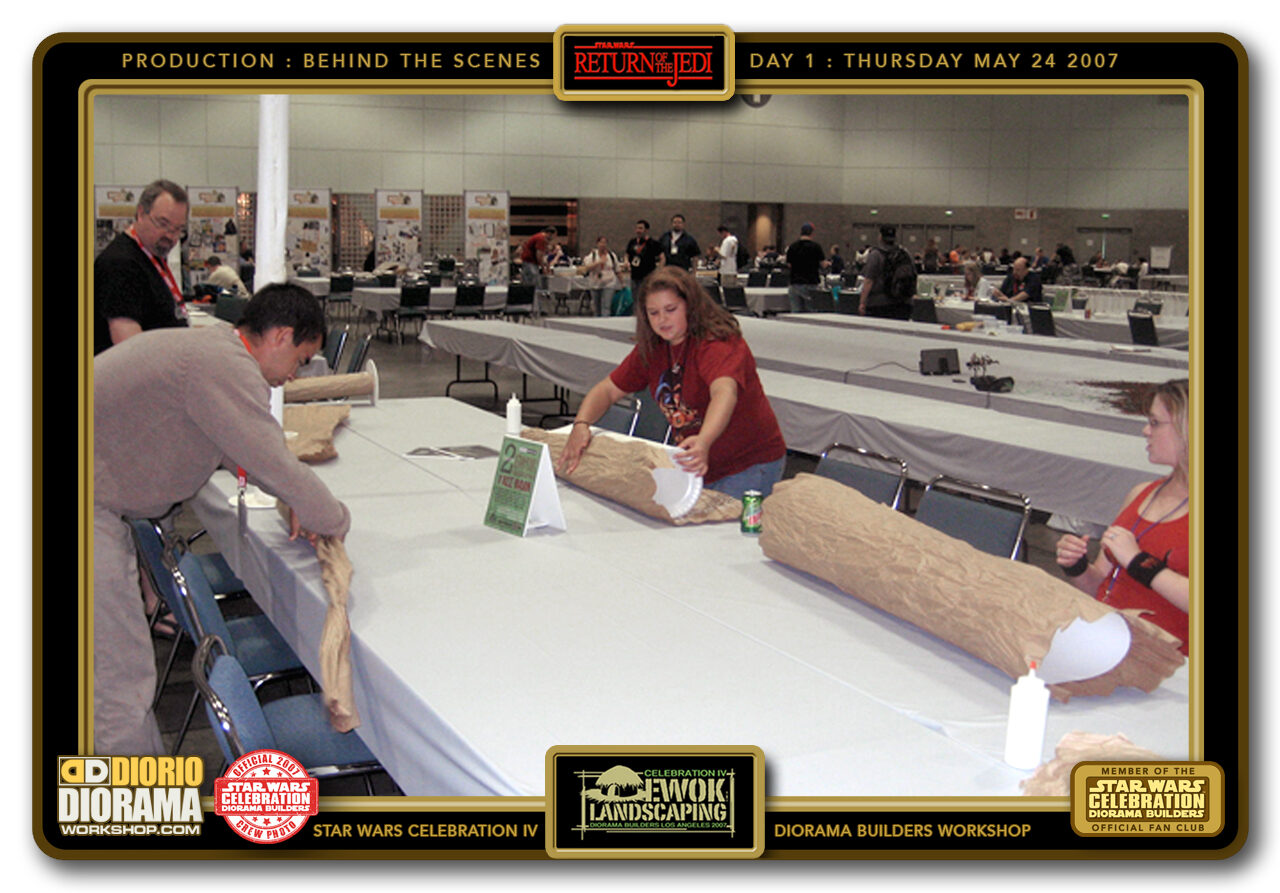
- DAY 1 - MAY 24 021 > As you can see, the technique was the same but no 2 trees were really copy paste indentical since the wrinkles were done by different people and applie to different measurement tree cores.
-
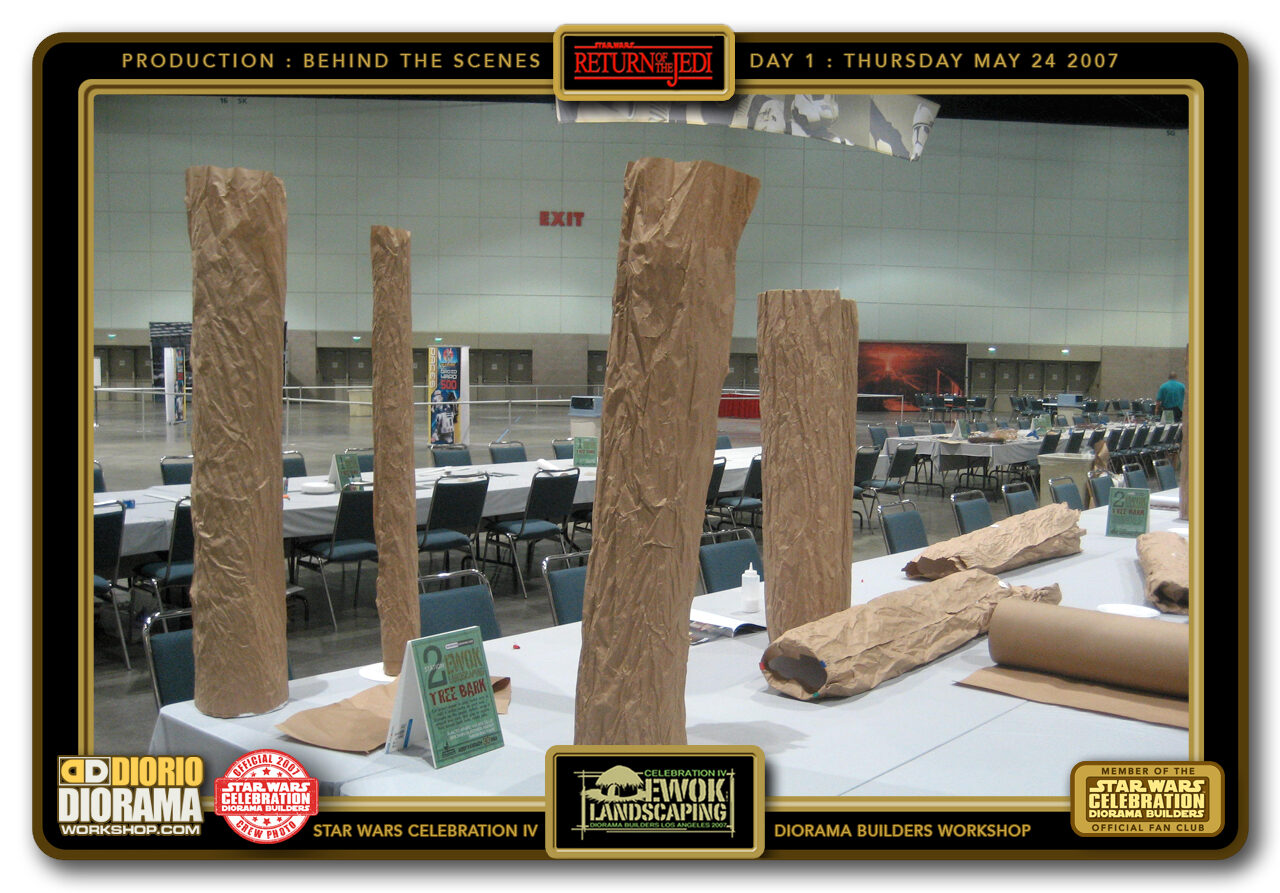
- DAY 1 - MAY 24 022 > After 1 hour we allready had many of the various styles that could help show other upcoming builders what they were getting into 🙂 There is a painting step after this that I forgot to take photos of day 1 - sorry for that - if you want to see what that looks like simply click on the day 2 or day 3 construction links.
-
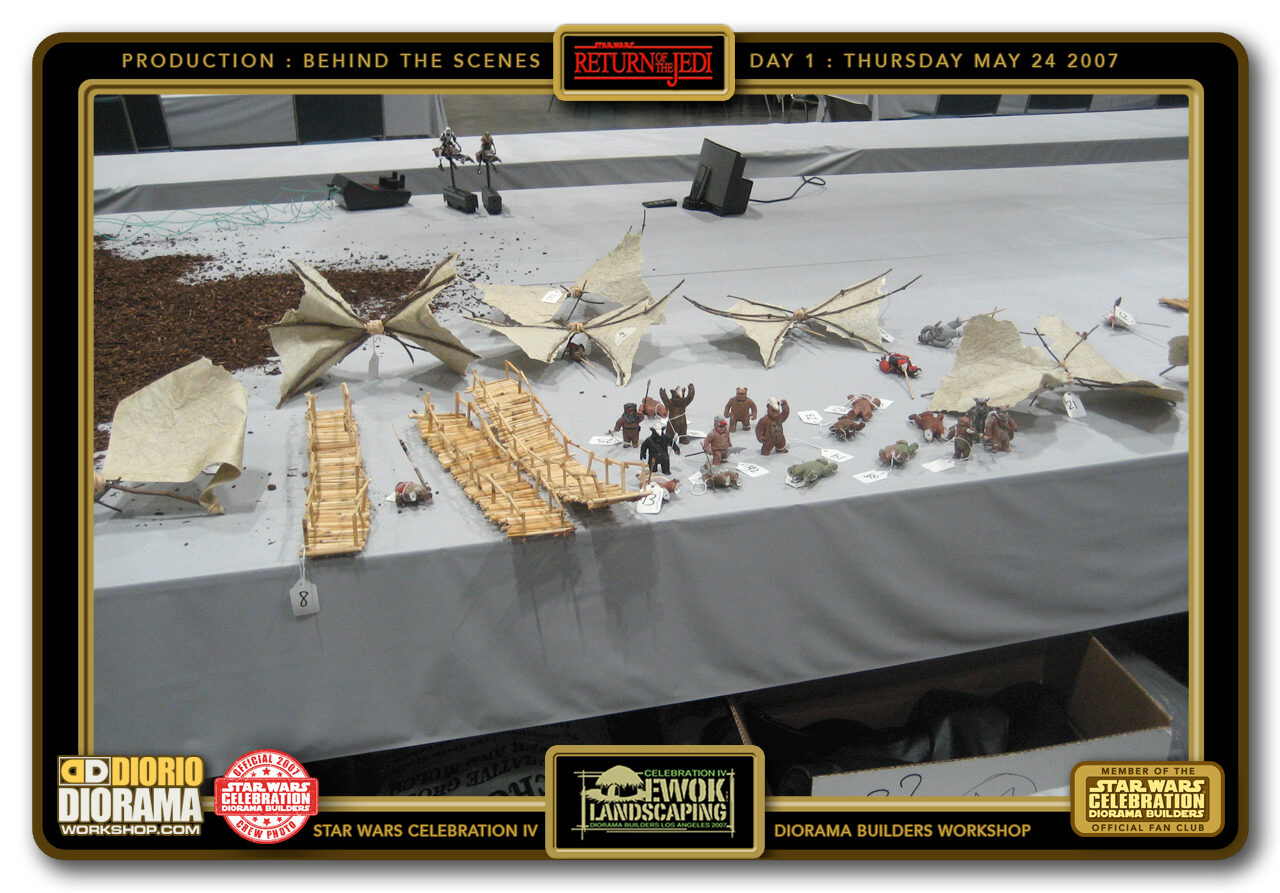
- DAY 1 - MAY 24 023 > So if you were brave enough to go one step further in your Ewok Landscaping, you could chose to build either a circular platform or a bridge or the very brave and patient - a round spiral platform.
-

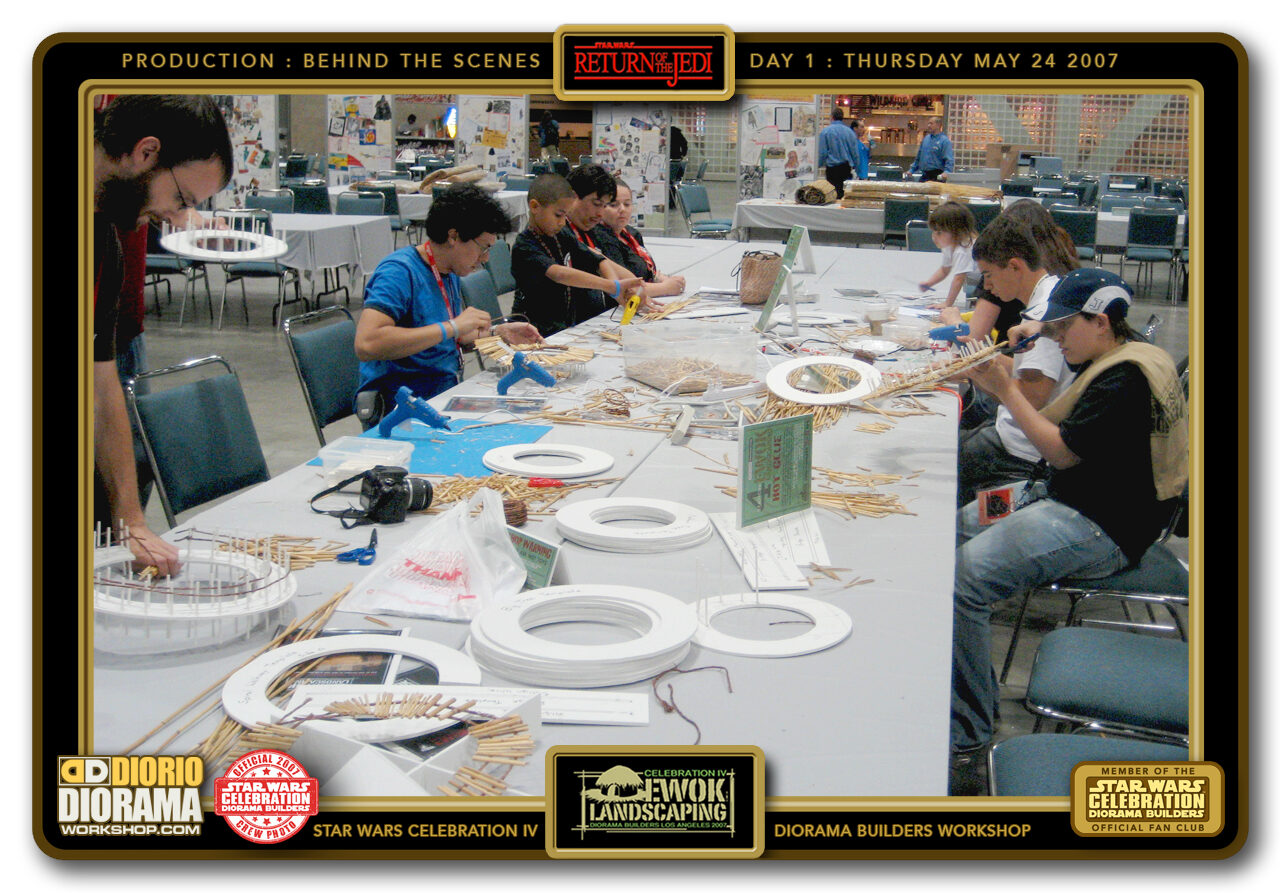
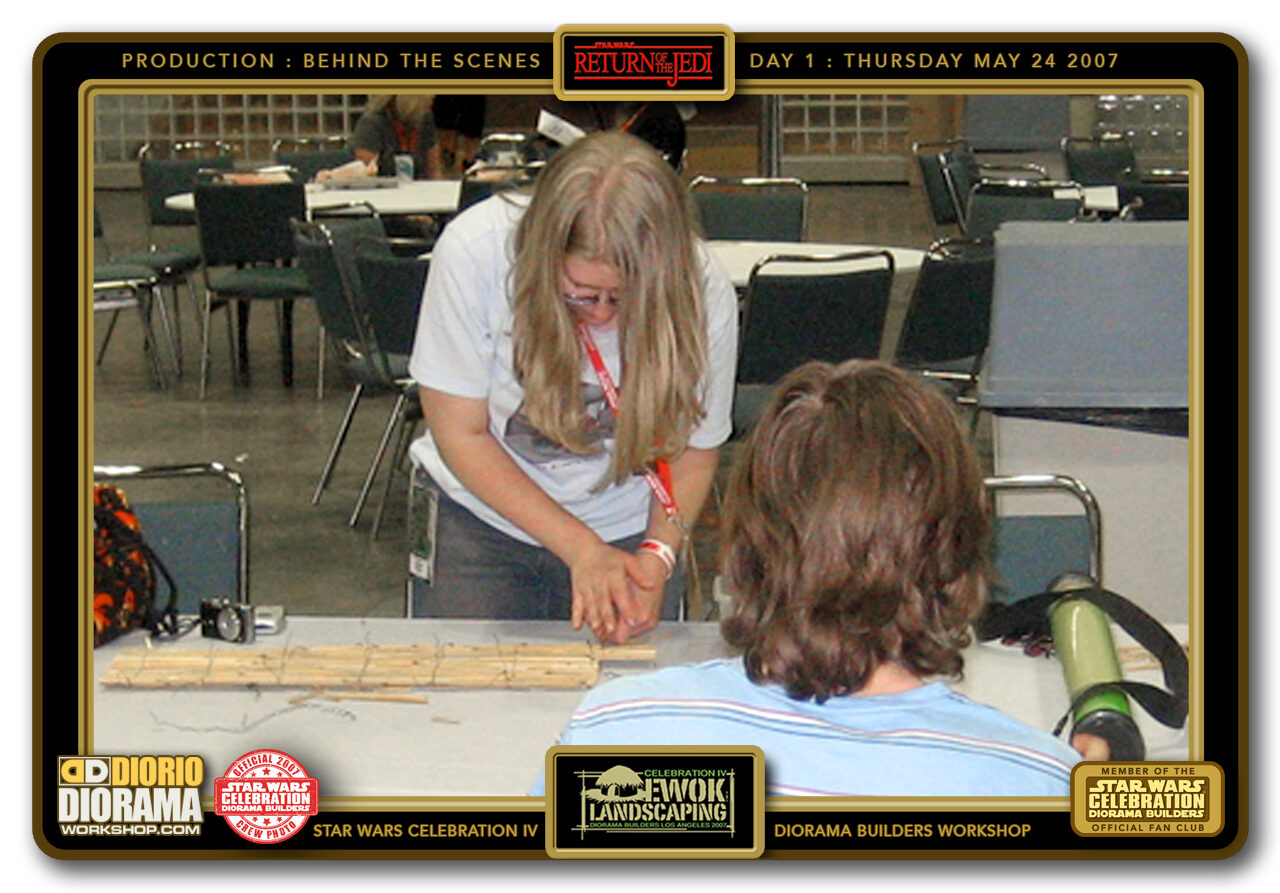
- DAY 1 - MAY 24 024 > Fans used templates I created in San Francisco during the pre-production prototype phase, to place the hundreds of little bamboo fence pieces they cut up to create their ewok village construction.
-
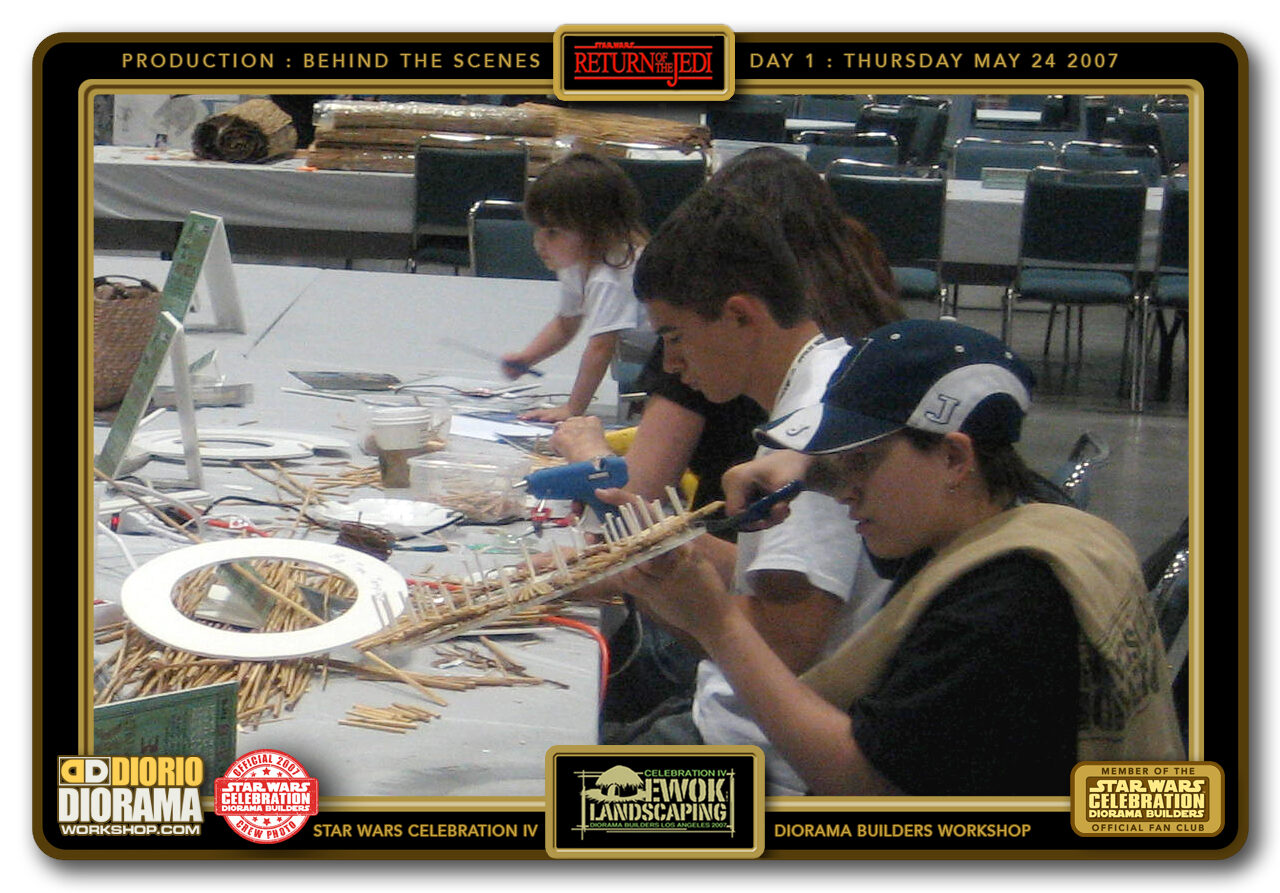
- DAY 1 - MAY 24 025 > Just a little hot glue and a lot of patience were required for this somewhat tedious phase, there is no simple copy paste in real life like when working on your computer 🙂
-
- DAY 1 - MAY 24 026 > Others, didn't want to make a tree and prefered to just work on a Ewok Bridge that would be used to connect 2 tree platforms together. The effect is really really cool. Again starting from the same bamboo fence from the garden store, just snip off the metal twist ties and cut the bamboo rods to the same identical witdth and you are ready to go.
-
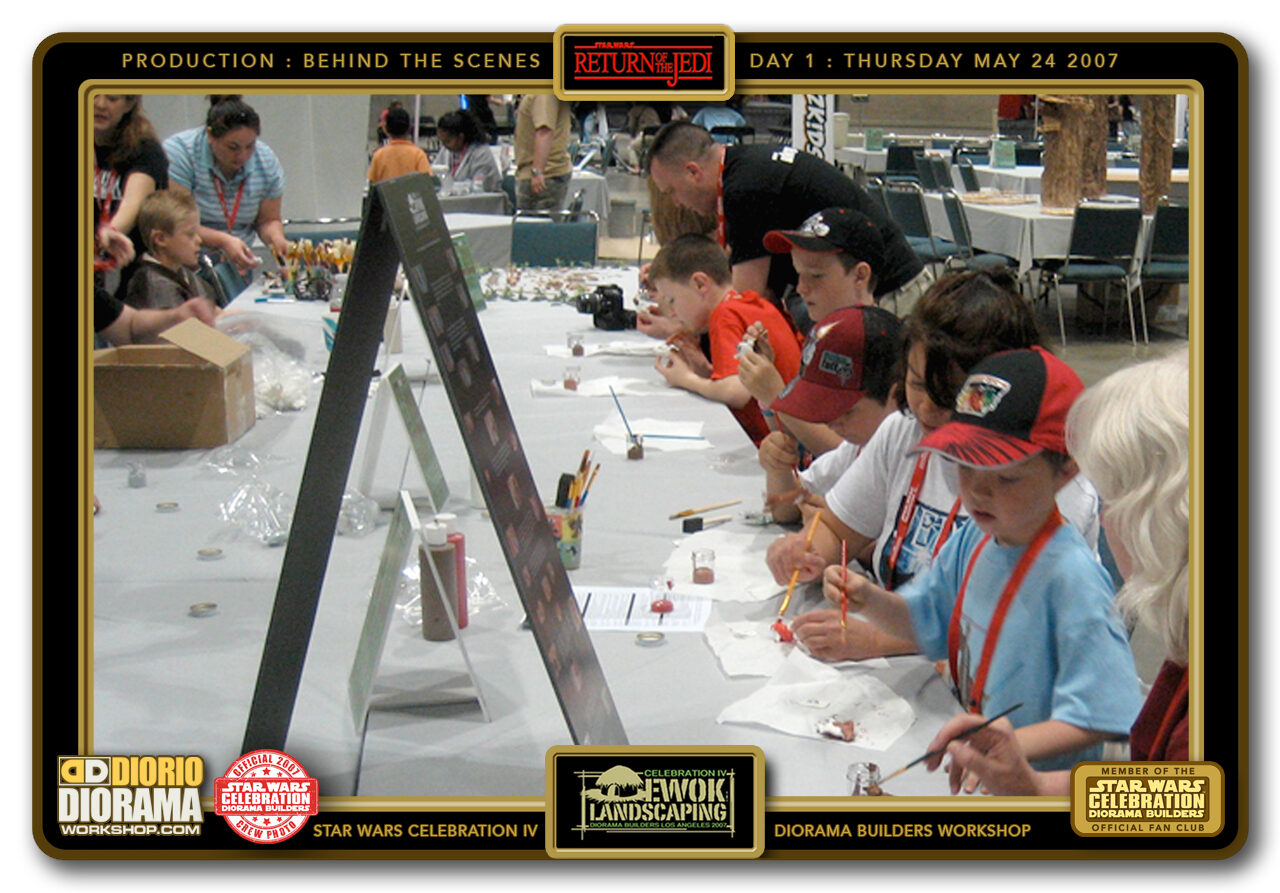
- DAY 1 - MAY 24 027 > One of the cool side quests was giving Pat Donlan a small corner space at our booth for his PAINT AN EWOK classes. Kids loved it and Pat spent months making Ewok copies from molds for the kids to paint at the show and in return, not only a unique souvenir gift for them to take home but also to help me populate the endor village. The final diorama would not have been as successful without his participation that is certain.
-
- DAY 1 - MAY 24 028 > Some of the kids in one of Patricks Ewok painting classes pays super attention to make sure he gets his right.
-
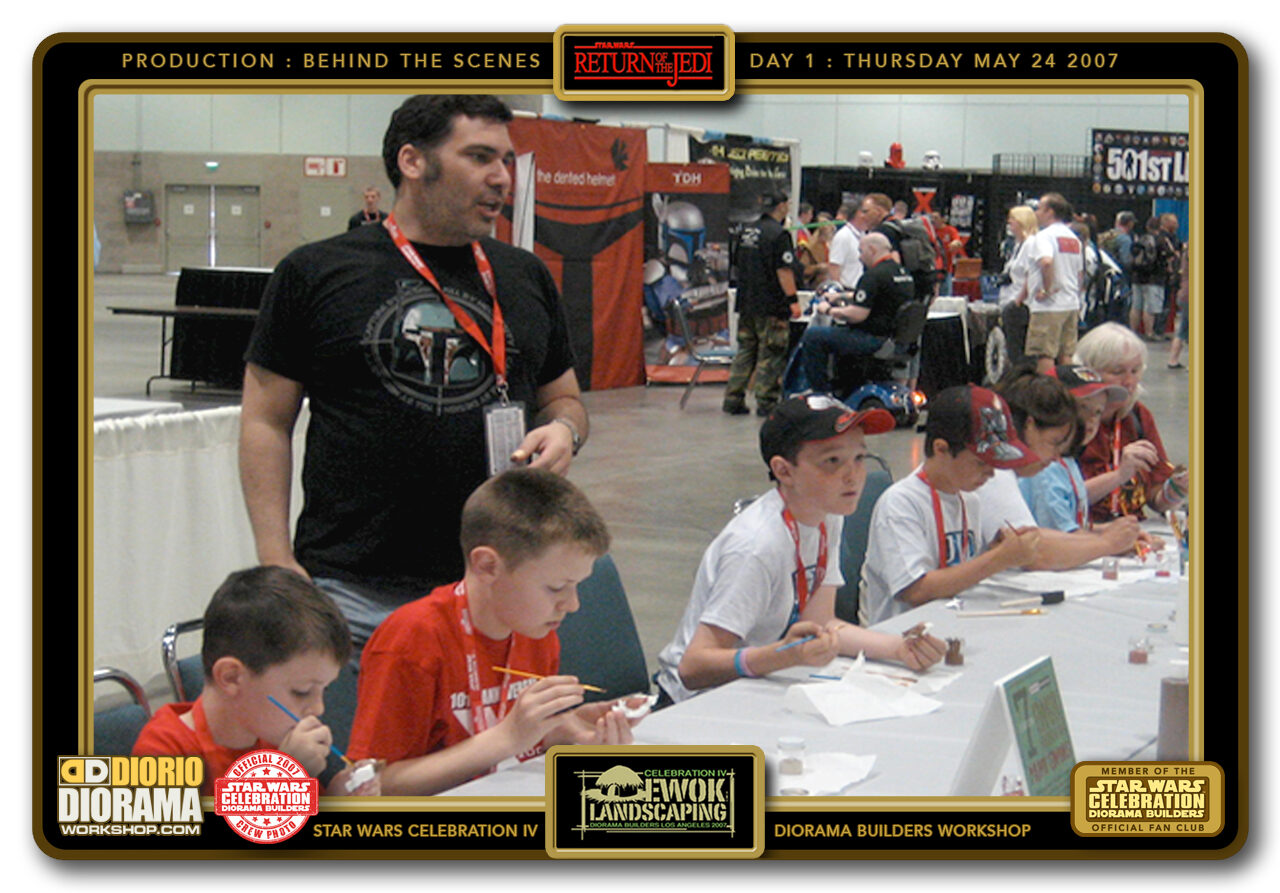
- DAY 1 - MAY 24 029 > A young and skinny me 🙂 passing by Pat's class to see if all is going well. It was great to have Pat take control of this area without me having to worry much except not to lose the Ewok tags when placing them in the trees 🙂
-
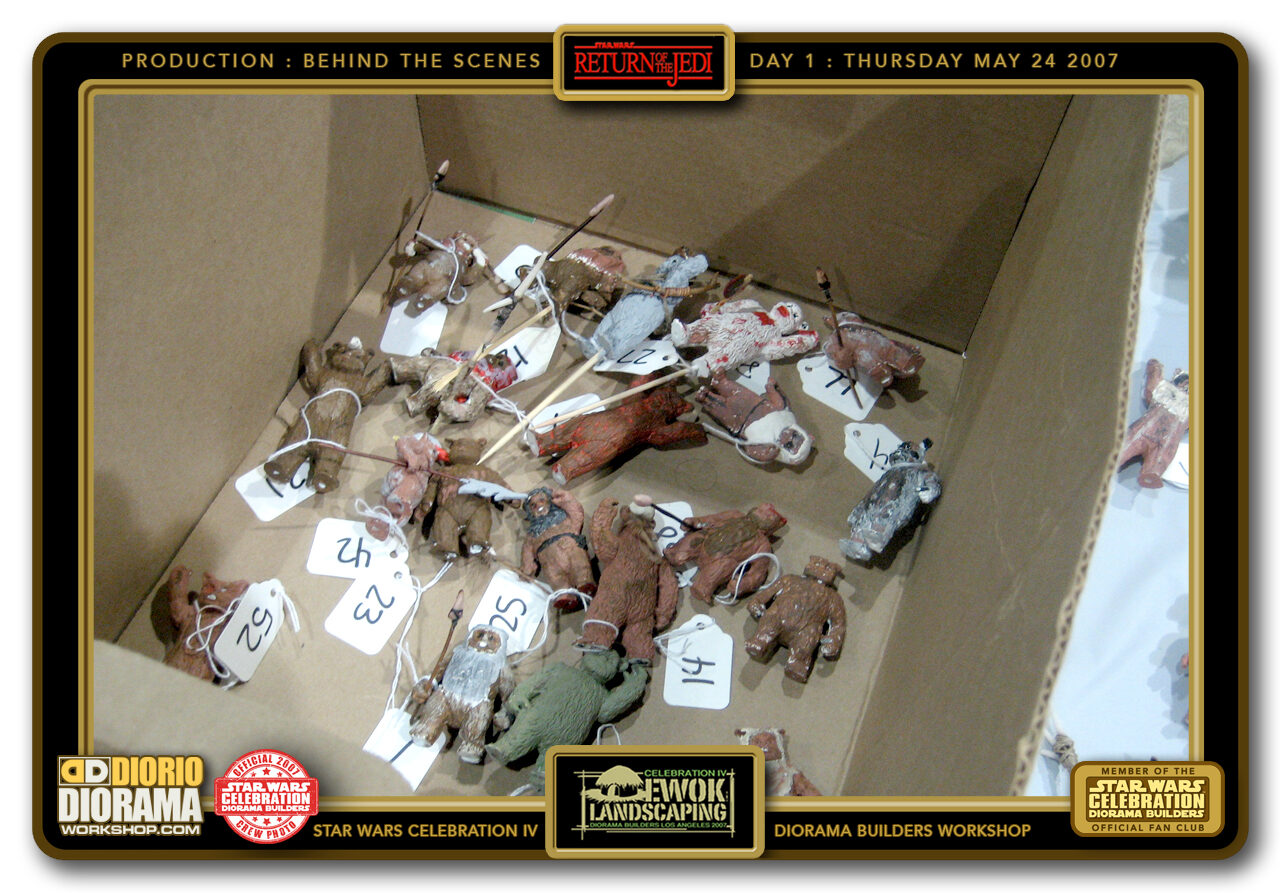
- DAY 1 - MAY 24 030 > After each class, the Ewoks would be very delicately placed in a box like this to dry and make sure no one stole them.
-
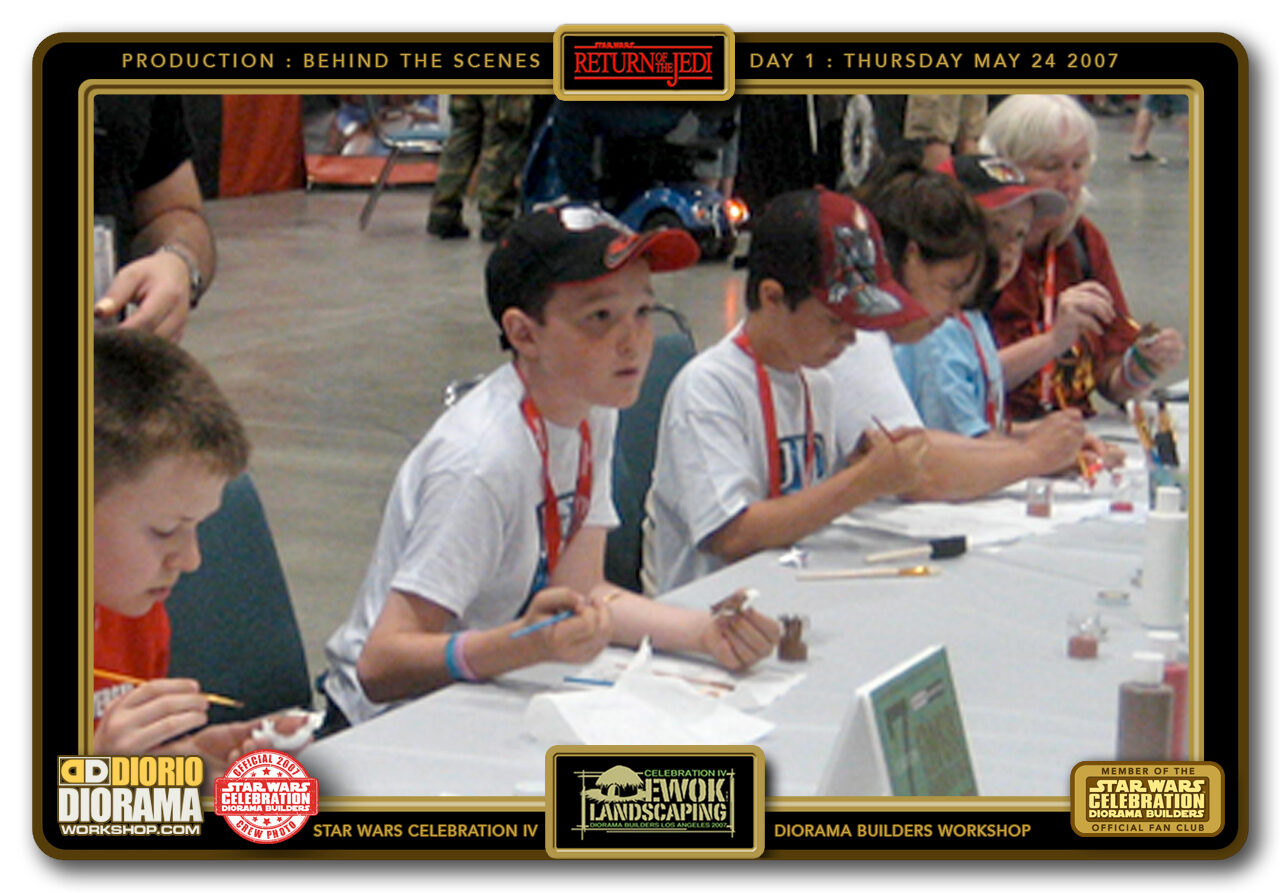
- DAY 1 - MAY 24 031 > Not only did the kids learn to paint Ewoks but Pat also had them sculpt little spears and props and create aquarium style mini bases to help some keep cover from the empire 🙂
-
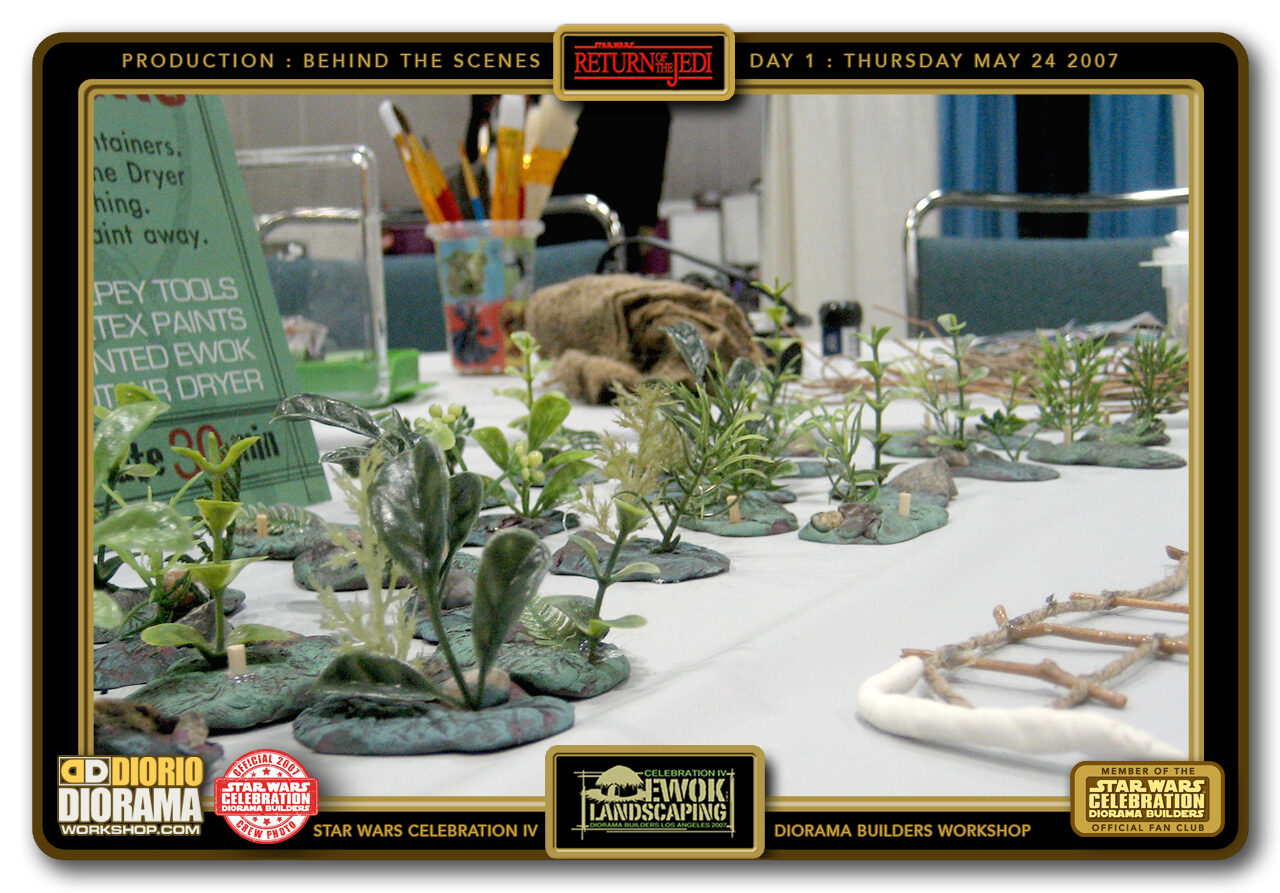
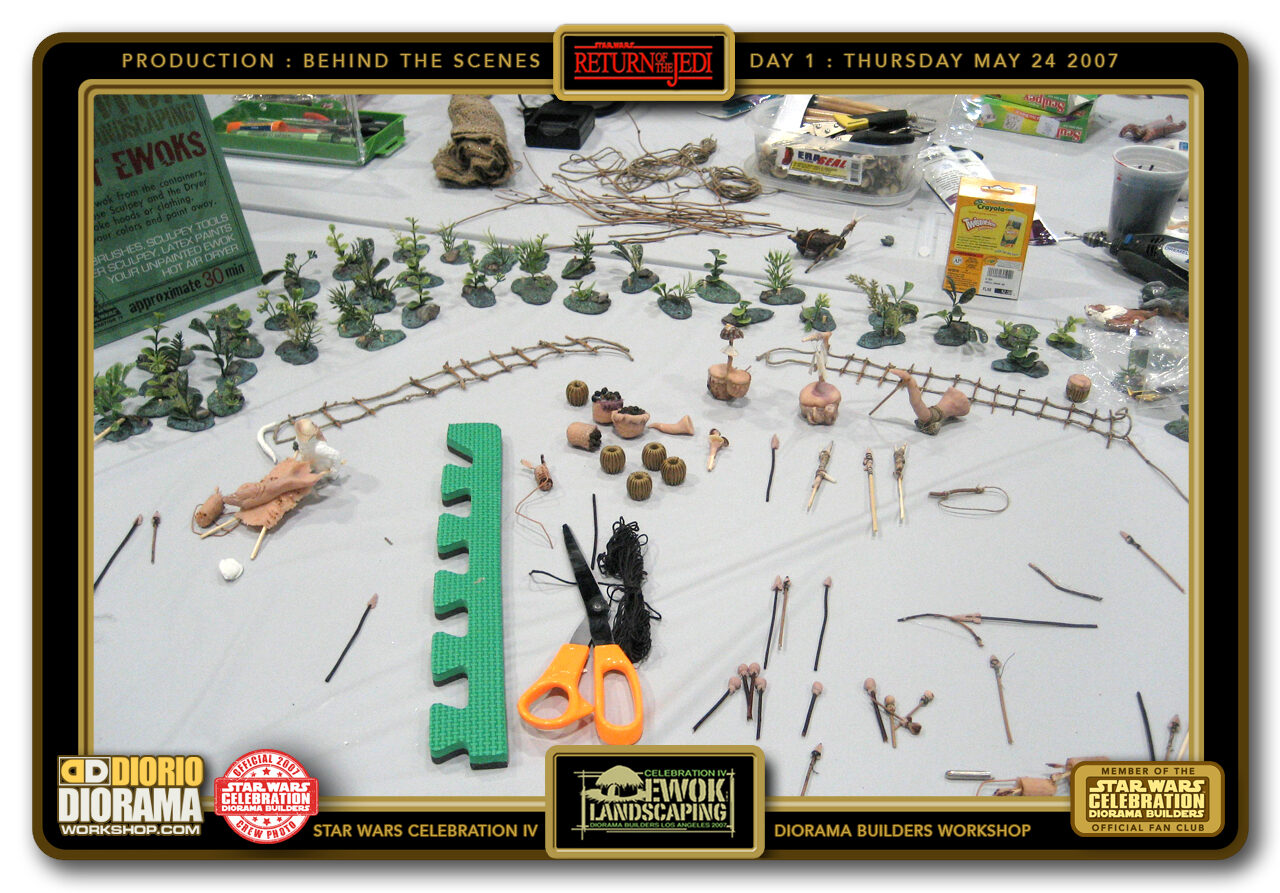
- DAY 1 - MAY 24 032 > A close up at some of the bushes made to sprinkle here and there in between the planted trees later on.
-
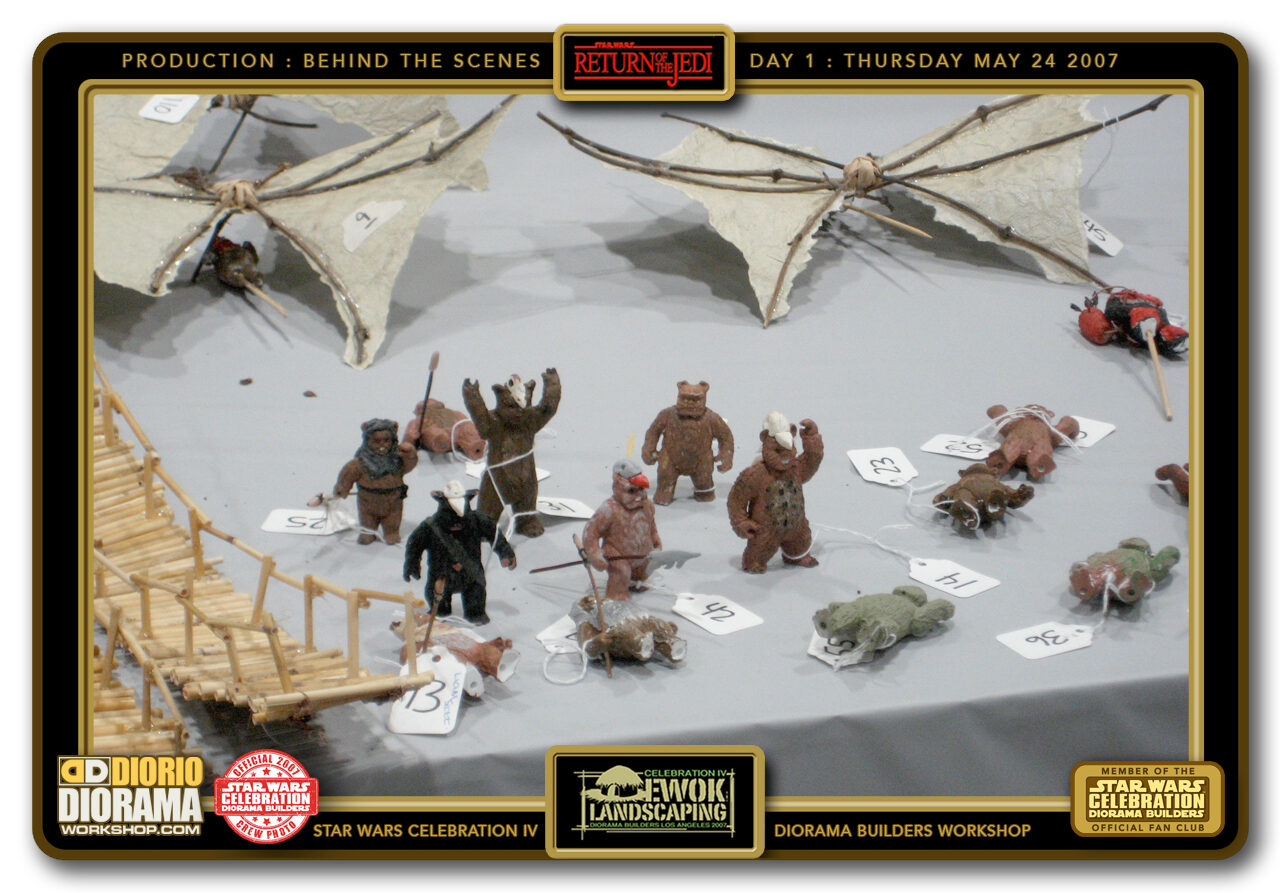
- DAY 1 - MAY 24 033 > Once dry enough to come out of their box, the Ewoks lived hapilly for a moment on the drying table until they were placed in completed trees.
-
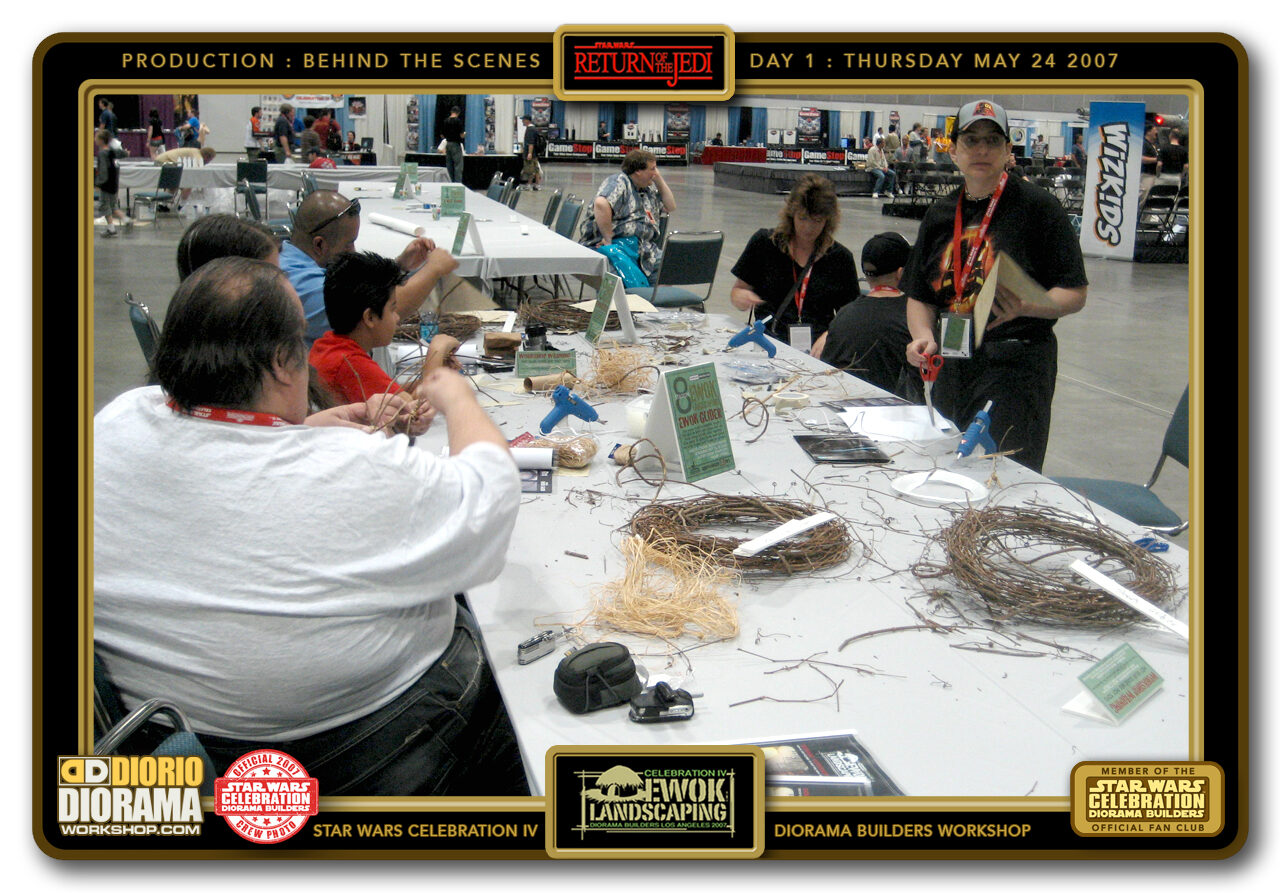
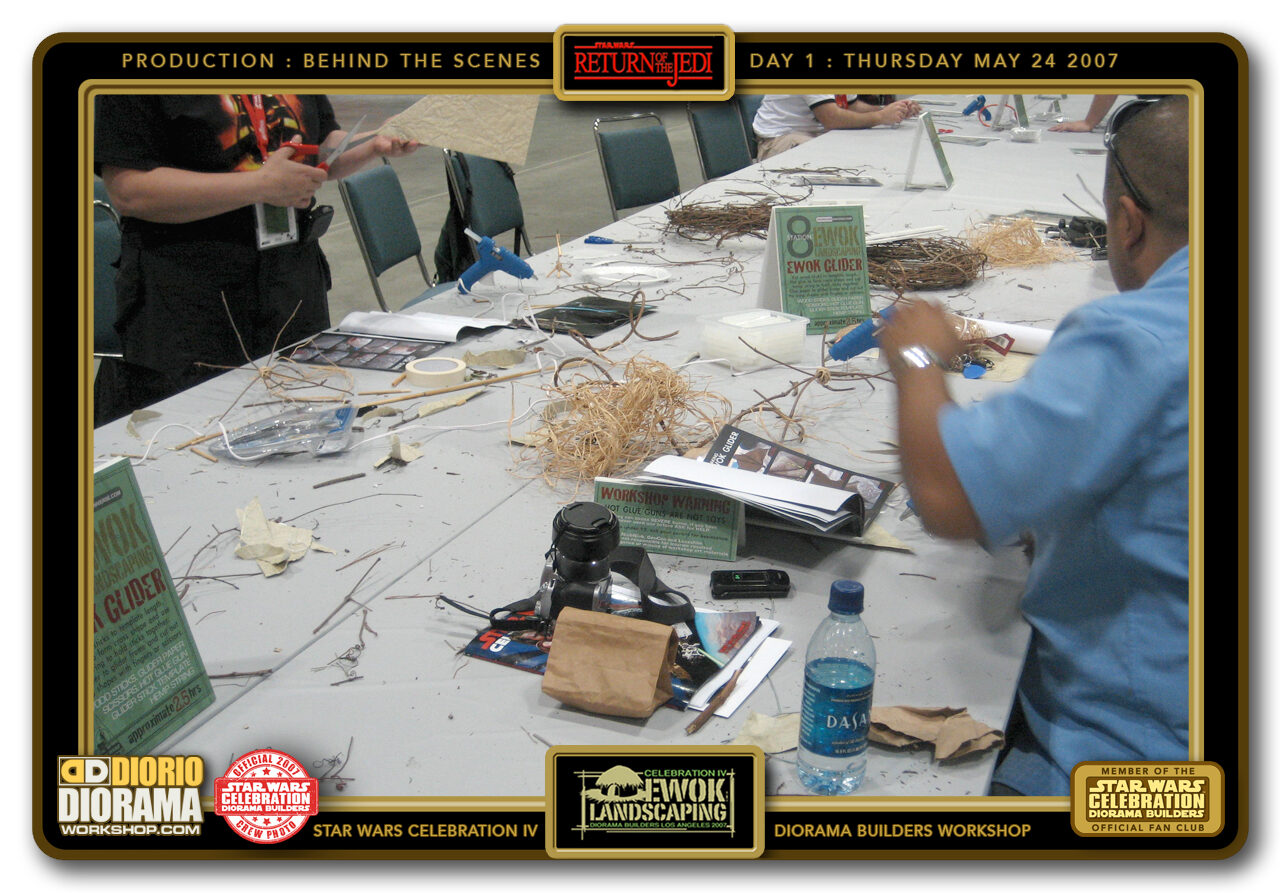
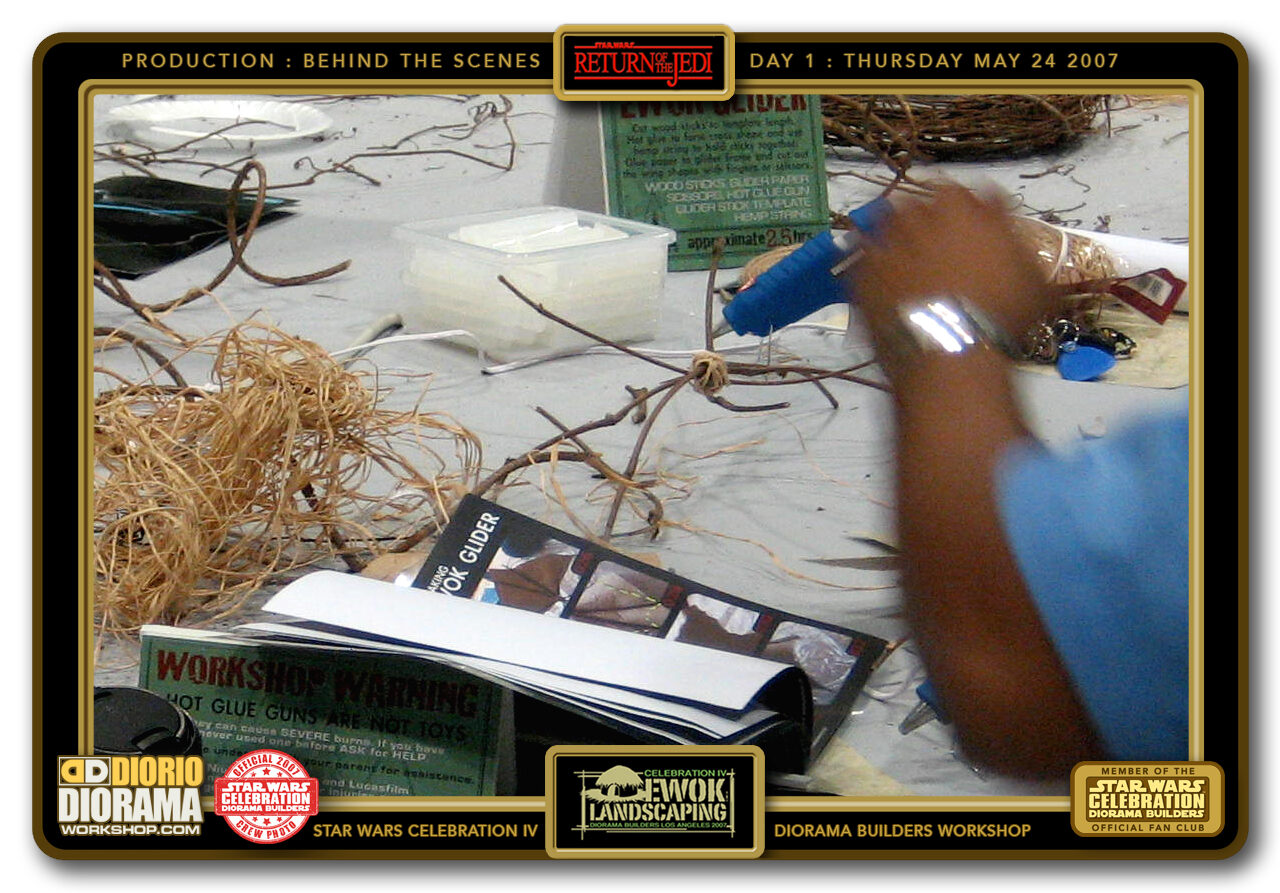
- DAY 1 - MAY 24 034 > Back at the work tables, another station was the Ewok Gliders. These were cool designs that I made from the film and vintage toy line photos.
-

- DAY 1 - MAY 24 035 > Using templates, twigs, flower shop hemp string and hot glue, the gliders were a simple build that only took 1 - 2 hours at the most.
-
- DAY 1 - MAY 24 036 > On the top left you can see a builder cutting into the craft paper to make the gliders wings as the builder on the right works on connecting his wreath twigs to form the core body structure.
-
- DAY 1 - MAY 24 037 > A little hot glue secures everything in place and makes sure that none of the ropes will ever untie themselves.
-
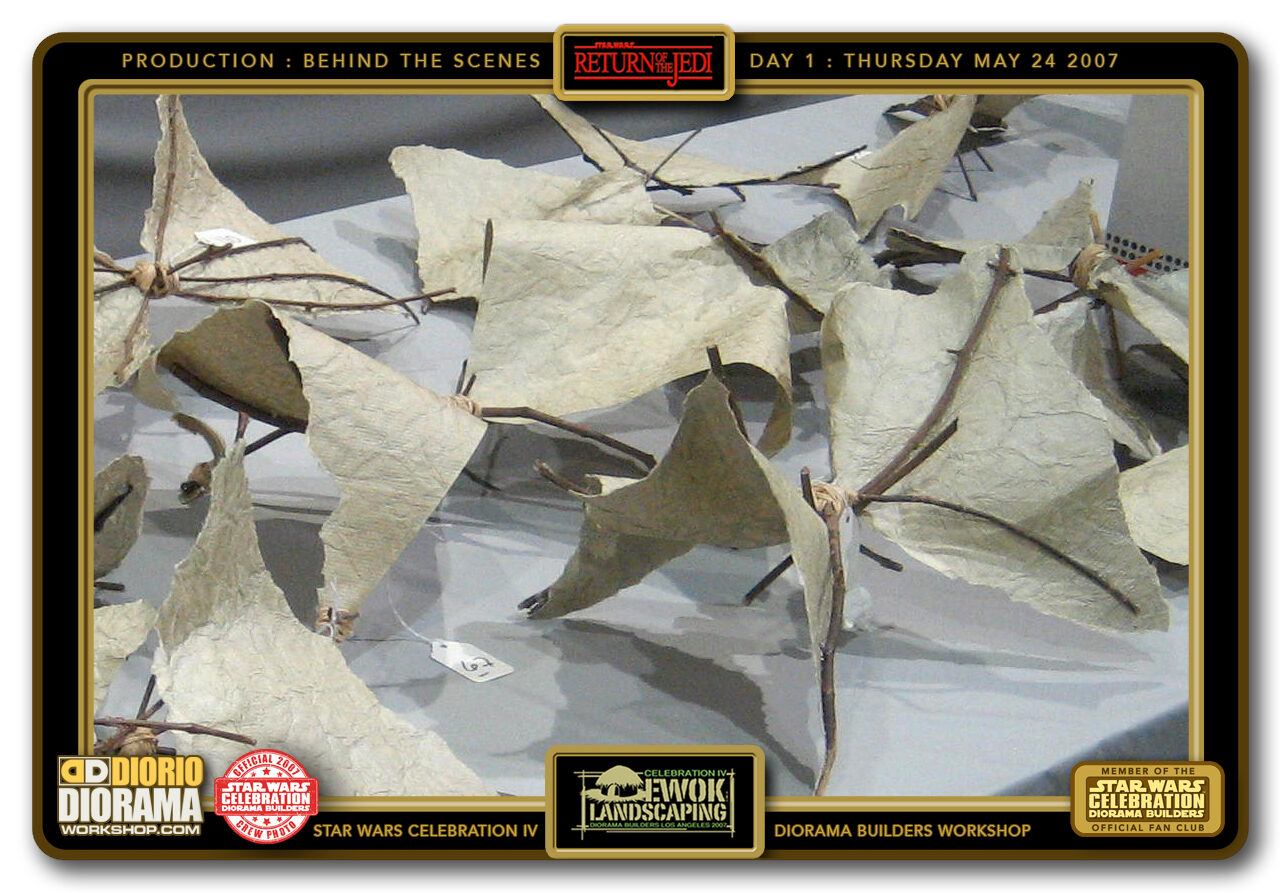
- DAY 1 - MAY 24 038 > I was so happy to see that many fans chose to make gliders on this first day, a sign that it would be a popular selection for the upcoming days as well.
-
- DAY 1 - MAY 24 039 > A few of the non tree builds made so far today. Gliders, painted custom Ewoks and some connecting Bridges. My design prototypes were successful as fans were able to reproduce and understand my instructions. Insert sigh of relief LOL.
-
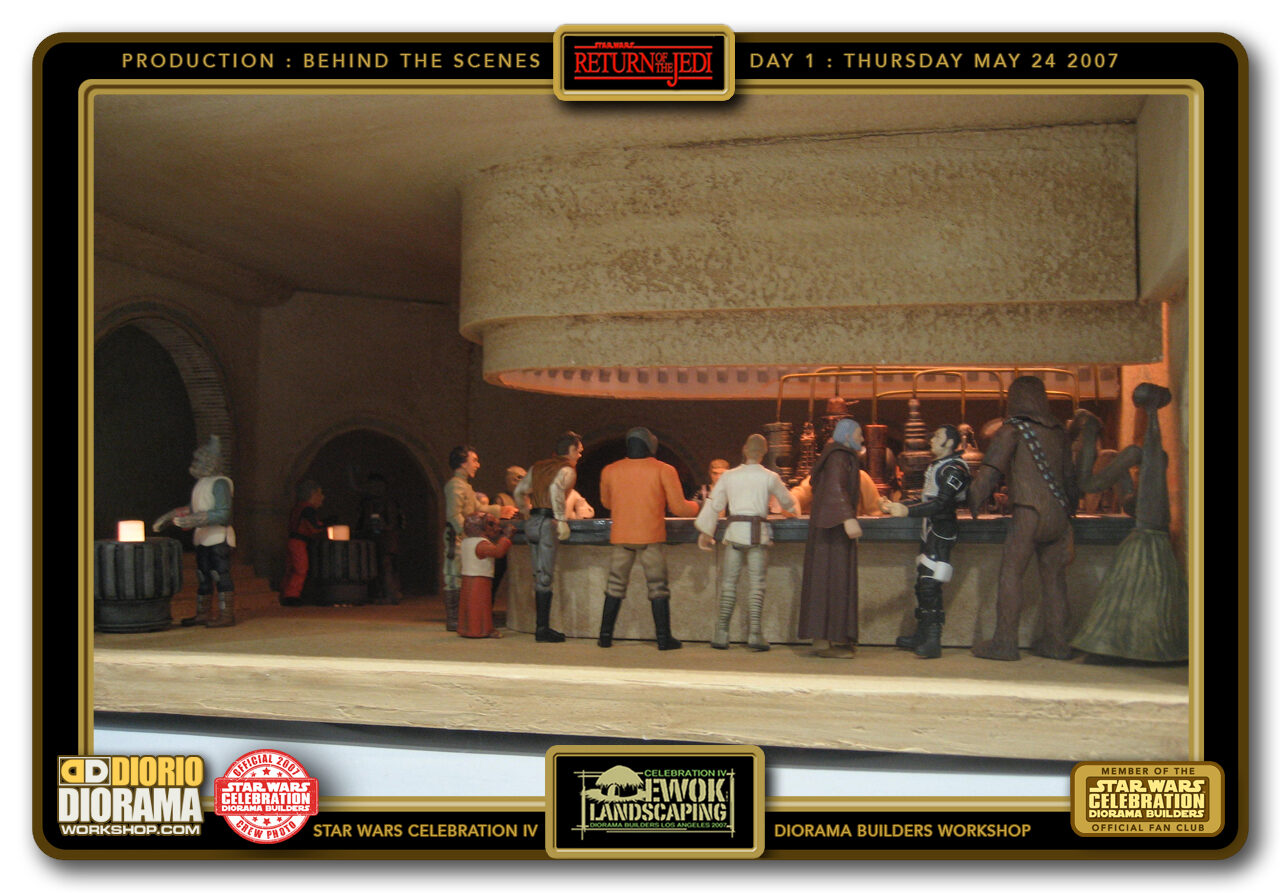
- DAY 1 - MAY 24 040 > Since I was working at ILM in San Francisco and not returning home to Montreal before the convention I was unable to bring any of my Web Site Dioramas to the booth as I did the past 2 shows for fans to take photos and get inspired to join the hobby. So I did the next best thing, I convinced my number 1 core team mate Jamie "Sillof" to bring one of his 🙂 His Cantina was one of the first to make the iconic scene jump out in movie accuracy delight. So So cool.

.
Did you attend our Celebration Diorama Booth ? If you came to build a piece of ENDOR , please don’t be shy and leave your experiences in the comments below. Even better, you can share them with other fans in the site’s GALLERY VISITORS DIORAMAS section. You can find out all the details on how to email me your photos on the VISITORS SUBMISSIONS INFO page … When I get your photos, I will create your very own page just like this one. You may not realize it but work does inspire others to join in the fun of making Action Figure Dioramas.
..

.
.
If you have a facebook account, why not join the Official Diorama Builders Fan Club today, simply click the logo link below.
 .
.
Catch up with fellow visitors and exchange stories, read cool interviews with the crew, exchange photos, fun surprises and grab some FAN ONLY merchandise next year at actual future conventions ?
.
ALL Decals, tutorials and artwork are ©FrankDiorio (dioramaworkshop.com) and offered FOR FREE to the fans – that would be you ? so you can build and display my diorama designs in your very own home. I realize I cannot control what one does with my graphics once I place them on the web, I can only ask you as one fan to another, please respect the artist and do not be that jerk who uses my designs and tutorials to build a copy of my work only to sell it on EBAY or trade/sale groups and forums. Thank You. Frank.
.
©2021 Frank Diorio DioramaWorkshop.Com
.
IF YOU LIKE WHAT YOU SEE, PLEASE SHARE WITH YOUR FRIENDS
USING THE SOCIAL MEDIA BUTTONS BELOW