


-
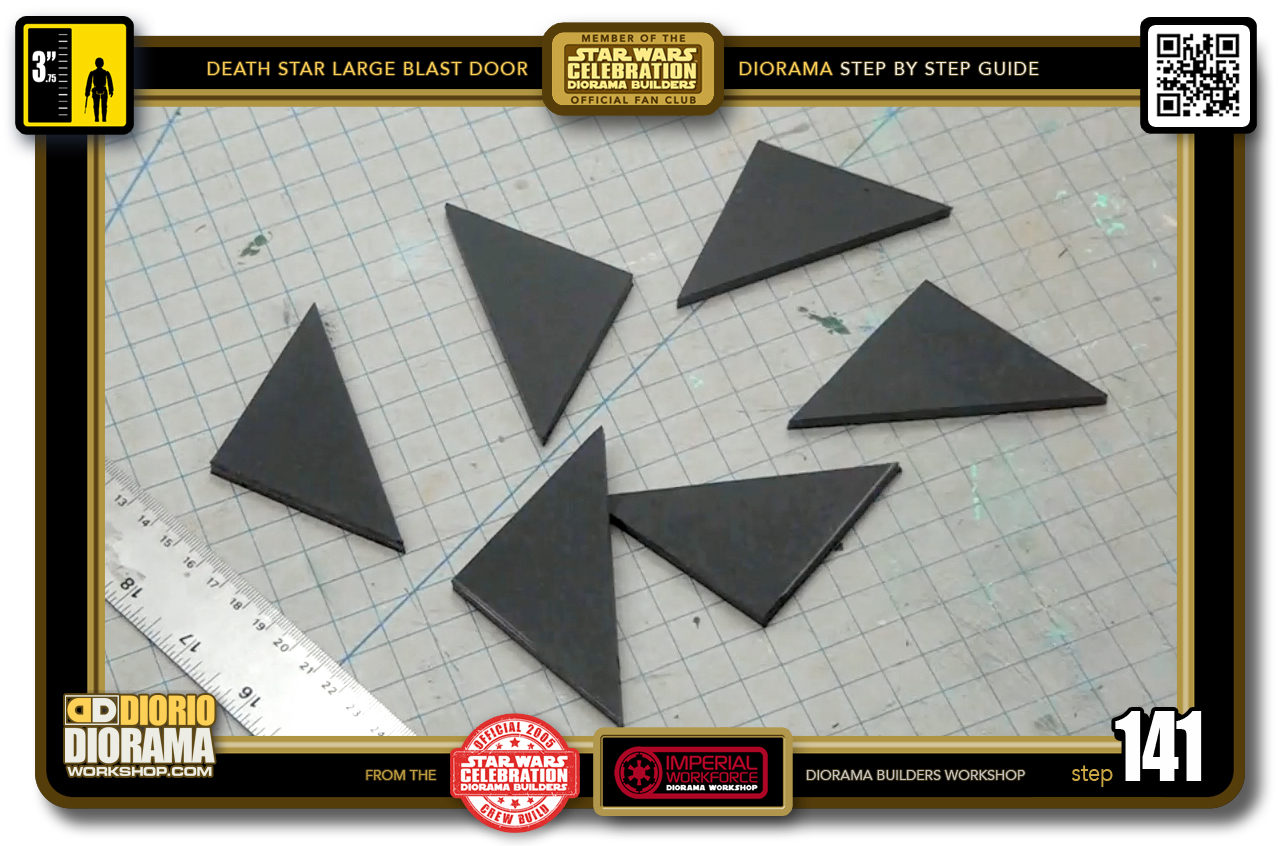
- STEP 141 > You should now have your 6 DORITOS triangle shapes.
-
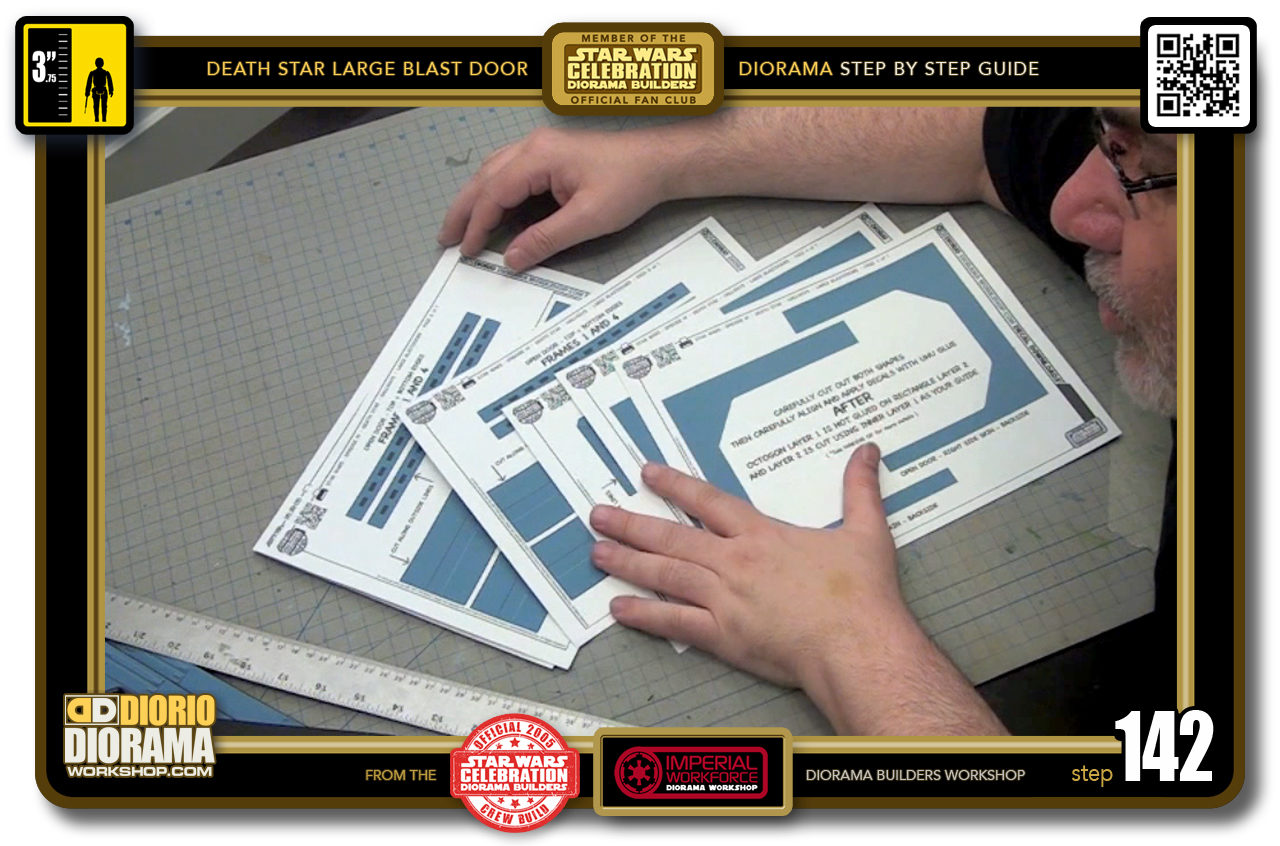
- STEP 142 > It's now time to prep all your printed decals.
-
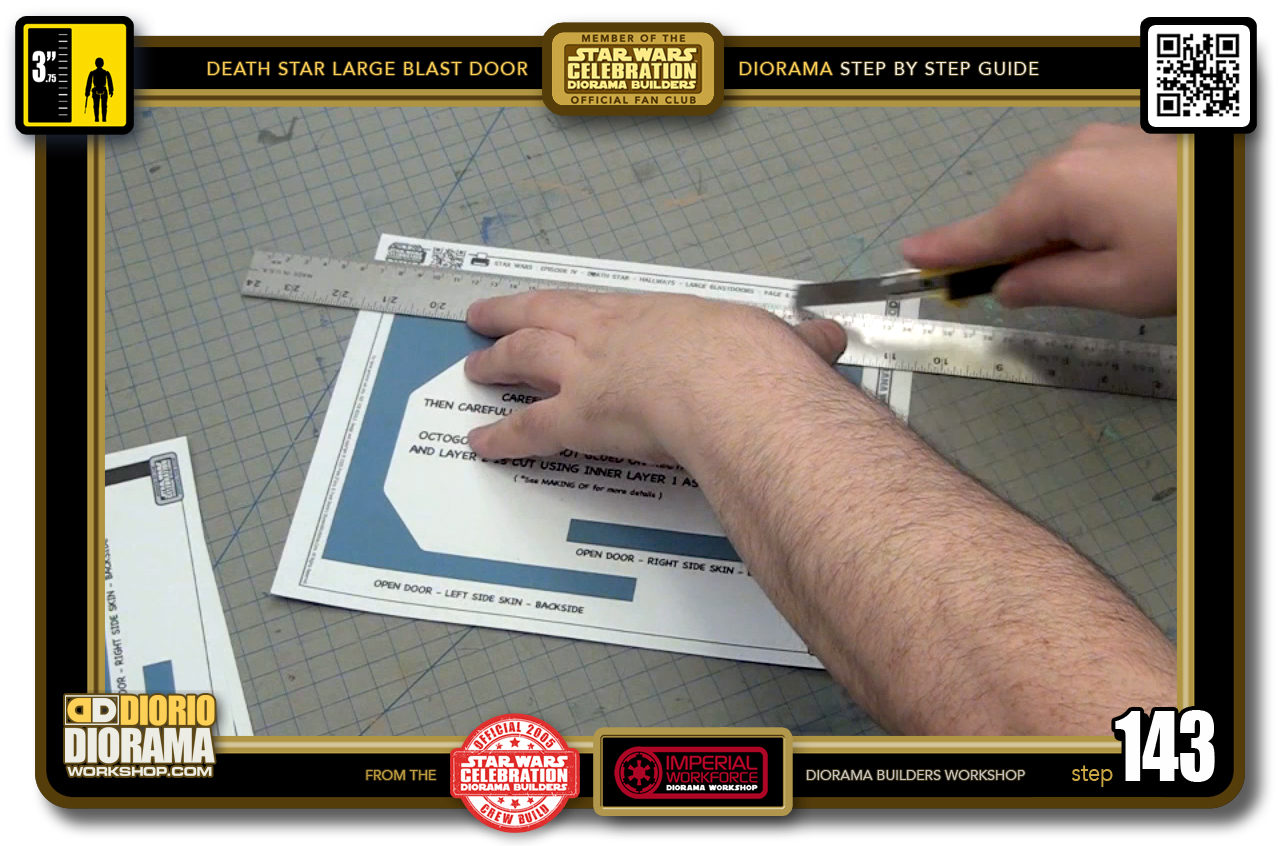
- STEP 143 > It doesn't really matter the order that you trim and prepare them, just have a quick look at what I did before you cut anything to make sure you remove the proper excess and don't cut along any folding lines. For the backs of layer 1 and 4 frames, simply cut all the way around. I use the large Xacto Utility Knife first with a ruler for the outside straight lines.
-
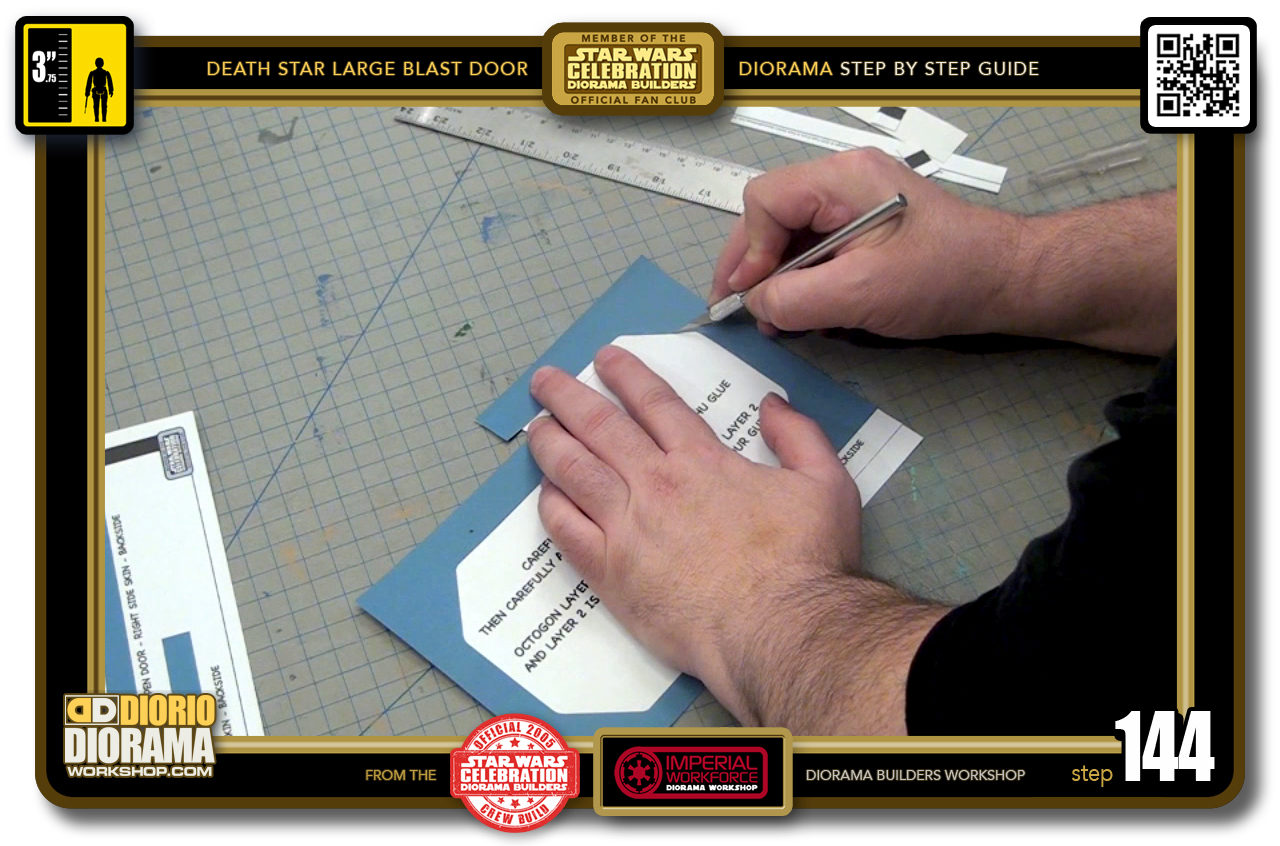
- STEP 144 > When doing inside you can either use your pointy Xacto Pen, the point blade makes it easier to spin around the rounded corners.
-
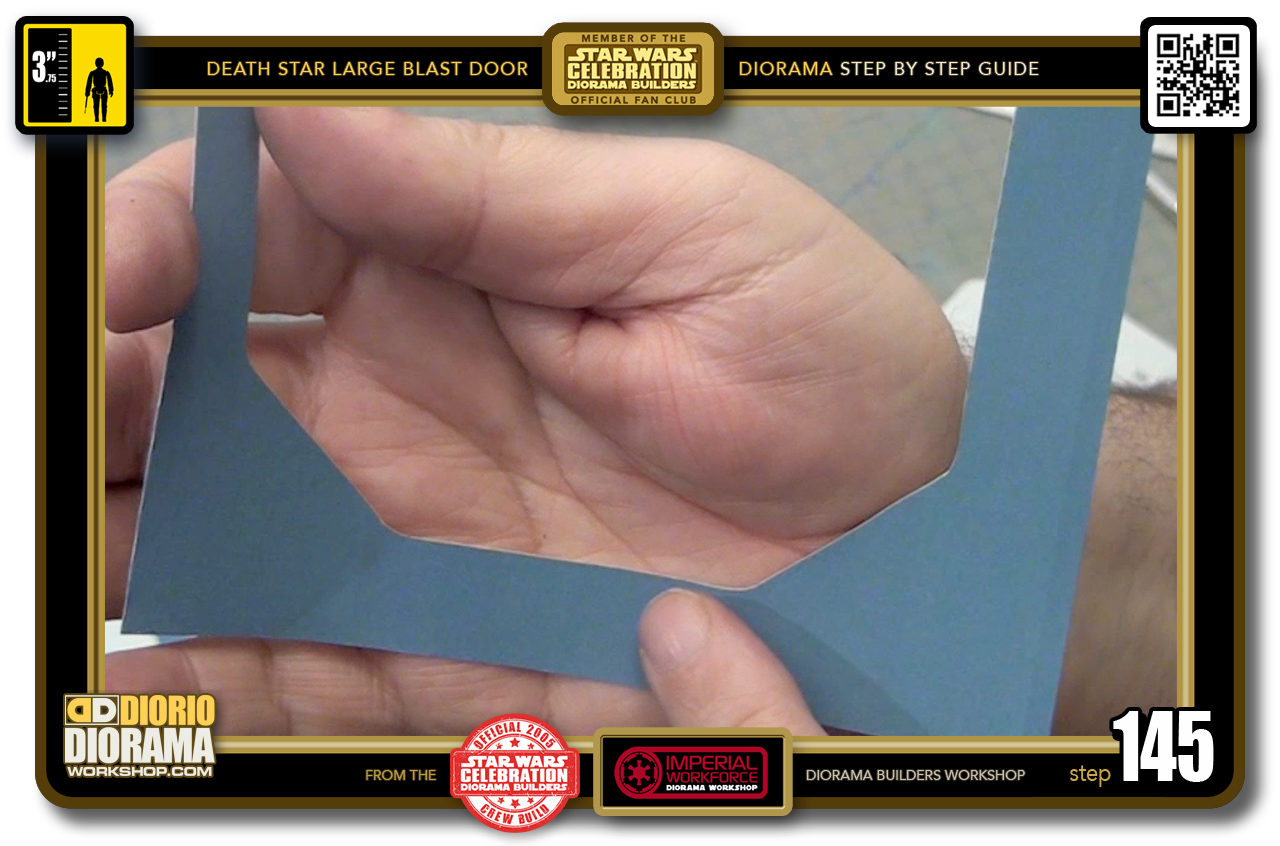
- STEP 145 > Since the paper isn't as thick as the foamcore it's even easier to get nice rounded corners.
-
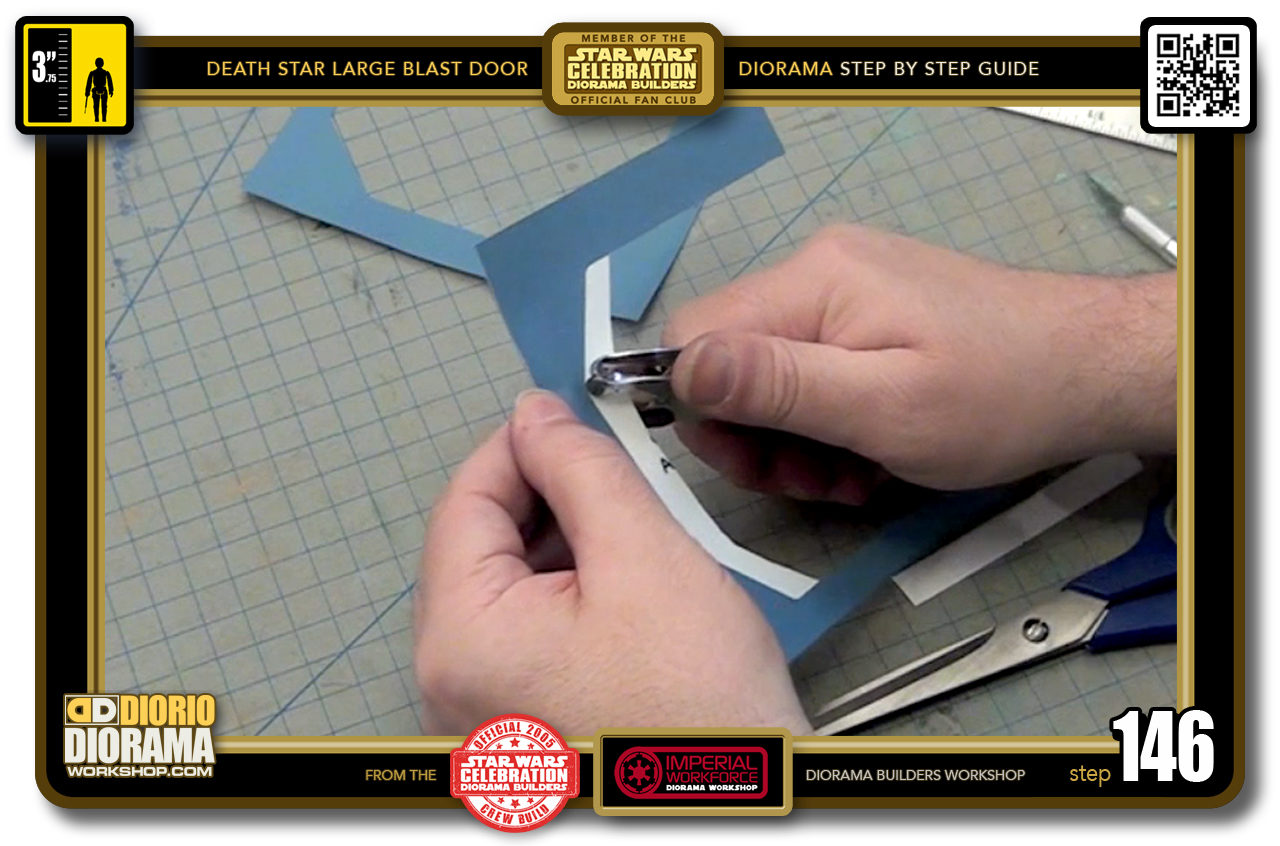
- STEP 146 > If you own a hole puncher, you can do like on the frames technique and cut out the excess centre paper to allow the punch to fit close to the corners. Align and punch.
-
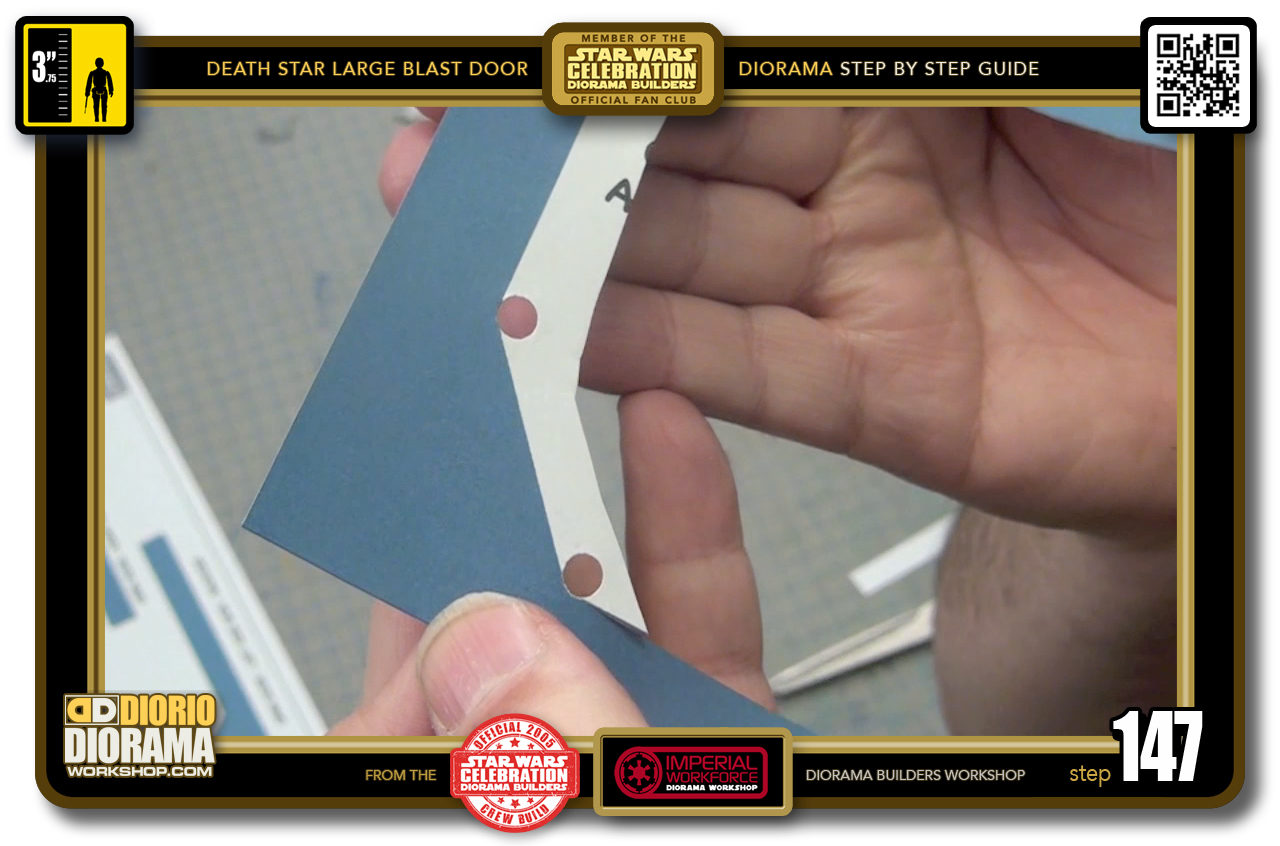
- STEP 147 > You get super perfect holes using this.
-
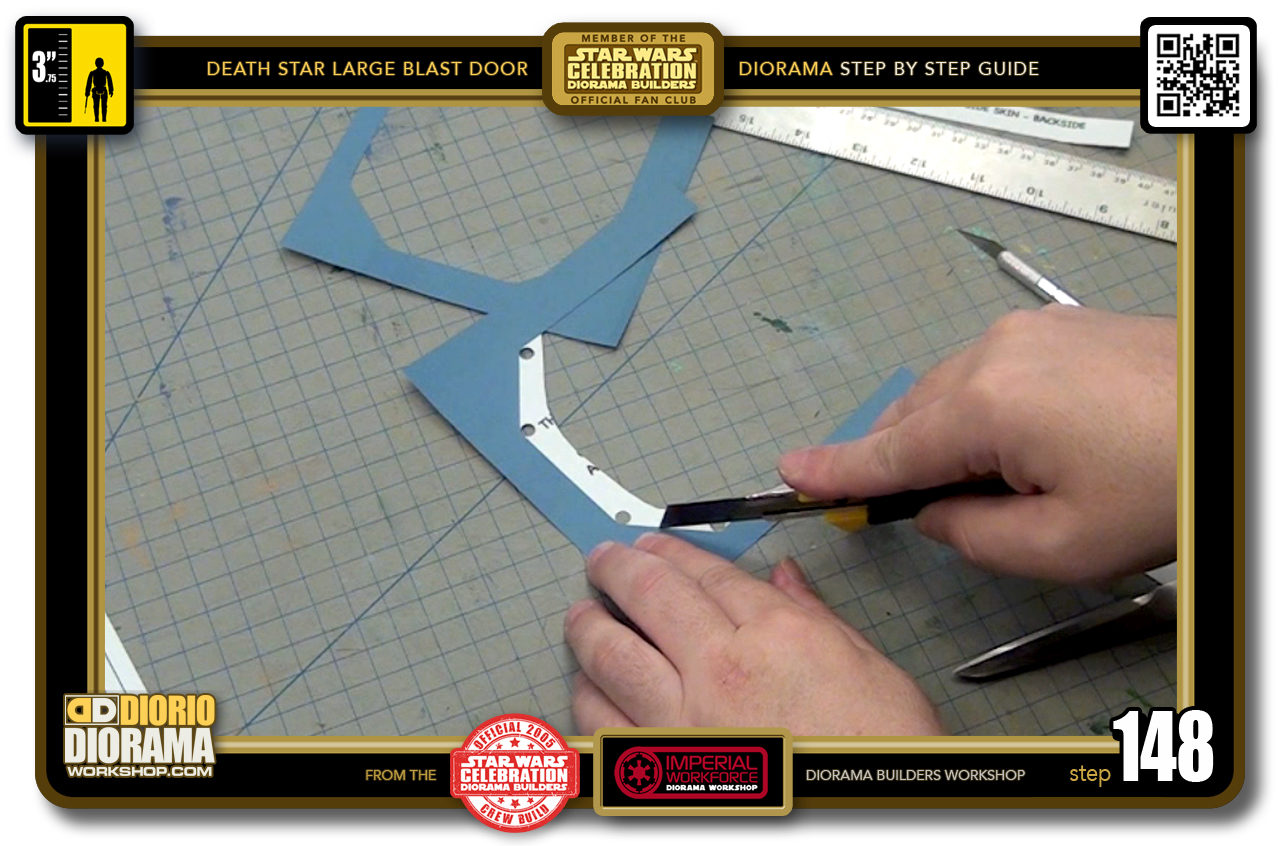
- STEP 148 > Then you simply have to connect the dots, or holes in this case. As you did previously, go from one circle and STOP before you reach the other. Go in the reverse direction starting at the other circle and slicing towards where you already sliced. Eventually the 2 cuts will connect and your edge will be perfect.
-
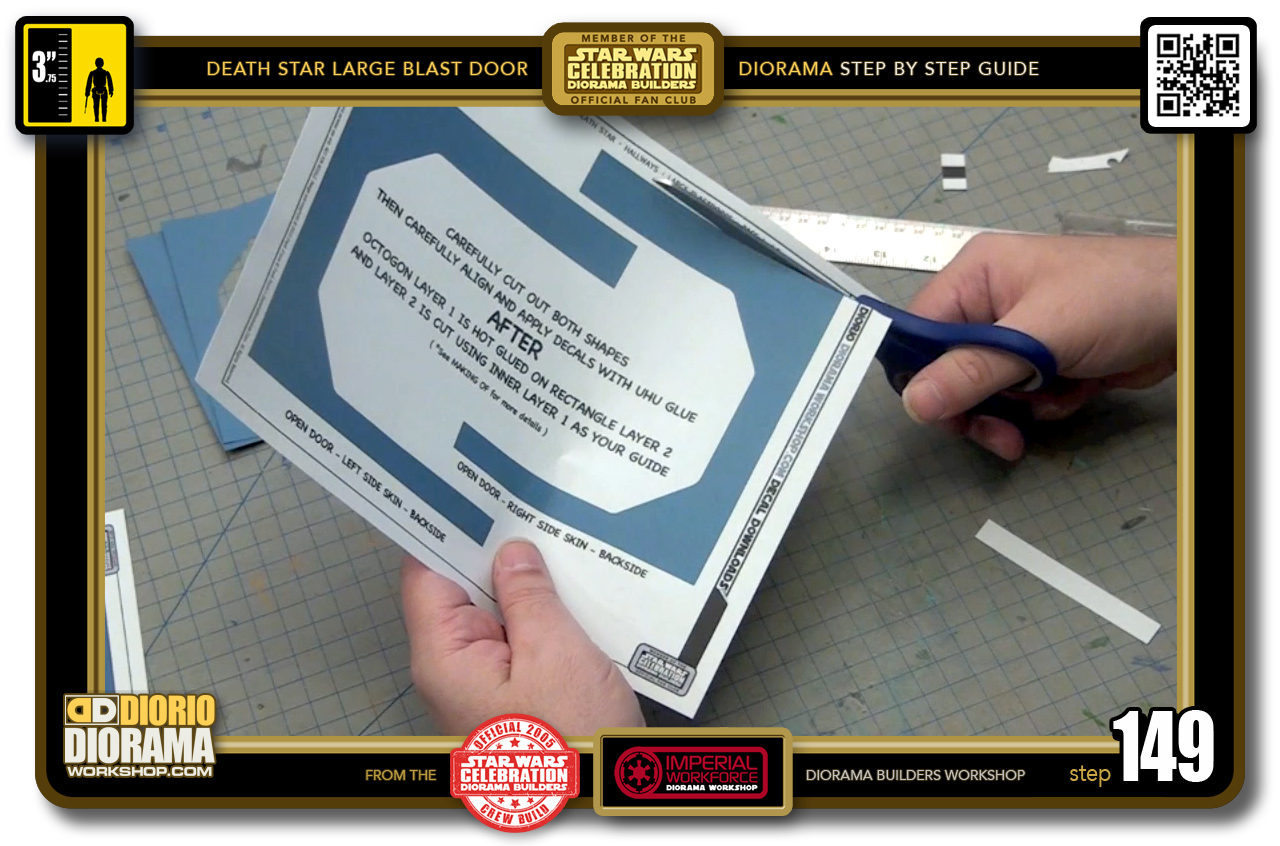
- STEP 149 > Of course if you prefer scissors, that is always a good option too.
-
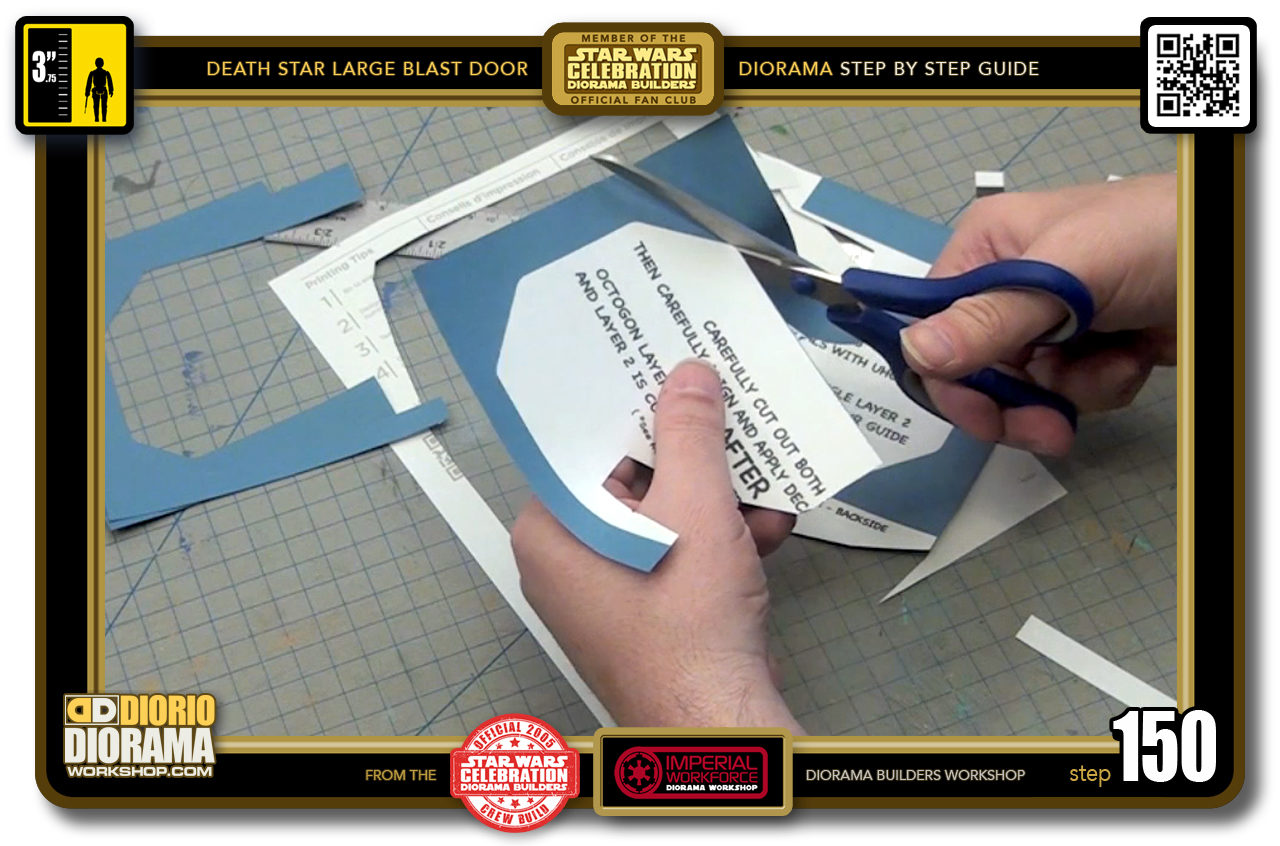
- STEP 150 > If you cut the inside in this direction, it is easy to spin the paper when you get to the corner to get the scissors to follow the round curves.
-
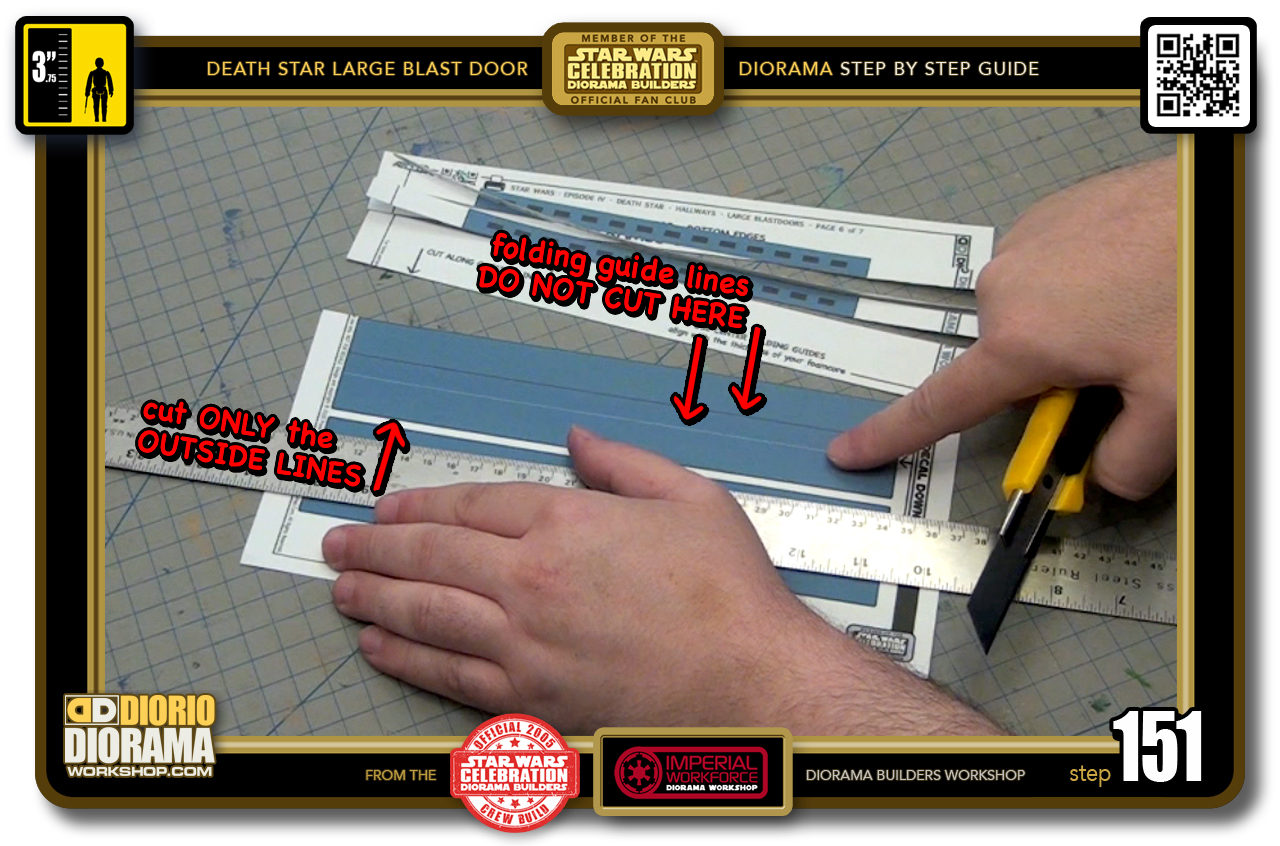
- STEP 151 > For the layer 2 and 3 edge spines, in the top and bottom decals (the fat lines) DO NOT CUT in the centre lines, these are your FOLDING GUIDES. You want to cut around the outside of the shape.
-
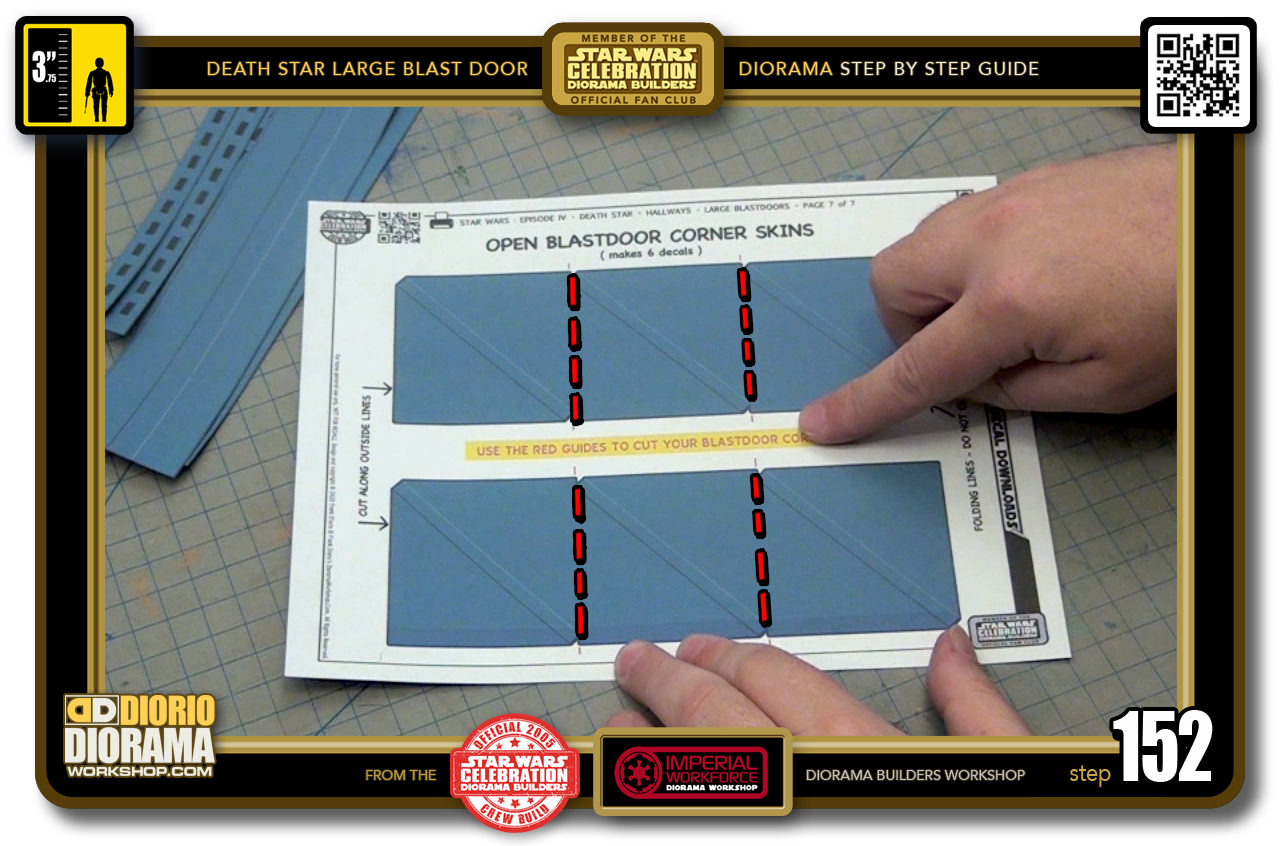
- STEP 152 > When you reach the doritos decals, you will notice red marks that show you where to slice first. Both rows are actually 3 decals not 1.
-
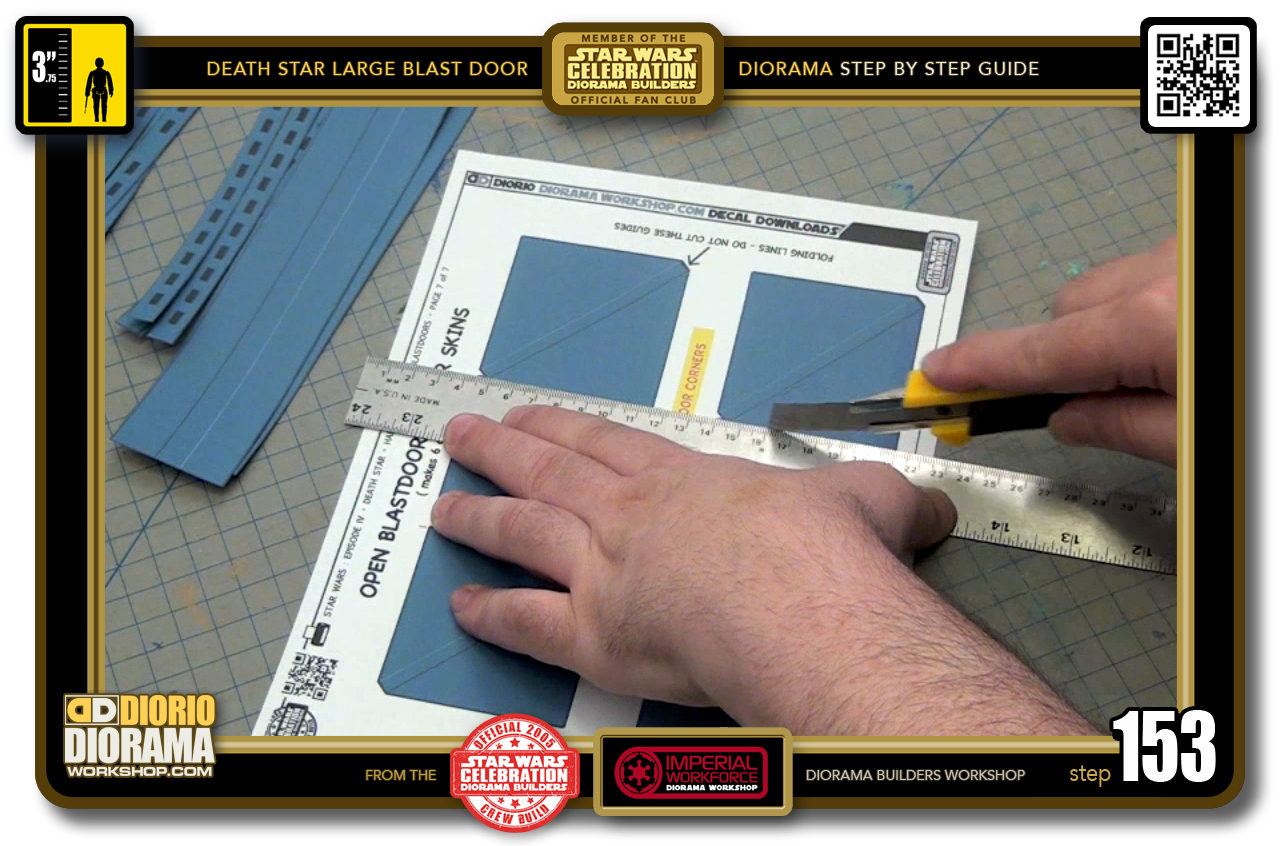
- STEP 153 > Simply start by aligning your ruler with the red guides and slice down the page.
-
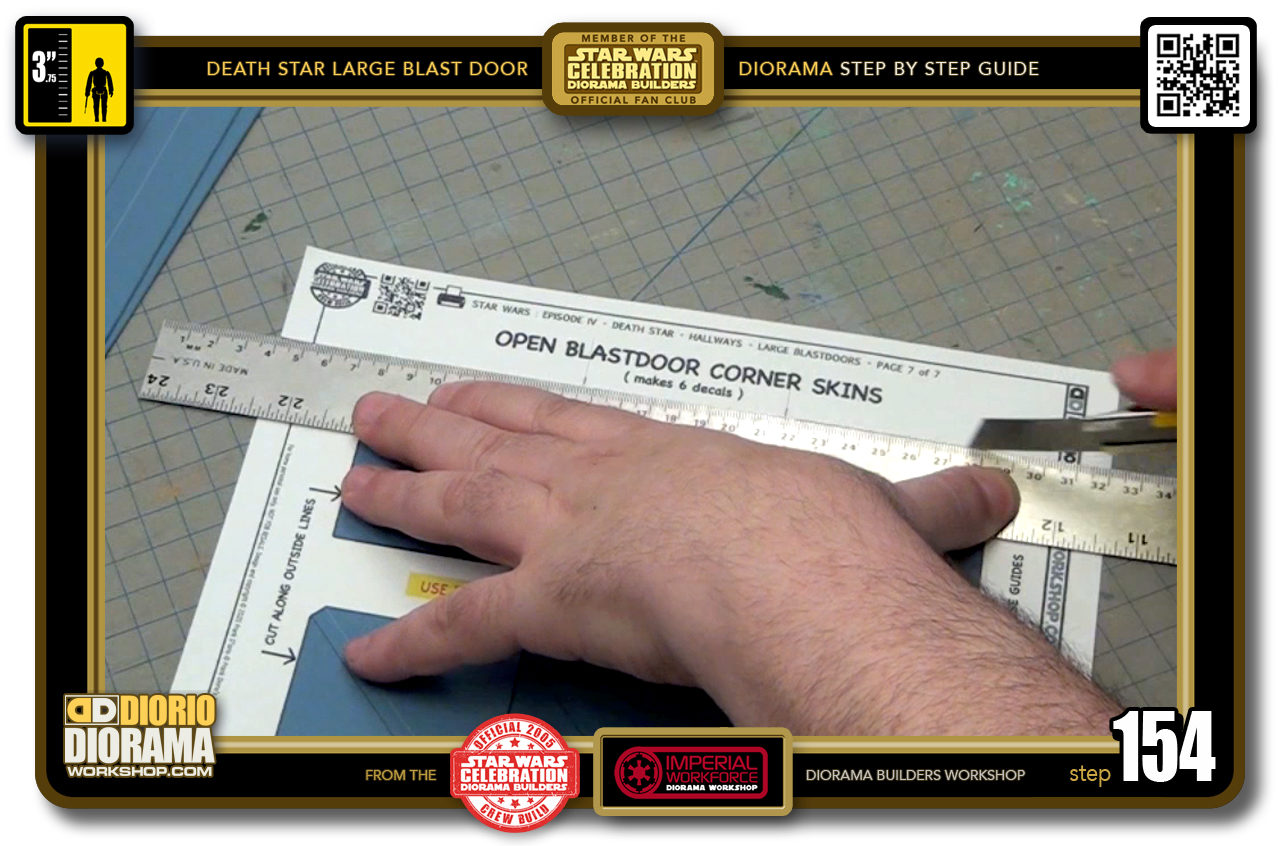
- STEP 154 > Then you can cut around the outsides of all the decals.
-
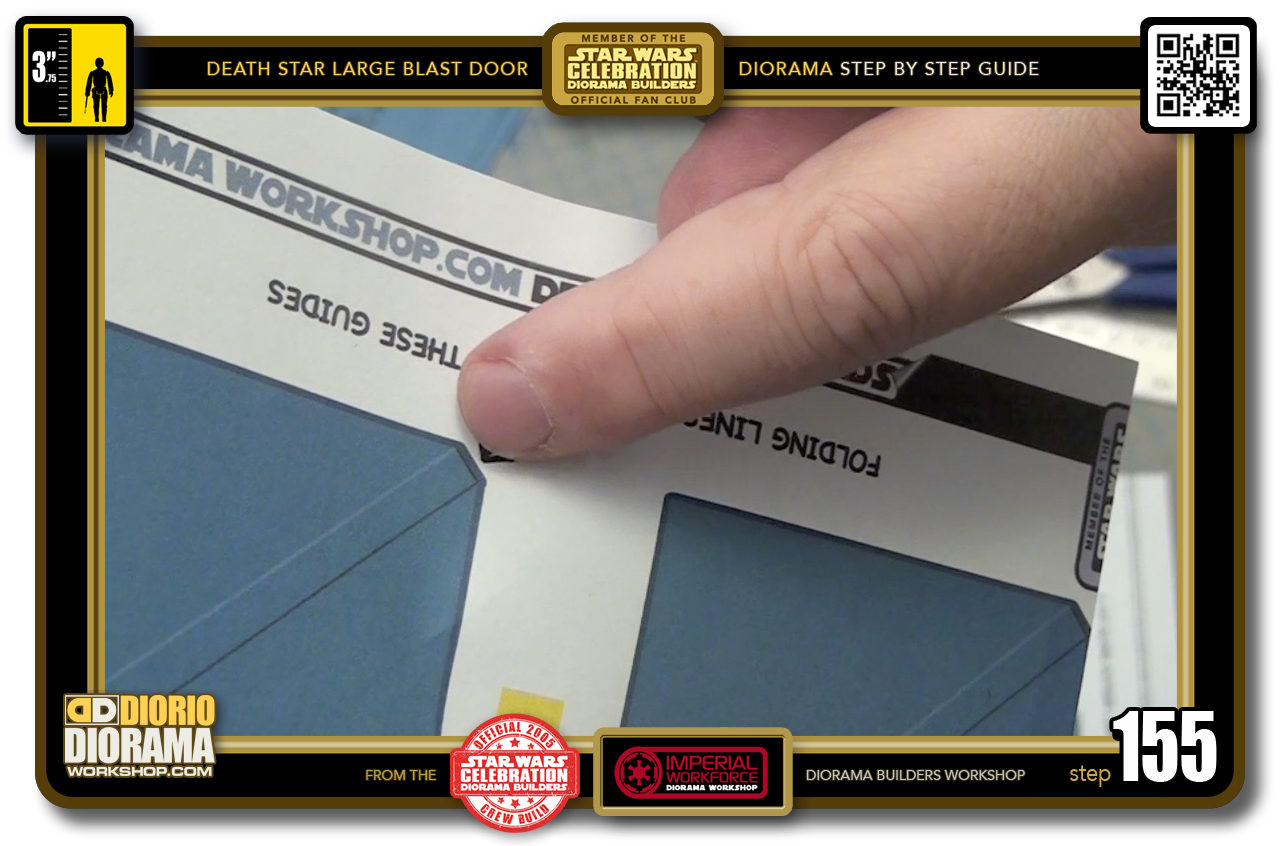
- STEP 155 > Notice this tiny but important detail in the corner. 2 of them have small angles.
-
- STEP 156 > When you see one look across to the other side and you will see where the 2nd angle is.
-

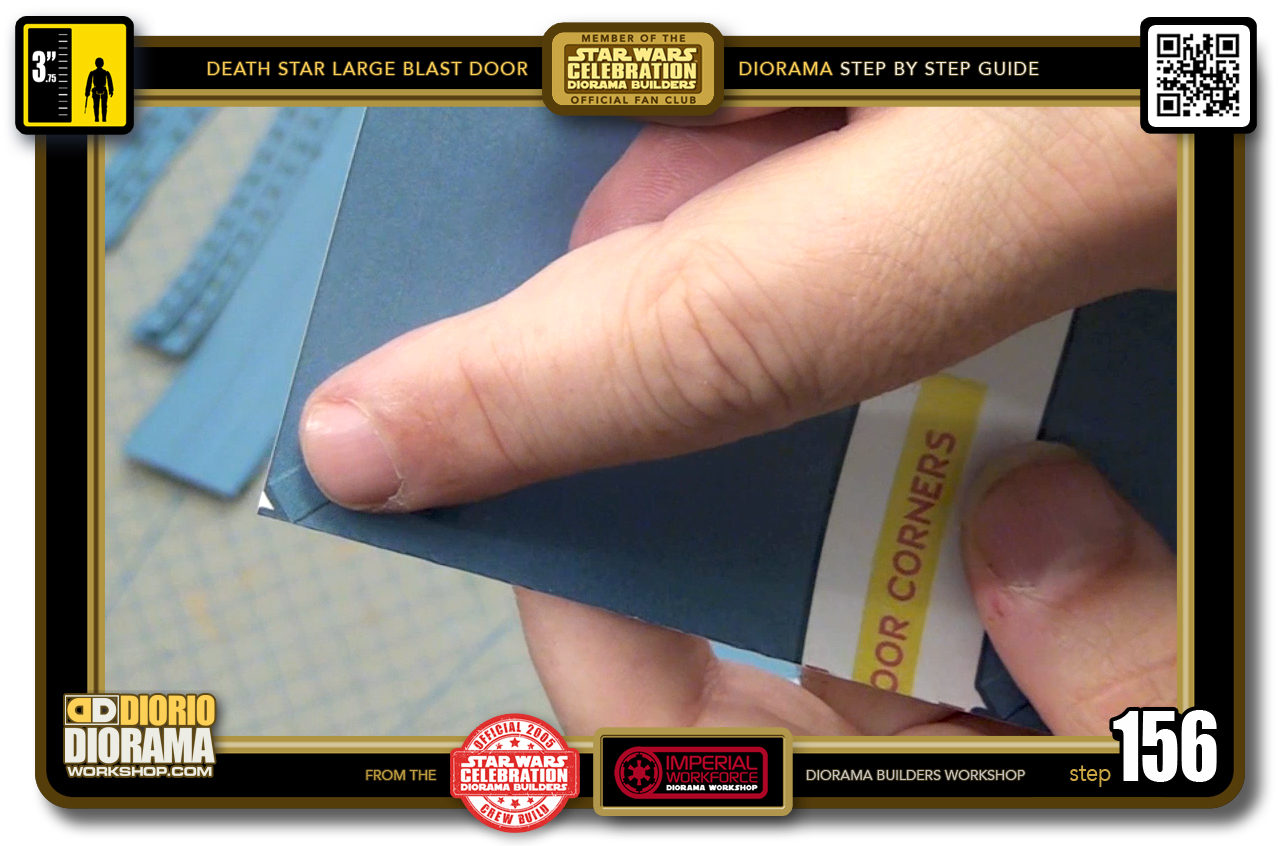
- STEP 157 > These need to be cut out at the same time as you cut around each square shape.
-
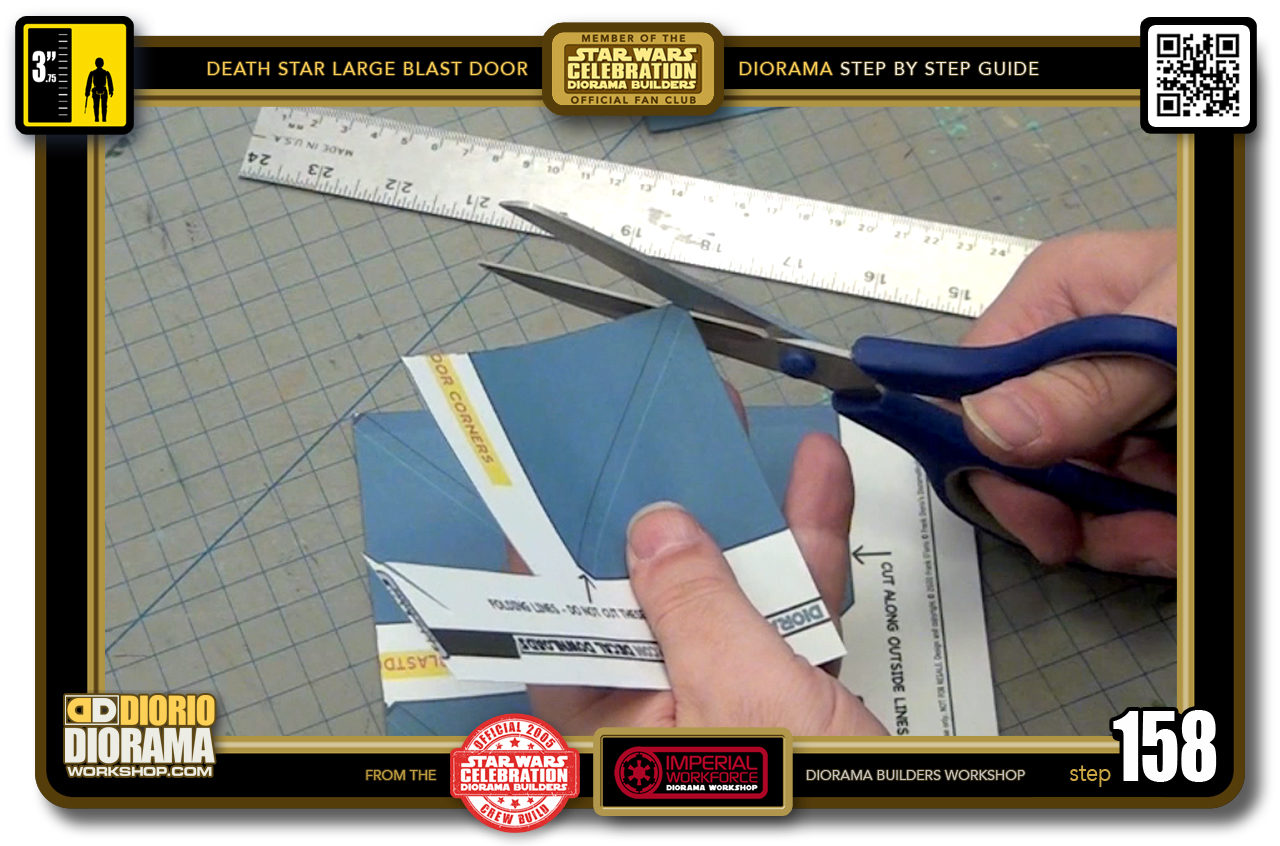
- STEP 158 > Trim both angles and remove all the white excess.
-
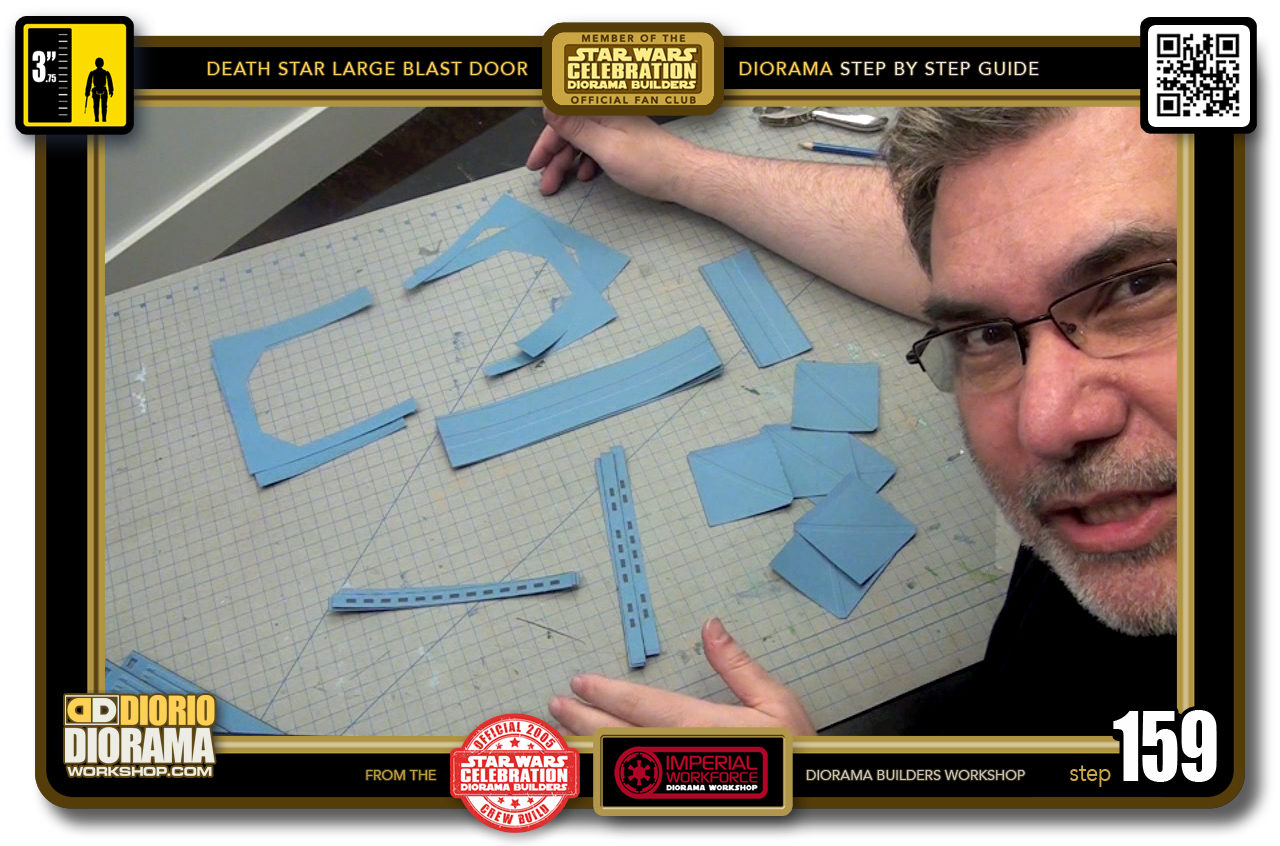
- STEP 159 > After a few minutes all your decals should be cut and ready for glueing.
-
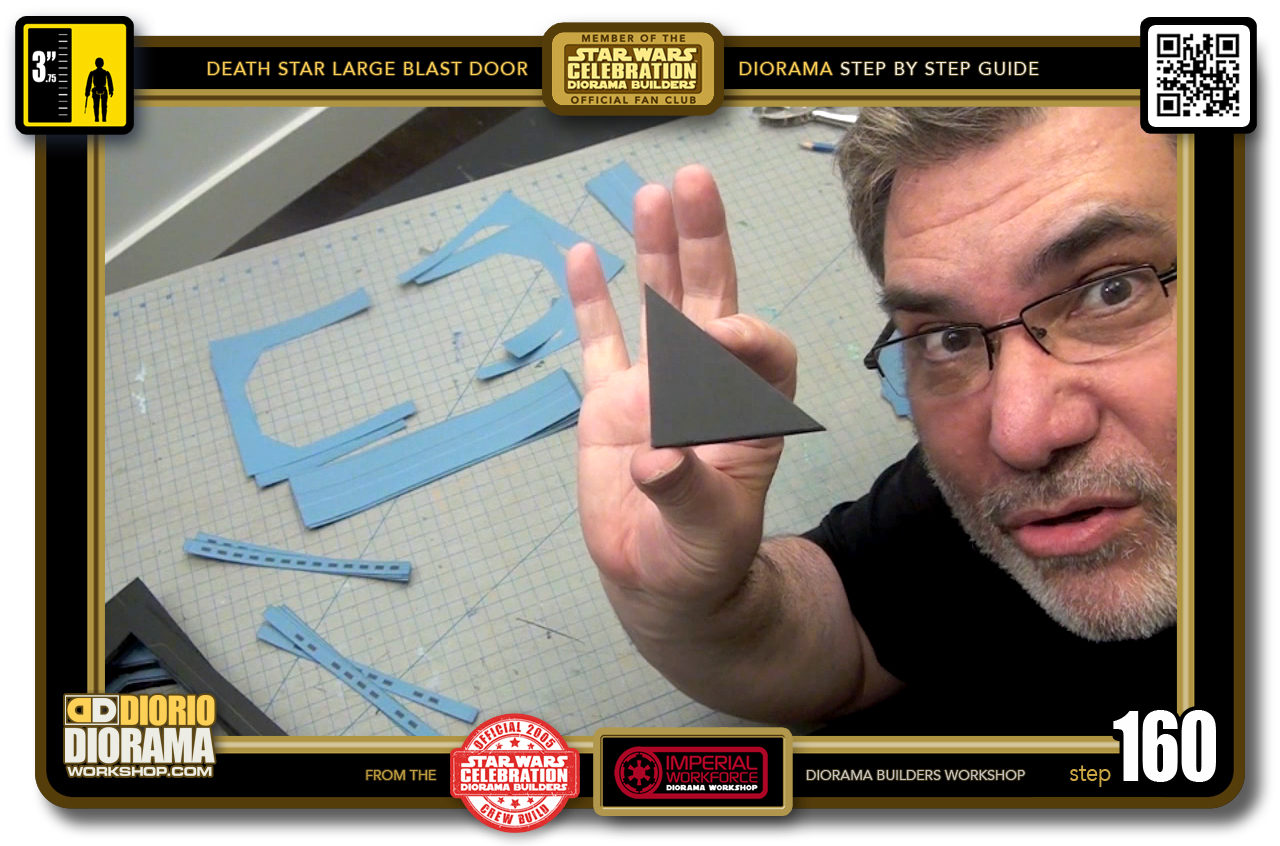
- STEP 160 > Let's start with the doritos triangle shapes as these are the most simple to do.

.
Did you already build this Diorama ? At home or at our Star Wars Celebration Diorama Builders workshop ? Would you like to show it in the site’s GALLERY VISITORS DIORAMAS section, YES ? That is Awesome !!! You can find out all the details on how to email me your photos on the VISITORS SUBMISSIONS INFO page … When I get your photos, I will create your very own page just like this one. You may not realize it but work does inspire others to join in the fun of making Action Figure Dioramas.
.
NOT FOR RESALE ALL Decals, tutorials and artwork are ©FrankDiorio (dioramaworkshop.com) and offered FOR FREE to the fans – that would be you ? so you can build and display my diorama designs in your very own home. I realize I cannot control what one does with my graphics once I place them on the web, I can only ask you as one fan to another, please respect the artist and do not be that jerk who uses my designs and tutorials to build a copy of my work only to sell it on EBAY or trade/sale groups and forums. Thank You. Frank.
.
.
If you have a facebook account, why not join the Official Diorama Builders Fan Club today, simply click the logo link below.
 .
.
Catch up with fellow visitors and exchange stories, read cool interviews with the crew, exchange photos, fun surprises and grab some FAN ONLY merchandise next year at actual future conventions ?
.
©2018 Frank Diorio DioramaWorkshop.Com
.
IF YOU LIKE WHAT YOU SEE, PLEASE SHARE WITH YOUR FRIENDS
USING THE SOCIAL MEDIA BUTTONS BELOW