


-
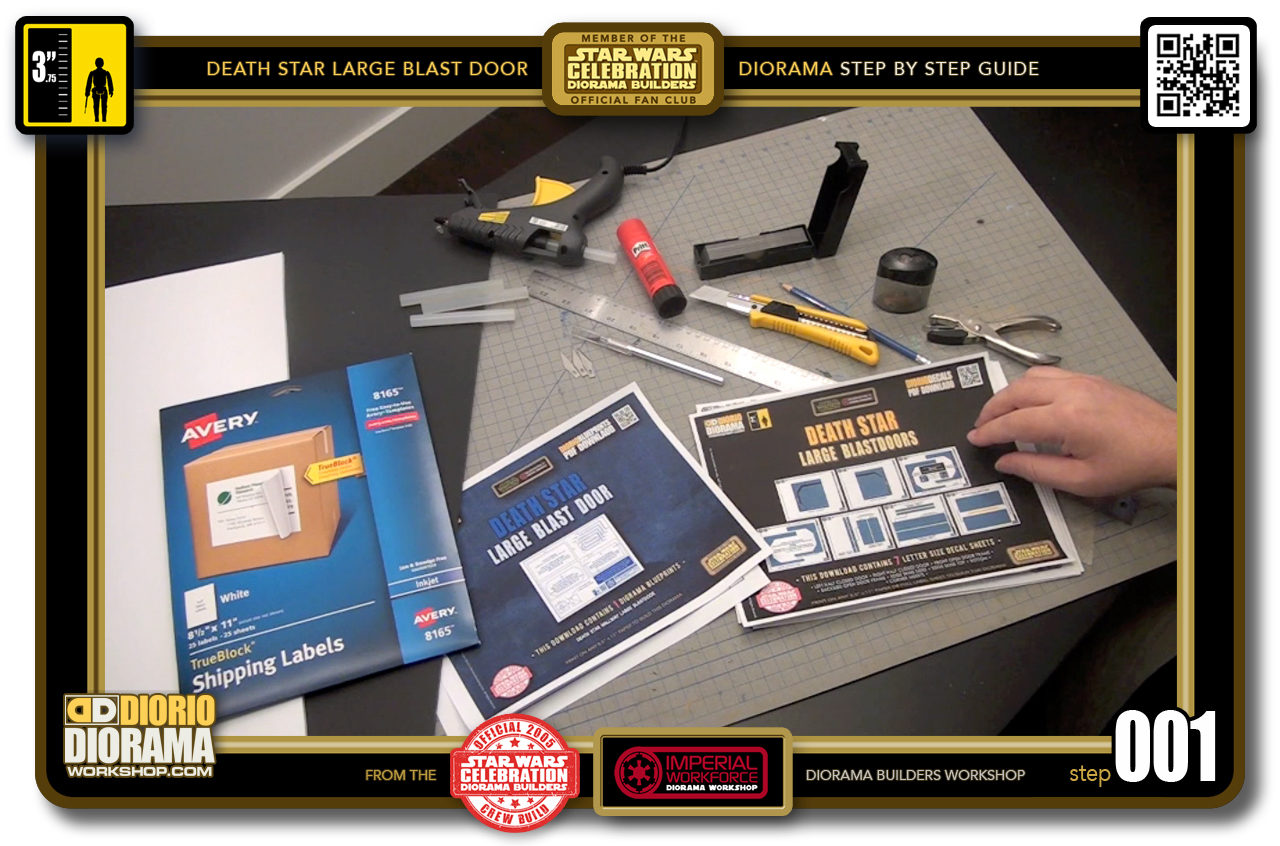
- STEP 001 > These are the materials you will need to build your LARGE BLAST DOOR accessory.
-
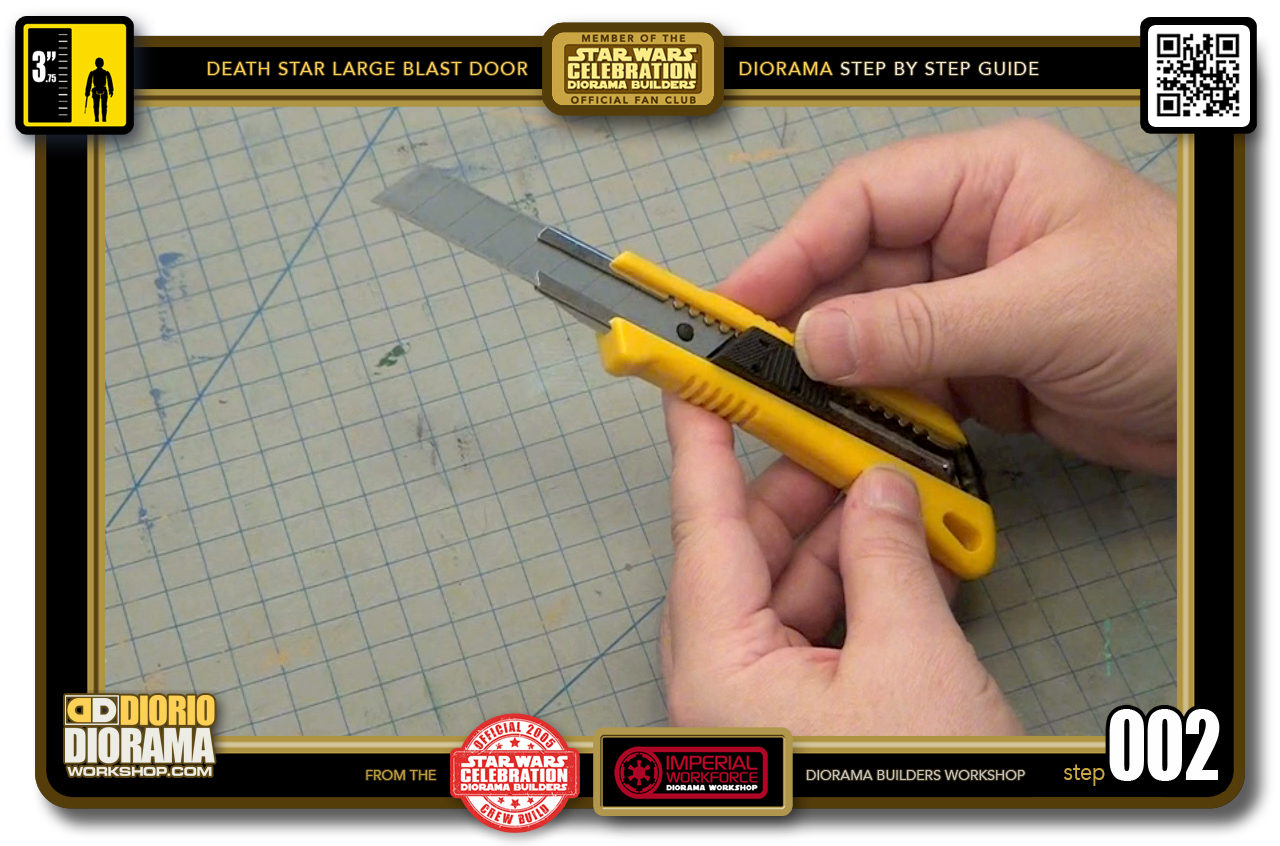
- STEP 002 > Start by inserting a NEW BLADE into your Xacto Utility Knife. Foamcore is the killer of blades and dull blades give you jaggy ugly cuts. You want to avoid that at all costs if possible.
-
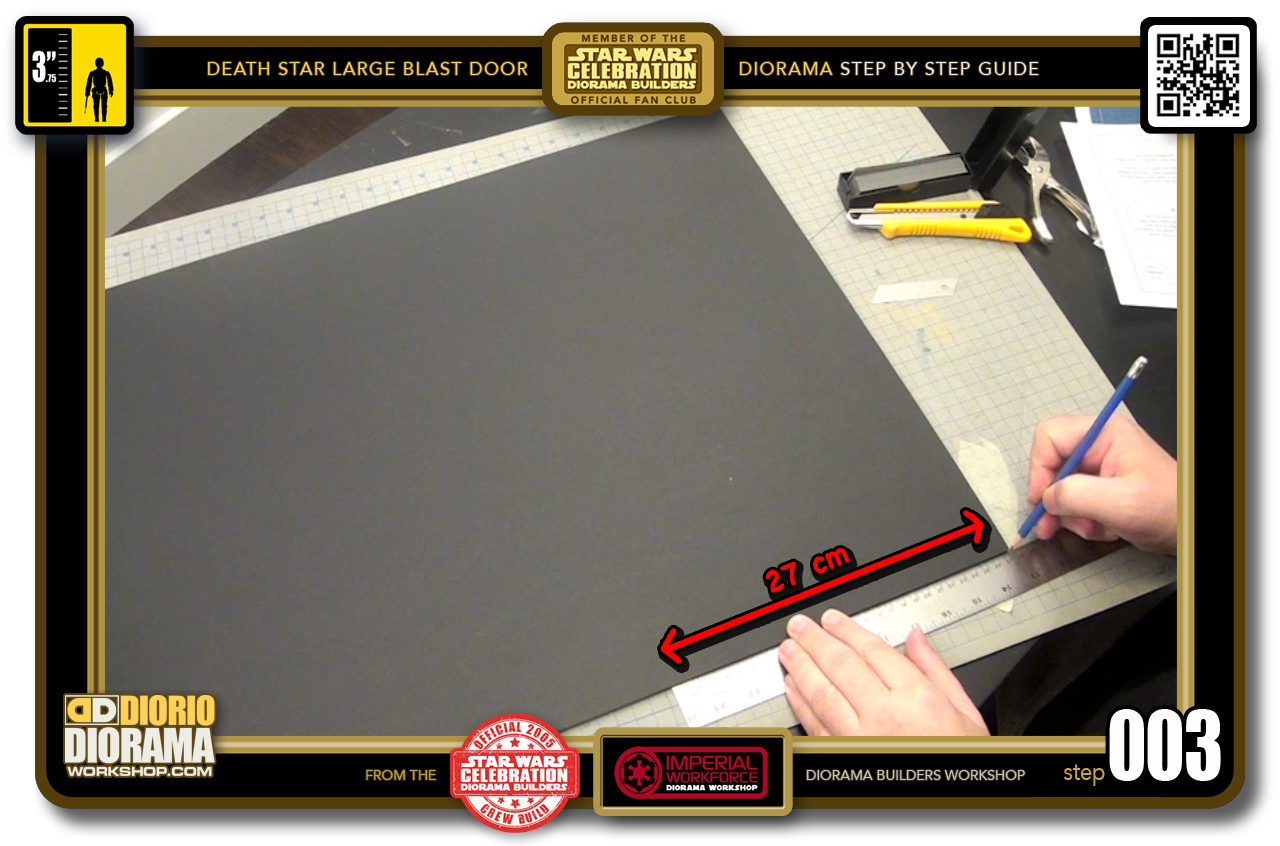
- STEP 003 > Grab your first piece of black foamcore - or foamboard in some countries - and measure 27cm at the top and bottom.
-
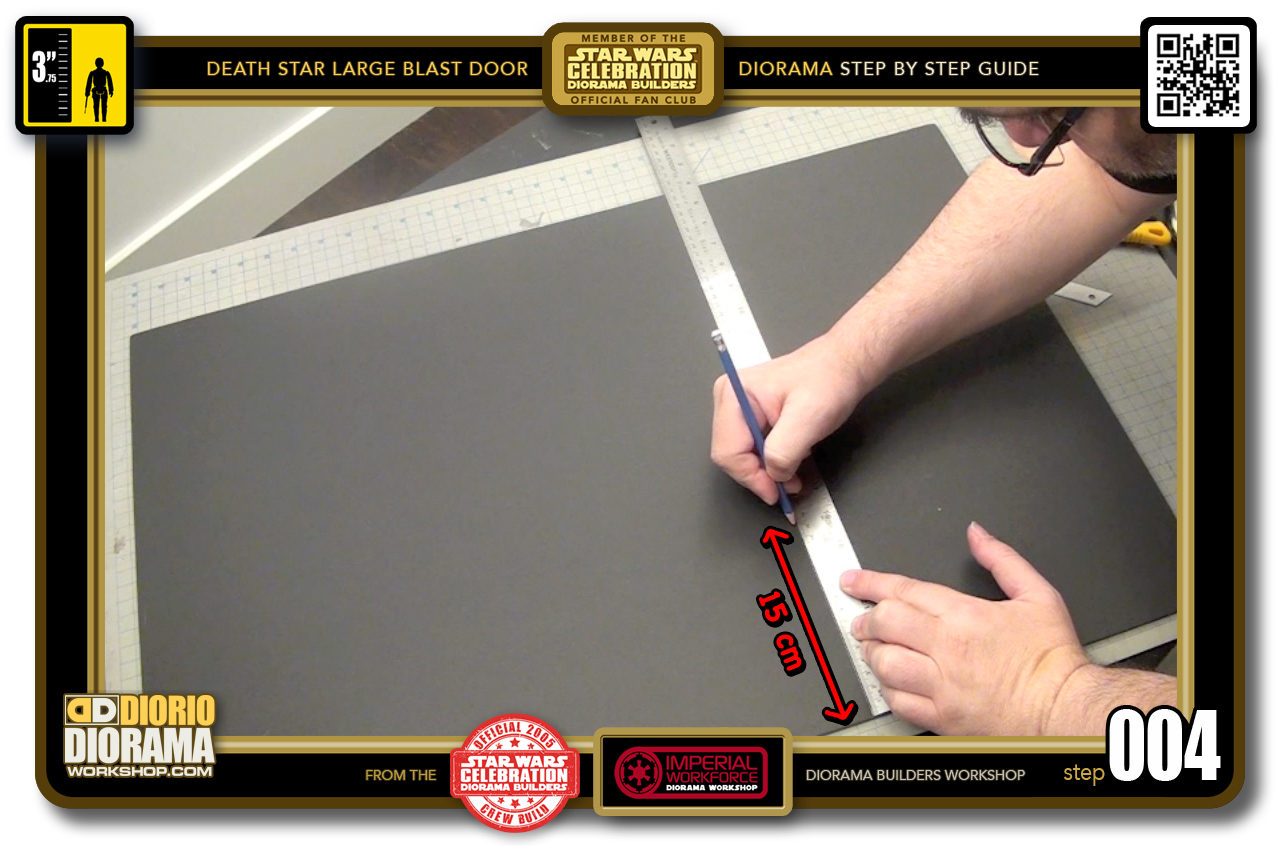
- STEP 004 > Then measure 15cm on each side. if you have a long sheet that can fit more than one rectangle, keep measuring 15cm until you run out of room.
-

- STEP 005 > When you cut your pieces, make sure your blade is STRAIGHT UP. You want to do a clean 90 degree slice.
-
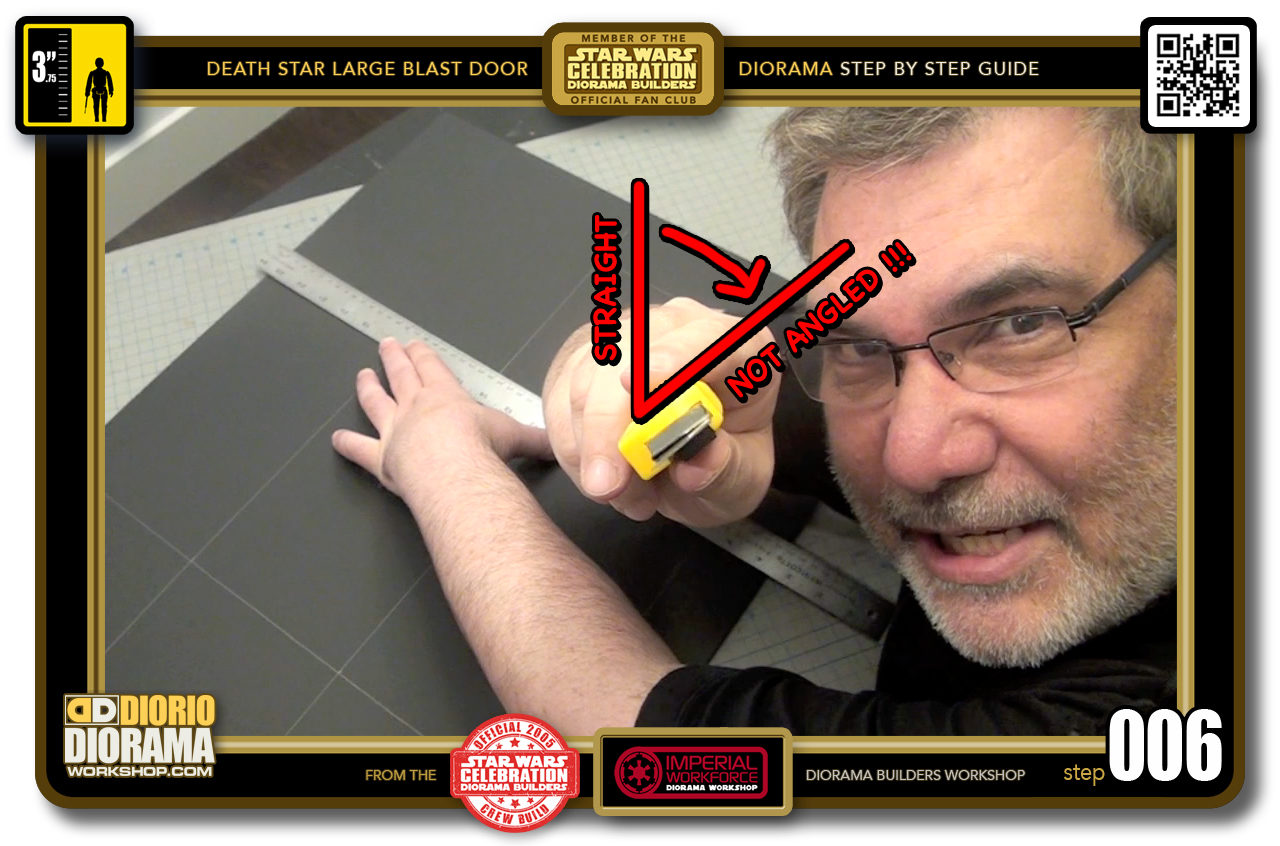
- STEP 006 > Try NOT to ANGLE your wrist as you cut if possible, you want to keep it 90 degree sharp to lay the doors flat on the surface once assembled.
-
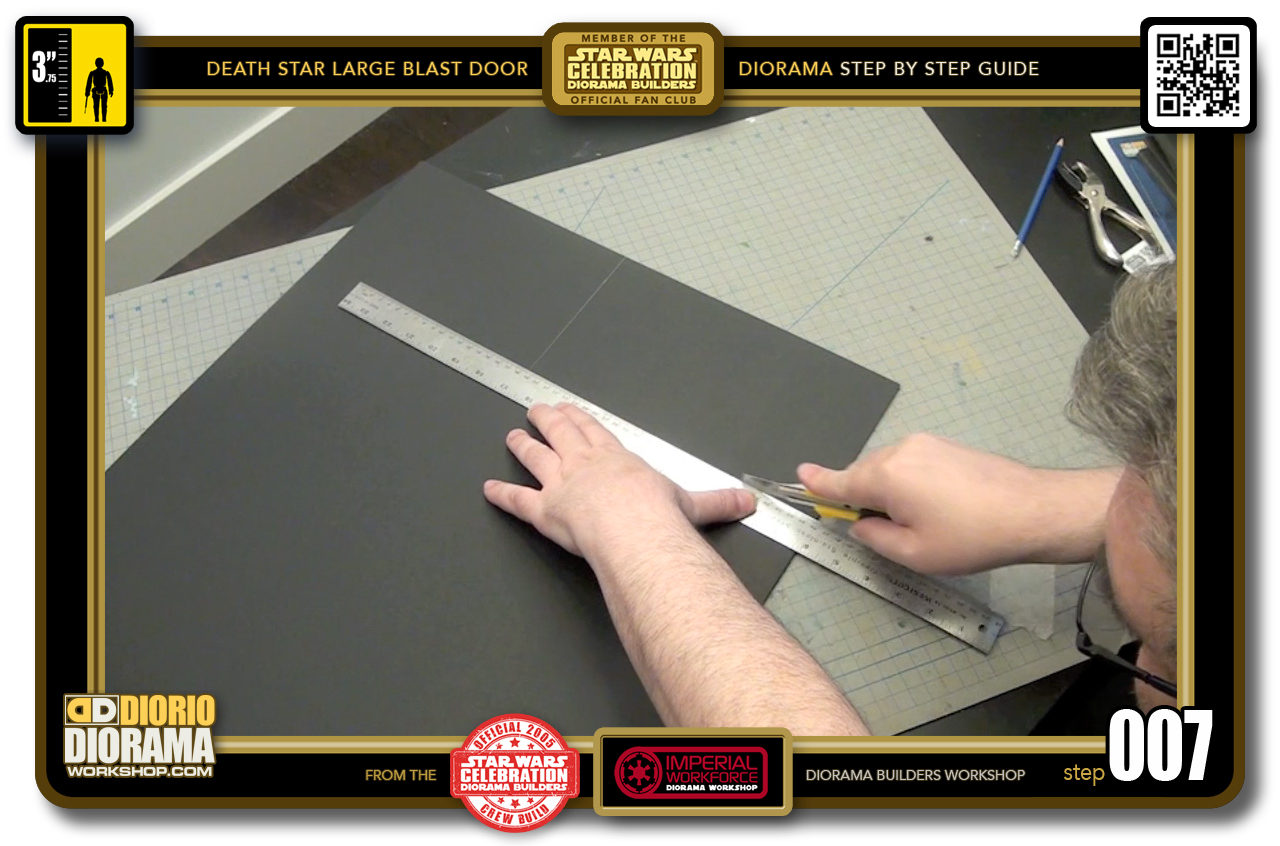
- STEP 007 > When you are ready, cut down the lines you made with your pencil.
-
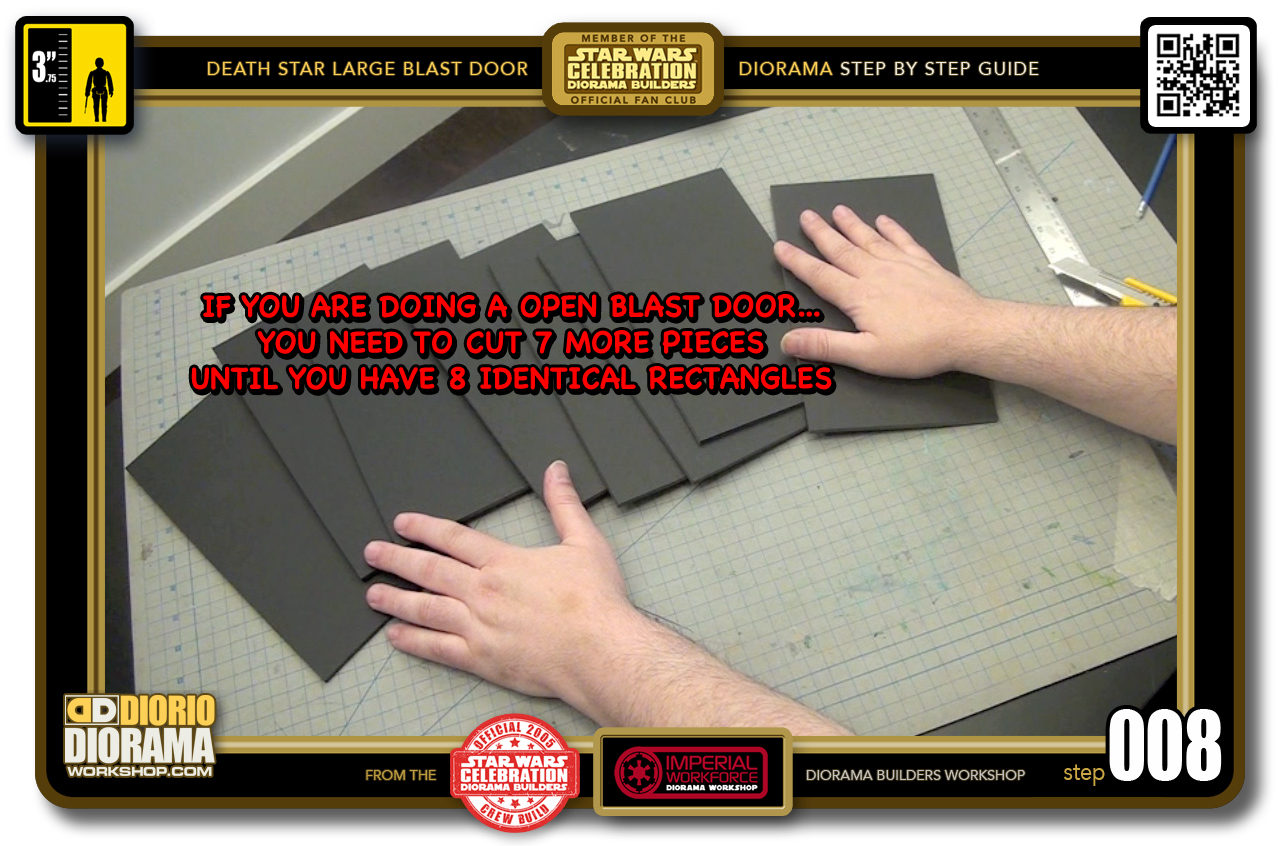
- STEP 008 > Keep cutting until you have 8 identical 27cm x 15cm rectangles.
-
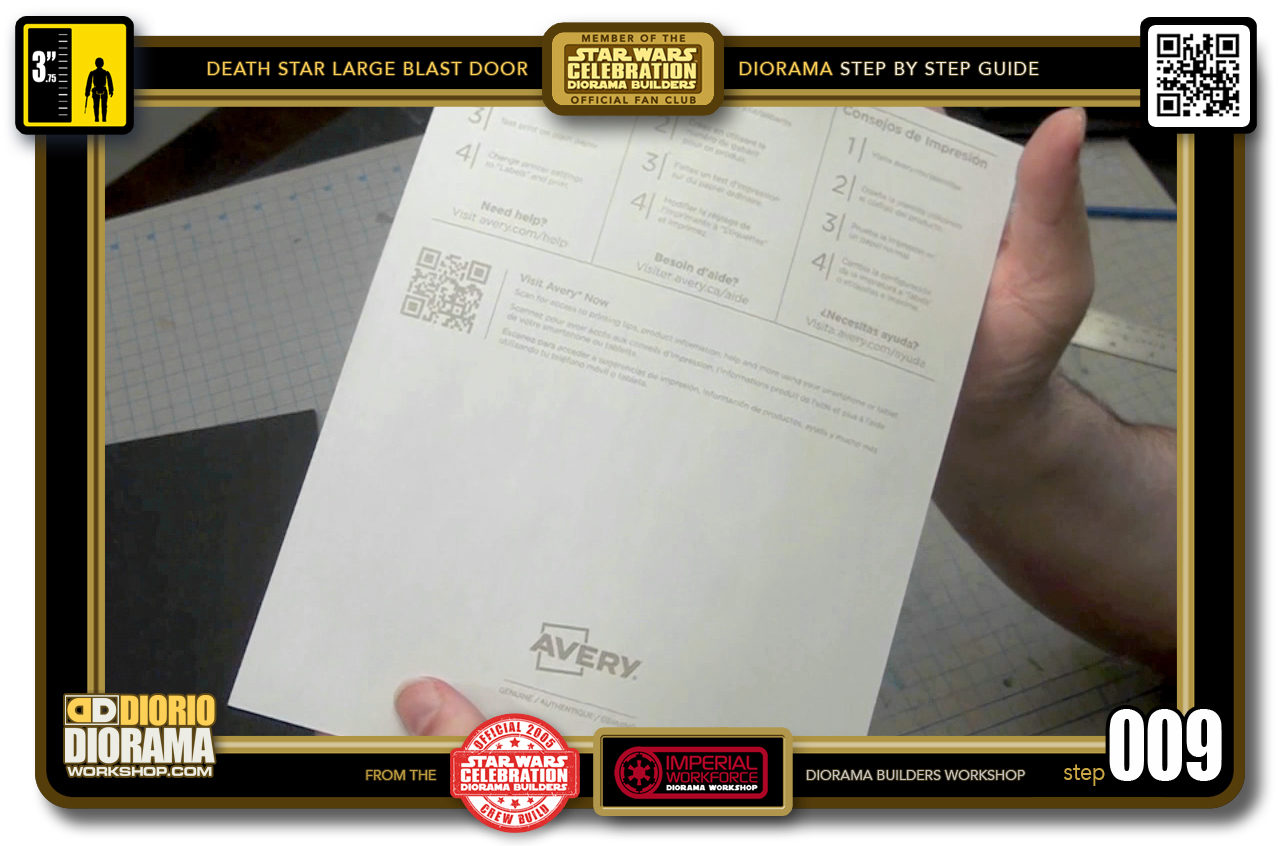
- STEP 009 > I like to print my decals on these FULL SIZE LABEL sheets. The ones I find in Canada are from Avery but any company will do the same thing. If you can't find these, or too expensive, you can print on regulare paper and use GLUESTICK to apply it on your surface. I just like the quick and easy way you can peel and apply.
-
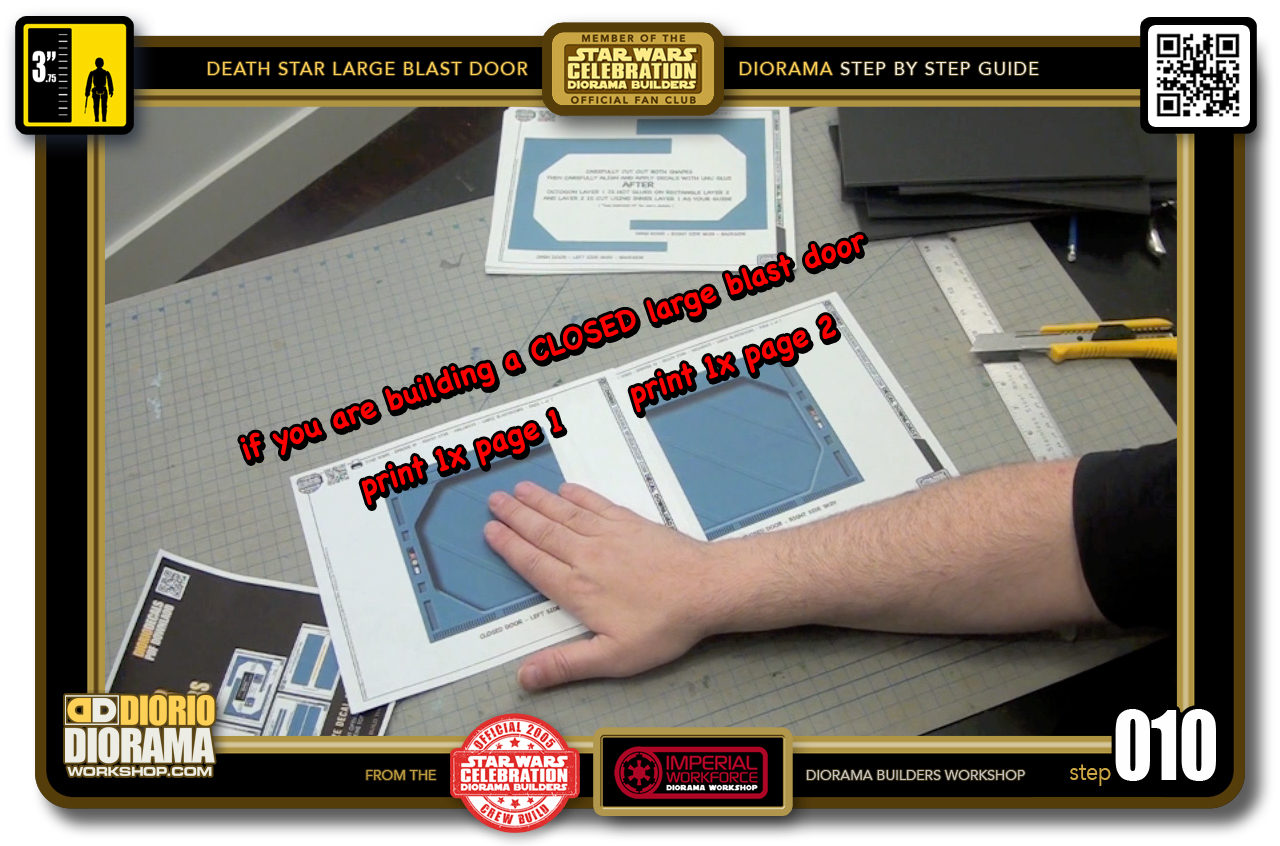
- STEP 010 > If you want to do a CLOSED LARGE BLAST DOOR - You ONLY NEED PAGE 1 and PAGE 2 from the Large Blast Door Decals pdf.
-
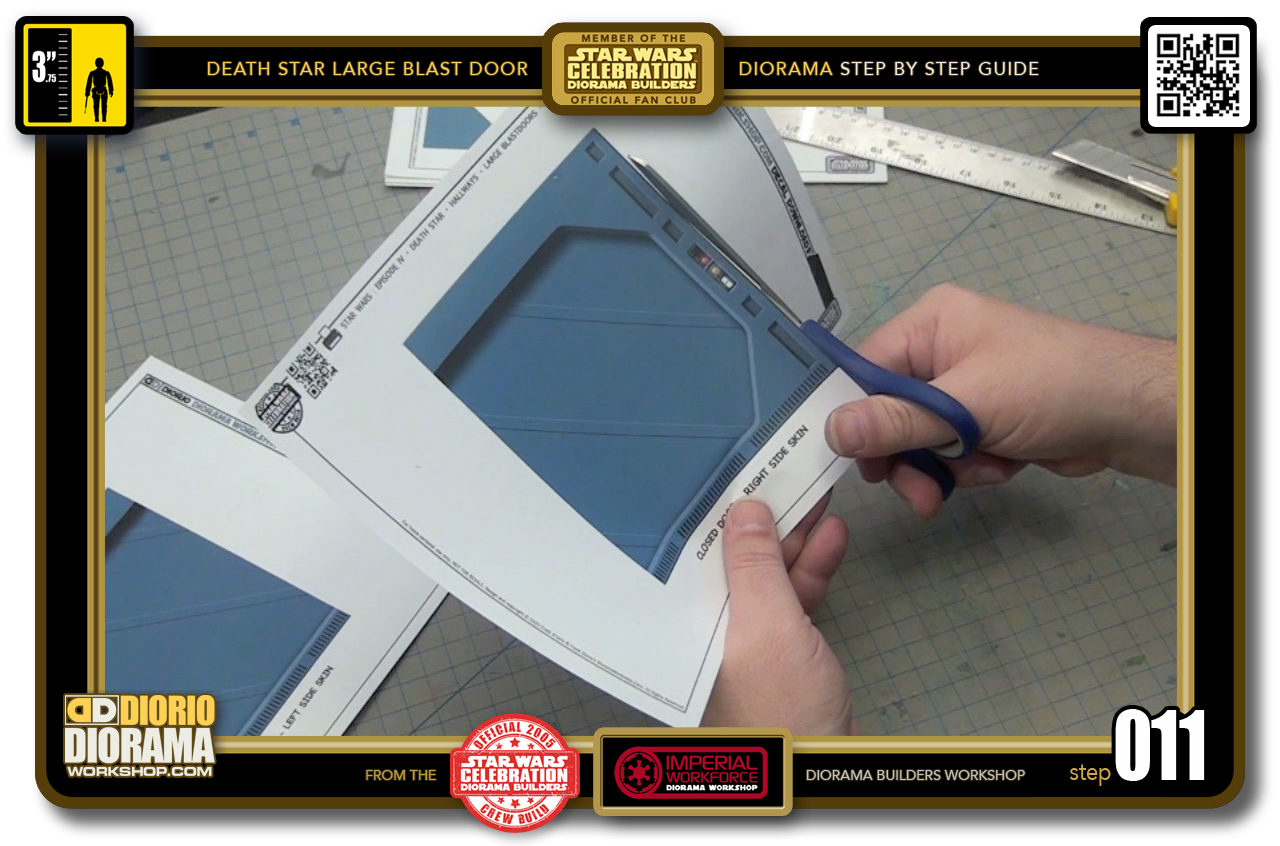
- STEP 011 > Grab your scissors and simply cut along around the edges, try and avoid to have the white of the paper on the edges. Better to cut a little inside and have full colour all the way around.
-
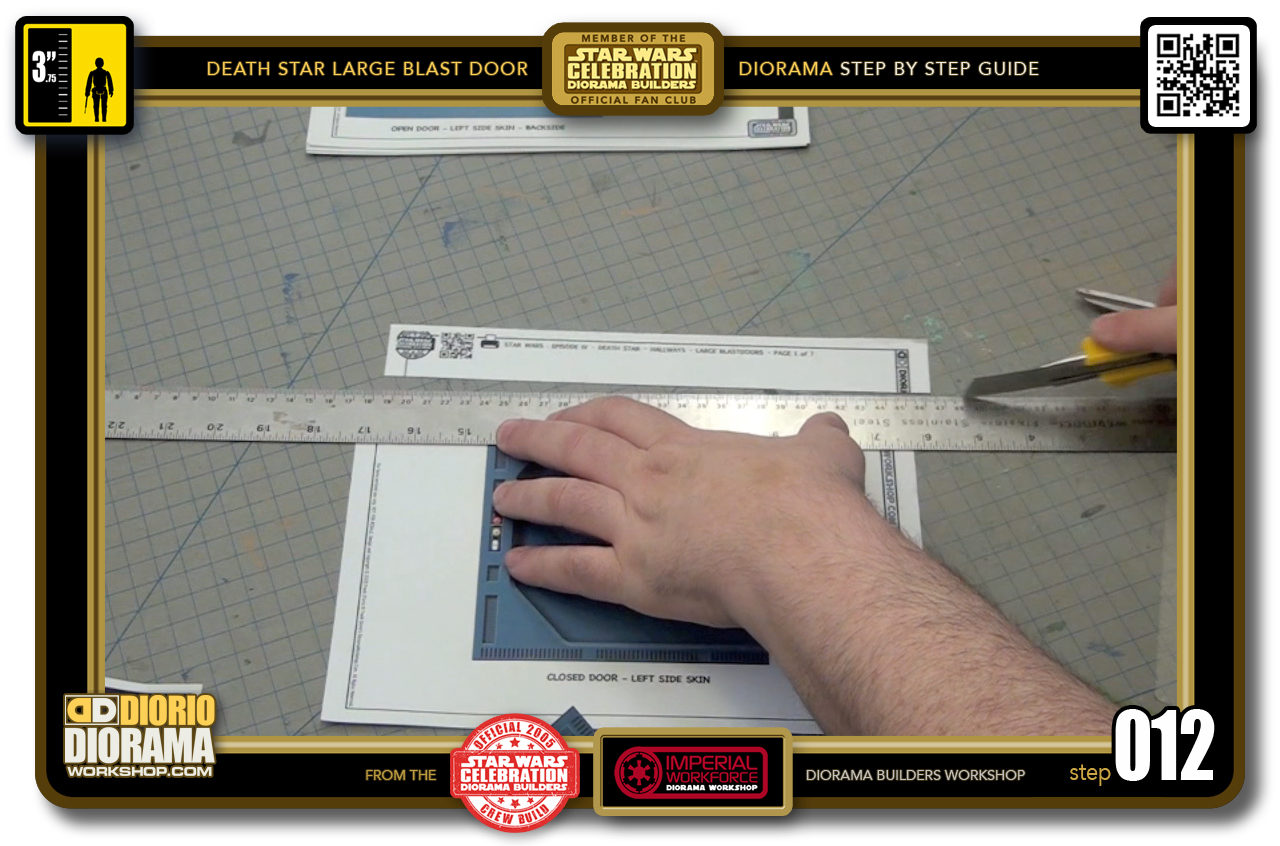
- STEP 012 > If you want to be more precise, you can always use a ruler and your Xacto Utility Knife to cut all around.
-
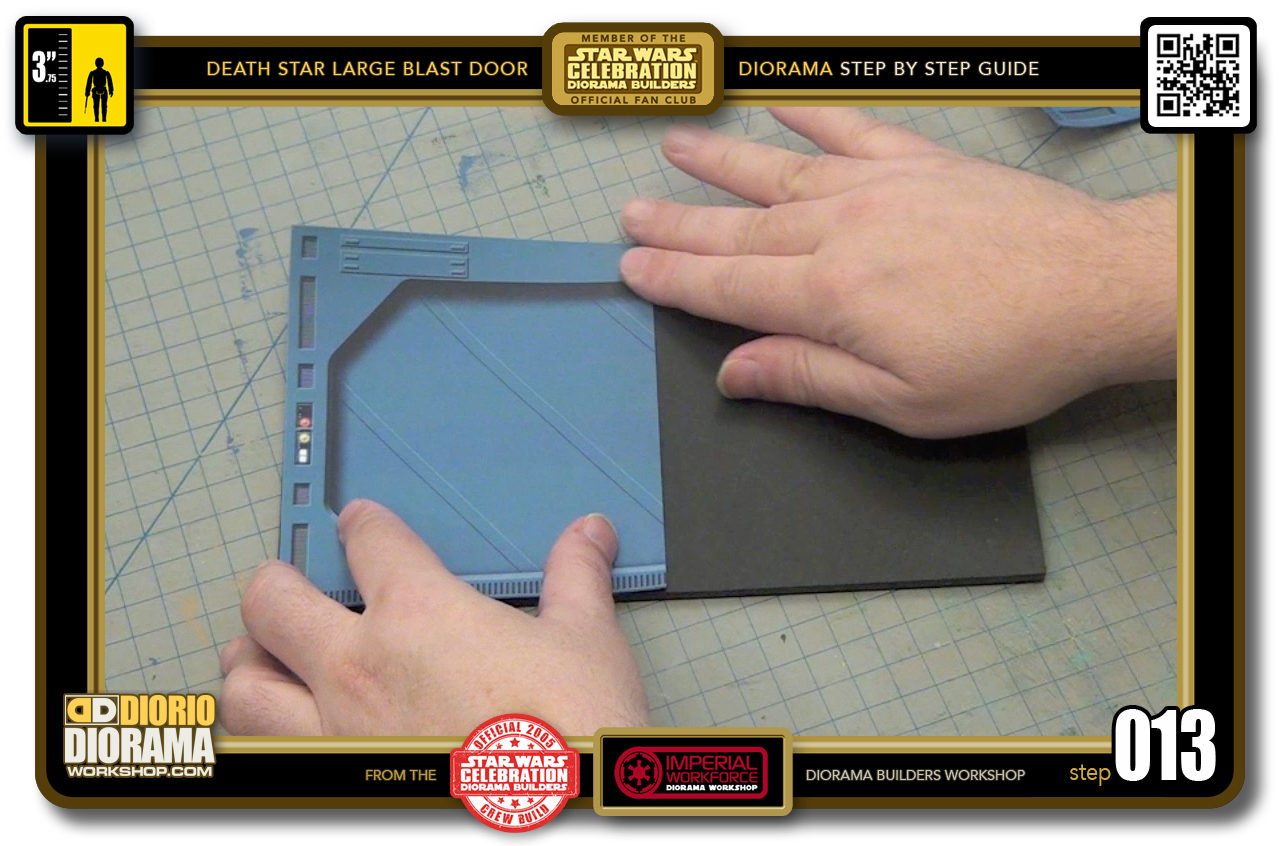
- STEP 013 > After cutting, place your LEFT piece first onto your rectangle. This is your DRY RUN, to make sure everything falls and fits into place. When you see all is good, peel and carefully apply from the left edge towards the centre. IF you use GLUESTICK, put some on the foamcore left half first and then on the back of your decal making sure you go to all the edges so they glue completely flat with no air gaps. Having the glue on both surfaces makes it more slippery, thus allowing you some giggle room to move it around to fit exactly perfect. NEVER EVER USE HOT GLUE TO APPLY DECALS !!! You will get all these creases and warps in your paper and it will look terrible.
-

- STEP 014 > When the left side has dried a little repeat the same thing with the right side decal. Start from the right edge of your rectangle and move towards the center. You will notice the right decal overlaps a little on the left, this is normal, it is to make sure you don't see a blank space in between the 2 pieces if not fit 100%.
-
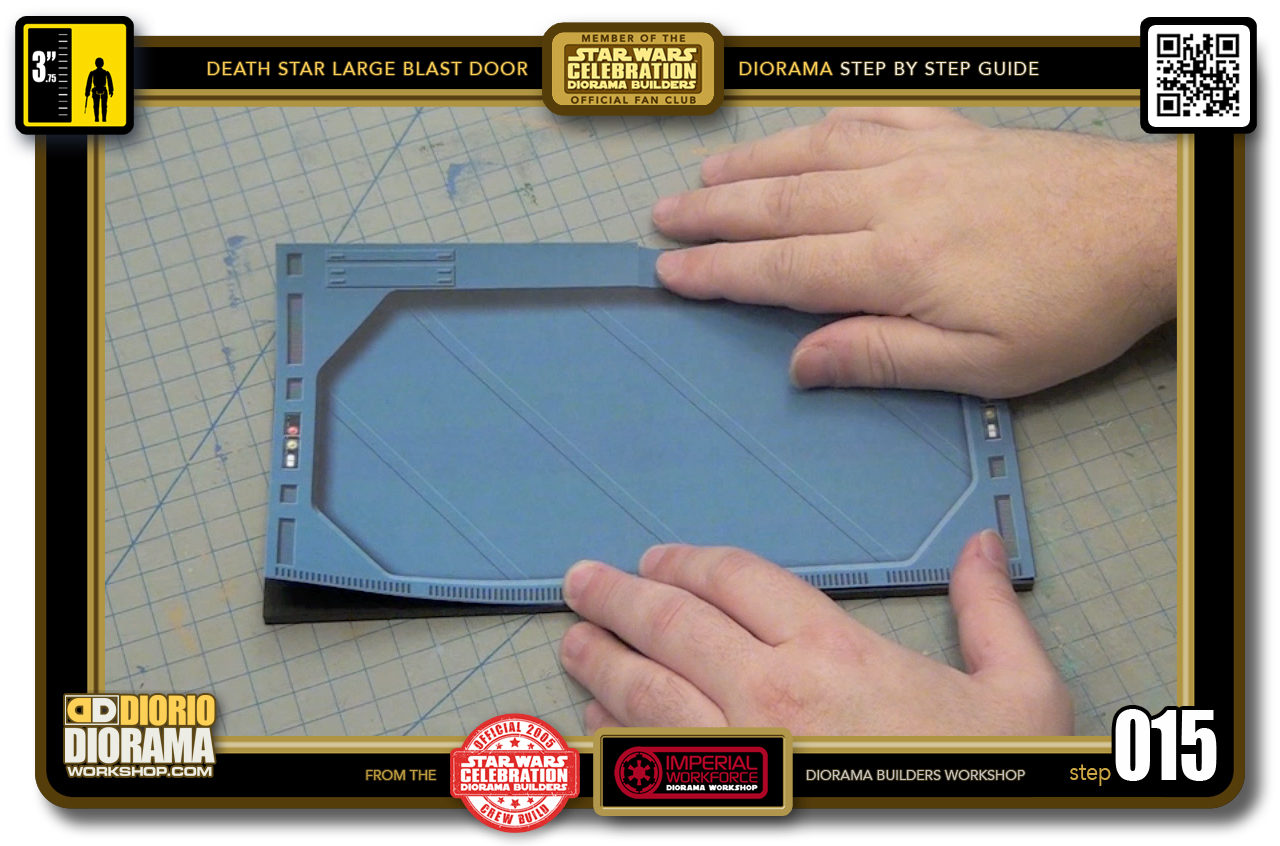
- STEP 015 > Let dry and your CLOSED LARGE BLAST DOOR is complete. you can now glue it to your Basic Hall floor as a continuation of the regular panels found in a separate decals pdf.
-
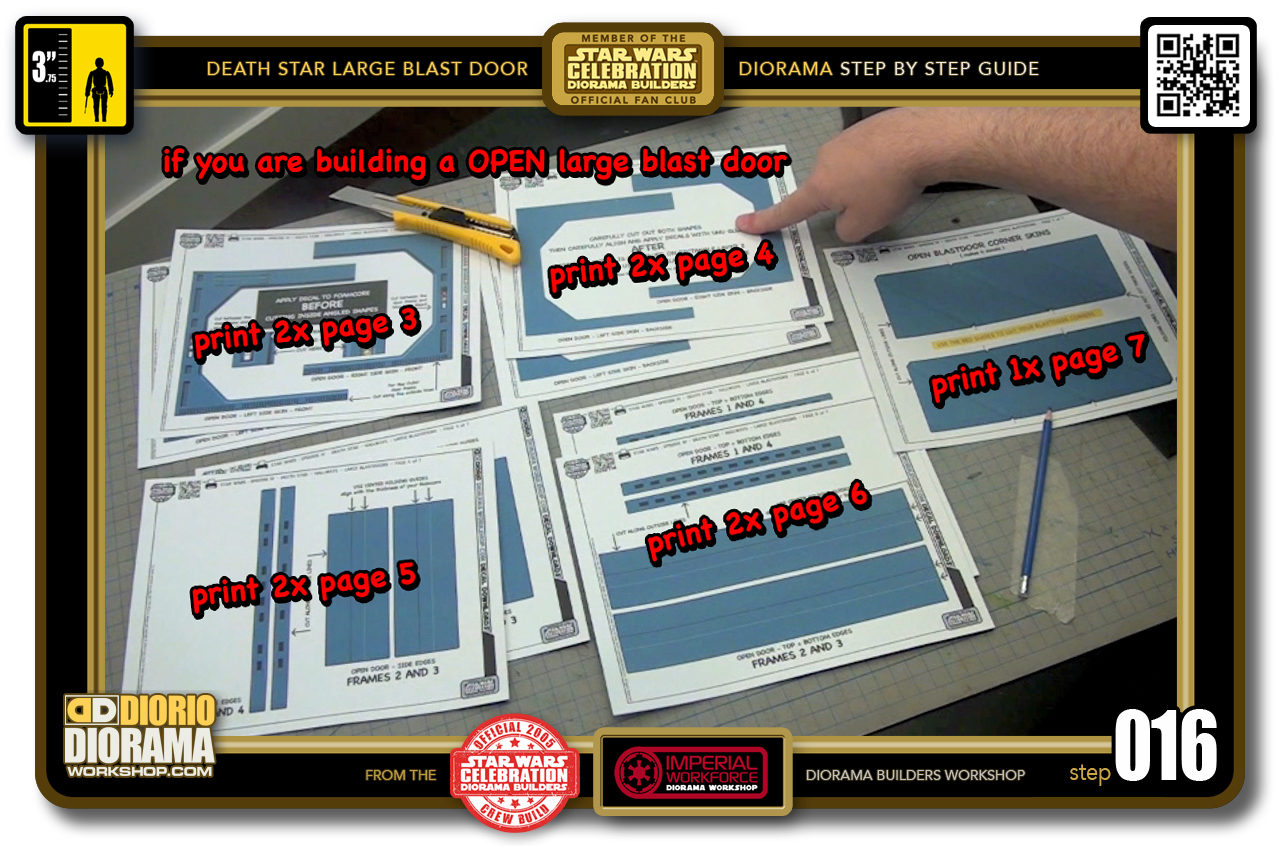
- STEP 016 > If you are doing the Deluxe OPEN LARGE BLAST DOOR you will need to print the following decals from the pdf download.
-
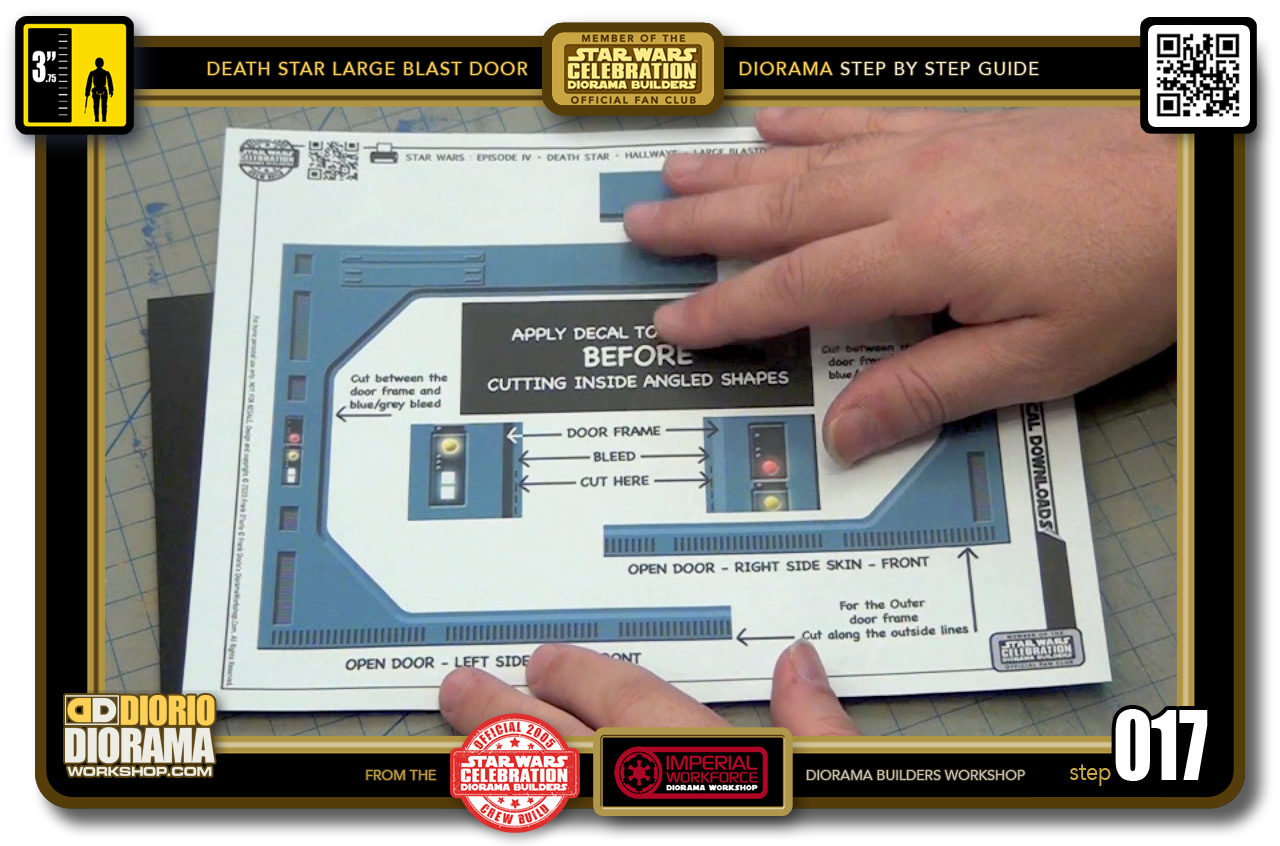
- STEP 017 > Start with the front skin of your Large Blast Door. You will need to prepare 2 of these unless your diorama will be set up in a way that you won't be able to see the rear of the door. In which case you only need to make 1x.
-
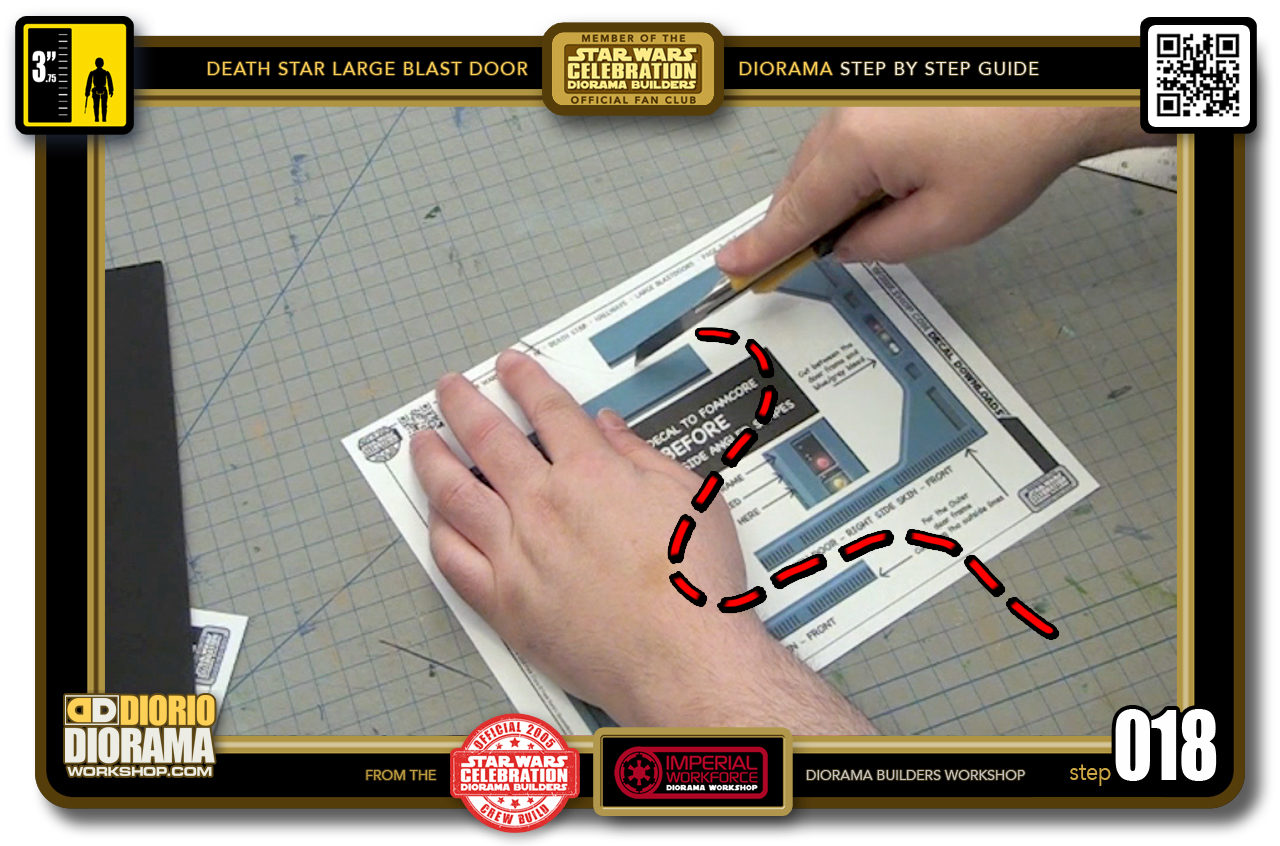
- STEP 018 > Start by separating the 2 halves on the sheet to make it easier for you to do the precise cuts later. Just use your scissors or Xacto Utility Knife to zig zag inbetween the 2 halves, it doesn't matter if you cut in the center, those are just instructions for you on how to cut the inside edges later.
-
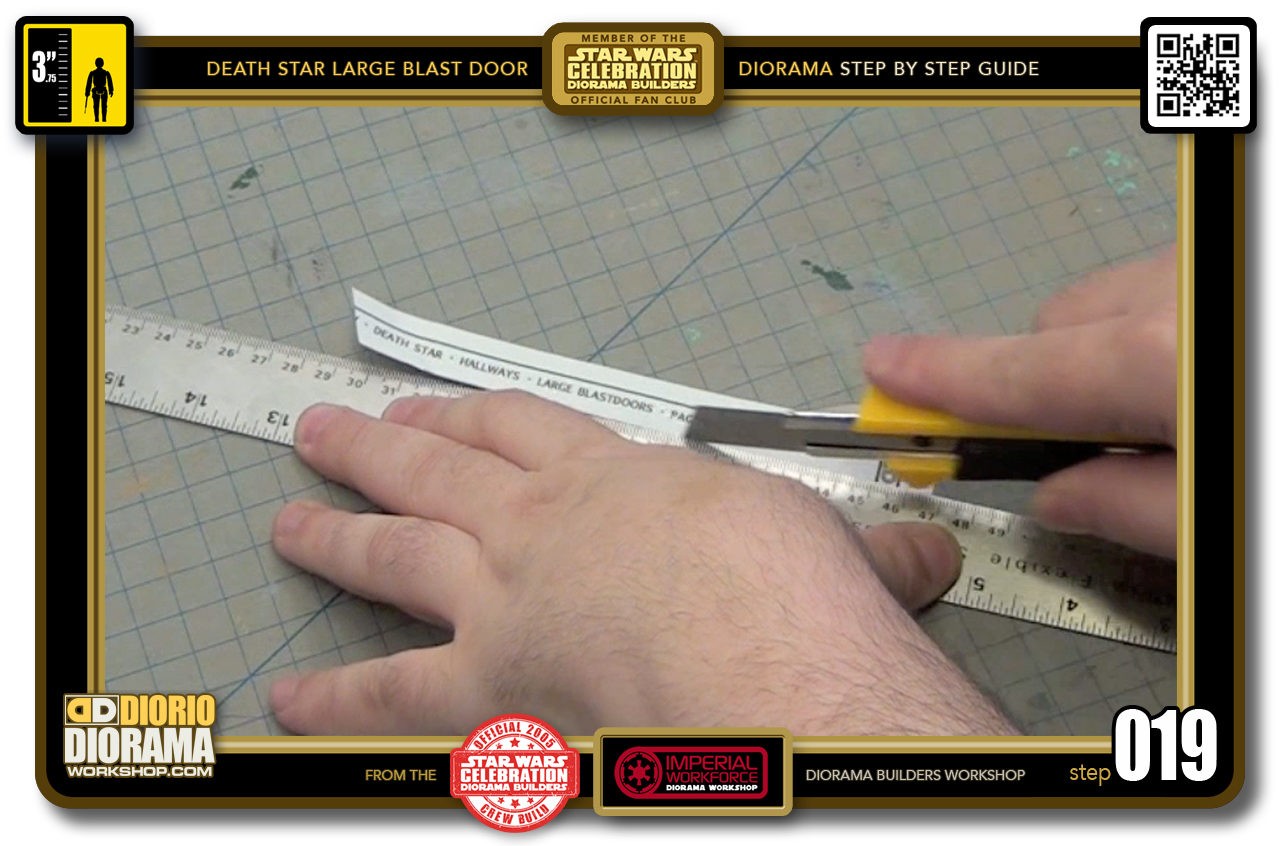
- STEP 019 > After you have 2 pieces, do clean cuts all the way around your decal skin. DON'T cut the inside edges just yet.
-
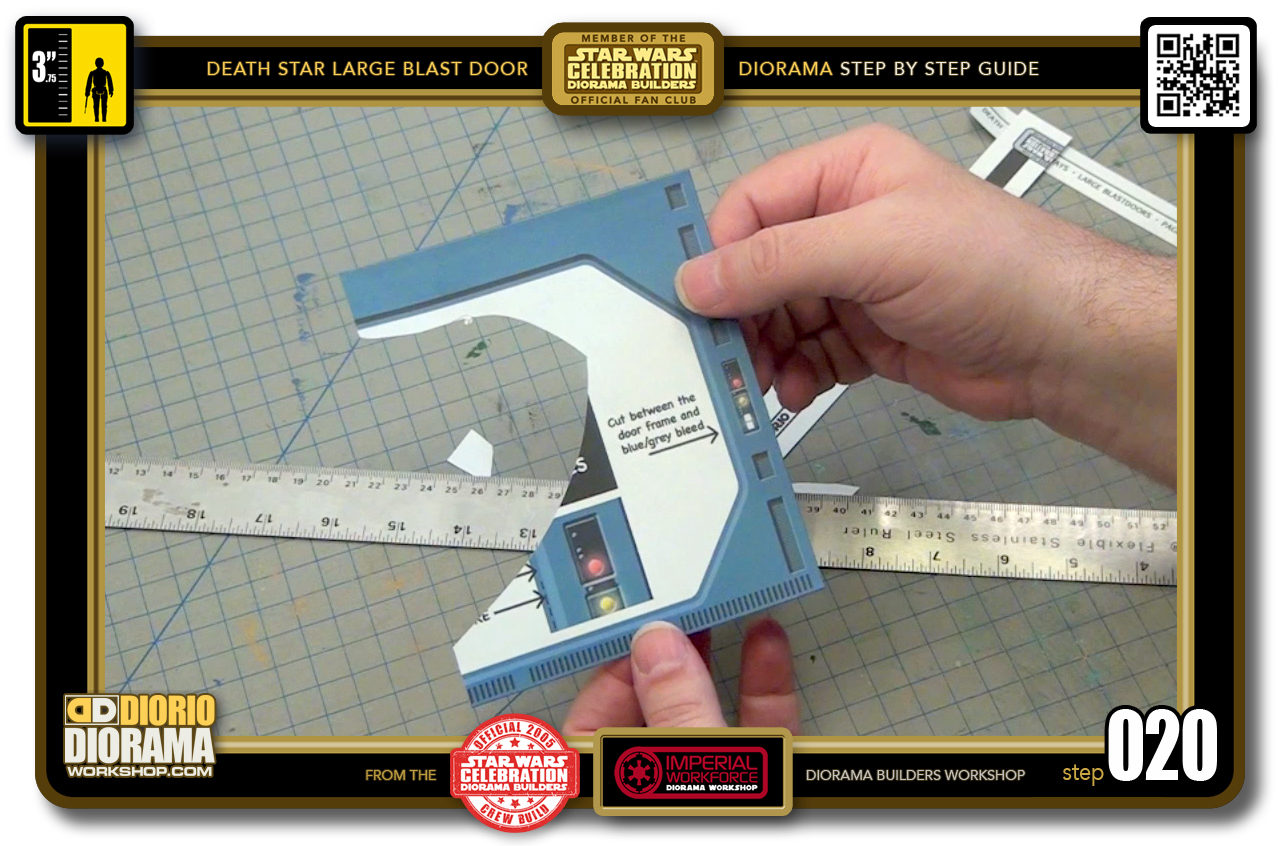
- STEP 020 > This is what your decal skin will look like when you are done.

.
Did you already build this Diorama ? At home or at our Star Wars Celebration Diorama Builders workshop ? Would you like to show it in the site’s GALLERY VISITORS DIORAMAS section, YES ? That is Awesome !!! You can find out all the details on how to email me your photos on the VISITORS SUBMISSIONS INFO page … When I get your photos, I will create your very own page just like this one. You may not realize it but work does inspire others to join in the fun of making Action Figure Dioramas.
.
NOT FOR RESALE ALL Decals, tutorials and artwork are ©FrankDiorio (dioramaworkshop.com) and offered FOR FREE to the fans – that would be you ? so you can build and display my diorama designs in your very own home. I realize I cannot control what one does with my graphics once I place them on the web, I can only ask you as one fan to another, please respect the artist and do not be that jerk who uses my designs and tutorials to build a copy of my work only to sell it on EBAY or trade/sale groups and forums. Thank You. Frank.
.
.
If you have a facebook account, why not join the Official Diorama Builders Fan Club today, simply click the logo link below.
 .
.
Catch up with fellow visitors and exchange stories, read cool interviews with the crew, exchange photos, fun surprises and grab some FAN ONLY merchandise next year at actual future conventions ?
.
©2018 Frank Diorio DioramaWorkshop.Com
.
IF YOU LIKE WHAT YOU SEE, PLEASE SHARE WITH YOUR FRIENDS
USING THE SOCIAL MEDIA BUTTONS BELOW