


-
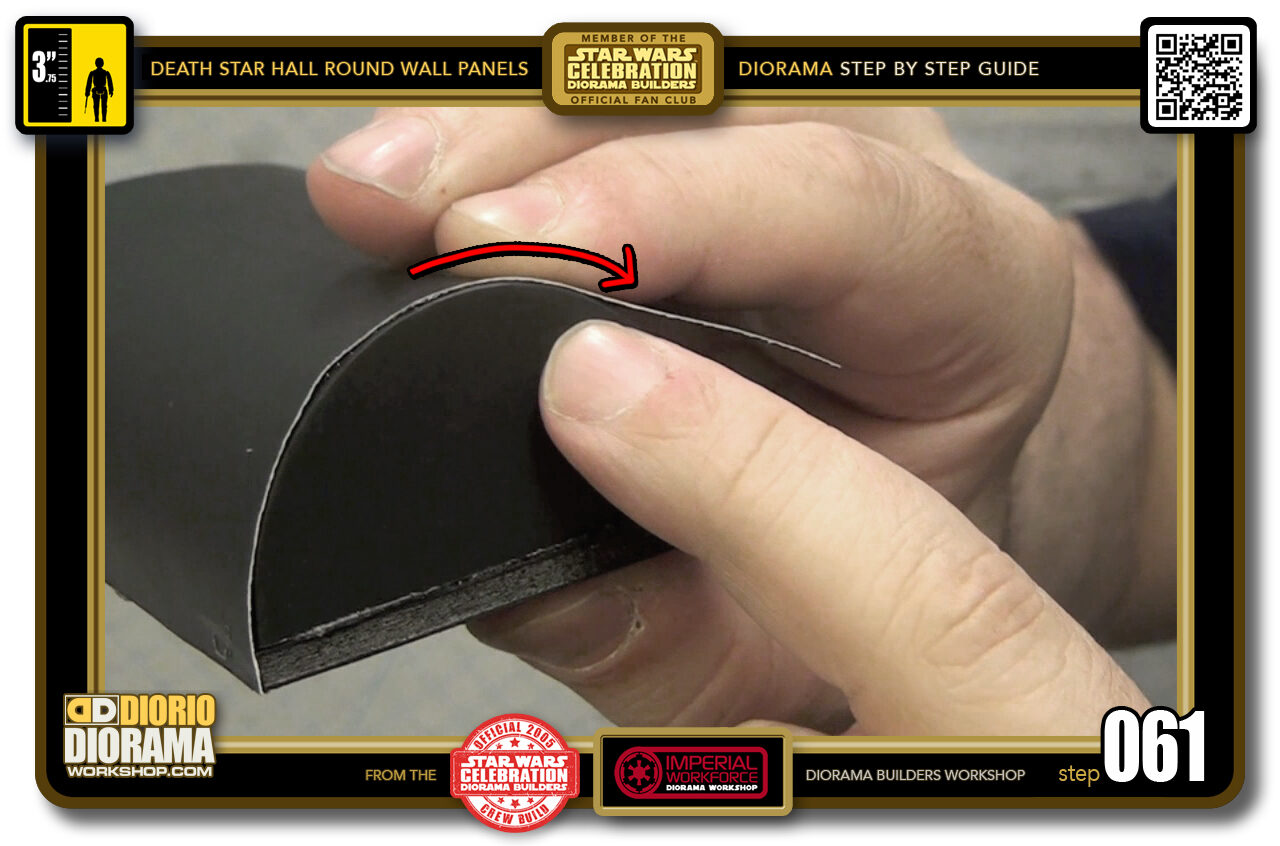
- STEP 061 > As you keep pulling towards you, start to fold the poster board over the bend, pushing your finger agaisnt the side of the half circle if need be to try and keep the edges as flush as possible.
-
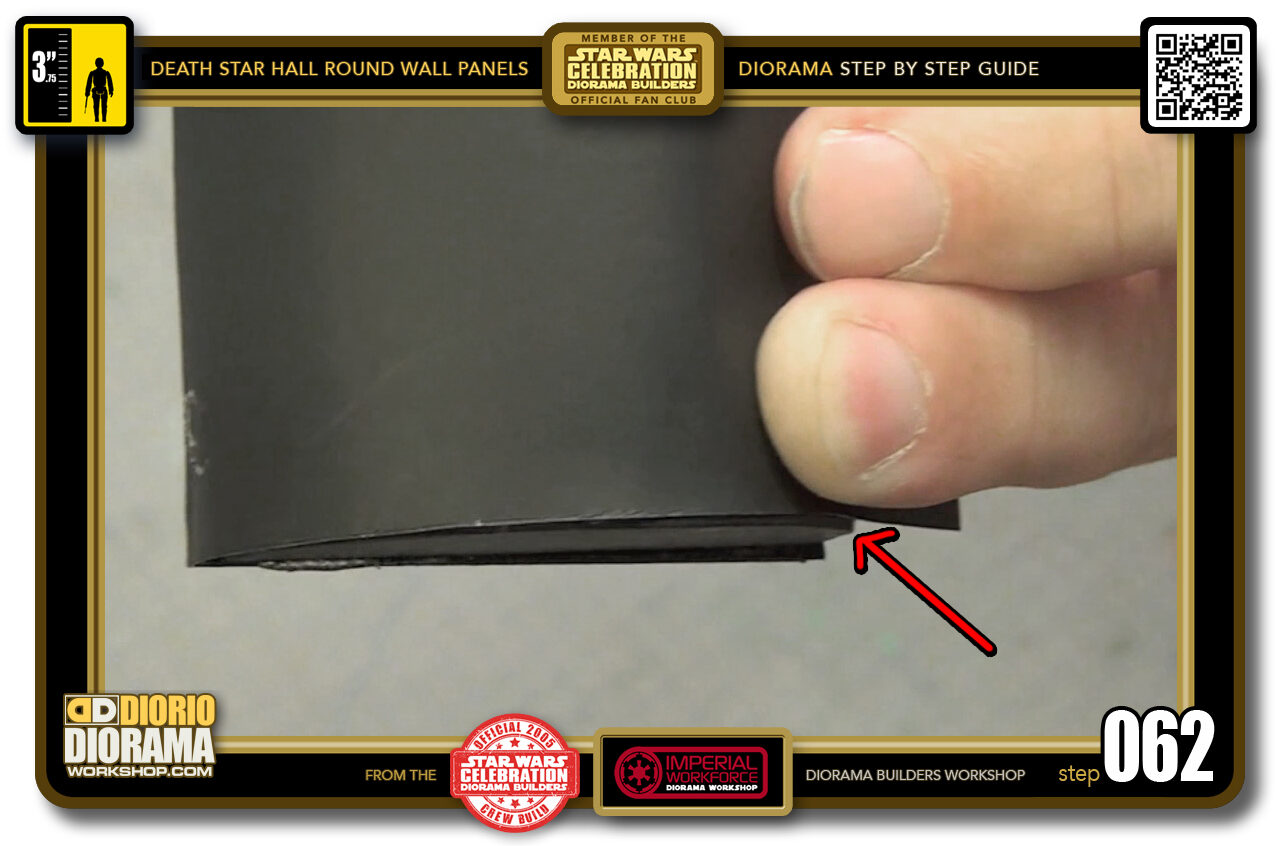
- STEP 062 > Here you can see where the red arrow is pointing, I need to try and pull the poster board a little more closer to the side (downwards) so that you don't have big gap like this when the hot glue cools down and hardens everything in place.
-
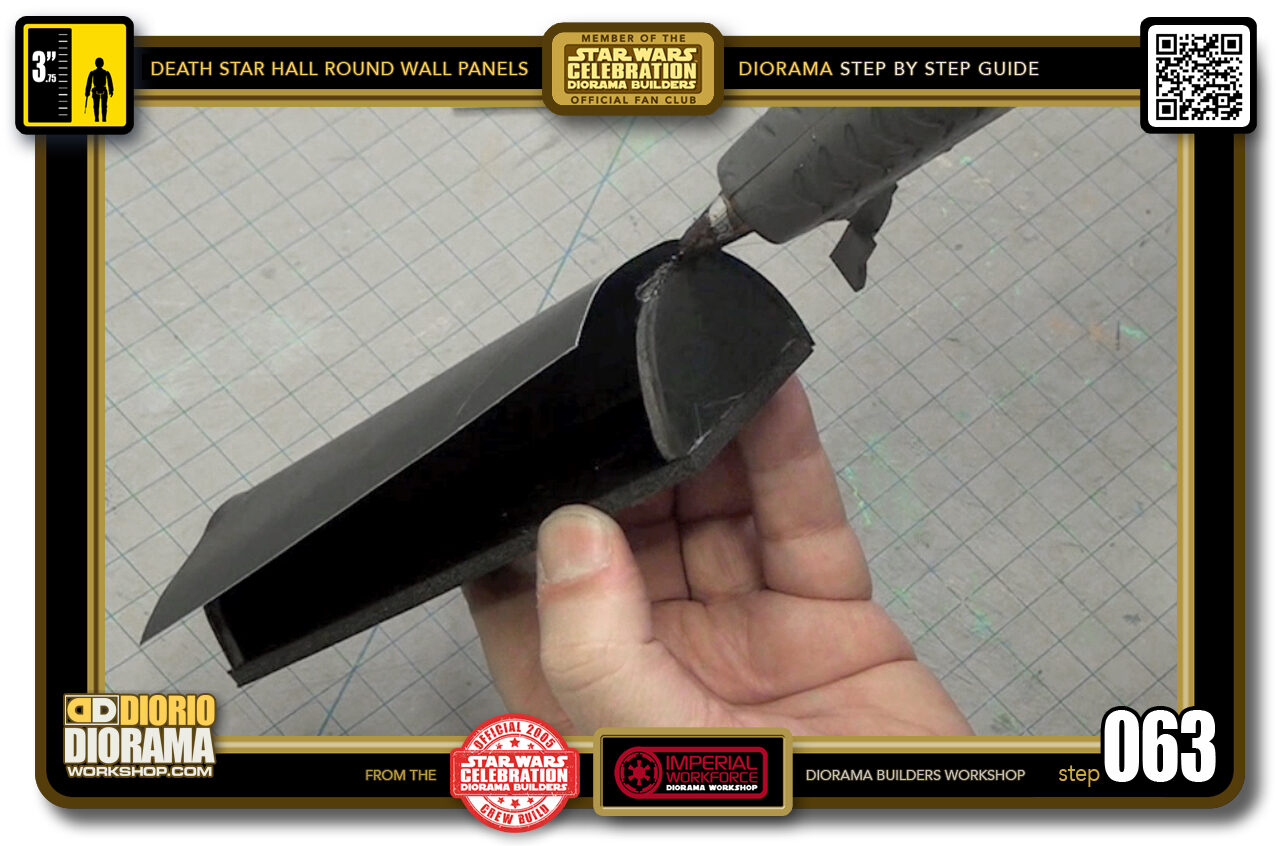
- STEP 063 > Once the hot glue does cool down, then move on to the other side and repeat the operation.
-
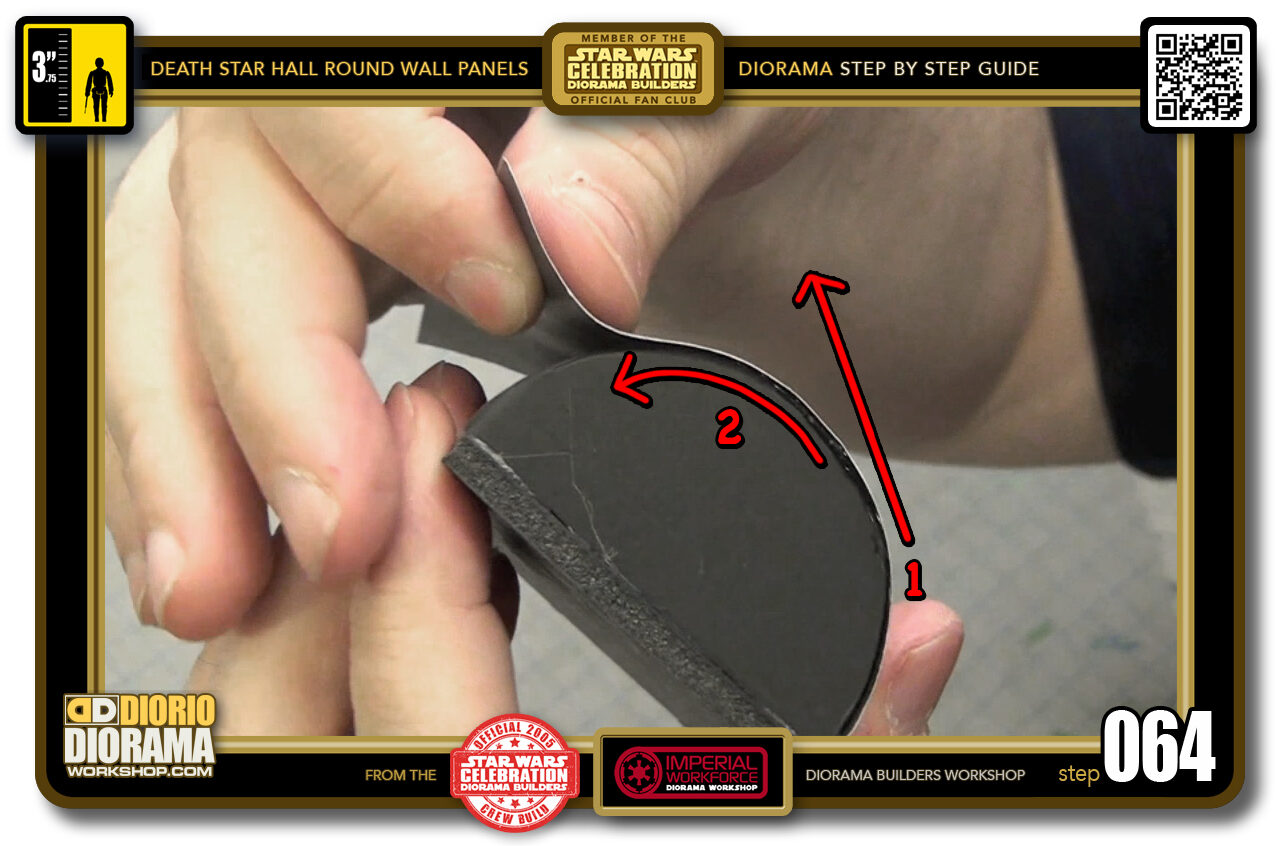
- STEP 064 > Remember 1) pull tight and 2) bend over.
-
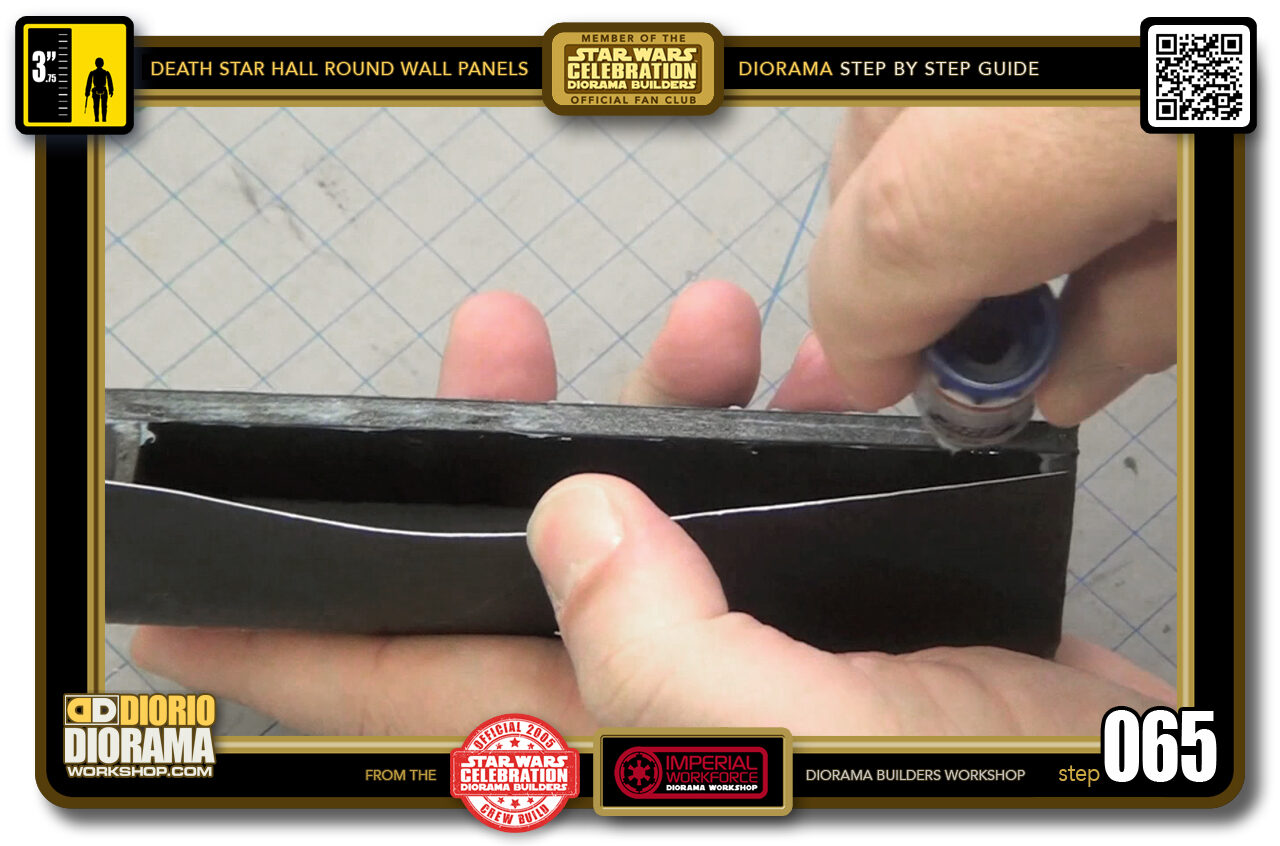
- STEP 065 > Now it's time for the other side edge of your Base. Apply a line of hot glue along the edge. IMPORTANT : Try and place it closer to the inside edge than the outside one (which would be at the top in this photo. And MORE IMPORTANT - JUST ENOUGH to stick the poster board. TOO MUCH, your glue will ooze out the side and MELT your Scotch Tape in the next step. Don't burn your fingers !
-
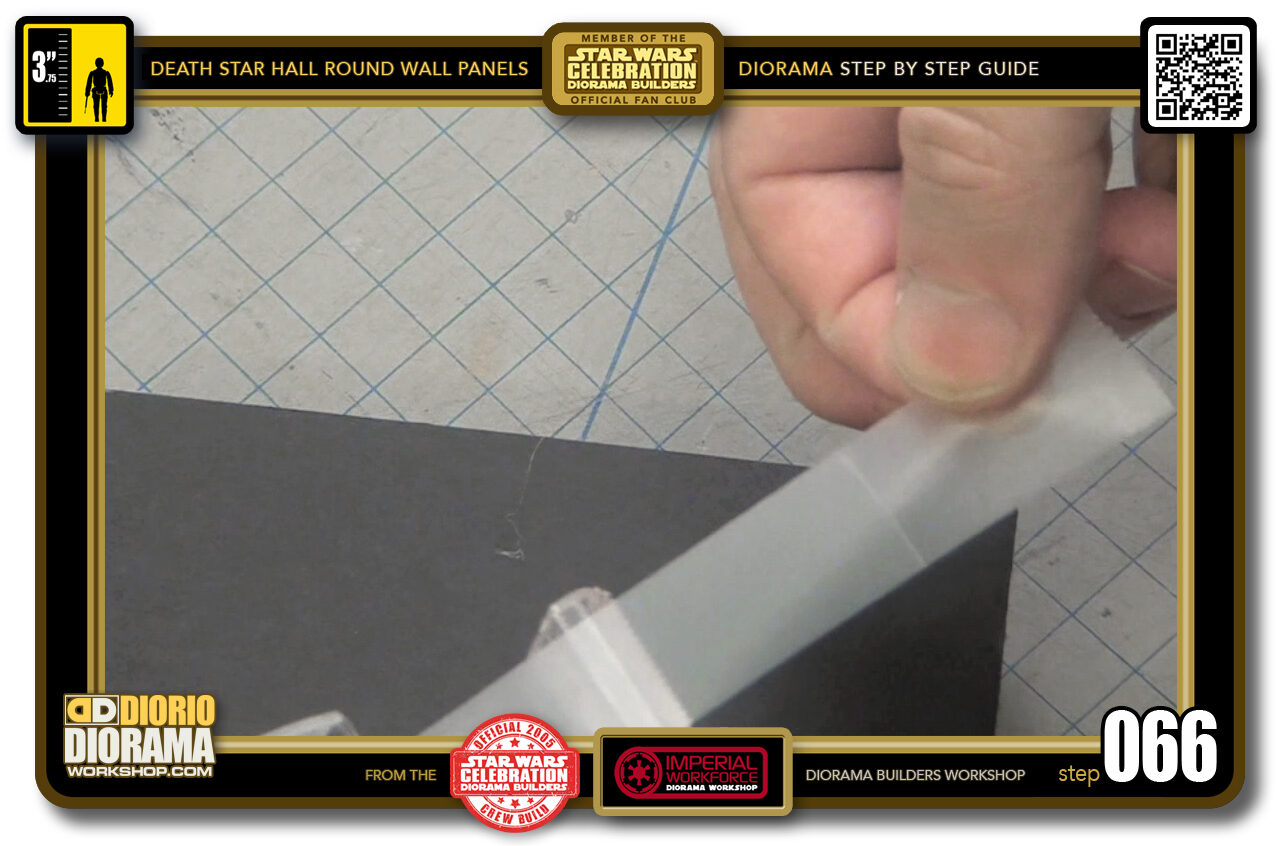
- STEP 066 > Carefully fold over the poster board around the rest of your half circle shape and grab some scotch tape. About 3 inches or so.
-
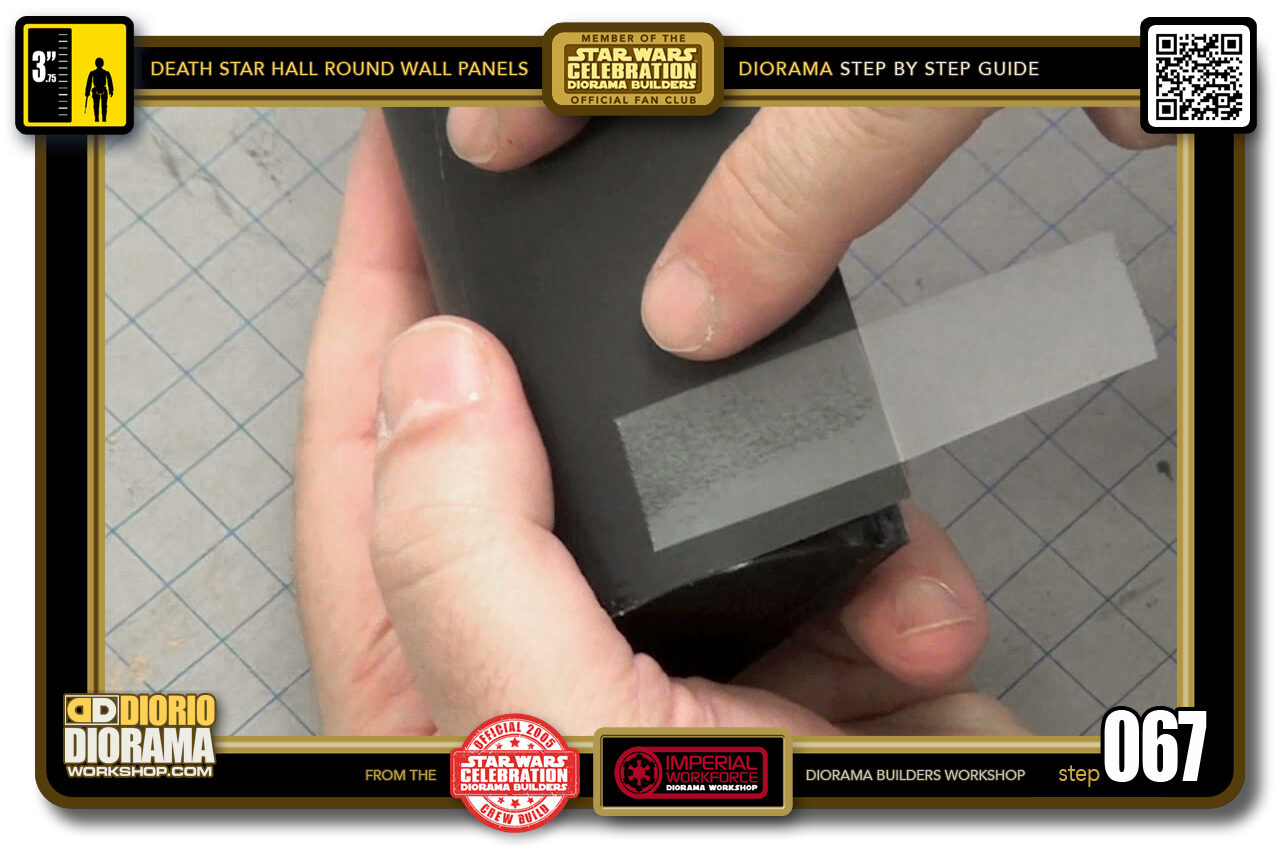
- STEP 067 > place it close to the left side on the surface of the poster board.
-
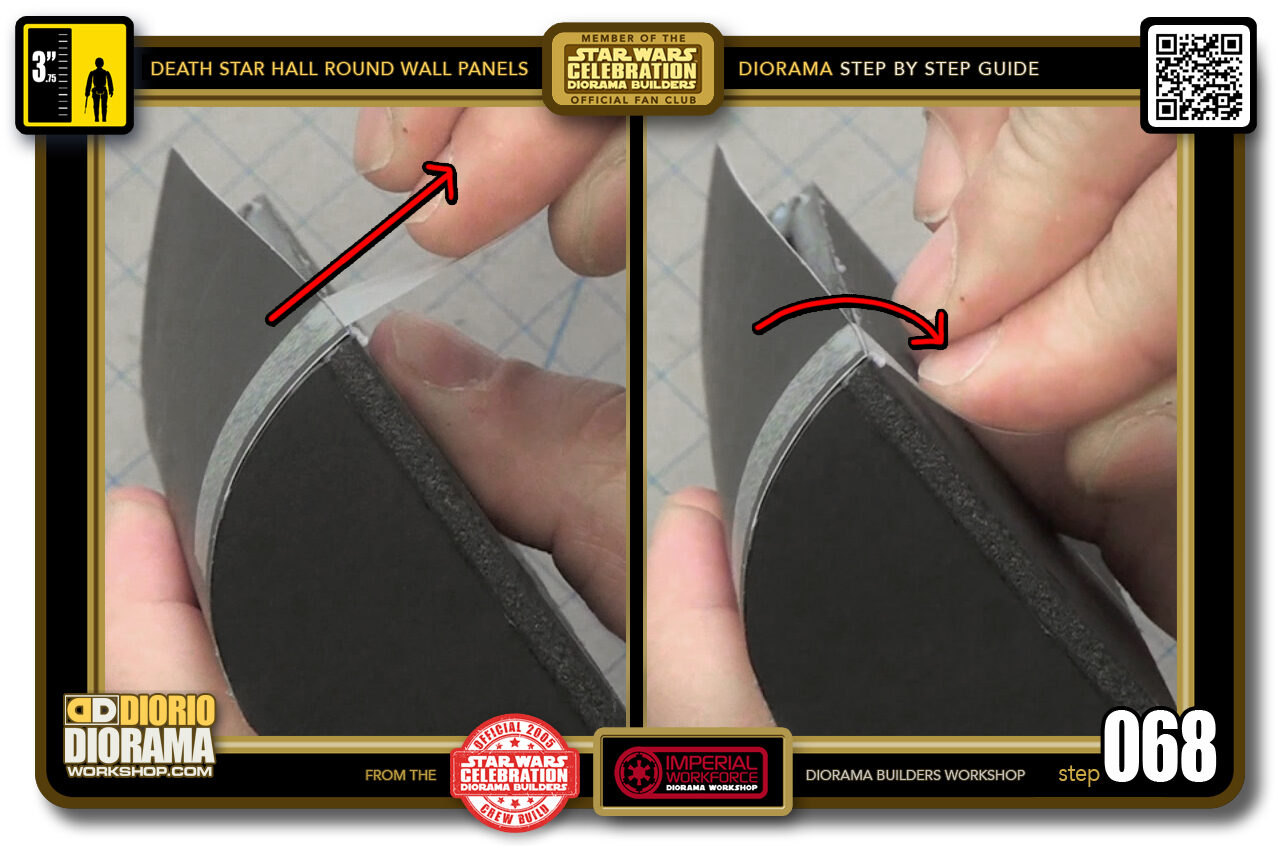
- STEP 068 > Now use the scotch tape as a grip tool and pull tight downwards first as you see on the left, then fold over your tape until it makes contact with the underside of your foamcore base panel. The red arrow on the right image.
-
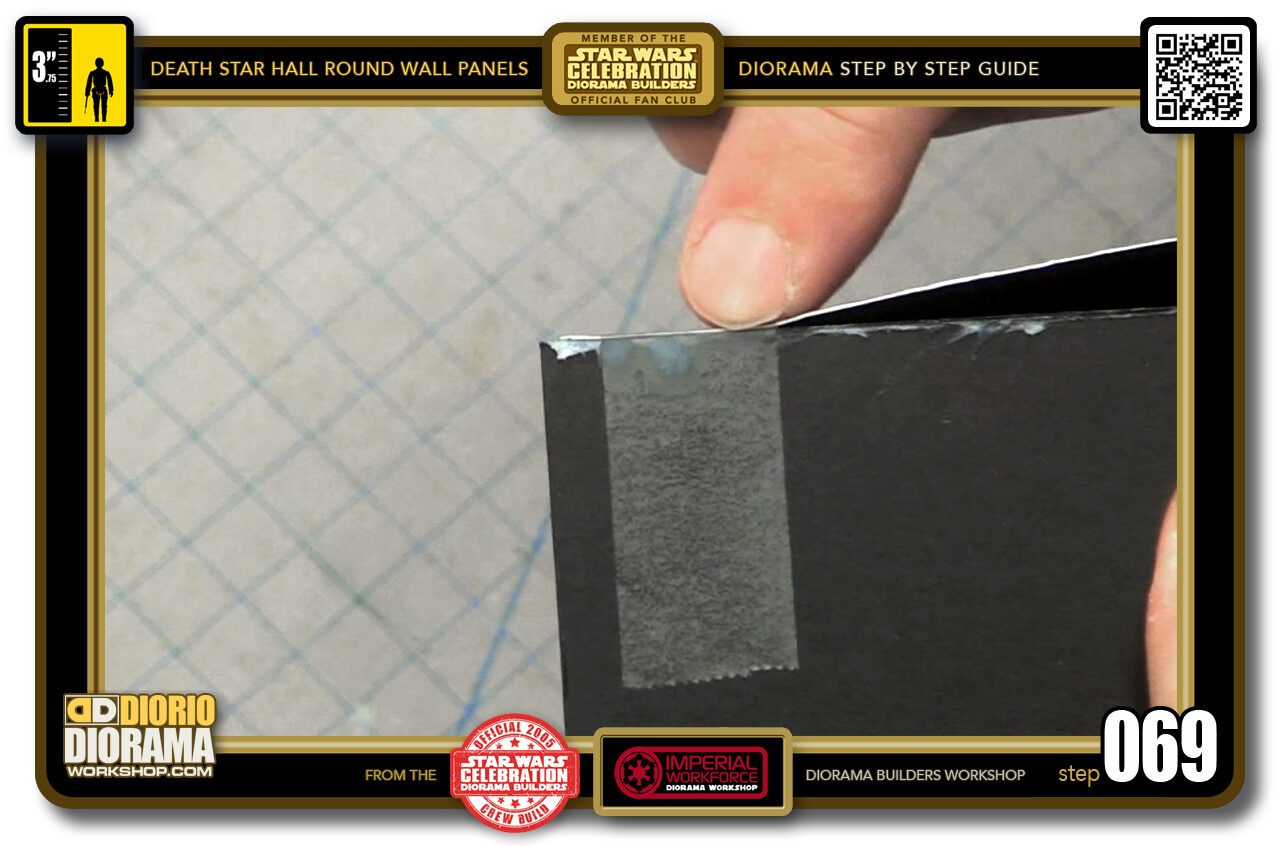
- STEP 069 > You see that the tape is holding down the poster board tightly and making sure the contact with the glue is with no gaps or folds.
-
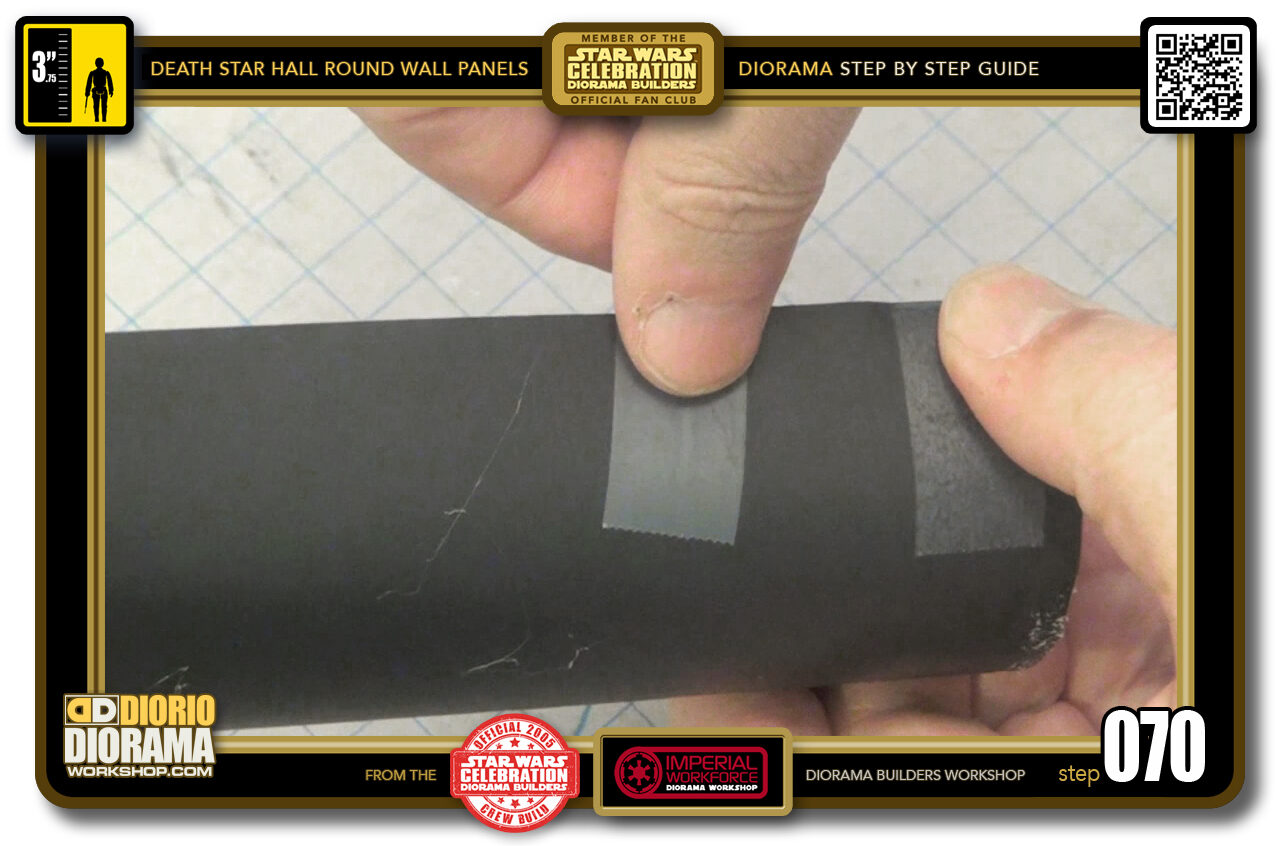
- STEP 070 > Take another piece of tape and place it on your poster board top about 1 inch away from the first.
-
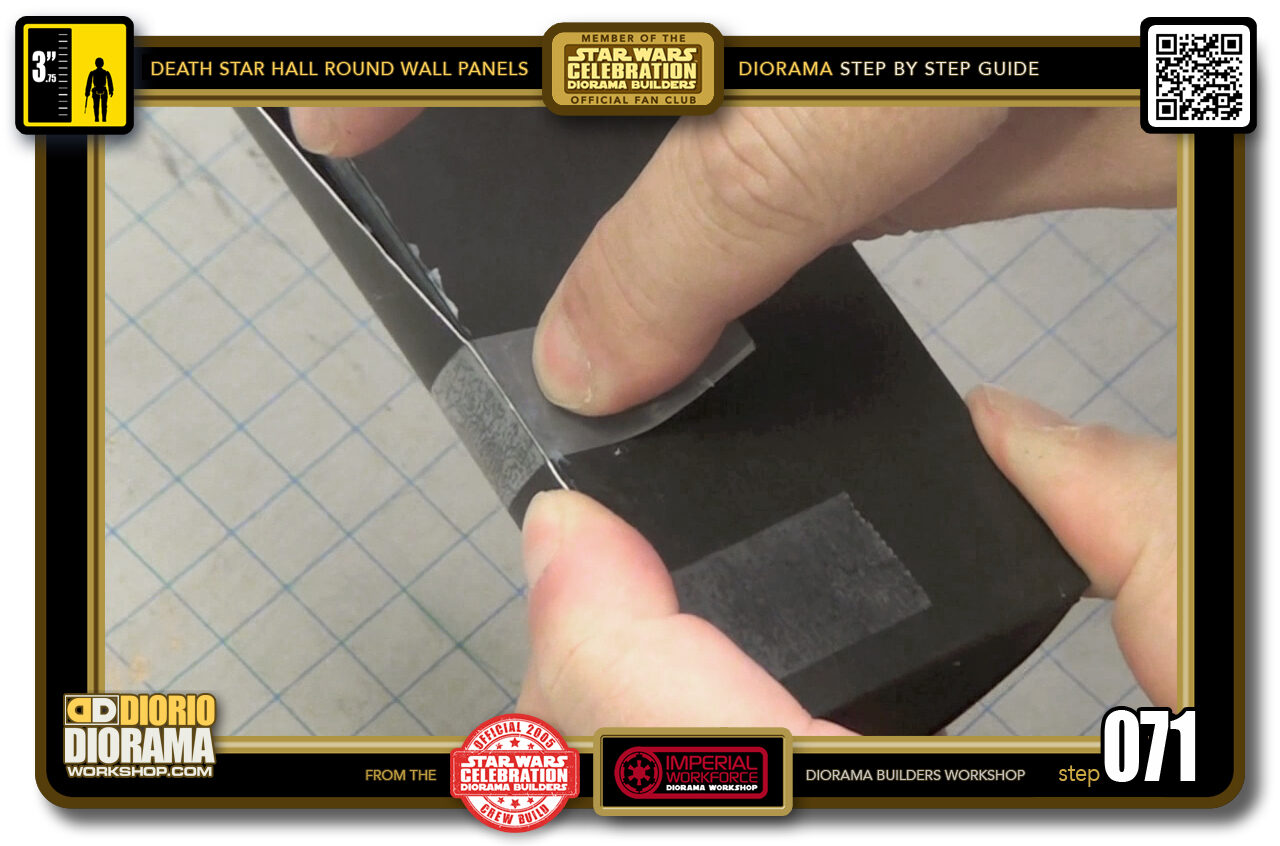
- STEP 071 > Now press your finger on the poster board that is between the 2 pieces of tape. If you don't do this you risk creating a bubble gap. With your finger pressed, pull tight your tape towards you then fold over keeping the tightness and make contact with the bottom of your foamcore base panel.
-
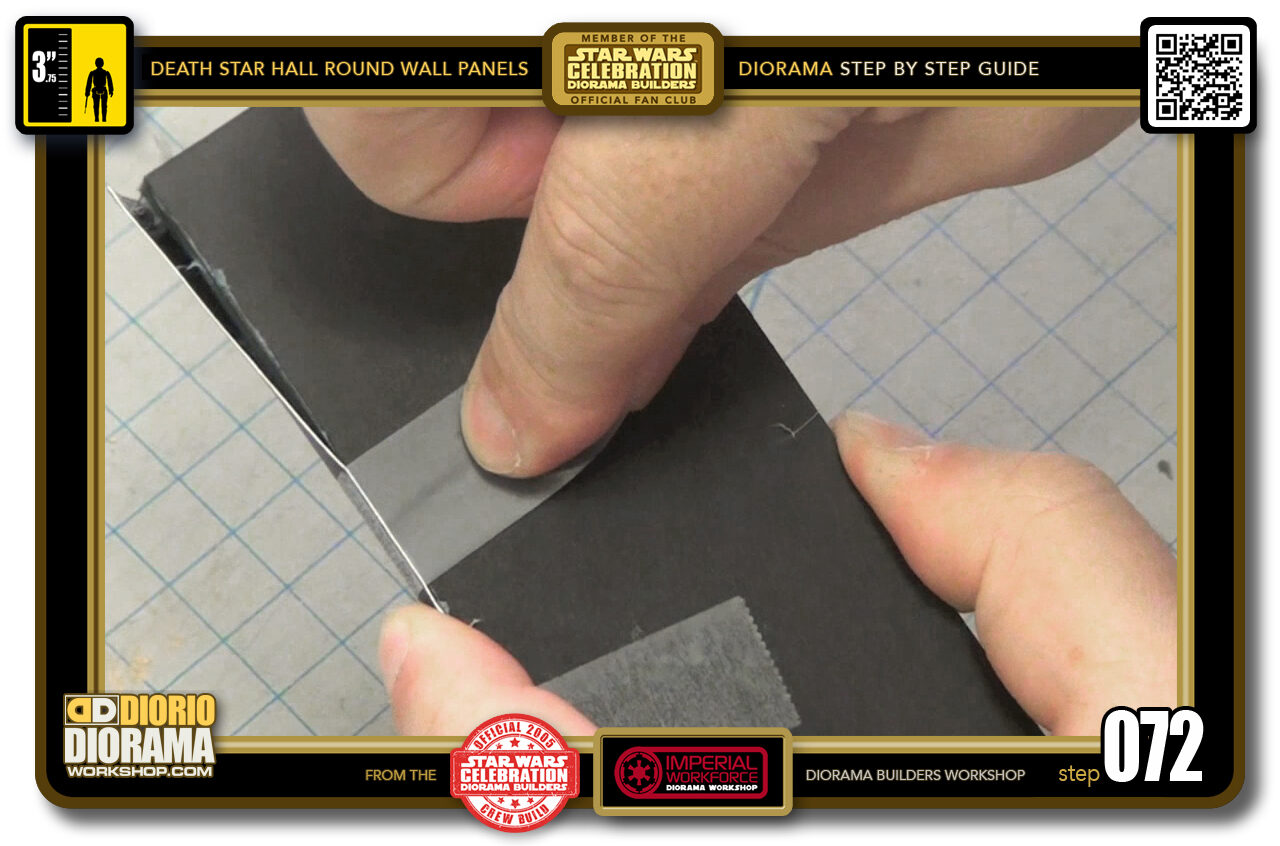
- STEP 072 > Rub with your finger making sure the sticky glue of your tape is touching all over.
-
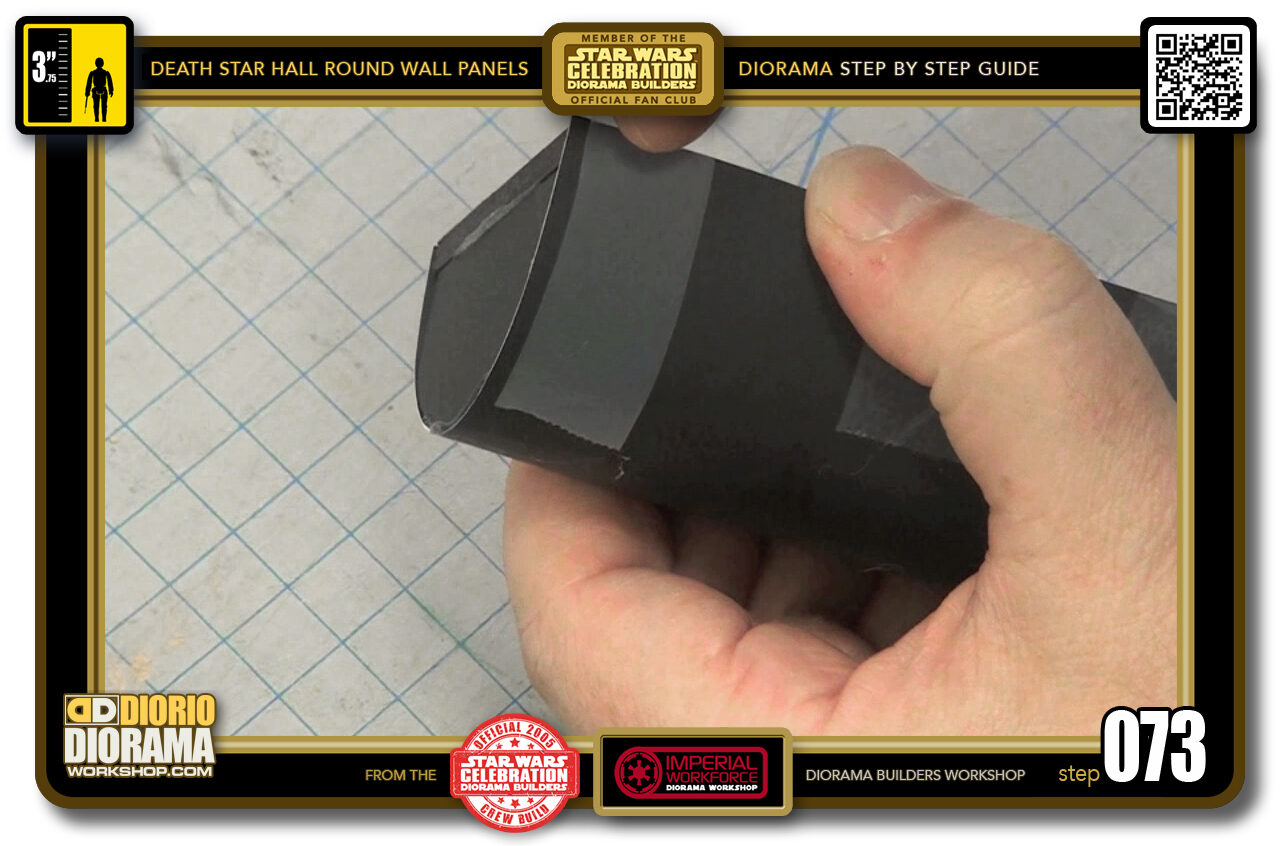
- STEP 073 > Continue with a 3rd piece 1 inch away from the second and then eventually as you see here, a 4th piece of tape that goes close to the end of the right side of your half tube. Pull tight, fold over and press the tape all over the base to secure it just right.
-
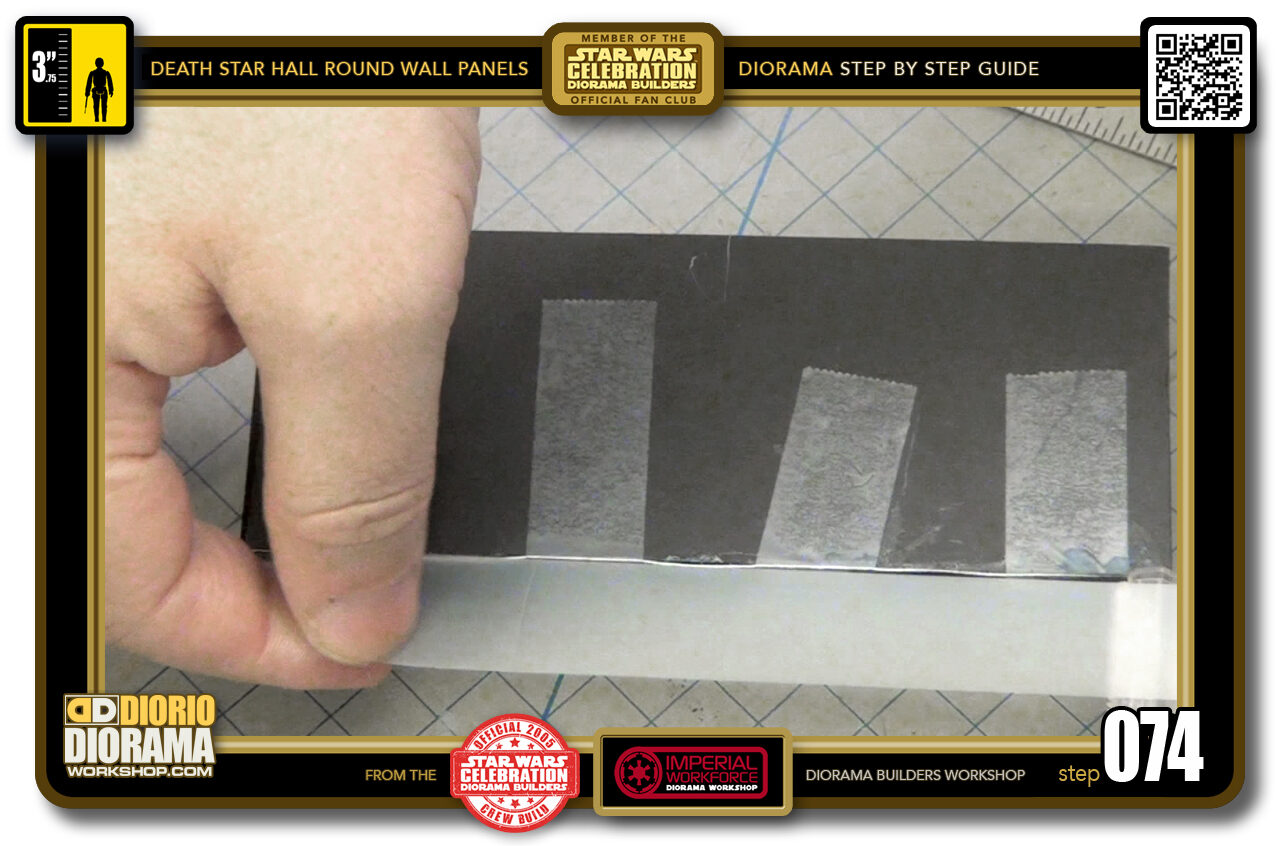
- STEP 074 > If you didn't put too much hot glue, your 4 pieces of tape should still be in place and not melted at the fold. Now to make sure the gaps in between the 4 pieces remain flat until the glue completely hardens, take a piece of tape about the length of your round wall panel (about 13-14 cm)
-
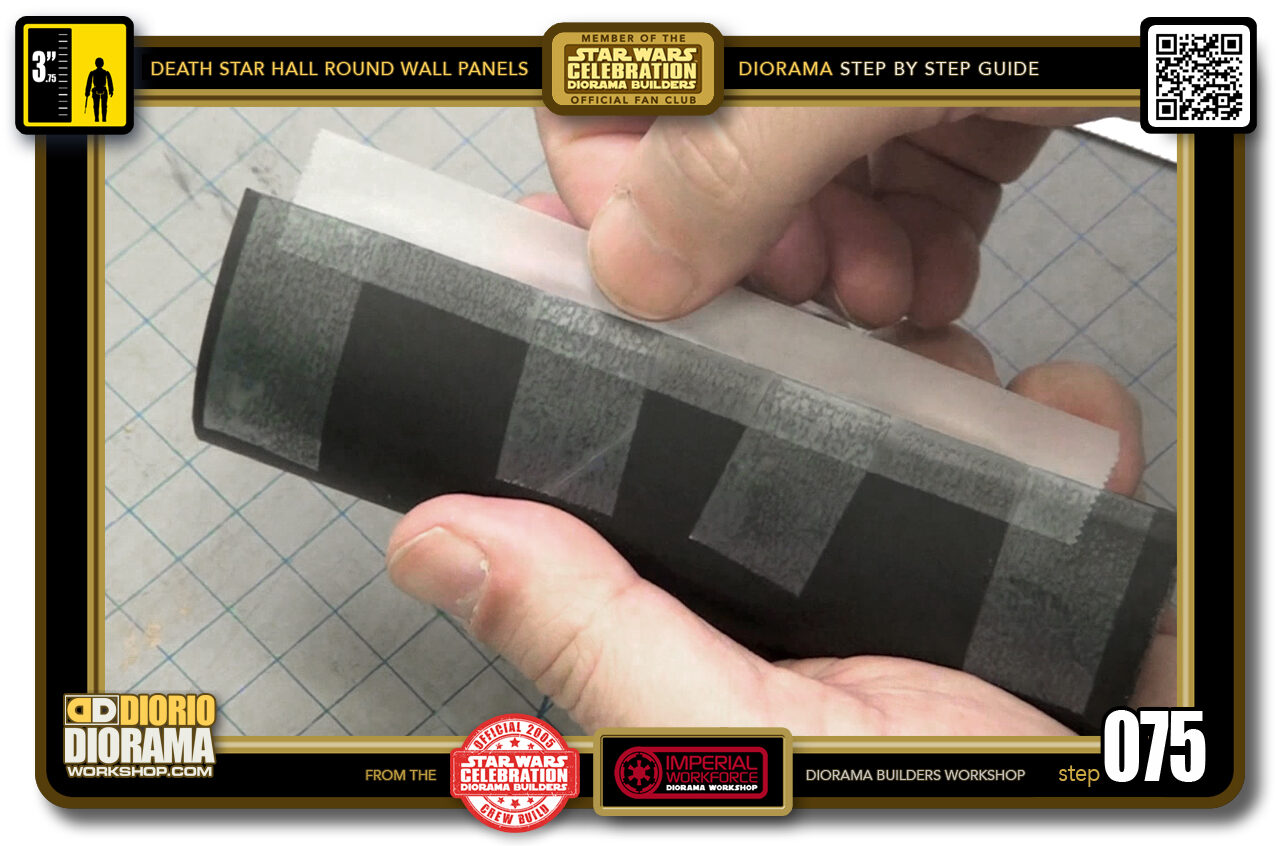
- STEP 075 > Carefully place it first on the poster board side. Press all along the tape making sure it touches the entire surface.
-
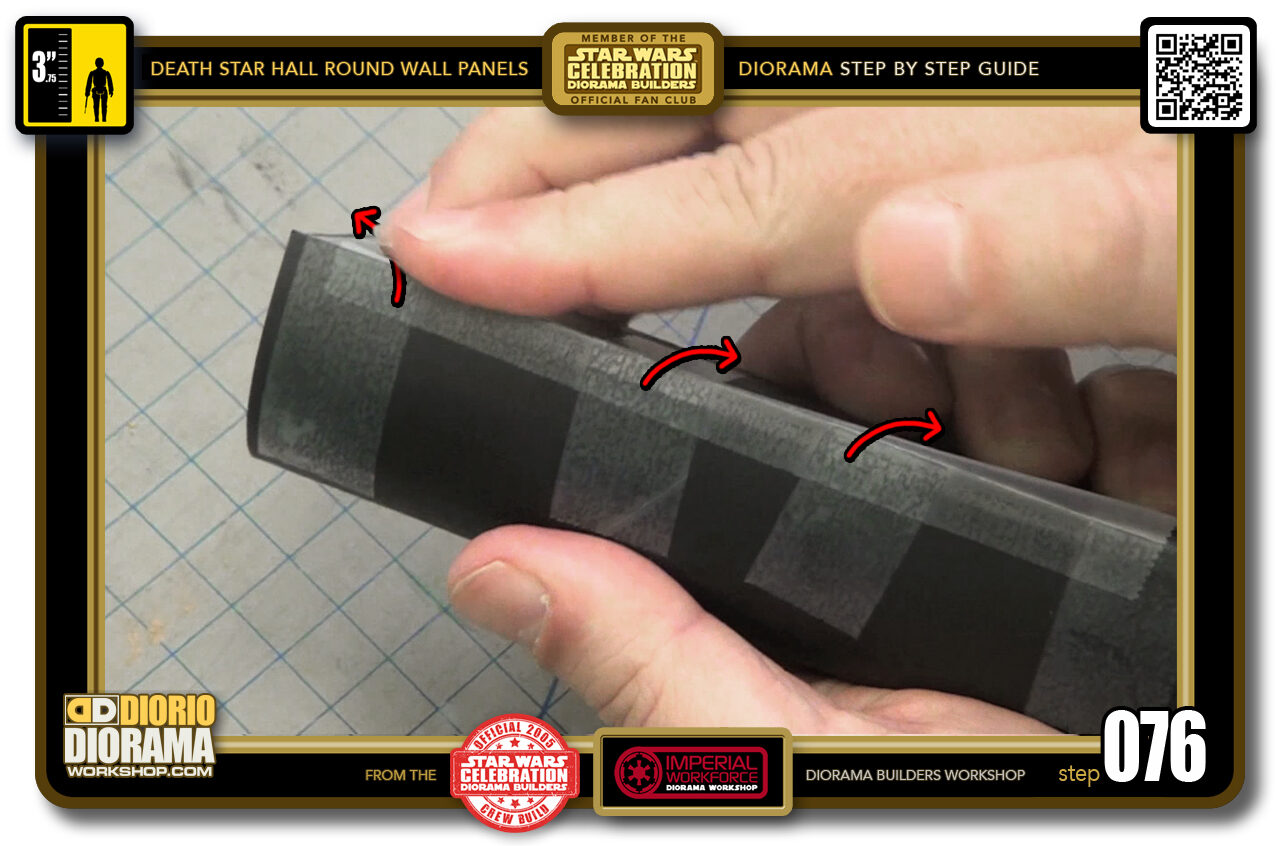
- STEP 076 > Now fold over the other half of the tape strip onto the rear of your base. Move your finger back and forth to make sure all surfaces of the tape are touching just right.
-
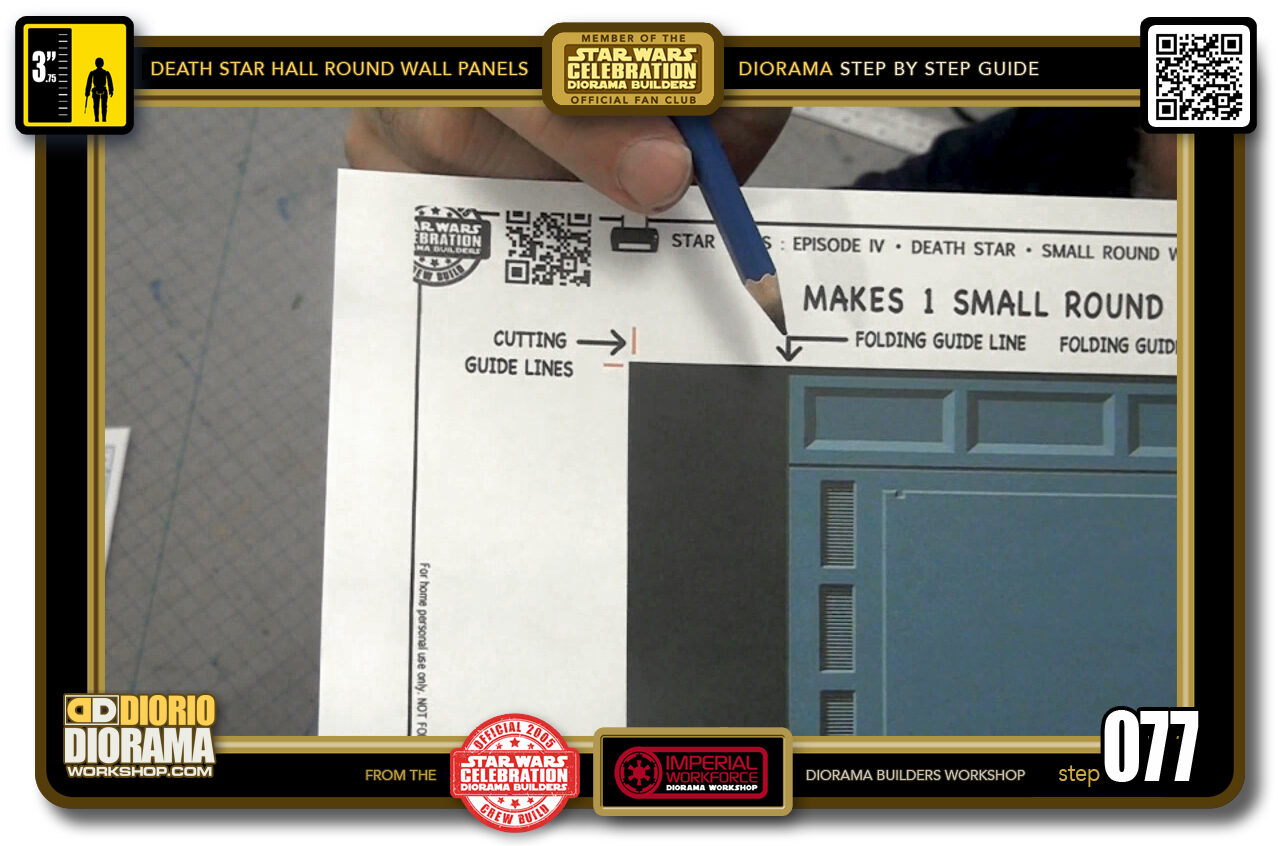
- STEP 077 > Time to cut your decal. You will notice that there are 2 guide informations here. IN RED - are your CUTTING GUIDES and in BLACK is where you need to FOLD your decal. The DARK STRIPS on both sides will fold and attach BEHIND your Round Wall Panel shape.
-
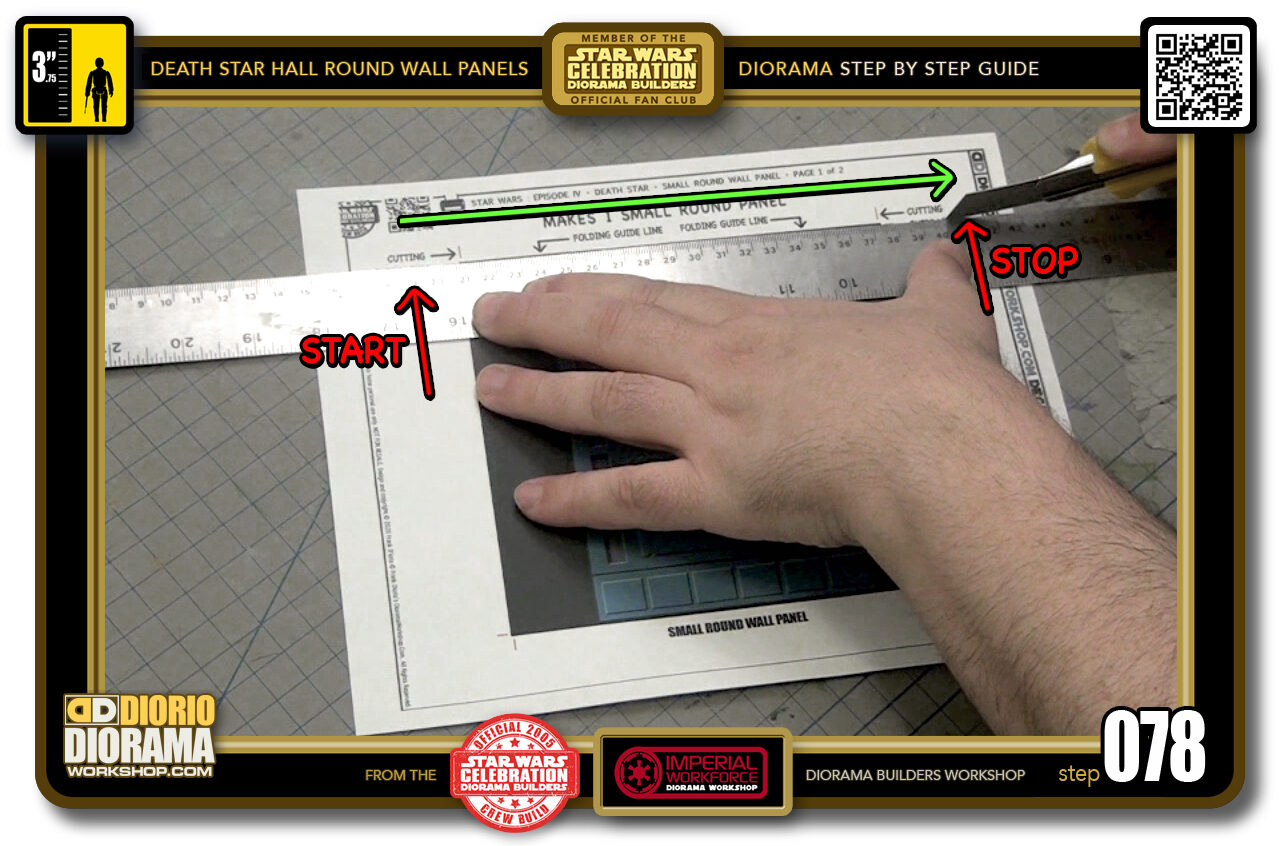
- STEP 078 > Now in order to not lose your guides when cutting the sides, you need to NOT slice through the entire paper for the top and bottom slices. You want to align your ruler with the horizontal RED CUTTING GUIDES on EACH SIDE and slice where you see the START and STOP arrows pointing to. You don't have to be super precise matching my cut, just make sure you don't cut too much where the top comes off. You want it to stay attached.
-
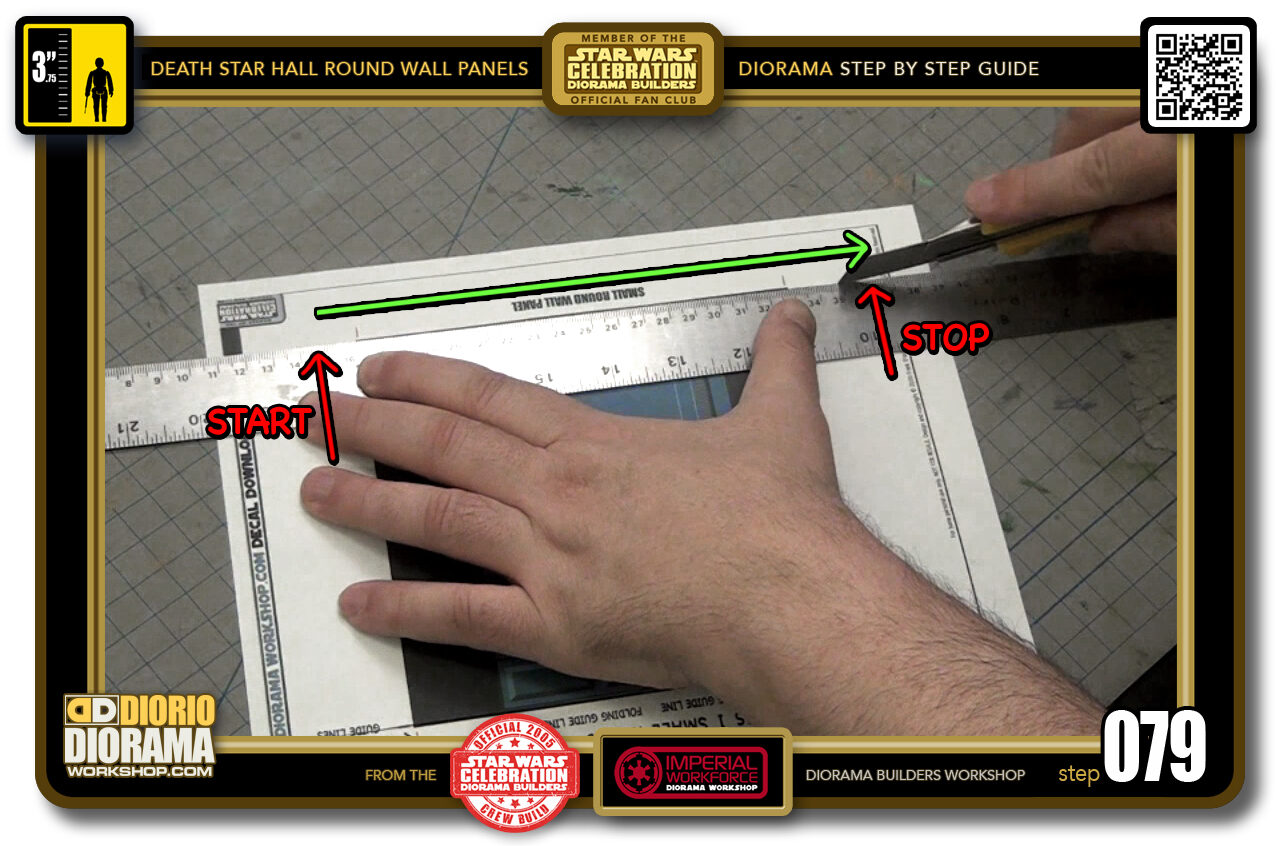
- STEP 079 > Turn your paper around 180 degrees to the other side, Align the 2 bottom RED CUTTING GUIDES and slice again close to my START and STOP arrows.
-
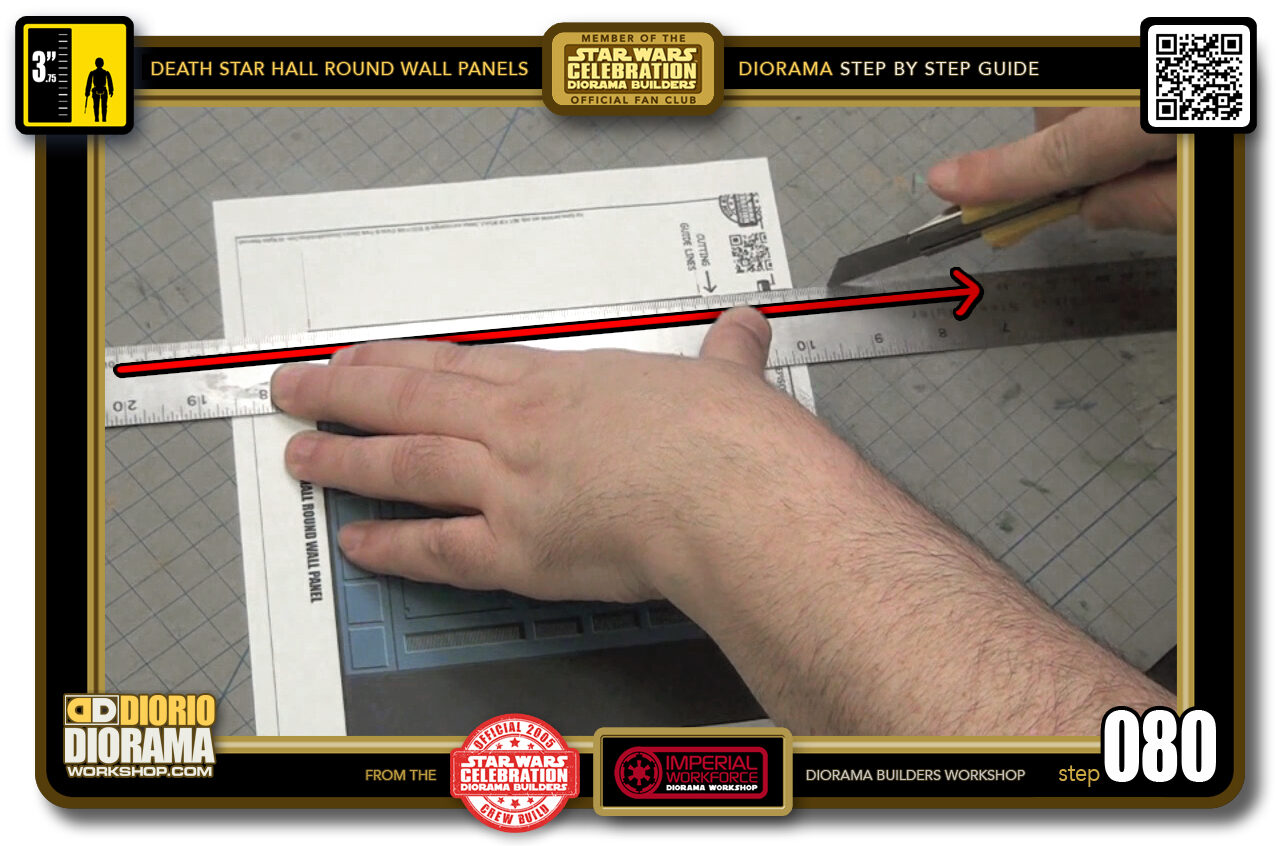
- STEP 080 > Now that the top and bottom are cut, you CAN cut all the way accross now for the sides. Align your ruler with the RED VERTICLE CUT GUIDES and slice all the way through.

.
Did you already build this Diorama ? At home or at our Star Wars Celebration Diorama Builders workshop ? Would you like to show it in the site’s GALLERY VISITORS DIORAMAS section, YES ? That is Awesome !!! You can find out all the details on how to email me your photos on the VISITORS SUBMISSIONS INFO page … When I get your photos, I will create your very own page just like this one. You may not realize it but work does inspire others to join in the fun of making Action Figure Dioramas.
.
NOT FOR RESALE ALL Decals, tutorials and artwork are ©FrankDiorio (dioramaworkshop.com) and offered FOR FREE to the fans – that would be you ? so you can build and display my diorama designs in your very own home. I realize I cannot control what one does with my graphics once I place them on the web, I can only ask you as one fan to another, please respect the artist and do not be that jerk who uses my designs and tutorials to build a copy of my work only to sell it on EBAY or trade/sale groups and forums. Thank You. Frank.
.
.
If you have a facebook account, why not join the Official Diorama Builders Fan Club today, simply click the logo link below.
 .
.
Catch up with fellow visitors and exchange stories, read cool interviews with the crew, exchange photos, fun surprises and grab some FAN ONLY merchandise next year at actual future conventions ?
.
©2018 Frank Diorio DioramaWorkshop.Com
.
IF YOU LIKE WHAT YOU SEE, PLEASE SHARE WITH YOUR FRIENDS
USING THE SOCIAL MEDIA BUTTONS BELOW