


-
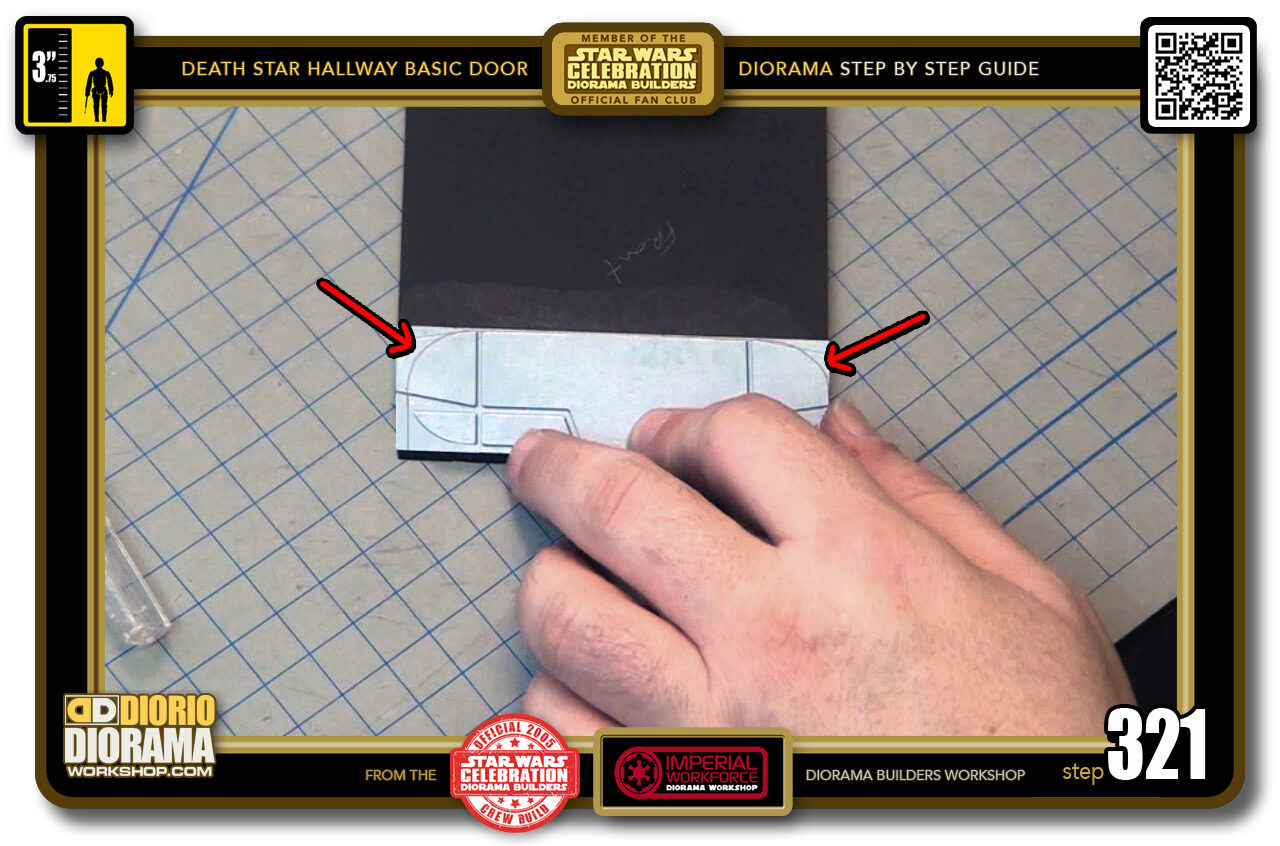
- STEP 321 > You now need to slice off the outside of your traced door frame lines.
-
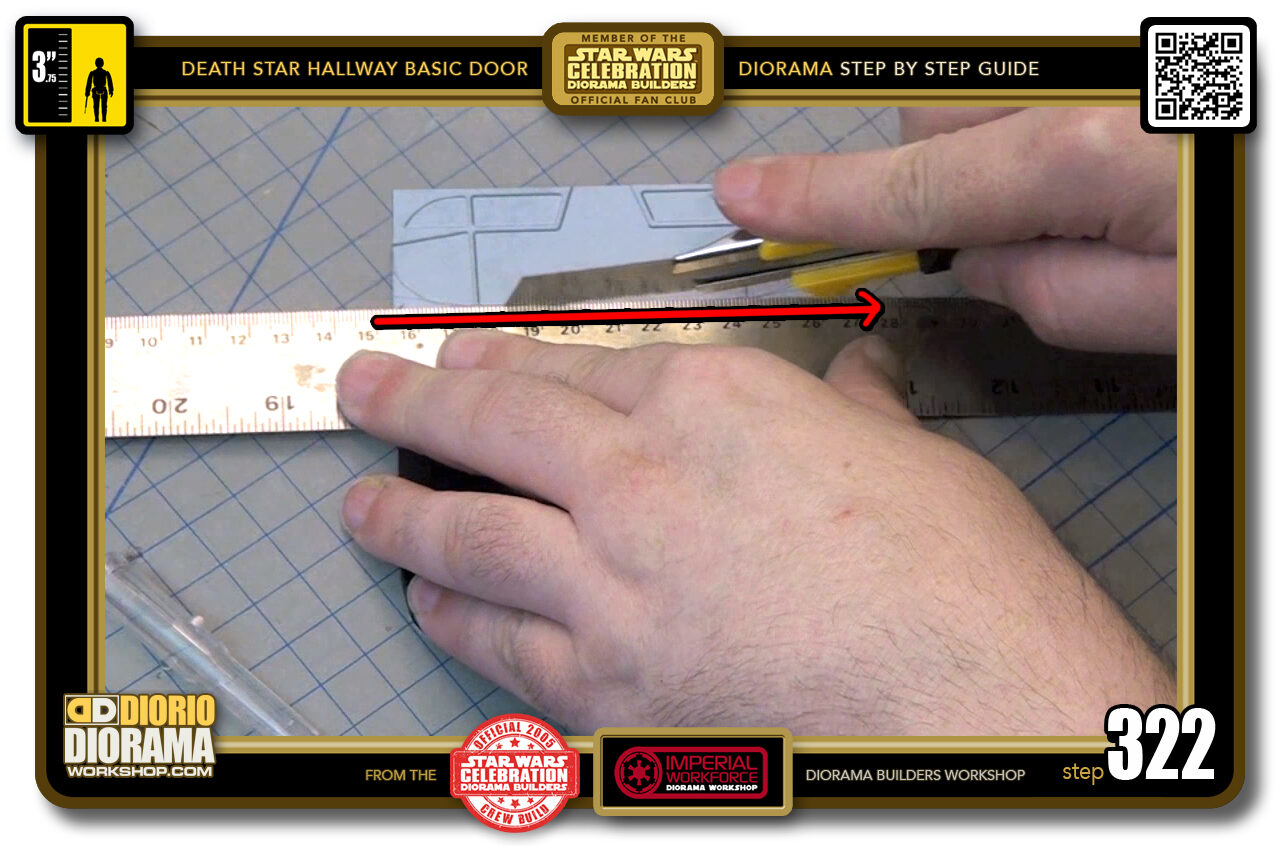
- STEP 322 > It's easier when you start by just cutting off the entire top part of the door first, then you can move on to the curves later.
-

- STEP 323 > In order to create the proper movie effect we need the door to be TWO LAYERS THICK.
-
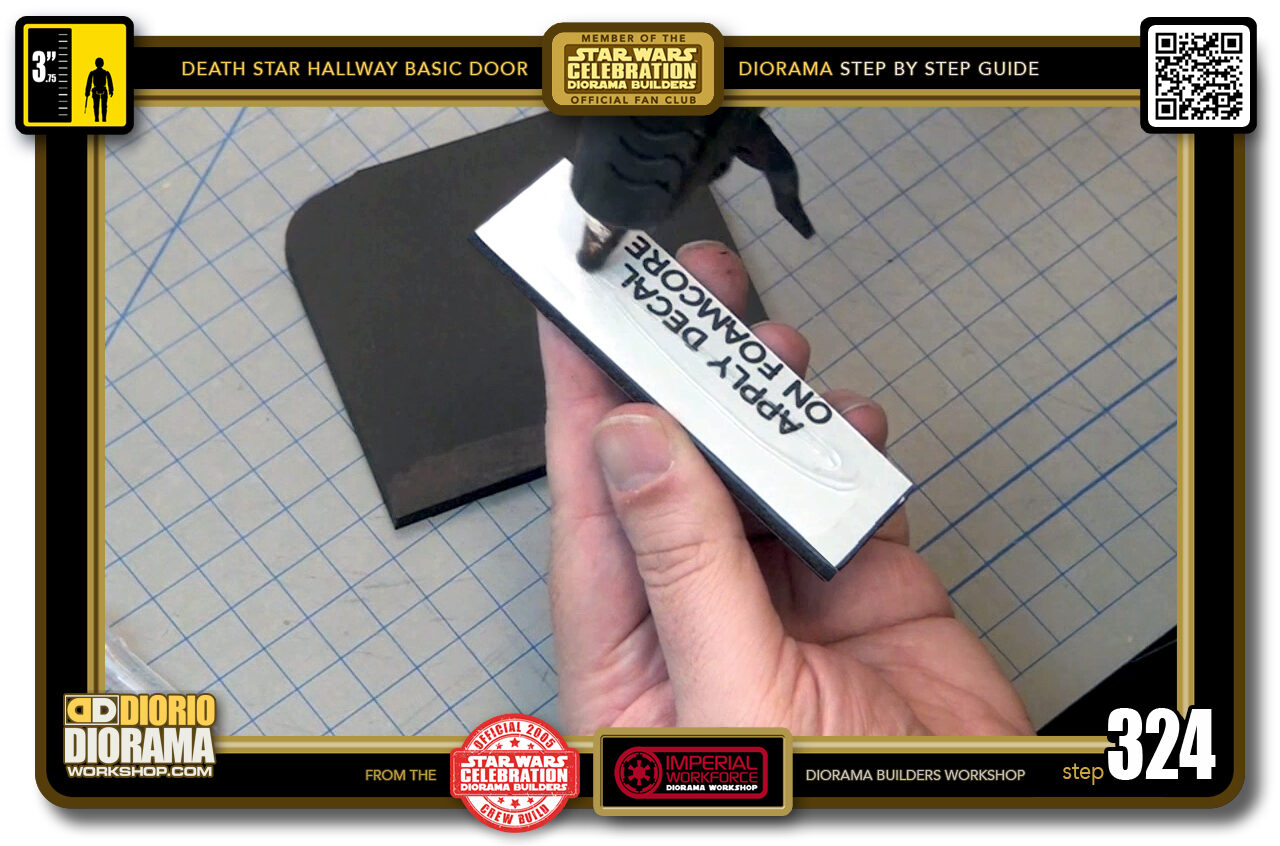
- STEP 324 > To do this apply some hot glue to the back of your current bottom door piece.
-
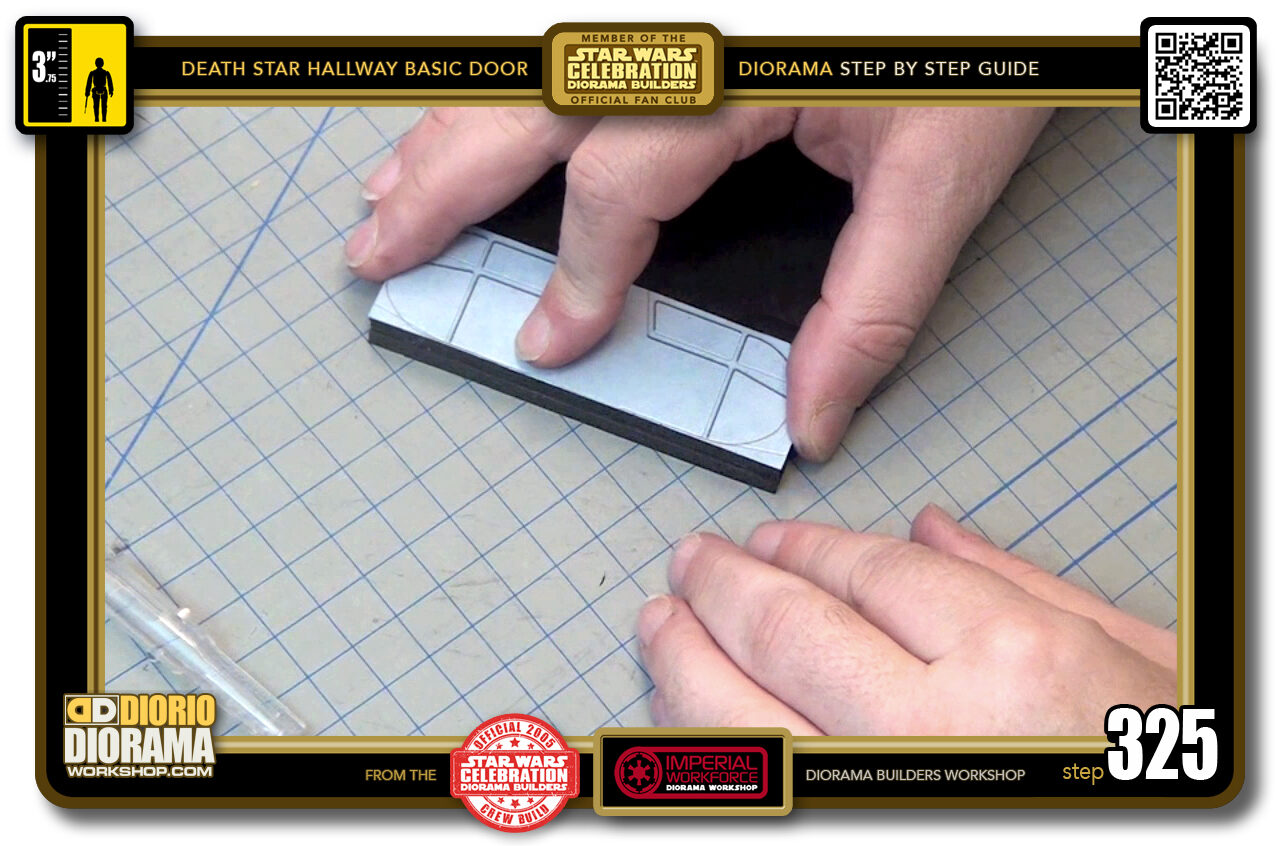
- STEP 325 > Place it down on top of the 2nd door piece that you just cut at Step 322. Match the bottom of your door with that newly cut straight edge giving you a double 90 degree END to END double thickness door piece.
-
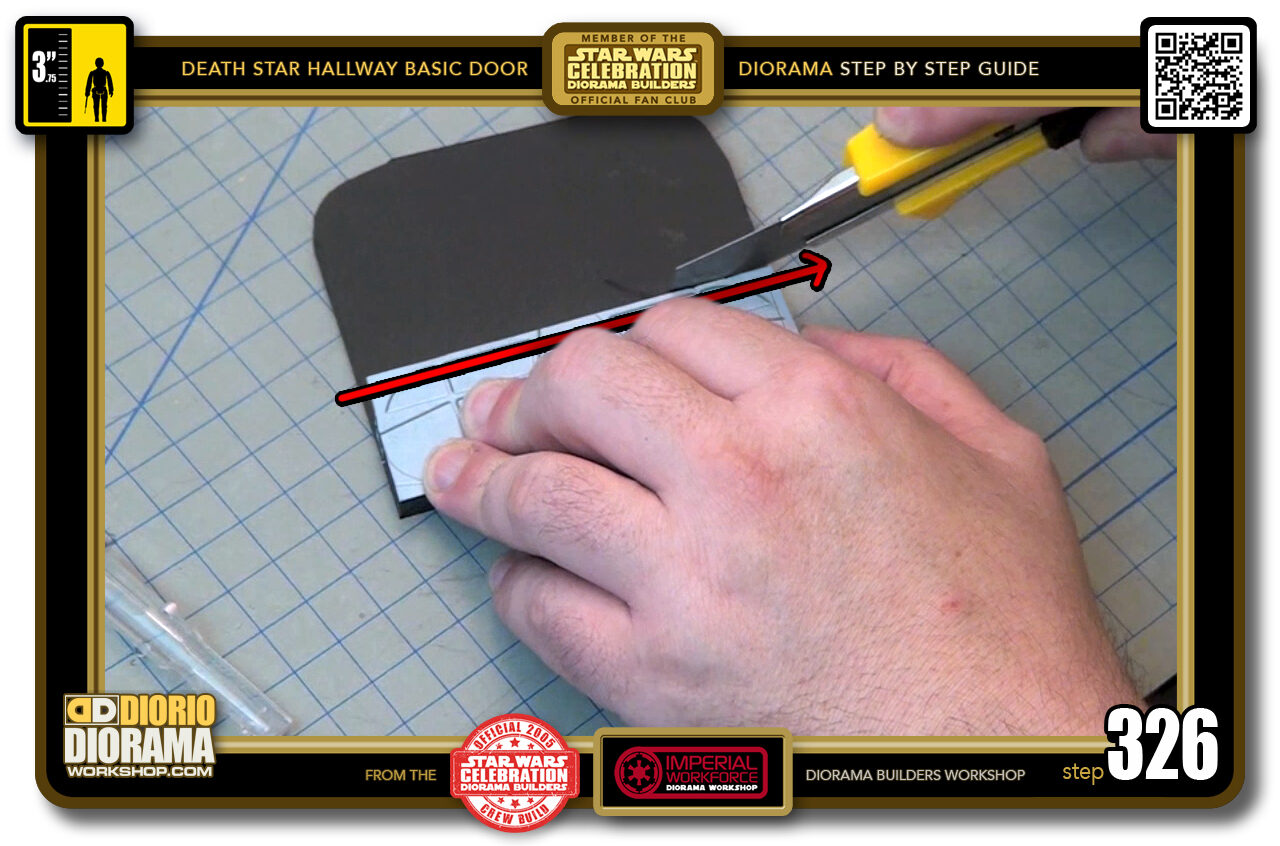
- STEP 326 > When the hot glue has cooled down, use the top piece edge of the foamcore as your guide and slice along the bottom foamcore, the piece you just attached the top to.
-
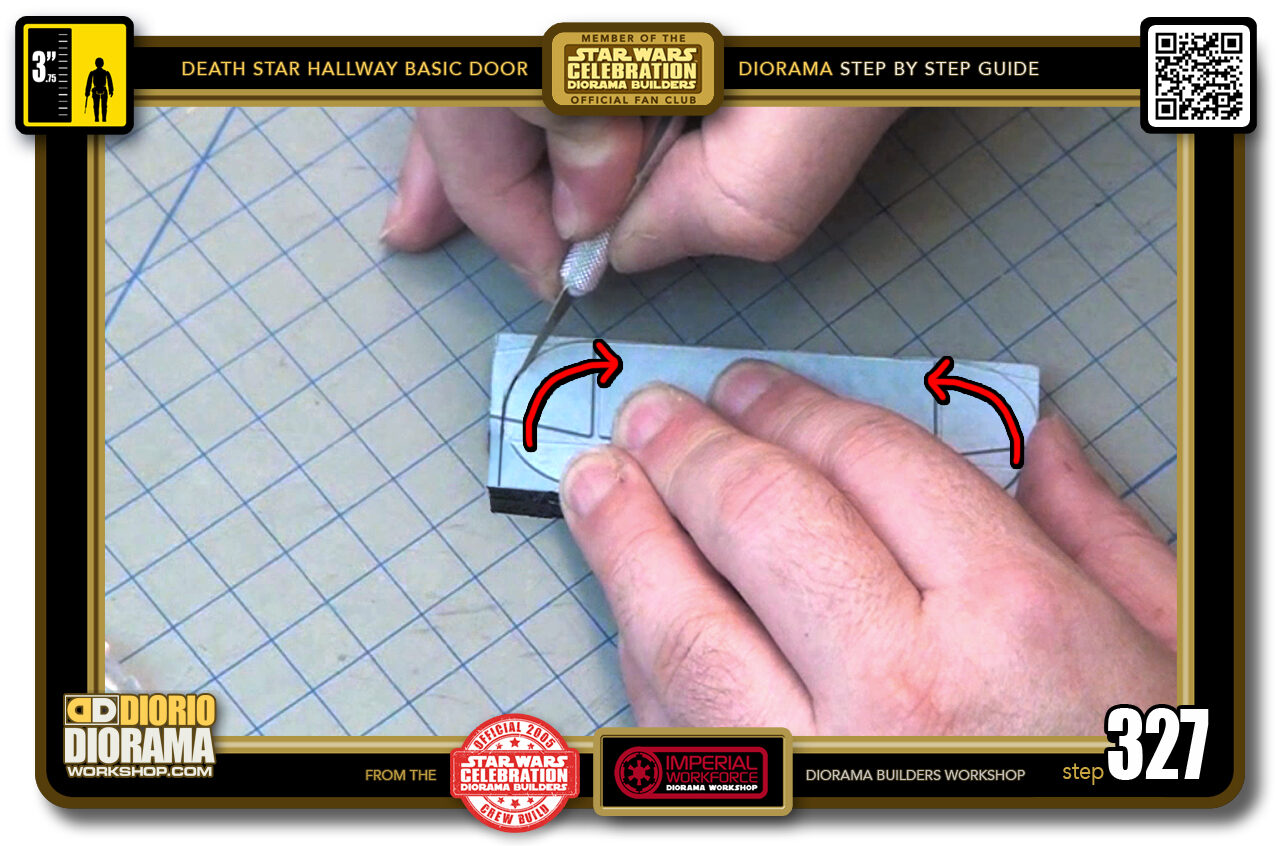
- STEP 327 > Now grab your X-Acto PEN with the pointy end, and start cutting your ceiling corner frame curves. Now these are DOUBLE THICK so it will take you a couple of passes to reach all the way through to the cutting mat. Just take your time to get the circle curve cut as close to your traced guide line as possible.
-
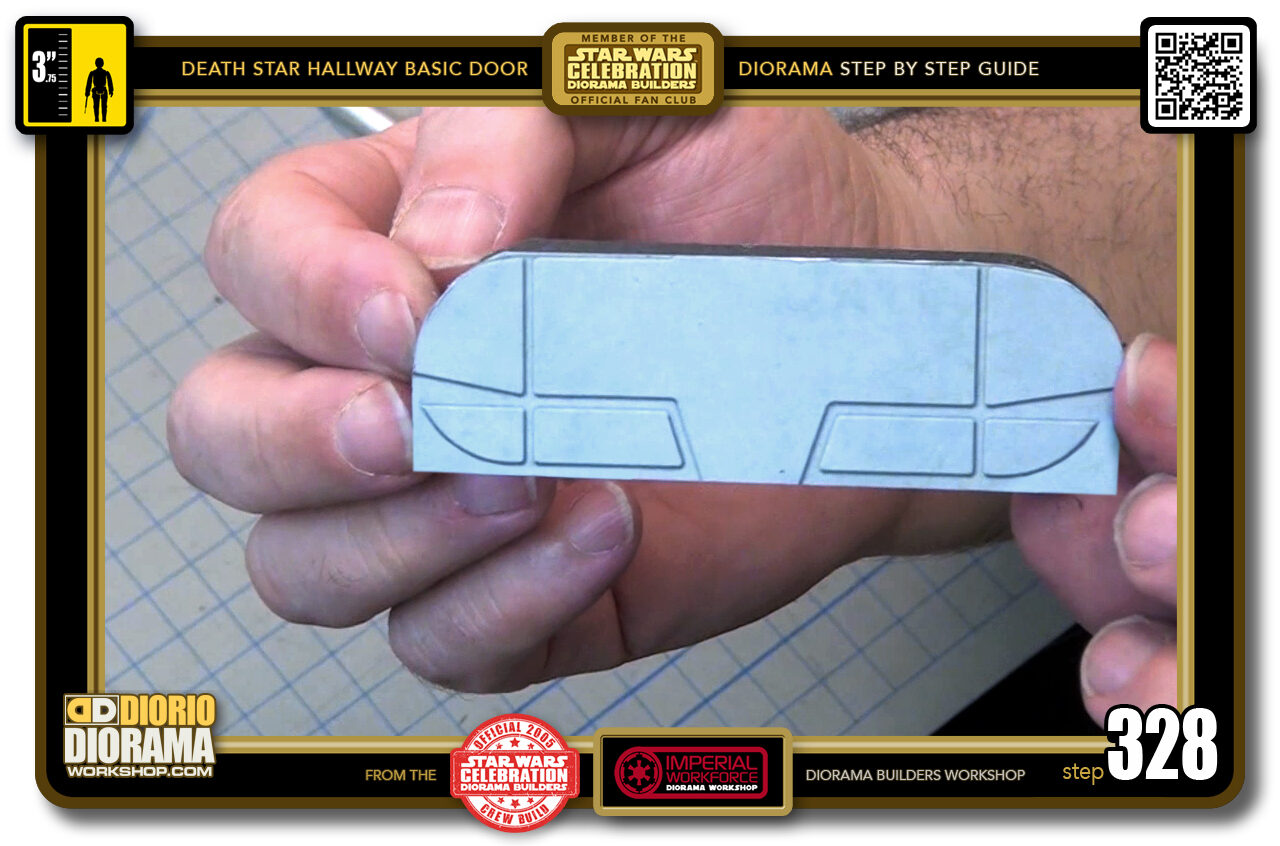
- STEP 328 > Your double door now looks like this 🙂 But there is ONE thing missing - The SIDE DECALS SKIN that hides the black double foamcore edges.
-
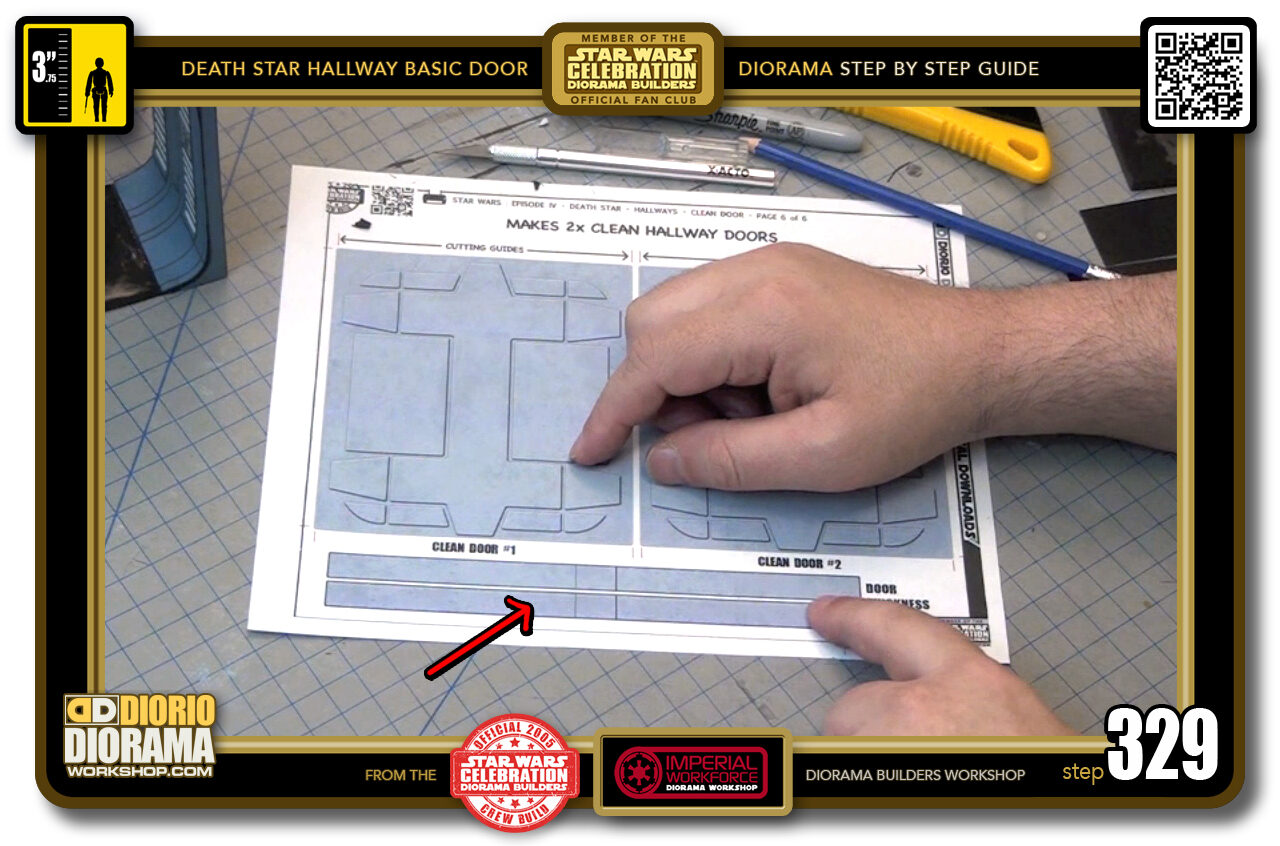
- STEP 329 > I created this version of the decal when realising I needed a skin to cover the thickness so that's why you didn't see this in the early photos. However these have replaced the older full door sheet so you may have cut these out already.
-
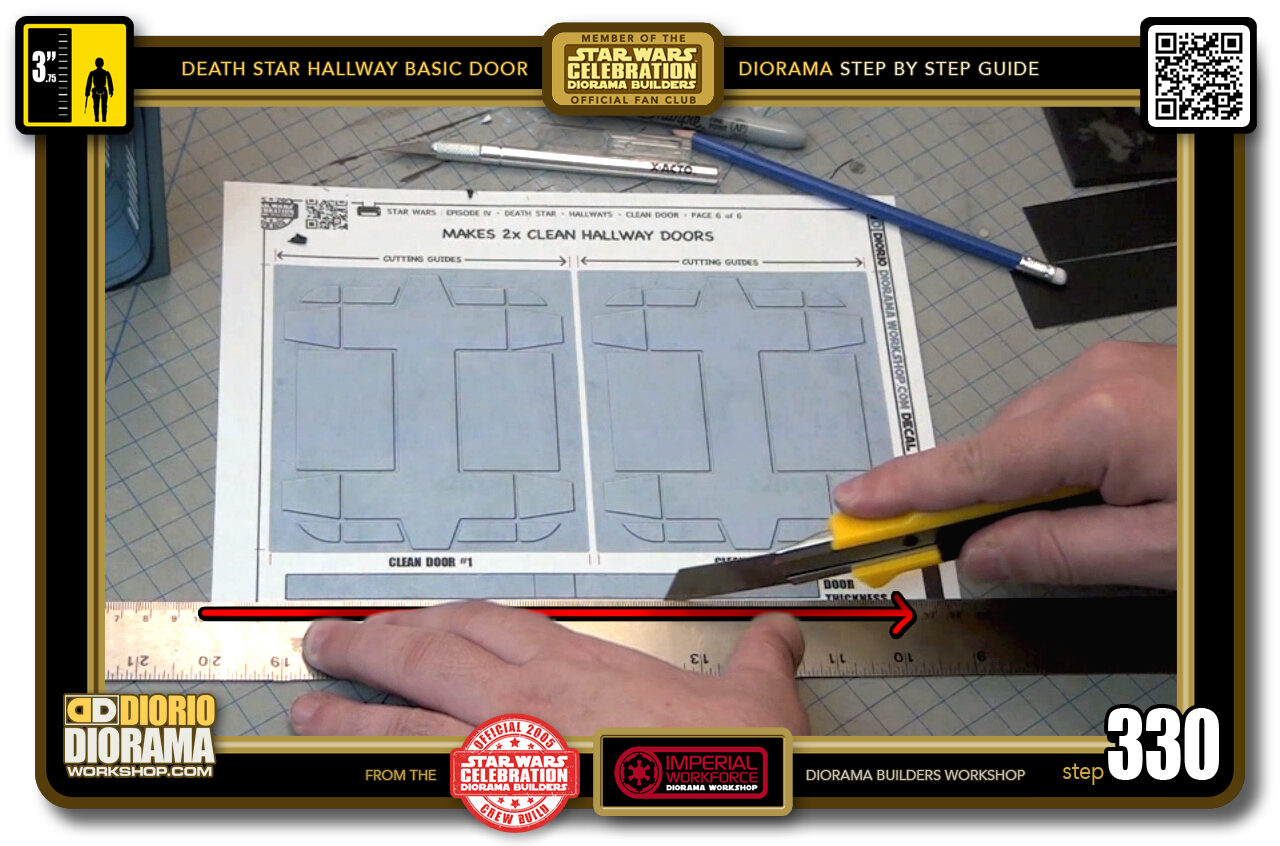
- STEP 330 > We just need ONE so for these there are NO RED CUTTING GUIDES - you simply cut along the bleed around all 4 edges.
-
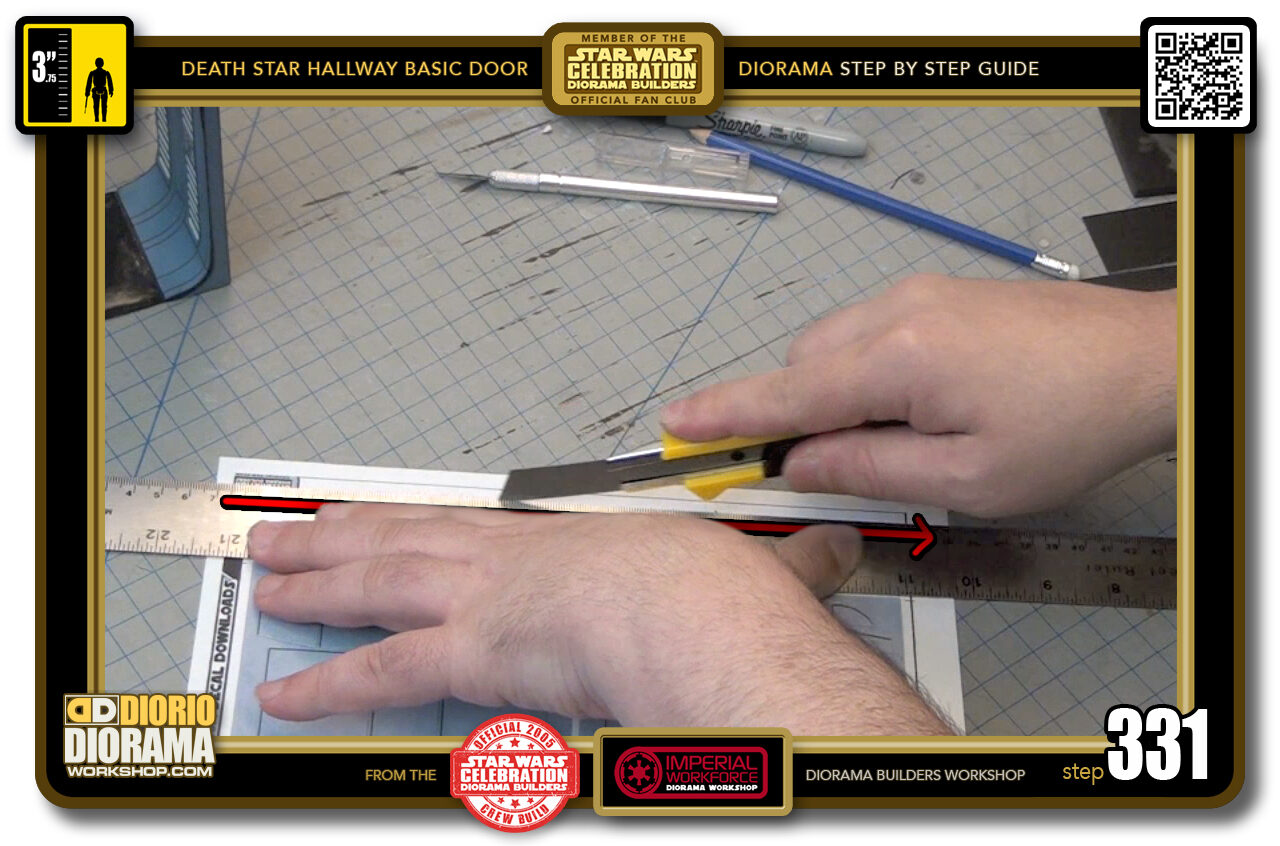
- STEP 331 > Align your ruler, press down firmly so your decal doesn't wiggle and slice all the way through. Do the other side...
-
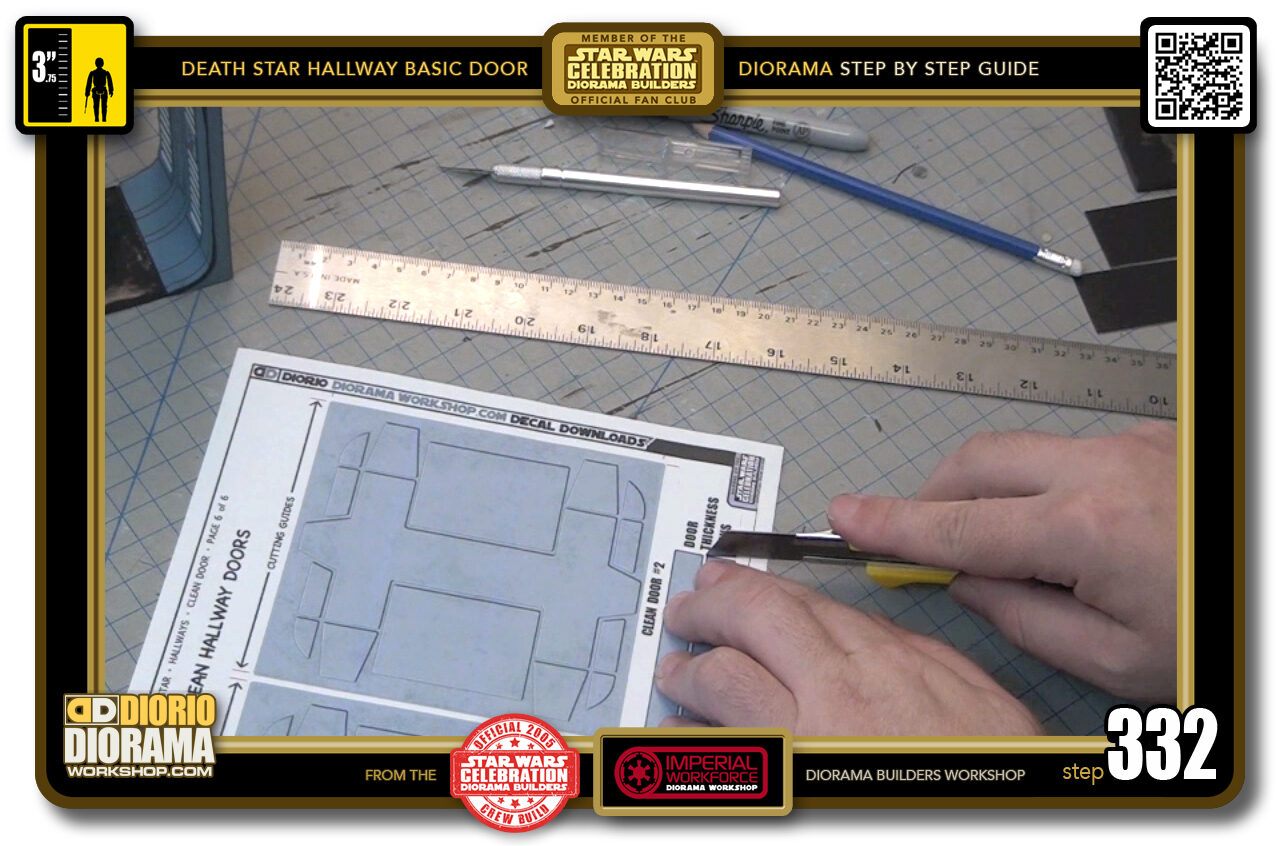
- STEP 332 > And then the 2 small cuts on both ends.
-
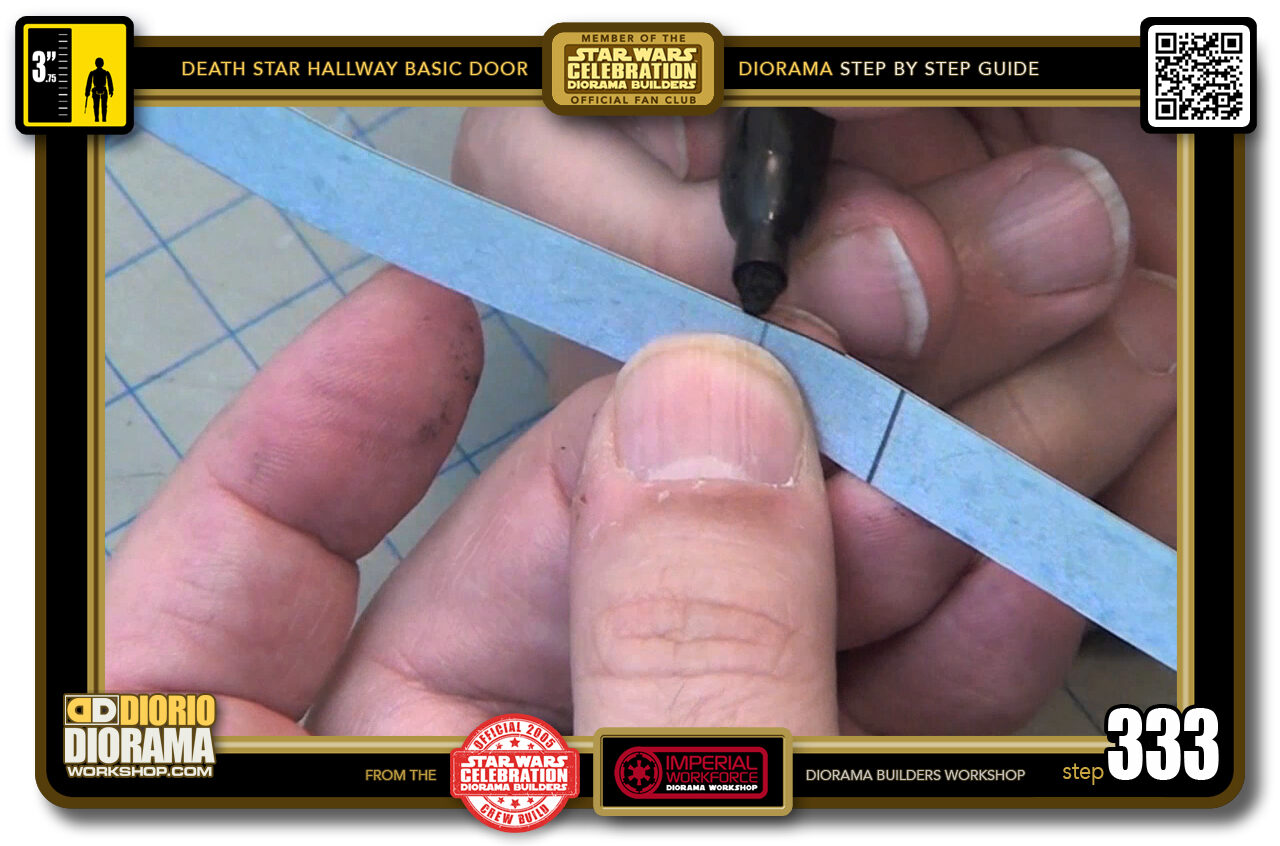
- STEP 333 > As with other decals, we need to use the Black Sharpie all around the edges to hide the whiteness of the papers thickness and keep the illusion of the dark lines.
-
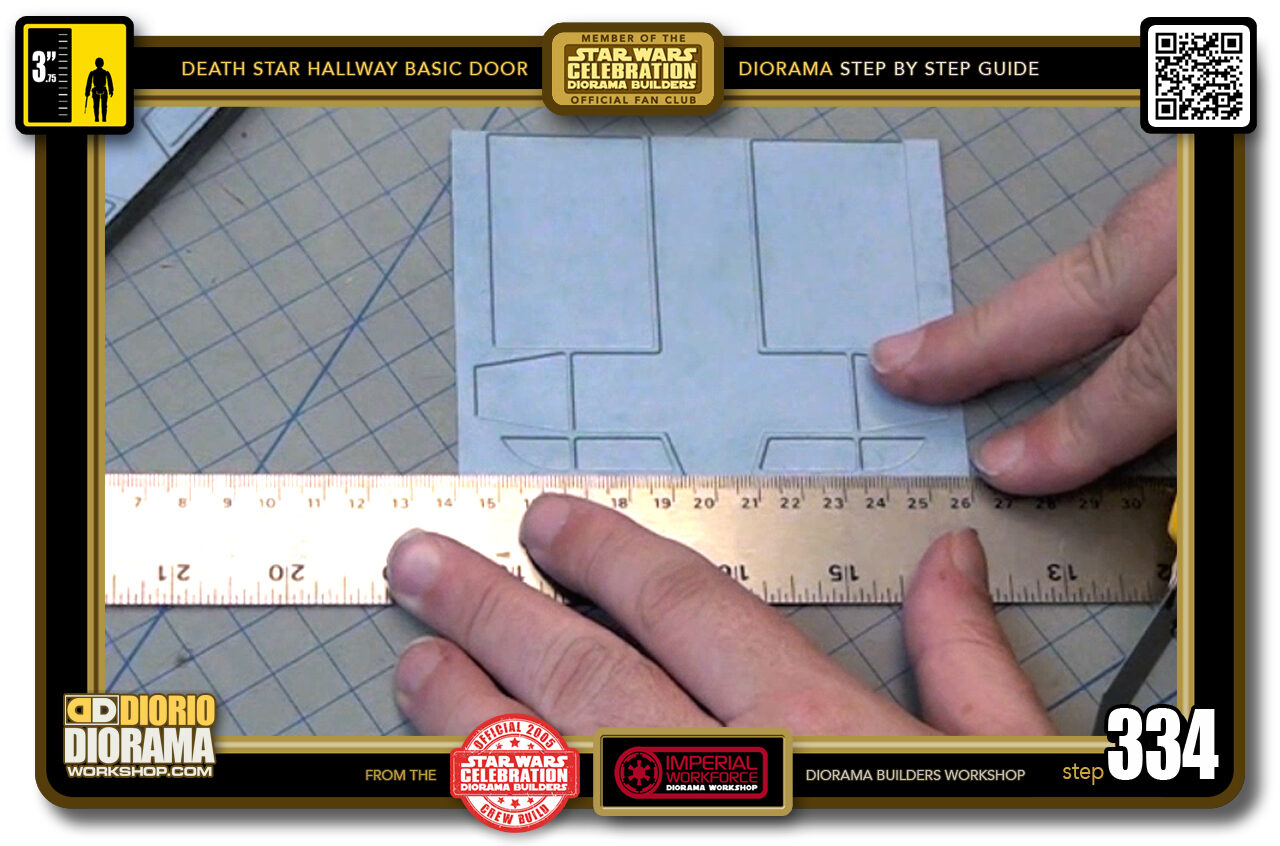
- STEP 334 > We also need to put a bottom decal for the other side of the door now and there are 2 ways to do this... 1) if you want to save money just rotate the door decal you used for the other side. You will notice because you had to rotate the door to cut it this way, on one side you will have the grooves effect be Hilites on TOP and Shadows at the BOTTOM and on the other side of the door you will have the inverse... Hilites at the BOTTOM and Shadows at the TOP.
-
-
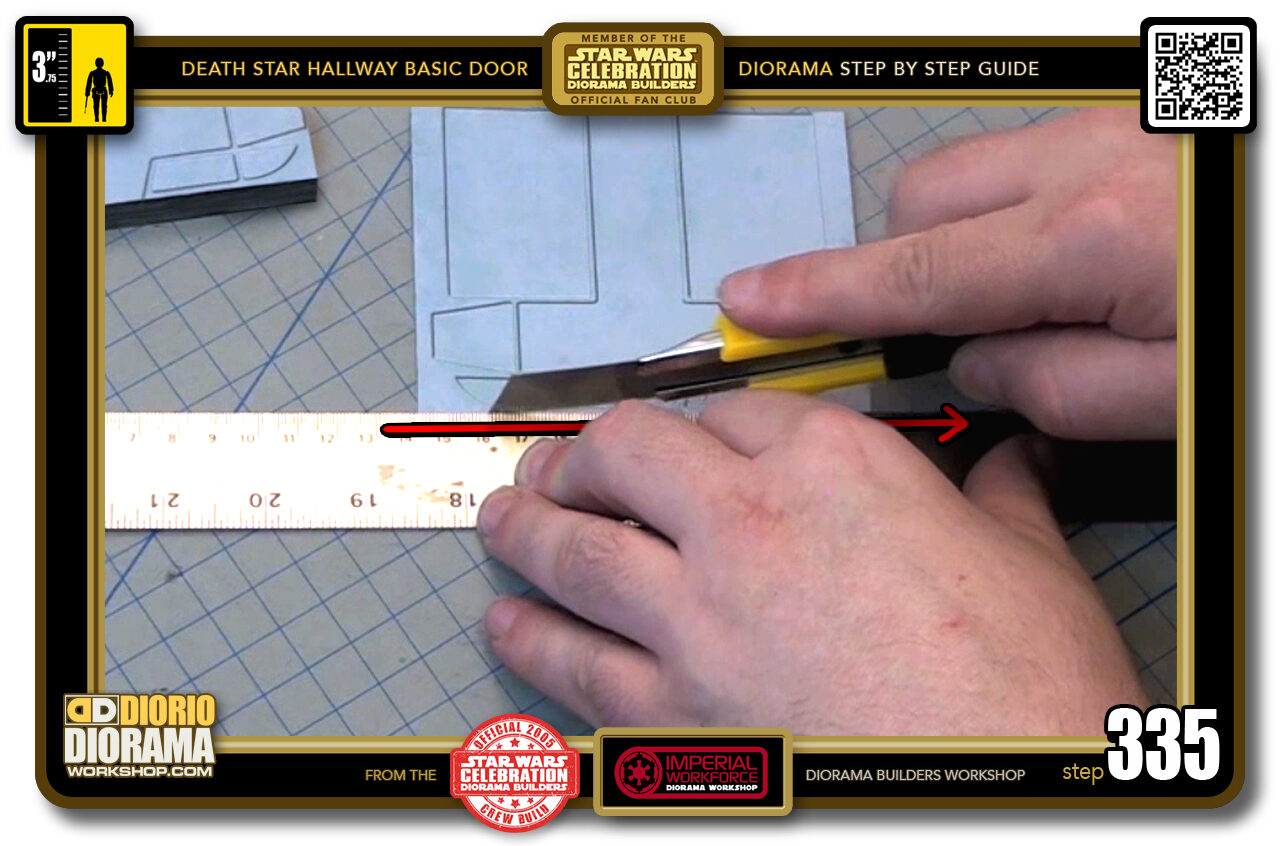
STEP 335 > And a little more expensive... 2) you can print a NEW door decal and use the SAME BOTTOM as you originally did to KEEP the Shadow and Hilite grooves in the SAME DIRECTION on BOTH SIDES. Since you don't see both sides at the SAME TIME, it should not really be an issue. More how it affects your OCD like me 😛
So when you decided what method you wanted to use for the decal, Align your ruler and slice off that bottom "V" emboss to get a cleaner straight edge.
-
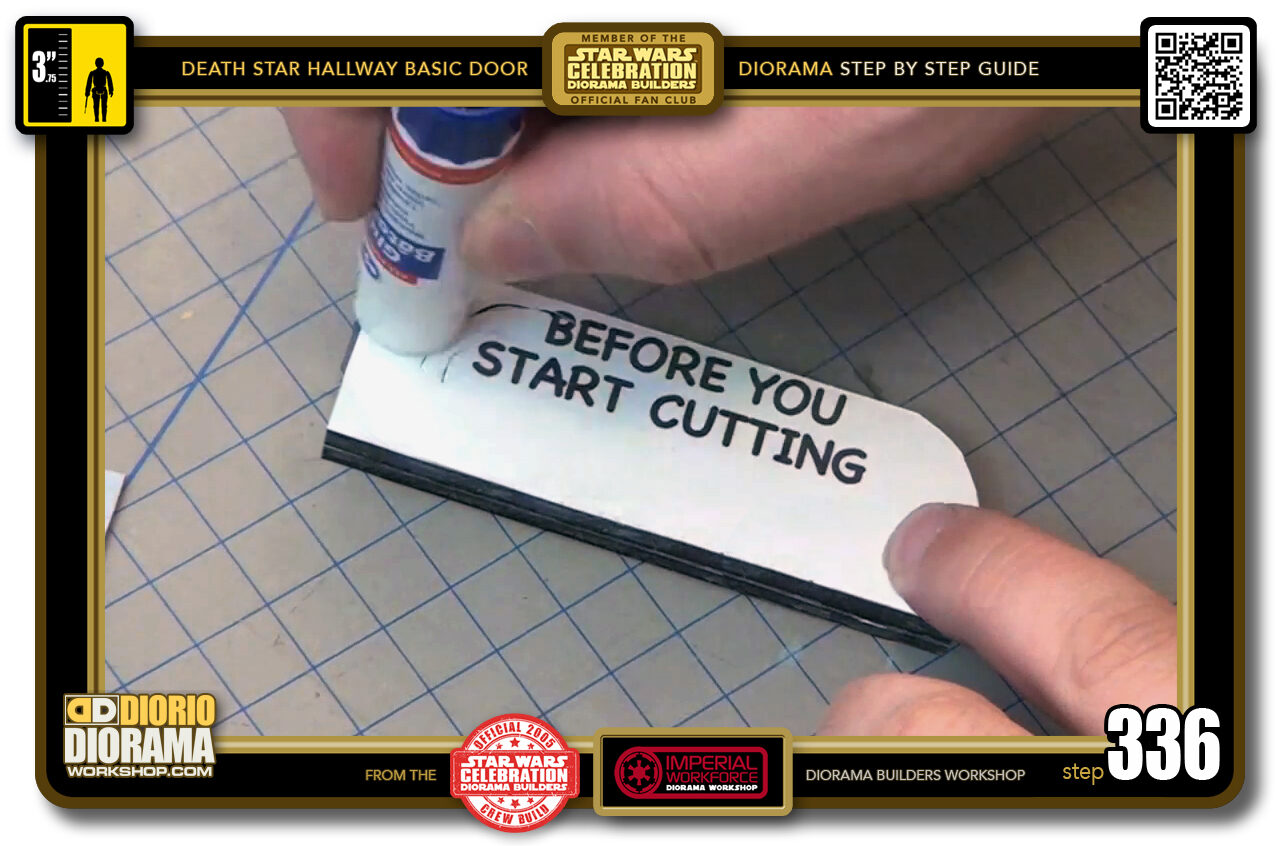
- STEP 336 > Now apply gluestick to the other side of your double thickness piece.
-
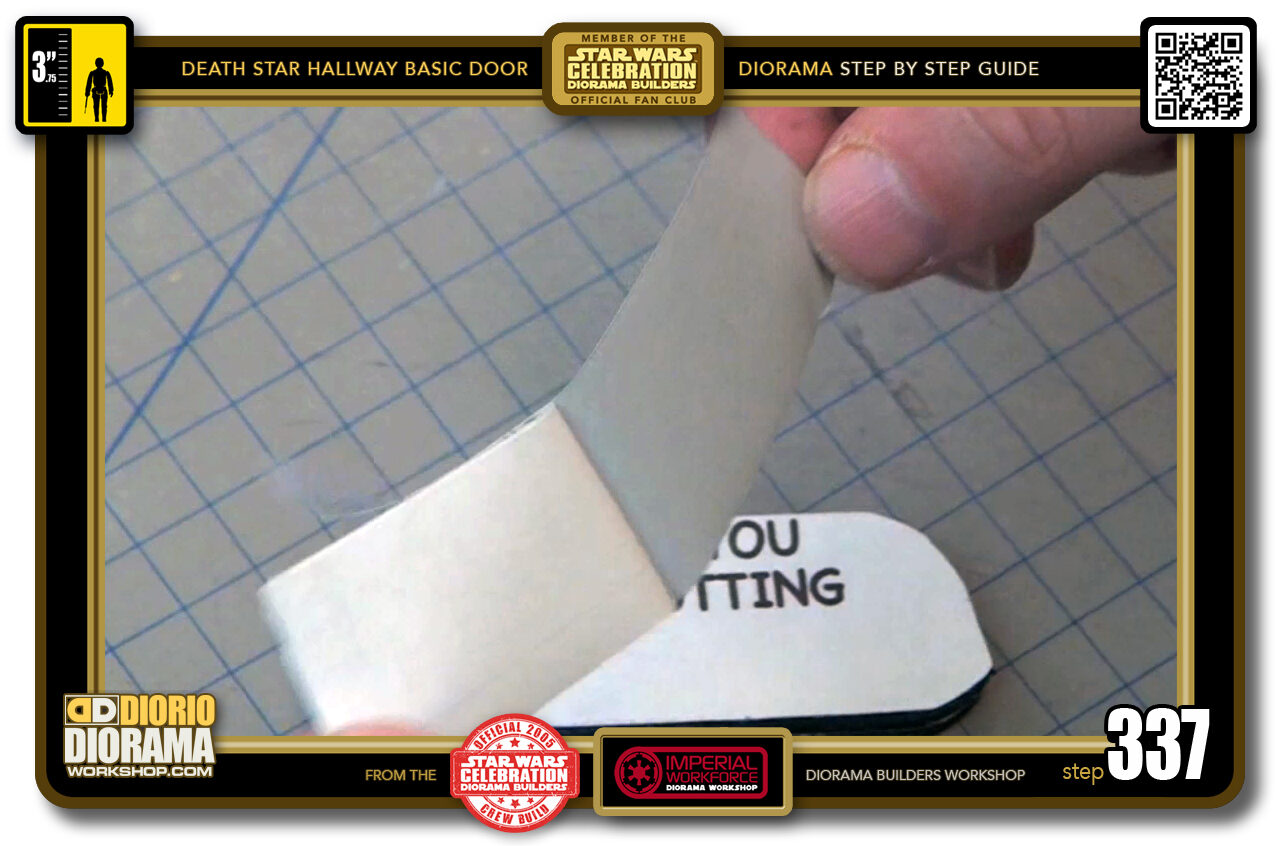
- STEP 337 > Peel your decal which would be the full door minus the bottom "V" emboss. Do NOT RELY ON THIS PHOTO for what your peeling should look like. Sorry if this causes confusion.
-
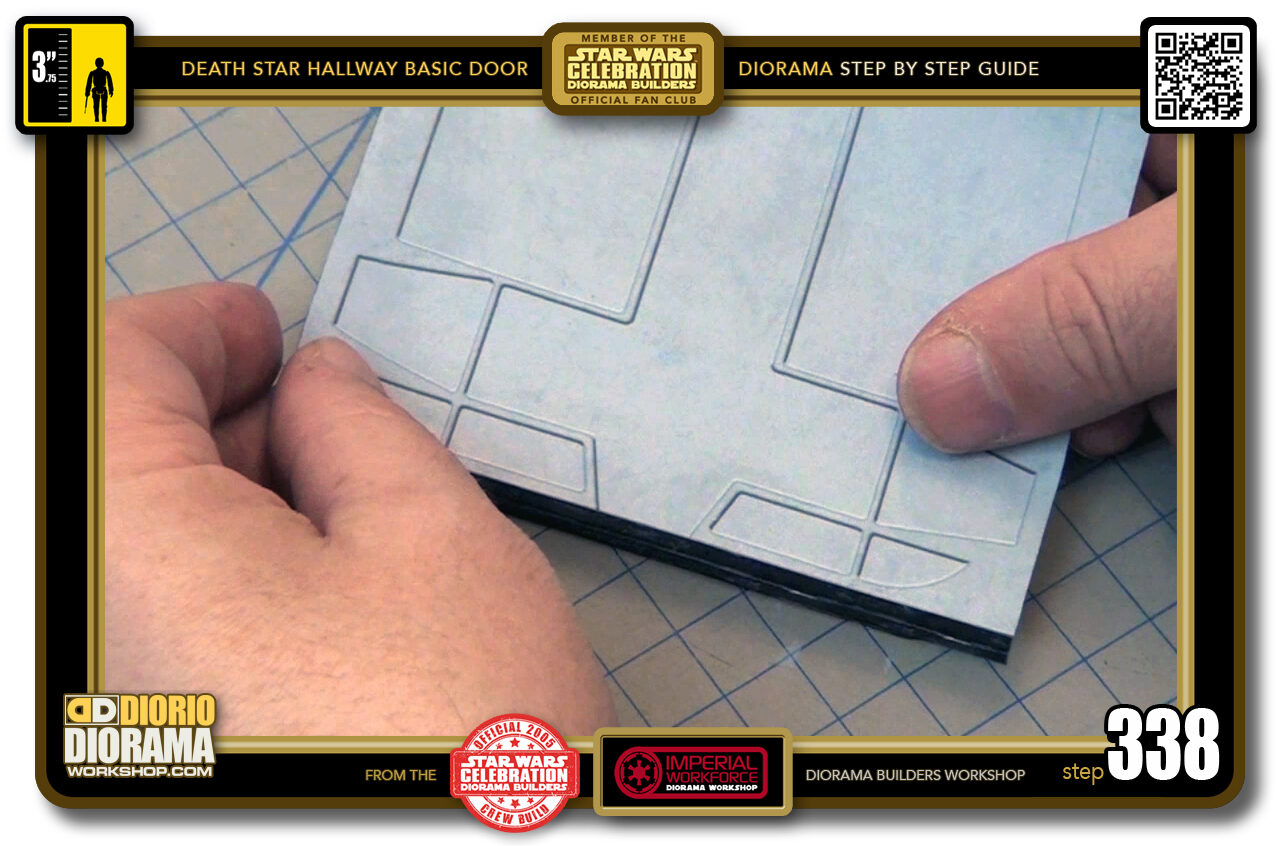
- STEP 338 > Now align your 2nd full open door decal with the bottom edge of your foamcore double thickness door. You can hold it up and peek around the other side to make sure the bottom "V" groove aligns just right on the front and the rear of the door.
-
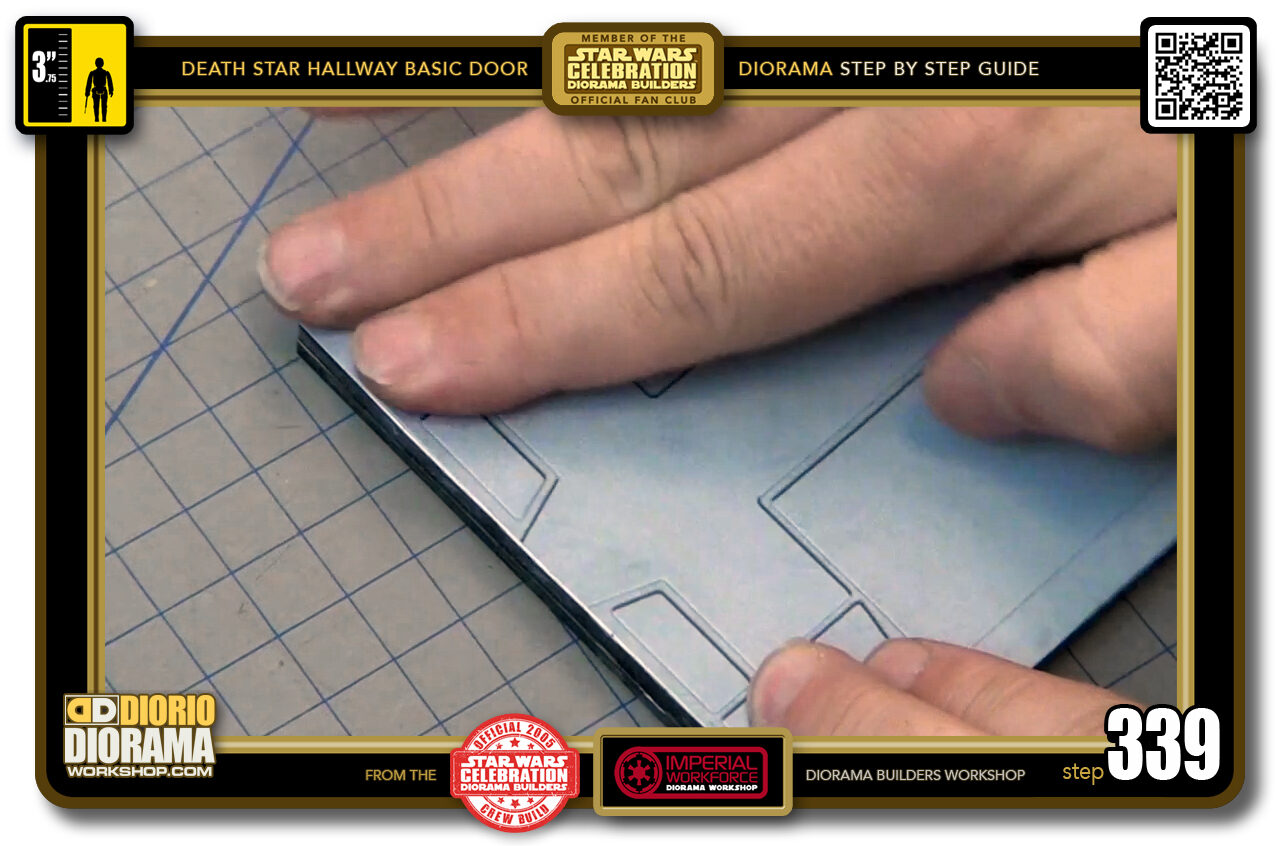
- STEP 339 > When you are satisfied with the position, press from the CENTRE OUTWARDS - Avoid those bubbles !!!
-
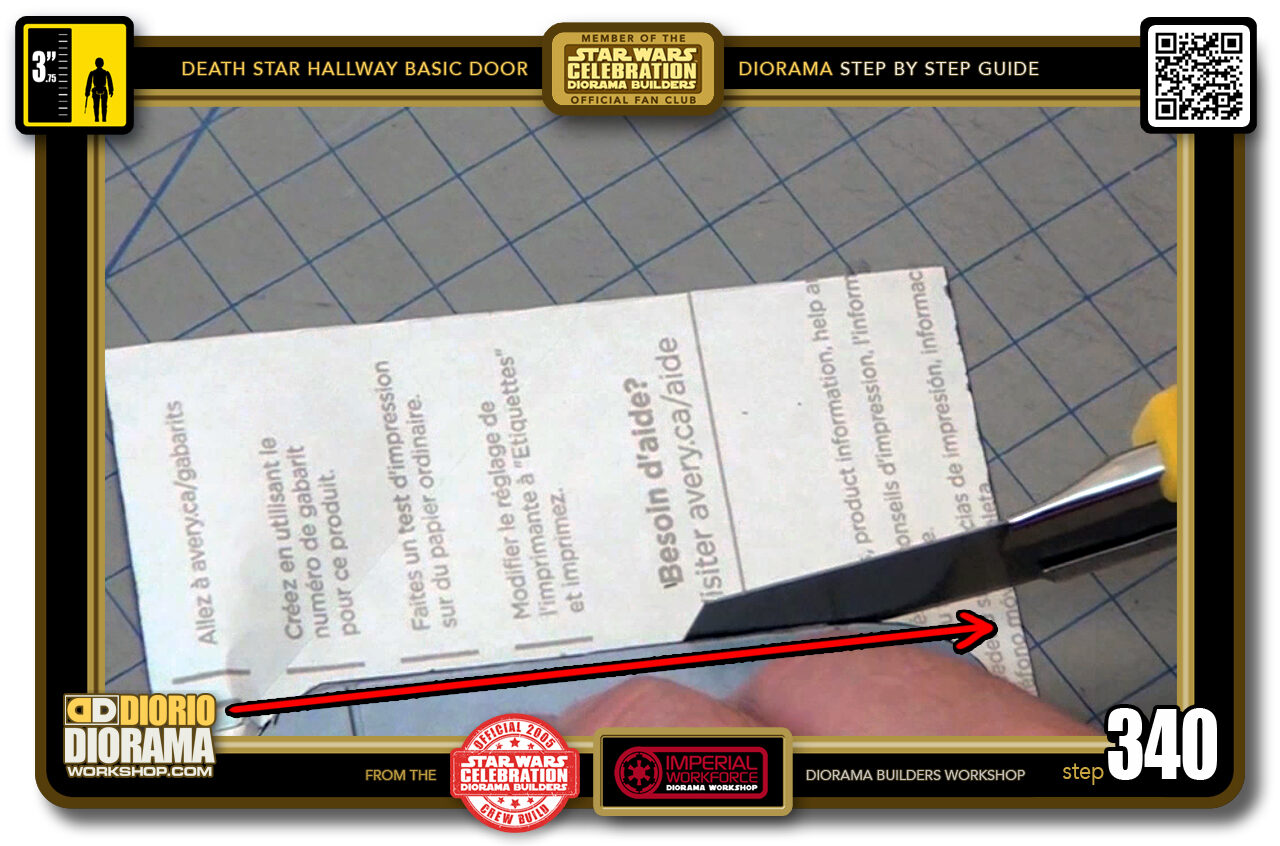
- STEP 340 > Now flip your door piece over and trim off the unused portion of the open door decal. Do the STRAIGHT LINE ONLY with your X-Acto knife.

.
Did you already build this Diorama ? At home or at our Star Wars Celebration Diorama Builders workshop ? Would you like to show it in the site’s GALLERY VISITORS DIORAMAS section, YES ? That is Awesome !!! You can find out all the details on how to email me your photos on the VISITORS SUBMISSIONS INFO page … When I get your photos, I will create your very own page just like this one. You may not realize it but work does inspire others to join in the fun of making Action Figure Dioramas.
.
NOT FOR RESALE ALL Decals, tutorials and artwork are ©FrankDiorio (dioramaworkshop.com) and offered FOR FREE to the fans – that would be you ? so you can build and display my diorama designs in your very own home. I realize I cannot control what one does with my graphics once I place them on the web, I can only ask you as one fan to another, please respect the artist and do not be that jerk who uses my designs and tutorials to build a copy of my work only to sell it on EBAY or trade/sale groups and forums. Thank You. Frank.
.
.
If you have a facebook account, why not join the Official Diorama Builders Fan Club today, simply click the logo link below.
 .
.
Catch up with fellow visitors and exchange stories, read cool interviews with the crew, exchange photos, fun surprises and grab some FAN ONLY merchandise next year at actual future conventions ?
.
©2018 Frank Diorio DioramaWorkshop.Com
.
IF YOU LIKE WHAT YOU SEE, PLEASE SHARE WITH YOUR FRIENDS
USING THE SOCIAL MEDIA BUTTONS BELOW