


-
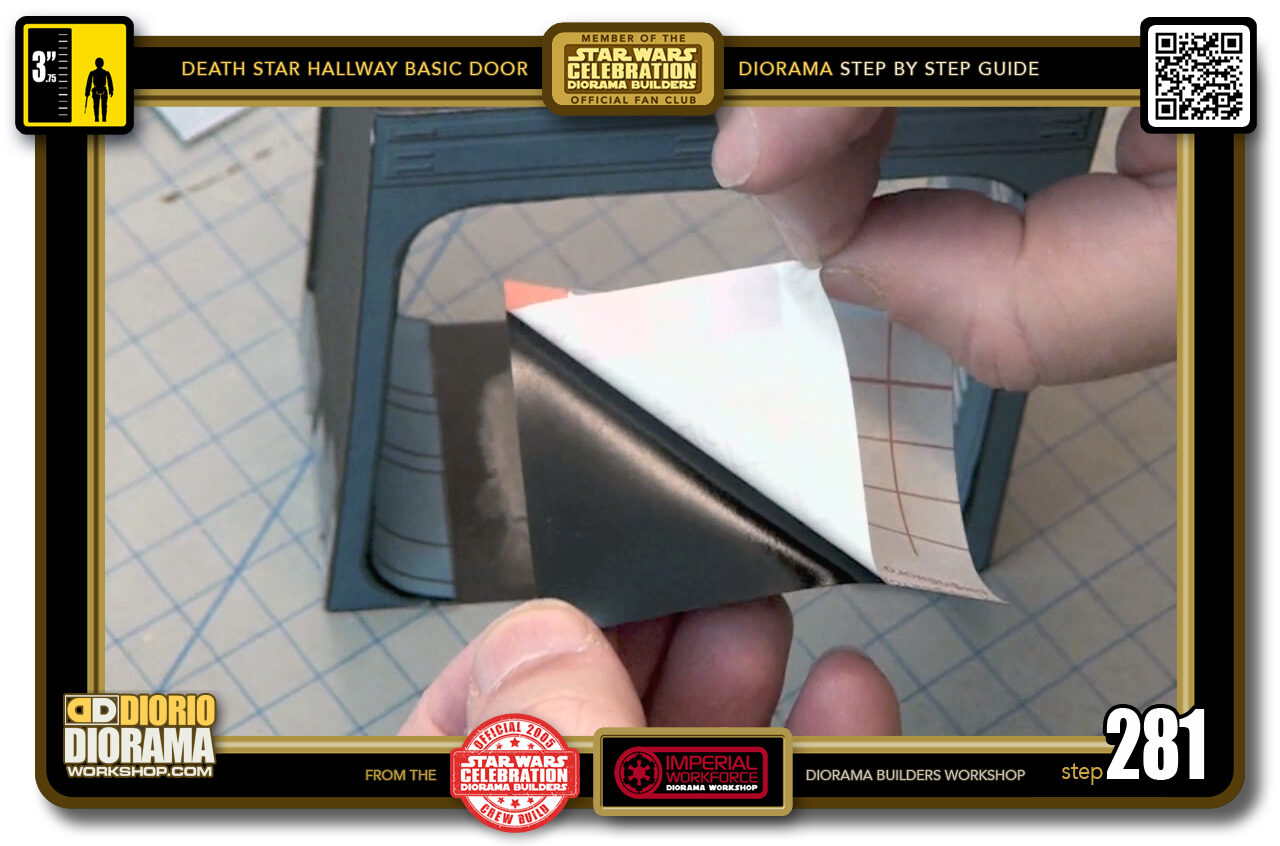
- STEP 281 > Peel back the DC FIX
-

- STEP 2812 > Align and place your BLACK GLOSS VINYL in the centre floor area.
-
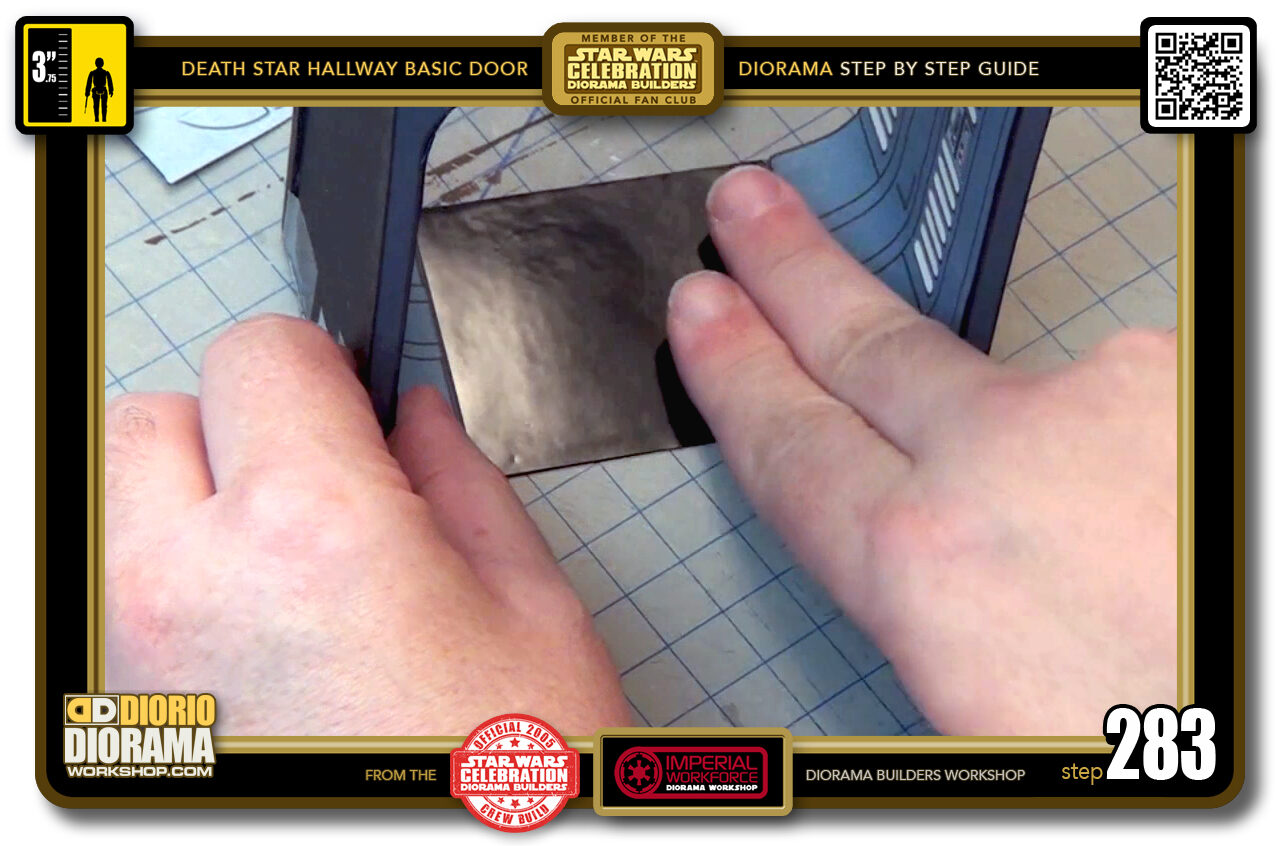
- STEP 283 > When you are happy, press all around with your fingers putting enough pressure for the 2 pieces to bond closely together.
-

- STEP 284 > Now if you see slight edges peeking out and get obsessed over it like I do LOL Extend your X-Acto knife blade as far as it can go, angle it dow close to the cutting pad, and SLOWLY CAREFULLY slice your way across using the posterboard edge as your guide.
-
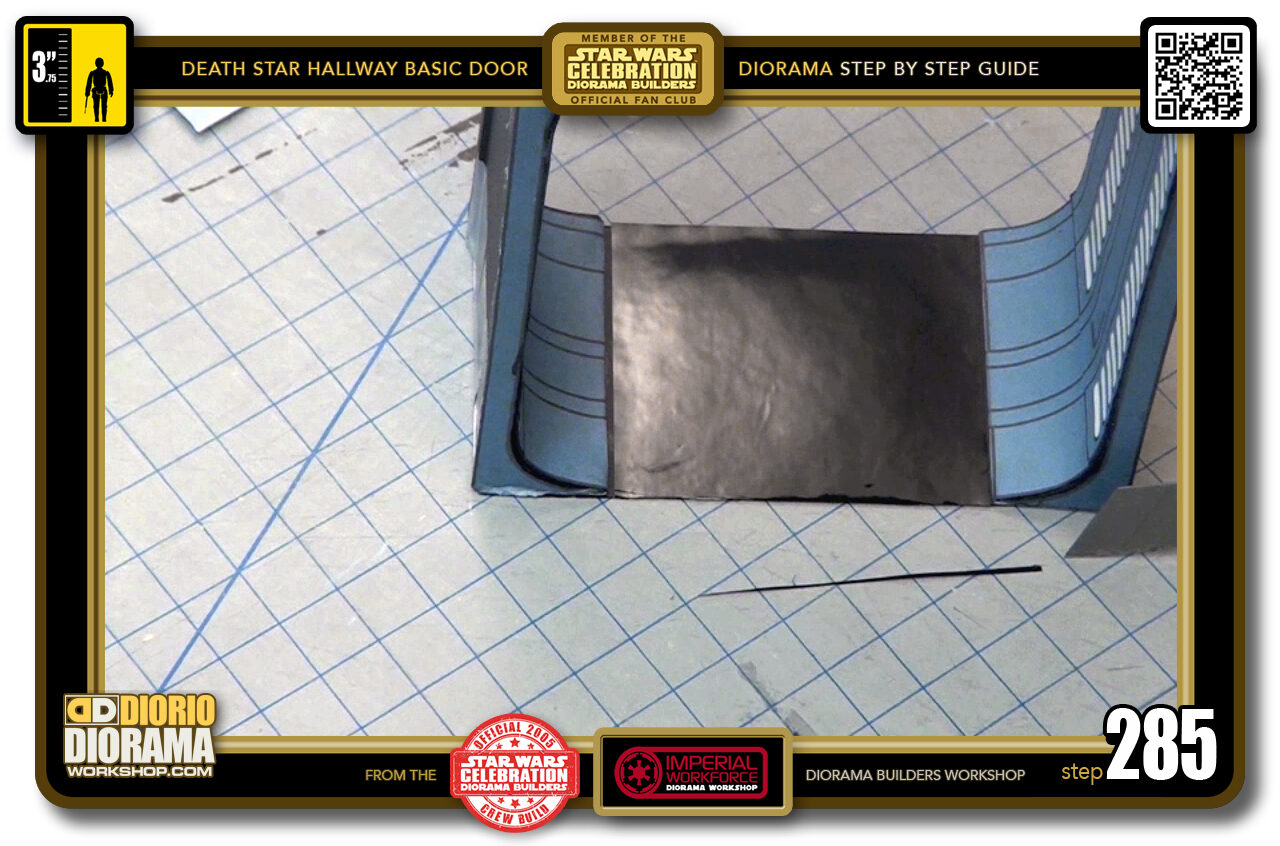
- STEP 285 > This is the little vinyl piece I just slived off. I can live happy now 😀
-
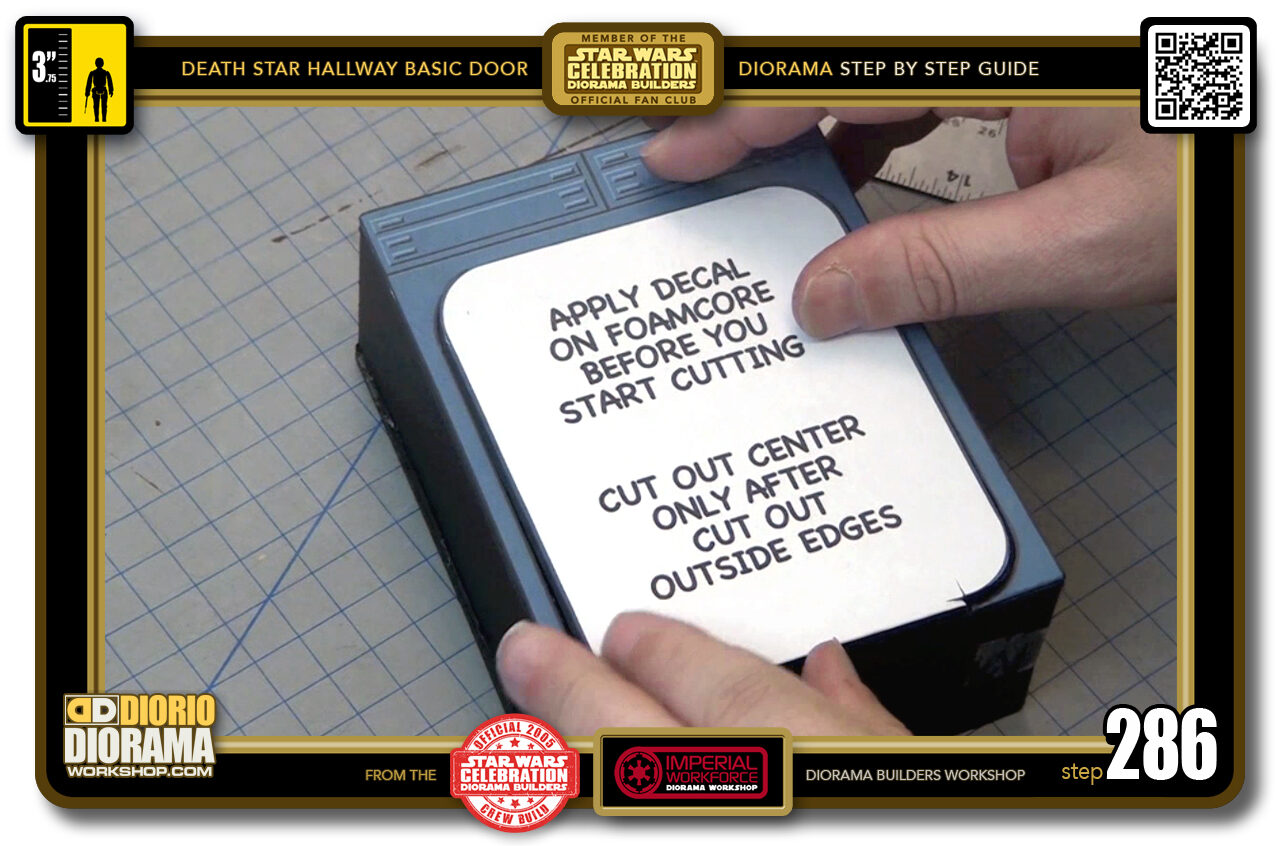
- STEP 286 > Now find the door that fits your frame, you have a 50/50 chance to get it right the first time 🙂 100% if you are smart and unlike me, wrote which frame it belongs to LOL.
-
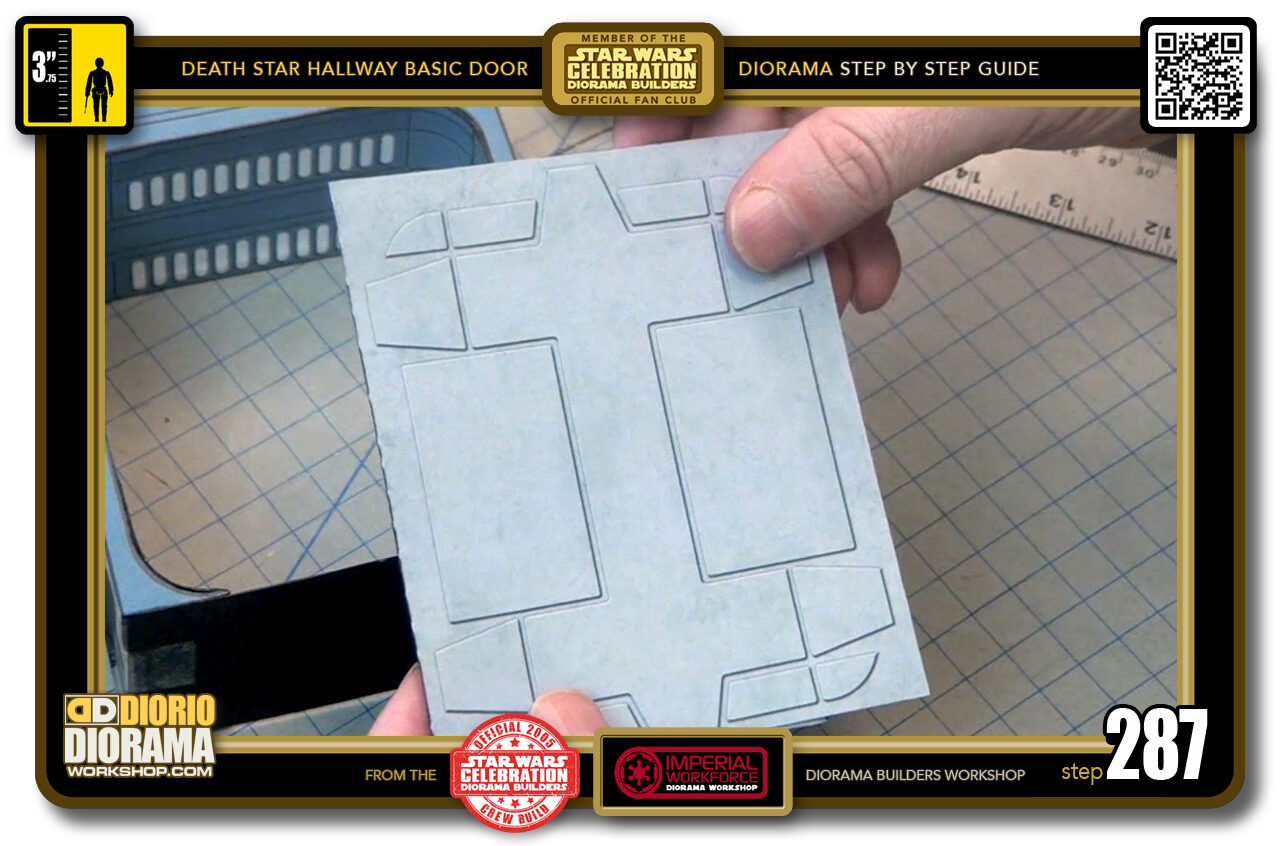
- STEP 287 > You will need to grab 1 full door decal for the CLOSED DOOR display we are doing first.
-
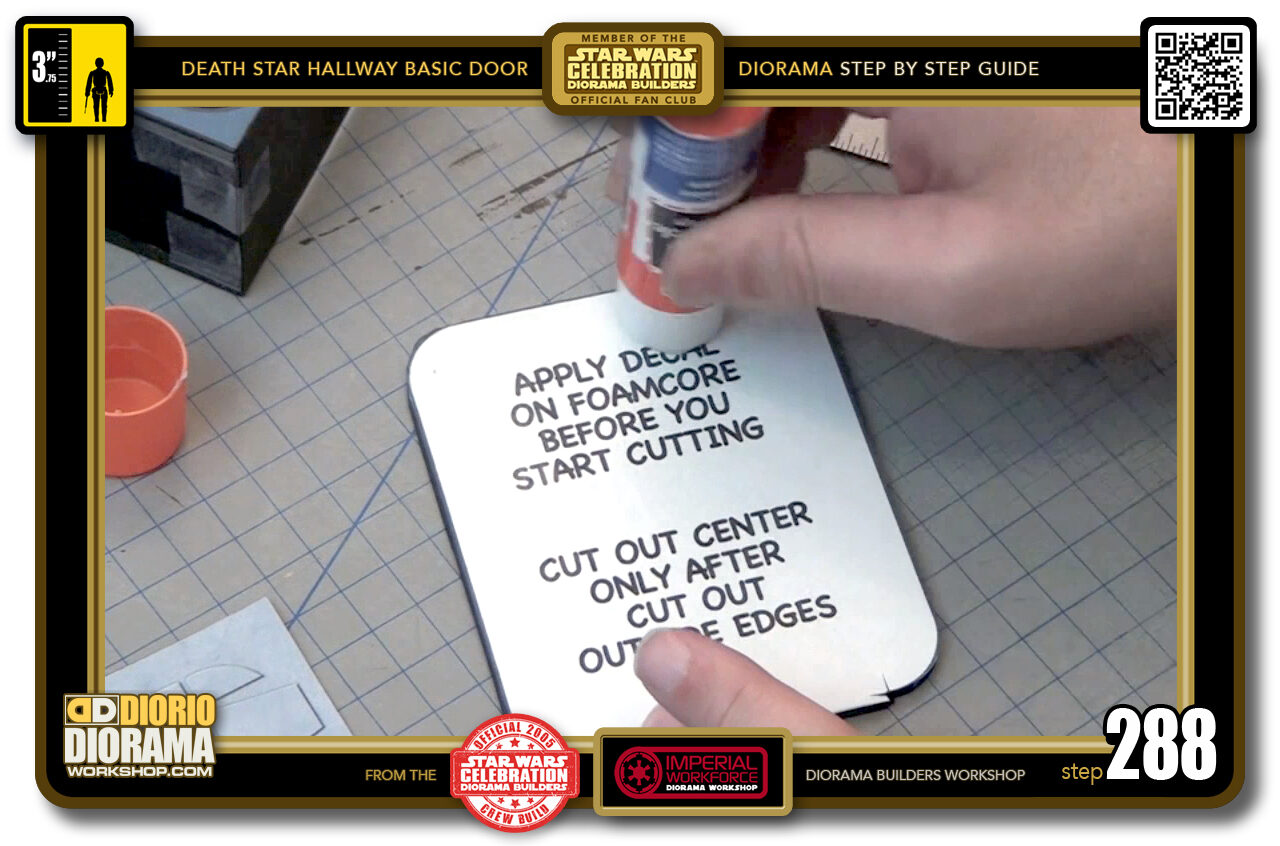
- STEP 288 > Put gluestick all over the top of your door centre. The MORE the better.
-
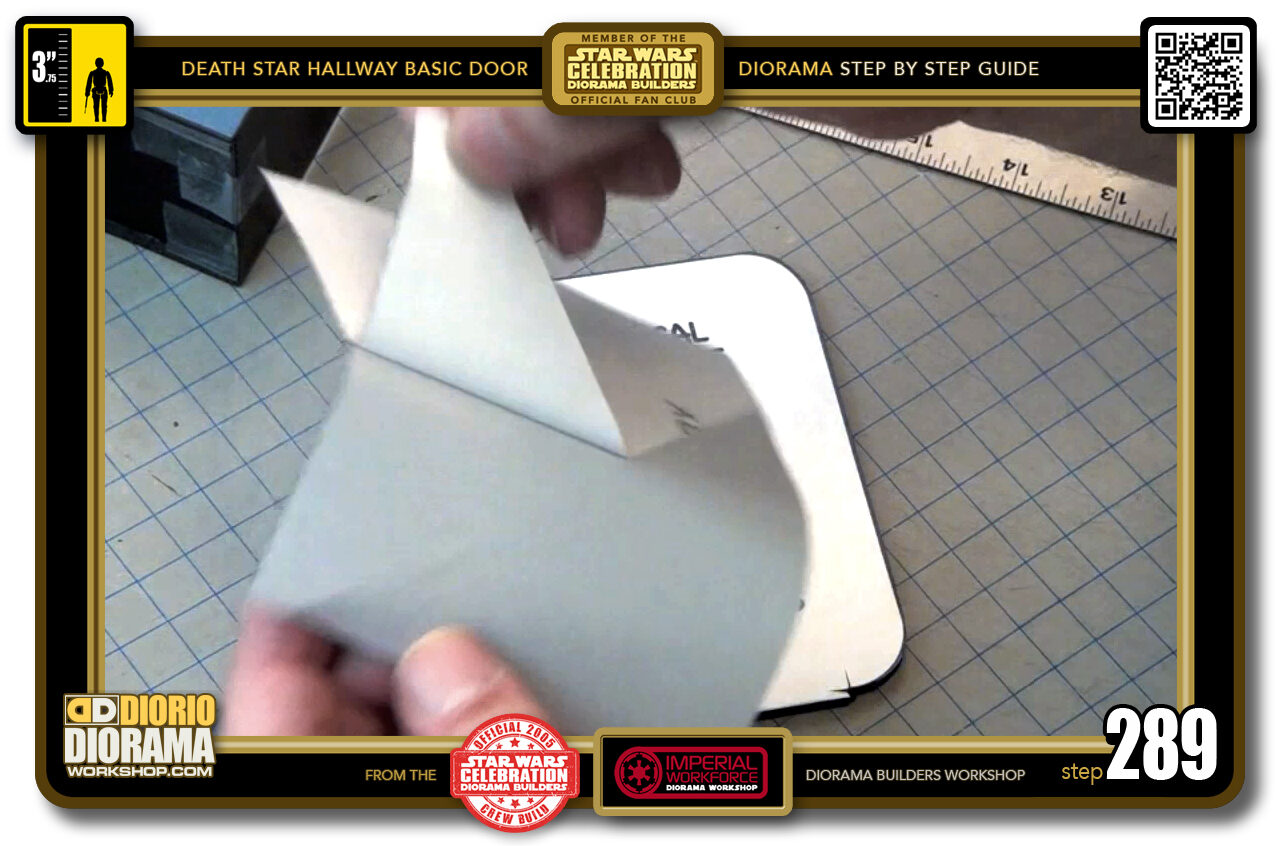
- STEP 289 > Peel back your door decal.
-
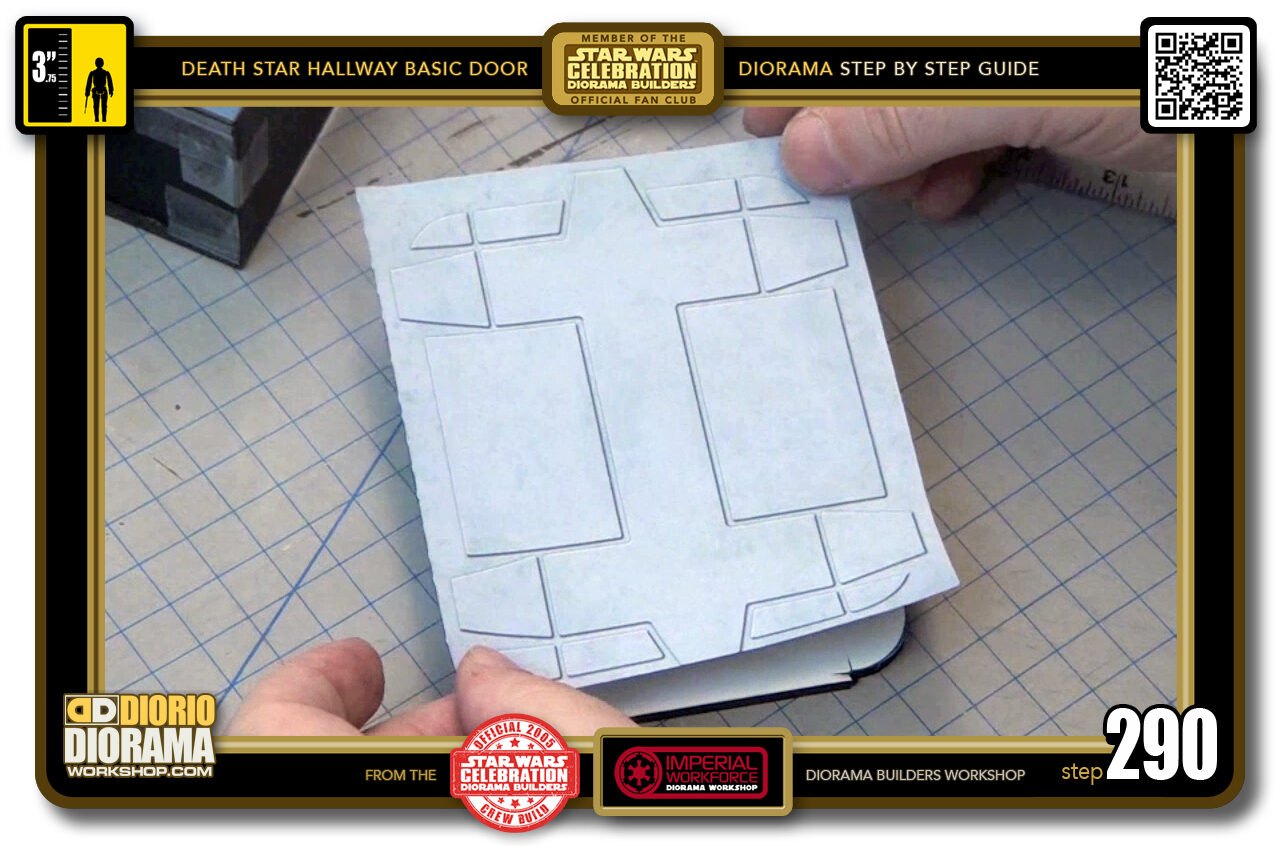
- STEP 290 > Now this gets tricky because the decal is LARGE and it's kinda hard to see where we are placing it. Start by aligning slightly the bottom and centered if you can. Then let it fall GENTLY on the foamcore. DO NOT PRESS YET !!!
-
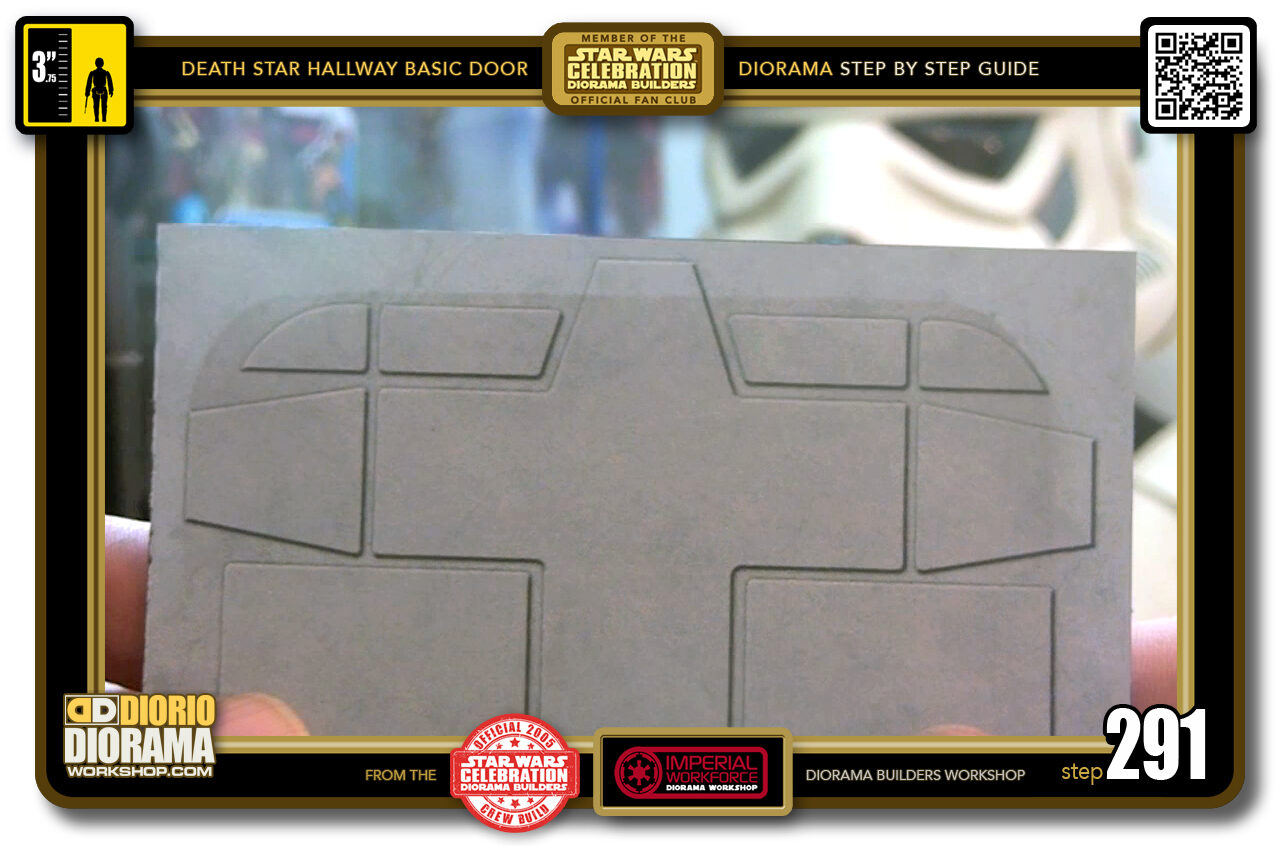
- STEP 291 > If you lift it against a light source, you should be able to se the outline of the foamcore door. Because we used a lot of gluestick, the foamcore should be slippery enough for you to wiggle the decal to it's proper centered position. Having those curves equal distances all the way around at every corner. At least as close as you can, it's almost impossible to get it perfect.
-
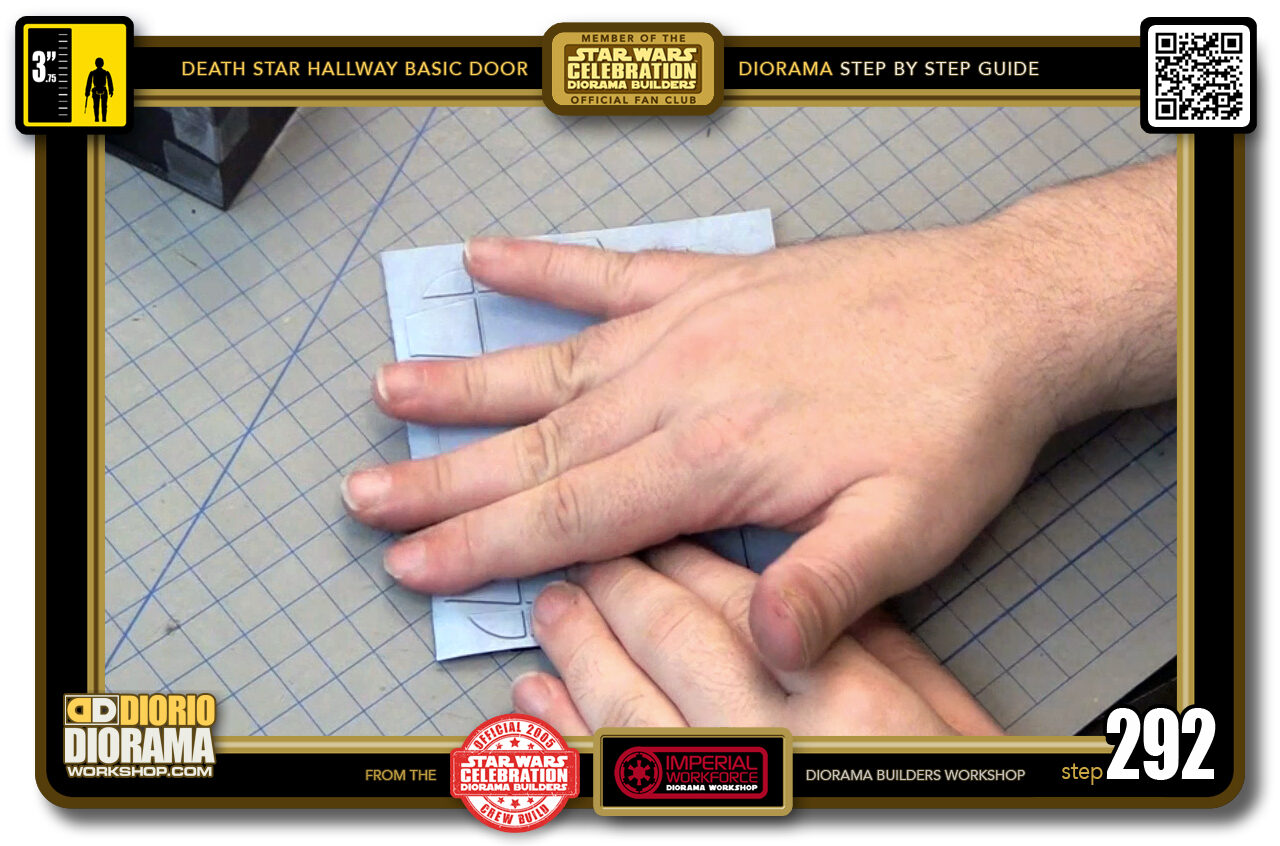
- STEP 292 > NOW you can PRESS DOWN on your decal making sure there are no bubbles. Remember CENTRE FIRST ALWAYS - Move your way outwards. Centre OUT back to start OUT, back to start etc...
-
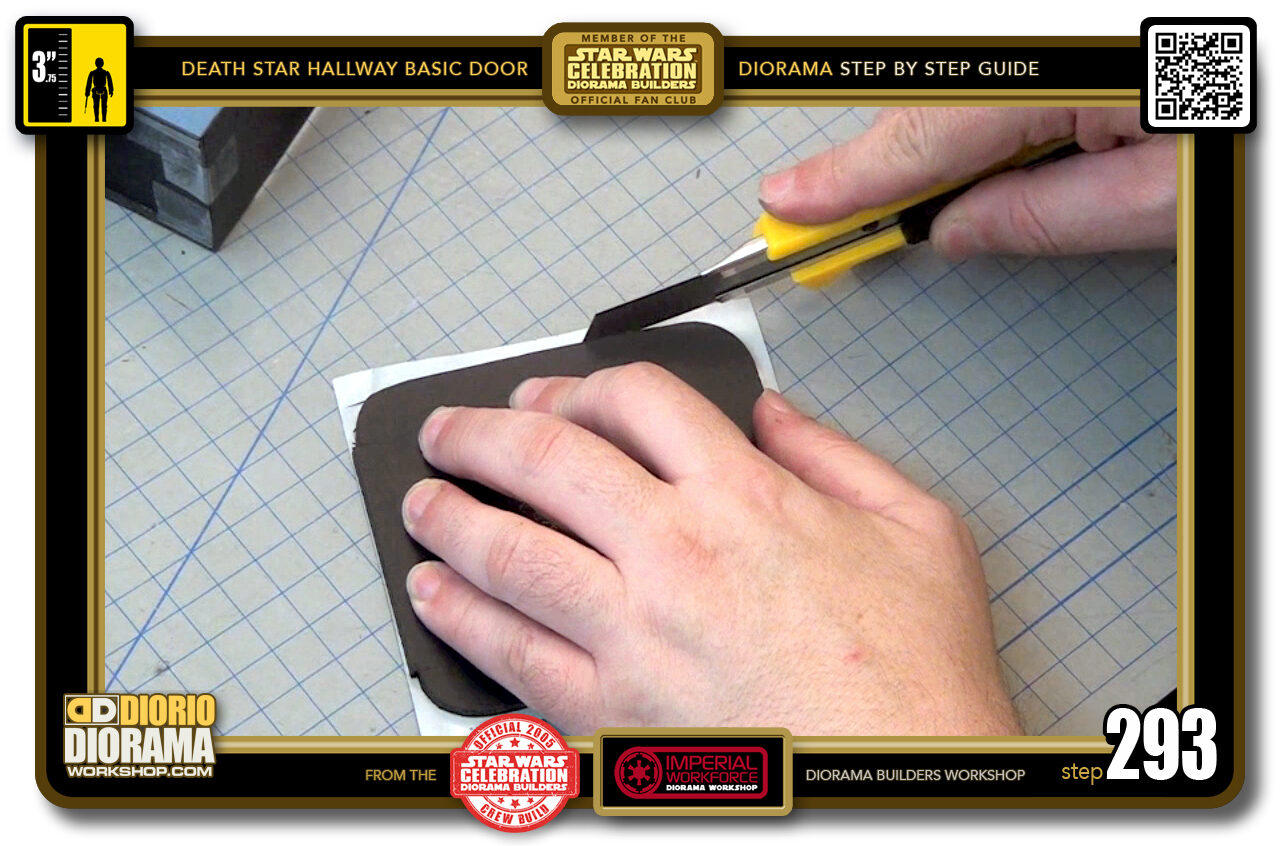
- STEP 293 > Flip your door upside down, Grab your X-Acto knife, extend the blade, lower it close to the cutting mat, and use the foamcore sides as your cutting guides. CUT THE SIDES ONLY FIRST - It's easier.
-
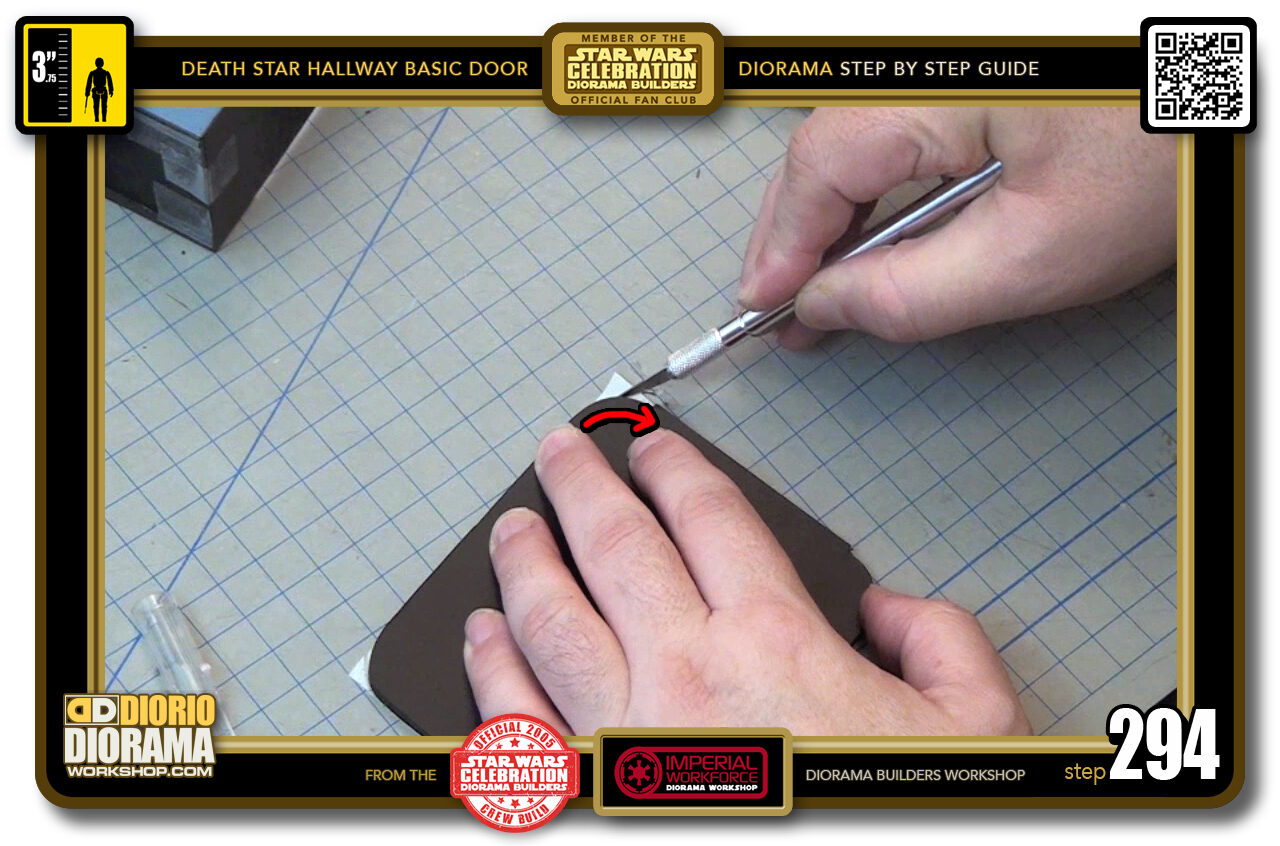
- STEP 294 > When all straight cuts are done, change to your X-Acto PEN with the pointy blade and work your way around the curves.
-
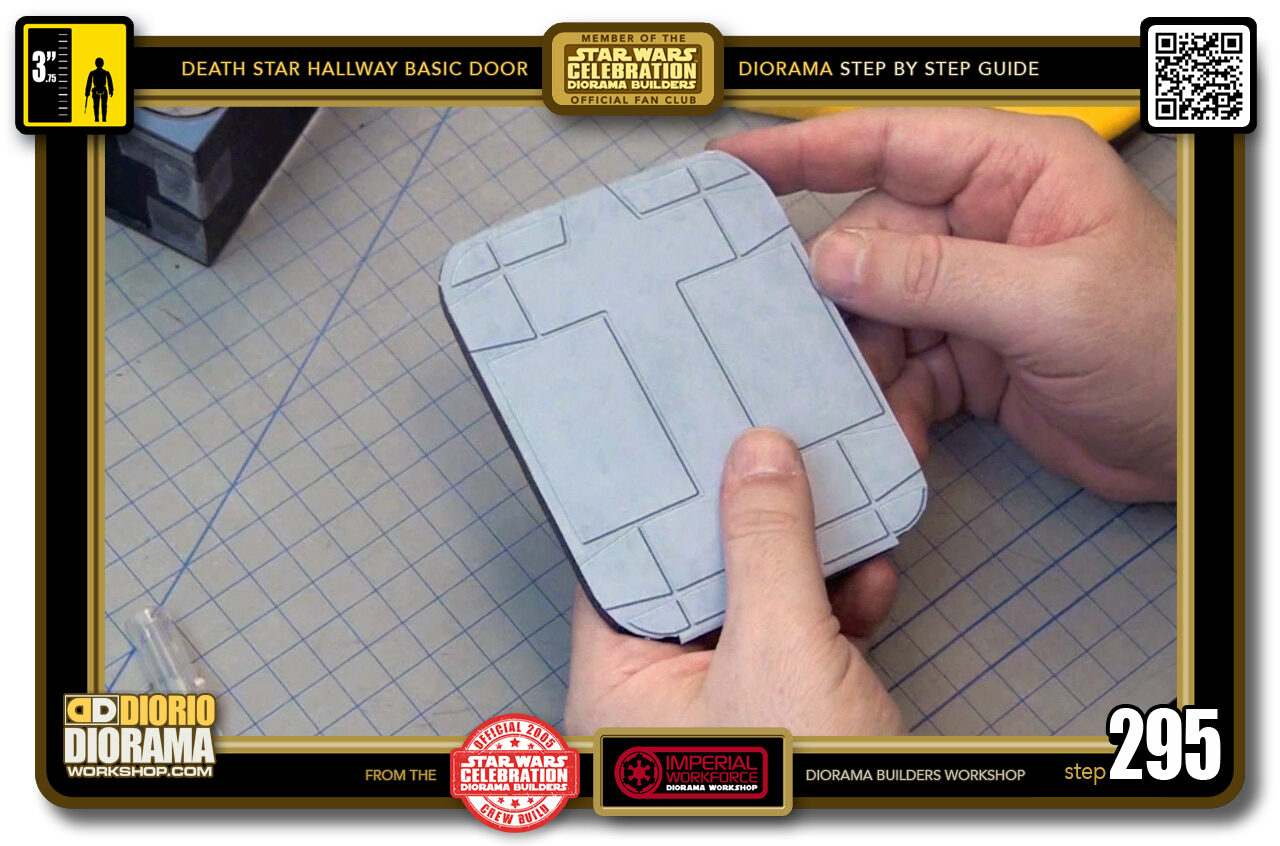
- STEP 295 > Your door decal should now resemble your original frame cut out. The edges maybe a little ugly now so let's try fix that.
-
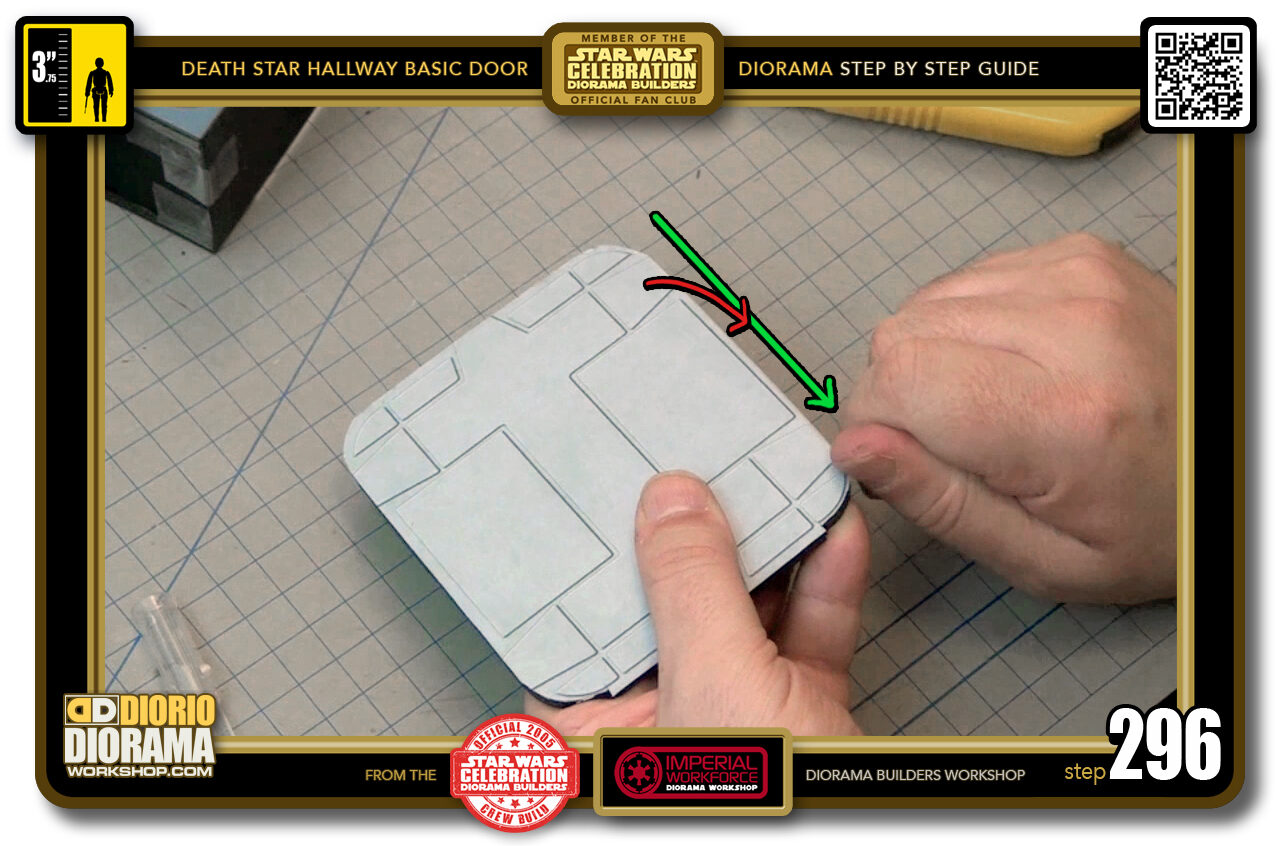
- STEP 296 > Use your fingernail technique all around it. Move your way down the green arrow as you spin, rotate outwards like the red arrow. Do multiple passes. You will get nicer rounded corners.
-
-
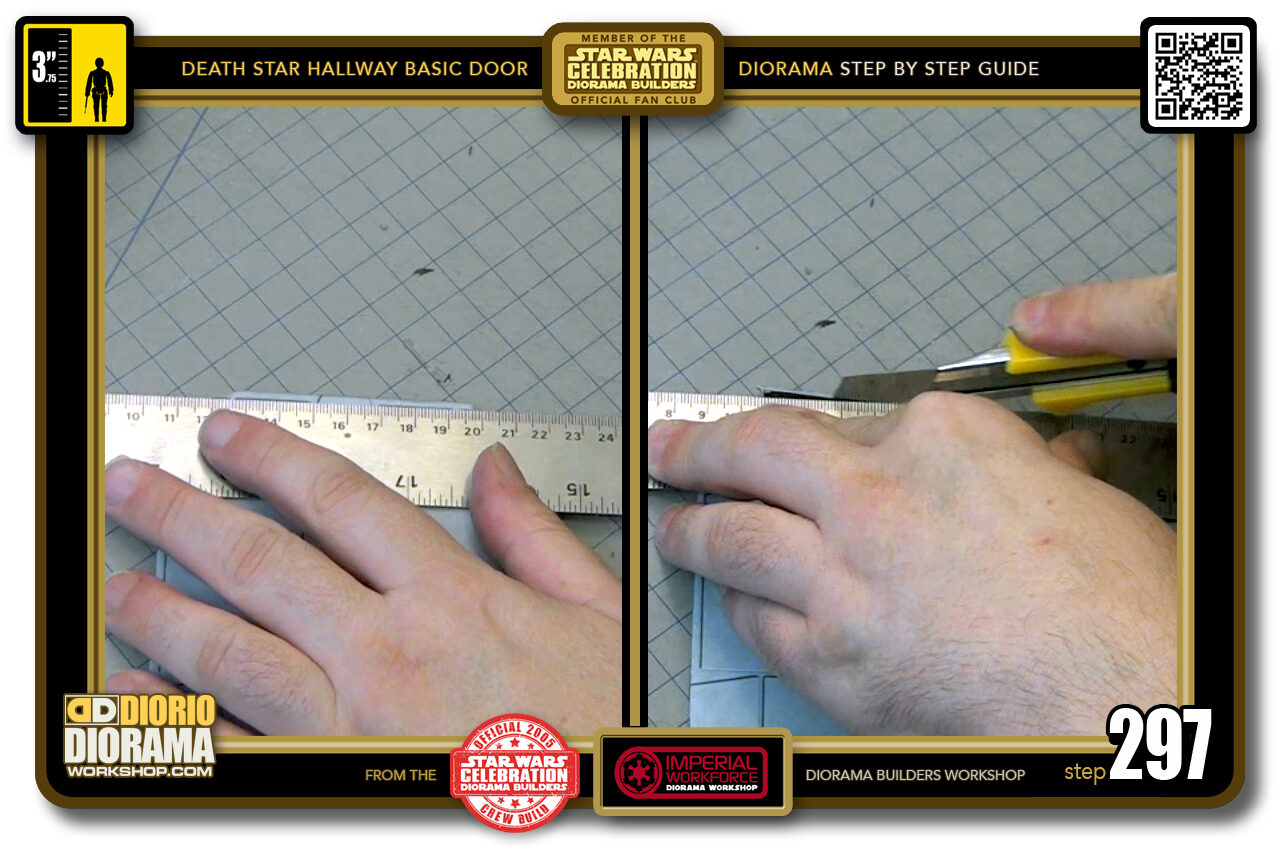
STEP 297 > We have that little end extention that bugs me, you can leave it in if you want but I am trimming it.
If you want to do like I am, just align your ruler just above the bottom "V" emboss and make sure you are parallel with the entire bottom line then just SLICE OFF that end.
-
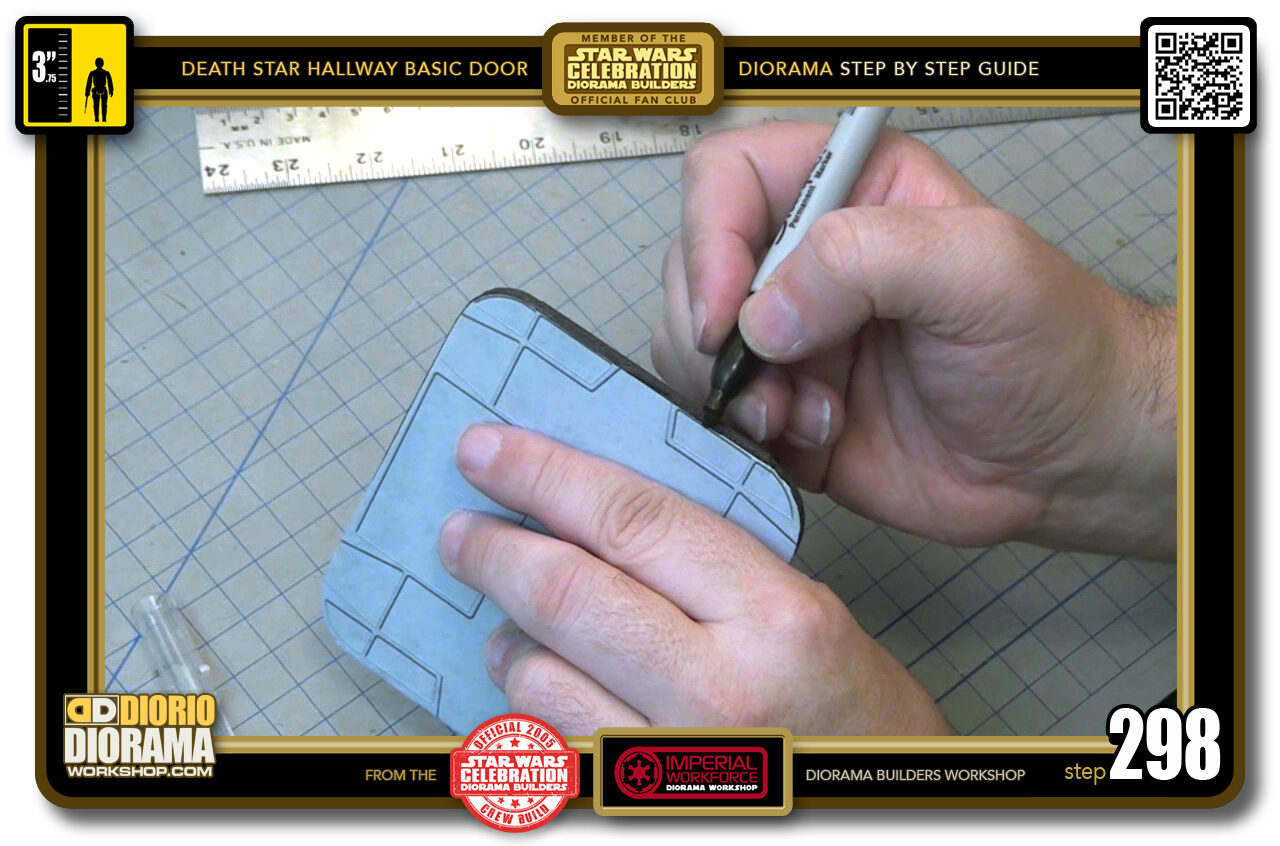
- STEP 298 > Since we just cut the decal, even though the sides of the door frame will press against this and likely make most of it invisible, I still want to go all the way around with my Black Sharpie pen.
-

- STEP 299 > One last pass to round the corners, Place your corners slightly angled and rock back and forth like a rocking chair.
-
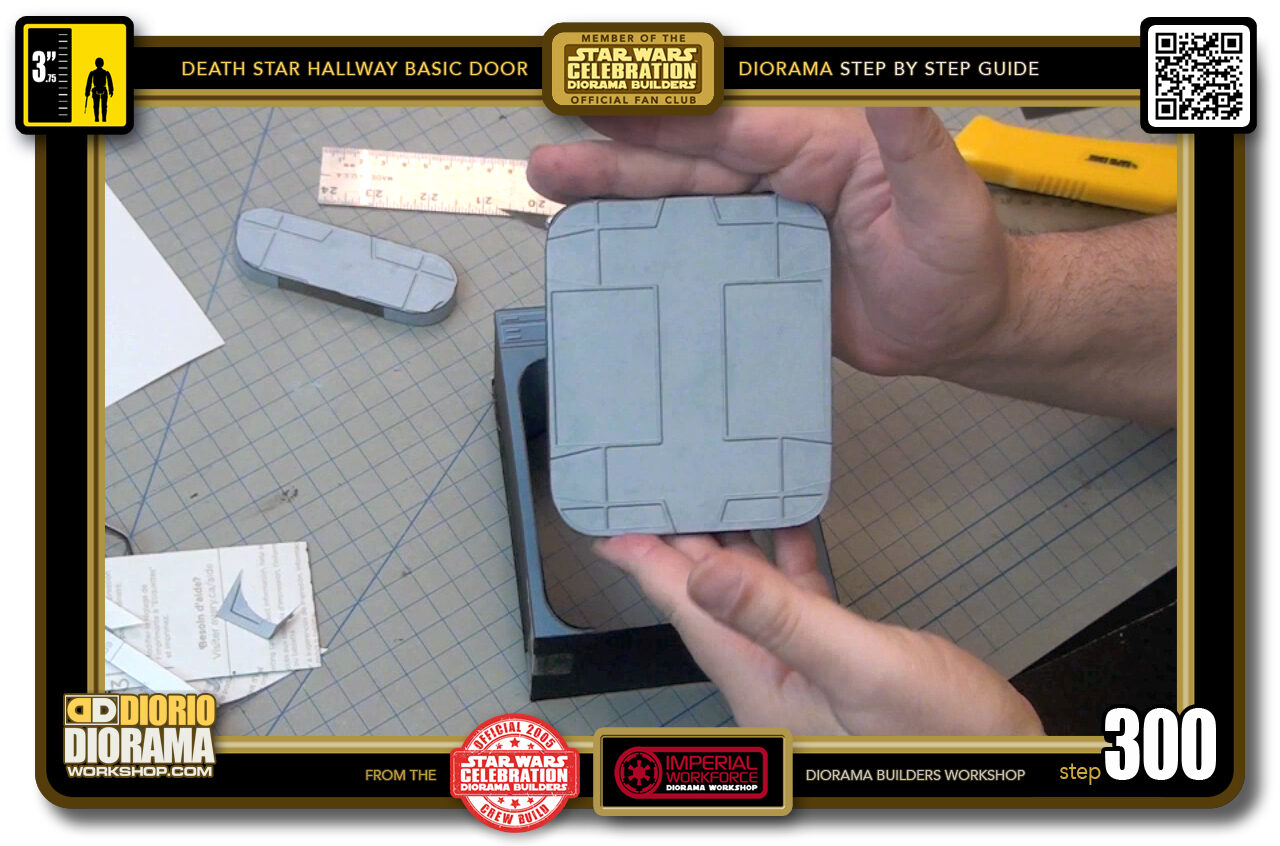
- STEP 300 > I am happy with this , our door is now complete.

.
Did you already build this Diorama ? At home or at our Star Wars Celebration Diorama Builders workshop ? Would you like to show it in the site’s GALLERY VISITORS DIORAMAS section, YES ? That is Awesome !!! You can find out all the details on how to email me your photos on the VISITORS SUBMISSIONS INFO page … When I get your photos, I will create your very own page just like this one. You may not realize it but work does inspire others to join in the fun of making Action Figure Dioramas.
.
NOT FOR RESALE ALL Decals, tutorials and artwork are ©FrankDiorio (dioramaworkshop.com) and offered FOR FREE to the fans – that would be you ? so you can build and display my diorama designs in your very own home. I realize I cannot control what one does with my graphics once I place them on the web, I can only ask you as one fan to another, please respect the artist and do not be that jerk who uses my designs and tutorials to build a copy of my work only to sell it on EBAY or trade/sale groups and forums. Thank You. Frank.
.
.
If you have a facebook account, why not join the Official Diorama Builders Fan Club today, simply click the logo link below.
 .
.
Catch up with fellow visitors and exchange stories, read cool interviews with the crew, exchange photos, fun surprises and grab some FAN ONLY merchandise next year at actual future conventions ?
.
©2018 Frank Diorio DioramaWorkshop.Com
.
IF YOU LIKE WHAT YOU SEE, PLEASE SHARE WITH YOUR FRIENDS
USING THE SOCIAL MEDIA BUTTONS BELOW