


-
-
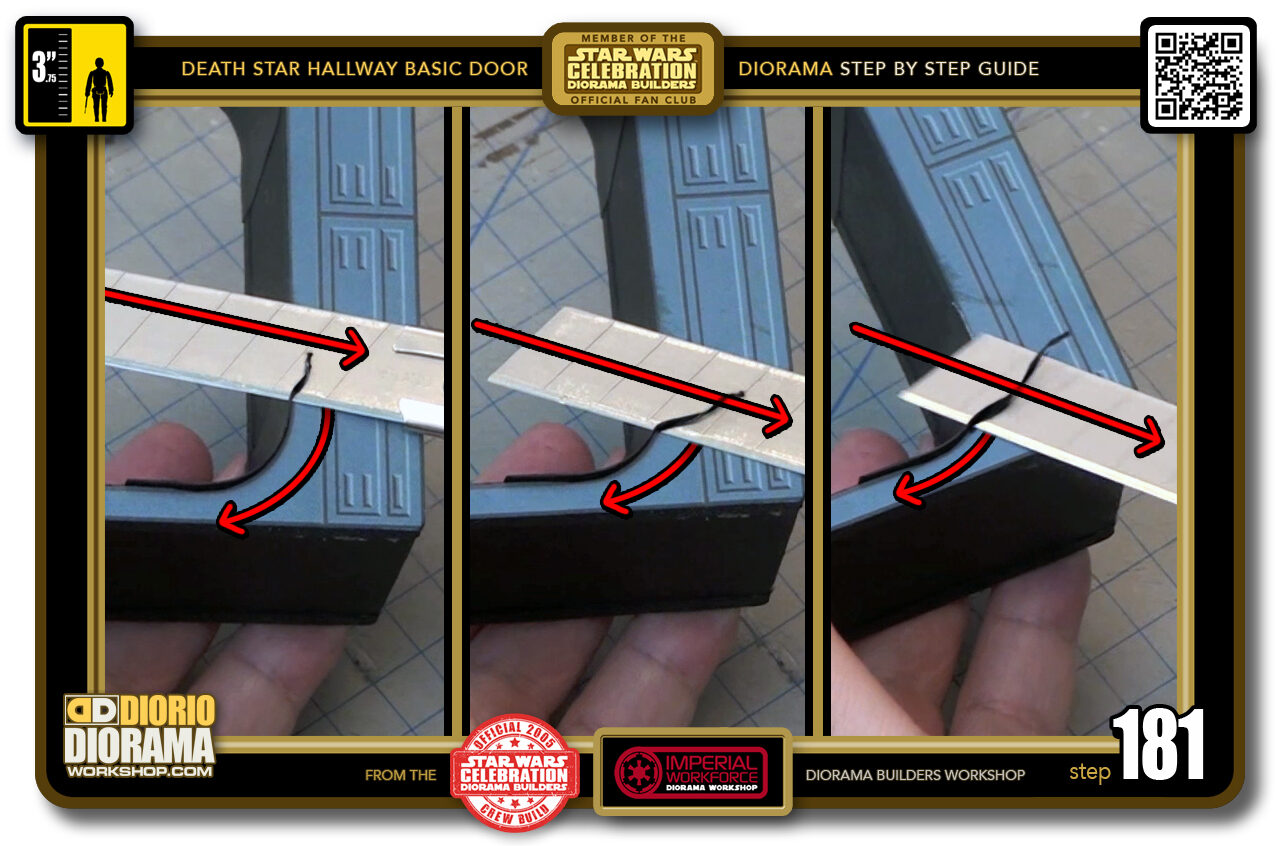
STEP 181 > The most IMPORTANT THING on these trimmings is to ALWAYS PULL the blade towards you as you move down the strip. The foamcore curve is a wall and puts pressure against the corner posterboard to allow a super clean cut.
IF you PUSH towards the INSIDE of the door arch, the blade will act like you pulling a band aid off your skin, and risk tearing off the corner posterboard you just applied. We DON'T want that !!!
-
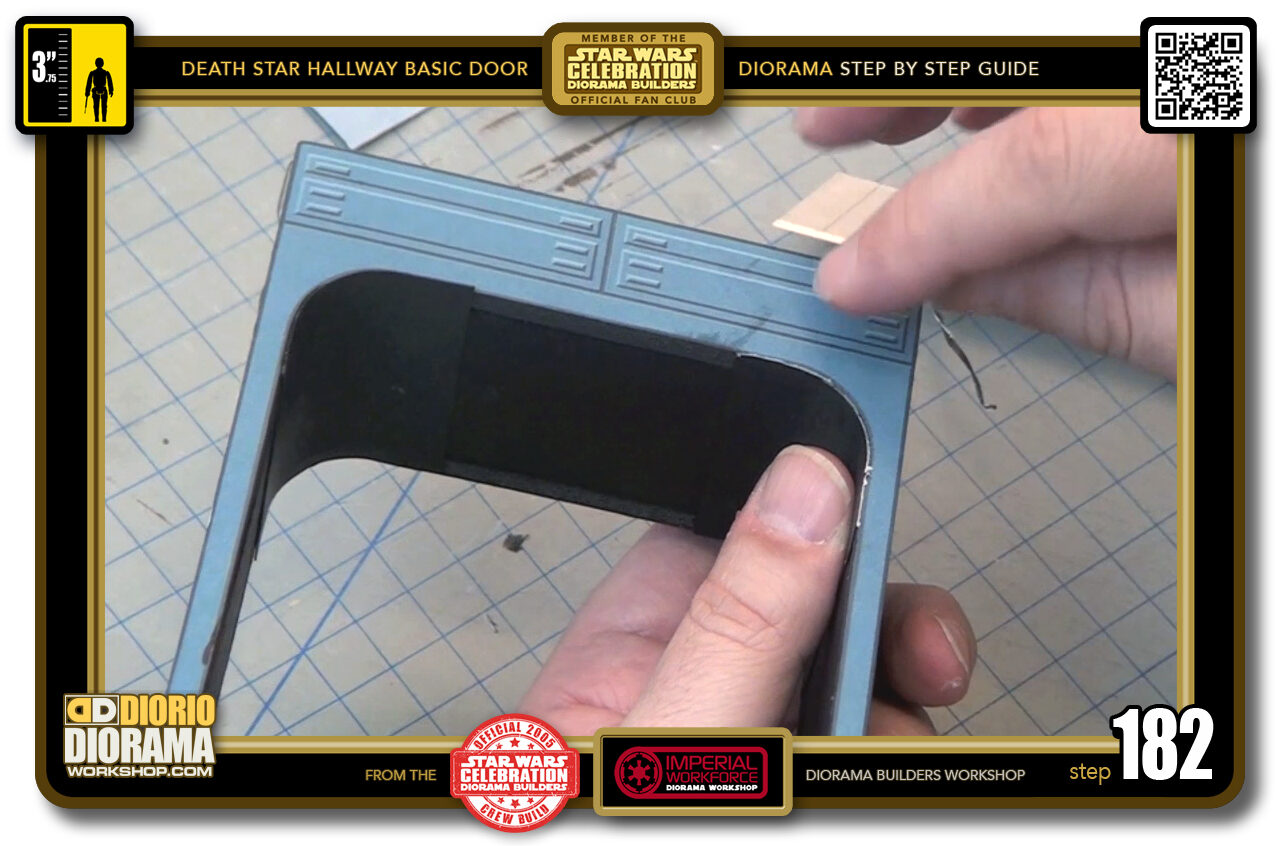
- STEP 182 > When you reach the end of the strip with your X-Acto blade, it should just fall right off.
-
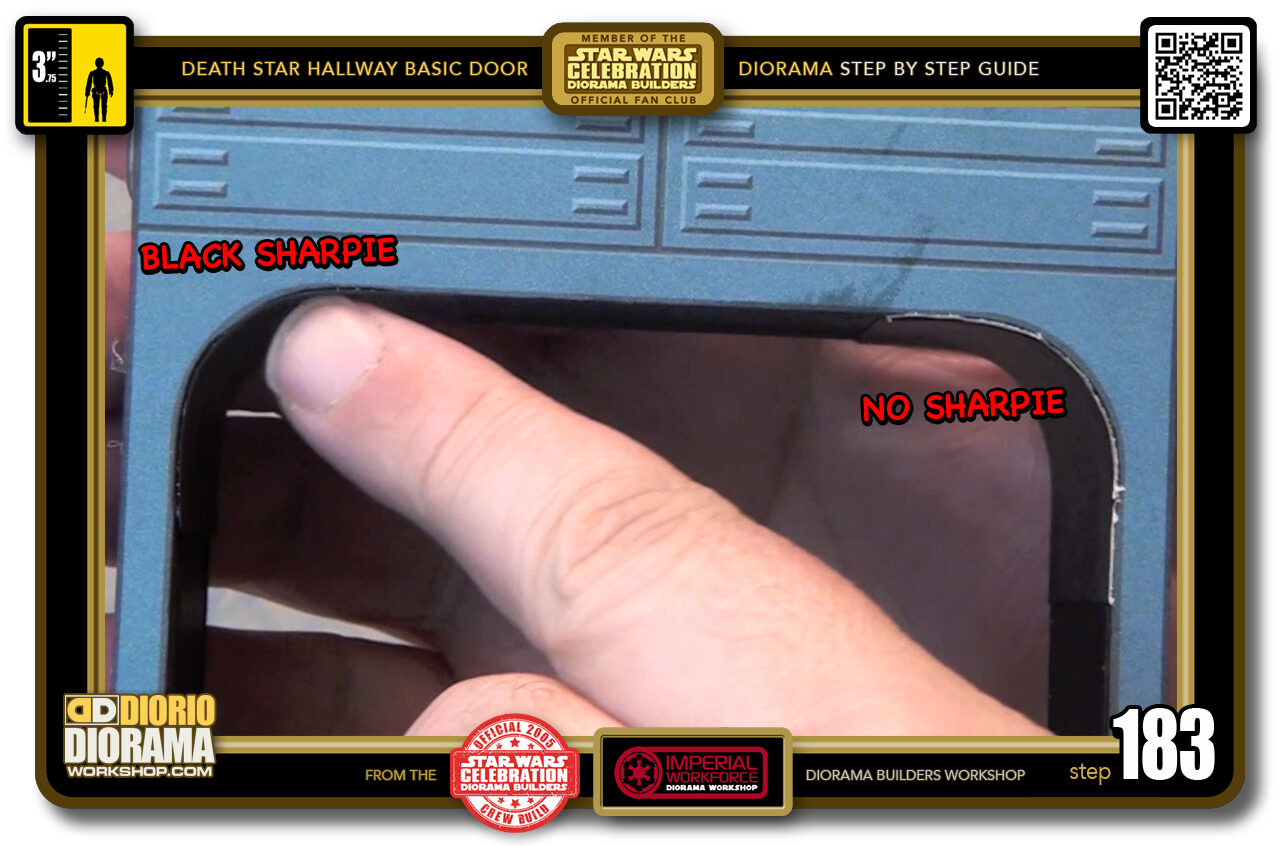
- STEP 183 > Here is a great example that shows you why I tell you to use Black Sharpie on your edges before assembly. On the left you have the black, see how it blends in ? on the right the fresh sliced excess. It's now FLUSH as we need it to be, but exposes the white thickness of the posterboard and now becomes super evident vs the left side.
-
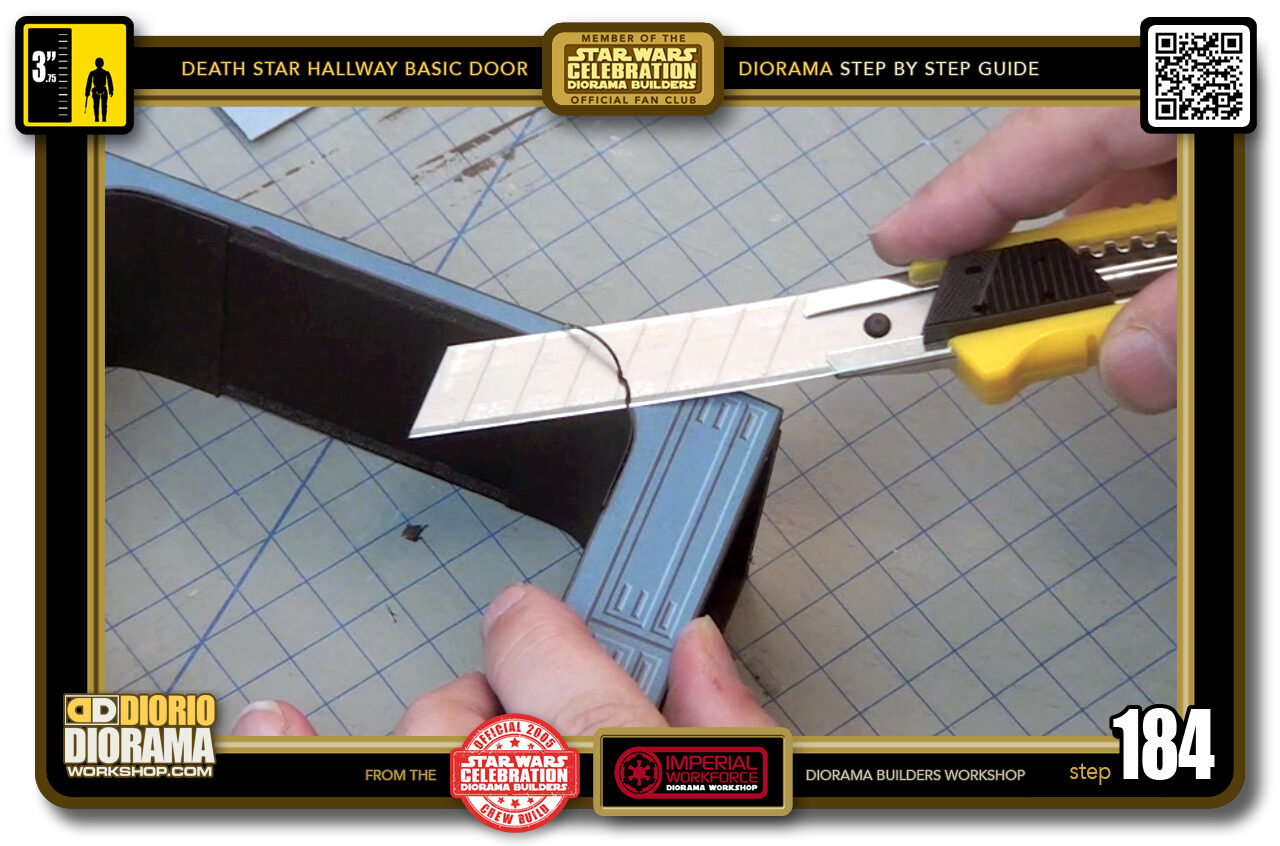
- STEP 184 > Examine each curve corner and if you see posterboard sticking out the sides, do a little trim. Even if it is just a hair, it will make a difference later. Just MAKE SURE - ALWAYS PULL the blade TOWARDS YOU.
-
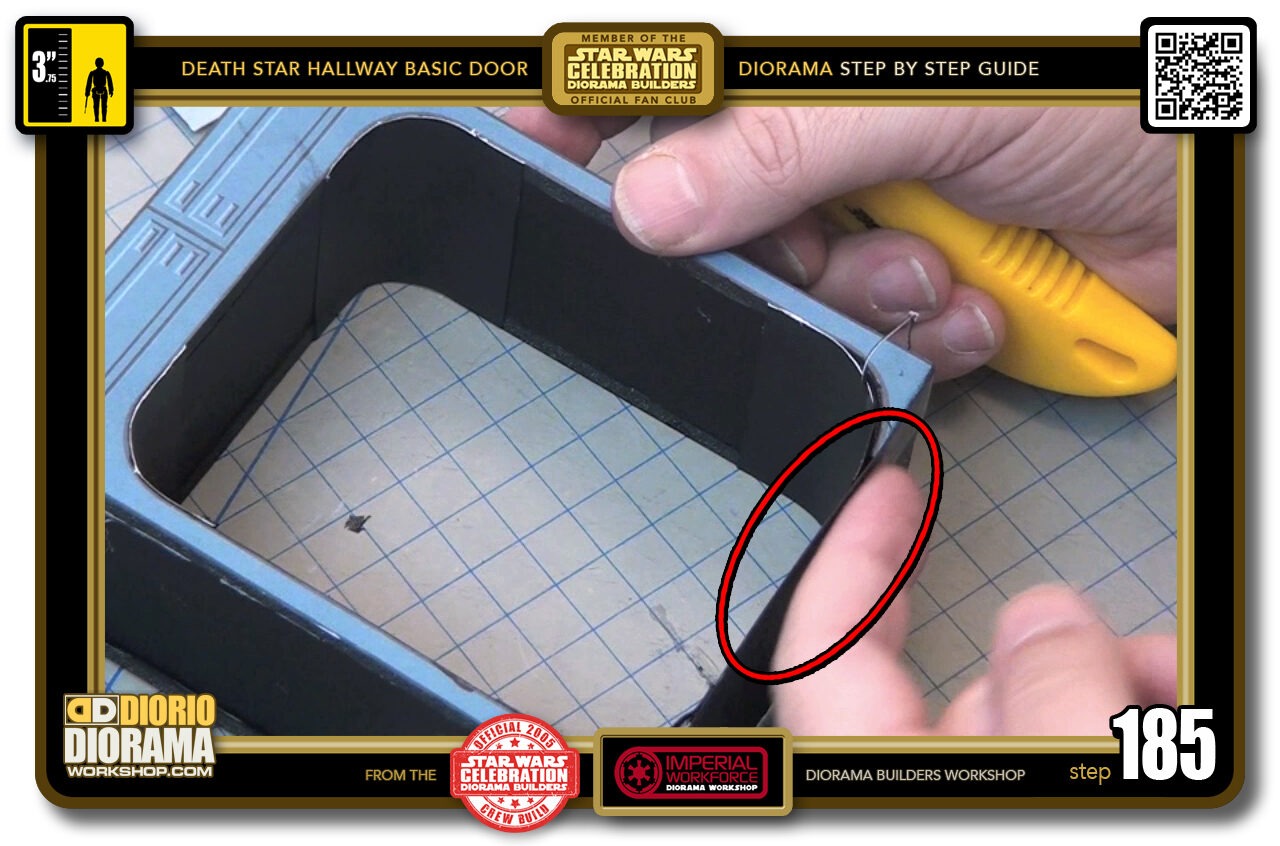
- STEP 185 > For the bottom, there is less support (red oval area) because of the posterboard flooring vs thickness of the foamcore. To make sure you don't tear anything...
-
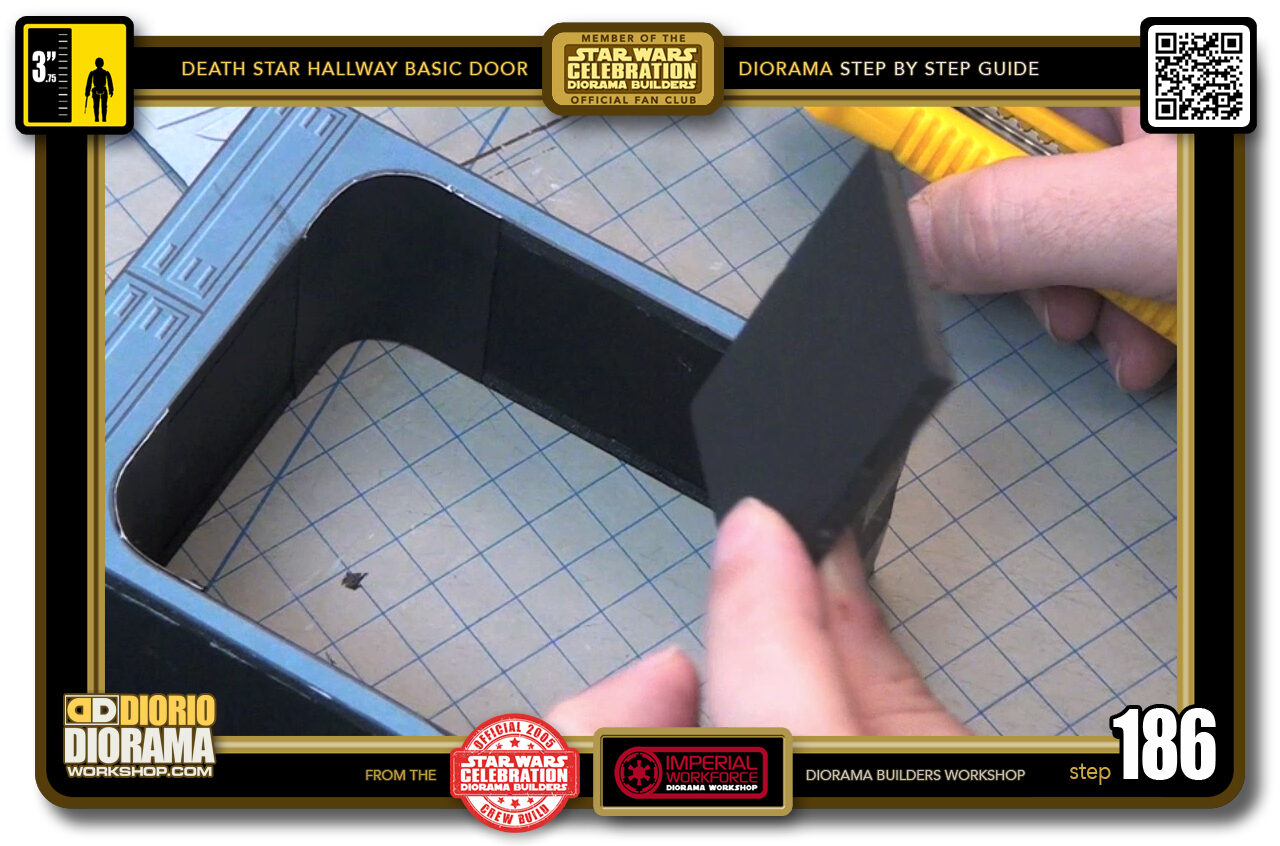
- STEP 186 > Grab a scrap of foamcore no wider than 6 cm.
-
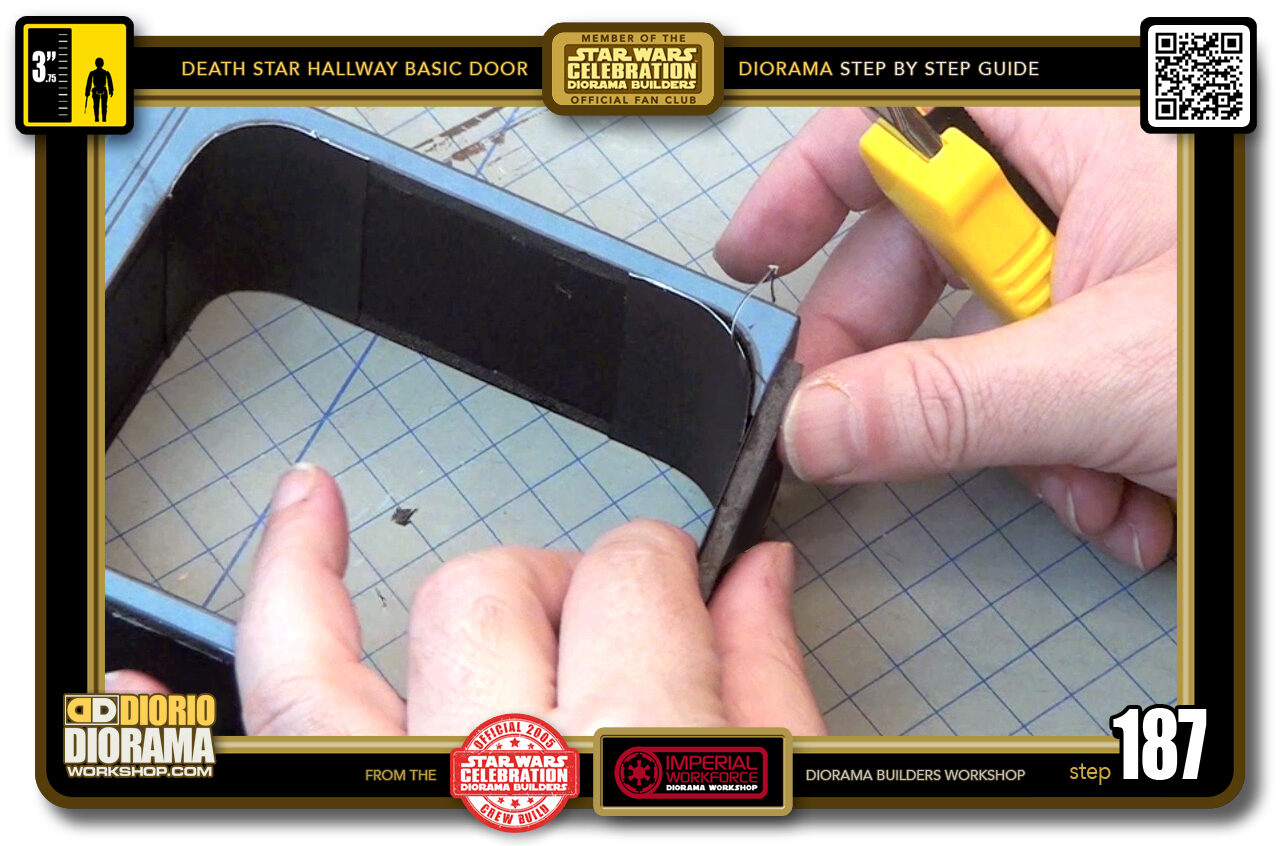
- STEP 187 > Place it against the underside of the posterboard floor
-
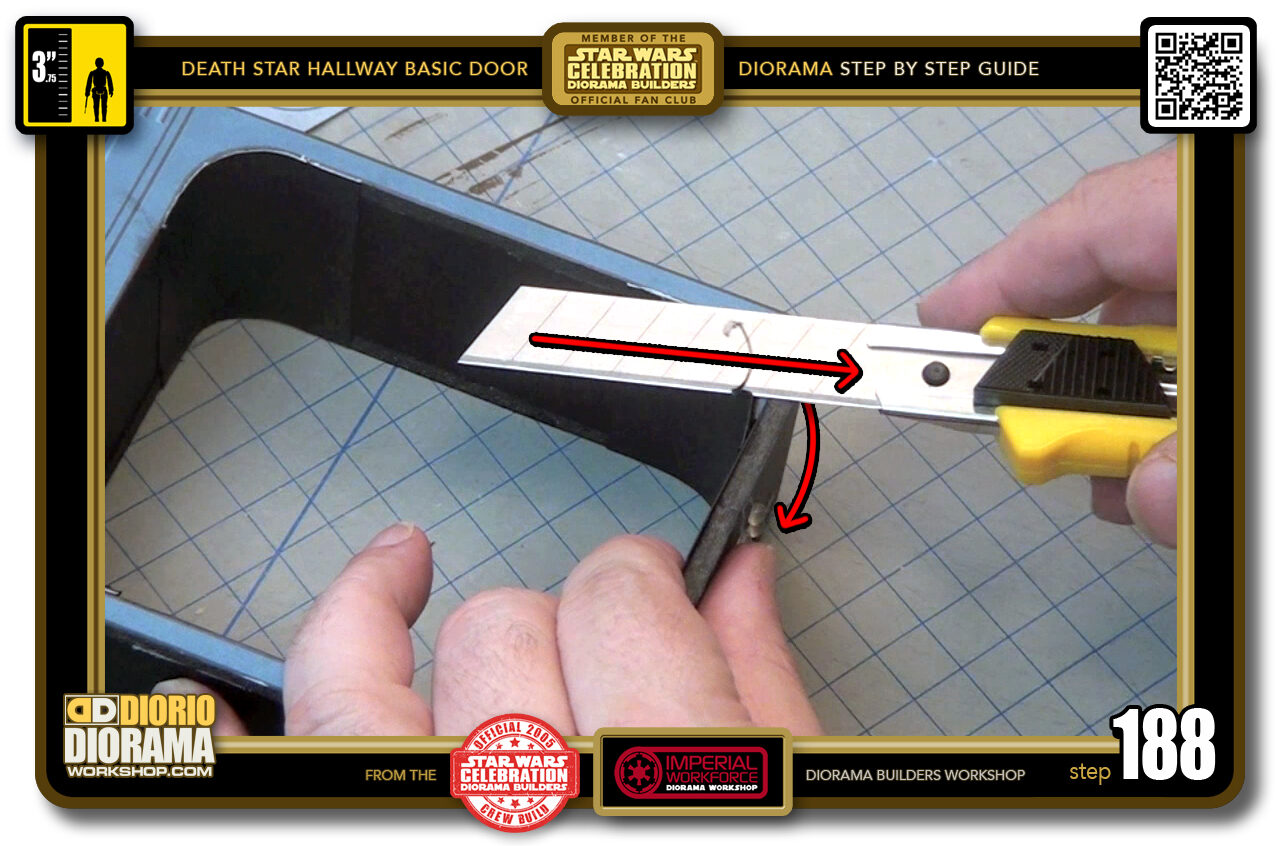
- STEP 188 > This way you can support the posterboard, not risk cutting your fingers off 🙂 and giving you a cleaner cut around the curve excess.
-
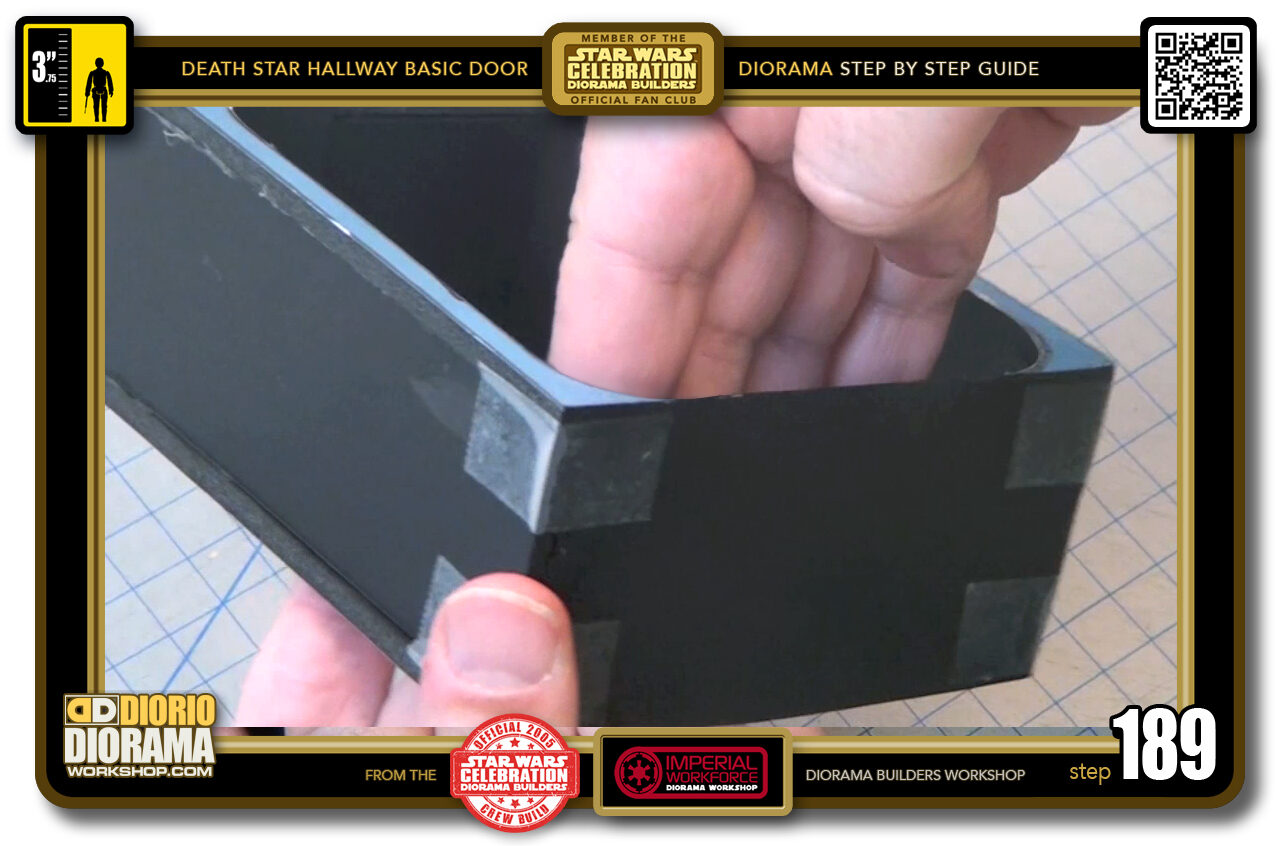
- STEP 189 > Go around each corner until you are happy that no more curved posterboard is peeking out of the sides.
-
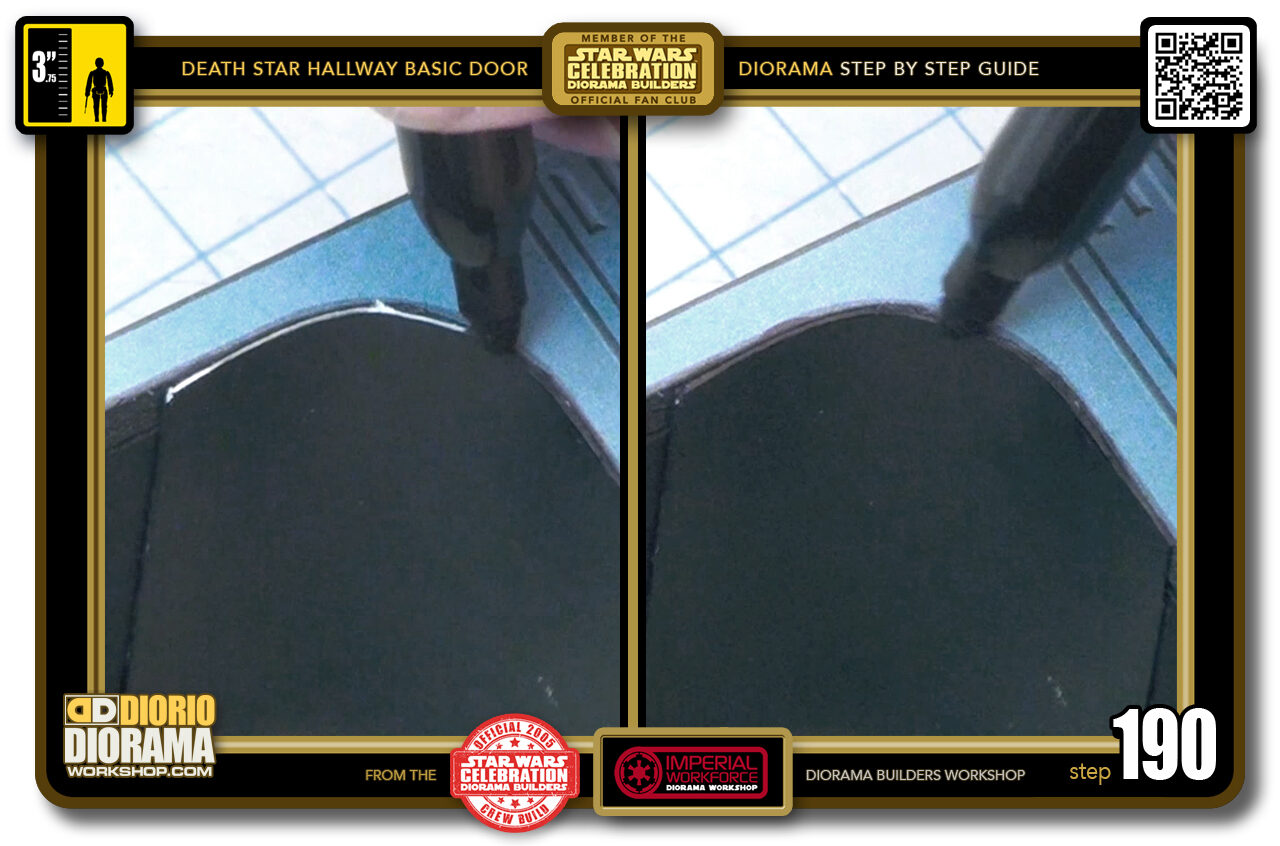
- STEP 190 > Grab your black Sharpie pen and start doing some repair work where the white edges are clearly visible. See the difference between before and after ?
-
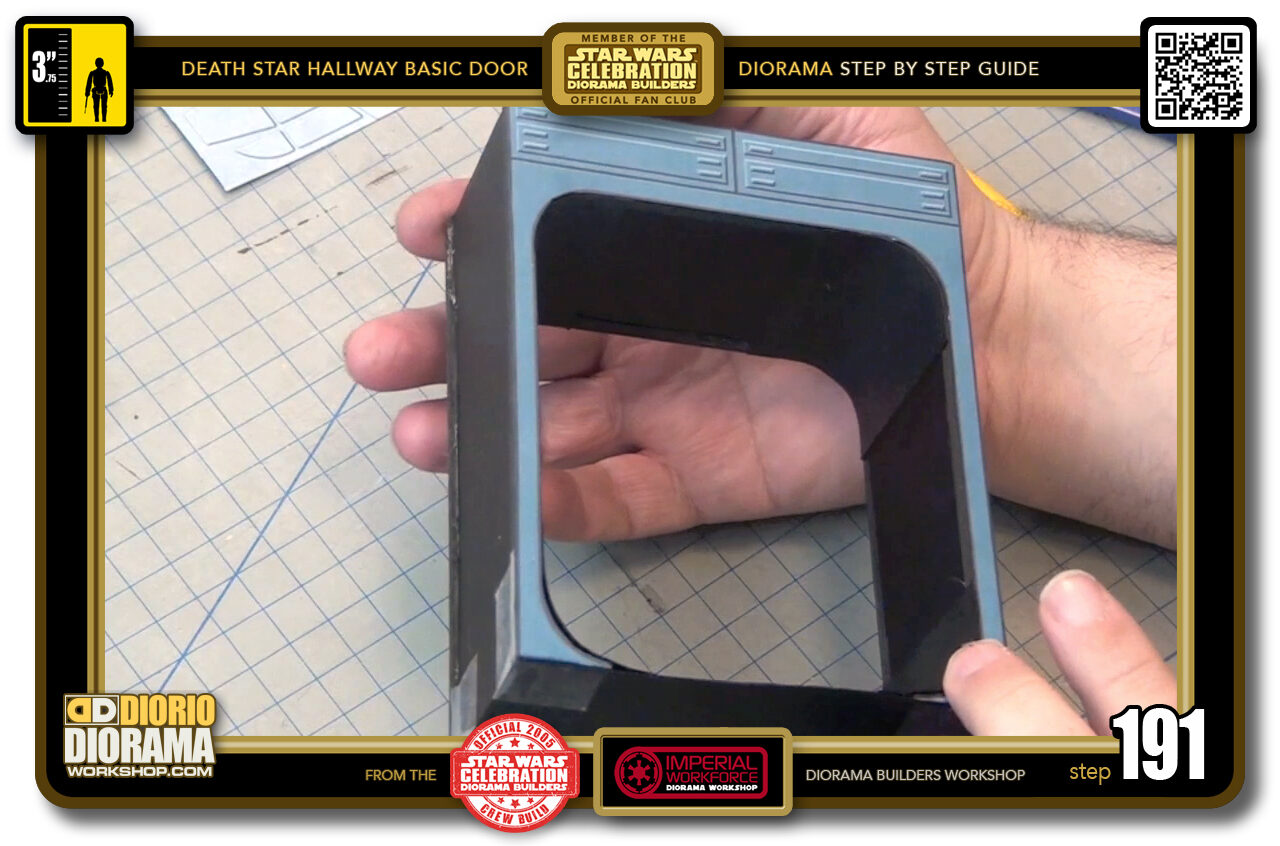
- STEP 191 > You are now ready for the decals - ALMOST 🙂
-
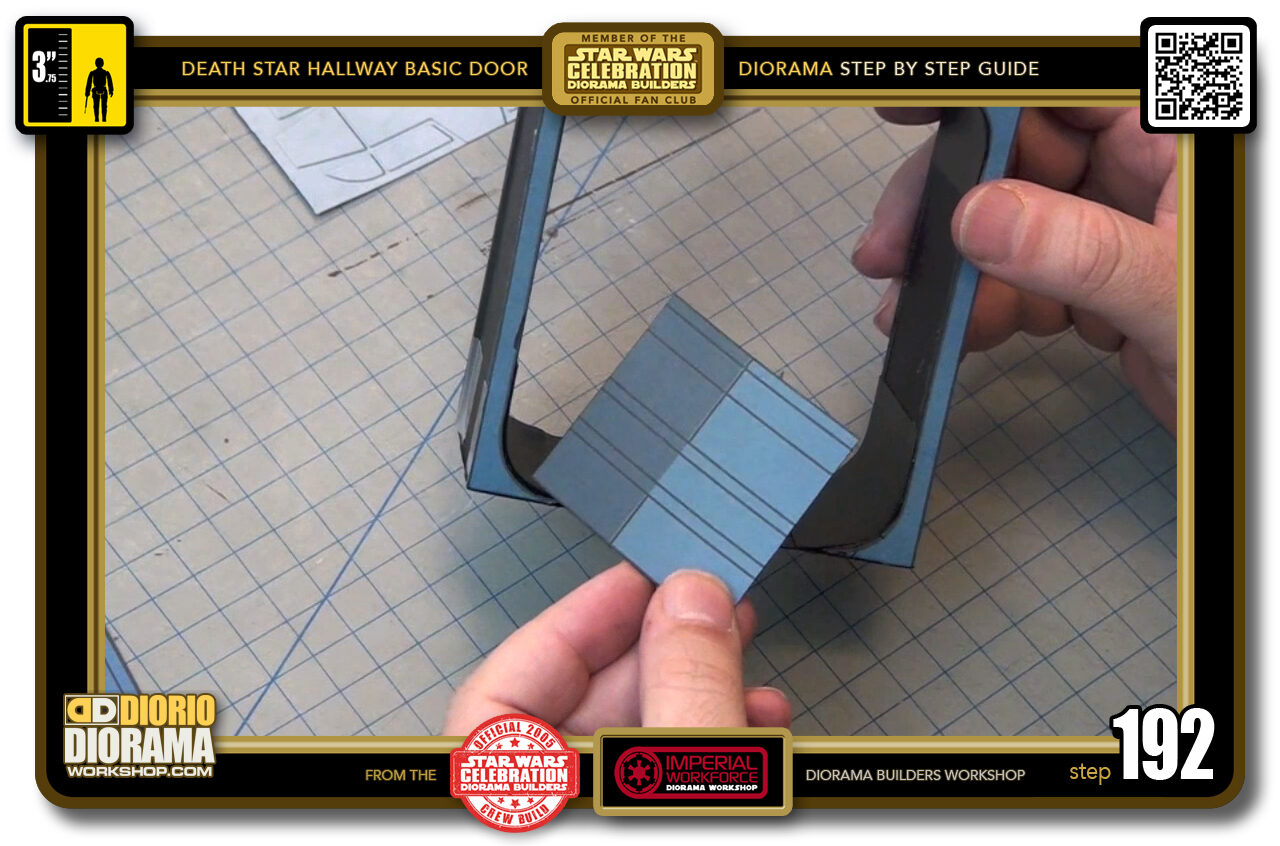
- STEP 192 > The first ones you want to apply are you feet bases. BEFORE you can do this however...
-
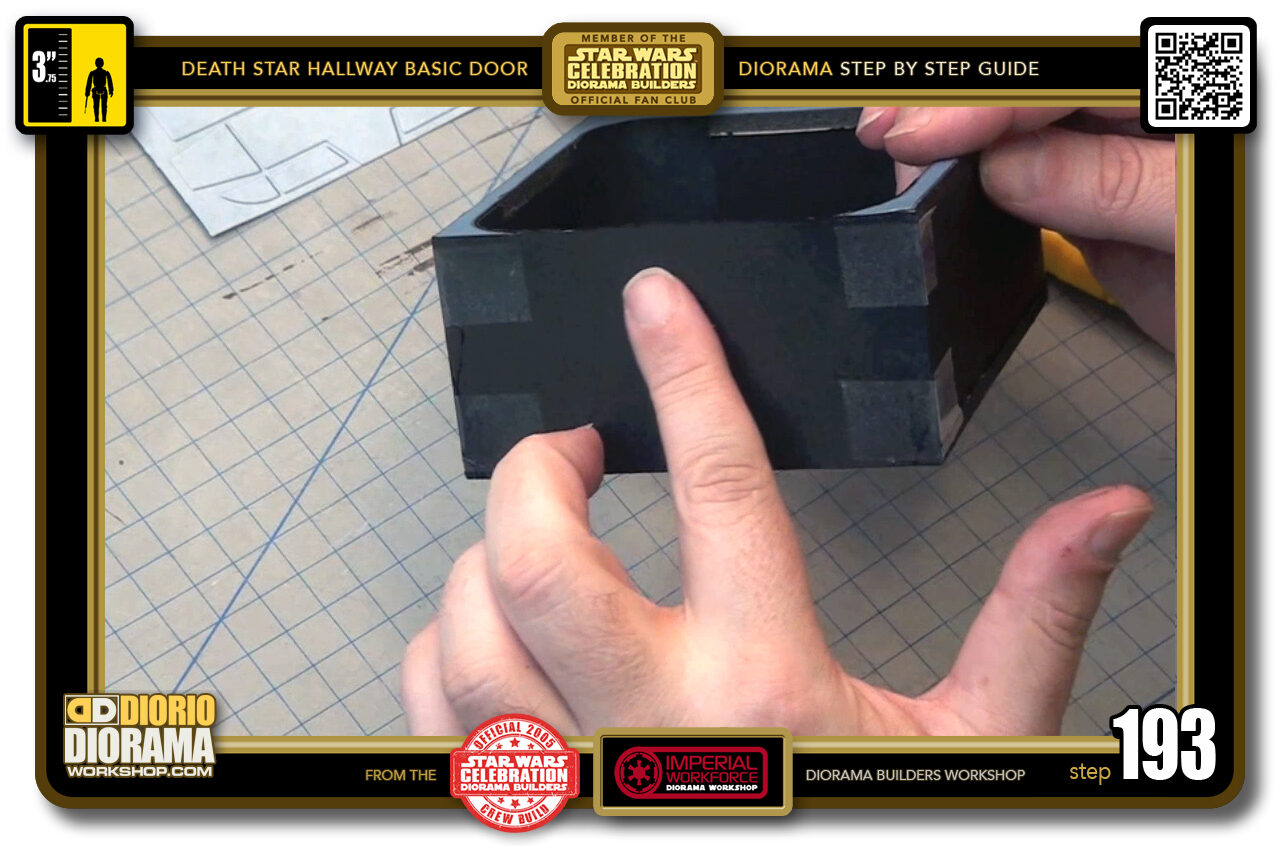
- STEP 193 > We need to remove the first posterboard base.
-
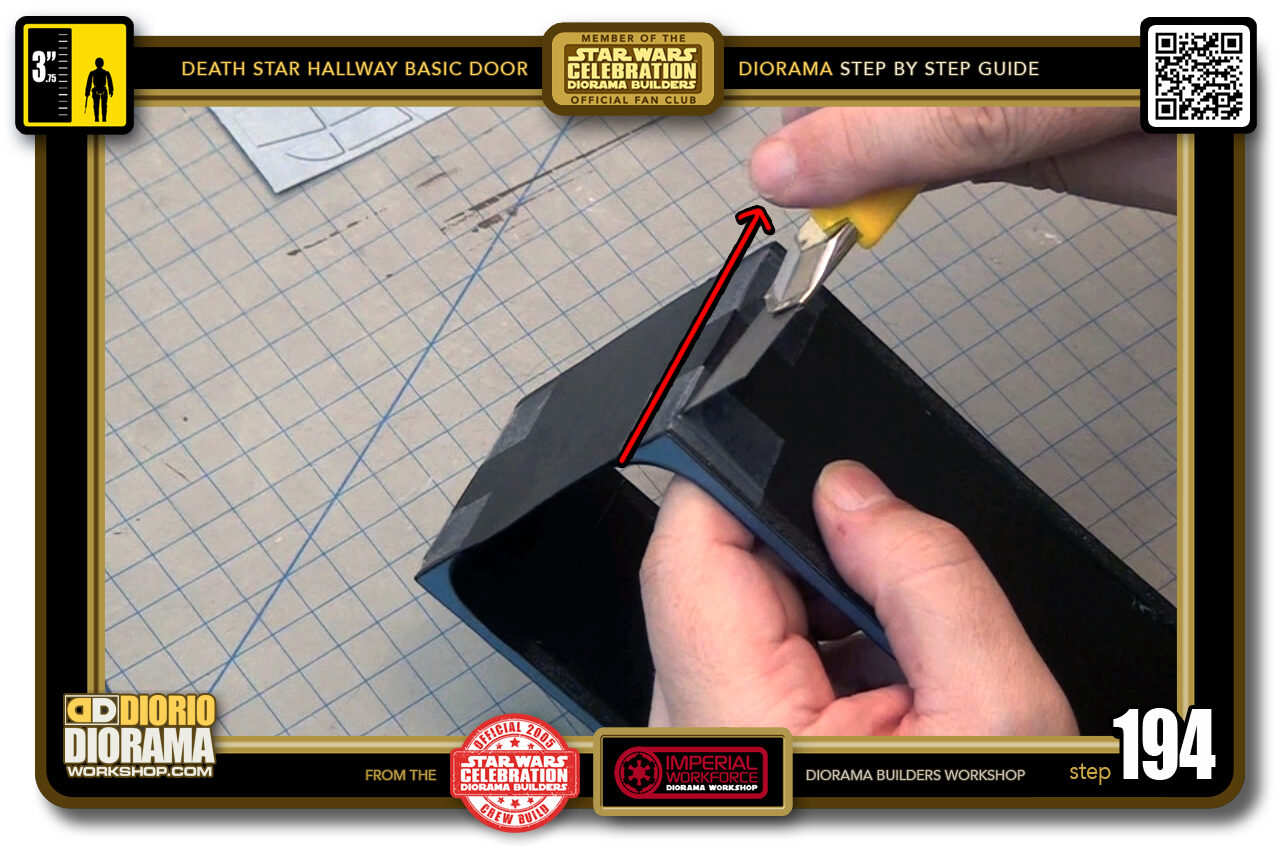
- STEP 194 > It's very simple to do, just grab your X-Acto knife and vut your scotch tapes in half by inserting your blade between the posterboard and the foamcore feet.
-
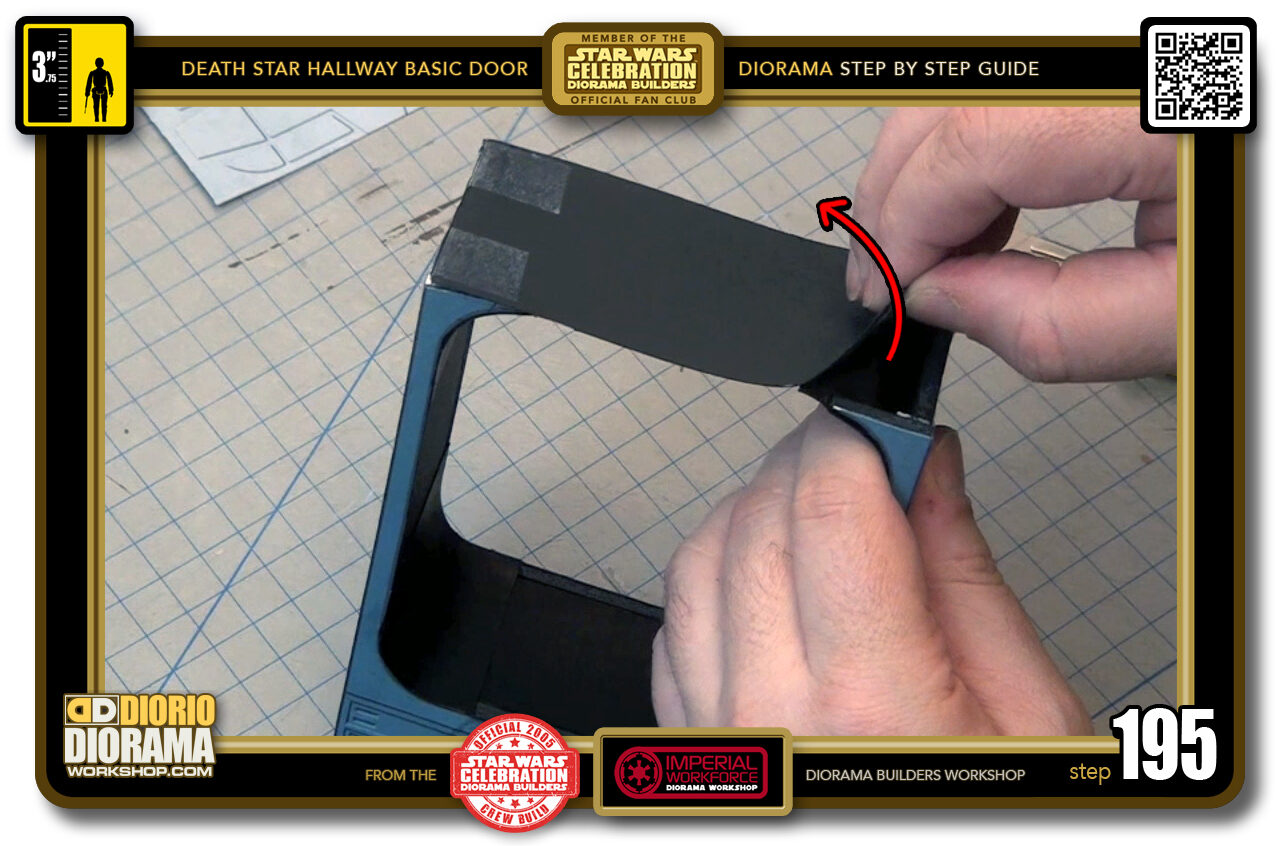
- STEP 195 > Once you cut off the scotchtape, it should be easy for you to start bending and peeling off the floor base. Do this SLOWLY, the glue from the inner curves MAYBE attached to the floor, so just be patient and GO SLOW
-
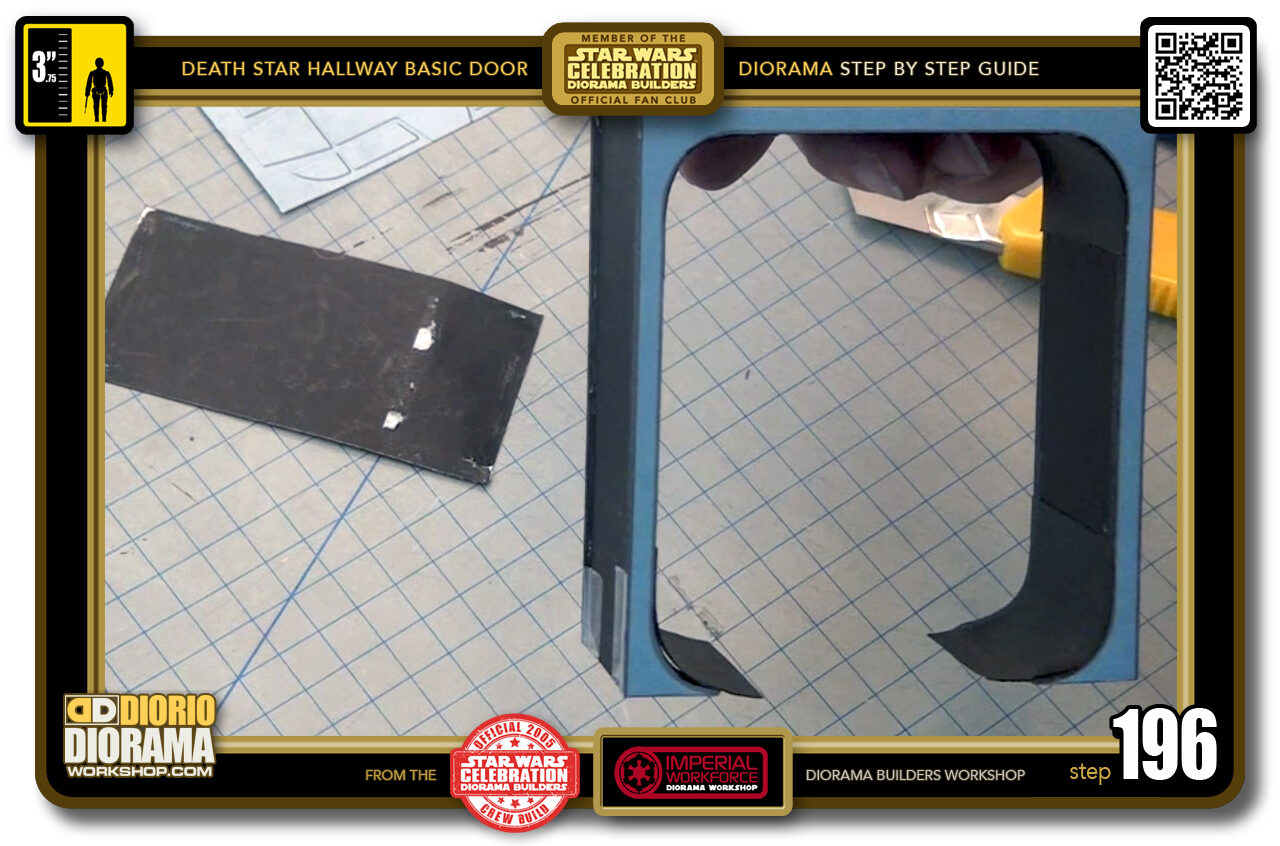
- STEP 196 > Your first posterboard floor base is now removed and MAYBE damaged that is why I had you cut a 2nd version so we can replace this one with a NEW CLEAN version later on. Hey, doesn't the door now look like the sentry robots in TRON ? 🙂
-
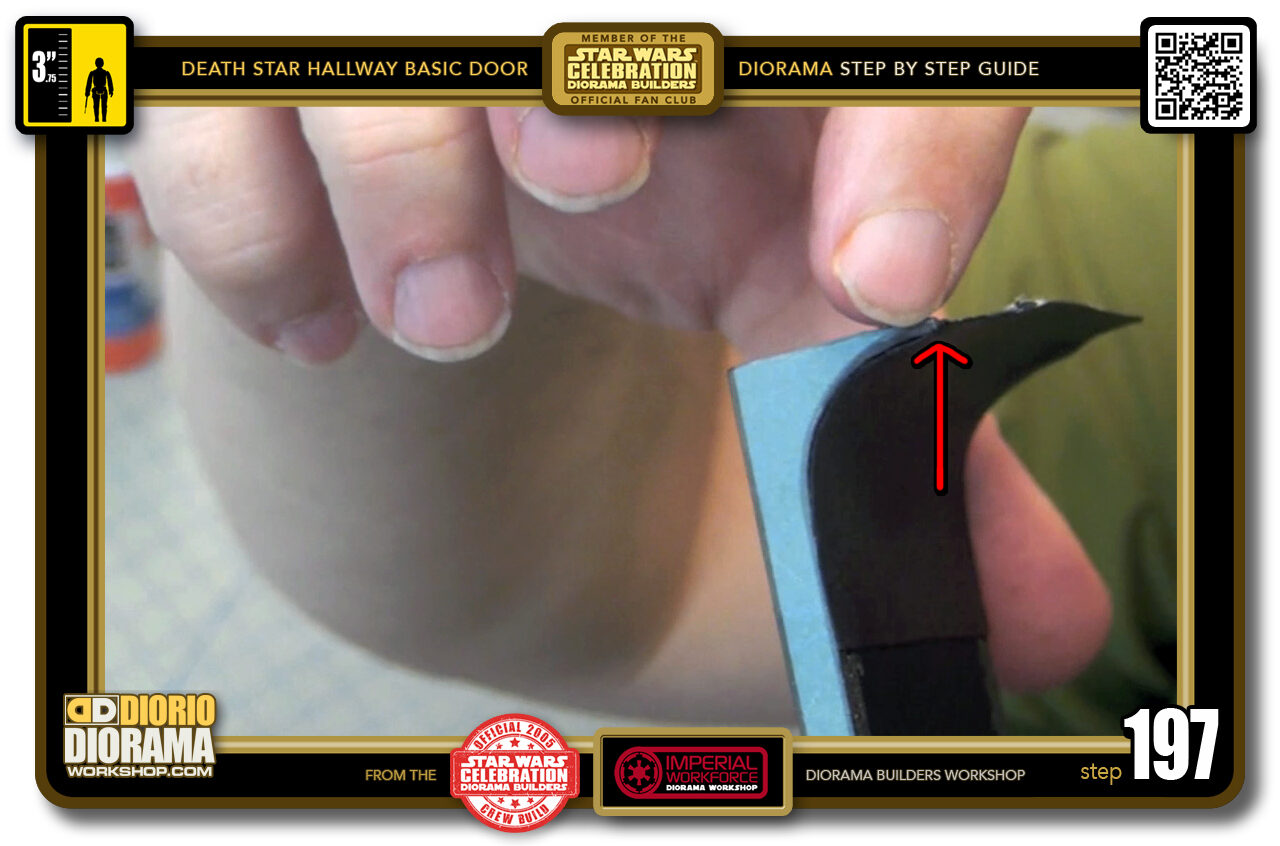
- STEP 197 > Now before we place the decals, we want to be sure the inner posterboard curves are just the right length. We want them to stop just where the feet stop (red arrow)
-
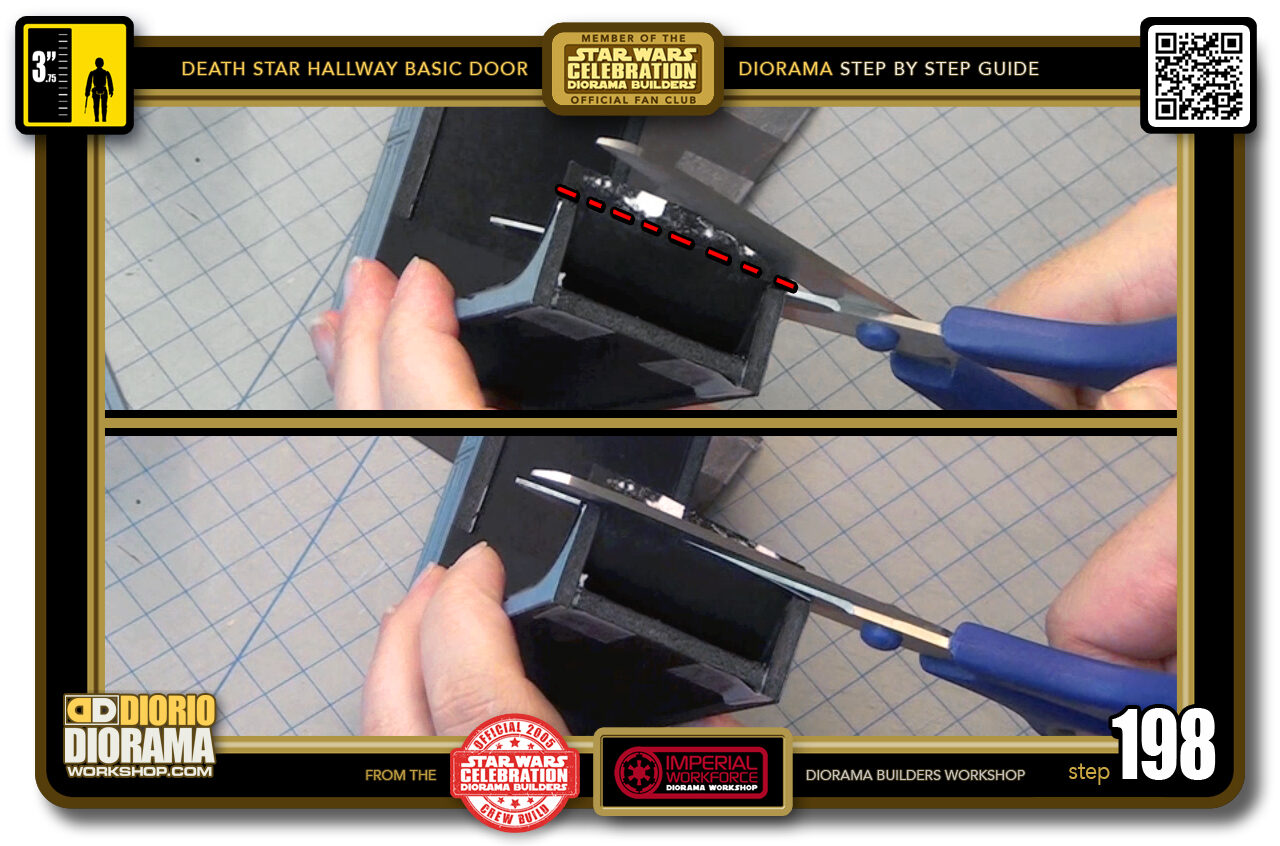
- STEP 198 > Grab some long scissors where the blade extends past the 6 cm of the feet width. You want to open them as wide as possible, angle them so the front aligns with the back and slowly close them as to cut off the excess posterboard ends.
-
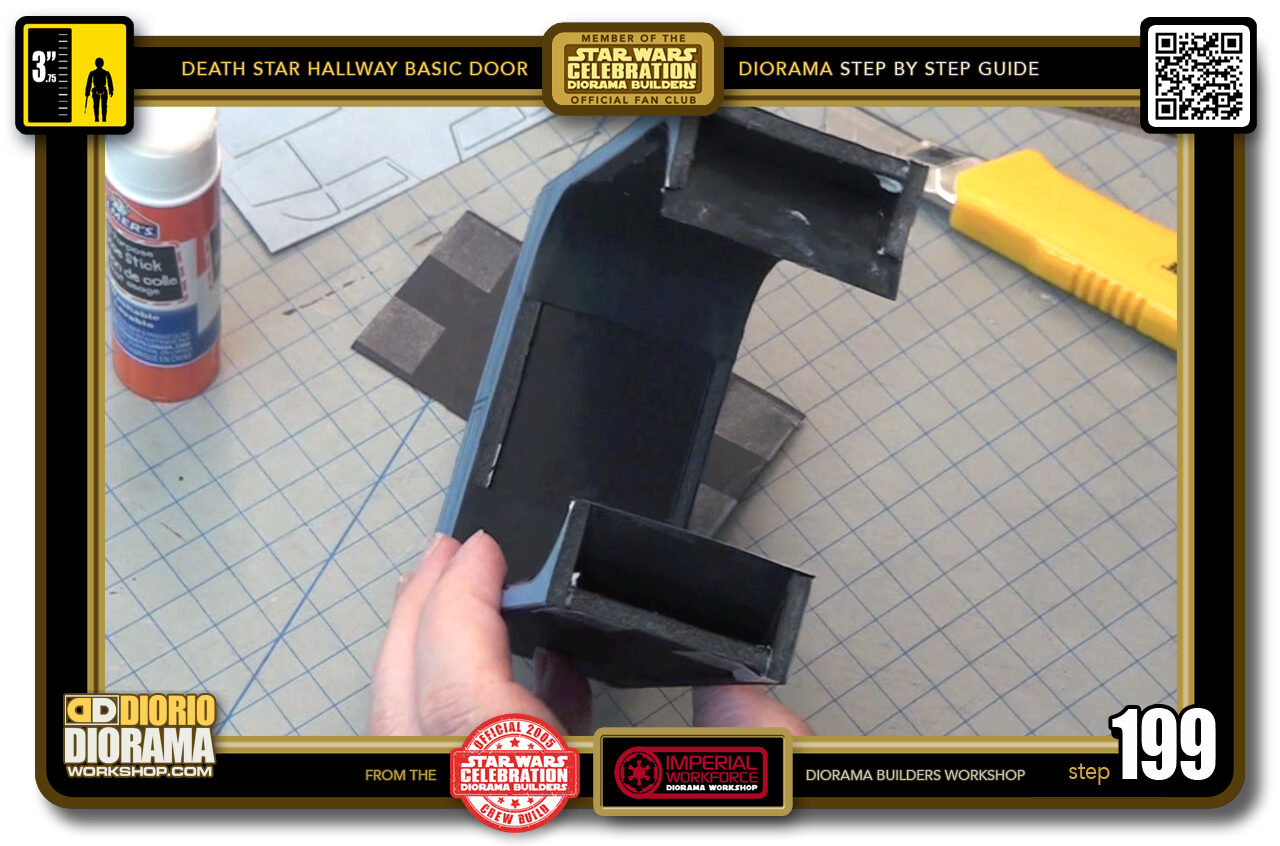
- STEP 199 > After both cuts, your feet should look nice and clean like this. We are ready for the feet decals.
-
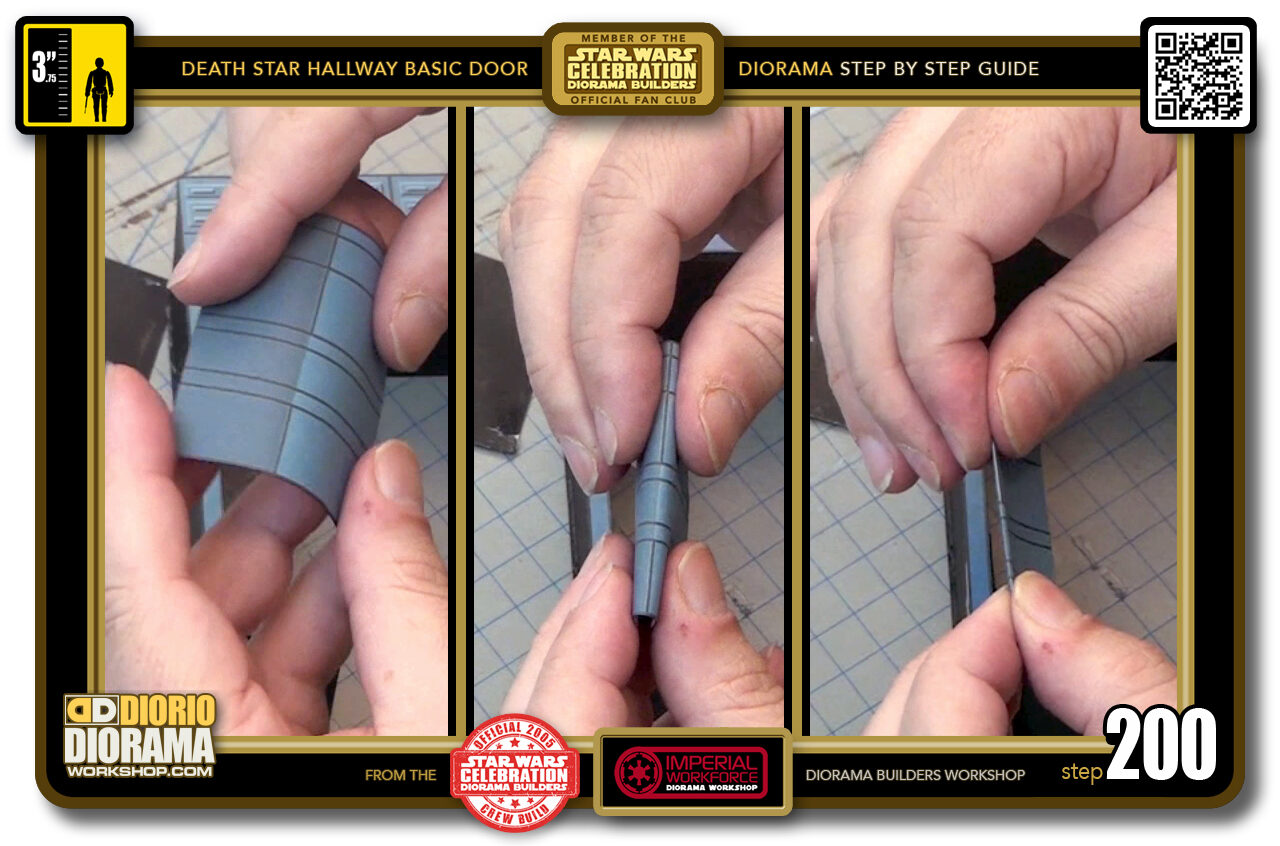
- STEP 200 > Remember that dark and light zone ? these are your FOLDING GUIDES, so you want to bend these over until you get a clean fold. If you use FULL LABEL SHEETS like I do, the wax paper on the back makes it a little thicker, and you have to do one or two extra squeezes to get the perfect fold.

.
Did you already build this Diorama ? At home or at our Star Wars Celebration Diorama Builders workshop ? Would you like to show it in the site’s GALLERY VISITORS DIORAMAS section, YES ? That is Awesome !!! You can find out all the details on how to email me your photos on the VISITORS SUBMISSIONS INFO page … When I get your photos, I will create your very own page just like this one. You may not realize it but work does inspire others to join in the fun of making Action Figure Dioramas.
.
NOT FOR RESALE ALL Decals, tutorials and artwork are ©FrankDiorio (dioramaworkshop.com) and offered FOR FREE to the fans – that would be you ? so you can build and display my diorama designs in your very own home. I realize I cannot control what one does with my graphics once I place them on the web, I can only ask you as one fan to another, please respect the artist and do not be that jerk who uses my designs and tutorials to build a copy of my work only to sell it on EBAY or trade/sale groups and forums. Thank You. Frank.
.
.
If you have a facebook account, why not join the Official Diorama Builders Fan Club today, simply click the logo link below.
 .
.
Catch up with fellow visitors and exchange stories, read cool interviews with the crew, exchange photos, fun surprises and grab some FAN ONLY merchandise next year at actual future conventions ?
.
©2018 Frank Diorio DioramaWorkshop.Com
.
IF YOU LIKE WHAT YOU SEE, PLEASE SHARE WITH YOUR FRIENDS
USING THE SOCIAL MEDIA BUTTONS BELOW