


-
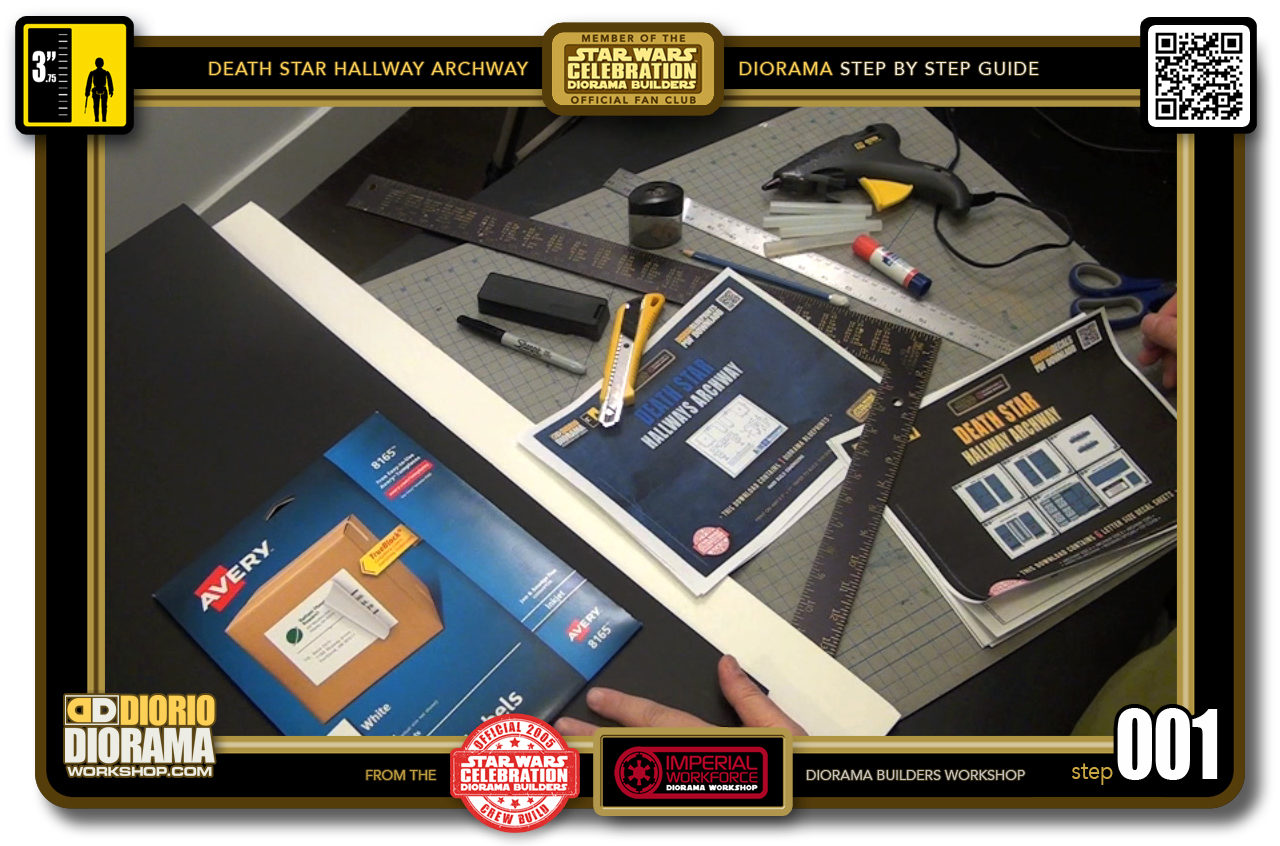
- STEP 001 > These are all the materials you will need to build your Death Star Hallway Archway accessory...
-
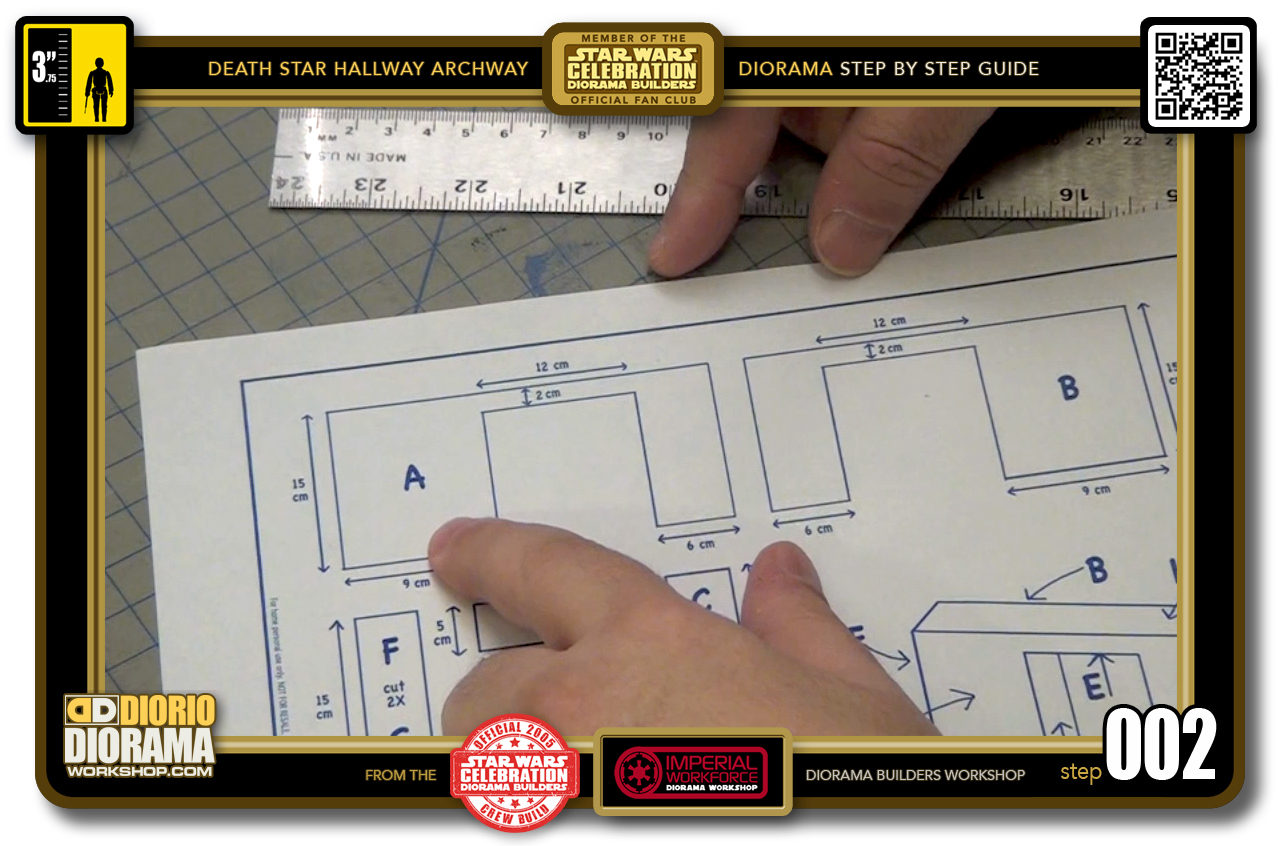
- STEP 002 > We will start by making WALL "A" which is one of the front (or rear) pieces depending where you look at it 🙂
-
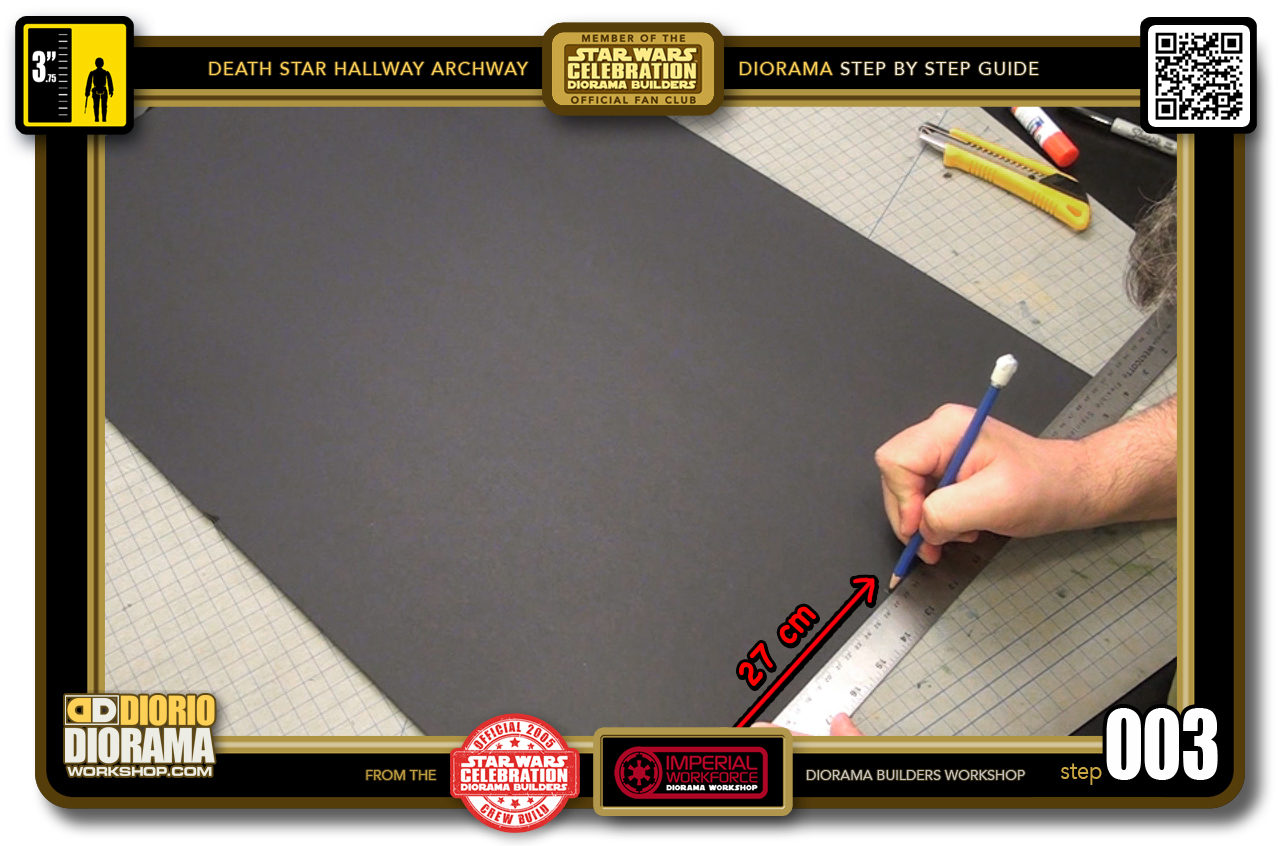
- STEP 003 > Go to the bottom corner of your foamcore and measure 27 cm.
-
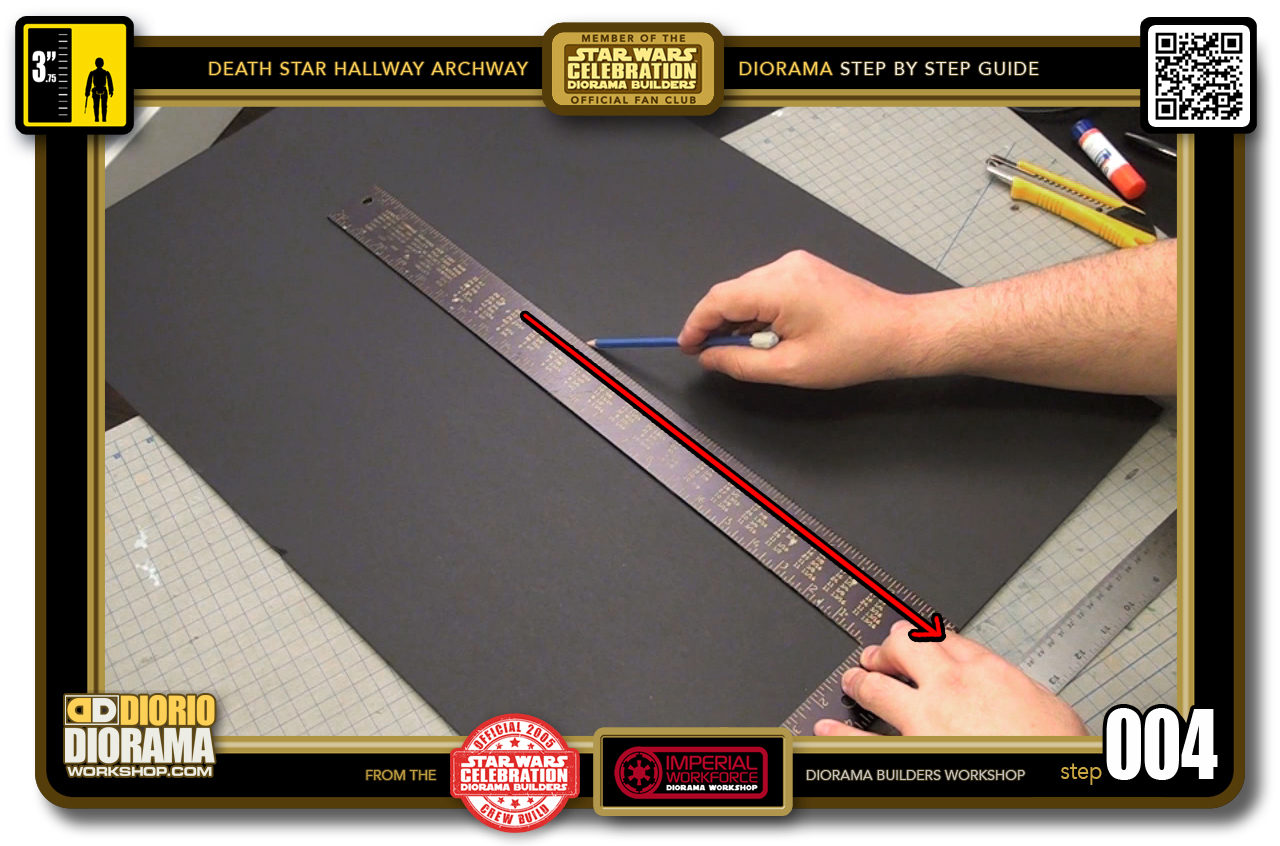
- STEP 004 > To make things easier if you have a "L" Square ruler that allows you to draw perfect 90 degree angles, use it to draw a line from your 27 cm bottom pencil mark. If you don't have this ruler, simply go to the TOP of your foamcore piece and measure 27 cm just like you did for the bottom. Then connect the 2 marks to form a long pencil line down your foamcore.
-
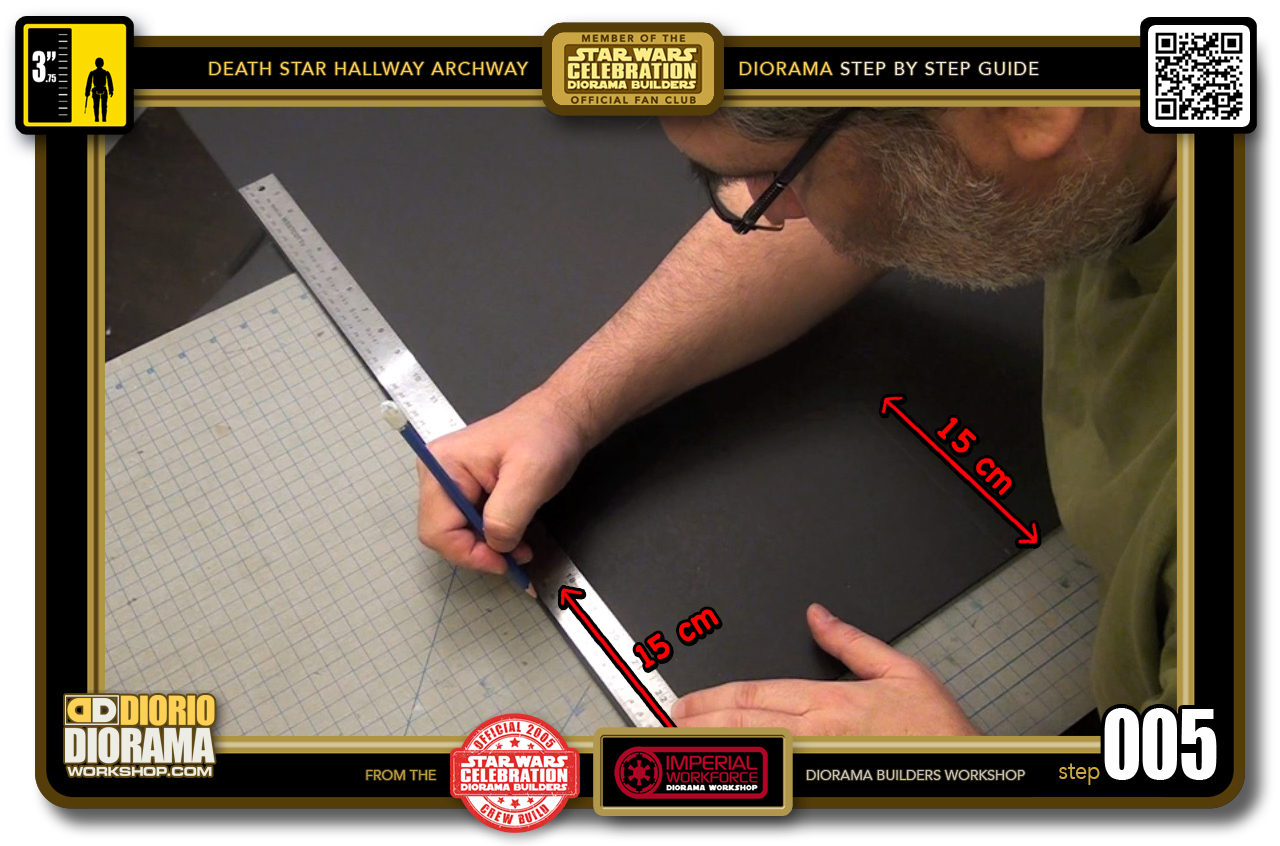
- STEP 005 > The archway is 15 cm tall - as is all of the Death Star wall tiles, so make a mark with your pencil at 15 cm on both sides.
-
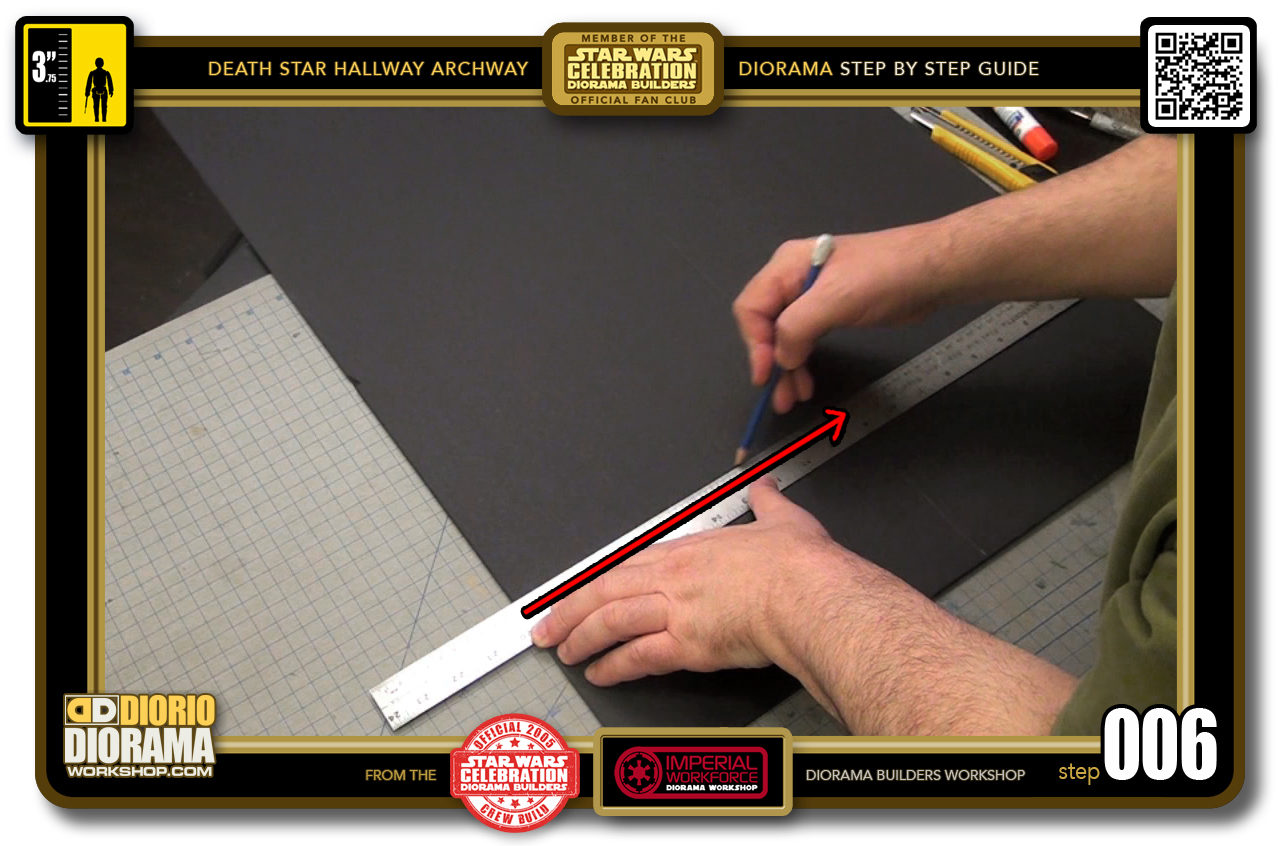
- STEP 006 > Connect your 2 15 cm marks by drawing a line with your pencil.
-
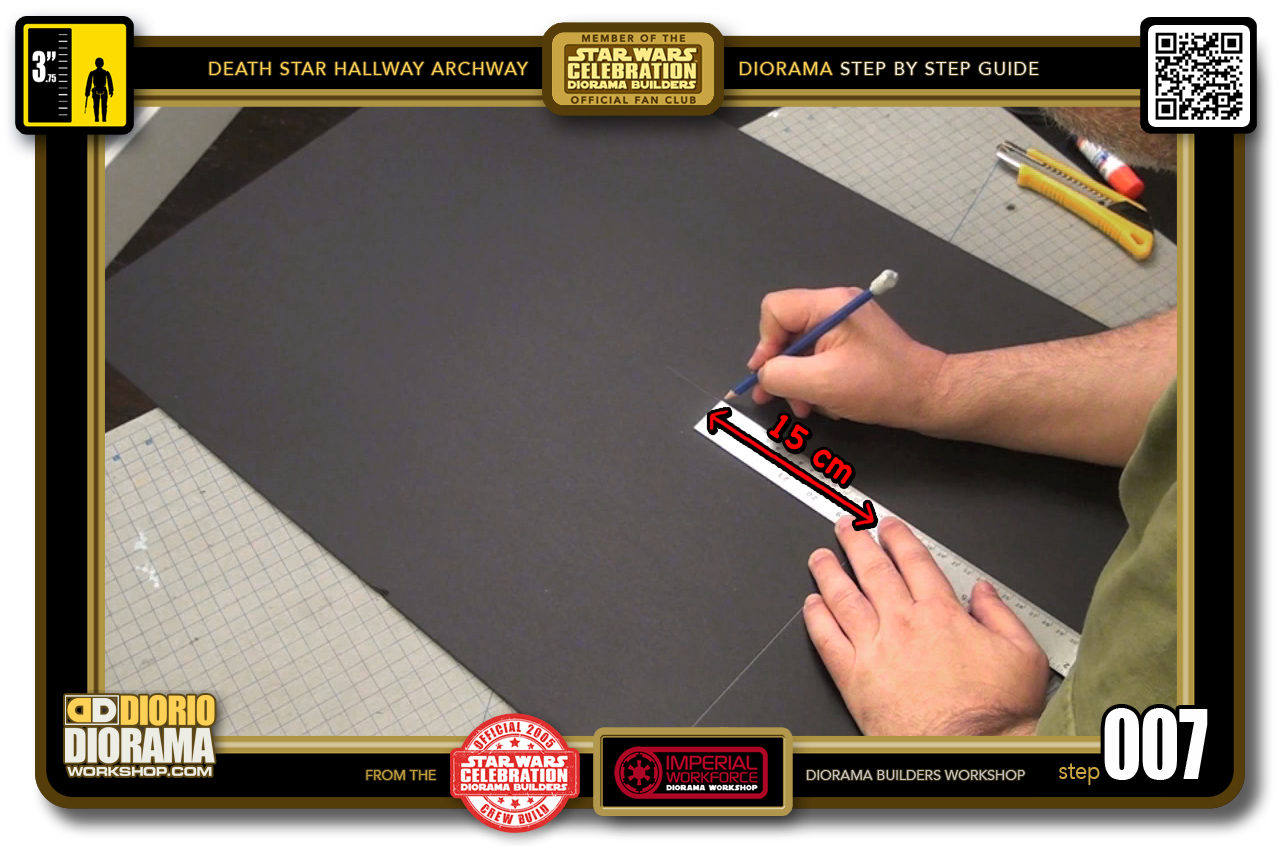
- STEP 007 > The "B" wall is the same as the "A" that we are making and will need another 27 cm x 15 cm rectangle, so might as well measure both now. Simply measure another 15 cm on the right side from the top line you just drew that connected your 2 "A" Wall pieces.
-
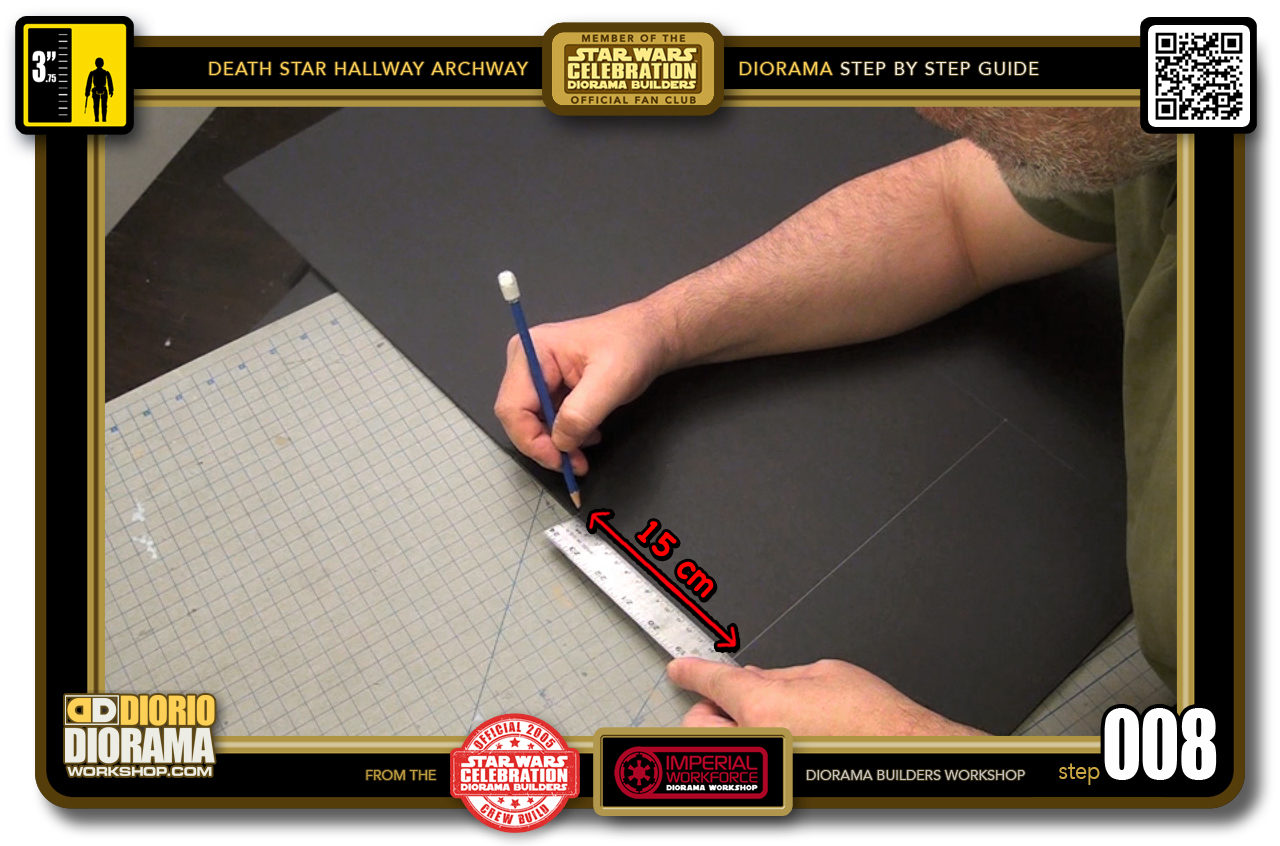
- STEP 008 > Now again repeat the same thing on the other side, mark 15 cm on the left.
-
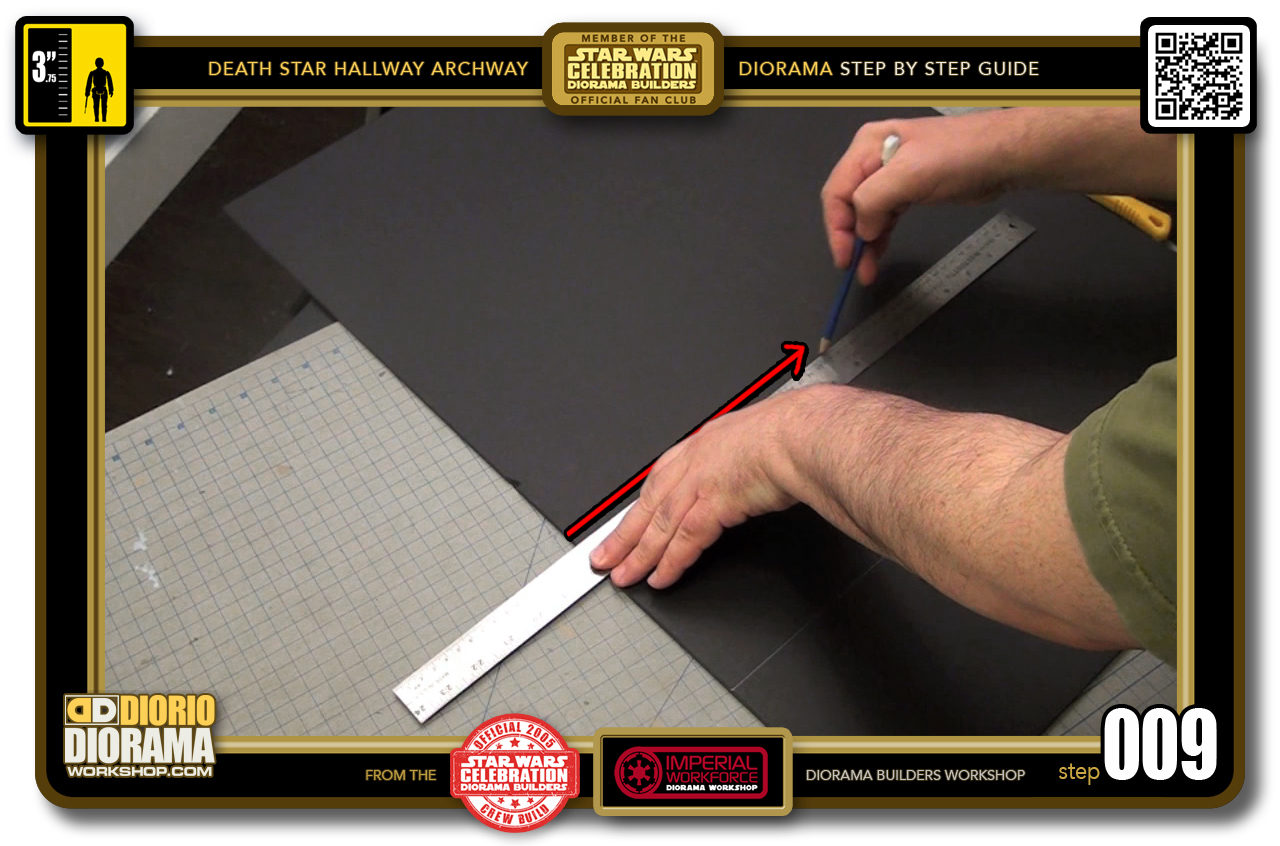
- STEP 009 > Now just as you did in Step 006, connect your 2 marks and draw a long straight line at the top of your 15 cm pencil marks creating your second rectangle for the "B" Wall.
-
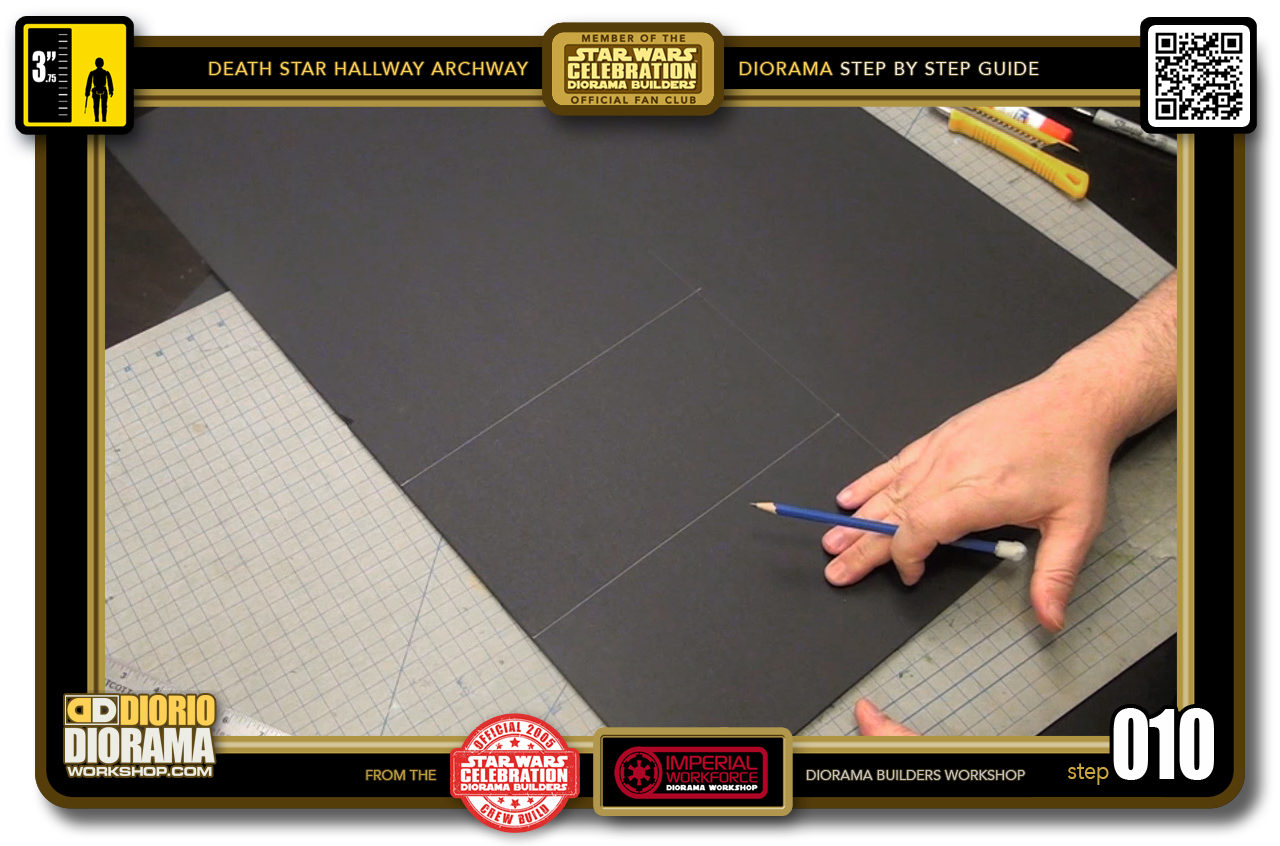
- STEP 010 > You now have your 2 rectangle shapes for your "A" and "B" walls.
-
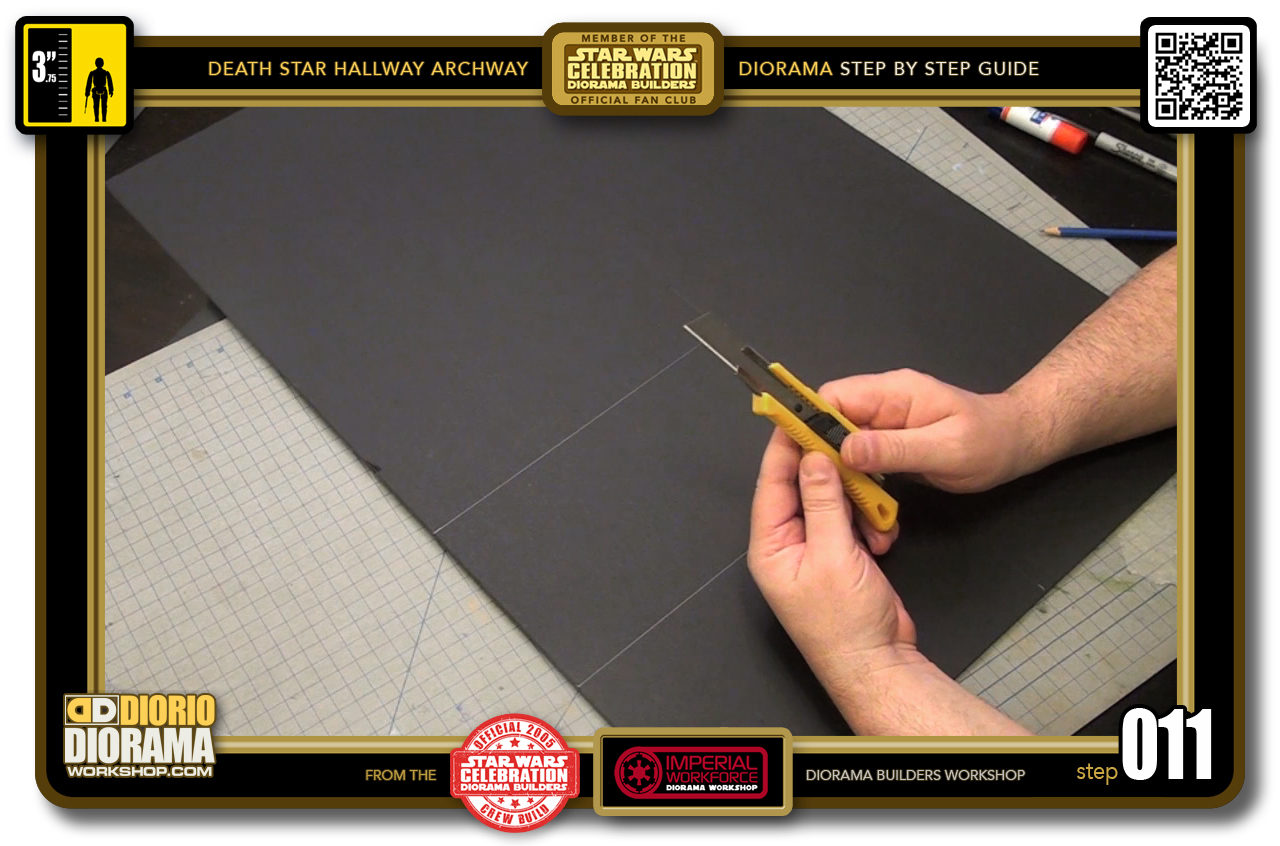
- STEP 011 > Time to cut, as you may know by now if this isn't your first making of you are looking at, the Foamcore is the EATER of the blades. So I like to start my projects with a brand NEW blade.
-
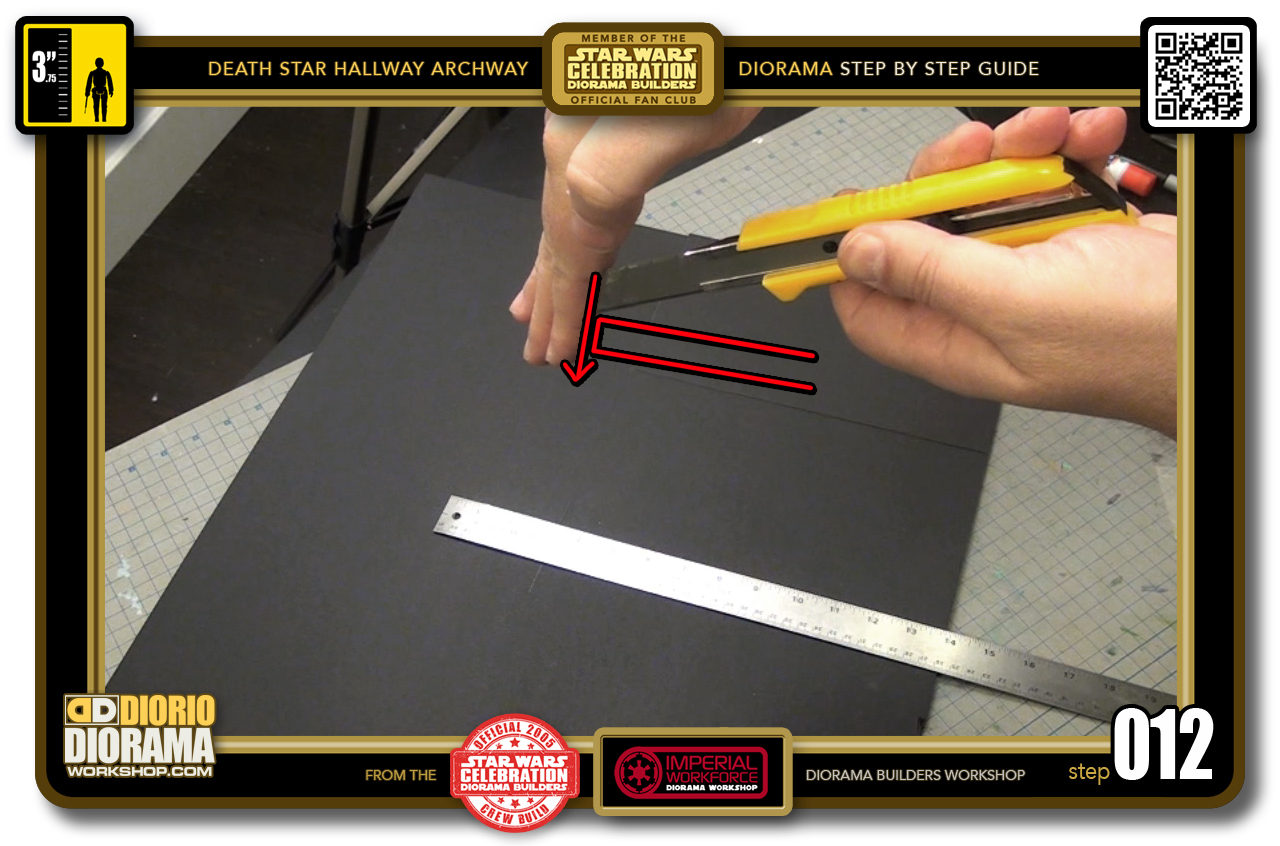
- STEP 012 > When you cut your foamcore, here is a tip that I use all the time. See how the tip is really pointy yet has a long guiding edge. Use that to visually help you position your blade at the angle of the foamcore's thickness. You want to poke the top paper layer and then press straight down until you reach your cutting mat.
-
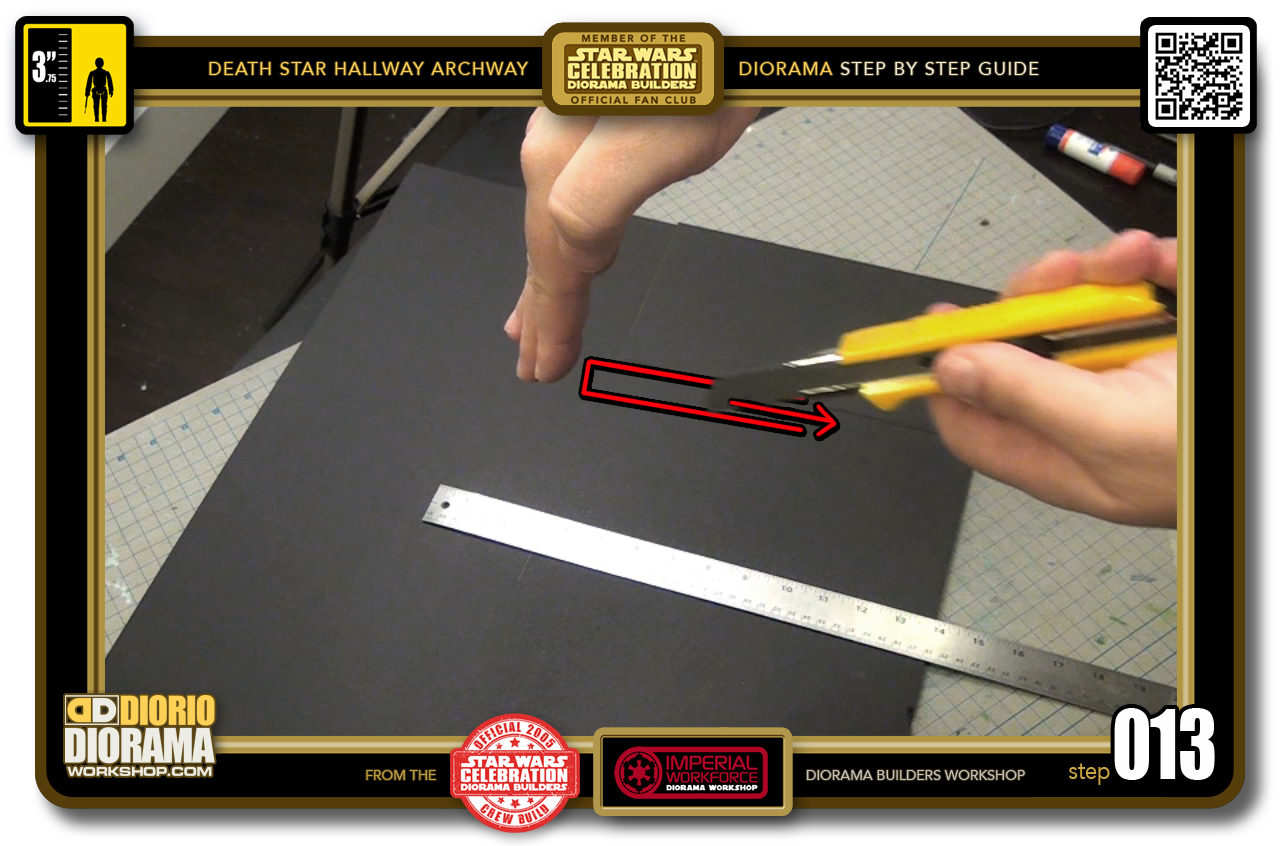
- STEP 013 > Then all you do is pull the blade along your ruler. With a NEW blade, it should cut through like butter which means, BE VERY CAREFULL NOT TO CUT YOUR FINGERS - Happened to me, 8 hours in hospital emergency. You don't want that 🙂
-
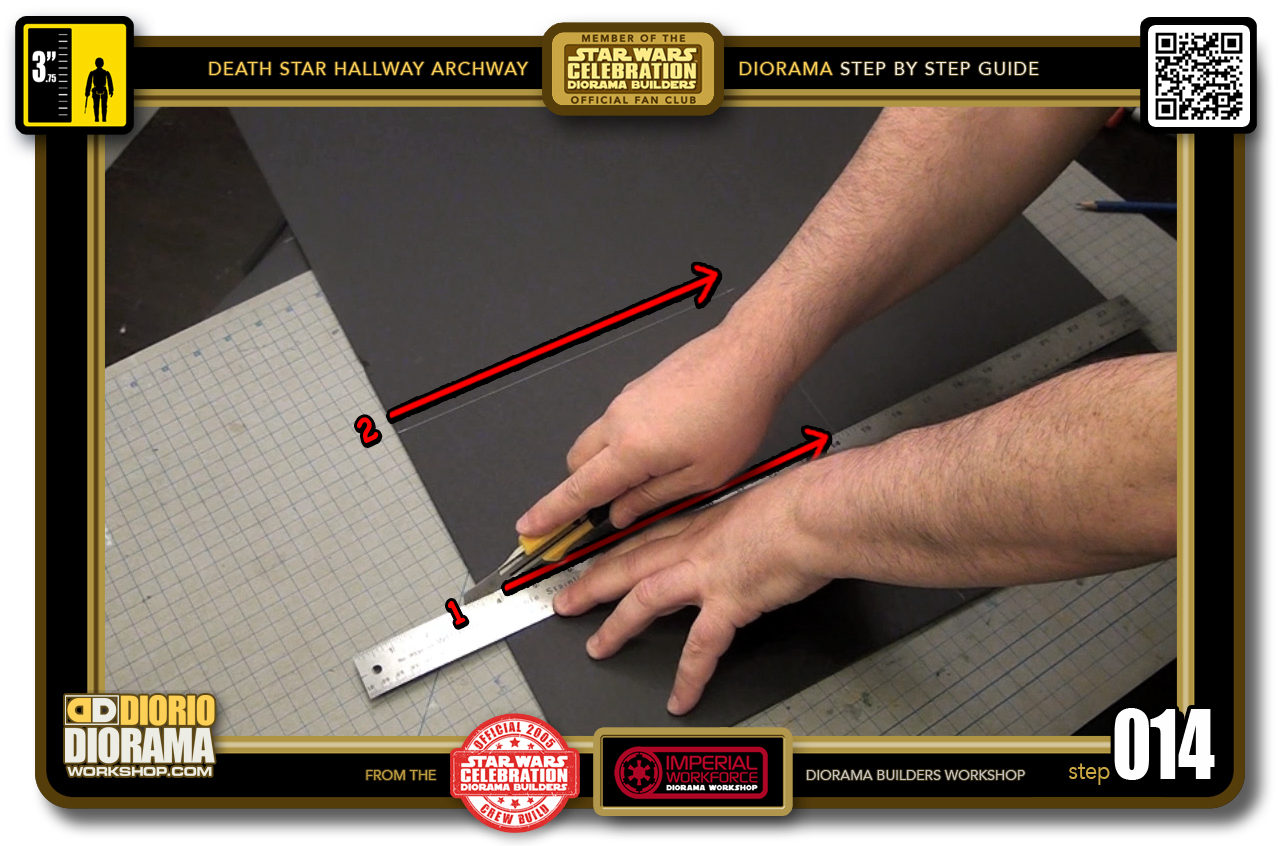
- STEP 014 > The order of your cuts is not really important, you can start with the right side if you want (Step 010) but for me I started cutting along the 2 15 cm lines.
-
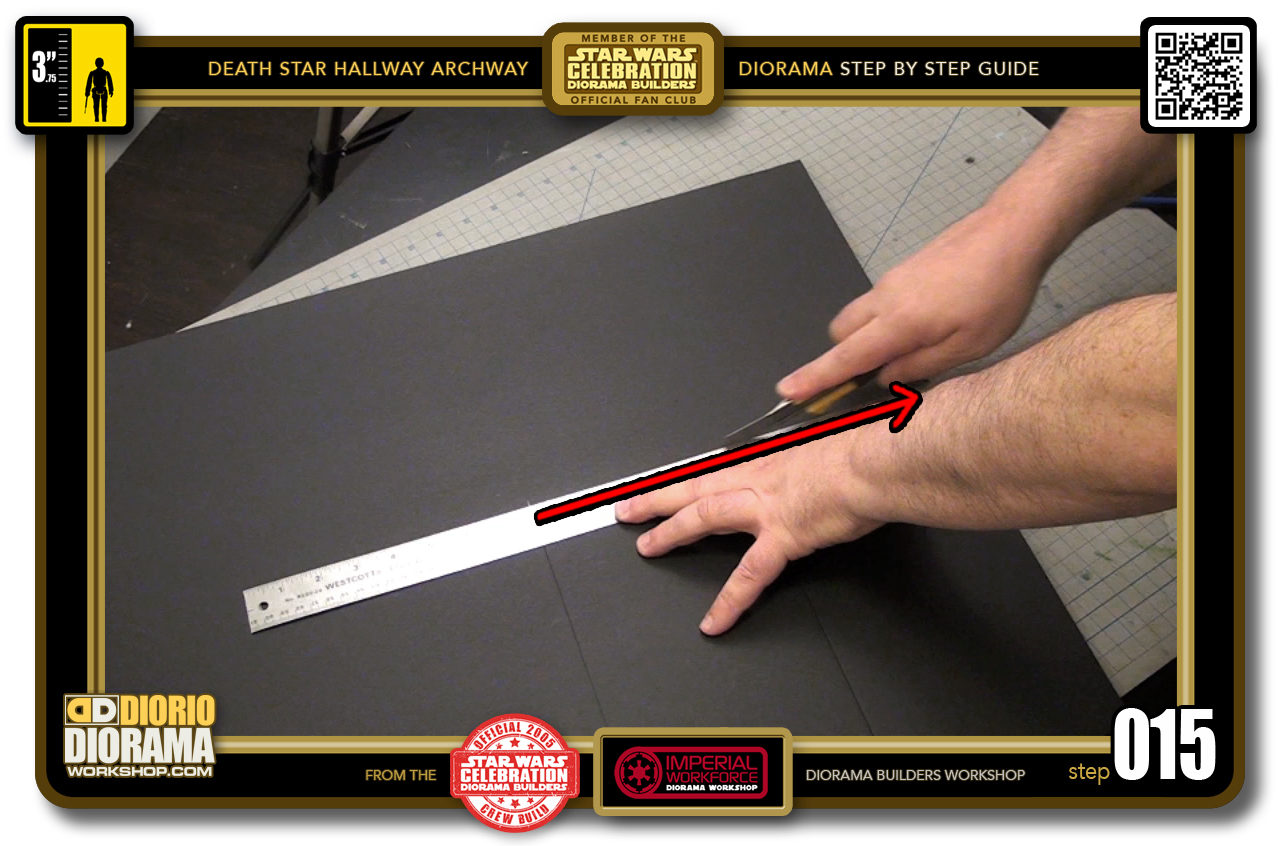
- STEP 015 > And then sliced down the right side - 30 cm - the total of your 2 15 cm rectangle sides.
-
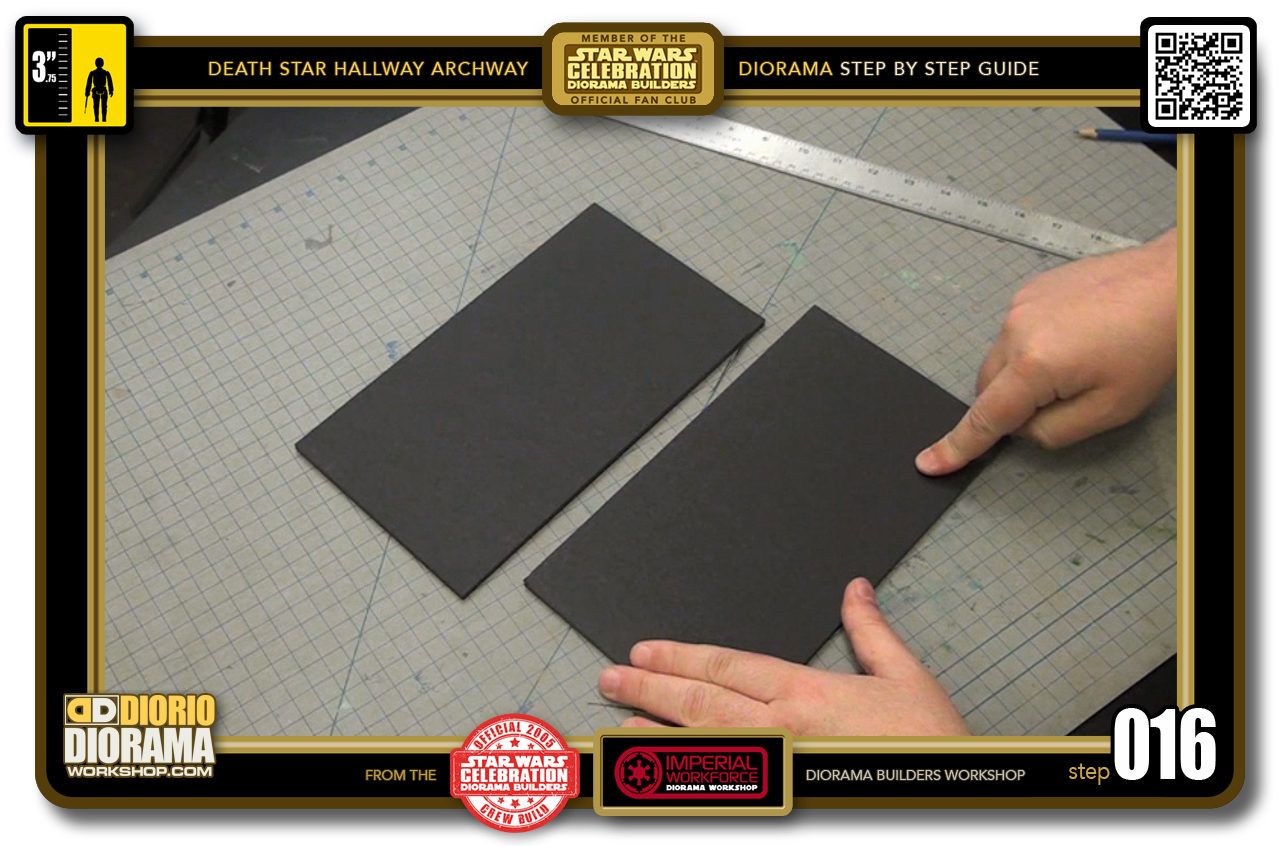
- STEP 016 > Our two 15 cm x 27 cm rectangles are cut. Now we need to measure and cut out the centre arch.
-
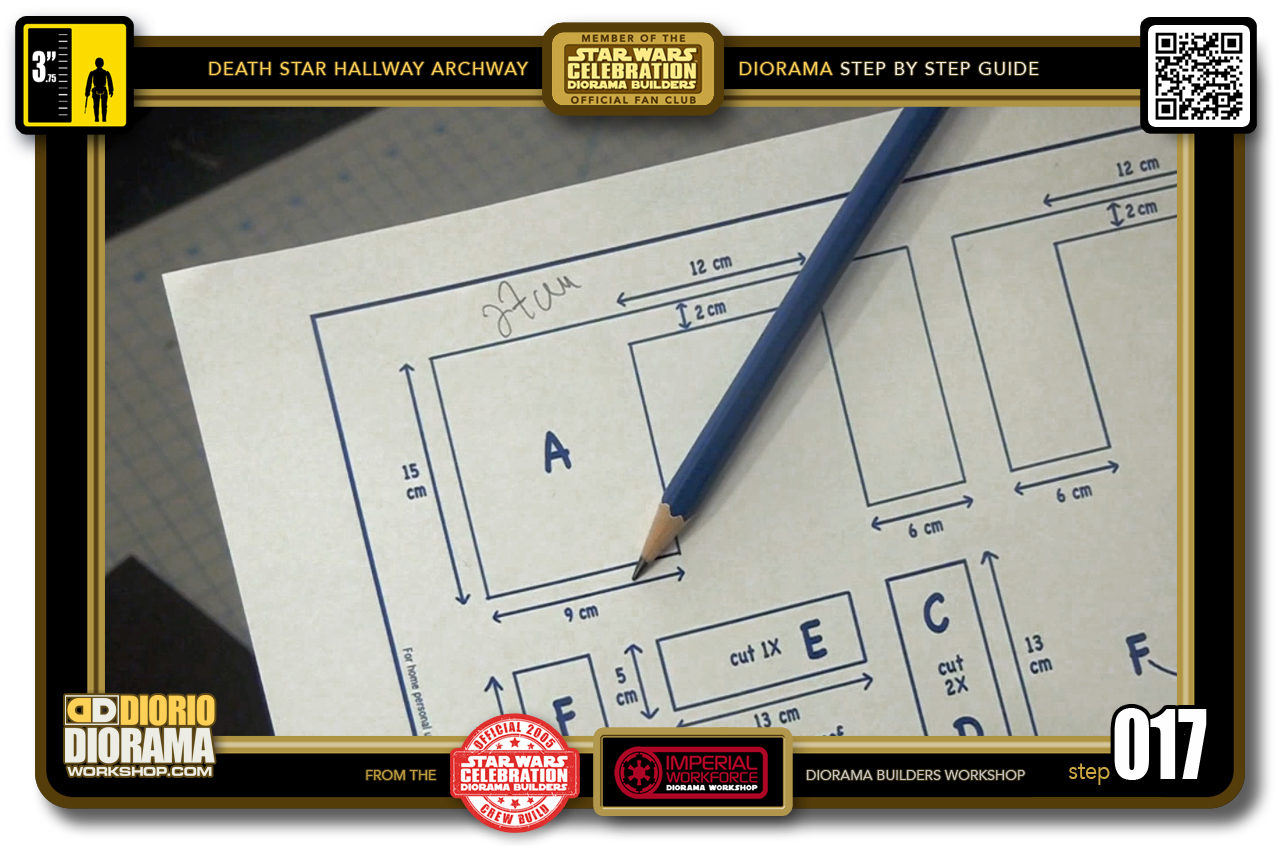
- STEP 017 > When you look at the blueprints you can see that the widest side of the arch measures 9 cm and the other 6 cm.
-
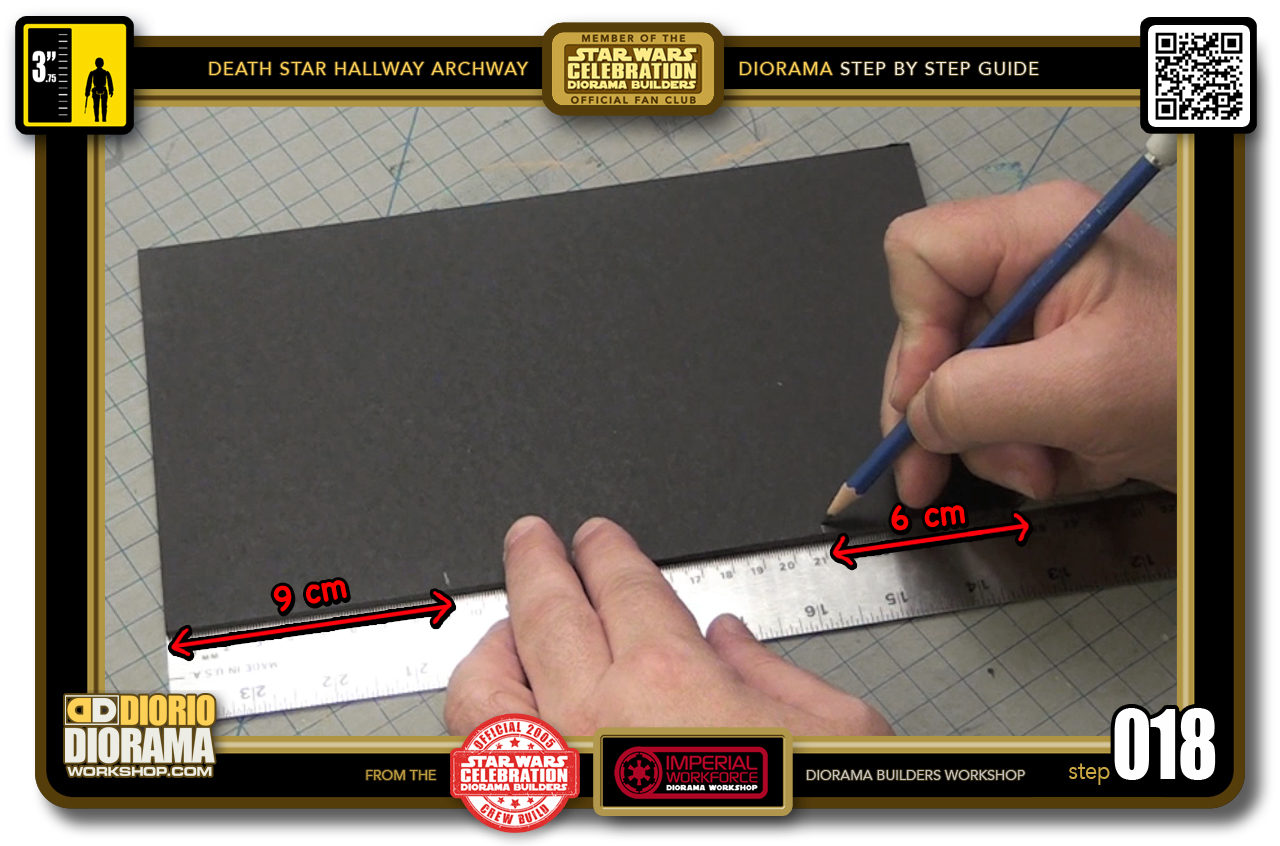
- STEP 018 > Take one of your rectangles and measure 9 cm from the bottom left corner towards the centre and then measure 6 cm from the bottom right corner towards the centre.
-
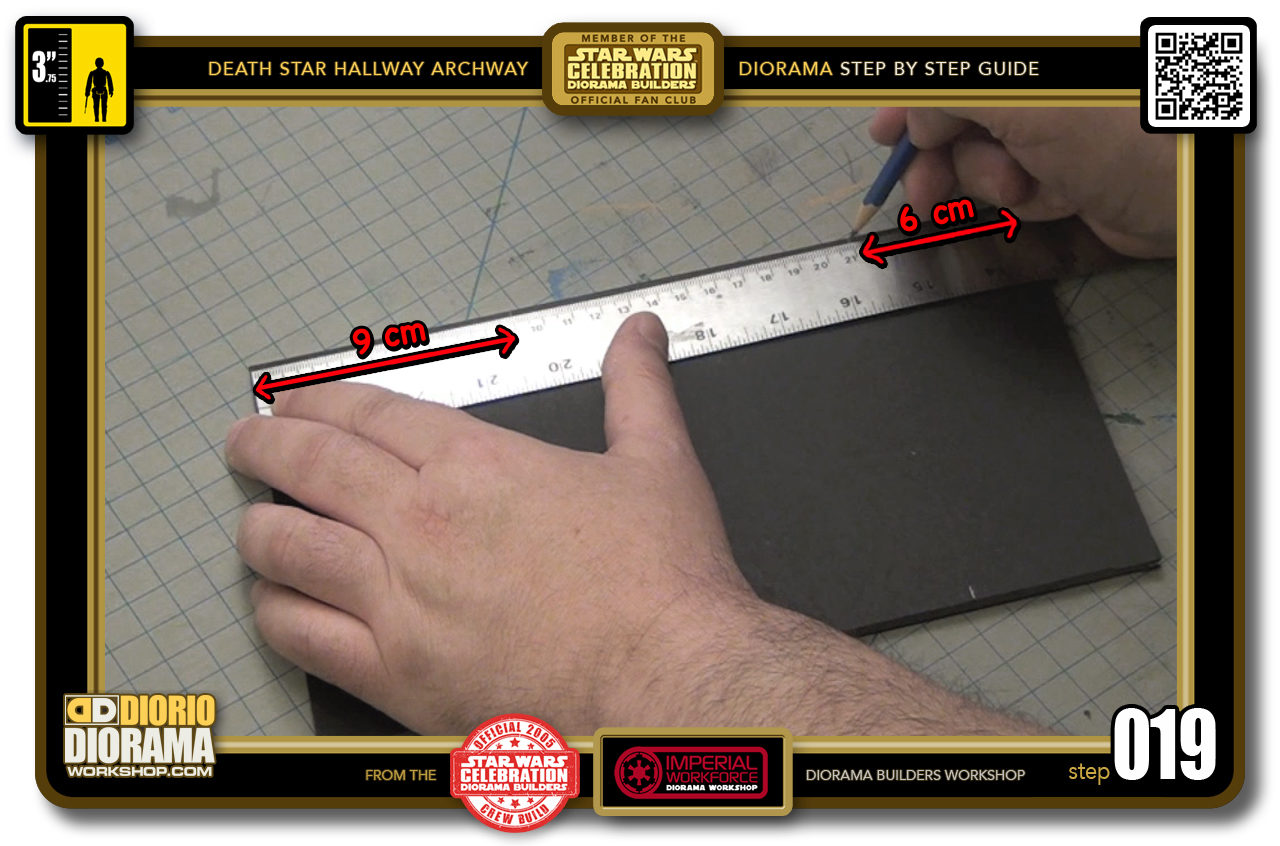
- STEP 019 > Now go to the top of your rectangle and measure the same dimensions.
-
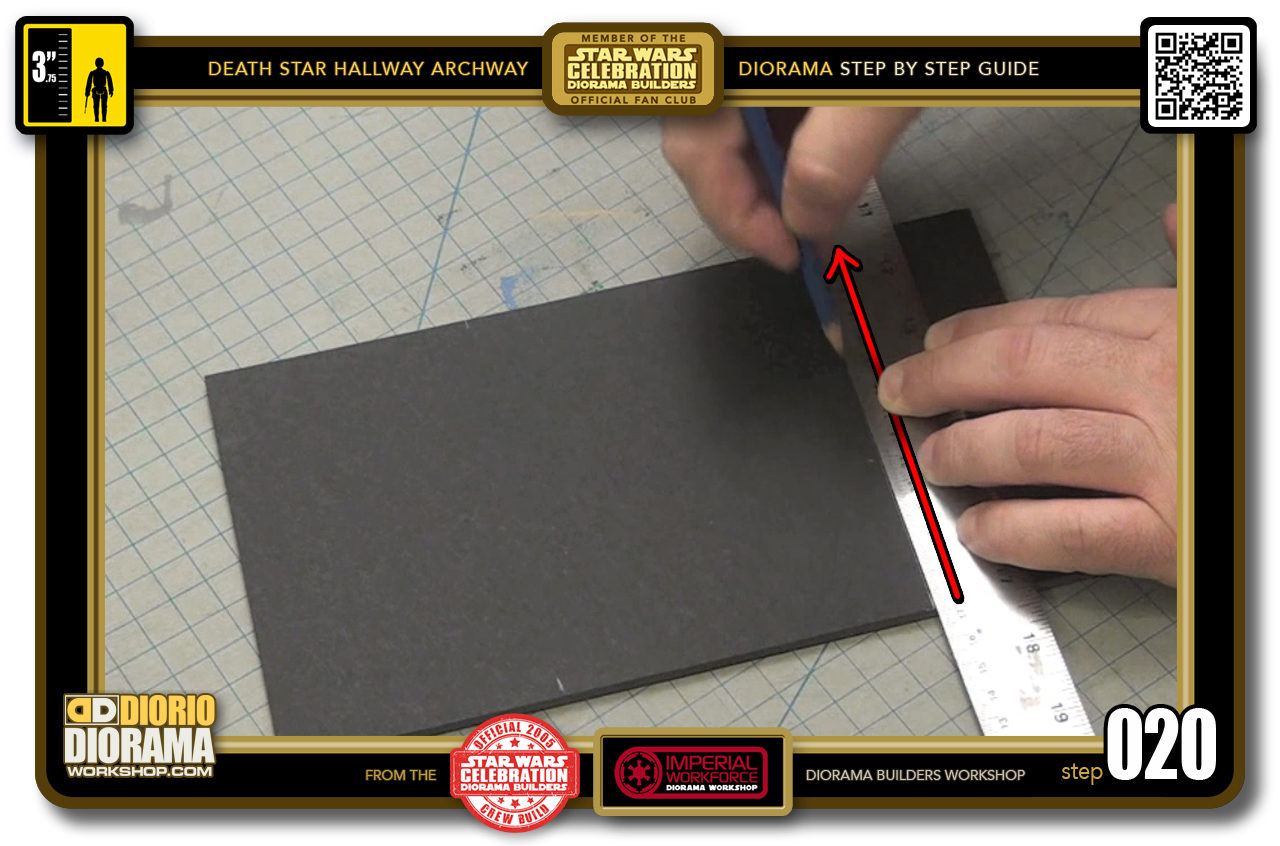
- STEP 020 > Now grab a ruler and connect your markings starting with the 6 cm right side.

.
Did you already build this Diorama ? At home or at our Star Wars Celebration Diorama Builders workshop ? Would you like to show it in the site’s GALLERY VISITORS DIORAMAS section, YES ? That is Awesome !!! You can find out all the details on how to email me your photos on the VISITORS SUBMISSIONS INFO page … When I get your photos, I will create your very own page just like this one. You may not realize it but work does inspire others to join in the fun of making Action Figure Dioramas.
.
NOT FOR RESALE ALL Decals, tutorials and artwork are ©FrankDiorio (dioramaworkshop.com) and offered FOR FREE to the fans – that would be you ? so you can build and display my diorama designs in your very own home. I realize I cannot control what one does with my graphics once I place them on the web, I can only ask you as one fan to another, please respect the artist and do not be that jerk who uses my designs and tutorials to build a copy of my work only to sell it on EBAY or trade/sale groups and forums. Thank You. Frank.
.
.
If you have a facebook account, why not join the Official Diorama Builders Fan Club today, simply click the logo link below.
 .
.
Catch up with fellow visitors and exchange stories, read cool interviews with the crew, exchange photos, fun surprises and grab some FAN ONLY merchandise next year at actual future conventions ?
.
©2018 Frank Diorio DioramaWorkshop.Com
.
IF YOU LIKE WHAT YOU SEE, PLEASE SHARE WITH YOUR FRIENDS
USING THE SOCIAL MEDIA BUTTONS BELOW