


-
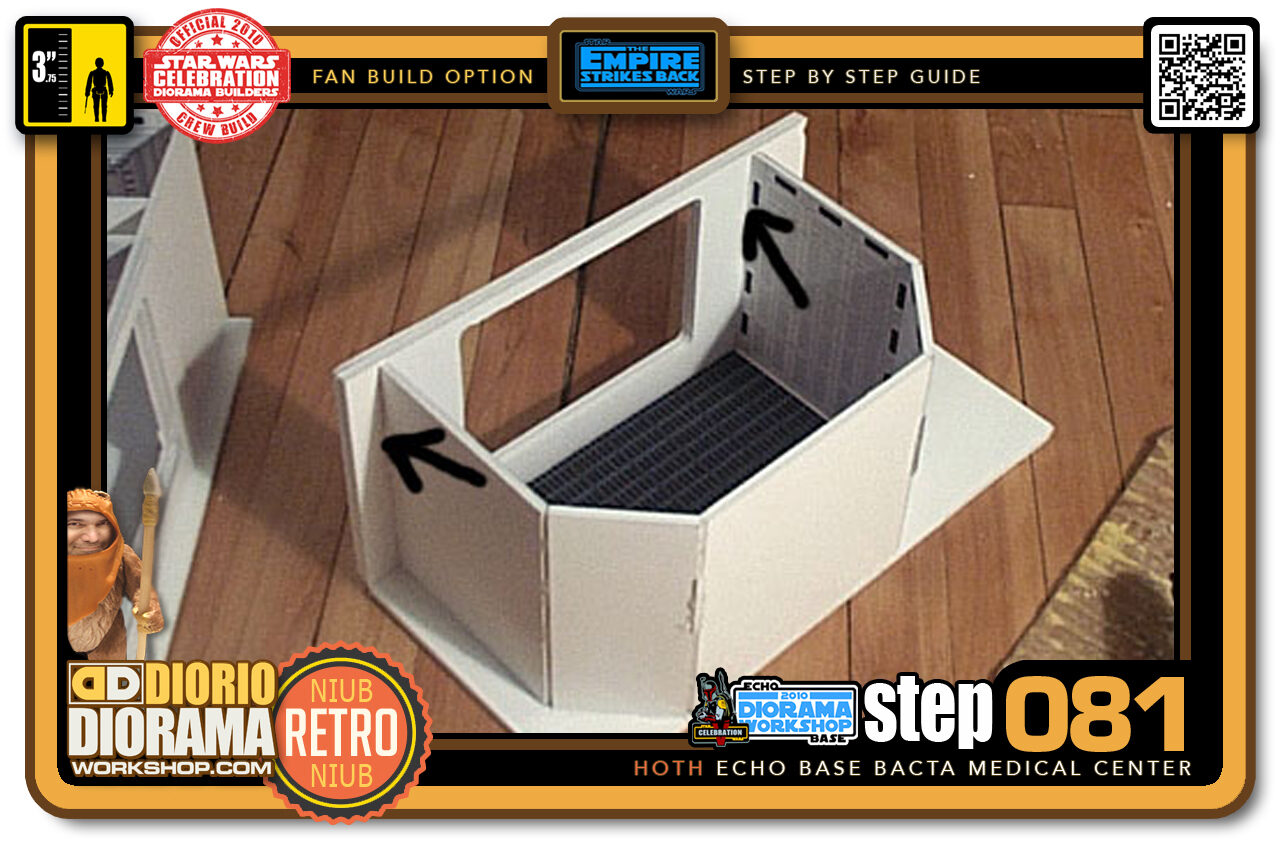
- Step 081 >> Now I attached the 2nd window to the Bacta Tank Room with my trusty Hot Glue Gun. Make sure it lines up with the wall from the Medical Room or you will run into problems later on.
-
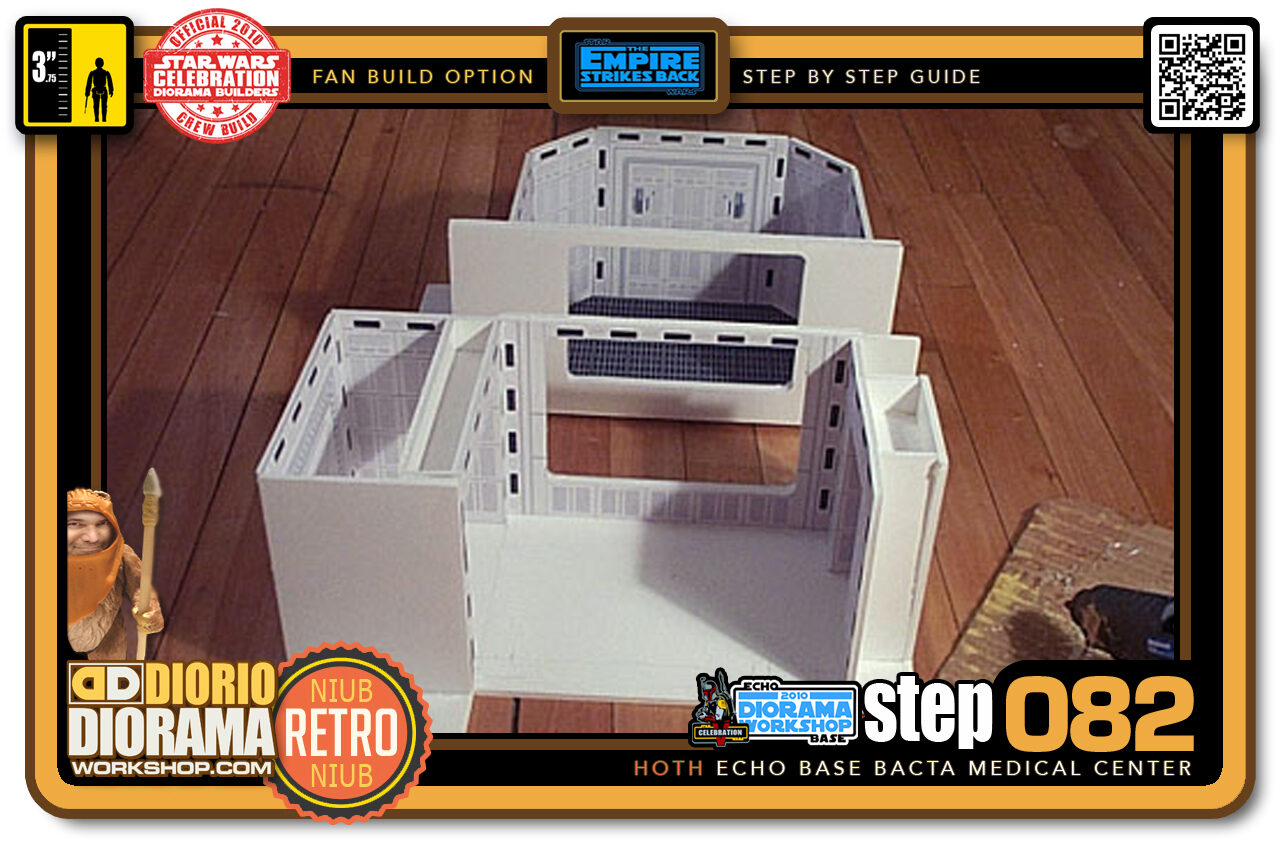
- Step 082 >> Here you see the 2 pieces aligned properly. It's hard to see in the picture but the Bacta Room's Window Wall doesn't touch the floor. It's offset by the thickness of the Medical Rooms foamcore floor.
-
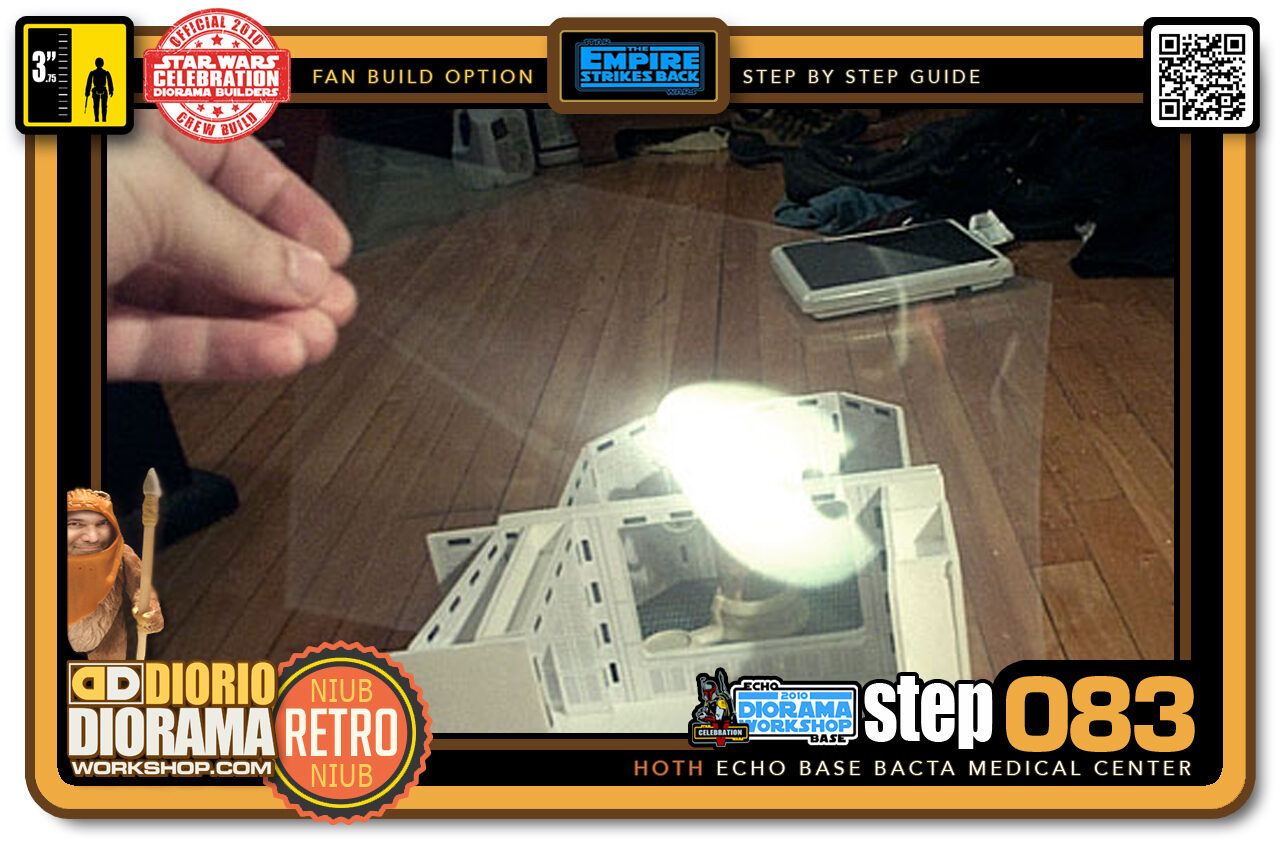
- Step 083 >> I went to the stationary store and got this piece of clear acetate for 89 cents. this will be the glass in the window. You don't really need it but it adds realism and allows the figures reflections just like in the real movie set. Just cut it at the height of the diorama walls.
-
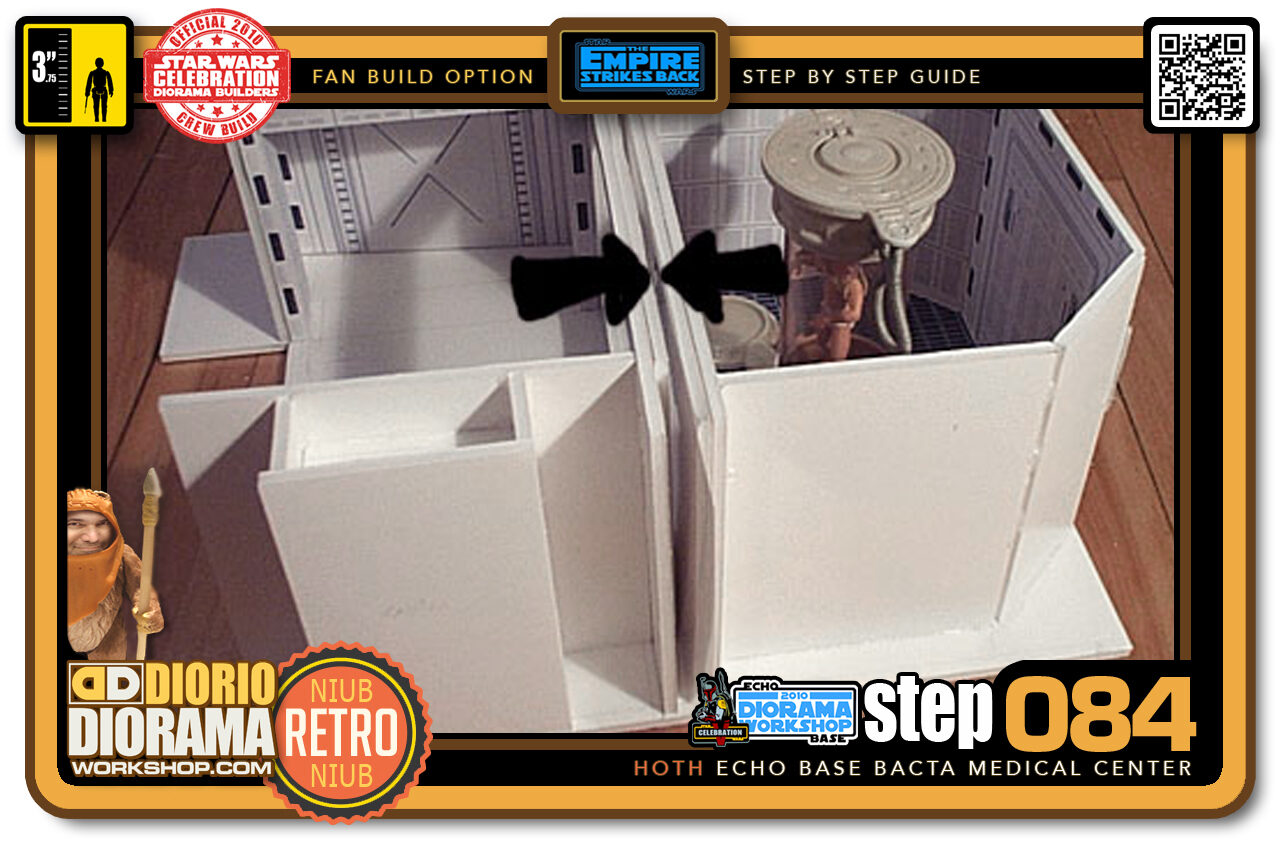
- Step 084 >> The Medical Center and Bacta Room sections pushed together into place. Between the 2 arrows is where you slip the clear acetate.
-

- Step 085 >> Can you see the difference the sheet makes? I left it open half way. On the right of the arrow is the clear acetate. on the left is what it looks like without the plastic sheet.
-

- Step 086 >> Next up is the Bacta Tank Center ceiling. We will be placing lights so I cut out 2 light panels. Go to the blueprints Section to see the exact measurements.
-
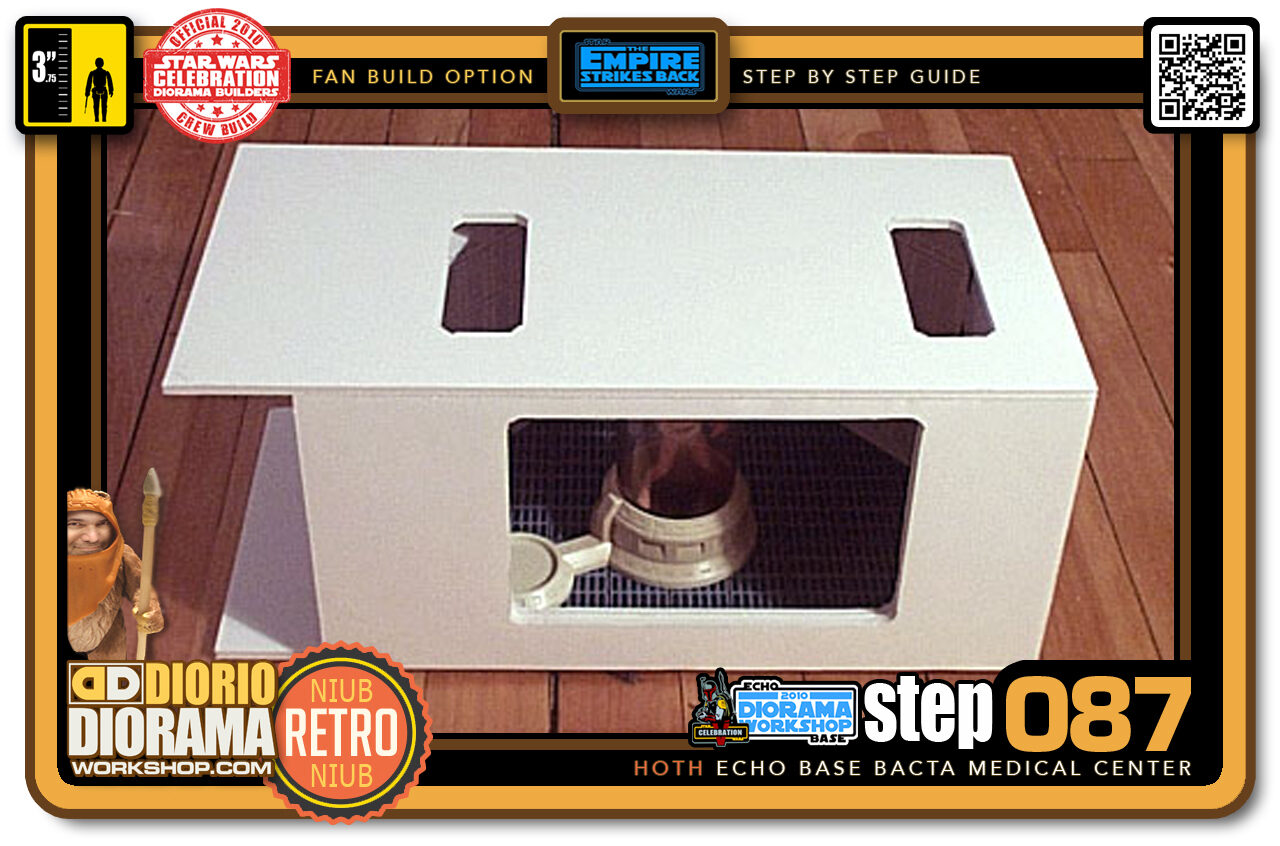
- Step 087 >> This is what the ceiling looks like when placed on top the Bacta Room.
-
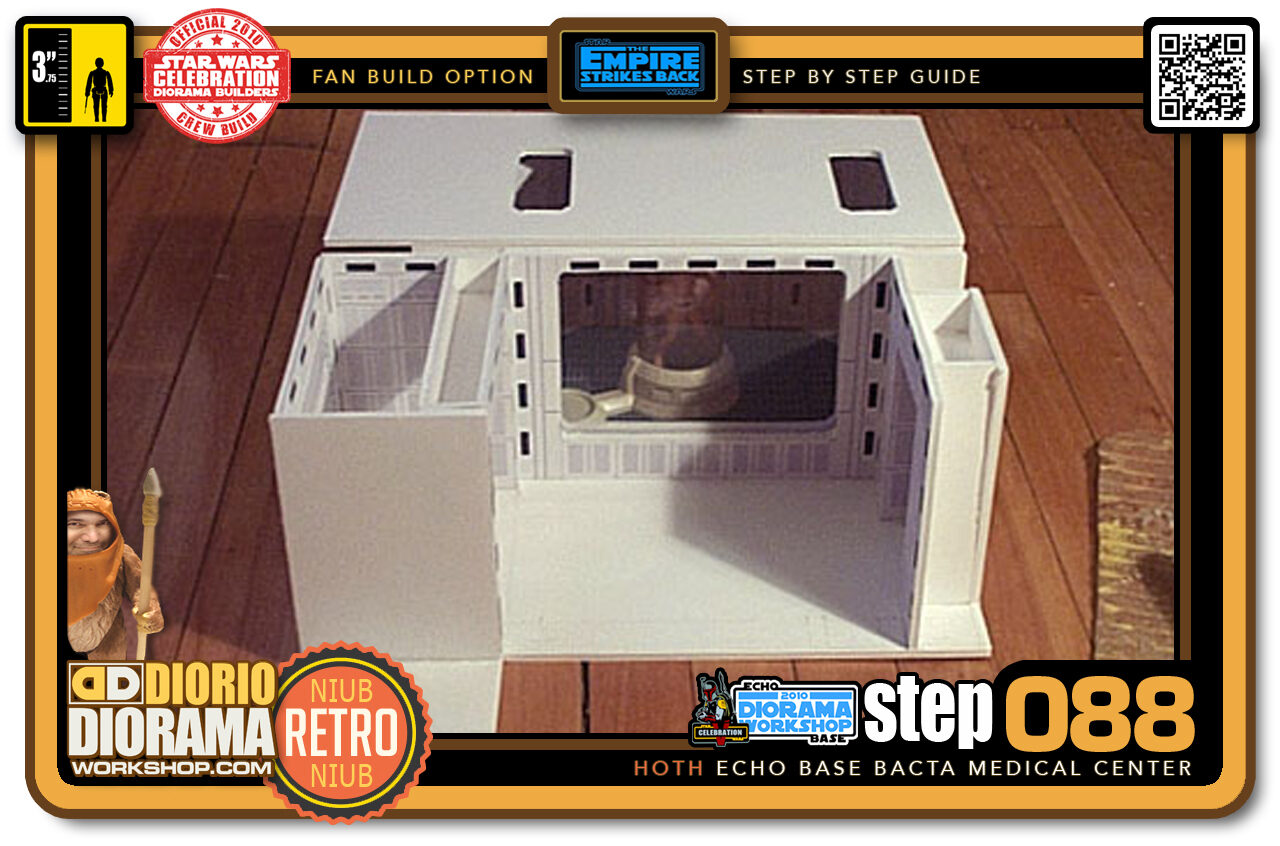
- Step 088 >> Here you see what the diorama looks like so far with the ceiling in place and the acetate.
-
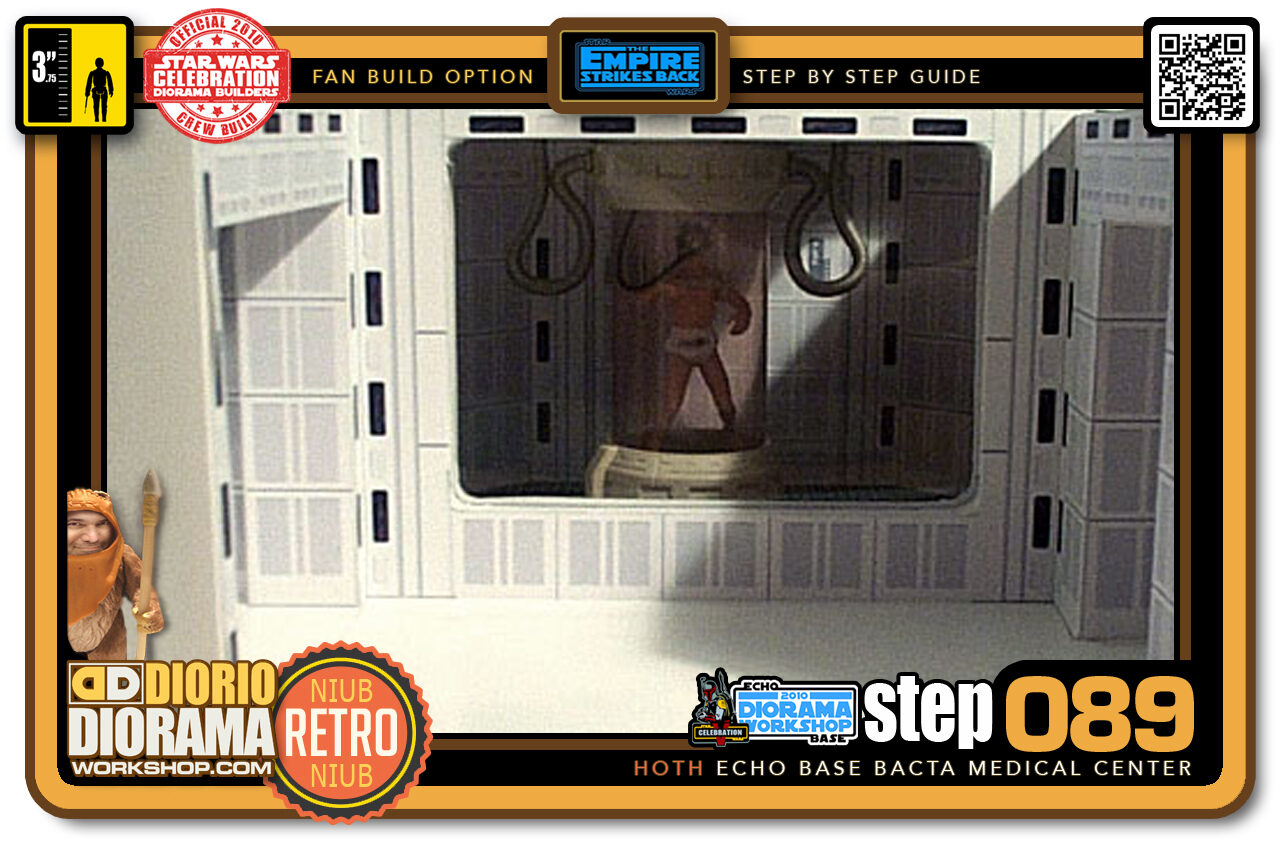
- Step 089 >> A front view of the clear acetate in place. You can notice the ceiling's holes let in specific light and help create the mood and give it the scale of the actual set. Of course when the proper lights are installed it will be much clearer and brighter.
-
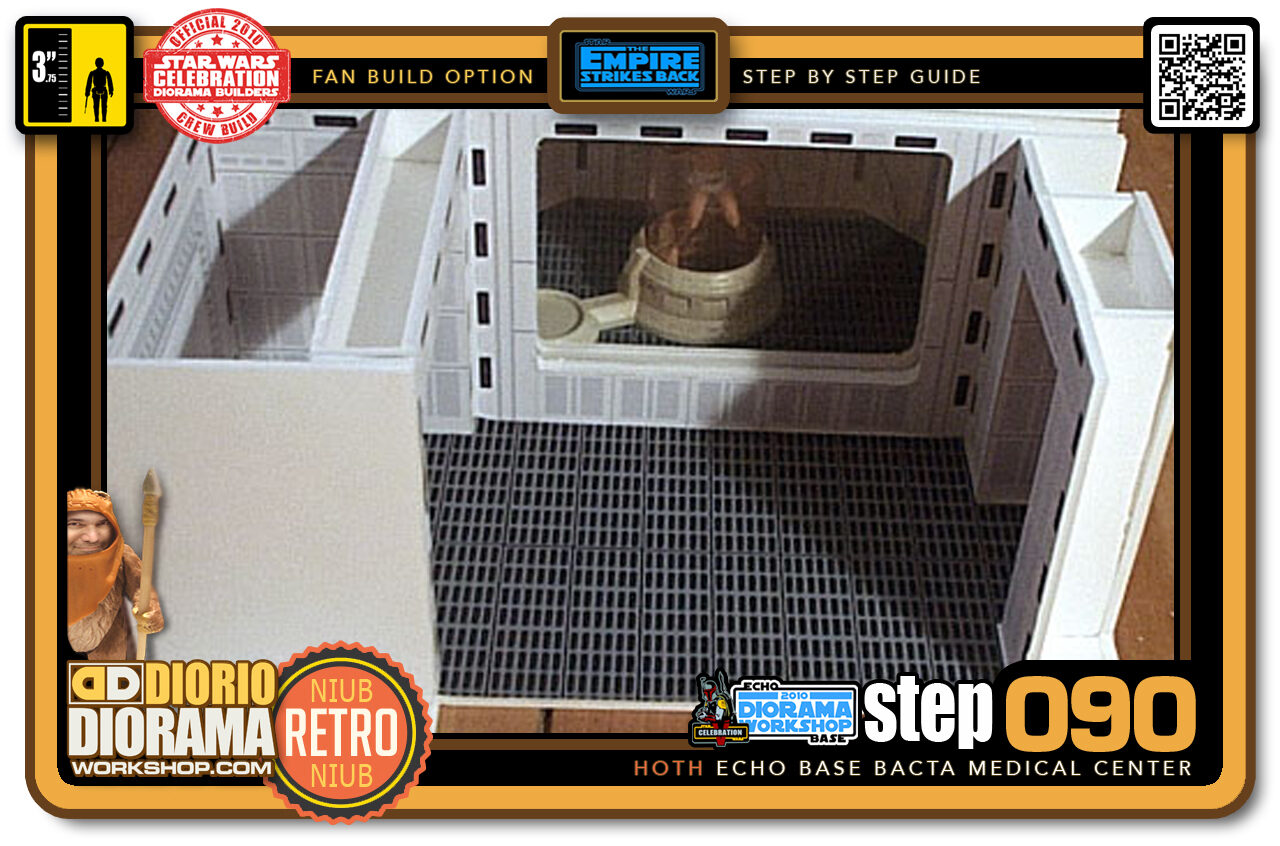
- Step 090 >> Next up, I used the same floor grid pattern and applied it to the floor of the Medical Center.
-
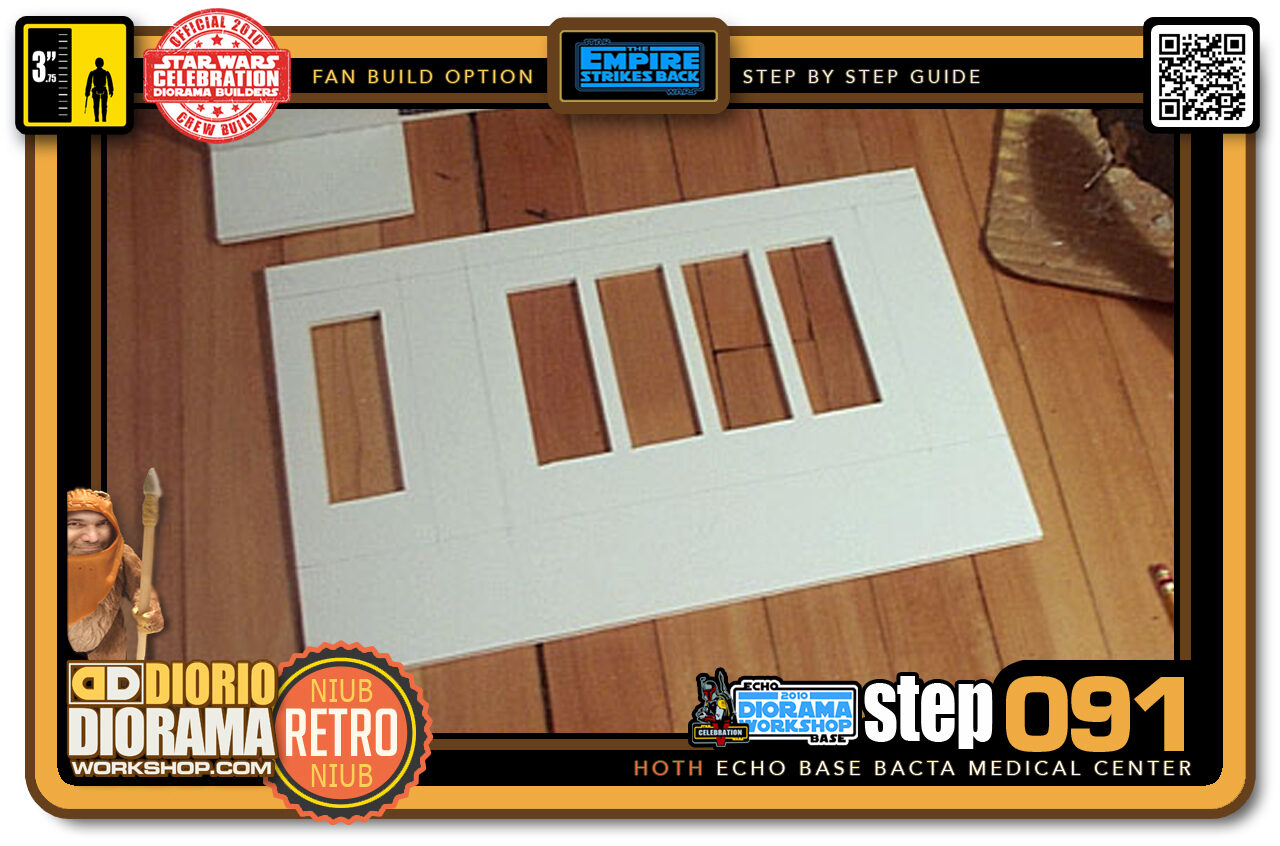
- Step 091 >> For the Medical Center's ceiling I cut out the light panels as per Blueprints instructions
-
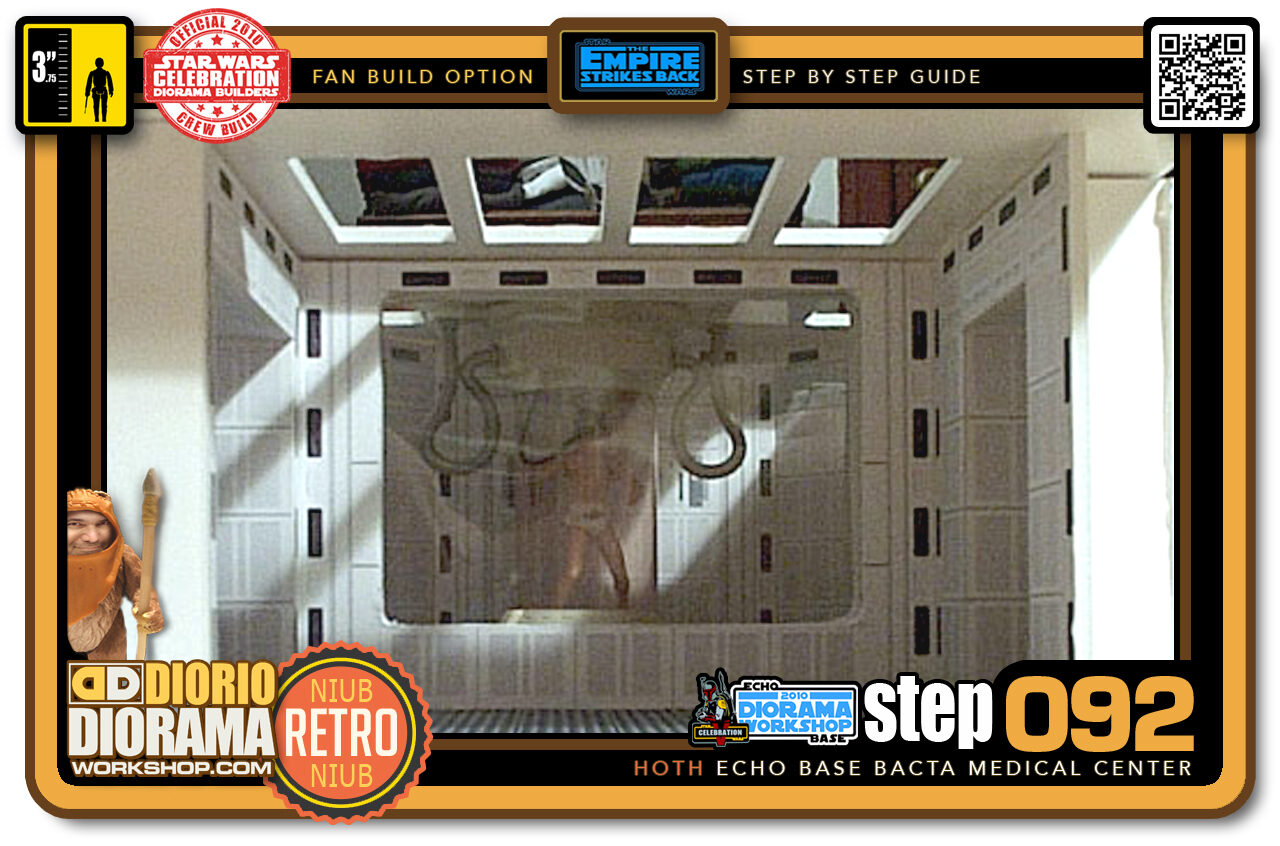
- Step 092 >> The ceiling in place. Even if we see shelves in the back, you can see it is starting to look like a real room. It is incredible what a ceiling can do for a Diorama.
-
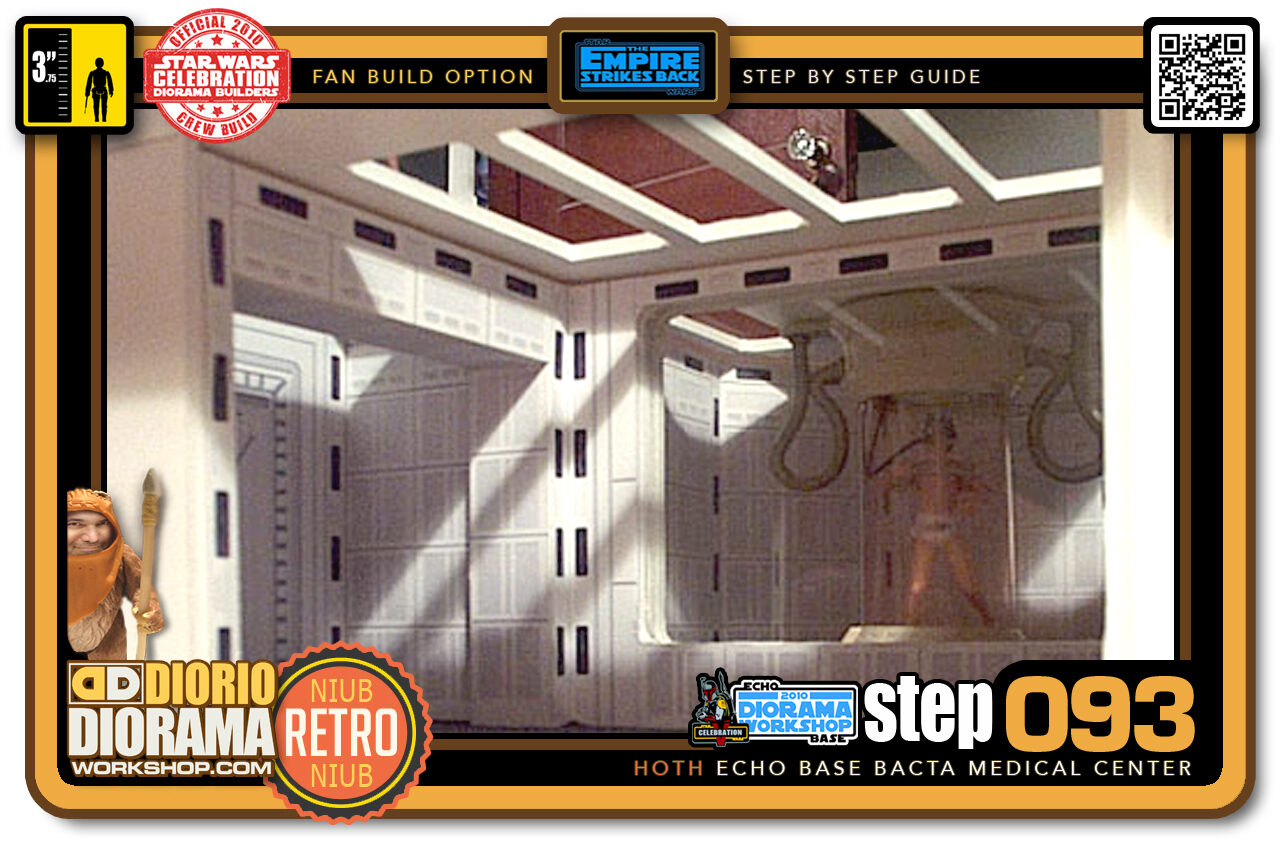
- Step 093 >> Here is a view of the left wall. Notice how cool the light looks, shining in on the walls? And we are not even finished yet 🙂
-
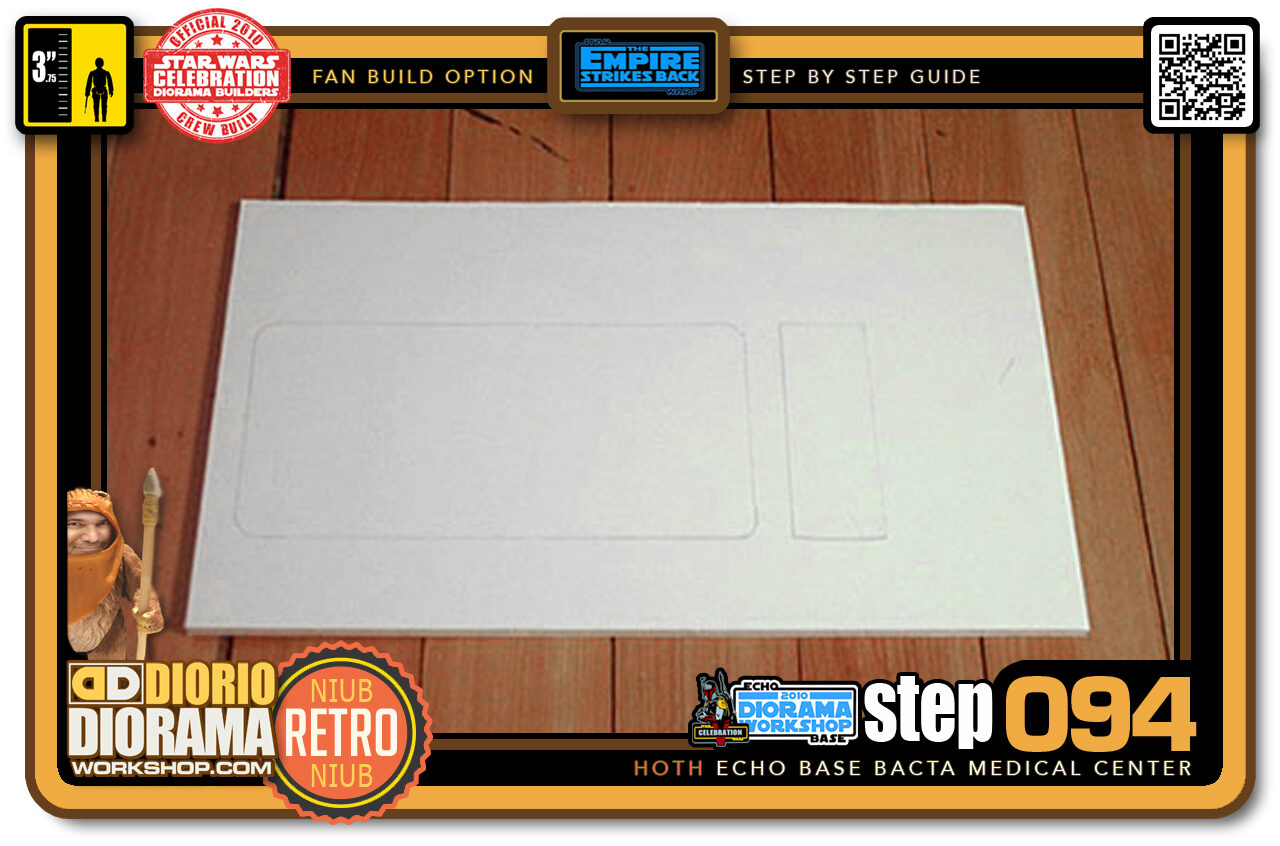
- Step 094 >> Next up wall number 4, the Medical Bed. Cut your piece of foamcore and trace the shape of the recessed wall space where the bed is.
-
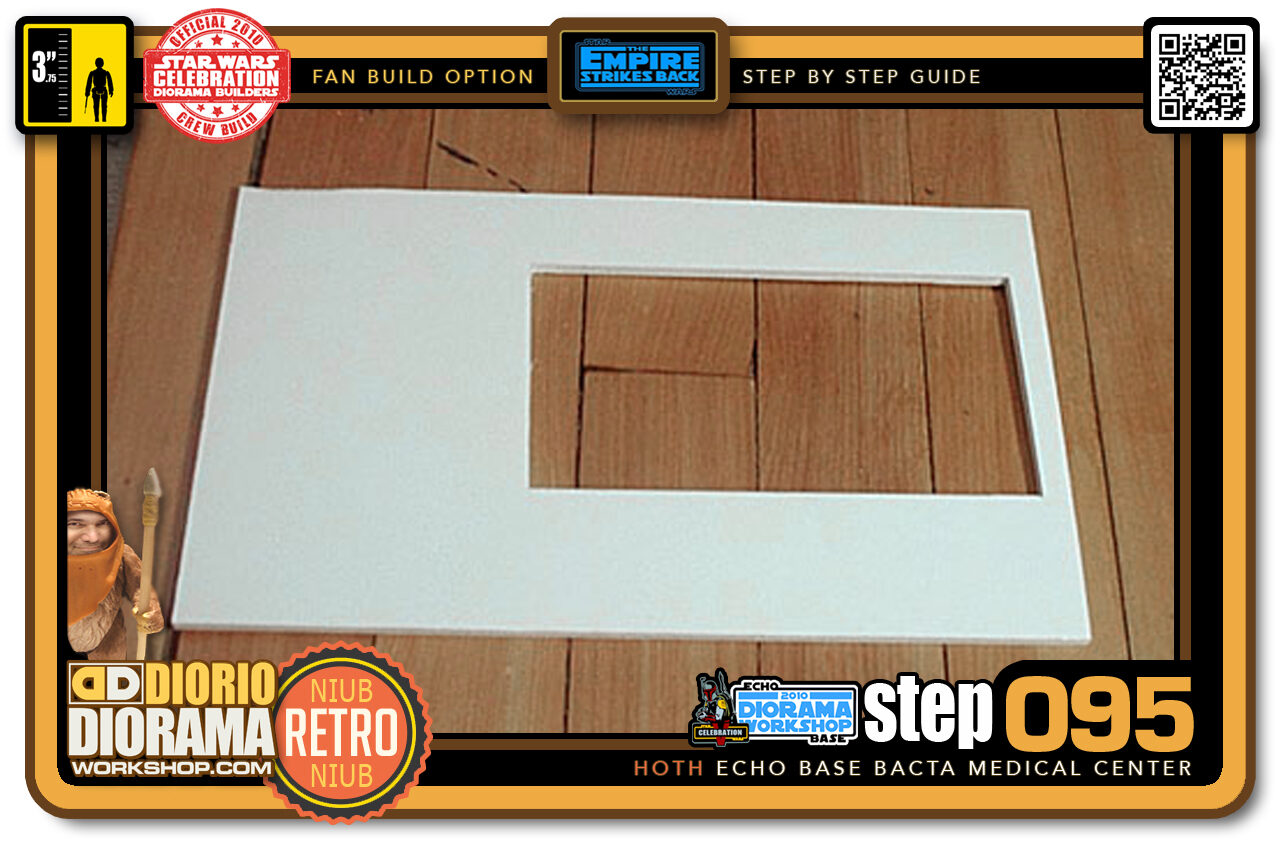
- Step 095 >> Use your Xacto knife to cut out the shape.
-
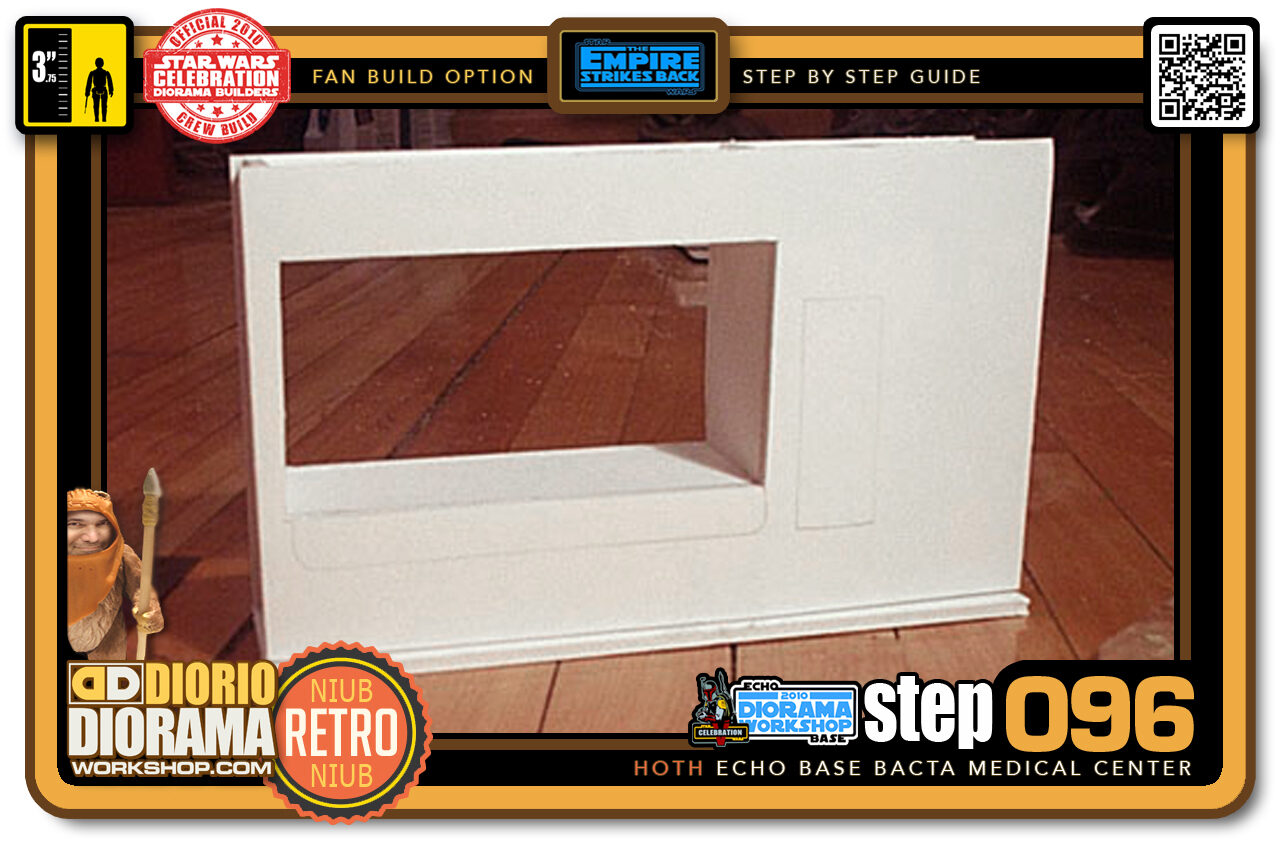
- Step 096 >> Using the Hot Glue Gun, attach the foamcore to wall unit number 4.
-
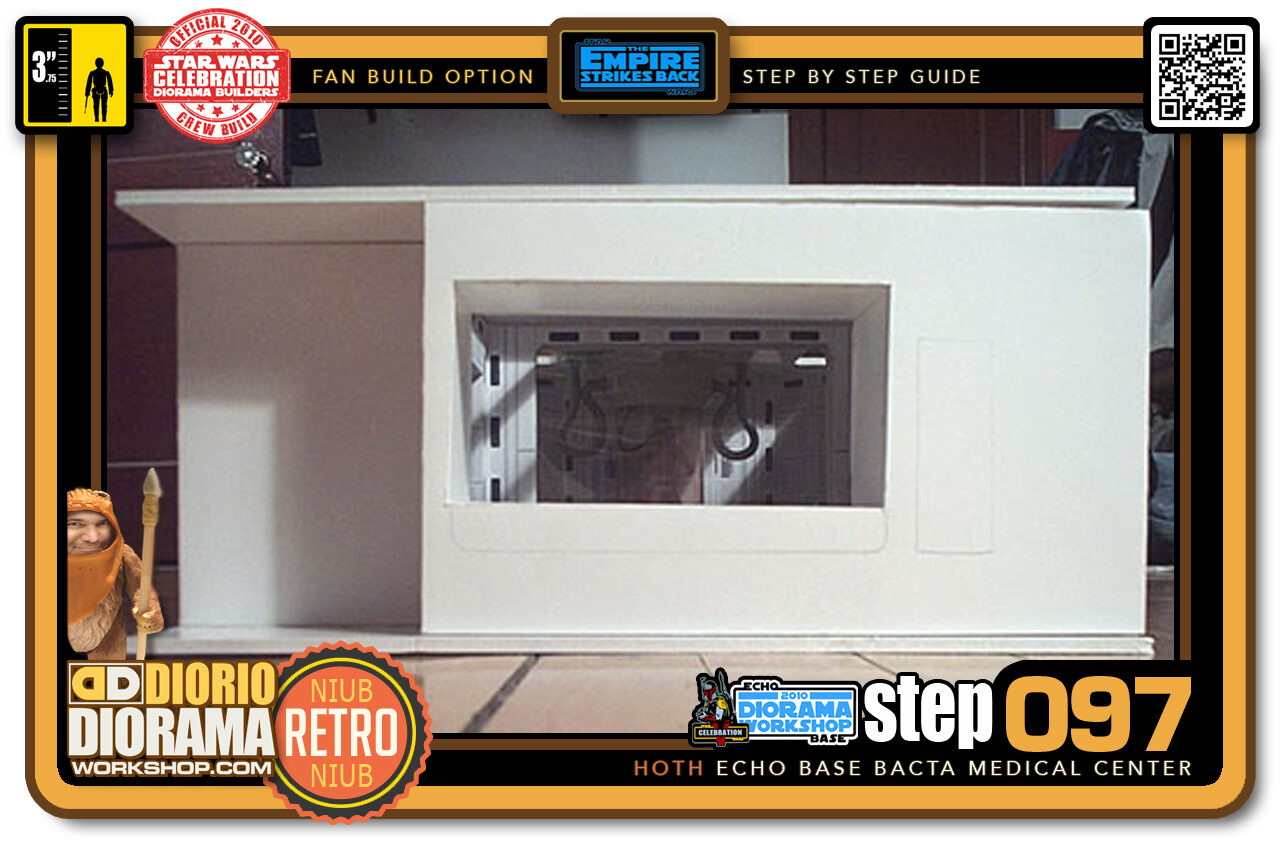
- Step 097 >> Here is what that wall looks like from the outside looking in.
-
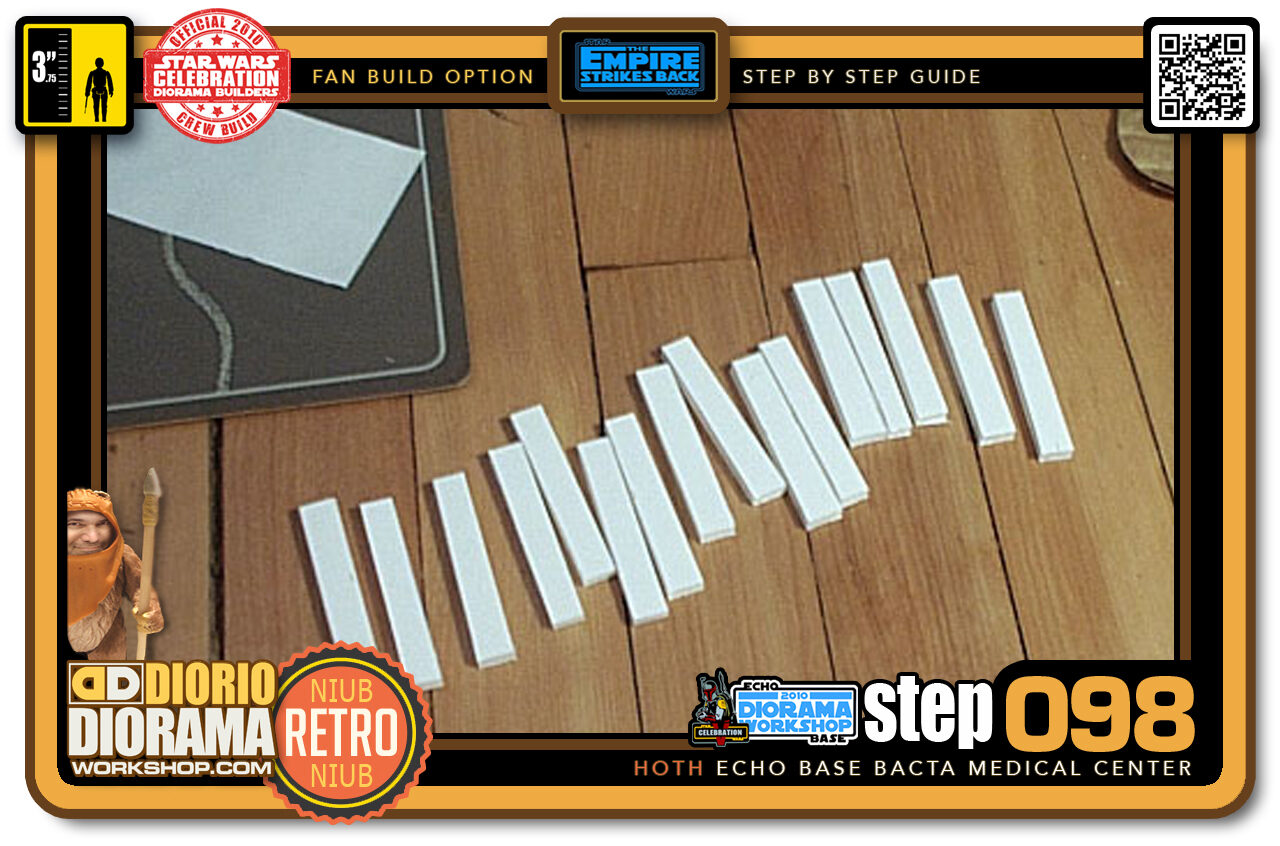
- Step 098 >> Time to make Luke's mattress. Looking at the movie, they used an inflatable lounger mattress used for swimming pools. We will try and make the closest thing possible with foamcore. Just cut out many 1 cm strips the width of the bed.
-
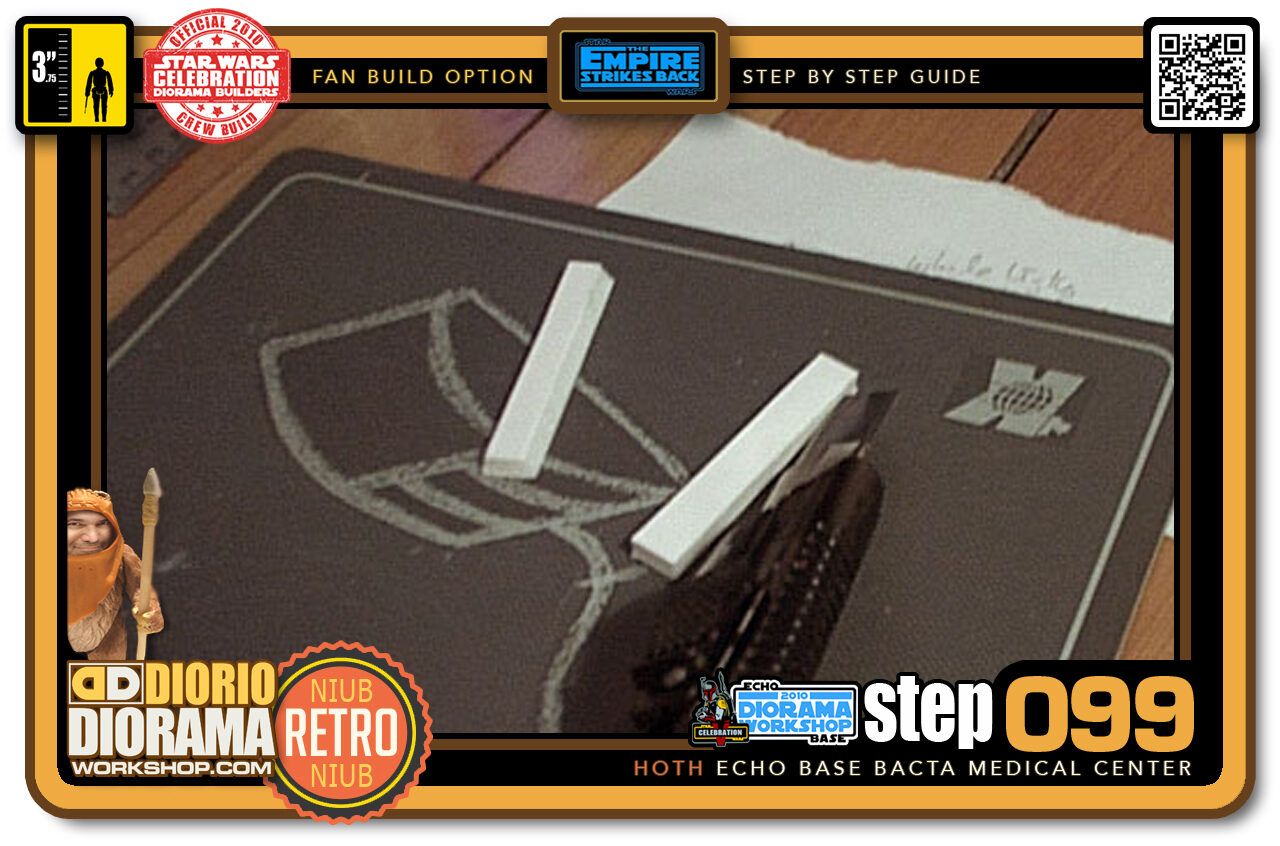
- Step 099 >> Angle your Xacto blade and cut off a small diagonal piece on each side.
-
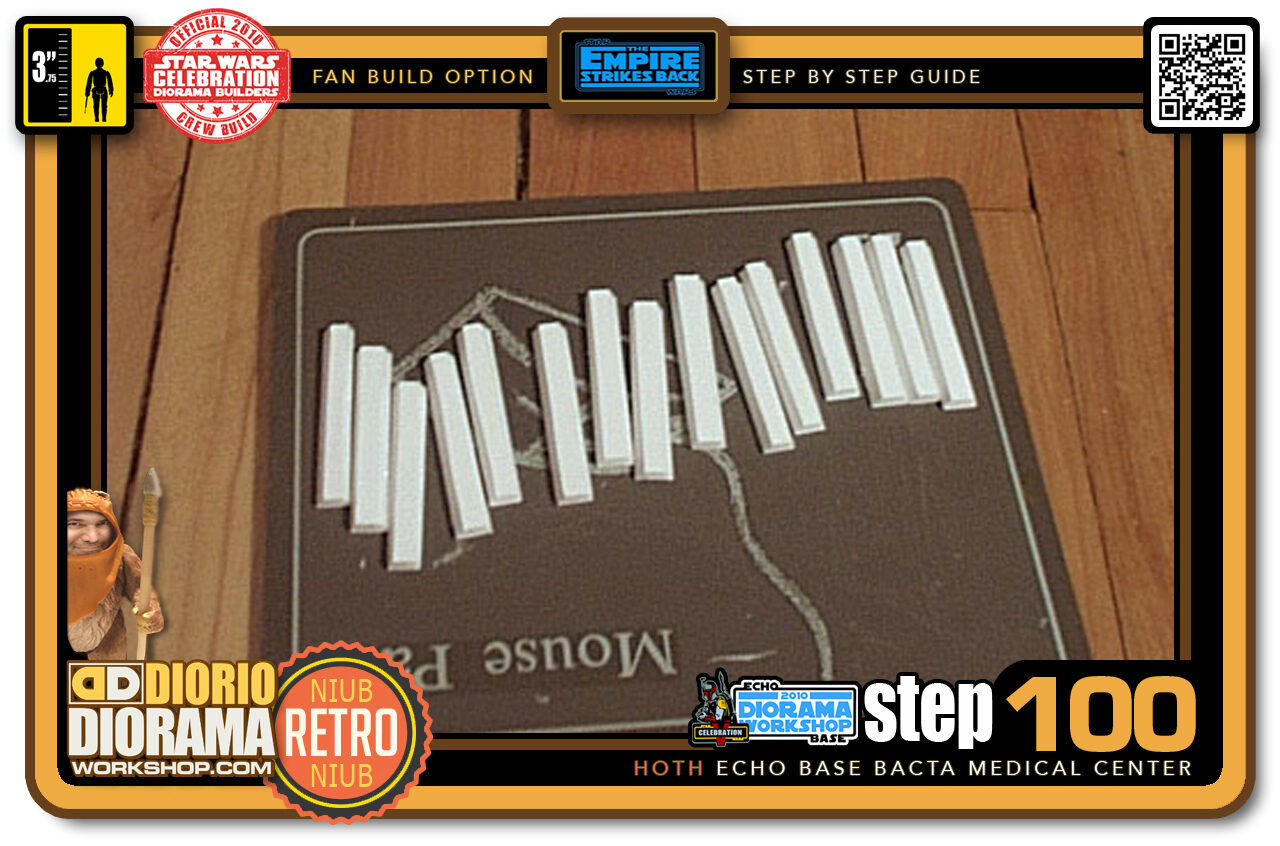
- Step 100 >> This will give you an embossed look. Repeat on all pieces.
.
Did you already build this Diorama ? At home or at our Star Wars Celebration Diorama Builders workshop ? Would you like to show it in the site’s GALLERY VISITORS DIORAMAS section, YES ? That is Awesome !!! You can find out all the details on how to email me your photos on the VISITORS SUBMISSIONS INFO page … When I get your photos, I will create your very own page just like this one. You may not realize it but work does inspire others to join in the fun of making Action Figure Dioramas.
.
NOT FOR RESALE ALL Decals, tutorials and artwork are ©FrankDiorio (dioramaworkshop.com) and offered FOR FREE to the fans – that would be you ? so you can build and display my diorama designs in your very own home. I realize I cannot control what one does with my graphics once I place them on the web, I can only ask you as one fan to another, please respect the artist and do not be that jerk who uses my designs and tutorials to build a copy of my work only to sell it on EBAY or trade/sale groups and forums. Thank You. Frank.
.

.
.
If you have a facebook account, why not join the Official Diorama Builders Fan Club today, simply click the logo link below.
 .
.
Catch up with fellow visitors and exchange stories, read cool interviews with the crew, exchange photos, fun surprises and grab some FAN ONLY merchandise next year at actual future conventions ?
.
©2021 Frank Diorio DioramaWorkshop.Com
.
IF YOU LIKE WHAT YOU SEE, PLEASE SHARE WITH YOUR FRIENDS
USING THE SOCIAL MEDIA BUTTONS BELOW