


-
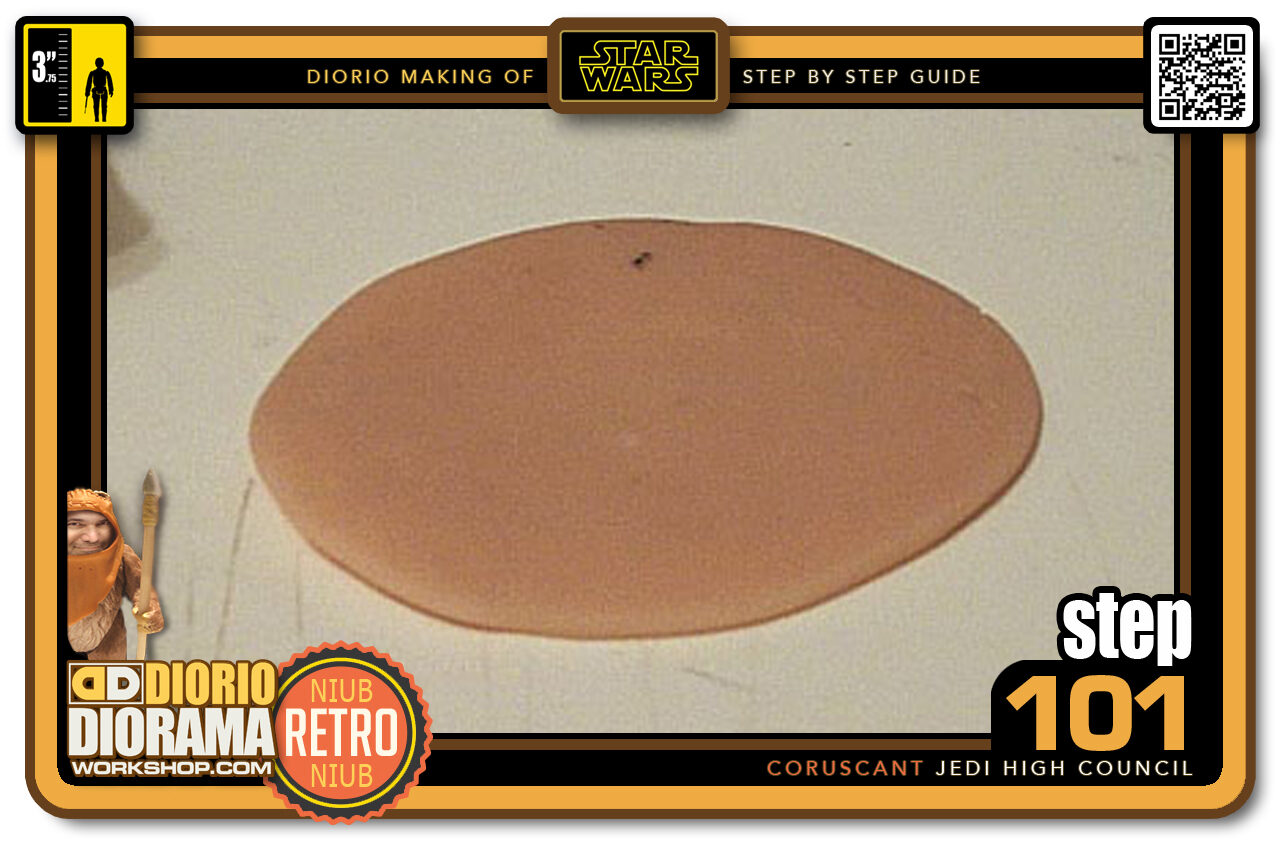
- Step 101 >> Take a small piece of Super Sculpey and flatten it like a pizza.
-
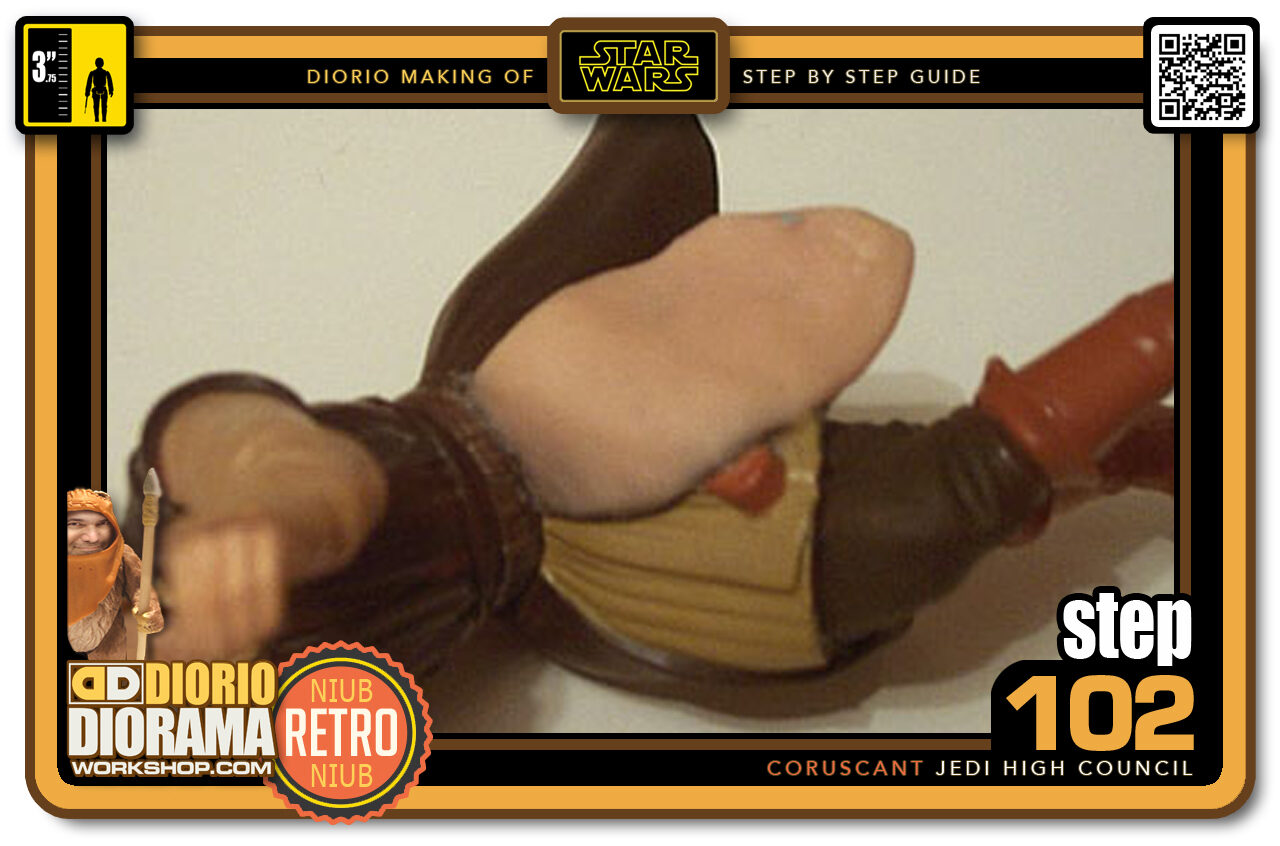
- Step 102 >> Now cut the Super Sculpey in the same shape as the right side of the robe and attach it to the left side. Use your tools to blend it with the figures plastic.
-
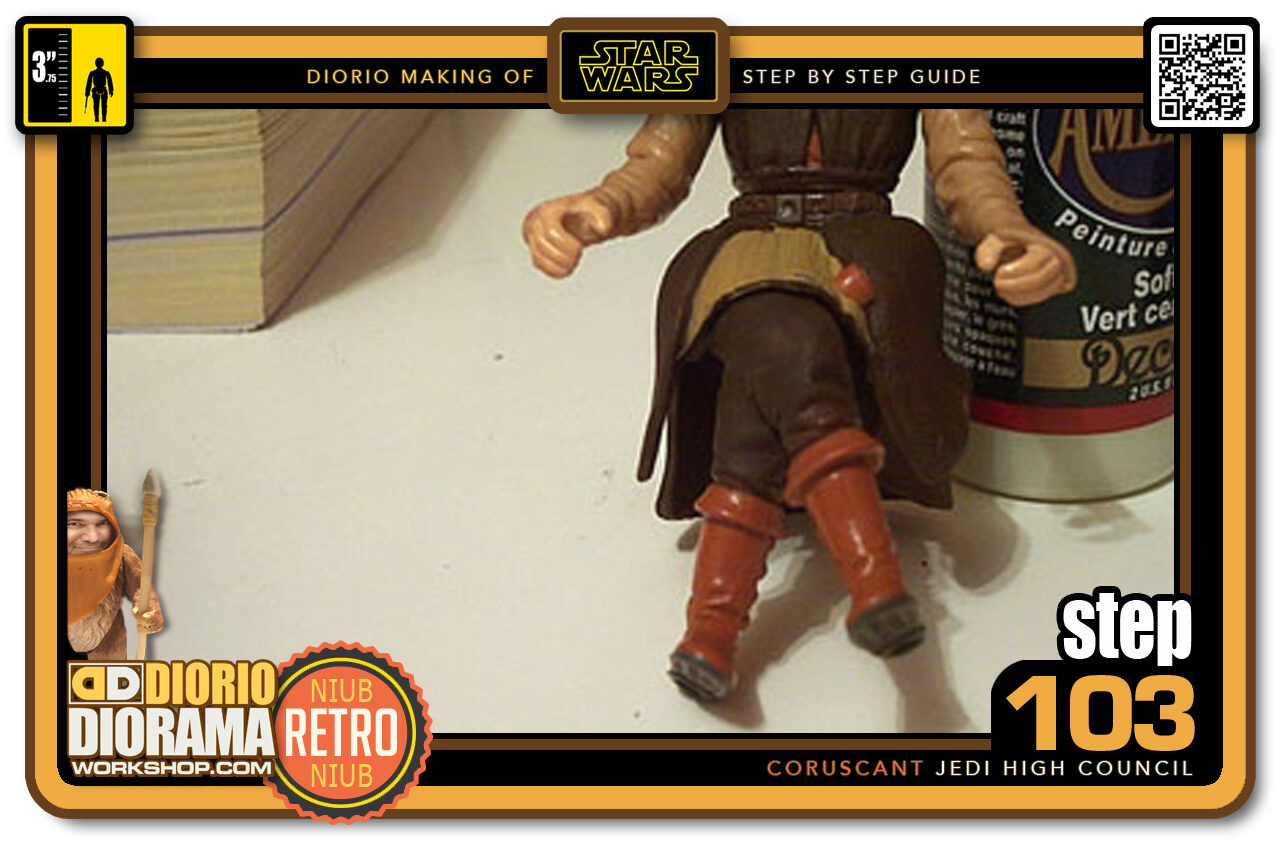
- Step 103 >> After curing the Super Sculpey, it's time for more paint. I kept the lightsaber hilt thing that hasbro made to make it seem even less of a custom job. Hard to tell what was added.
-
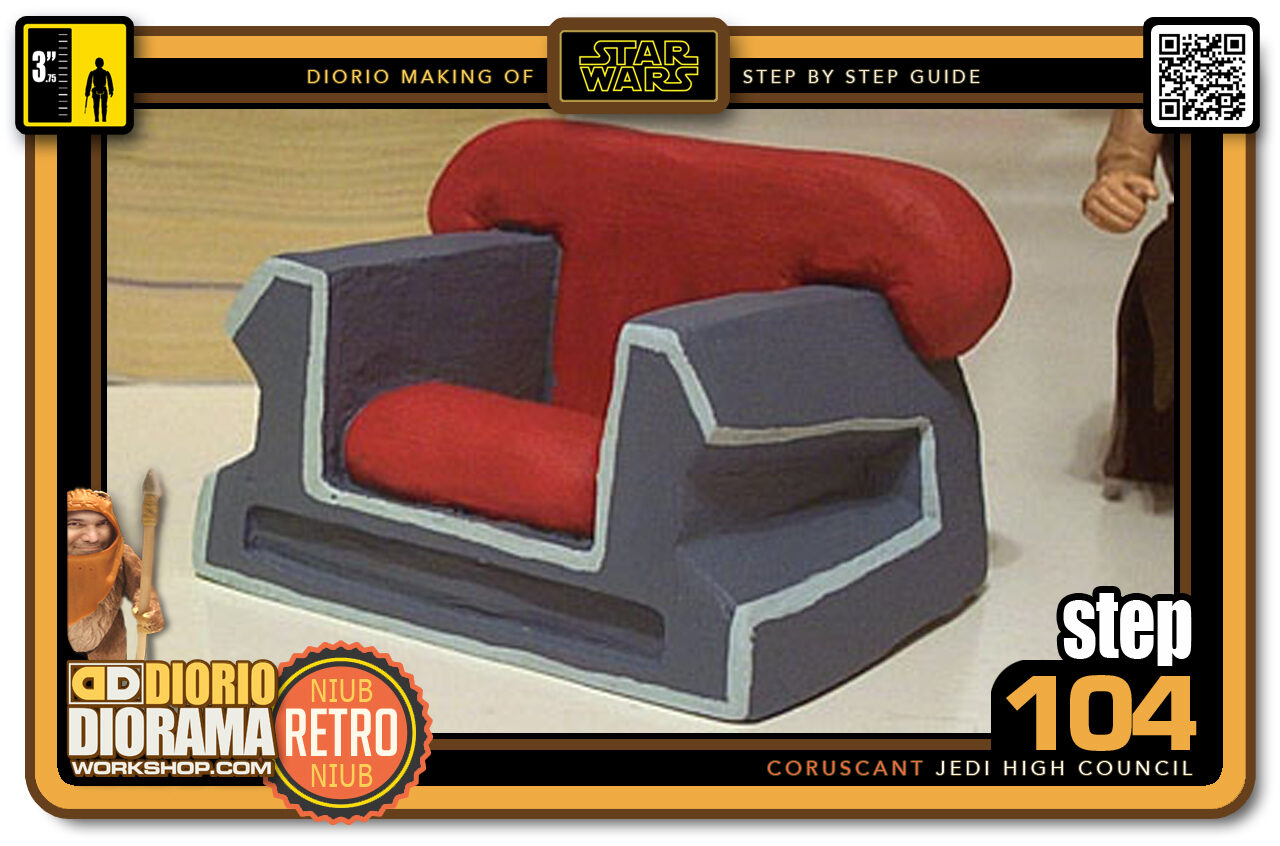
- Step 104 >> Time to add the finishing touches on the chair. The little detail outline. After it was dry, I realised that I forgot to mix my paint and add a touch of dark blue. This color is too light but shows you at least the pattern of where the lines are supposed to go. I will fix the color when all the Council Members are done.
-
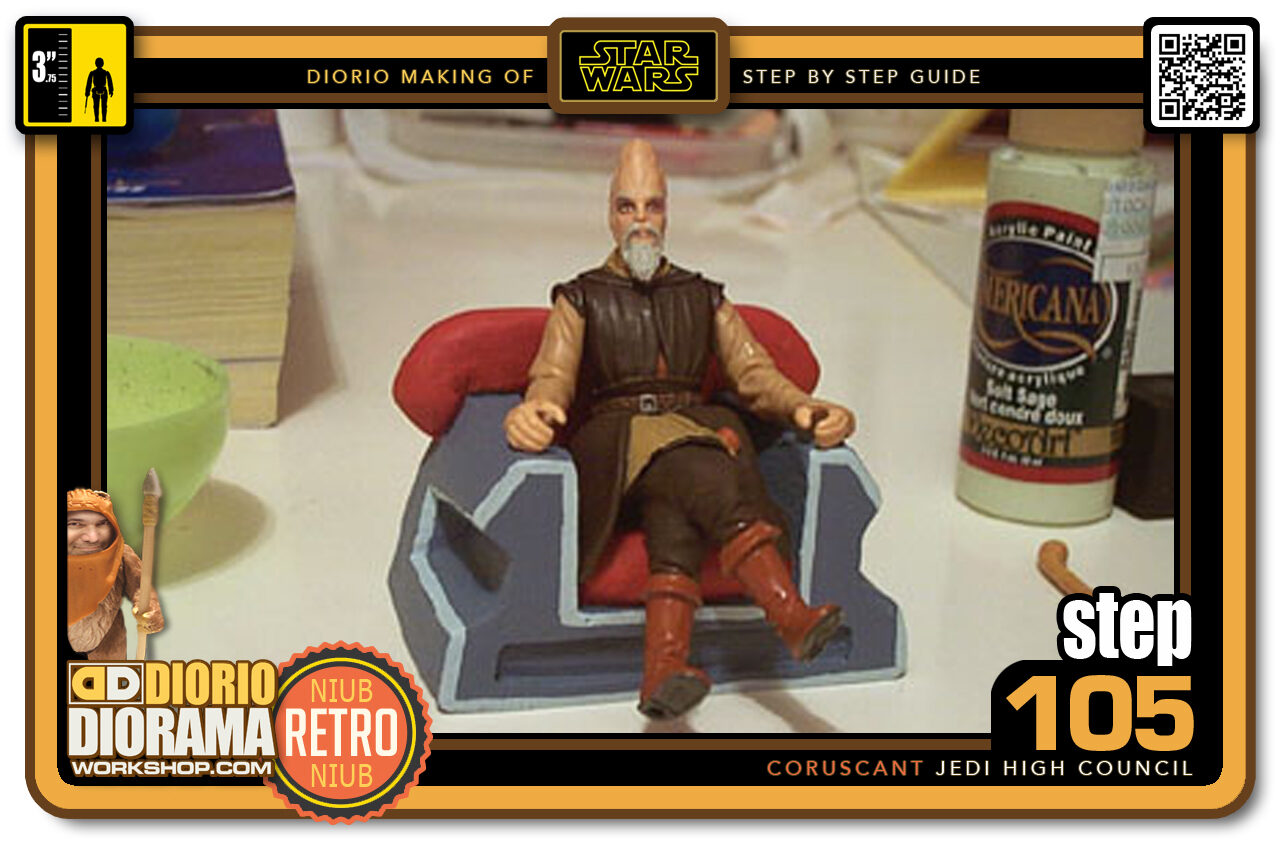
- Step 105 >> Now our Jedi can finally sit, relax and watch the movie - LOL Oh I did use the Heat Gun on his arms to soften the plastic so I could spread them a bit wider apart for the hands to rest on the chair instead of his hips.
-
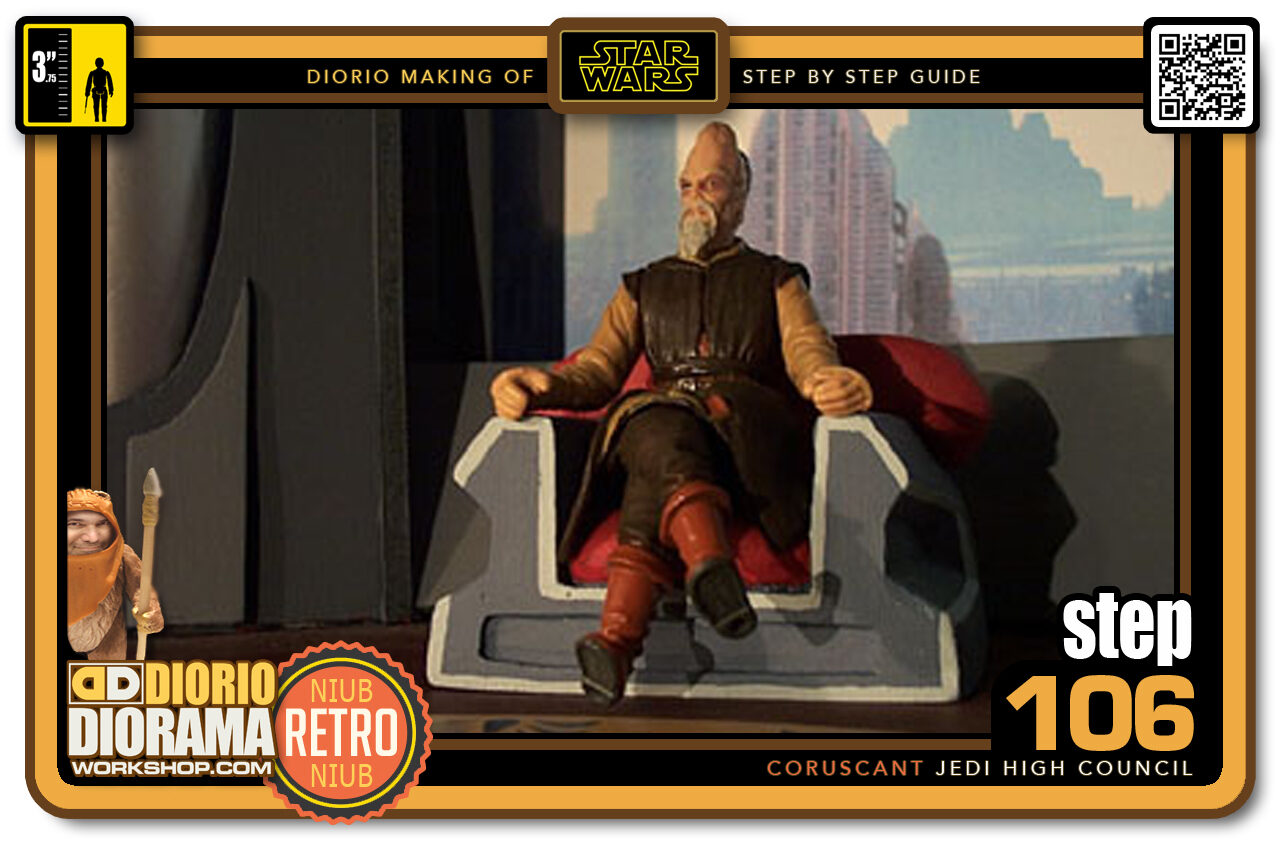
- Step 106 >> And here he is in the Jedi Chamber. If the lines weren't so light it would be perfect.
-
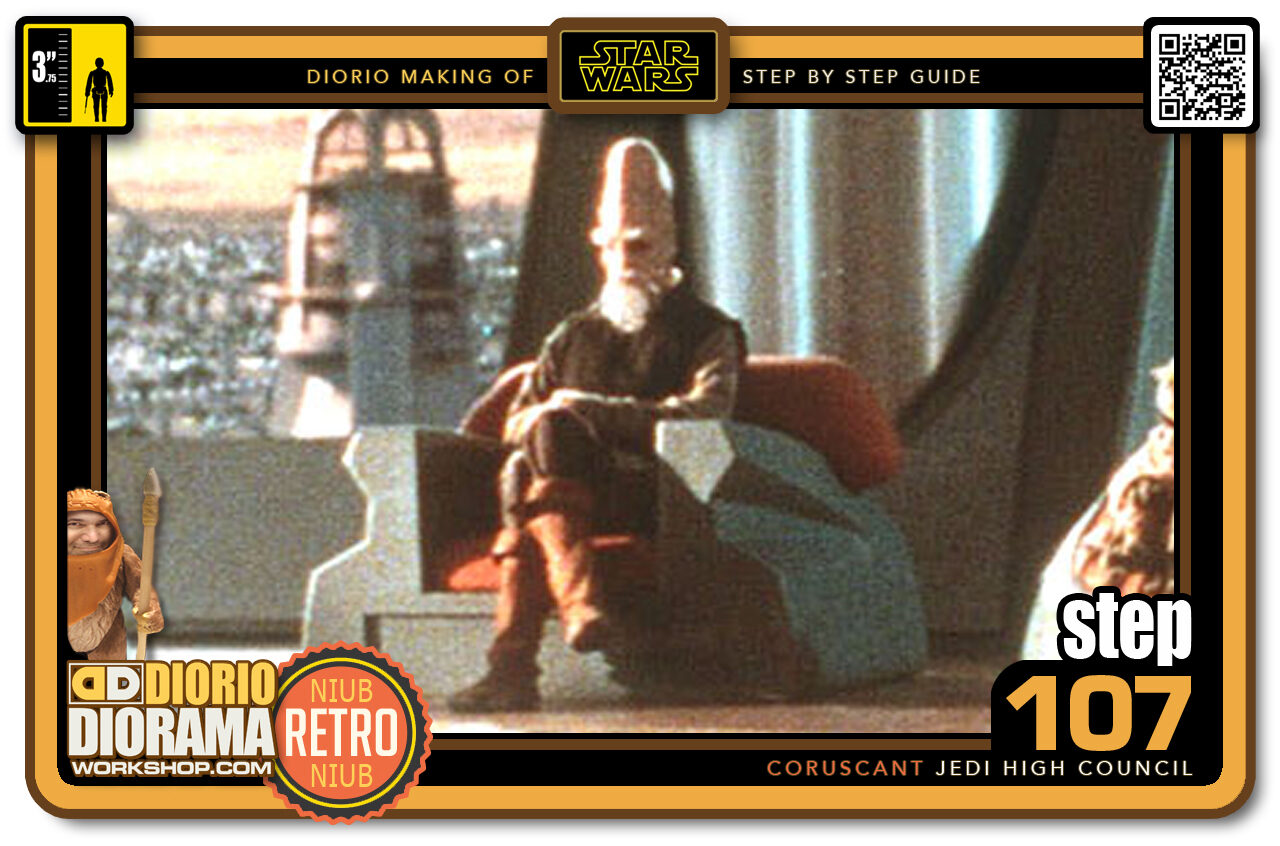
- Step 107 >> Here is one of the reference pictures I used. Pretty close eh? ... I know what you are thinking... In the picture his arms are crossed. I have a feeling this little detail might bug me enough to change my arm positions very soon 🙂
-
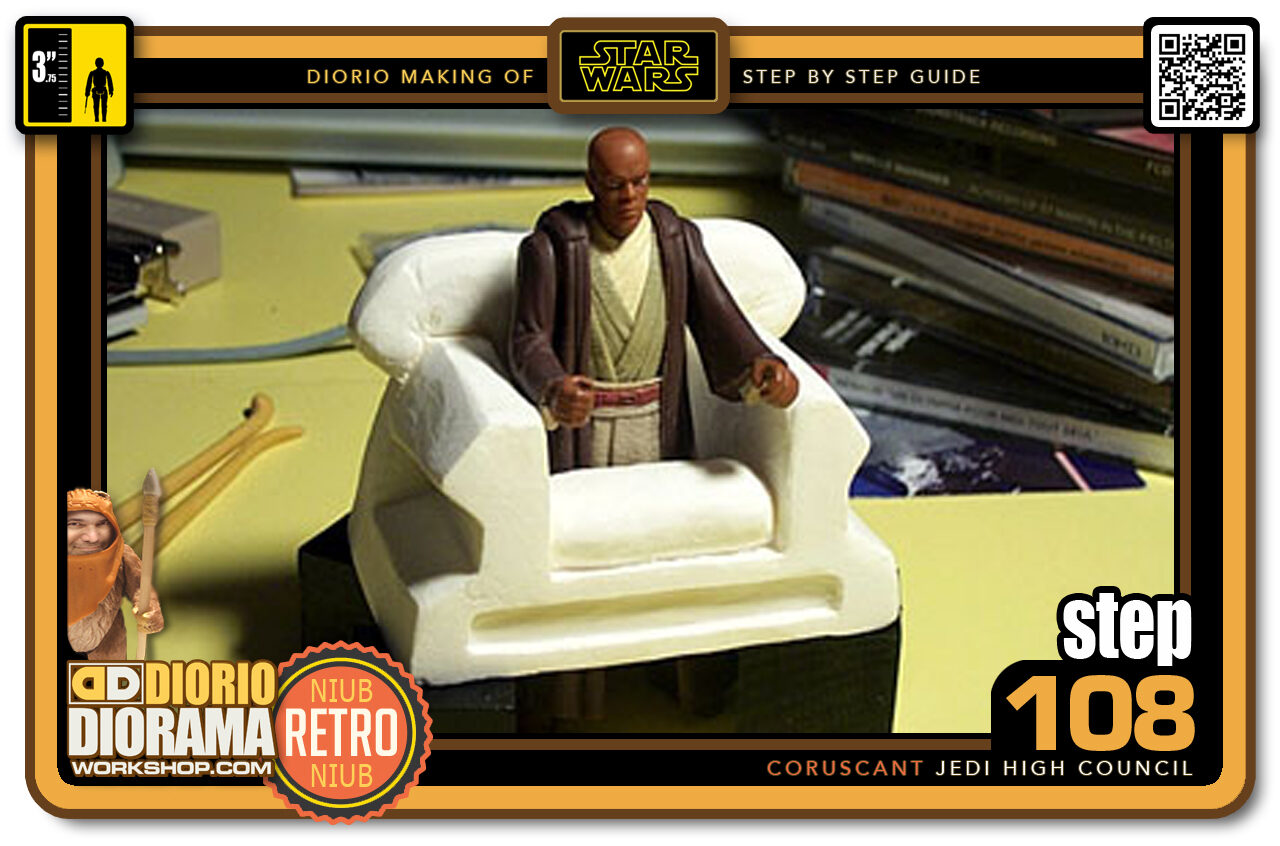
- Step 108 >> Since I dont want to pull my figure apart, I decided to make a hole in the chair instead. Here you can see Mace standing 1 inch at the bottom of the chair.
-
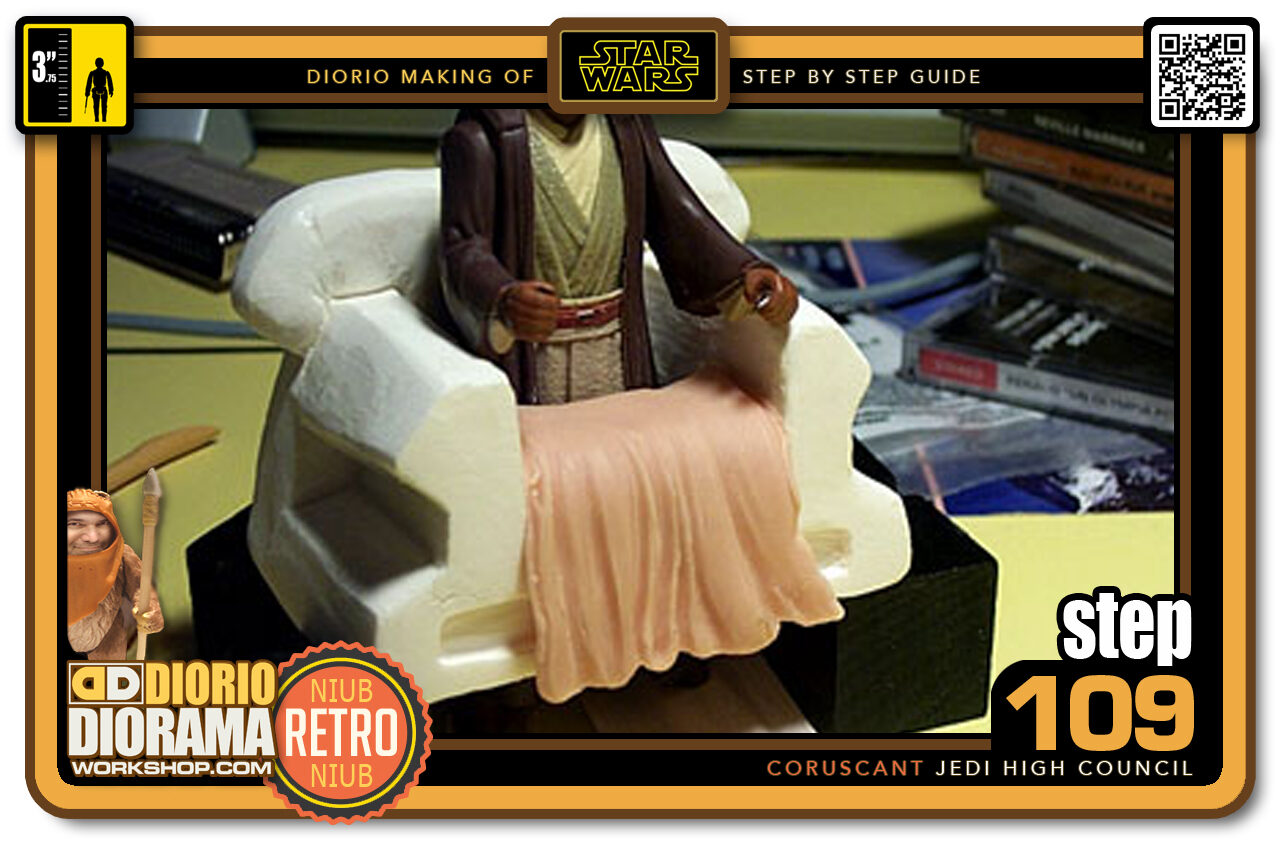
- Step 109 >> First up, Is to make the back of the robe. I am doing this because the robe will be open in the front and we will see through to the back. Just take a small piece of Super Sculpey and fold it over the chair. Use your tools to make folds. This is a little harder then I thought it would be. practice and you will eventually get the hang of it.
-
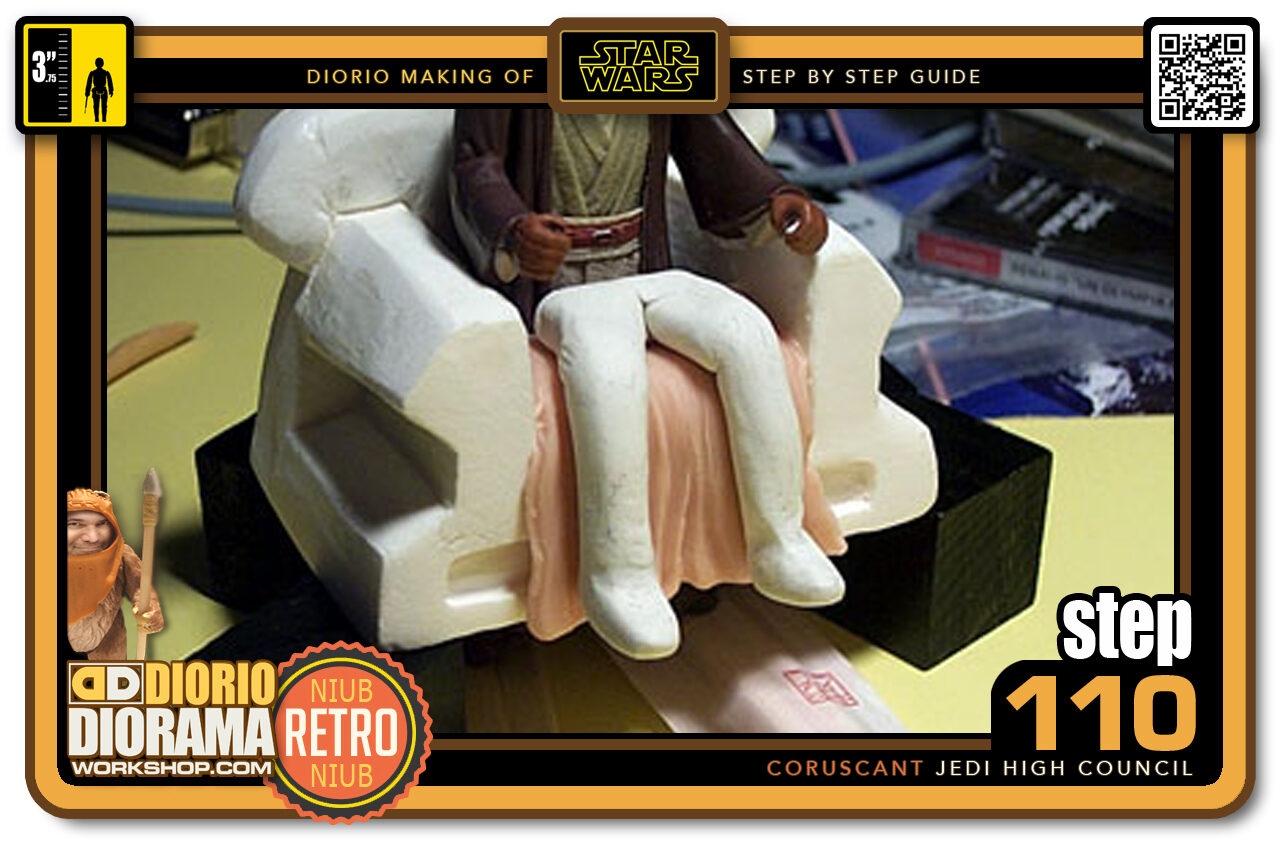
- Step 110 >> Next I put fake legs so that the top of the robe falls proporly. I could have used the legs of a spare jedi but I didn't have one with me at this time.
-
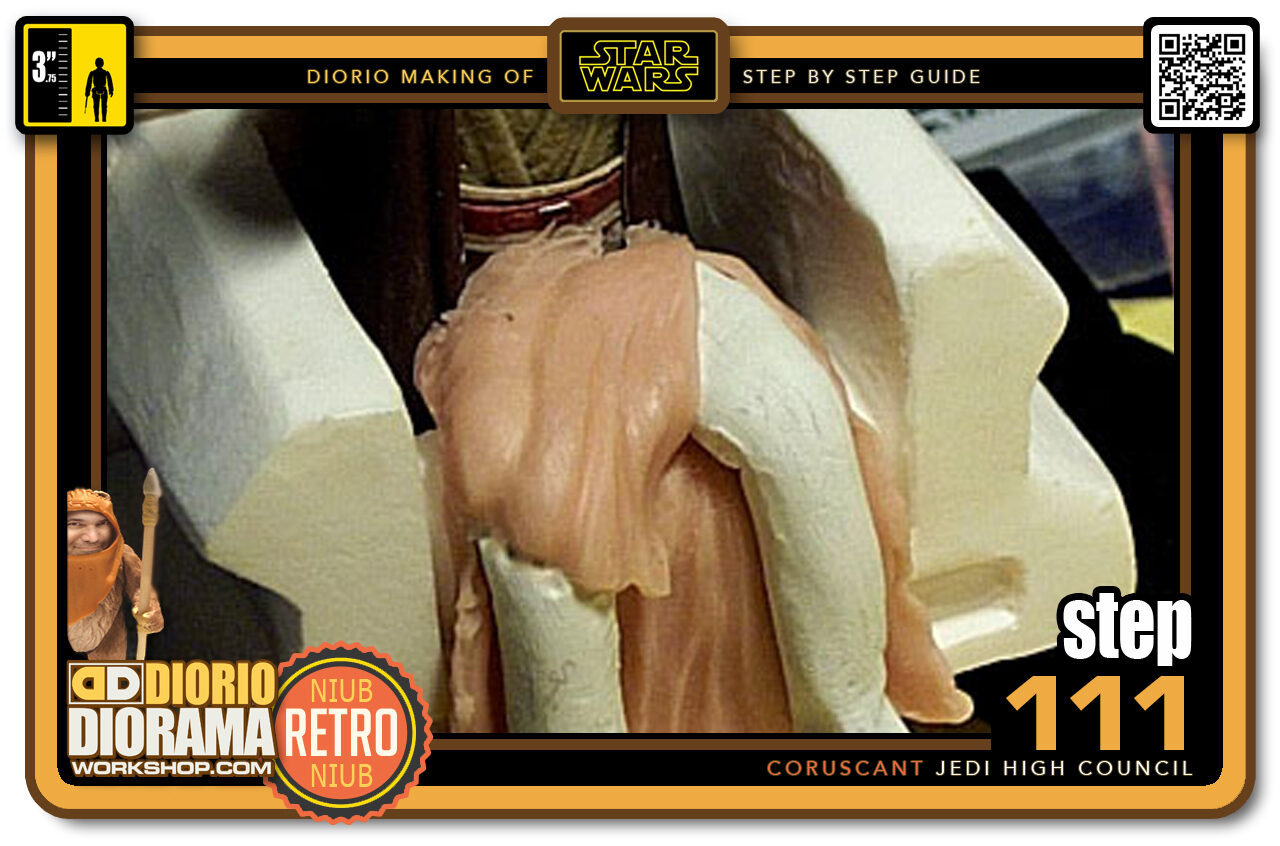
- Step 111 >> The inner shirt wrap will be seen under the main robe so I started with the right leg. Just a small piece of Super Sculpey over the knee and put some folds.
-
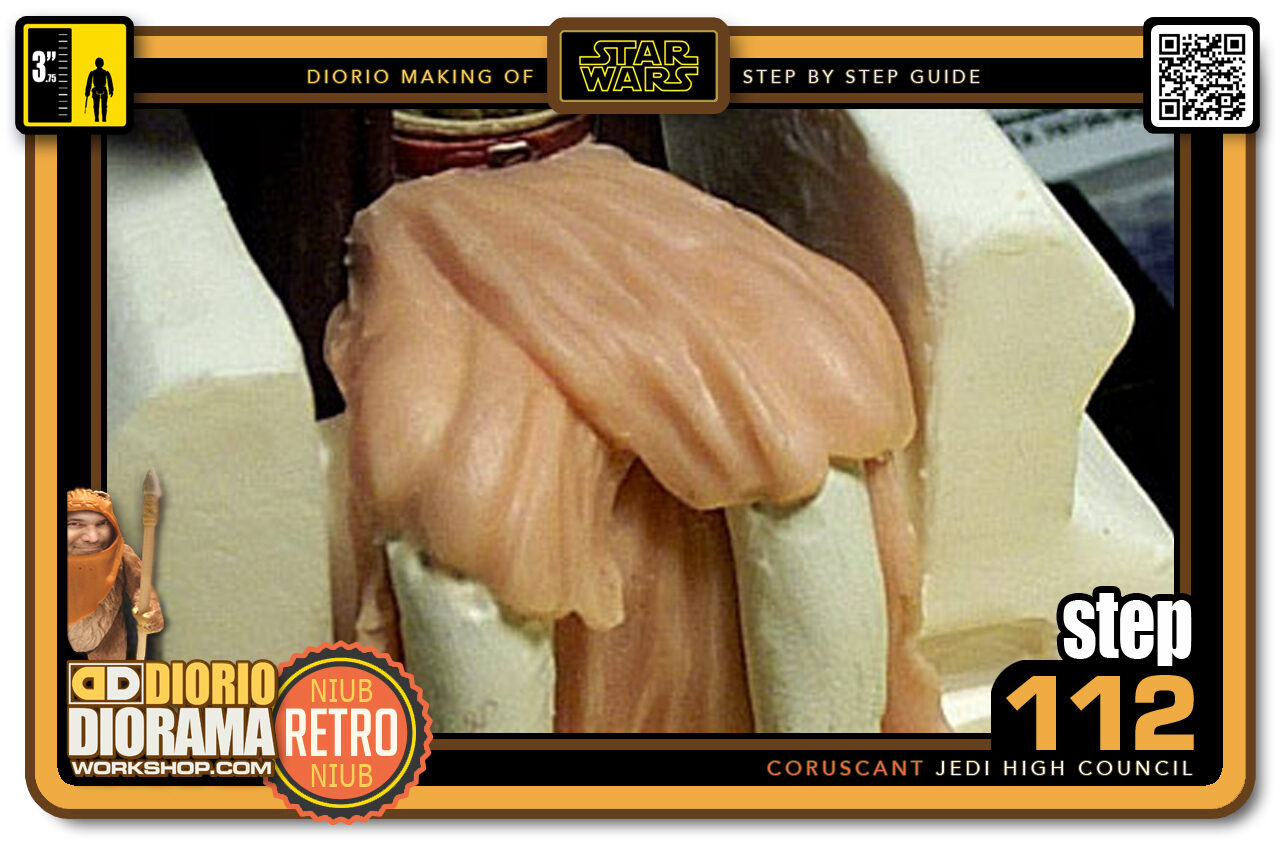
- Step 112 >> More Super Sculpey goes over the last shape to give the illusion of overlapping.
-
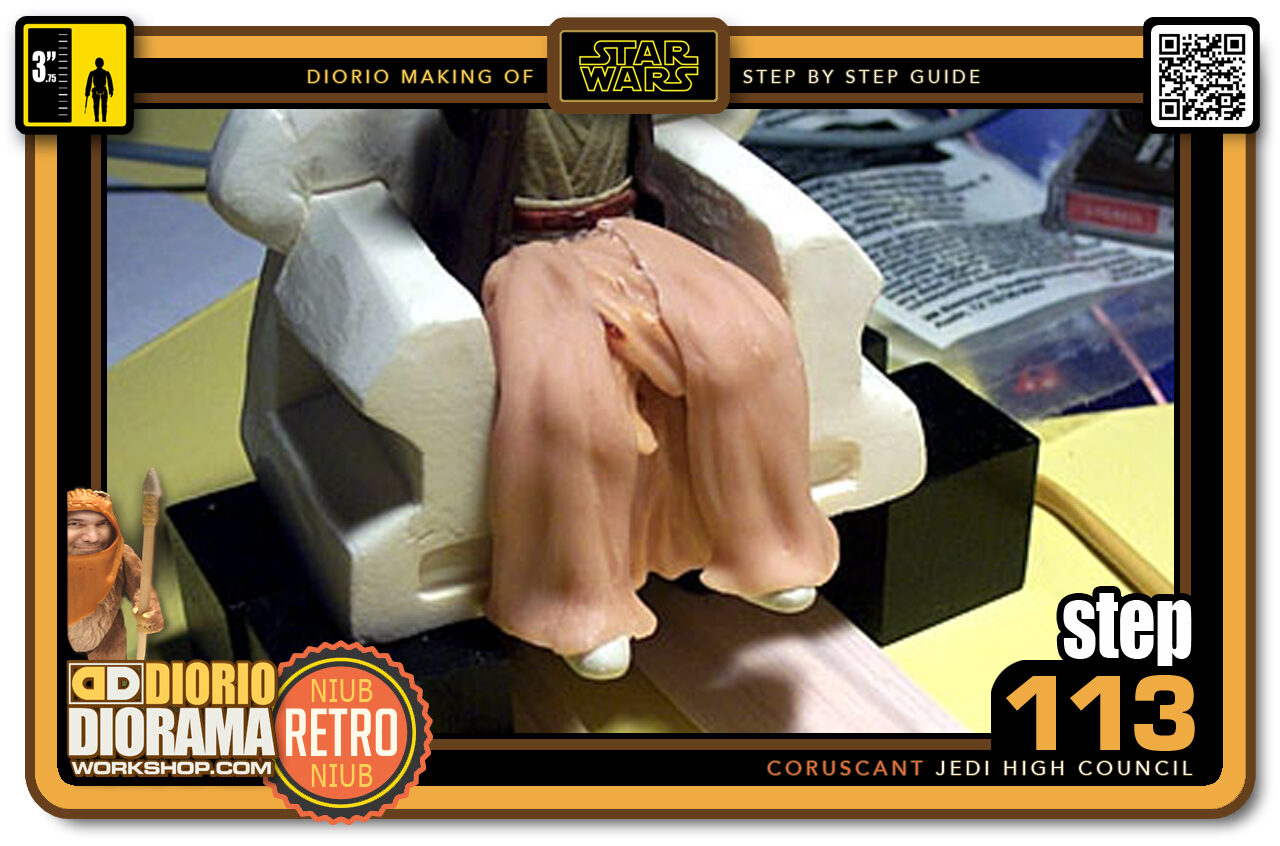
- Step 113 >> Now I can make the front part of the robe. Flatten some Super Sculpey like pizza dough and apply small pieces from the waist over the entire leg. I let the feet pole through to make it look more real. When you are happy, use a hair dryer to harden the Super Sculpey .
-
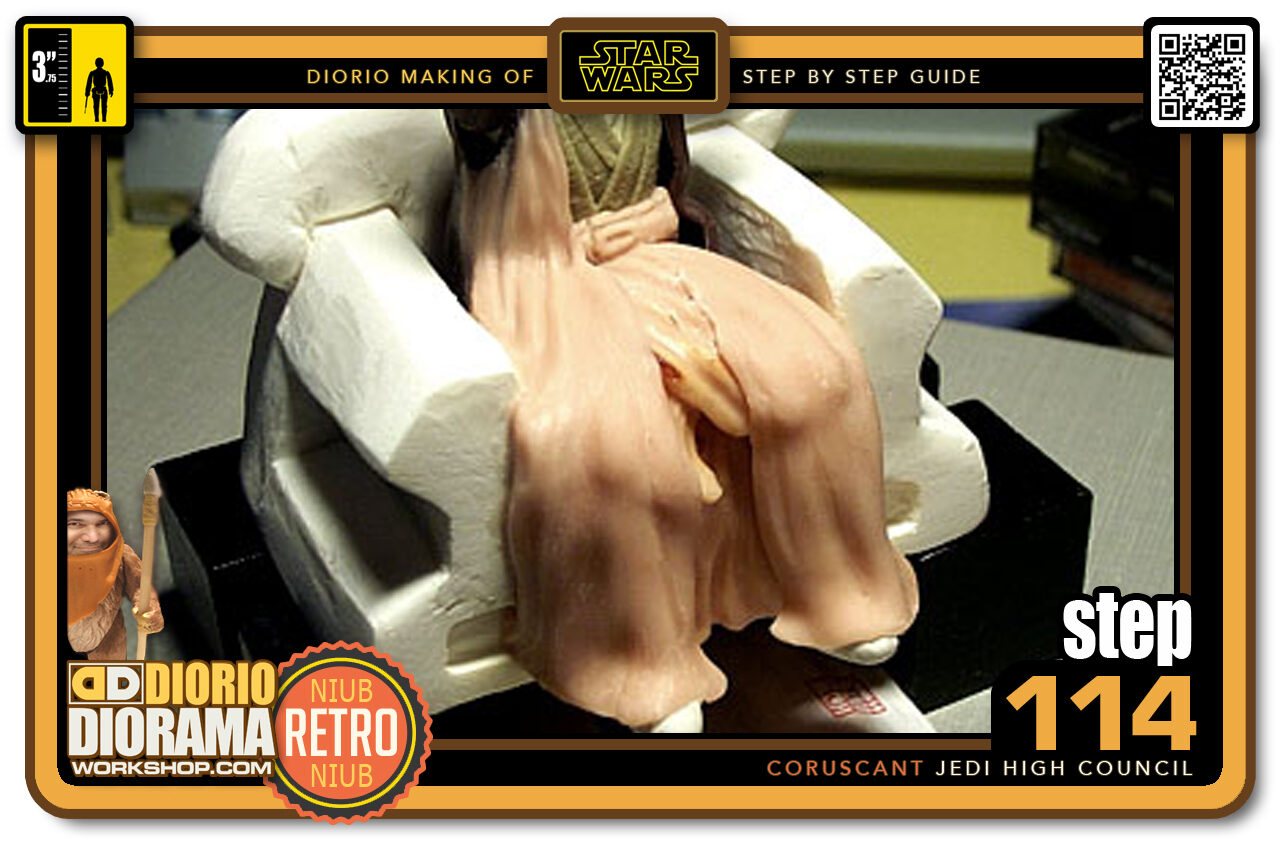
- Step 114 >> Now it's time to attach the legs to the body. At first I thought I would only do a small joining at the waist but then I thought..."I will never sell this figure, so why not go all the way". So I added a piece of Super Sculpey all the way to the upper body and made a tiny belt.
-
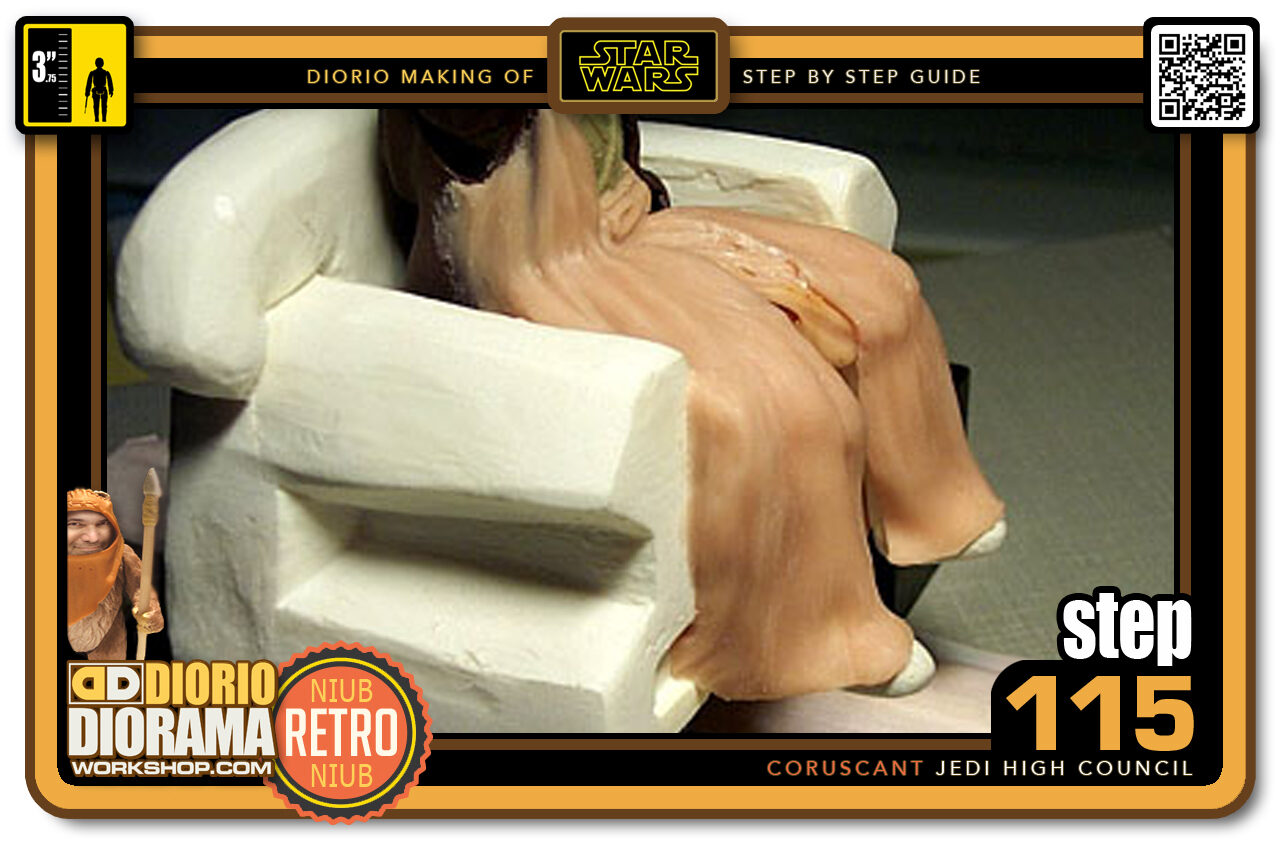
- Step 115 >> Here you can better see how I made the sculpey form to the chair, leaving no gap. This strengthens the figure and also makes it look cleaner.
-
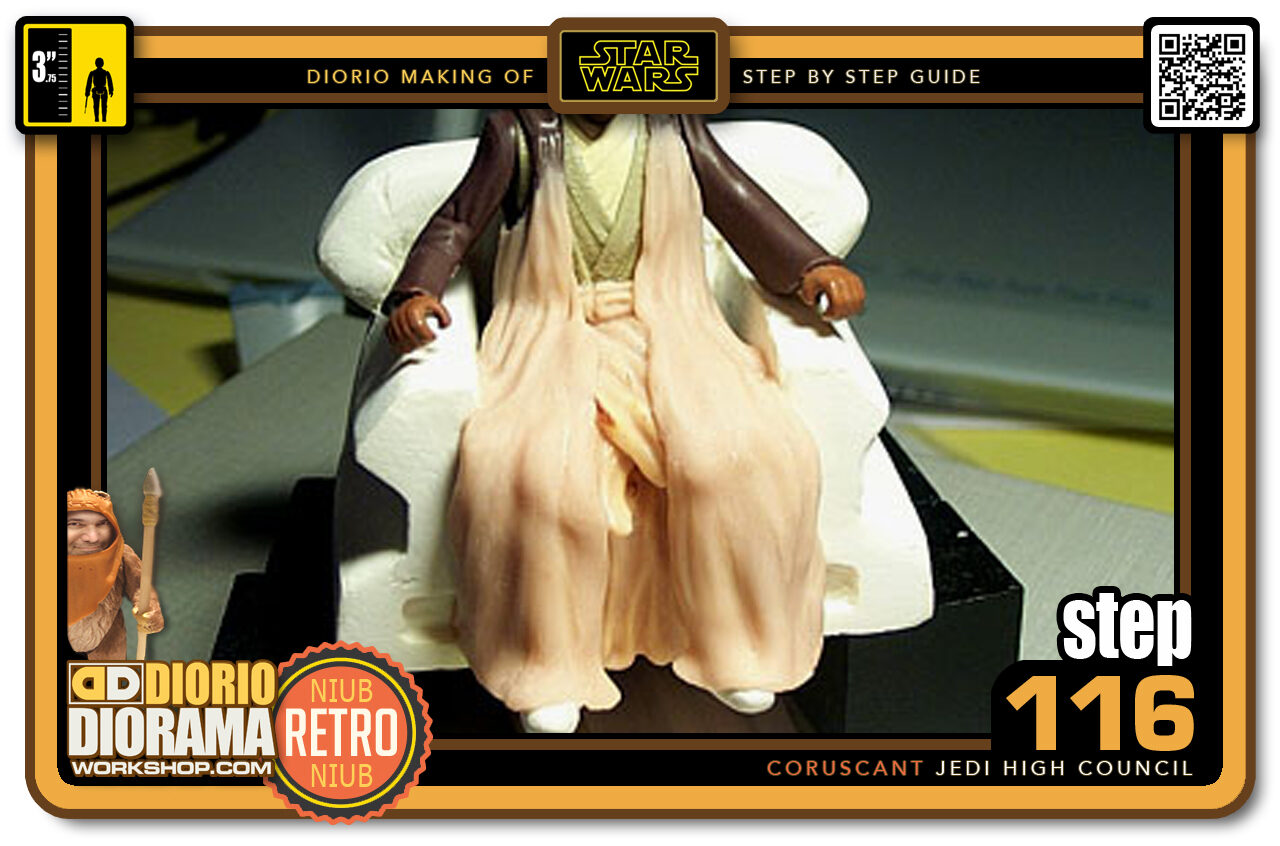
- Step 116 >> Here you can see the added piece of Super Sculpey on the left side. Slightly covering the belt but mostly in a shape that looks natural for an opened robe.
-
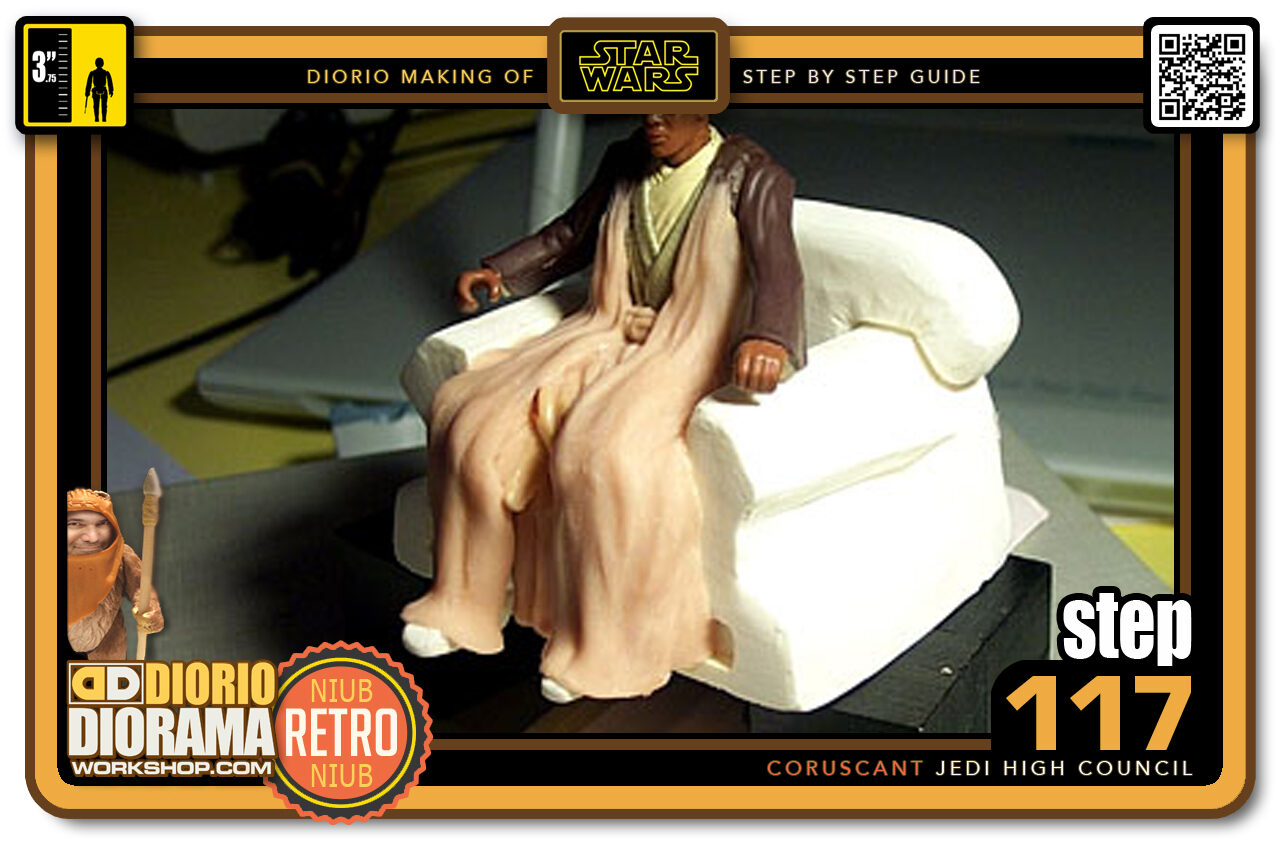
- Step 117 >> Here is an angle view of the top robes.
-
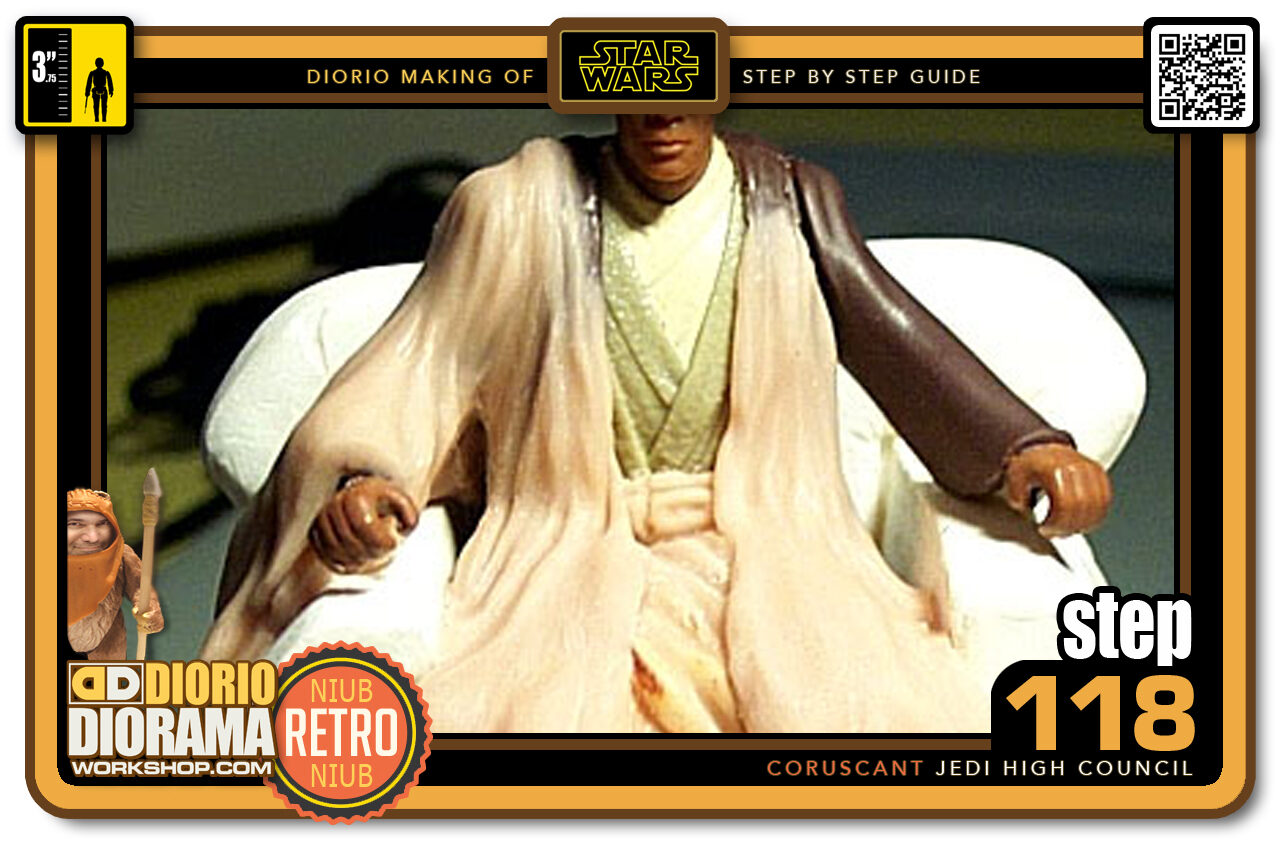
- Step 118 >> Going all the way right? 🙂 - Next I sculpted details to a new arm. I folded Super Sculpey over the existing arm. I did not cut or remove Mace's original arm. It's still there, hidden under the Super Sculpey . Use the tools to make folds and make a nice seem at the shoulder.
-
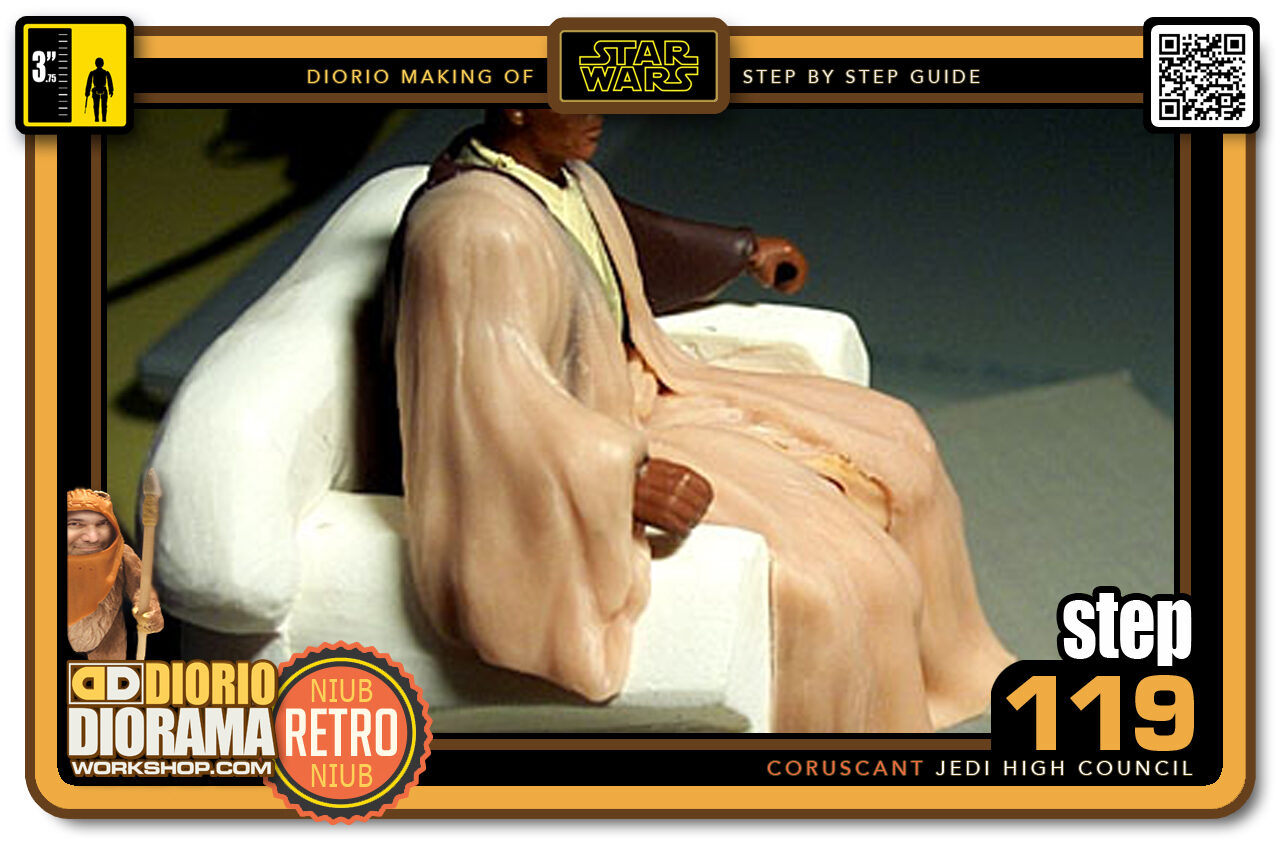
- Step 119 >> This is what the robe's arm looks like from the side. I added a lot more "material" to make it drape better off the side of the chair.
-
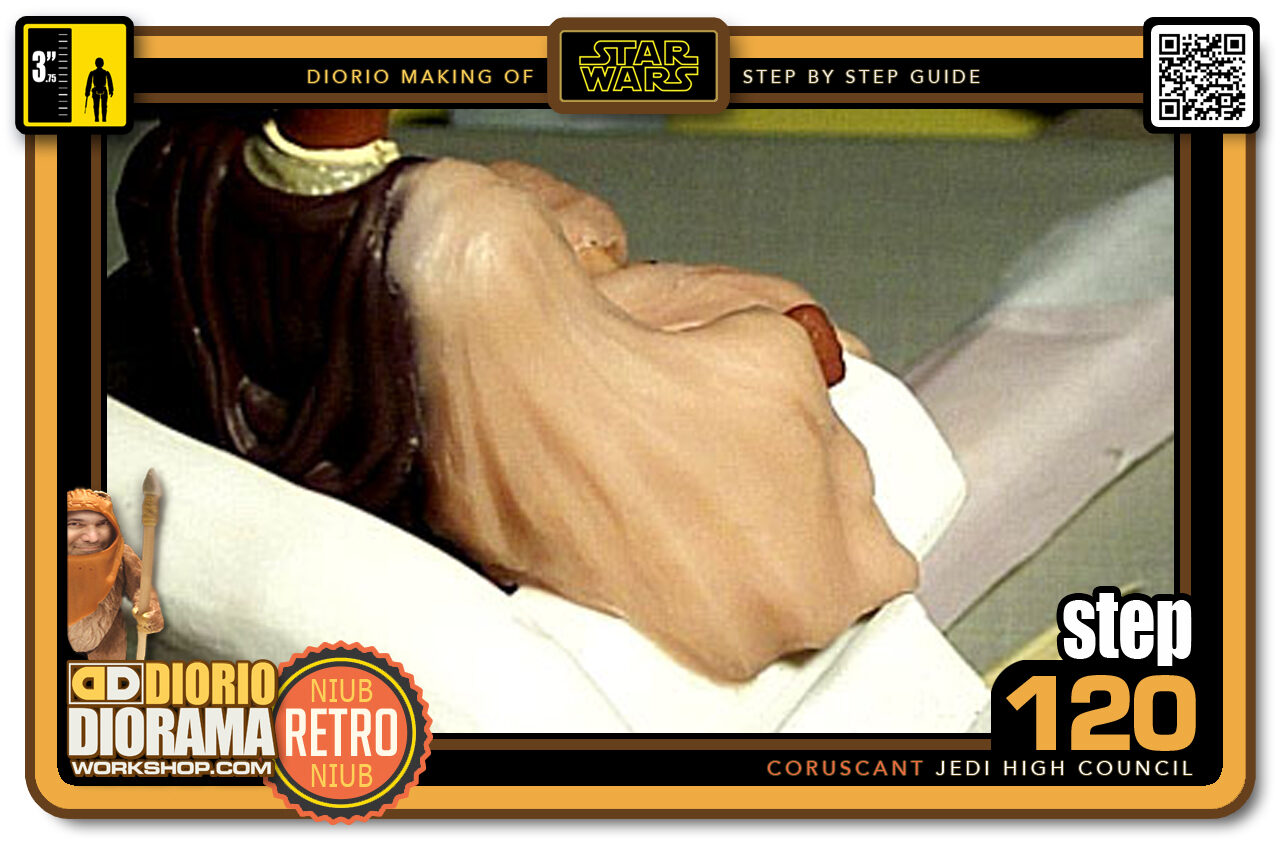
- Step 120 >> The back of the arm shows how I kept the hood as a divider between the original figure and my alterations. You can also see how the arm is attached to the chair's arm.
.
Did you already build this Diorama ? At home or at our Star Wars Celebration Diorama Builders workshop ? Would you like to show it in the site’s GALLERY VISITORS DIORAMAS section, YES ? That is Awesome !!! You can find out all the details on how to email me your photos on the VISITORS SUBMISSIONS INFO page … When I get your photos, I will create your very own page just like this one. You may not realize it but work does inspire others to join in the fun of making Action Figure Dioramas.
.
NOT FOR RESALE ALL Decals, tutorials and artwork are ©FrankDiorio (dioramaworkshop.com) and offered FOR FREE to the fans – that would be you ? so you can build and display my diorama designs in your very own home. I realize I cannot control what one does with my graphics once I place them on the web, I can only ask you as one fan to another, please respect the artist and do not be that jerk who uses my designs and tutorials to build a copy of my work only to sell it on EBAY or trade/sale groups and forums. Thank You. Frank.
.

.
.
If you have a facebook account, why not join the Official Diorama Builders Fan Club today, simply click the logo link below.
 .
.
Catch up with fellow visitors and exchange stories, read cool interviews with the crew, exchange photos, fun surprises and grab some FAN ONLY merchandise next year at actual future conventions ?
.
©2021 Frank Diorio DioramaWorkshop.Com
.
IF YOU LIKE WHAT YOU SEE, PLEASE SHARE WITH YOUR FRIENDS
USING THE SOCIAL MEDIA BUTTONS BELOW