


-
-
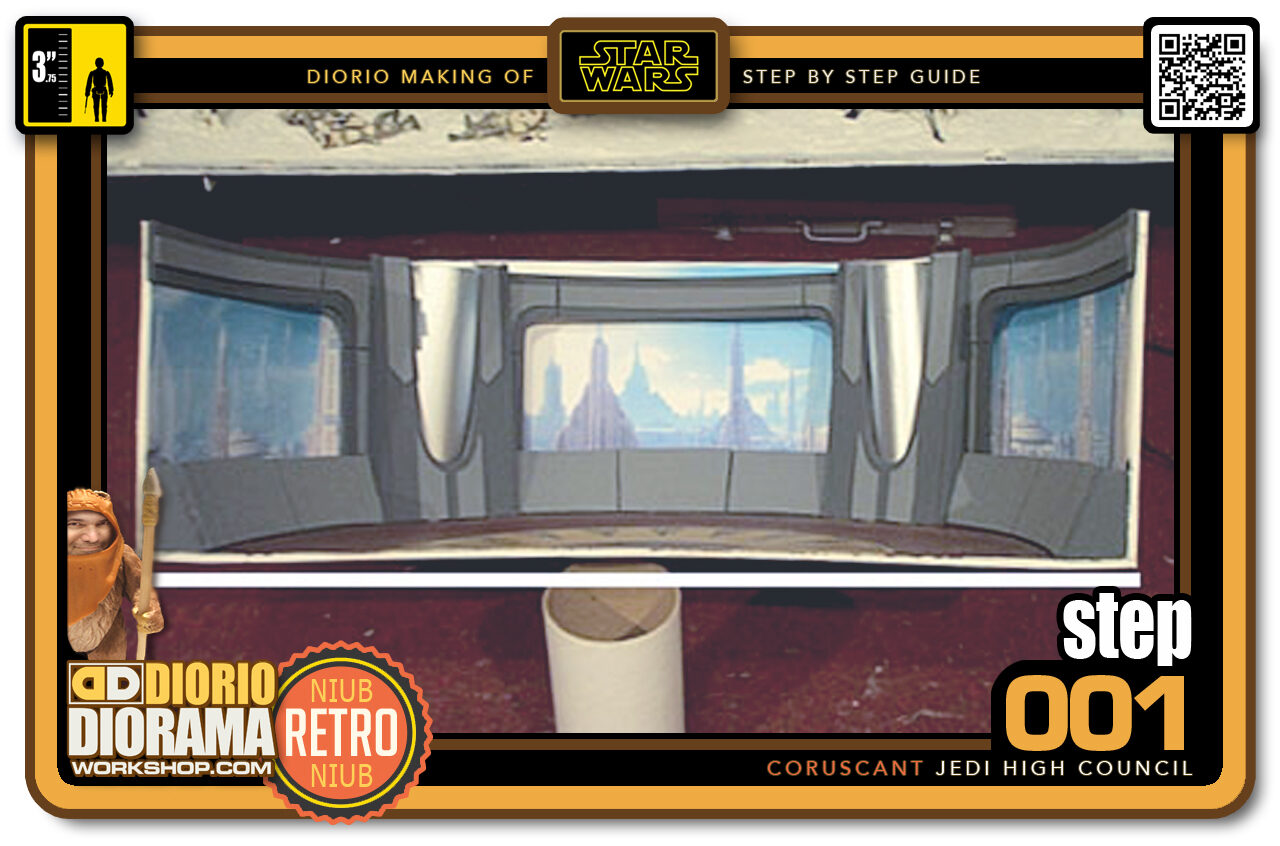
Step 001 >> Here is the Phase 1 diorama I made in 1999. It still is an accurate miniature of the set but I want to make a fake floor so that the figures can sit without needing me to chop their legs off.
You can also notice that the paint made the floor warp. The secret floor section will repair this problem and return the foamcore to its proper shape.
-

- Step 002 >> I positioned my chairs according to the movie reference and traced the inside contours with a pencil.
-
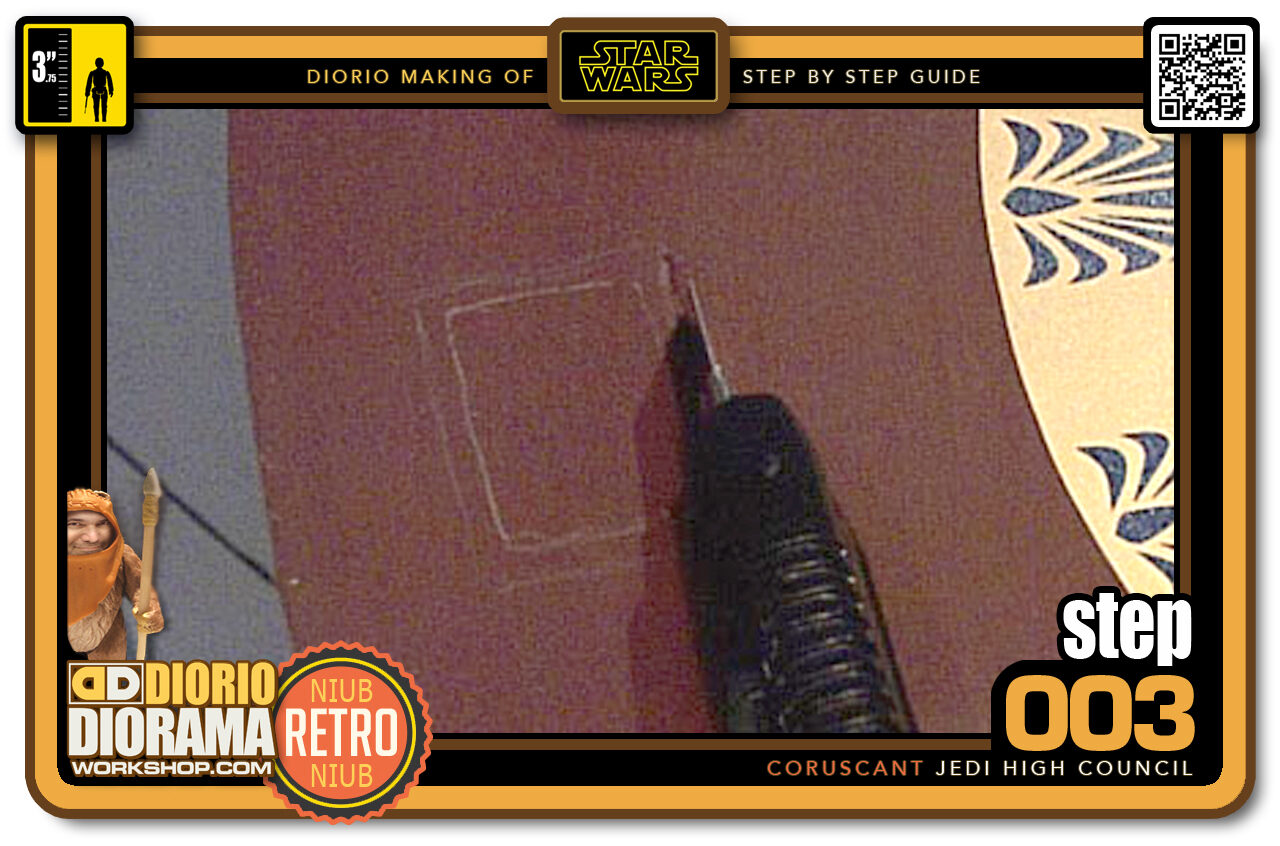
- Step 003 >> Next step is to use the Xacto knife and cut holes in the floor of the diorama.
-
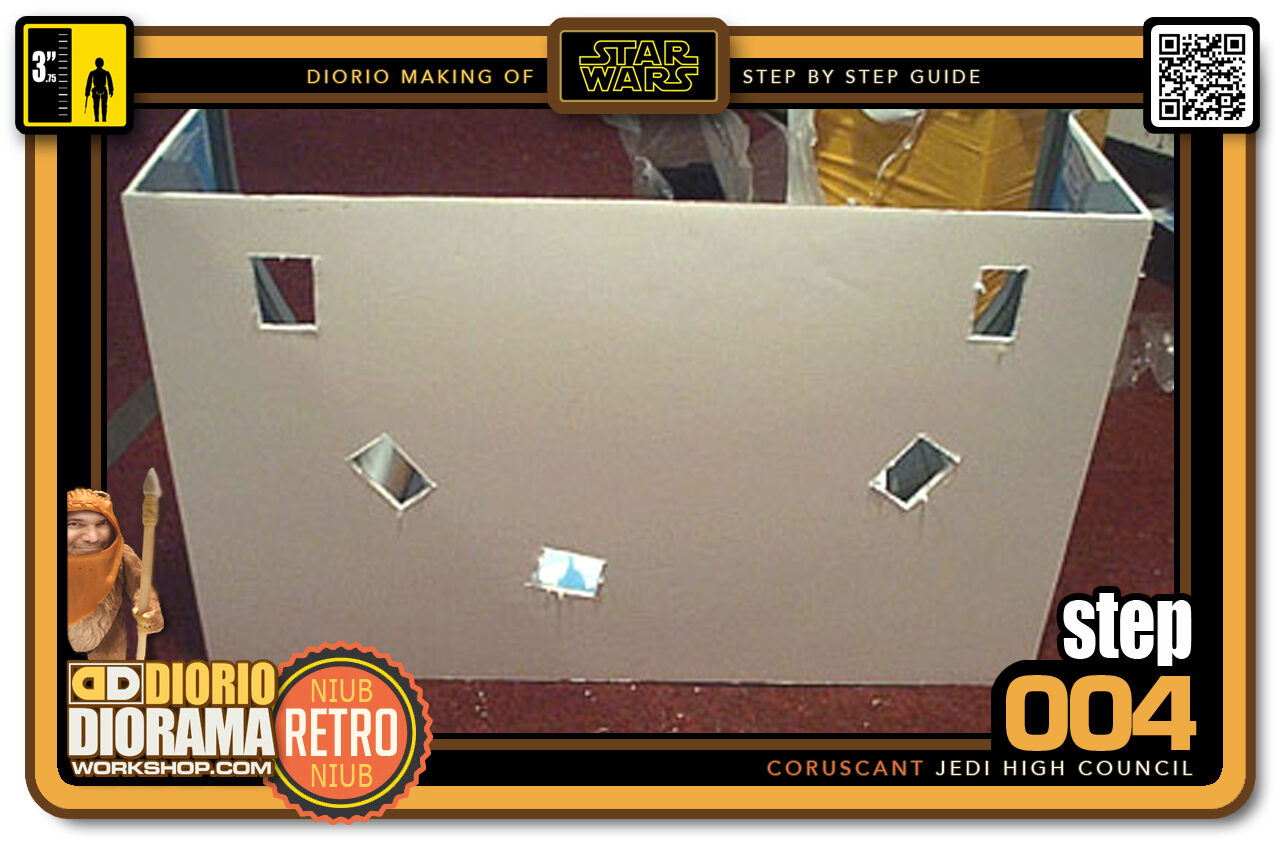
- Step 004 >> Here we see what the holes look like from the bottom of the box. The gap is because Yoda's chair does not need a hole in it.
-
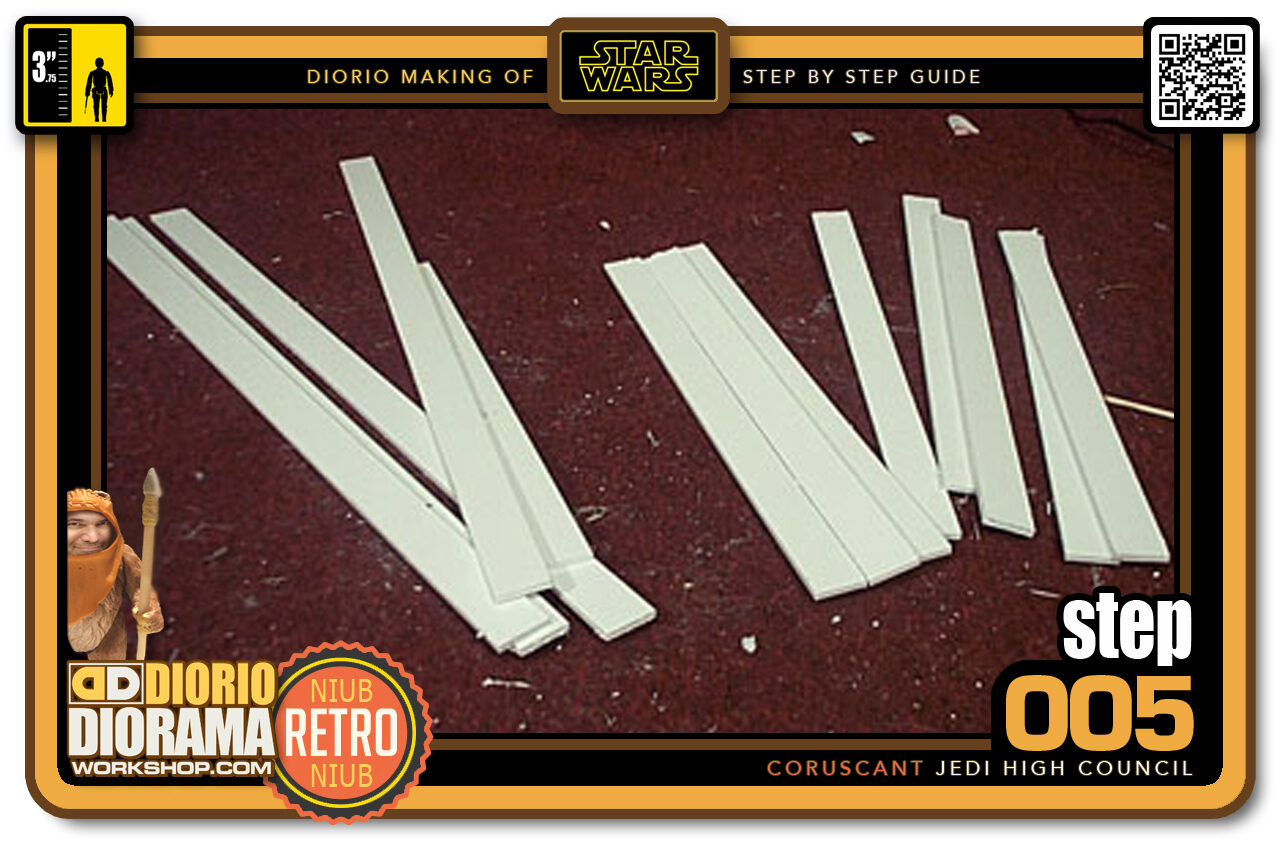
- Step 005 >> I cut 1 inch strips of foam core at the same length as the dioramas width.
-
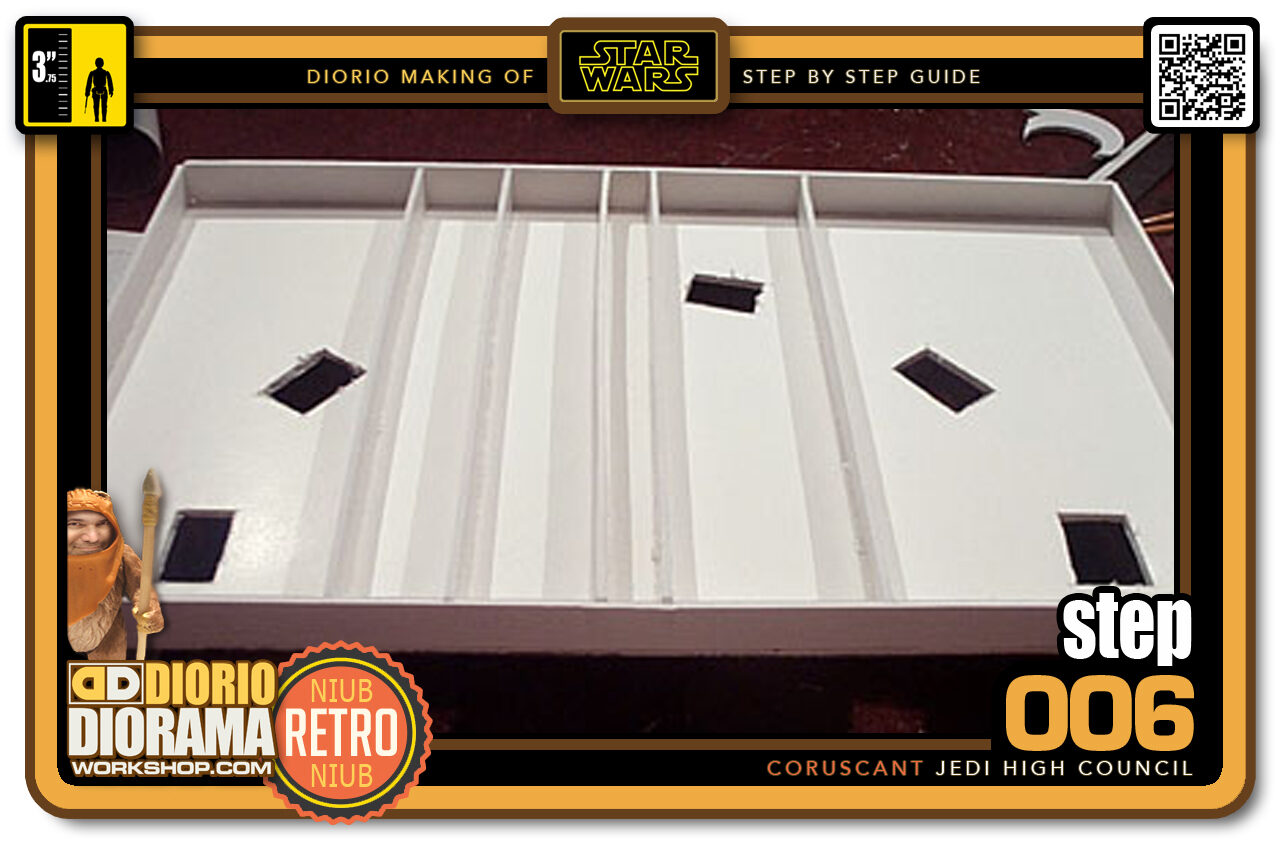
- Step 006 >> Using my Hot Glue Gun, I attached all the foamcore strips to the bottom base of the diorama. Not only does this raise the platform for the feet to stick out but it reinforces the warped floor.
-
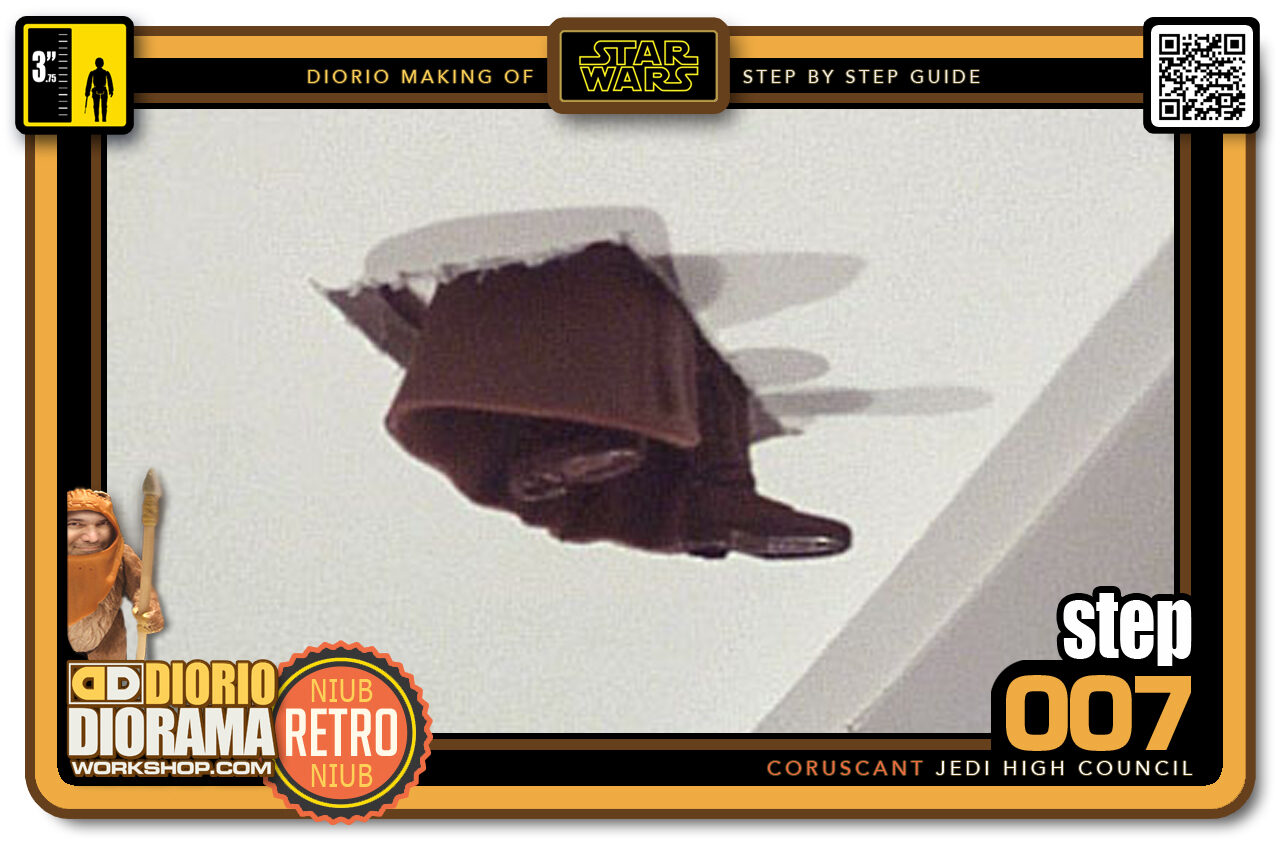
- Step 007 >> Yes I know it looks like Mace fell through the ceiling - LOL - but this is actually where the feet poke out avoiding us to cut them off to have him sit in the Jedi Chair.
-
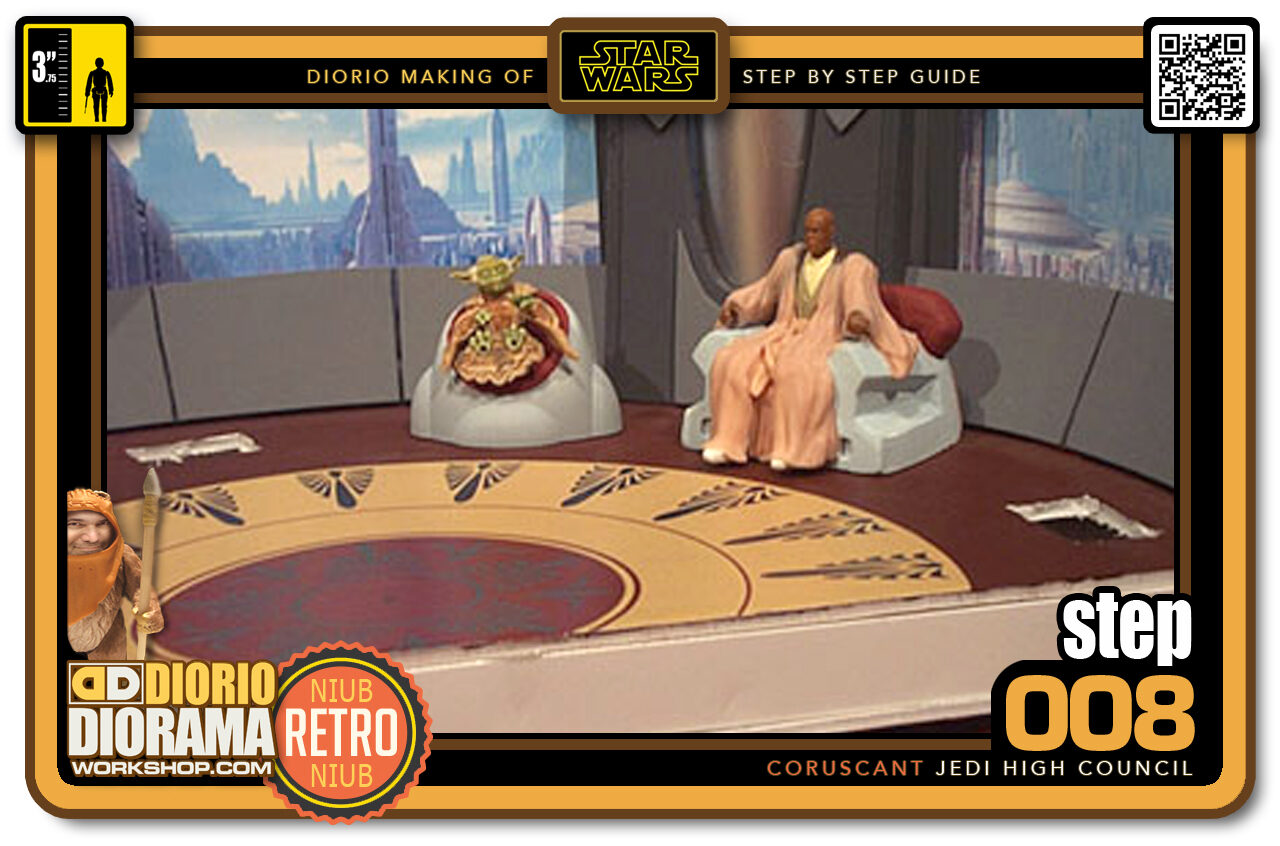
- Step 008 >> Oposite side now, we don't see the feet under the floor and it really looks like our figures are sitting in their chair.
-
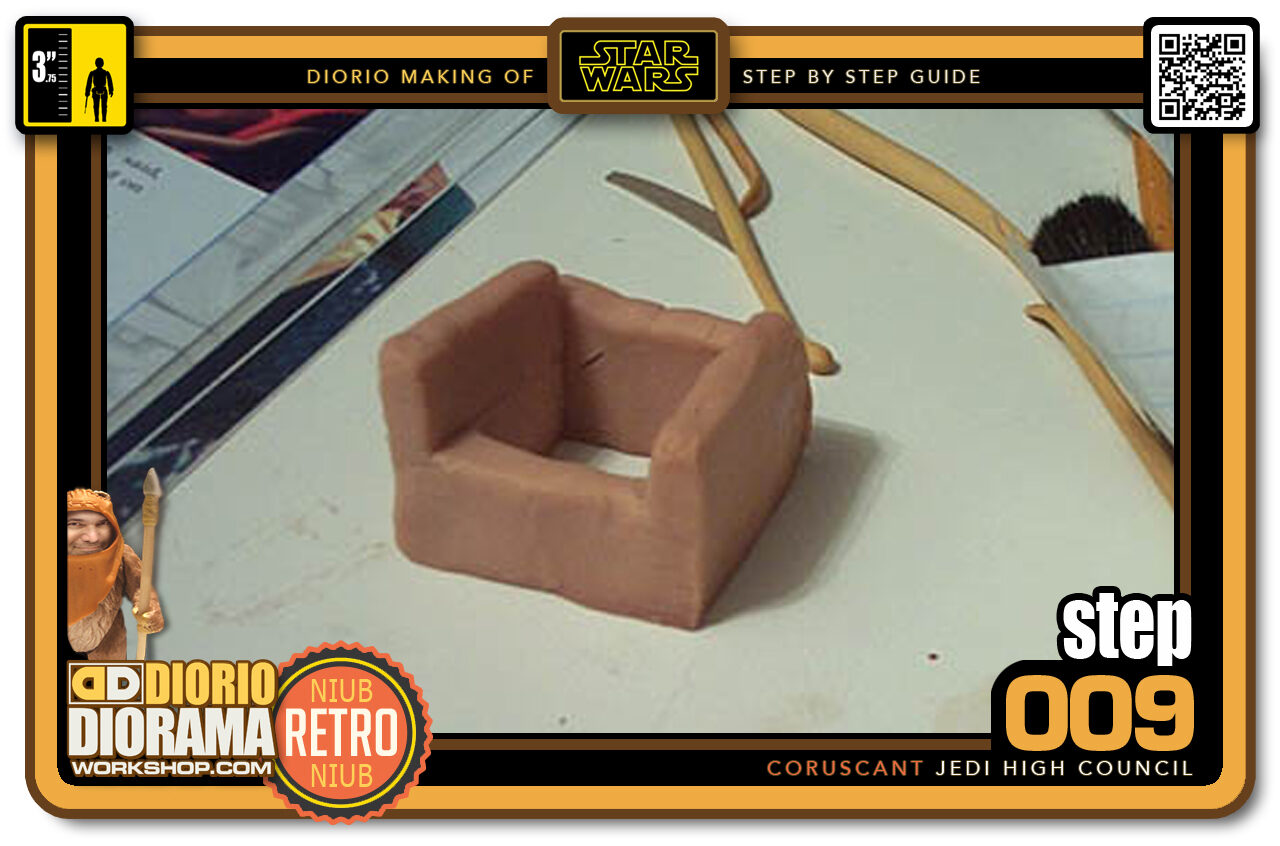
- Step 009 >> I finally decided to make my Jedi Chairs to go in my Phase 2 Jedi Council Diorama. This is Style "A" Chair. I started with a basic box shape. I made it hollow for a special reason you will see on Step 019.
-
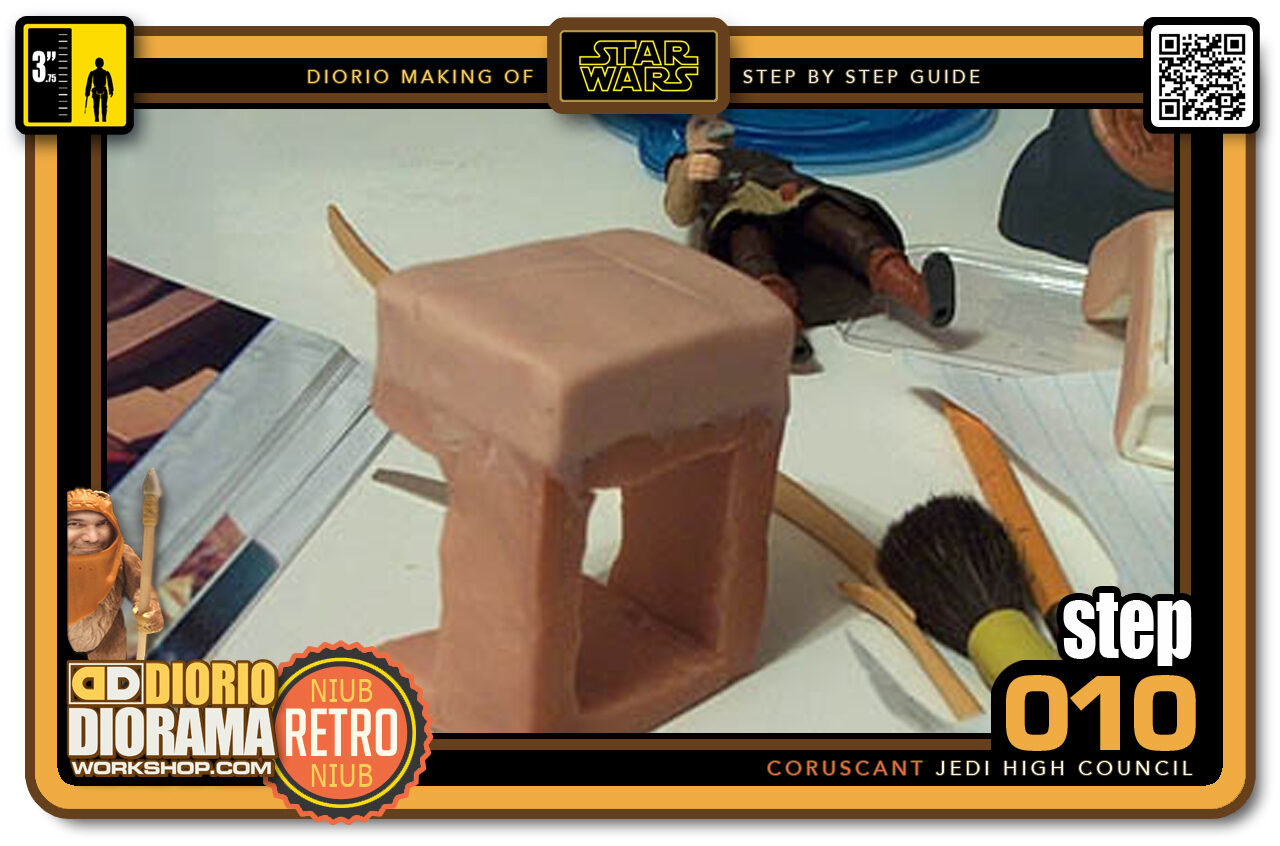
- Step 010 >> I added a thick slab of Super Sculpey to one of the sides of the chair. This thick chunk will allow us to carve the fancy hole that decorates both sides of the chair.
-
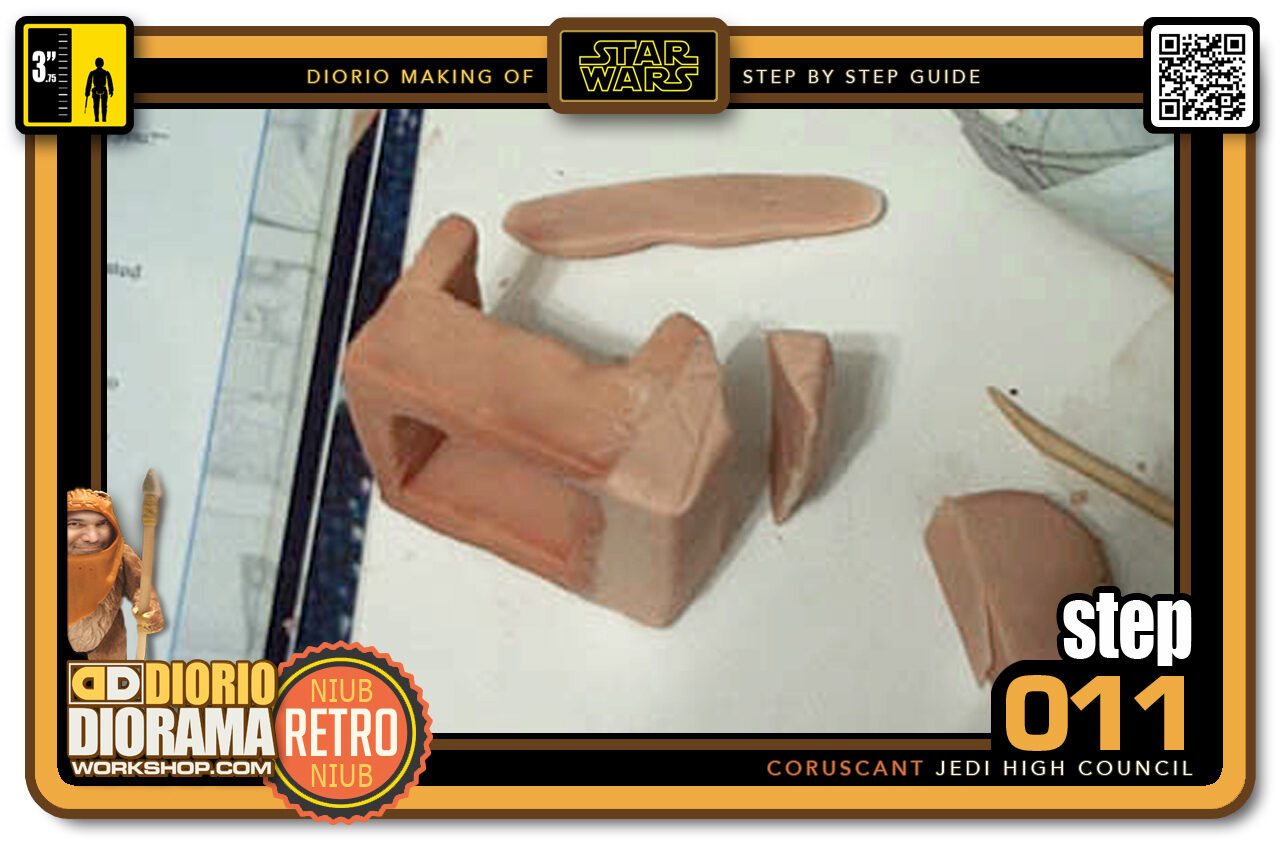
- Step 011 >> First cut off a 45 degree angle from the top arm rest to about halfway on the side.
-
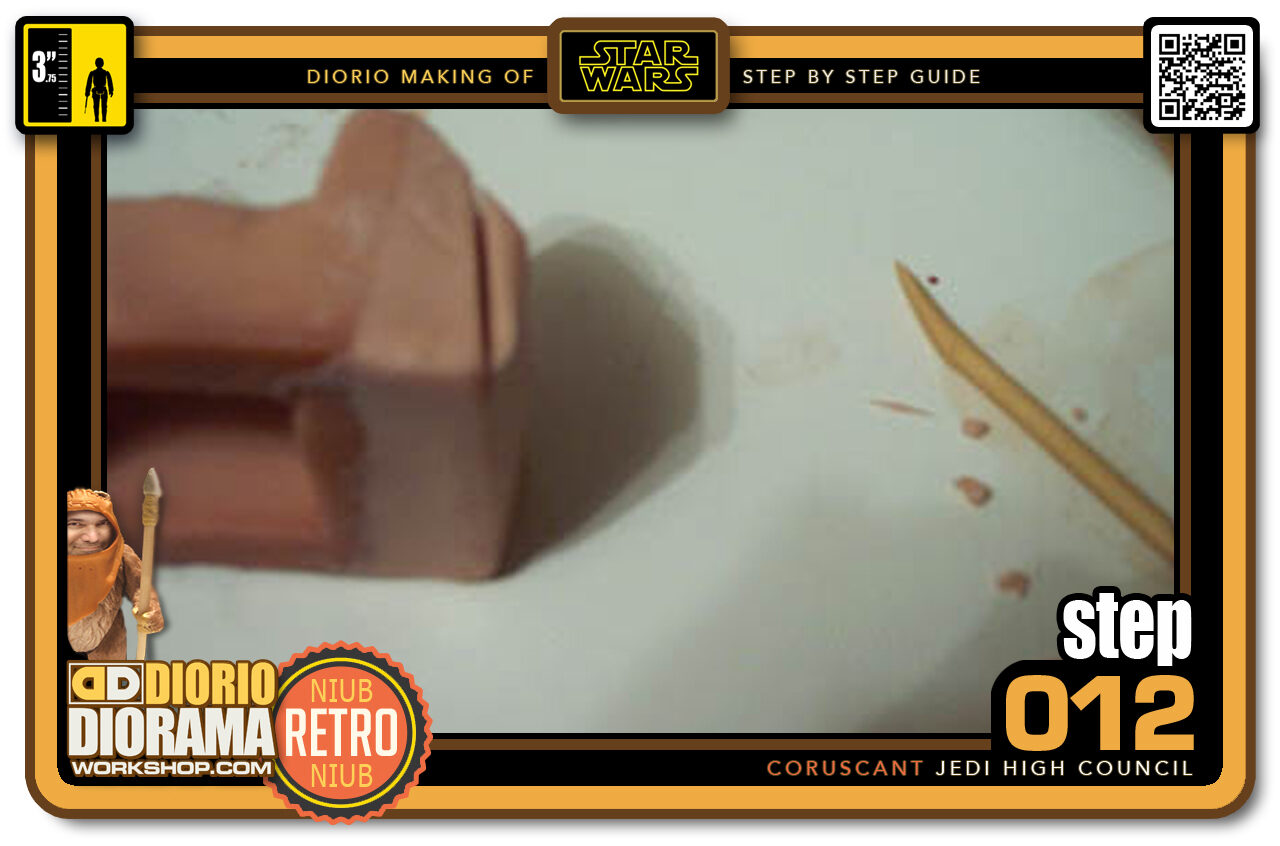
- Step 012 >> Then I cut another angle from the top to the bottom corner of the chunk.
-

-
Step 013 >> I will admit that this part was a lot harder then I thought it would be. I examined the movie book pictures for 15 minutes and still had trouble understanding where to cut. But I figured it out as you can see - heh heh - Just angle cut 3 ways to the original chair shape and smooth out the sculpey.
I found a trick for that today, if you dip your tool in water, the Super Sculpey will smooth itself like a knife through butter 🙂
-
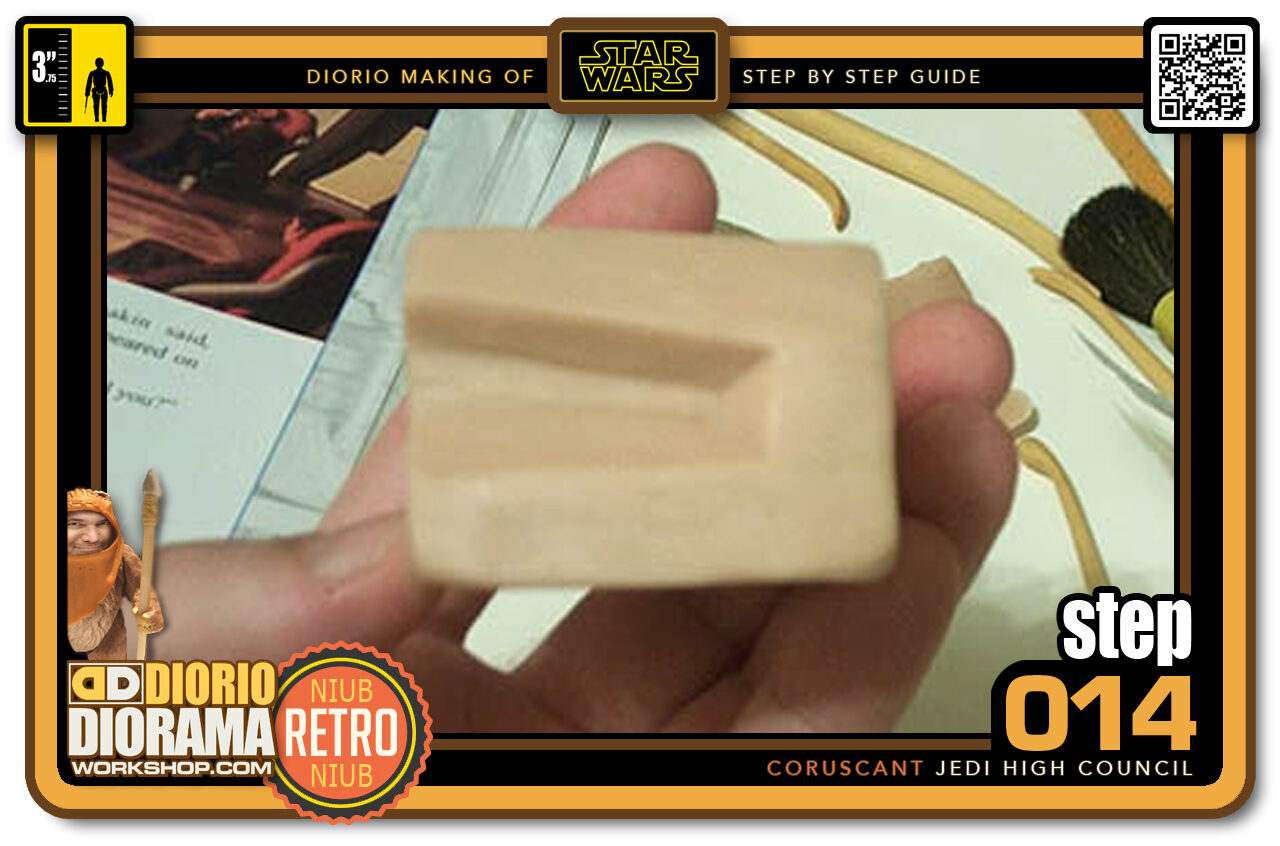
- Step 014 >> Here you can see a better angle of where to cut. There is a slope to the top line. the bottom cut is paralelle (typo? LOL) to the base.
-
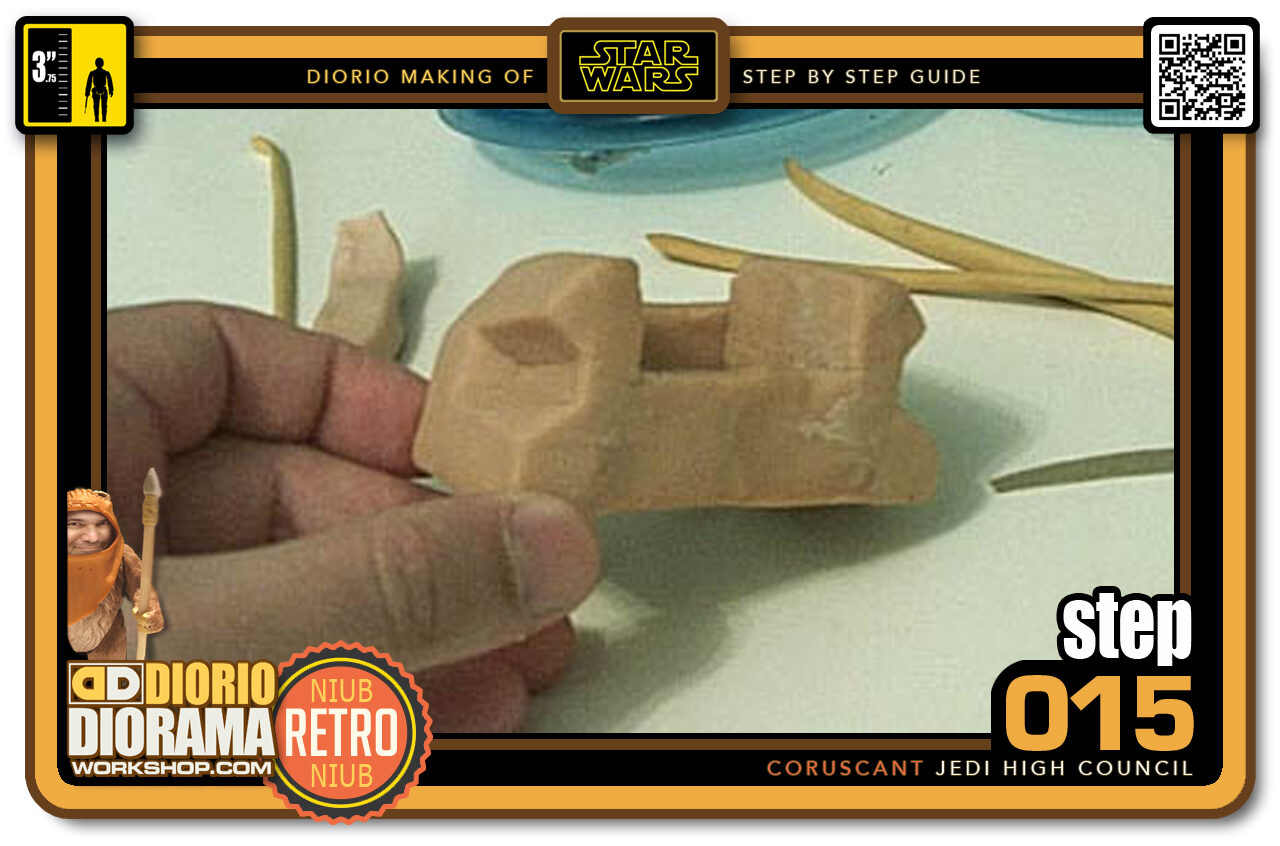
- Step 015 >> After 15 minutes in the oven, Repeat what you did on the right side. Add a chunk of Sculpey ond carve it out.
-
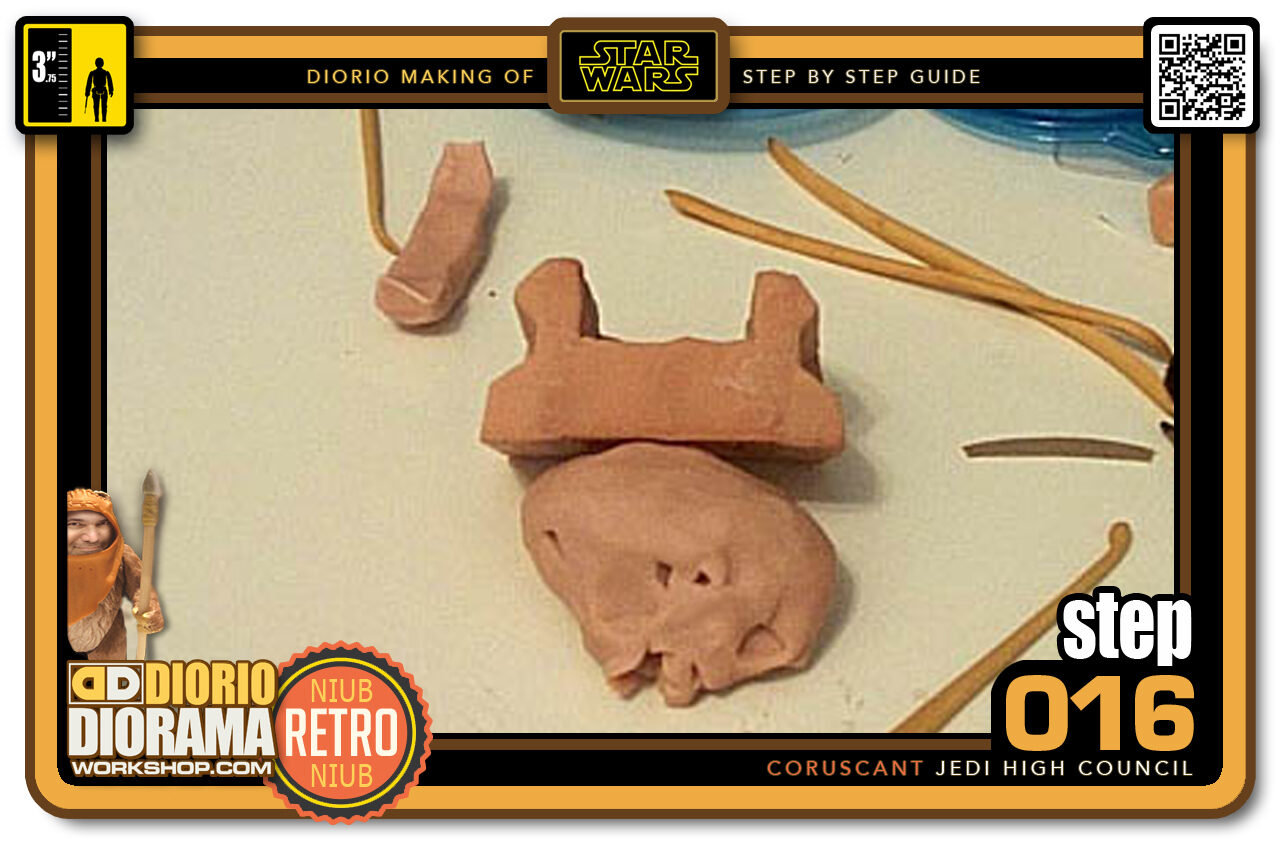
- Step 016 >> Here is a front view of the carved finished sides. Now it's back in the oven for 15 minutes.
-
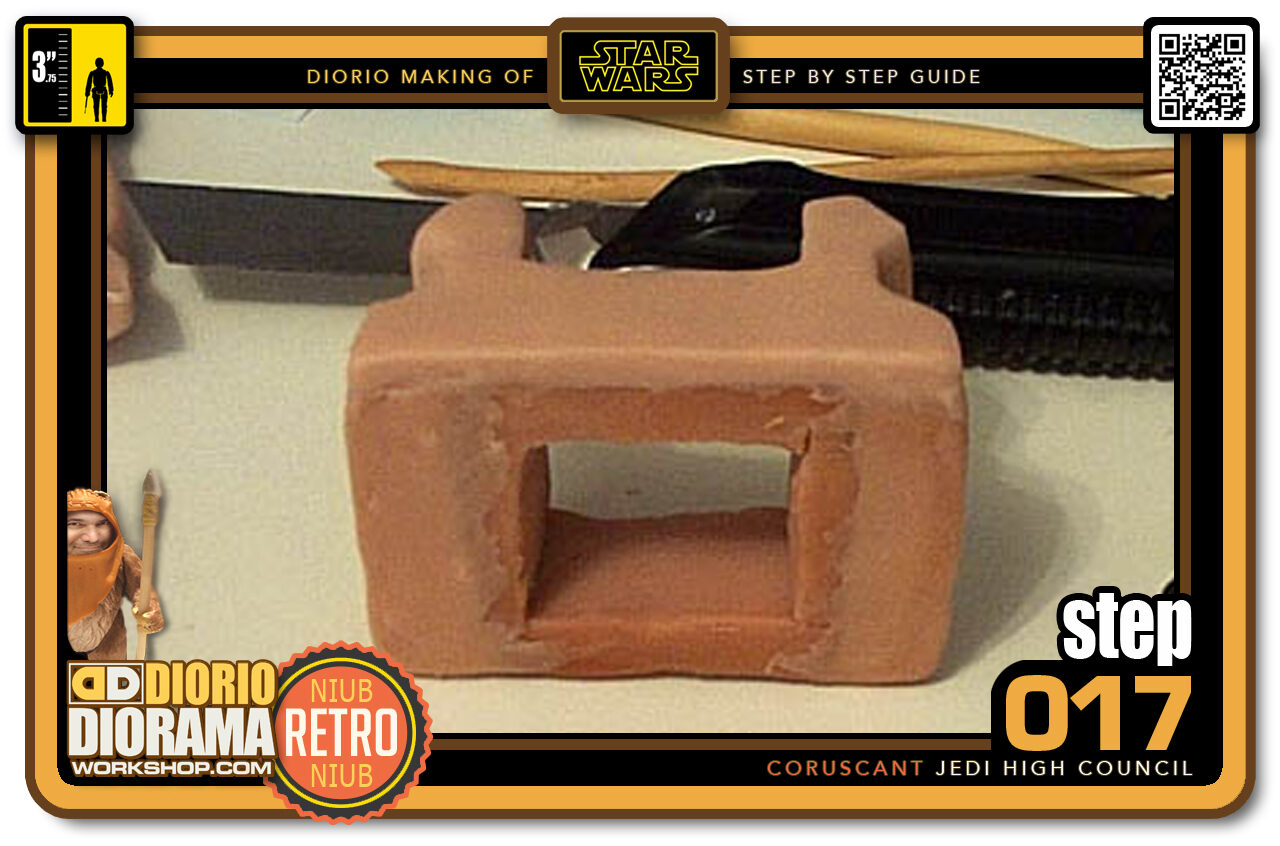
- Step 017 >> Now it's time to do a clean front. Flatten a piece of sculpey like pizza dough and apply it to the front surface of the chair including the arms. Then cut along and trim the edges.
-
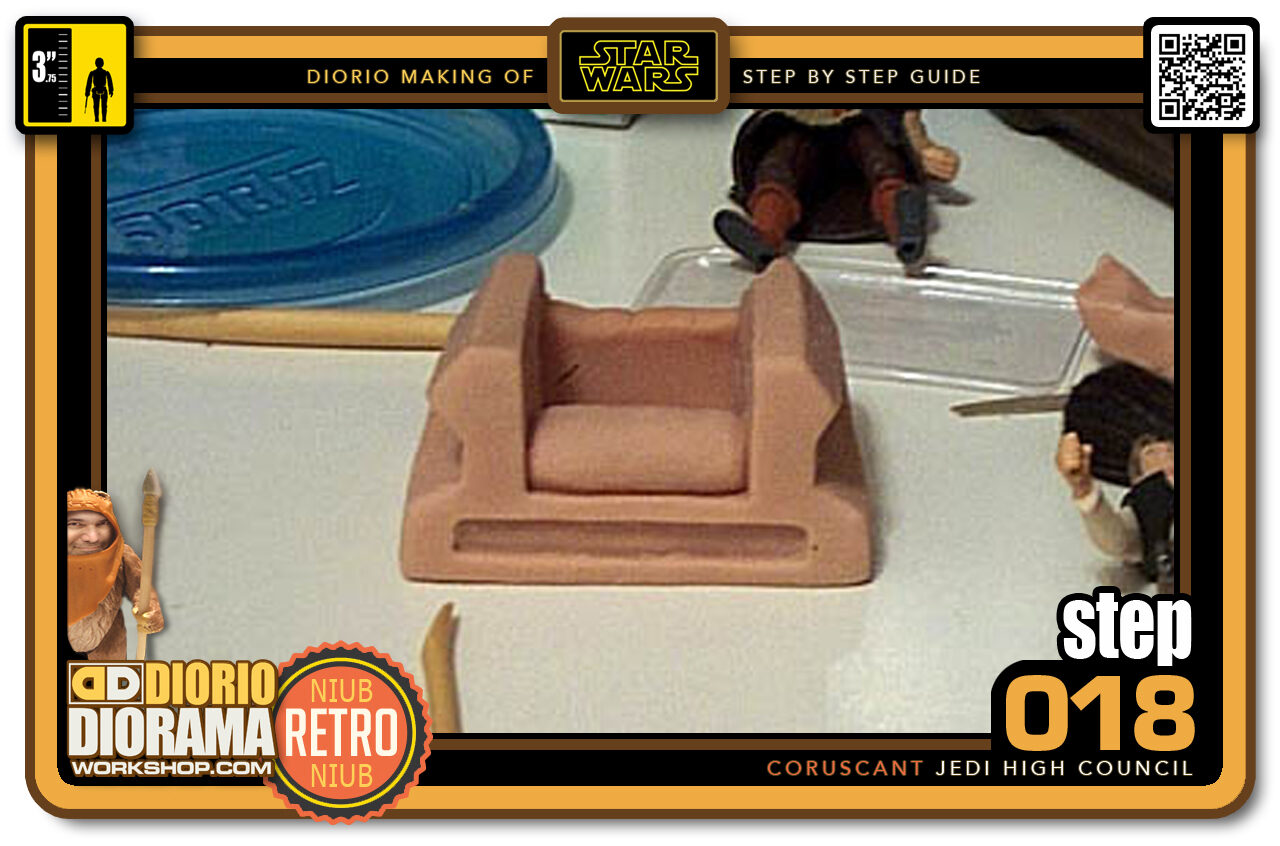
- Step 018 >> Now before baking, with your sculpting tool, cut out a narrow hole in the base of the chair. I also sculpted the center Sculpey into the shape of the chair's pillow. Now bake 15 minutes.
-
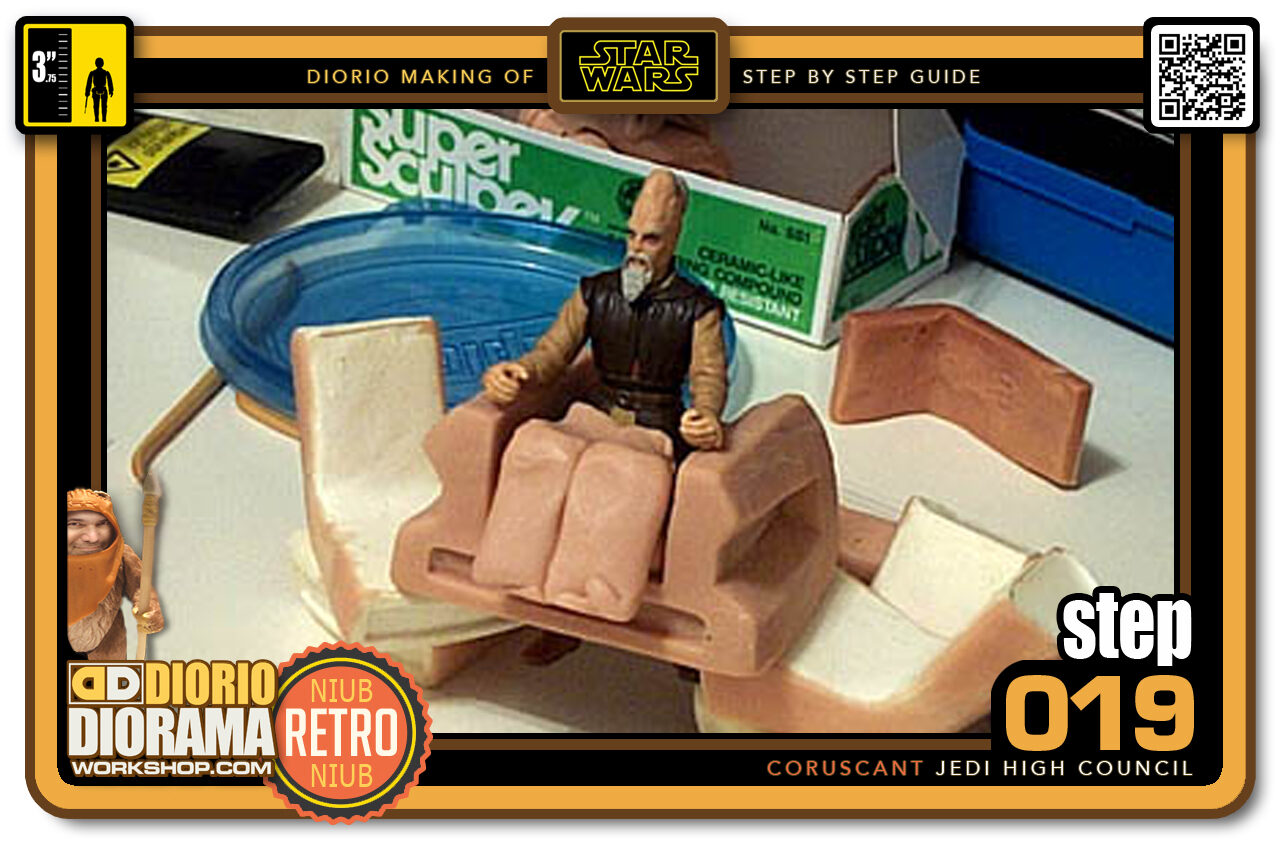
- Step 019 >> Remember that hole in the chair from page 1? Well this is why I am sculpting the chair this way. Version 2 will have a hole in the chair. Put the diorama on a raised platform, cut holes on the floor, put the chair on the main surface and now your figure does not need to be deforemed or ripped appart. Just attach the fake legs to the chair and the illusion of the jedi sitting will be complete. Now please don't panic, these are just test legs for scale 🙂 Cool Idea eh?
-
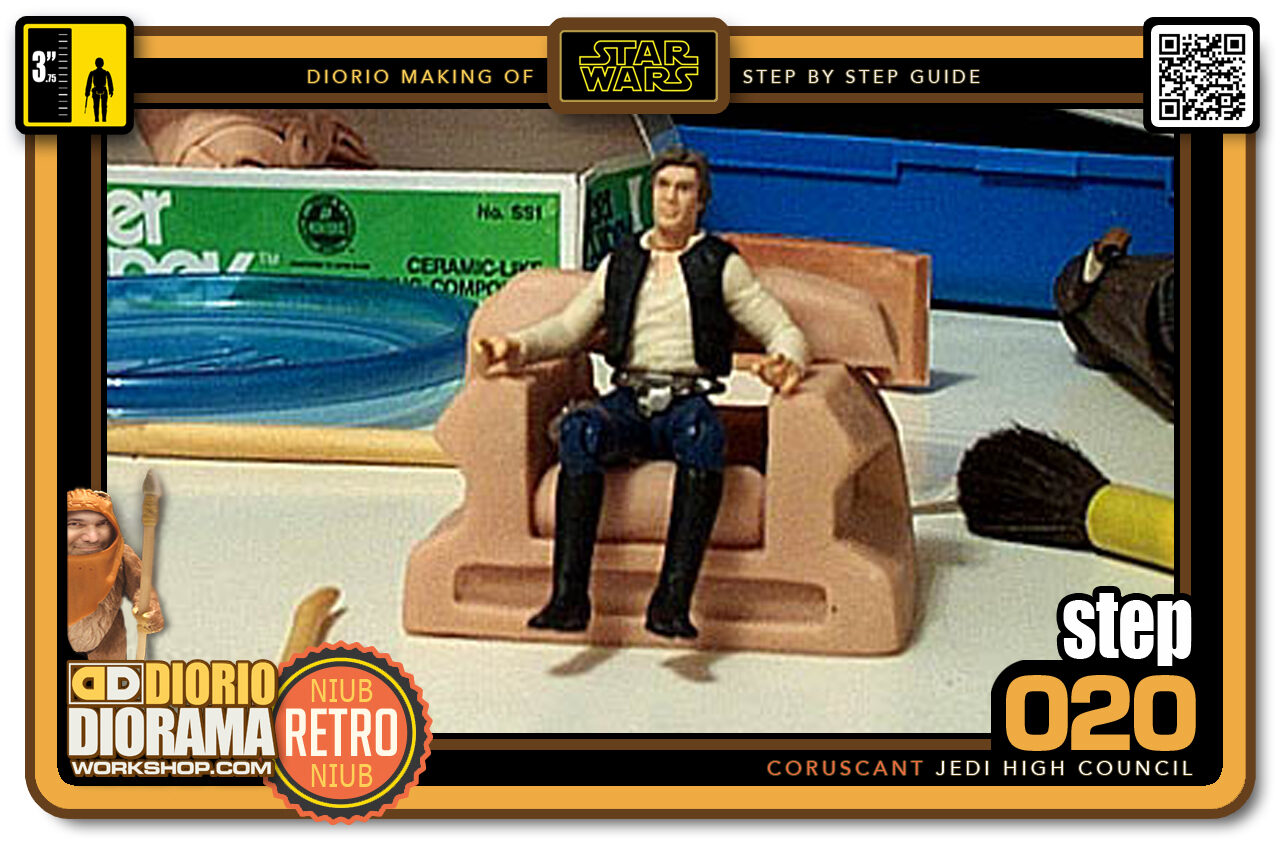
- Step 020 >> So this is where I am so far after 2 days of work. If only Hasbro put full articulation in ALL their figures 🙂 The back support is a rough so pretend you don't see it - LOL. I will be making 2 versions of the chair. A full version that you can place your figures on by doing your own custom job like bending knees amd capes and...
.
Did you already build this Diorama ? At home or at our Star Wars Celebration Diorama Builders workshop ? Would you like to show it in the site’s GALLERY VISITORS DIORAMAS section, YES ? That is Awesome !!! You can find out all the details on how to email me your photos on the VISITORS SUBMISSIONS INFO page … When I get your photos, I will create your very own page just like this one. You may not realize it but work does inspire others to join in the fun of making Action Figure Dioramas.
.
NOT FOR RESALE ALL Decals, tutorials and artwork are ©FrankDiorio (dioramaworkshop.com) and offered FOR FREE to the fans – that would be you ? so you can build and display my diorama designs in your very own home. I realize I cannot control what one does with my graphics once I place them on the web, I can only ask you as one fan to another, please respect the artist and do not be that jerk who uses my designs and tutorials to build a copy of my work only to sell it on EBAY or trade/sale groups and forums. Thank You. Frank.
.

.
.
If you have a facebook account, why not join the Official Diorama Builders Fan Club today, simply click the logo link below.
 .
.
Catch up with fellow visitors and exchange stories, read cool interviews with the crew, exchange photos, fun surprises and grab some FAN ONLY merchandise next year at actual future conventions ?
.
©2021 Frank Diorio DioramaWorkshop.Com
.
IF YOU LIKE WHAT YOU SEE, PLEASE SHARE WITH YOUR FRIENDS
USING THE SOCIAL MEDIA BUTTONS BELOW
Jeffrey Grant
December 11, 2022 @ 10:00 pm
Can I get a picture of the Jedi Floor?
I’m trying to make my own, but your image is no longer appearing on your page
Frank Diorio
December 16, 2022 @ 1:28 am
Hey Jeffrey, it’s an old decal from the first time I built my council in 2001 but it can work for you for now until I revisit this and make it more movie accurate. Here is the link to the decal page, simply click the thumbnail of the version you want to use to download the printable pdf to your computer. https://dioramaworkshop.com/tutorials-decals-jedi-high-council/ send me a photo when you finish your diorama 🙂 Hope that helps. Frank